Gears of War 4 Guide Campaign Act 4
Chapter 3: Knock, Knock
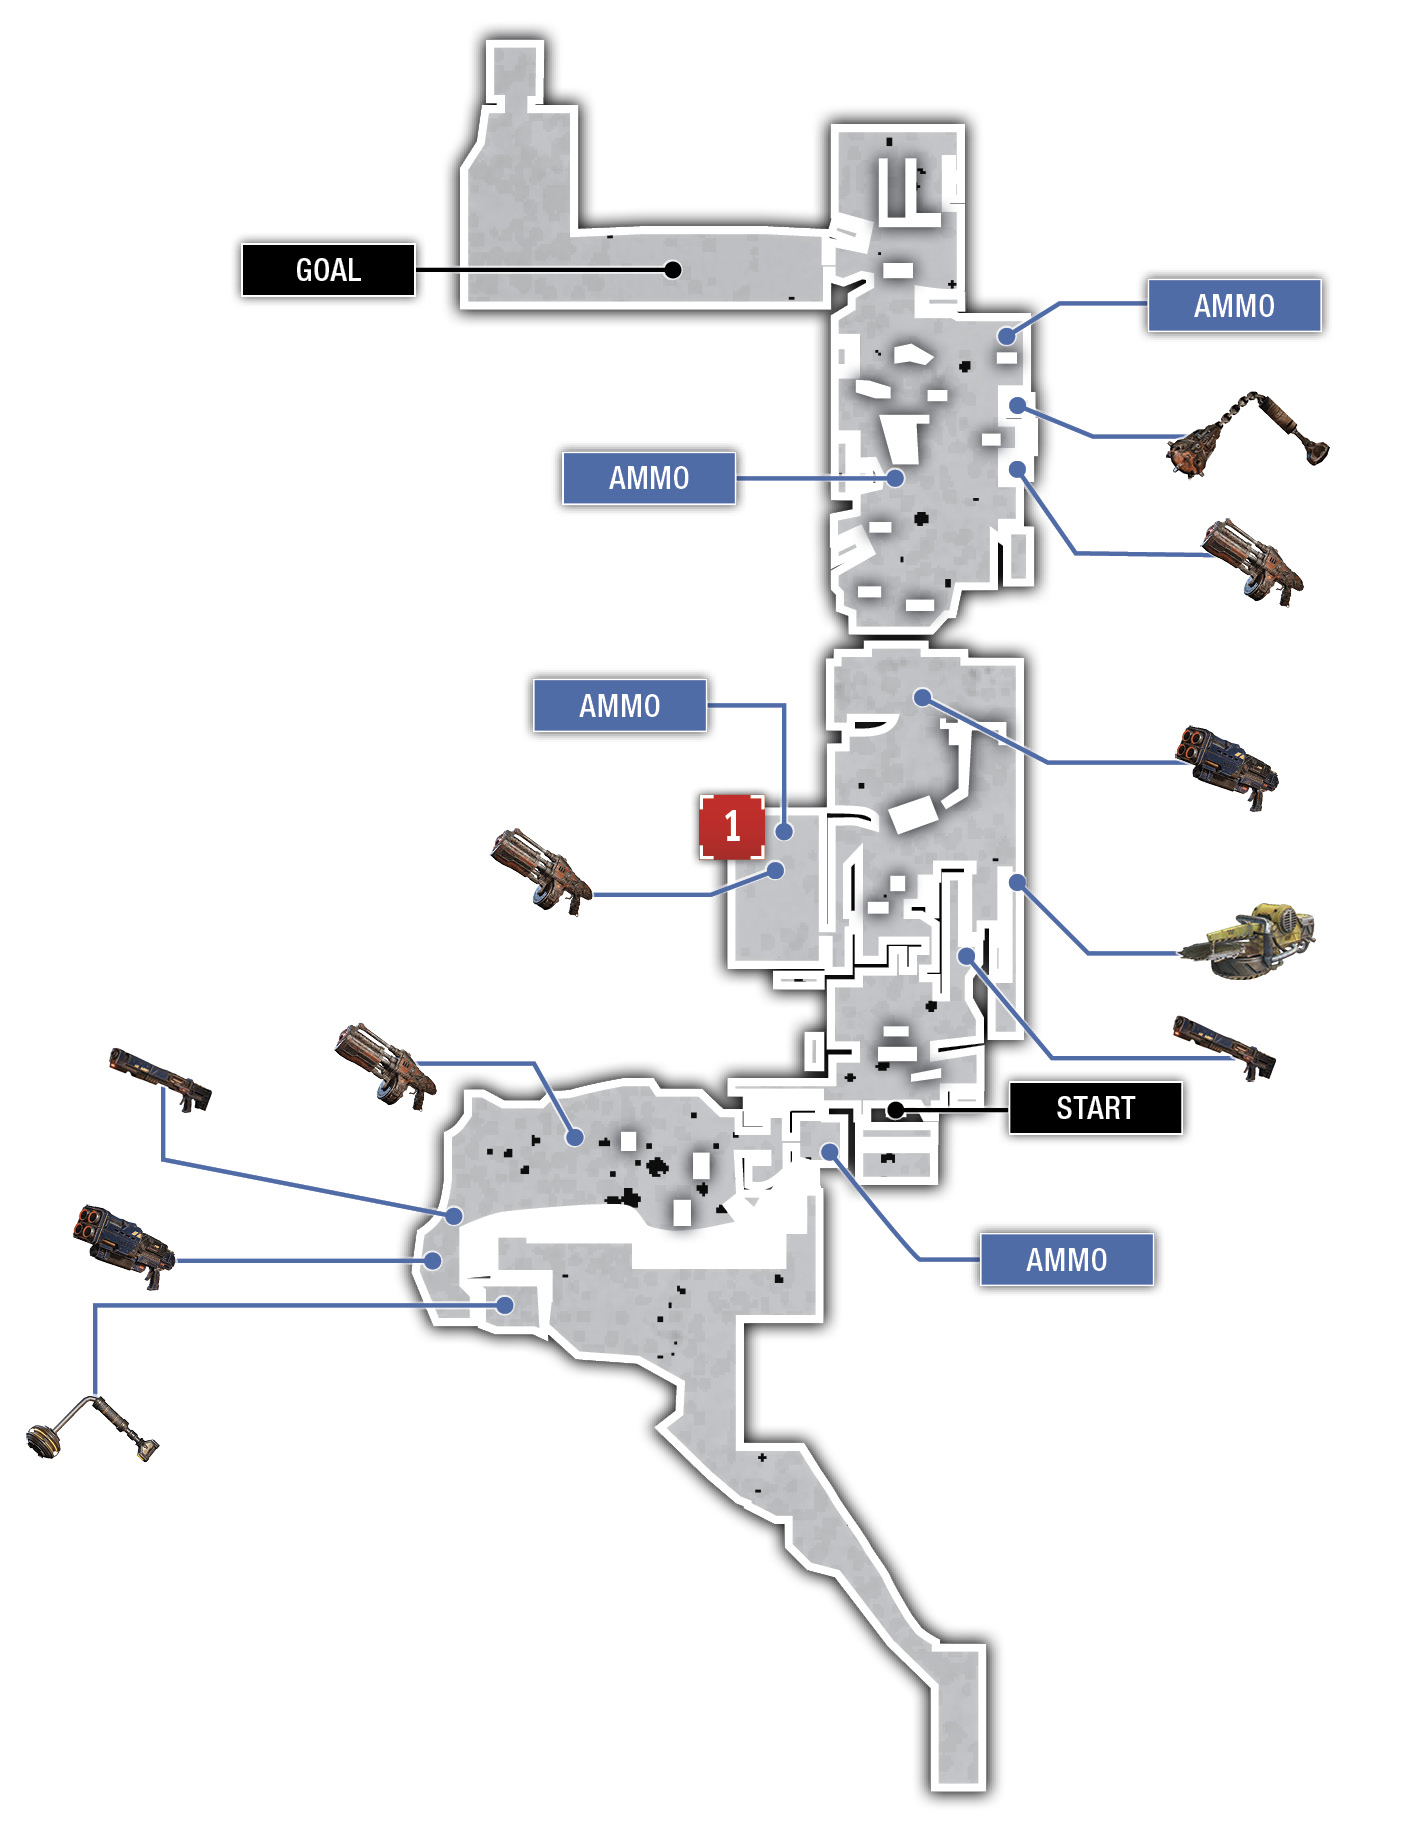
Collectibles
|
 COG Orders
Situation Overview
The service tower the squad was to take shelter in is destroyed by the final lightning strike from the Windflare. They’ll not only have to find another way up to the dam, but they’ll need to contend with the damage wrought by the passing storm.
Tollen Dam Outskirts
Objective: Get to the Second Service Tower
Turn your back on the service tower and move back across the field, this time on an angle to the right to continue to the dam. Raid the downed Kestrel up ahead and equip the EMBAR Sniper Rifle to go along with the Lancer, unless you prefer the Enforcer or Overkill. You’ll find plenty of DeeBee weaponry among the wreckage.
The area ahead is filled with pods, including several hanging ones. Drop the hanging pods for advance cover and to crush any Drones underneath, then duck behind one of the first pods you see and use the EMBAR Sniper Rifle to snipe the distant Swarm. Focus your shots on the Scion first, before it can upgrade the other Drones.
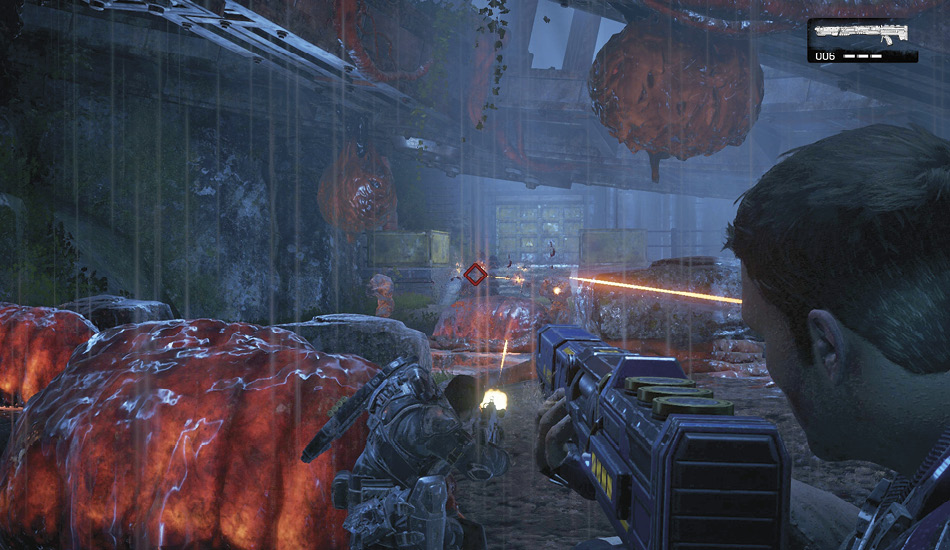
Swap the spent EMBAR for the Boomshot hidden within the snot bubble on the ceiling and use it to finish off the remaining Drones and, if necessary, to shut any Swarm nests. Gather up the ammo and dropped weaponry and head inside the service tower. The entrance to the dam is at the top.
Objective: Open the Main Gate
Climb the ladders inside the service tower and kick open the door to the access road. The approach to the dam is heavily defended, with multiple Drones on the street and in the building to the left. Take cover near the barrier by the Tollen Dam sign and use any remaining Boomshot ammo you have to eliminate the Drones nearest you.
Flank to the right and locate the Buzzkill atop the stairs opposite the building with the Sniper Drone. Clear the street with the Buzzkill, then grab the EMBAR Sniper Rifle on the street near where the Buzzkill was (there’s a DeeBee corpse nearby) and use it to take out the Sniper Drone.
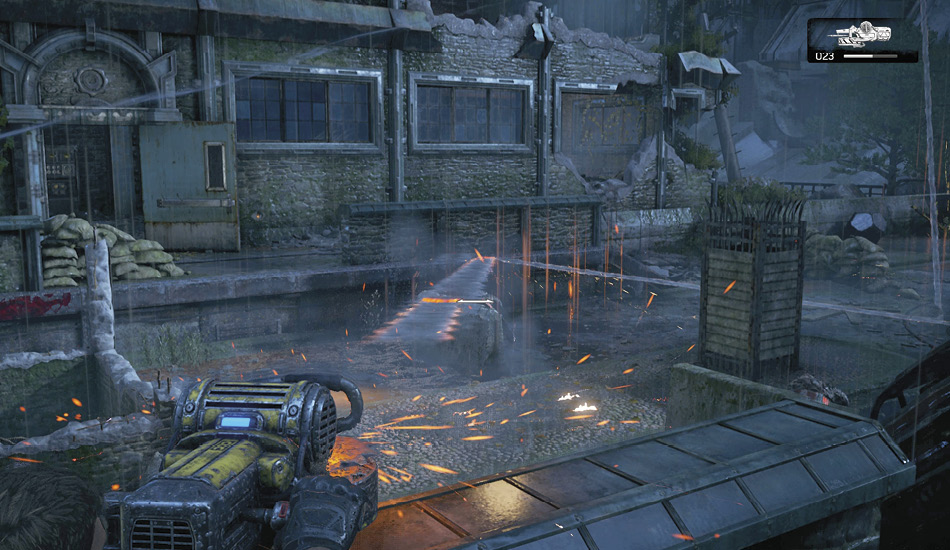
The only way inside the dam is by opening the gate. Enter the two-story security building to the left, locate the collectible on the ground floor, then head upstairs to the gate controls. You’ll find a Boomshot near the Longshot dropped by the Sniper Drone. Take the Boomshot; it’ll come in handy soon enough.
Objective: Put It Back in Its Hole
Head back out onto the street, go through the gate, and follow the road past the abandoned cars and trucks to the dam entrance. Approach the metal doors at the far end of the tunnel to instigate the next major battle.
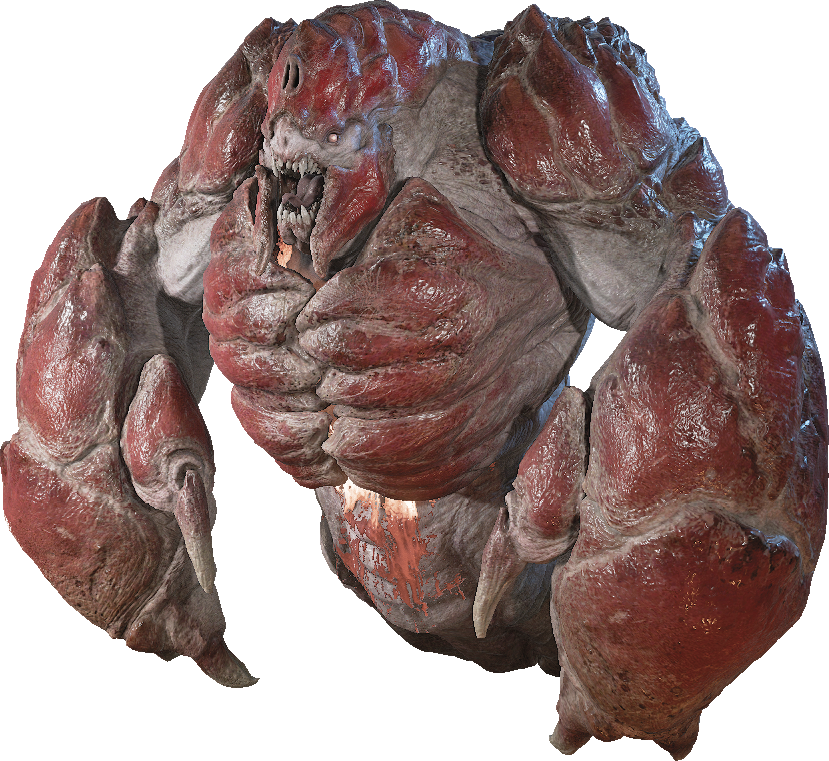
Carrier
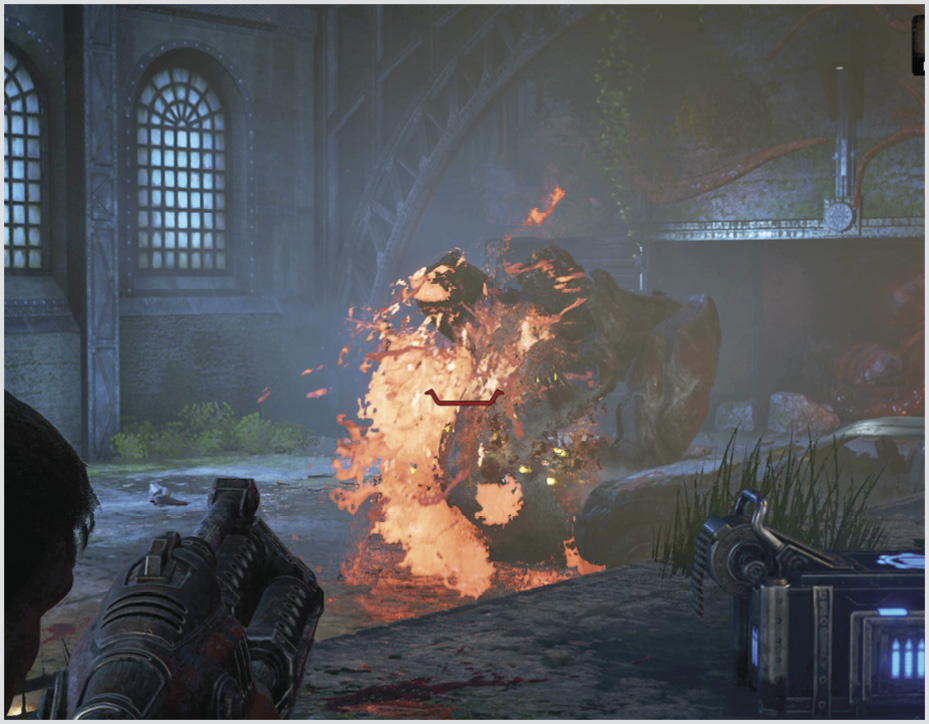
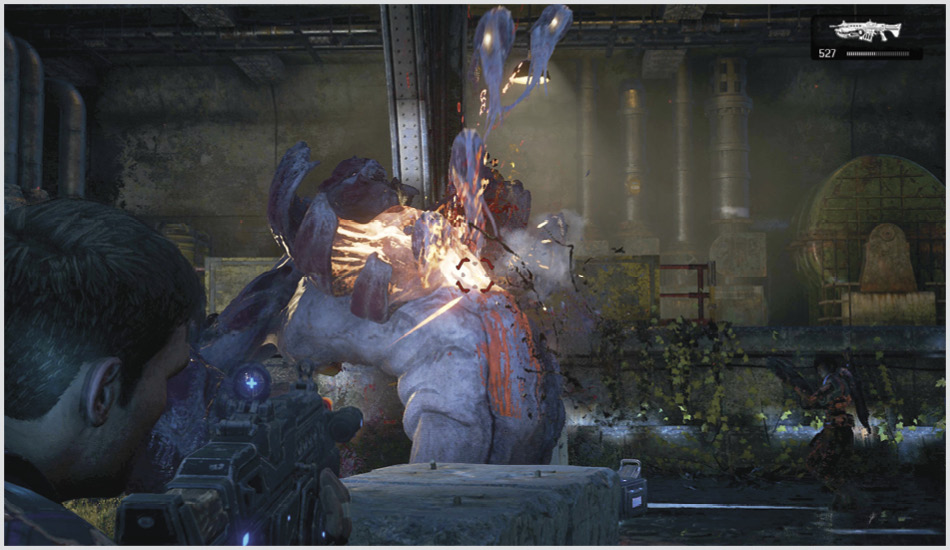
The creature that bursts from behind the doors is called a Carrier, a massive creature with extremely resilient skin. The Carrier attacks by stomping its way toward its prey in hope of delivering an overhead smash with one of its massive claws. But that’s not its only attack and, in fact, should be seldom seen. You should never be close enough to a Carrier to risk being pummeled!
The Carrier periodically rears back on its haunches, opens its chest cavity, and emits a barrage of flying, toxic projectiles that inflict heavy damage and leave anything they hit on fire for a few moments. The key is to quickly fire on its open chest, then shoot its projectiles out of the air or take cover behind something that will soak up their flaming splash damage.
Climb the stairs to the walkway you passed on the right as soon as the Carrier appears. Gather up the additional Boomshot ammo there and the Frag Grenades and descend the stairs farthest from the Carrier. Use the pillar there for cover and fire the Boomshot at the Carrier’s chest whenever its tender innards are exposed.
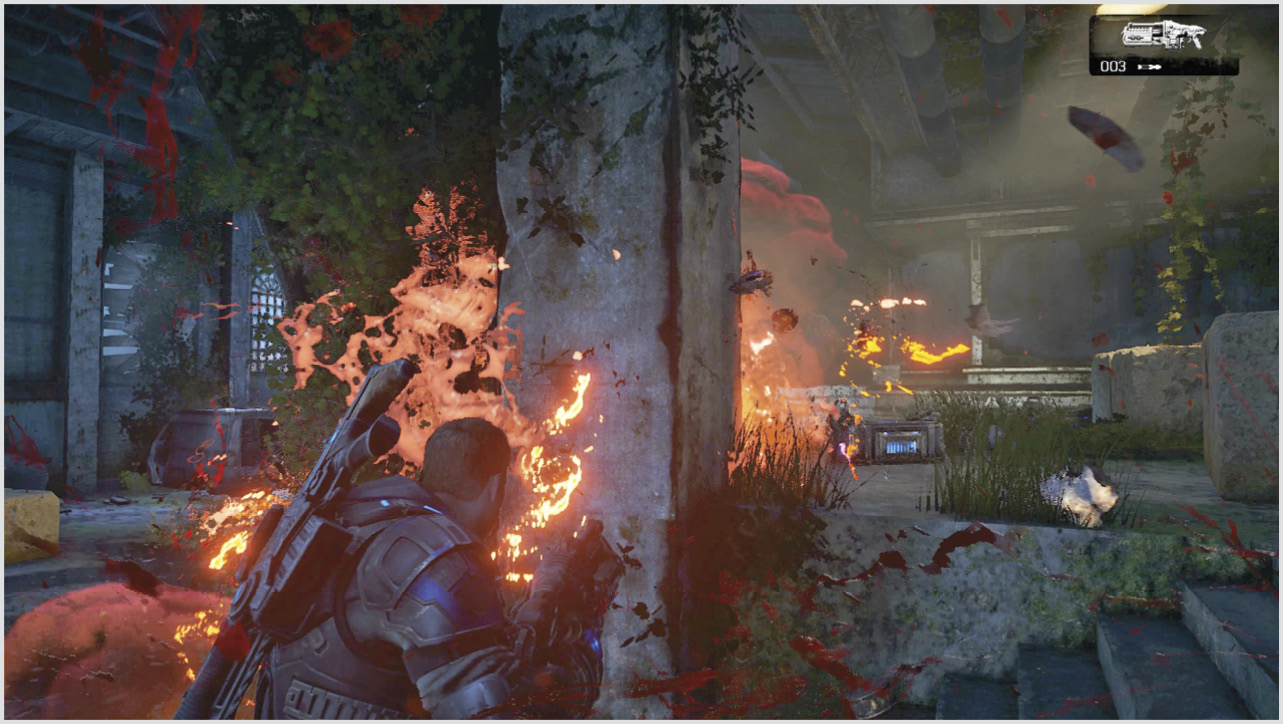
The Carrier follows you onto the walkway and attempts to hit you with a ground-pound attack that causes an earth-rattling shockwave that extends forward for a considerable distance. Back away from the Carrier whenever you see it coming. You always want to be far enough away from it so that it has no choice but to attack with its projectiles, thereby revealing its weak point.
Once the Carrier has taken heavy damage, it begins directly spraying its fire juice at members of the squad. Stay on the move, keep your distance, and never face the Carrier head-on until it stands up and opens its chest. Keep constant pressure on it and it’ll fall soon.