
Gears of War 4 Guide Campaign Act 2
Chapter 3: Plan B
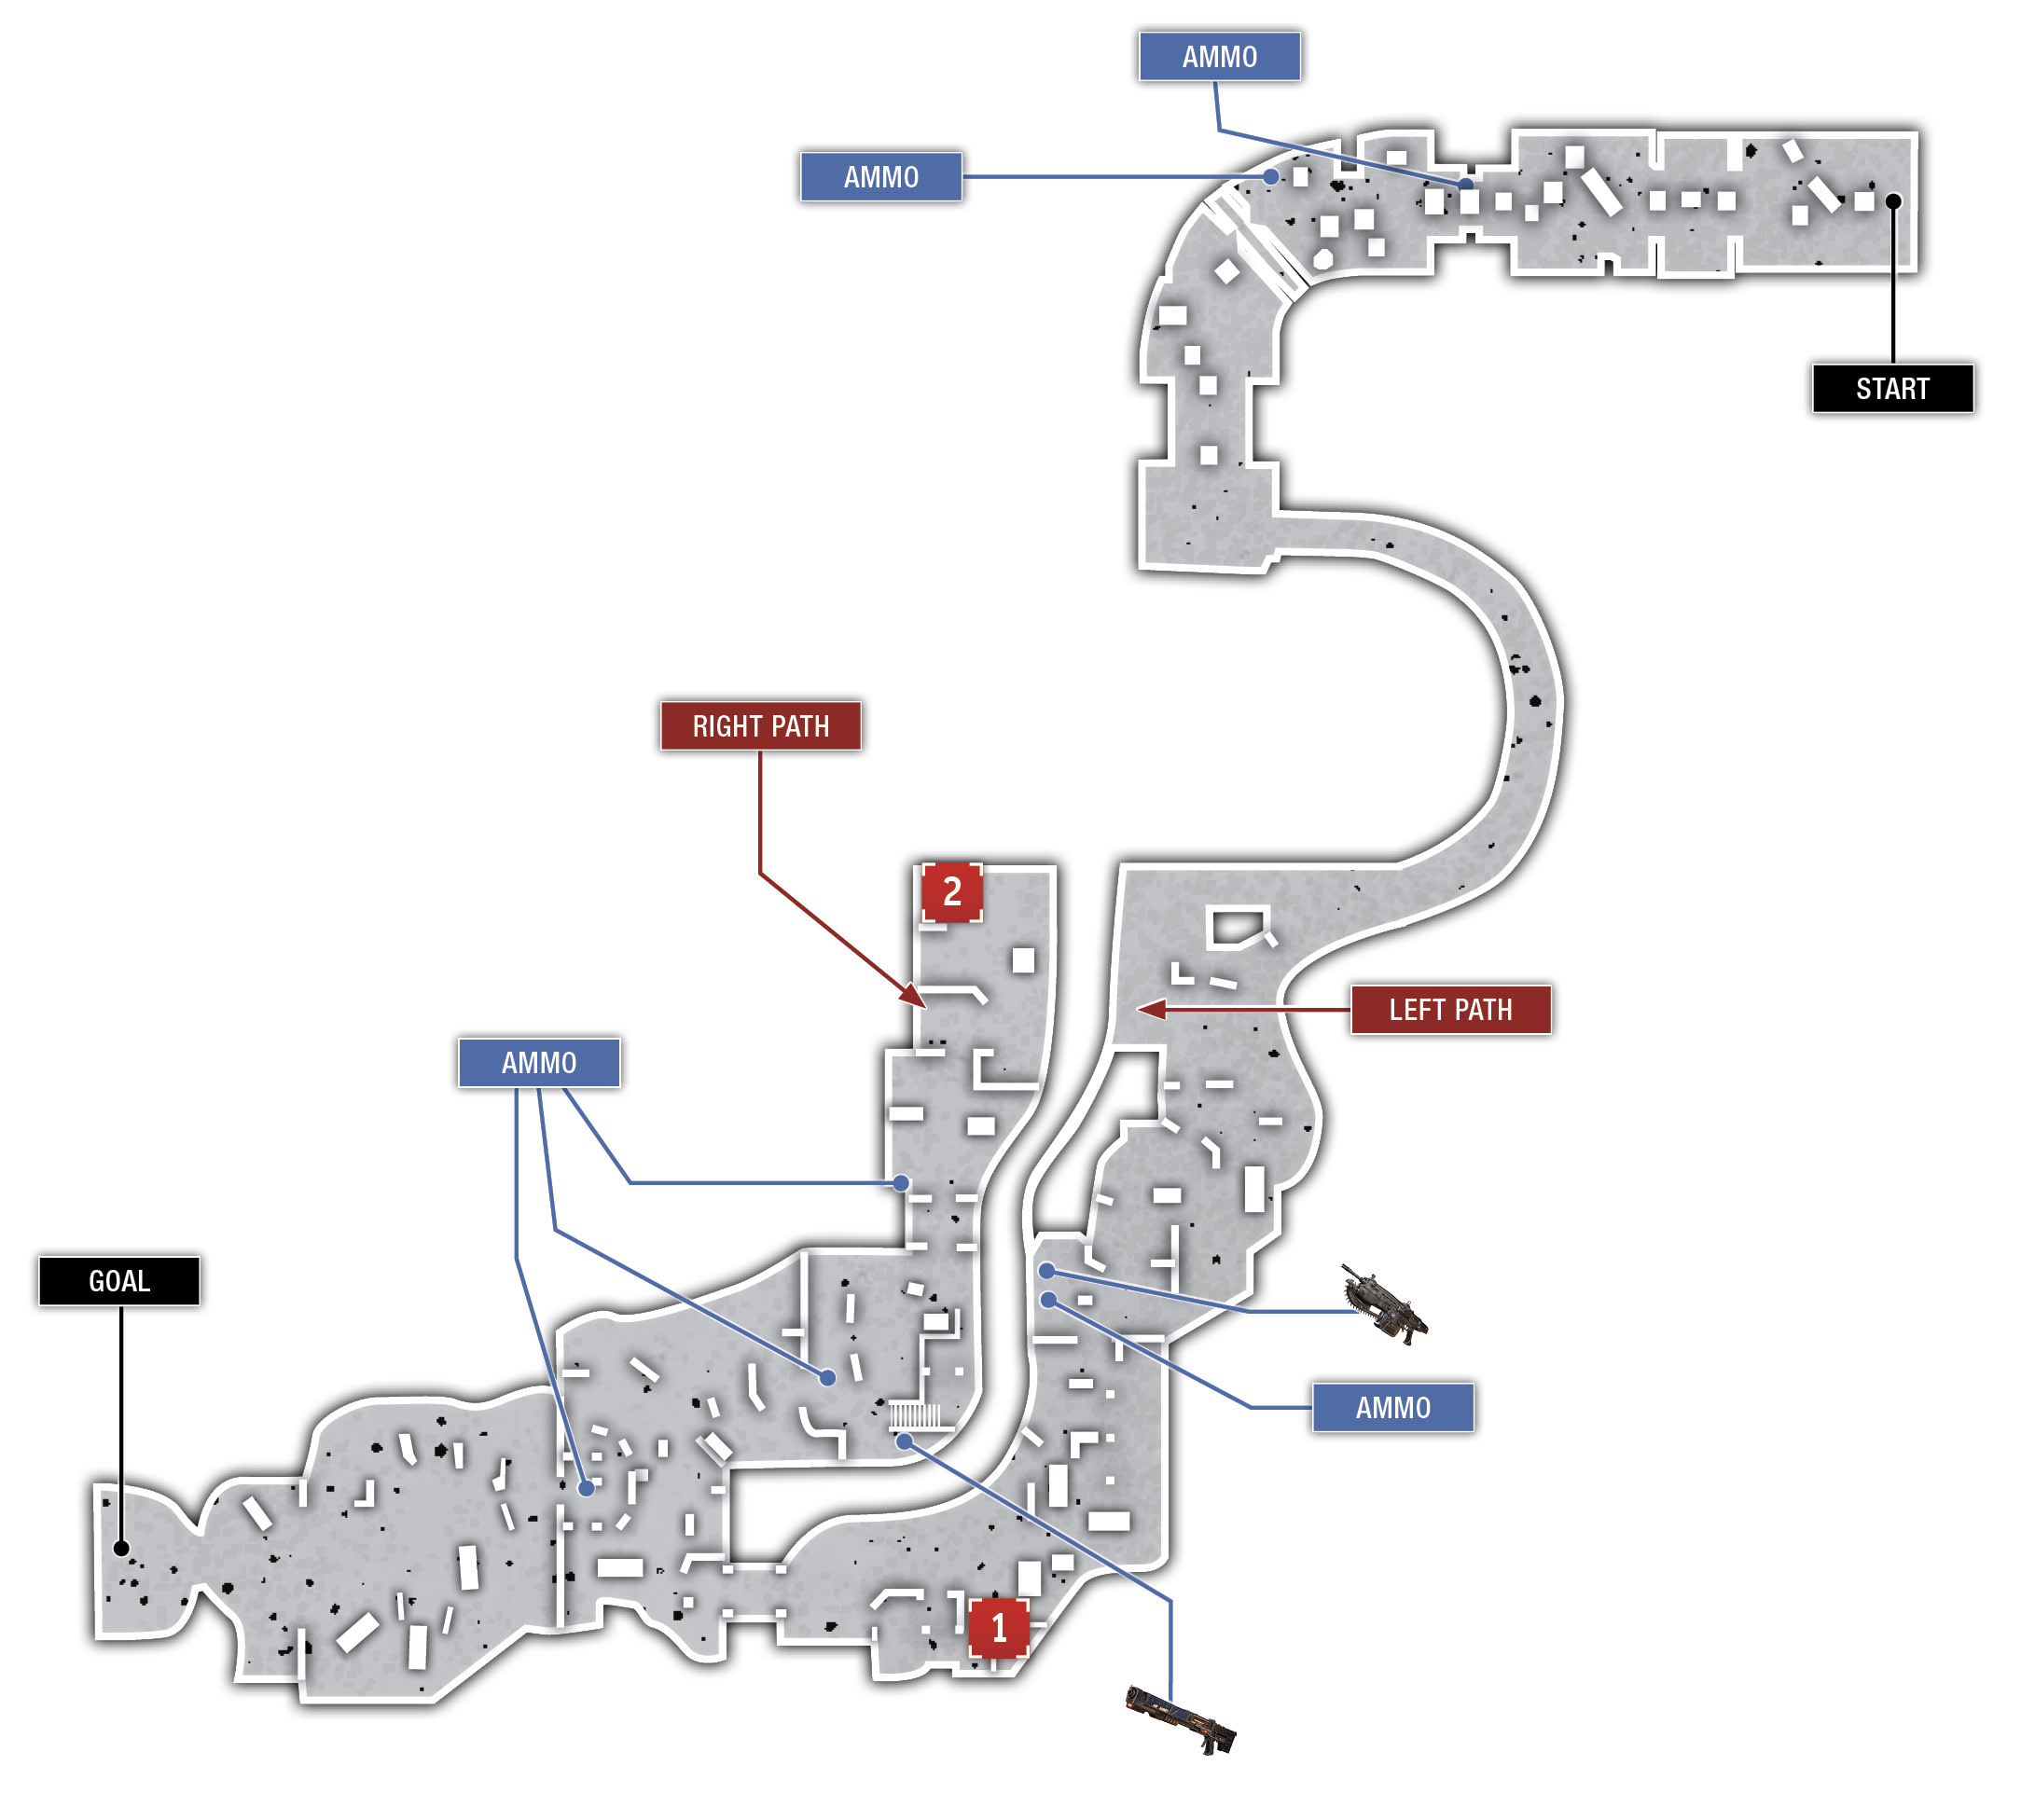
Collectibles
|
 The New Ephyran
 JD’s Old Toy Figurine
Situation Overview
Marcus has led them out of the burning manor, across the estate, and almost to a barn when another of Jinn’s Kestrels appears. The squad barely escapes with their lives as the Kestrel blows up the bridge they were standing on. Now they have no choice but to follow the riverbed and hopefully make it to the barn in one piece.
Irrigation Riverbed
Objective: Destroy the Kestrel
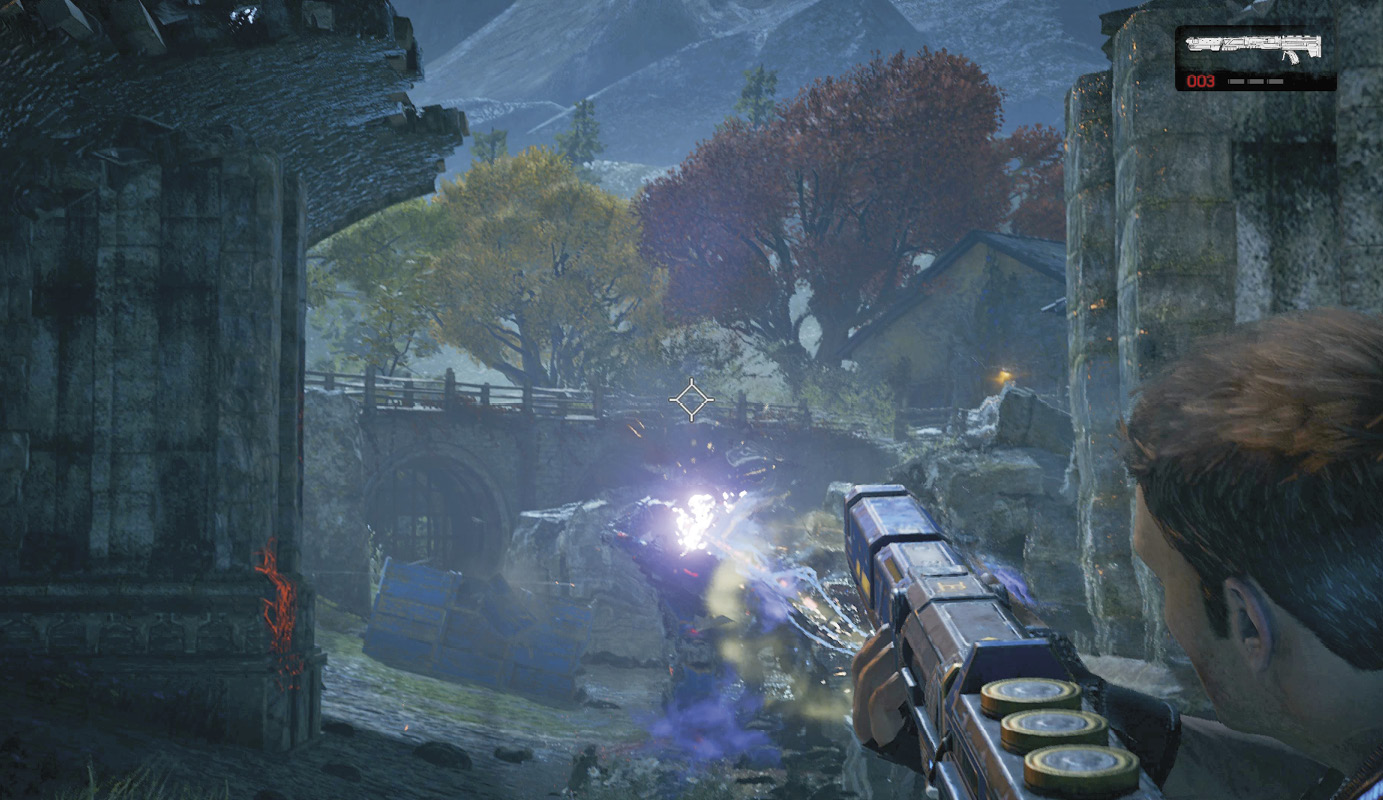
Advance to the large log as a Condor deploys another group of Trackers. The log serves as a good obstruction and forces the Trackers to funnel toward you, making it easier to pick them off. Use any grenades you find to take out the DeeBees up ahead that emerge from the second dropship. Pay close attention to where the DR-1 is, as you’re going to want to claim the RL-4 Salvo rocket launcher it drops. Don’t waste any shots on the remaining DeeBees; let your allies finish them off.
Advance carefully and take cover behind the stone blocks and boulders in lieu of the blue crates, as the Kestrel that appears can easily destroy them. Wait for the Kestrel to hover in place and use the RL-4 Salvo taken from the DR-1 to knock out one of its engines. Change position before it fires and use the remaining rockets to score a second major hit.
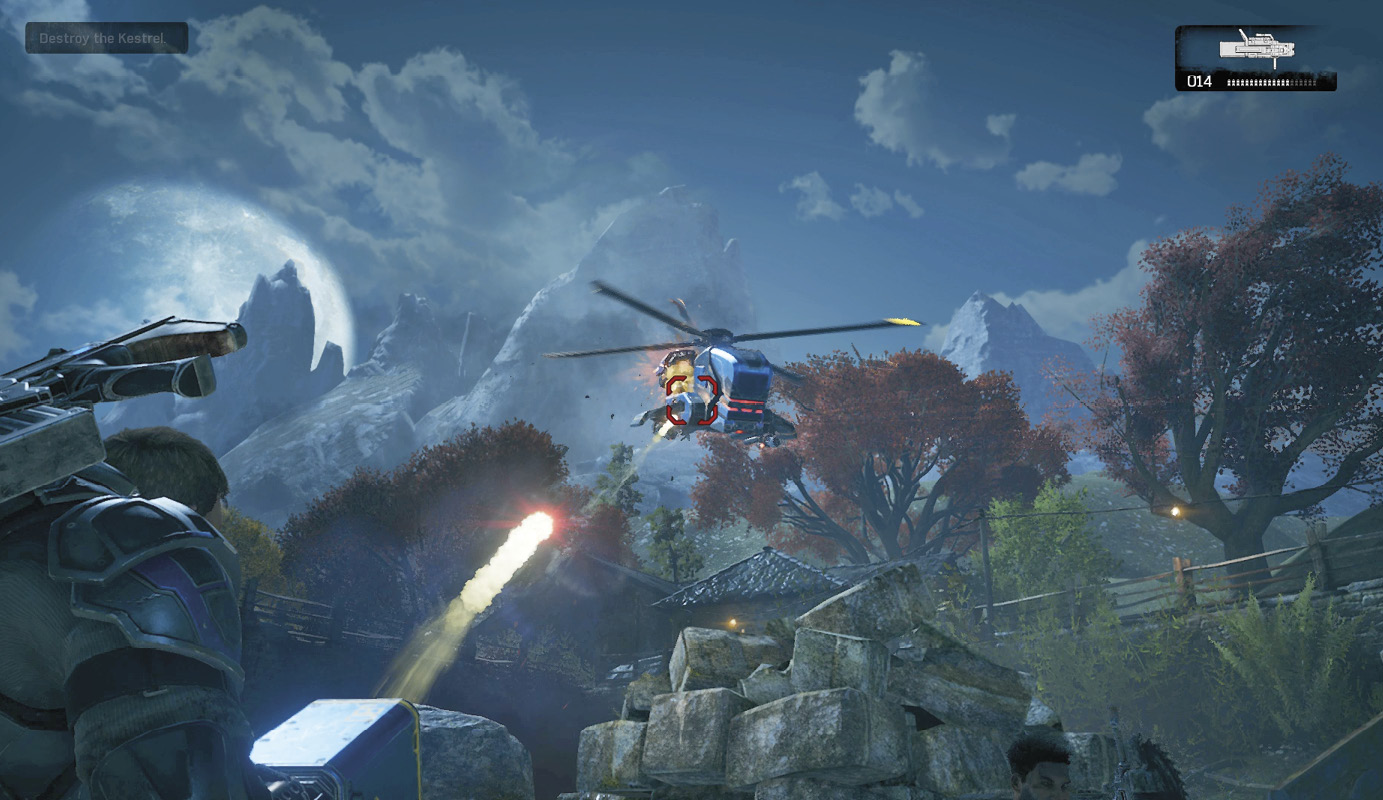
Stay in cover whenever the Kestrel is firing its guns, return fire when it switches weapons, and quickly change your position to avoid the rockets it’s about to fire. Finish it off with the Custom Lancer.
Objective: Make It Through the Windflare to the Barn
Gather up the remaining ammo and weaponry after destroying the Kestrel and continue along the riverbed toward the barn. Ascend the slope on the left as the winds begin to pick up—you’re going to need to move fast with the Windflare coming. Drop into the ravine, grab the ammo you see along the way, and keep moving. The path tightens but you’ll reach the barn soon enough. Just keep going!
Split Path: Road (Left)
Advance up the hill on the left side of the river, using the abandoned cars as cover against the wind. Several DeeBees are located up ahead, two of which are hiding behind the tires. Stay behind solid cover at all times and take aim at the flimsy wooden fencing behind them. Destroying lightweight items can send bulkier items crashing into the DeeBees. Try this now by shooting the fencing to release the hay bales downhill into the wind.
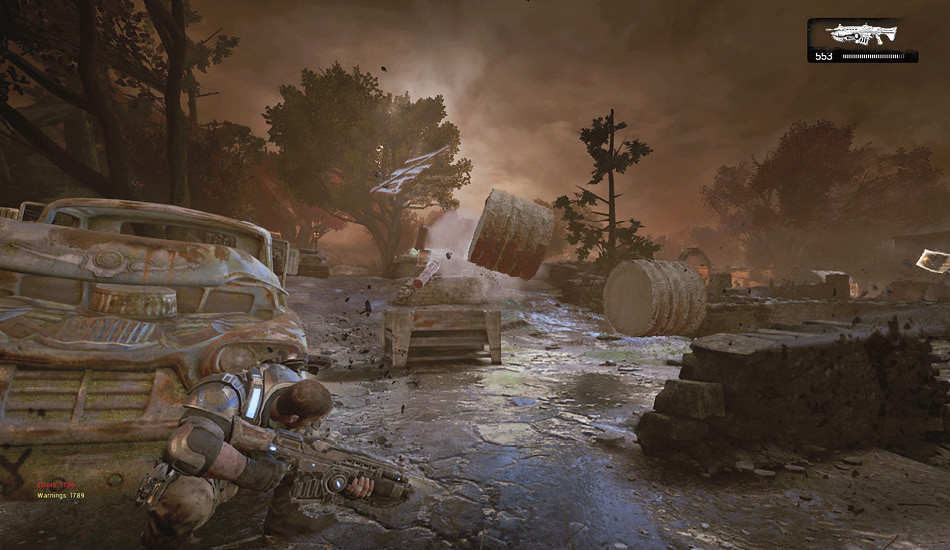
Put down the DR-1 marching toward your position, then grab the Tri-Shot it drops. This comes in handy when you help Kait and Del across the river. Follow the river upstream and use the Tri-Shot to shoot the barricade holding back the explosive barrels uphill from the locked gate Kait radios you about. The barrels not only take out the DeeBees in the area, but blow the gate free as well.
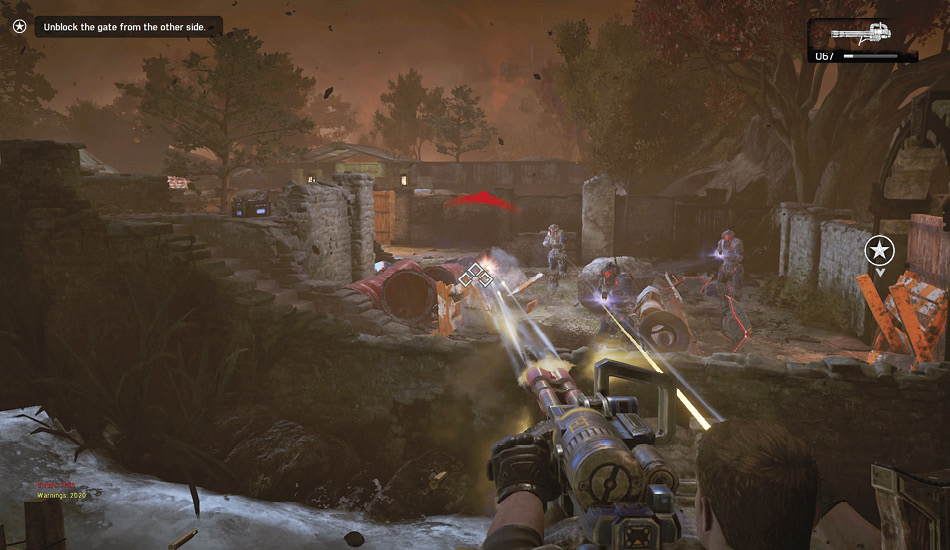
With the right side clear, Kait and Del move ahead and remove the obstruction blocking the gate on the left. Slip into cover behind the rock wall that faces the gate and be ready to open fire with the Tri-Shot. Shoot the fence behind the DeeBees to release the barrels at them once the gate is freed by the others.
Circle around to the far left, using the vehicles as cover, and continue to put the Tri-Shot to use against the final batch of DeeBees that are dropped off near the barn gate. Grab the collectible, then approach the covered bridge over the river. Take cover to the right and target the final orange-and-white barricade in the distance. This releases another barrage of explosive barrels at the DeeBees standing between you and your squadmates on the other side of the river.
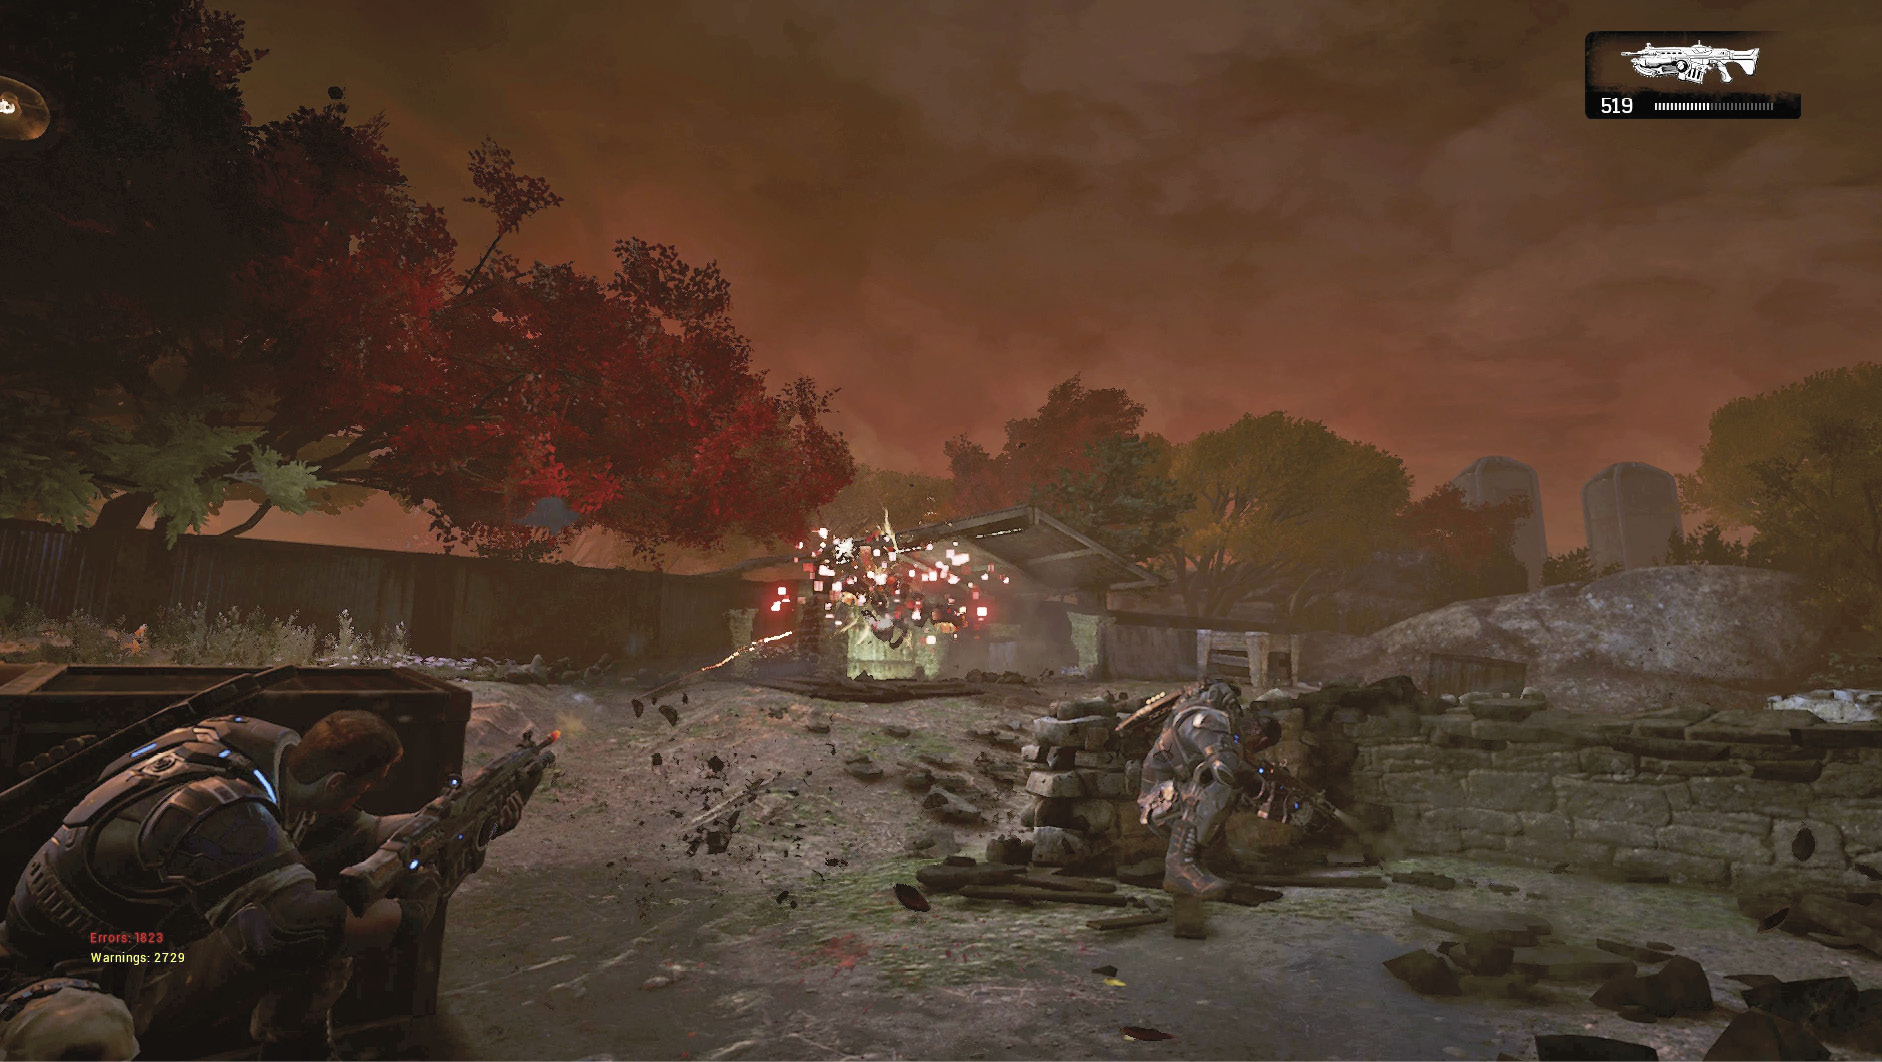
Cross the bridge slowly, since a Guardian is set to appear as you approach the gate. Take cover behind the small wall by the bridge and draw the Guardian’s attention with blind-fire so your allies can flank it. Don’t worry about grabbing the Tri-Shot, as you won’t have a chance to use it.
Split Path: Riverbed (Right)
Don’t waste time or ammo firing at the Guardian. Instead, wait for it to fly in front of the hay bales, then target the orange-and-white barricade holding them back. This frees the large rolls of hay into the wind, one of which will conveniently bounce up and destroy the Guardian.
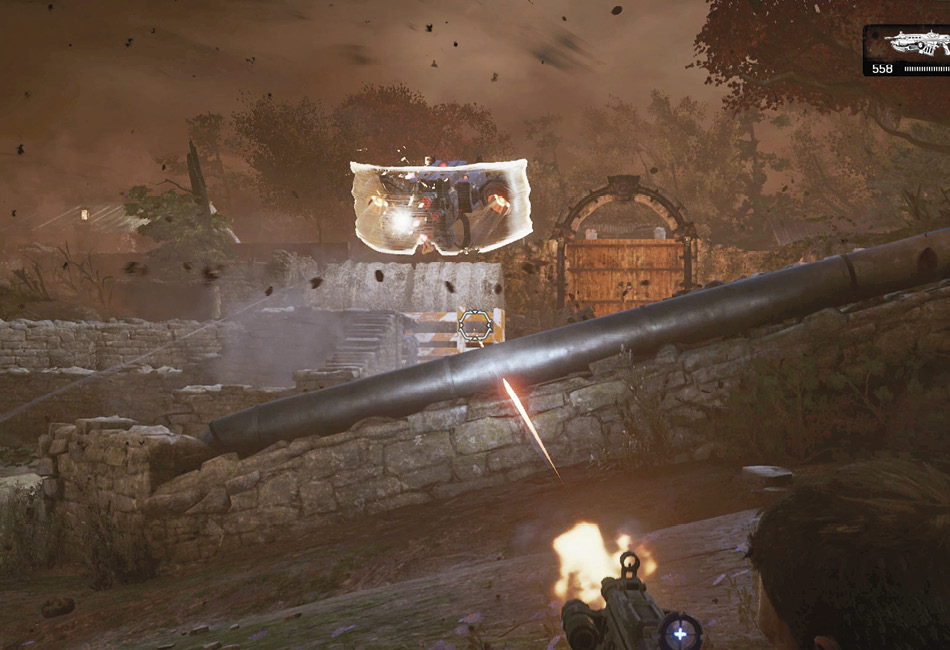
Advance to where the Guardian was knocked out of the sky, rip the Tri-Shot from its wreckage, and use it to take out the Sniper up ahead near the arch. Duck into cover along the stone wall near the river and wait for Marcus to call for help in opening the gate. Kait and Del bust the gate free from the other side of the river. Clear out any remaining DeeBees, then carry the Tri-Shot through the gate, and into cover atop the stairs on the left. Aid Kait and Del by targeting the barricade holding back the explosive fuel barrels.
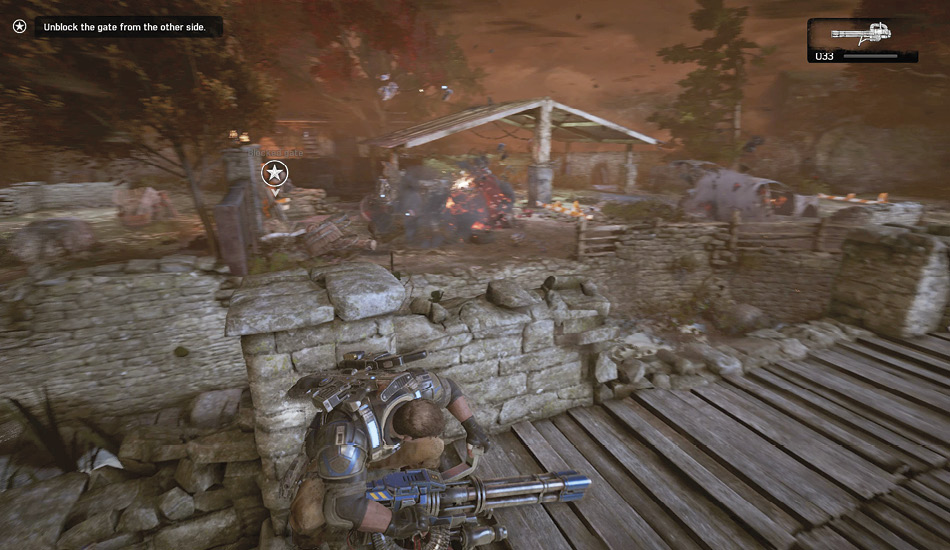
Use up the last of the Tri-Shot ammo while atop the stairs, then grab the EMBAR and snipe the DeeBees that are dropped on your side of the river. Aid the other two on the left and snipe any DeeBees there as well before you move on from this elevated position. Target the destructible barricade in the far left-hand corner near the barn to release one final onslaught of debris and explosive barrels at the DeeBees near the barn entrance.
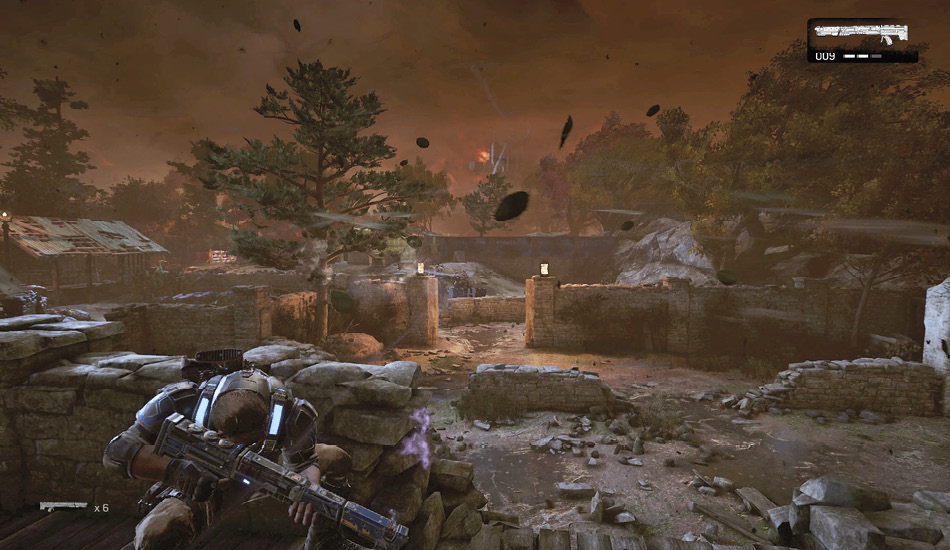
Utilize the available cover and proceed to where the paths rejoin near the entrance to the barn. A Guardian emerges in time to offer one final bit of resistance. Hang back until it targets the duo on the left, then take a clean shot at its engines, bypassing its front defenses. Don’t worry about retrieving the Guardian’s weapon, since you won’t get a chance to use it.
Objective: Get Inside the Barn
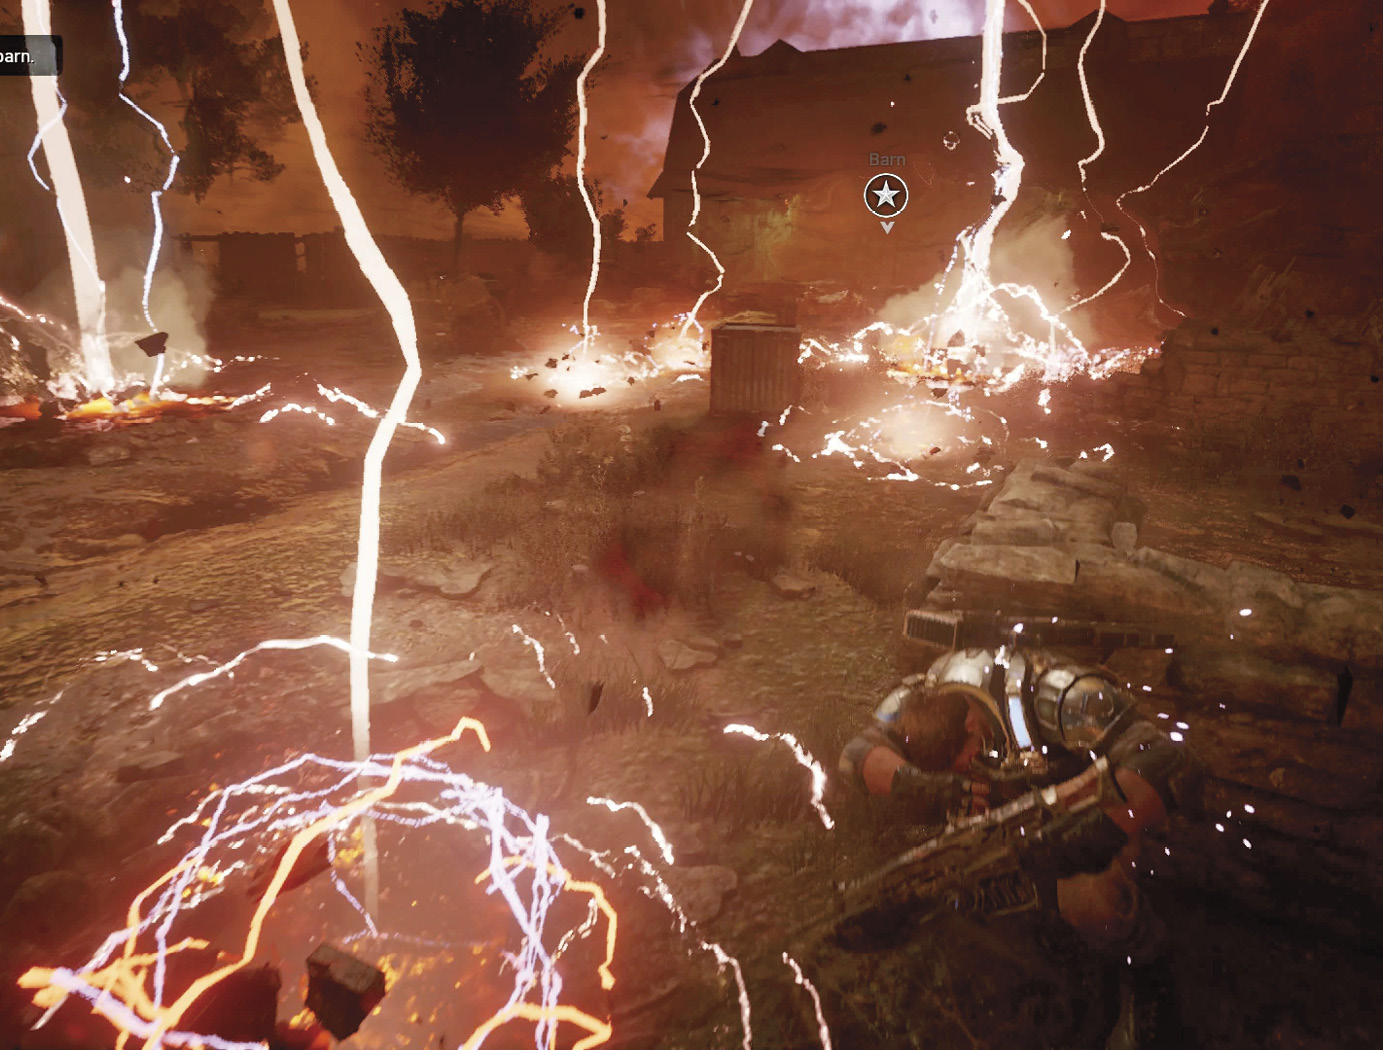
The stormwall is centered right over the barn and the only way to safety is through the Lightning Flurries! At the heart of the Windflare is a fierce electrical storm that emits hundreds of lightning strikes known as a Lightning Flurry. Not only is a direct hit by a lightning strike fatal, but the Lightning Flurries electrify the ground for several seconds, making it all the more difficult to navigate safely across the open terrain.
Instinct may tell you to run as fast as you can, but sprinting headlong into a Lightning Flurry is a recipe for disaster. It’s much safer to move purposefully, watch the direction of the wind, see how the lightning strikes drift across the ground, then use the cover-slip and vault techniques to gain small boosts of speed.
There’s a lot of cover to move between along the sides of the clearing, but it’s possible to get pinned by the lightning if you’re not careful. Consider staying just to the right of the central clearing so that you can use most of the cover, but still have an escape route if the lightning intensifies. Make your way to the log in front of the barn to reach safety.