
Gears of War 4 Guide Campaign Act 3
Chapter 6: Origins
Collectibles
|
 Locust Shell Crystal
 Mine Scavenger List
Situation Overview
The ride down into hell was everything Del feared it would be, and even ended up in flames. How appropriate. How the squad is going to get back out of the trench is anyone’s guess, but it’s not what they’re concerned with right now. They need to find Marcus first; they’ll worry about devising a way out later.
Mining Facility
Objective: Head Toward the Heart of the Hive
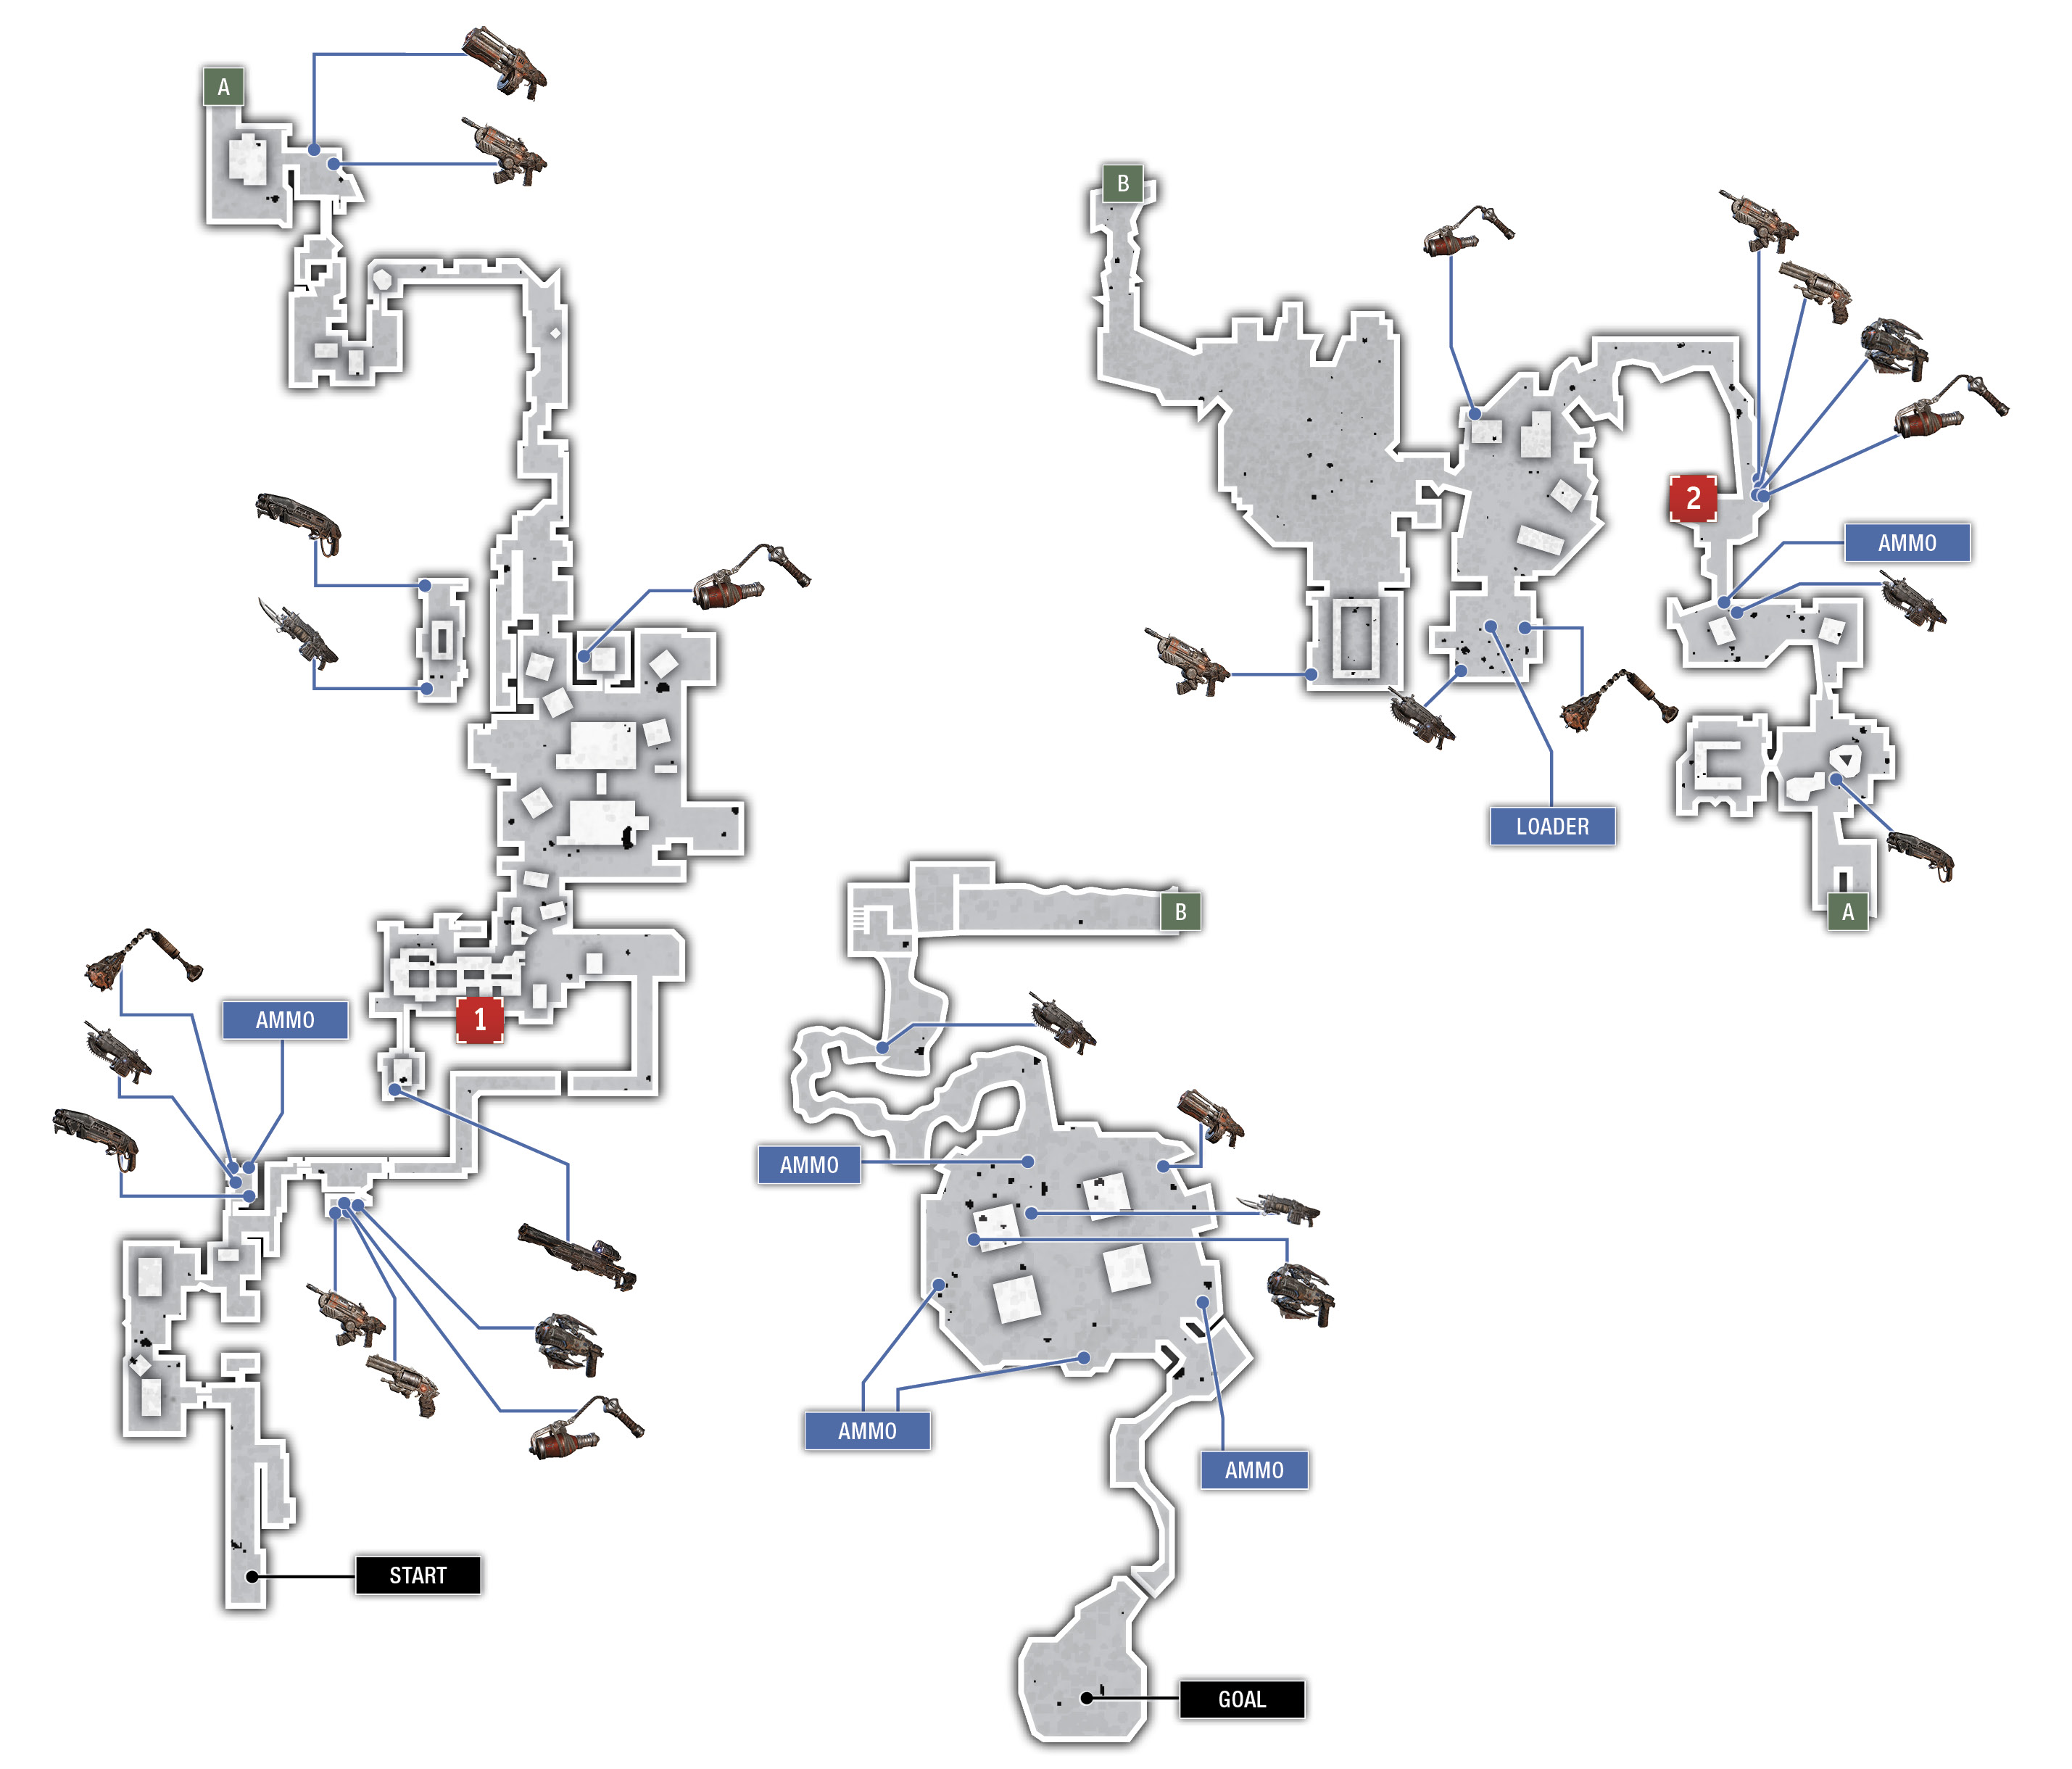
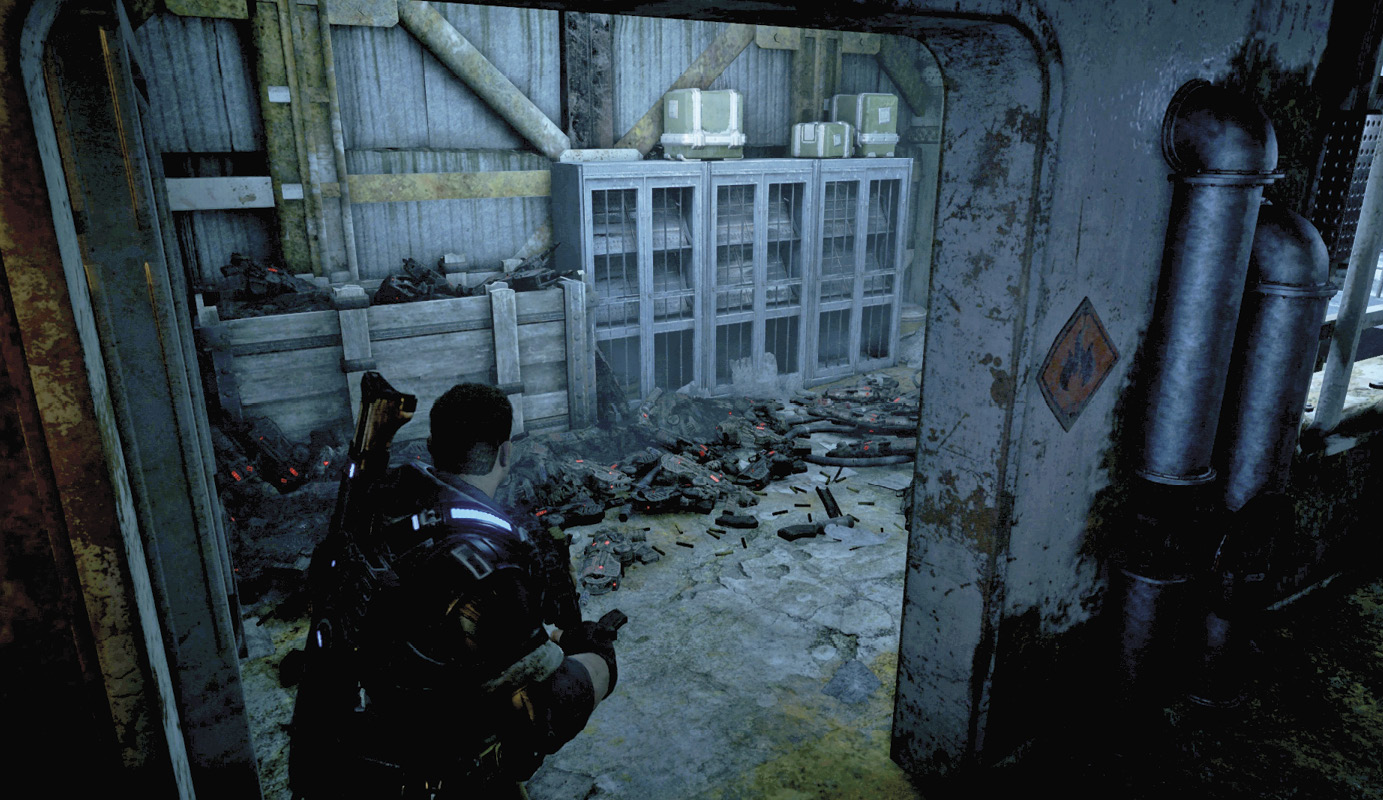
Follow the path into the room on the left up ahead, where you’ll need to use the lever to the left of the door to unlock the exit. Duck into the storage room beyond the left to load up on ammo and Frag Grenades, then continue down the stairs and around the walkway to the right.
Inspect the Locust shell to gain a little understanding of the Locust-Swarm relationship (or lack thereof) and wend your way down the stairs to the platform controls. The controls don’t work right now, so the squad needs to drop off the ledge.
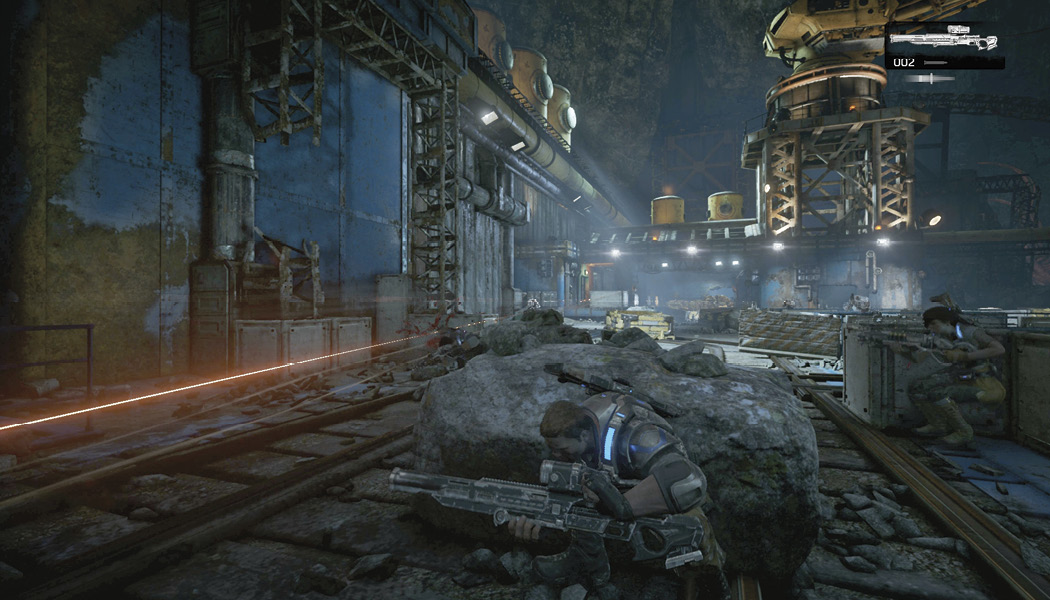
Tuck into cover behind the nearest boulder and use the Longshot retrieved from the snot bubble to snipe the Grenadier Drones that clamber up onto the mining platform. Snipe as many Drones as you can, then swap out the spent Longshot for a Gnasher and take the fight to the rest of them. Yank-and-shank those behind low cover and push on toward those behind the yellow mining bin.
Objective: Investigate Locust Shells
Gather up the ammo from the broken walkways on the right, then push through the office on the left, near the walkway, to find additional ammo and Incendiary Grenades. Make sure you’re well-equipped before inspecting the Locust shell crystals.
A large Swarm creature soon to be known as a Scion breaks through a wall behind the Locust shells. The Scion is armed with a Mulcher and, for the time being, is alone. Drop into cover and open fire with your Lancer and Frag Grenades to take him out before any Juvies join the fight.
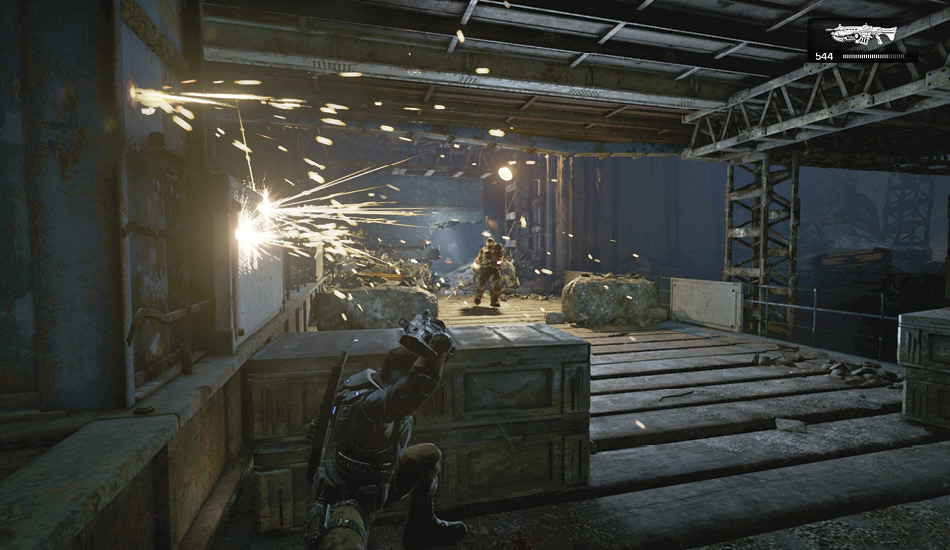
Leave the Mulcher where it lies and use the Gnasher to kill off the Juvies that attack, then grab the Mulcher and ready it on the hole. Kill off any Drones that enter, but keep the Mulcher cooled off for when the second Scion appears. This one is armed with a Dropshot, so you had better be careful about staying in one place for too long.
Objective: Descend Through the Mining Facility
Take the Dropshot with you as you head through the hole and follow the path ahead, through the metal door, and down the steps toward where the pods and tendrils are more prevalent. Pull the lever to unlock the door in the control room up ahead and proceed down the spiraling stairs to the lower area.
Descend the steps to the room with the scattered Juvie corpses and note the door on the left. JD can’t budge this one open—it’s locked from the other side—so you’ll have to continue straight.
A Pouncer attacks in the cavern beyond the locker room. Wait for it to leap onto the rock in the center, then dodge-roll side to side to avoid its quill attack. Focus on the Pouncer with your Lancer until its belly starts to glow indicating that it’s weakened. After each roll, stand and rev your chainsaw to bait it into leaping at you. Watch for the tail to light up and roll again if it does, otherwise chainsaw the leaping Pouncer for a quick kill.
Continue through the door on the right to where another stash of Hammerburst rifles has been deposited. Grab the Frag Grenades on the right, descend the stairs, and hurry into cover. Two Sniper Drones are located on the upper walkway of the mining facility. Toss a Frag Grenade up at each of them while Kait and Del take care of the Drones on the ground. You can find some Incendiary Grenades behind a block on the right if you’re out of Frags.
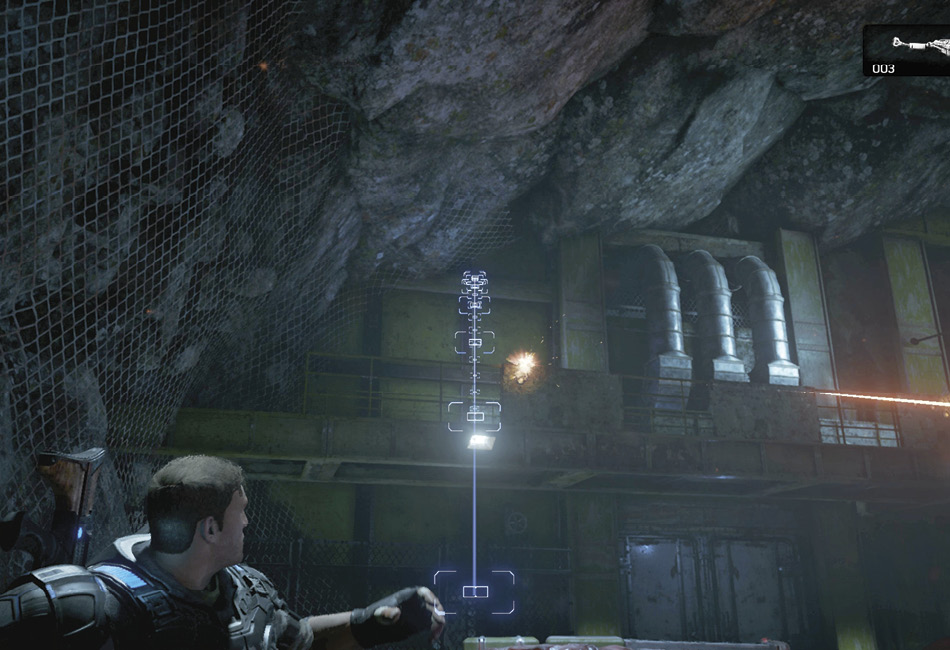
The doors beneath the Snipers burst open and a Scion armed with a Buzzkill steps out alongside several Drones and Juvies. Lob any remaining grenades you have at the Scion right away, before it can upgrade the Drones. Finish off the remaining Swarm and enter the workshop.
Climb aboard the Silverback Loader and steer it out of the workshop and toward the pipe blocking the way. Hold the Run button as if trying to roadie run to bring the Loader up to speed so it can smash through the debris. Chase after the pipe as it rolls downhill and charge right through the Juvies. Press the Melee button to stomp the Juvies that get too close. Keep moving and don’t exit the Loader until you charge into the pile of Locust shells where the Scion is standing. This will knock the platform above it down, crushing the Scion and creating a path up and over the crystals.
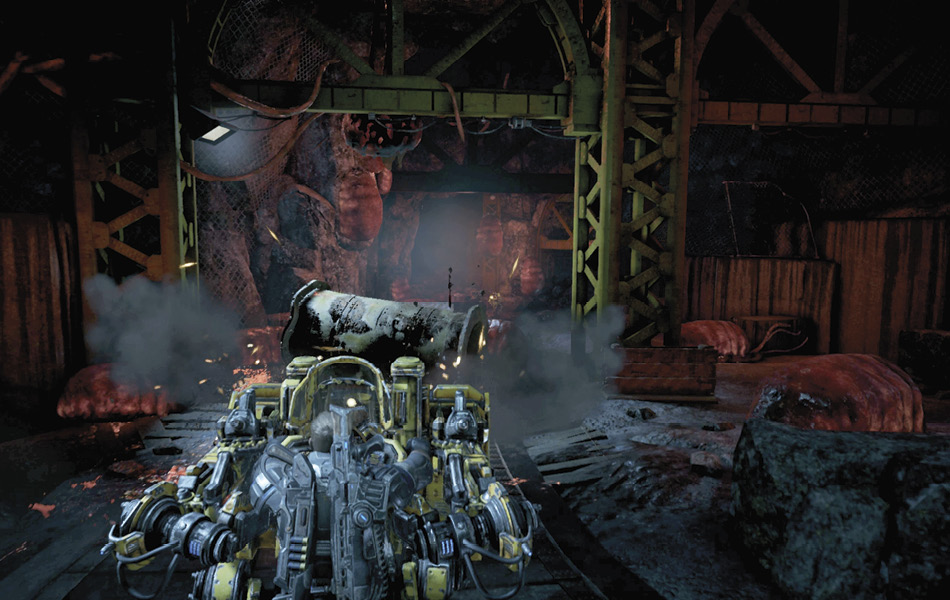
Descend the spiraling stairs, grab the Frag Grenades, and cut through the tendrils blocking the path on the right. Follow the narrow, tendril- and pod-laden path to the cavern up ahead. It’s time to fight a Snatcher.
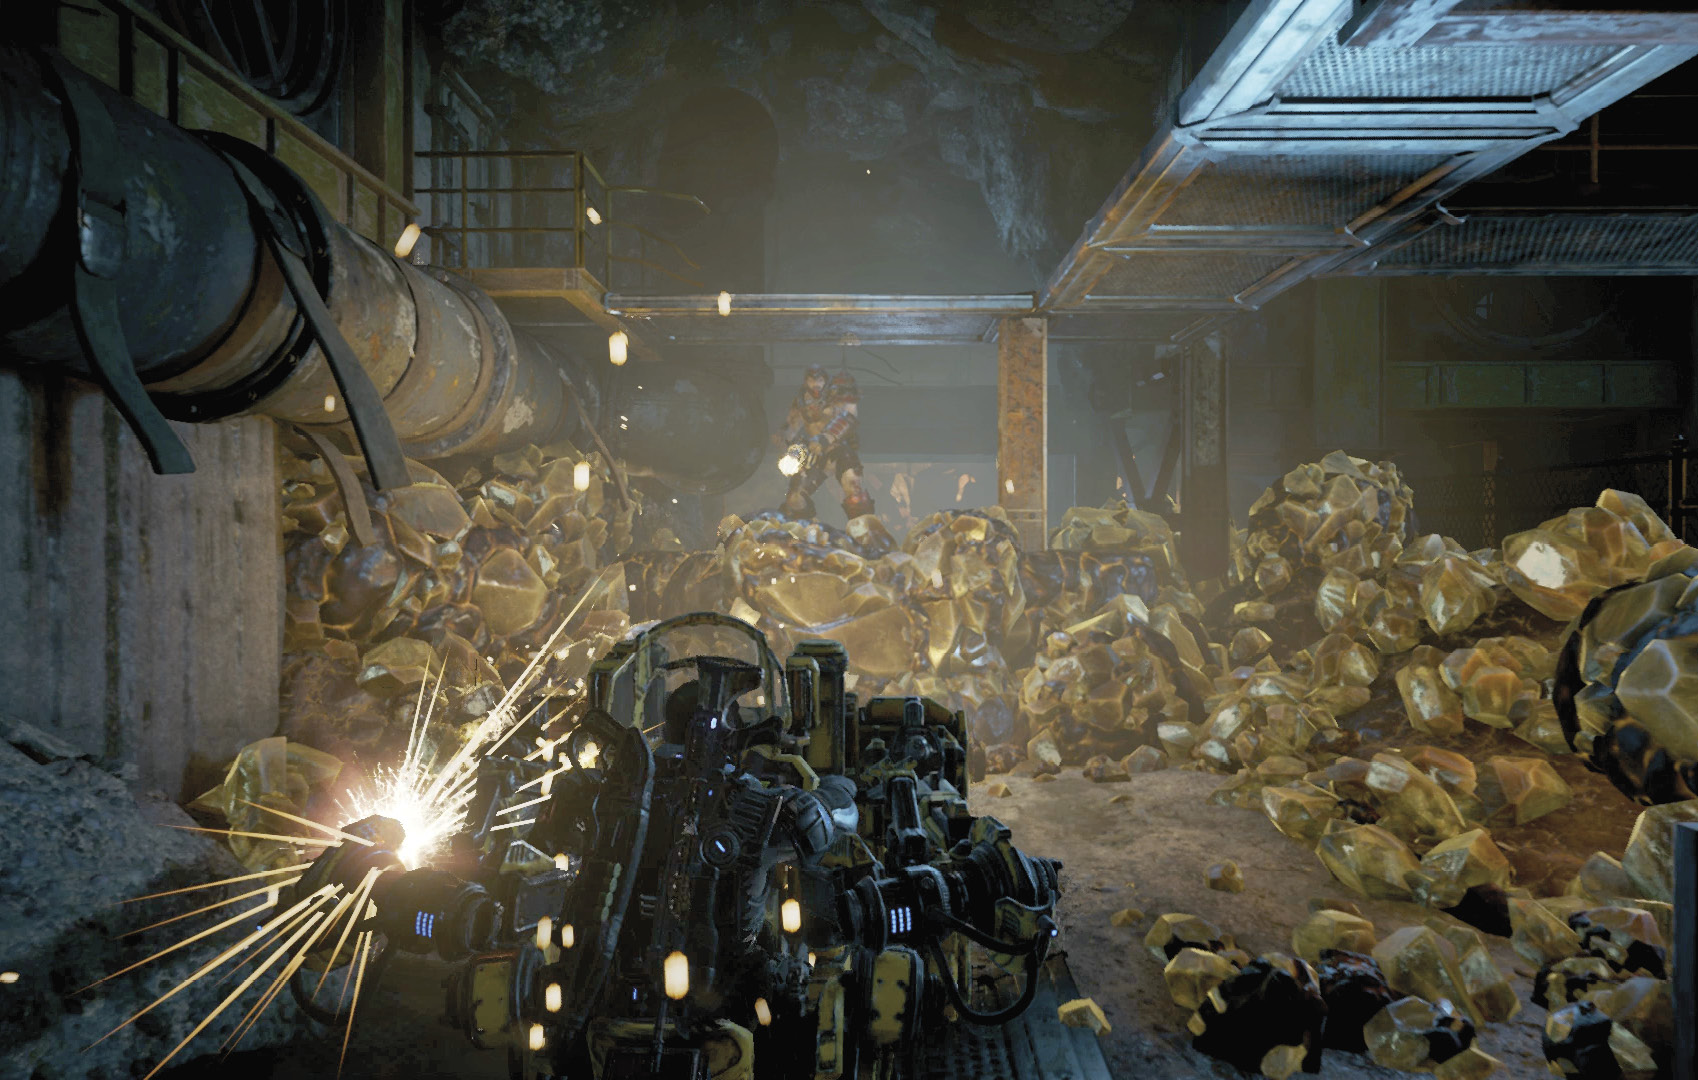
Objective: Kill the Snatcher
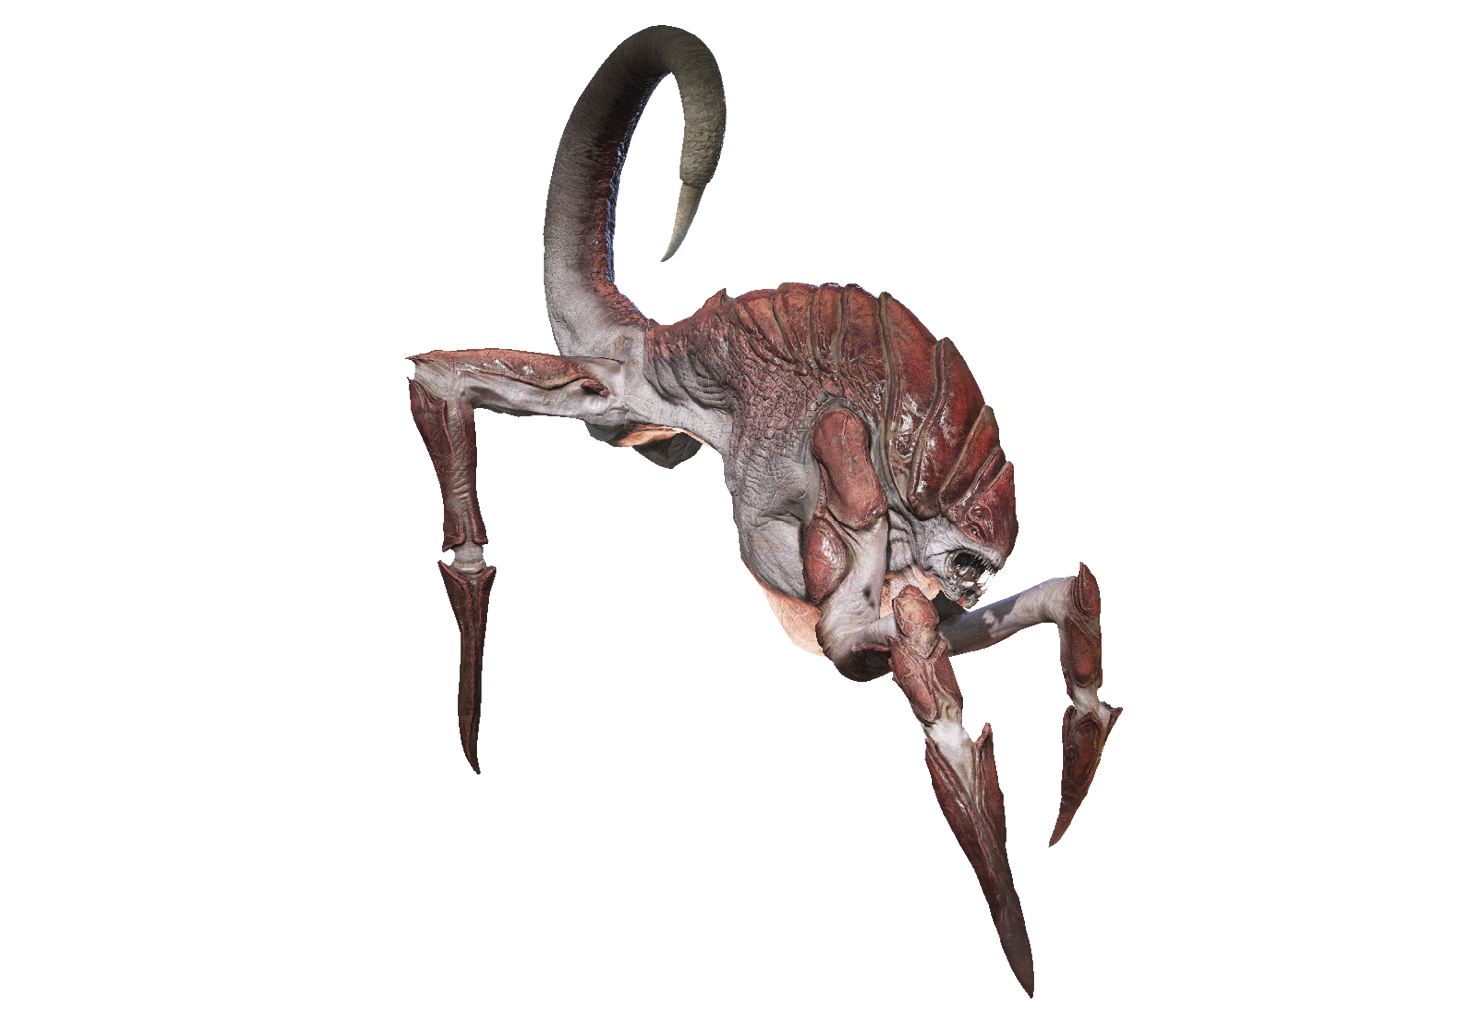
Snatcher
The Snatcher isn’t just a larger version of the Pouncer. The Snatcher’s quill attack—a single deadly projectile it fires from its tail—can down a member of the squad with a single hit. And once a player is downed, the Snatcher doesn’t just try to maul the player, it opens its belly pouch and, well, you saw what happened to Marcus…
It’s imperative that you avoid the Snatcher’s quill attack. That’s your top priority, as there’s no guarantee that Del and Kait will be able to free you from the Snatcher’s pouch if you get captured. Similarly, your second focus must be on shooting the Snatcher’s orange-lit stomach whenever one of your allies gets abducted. The Snatcher will try to flee the area whenever it captures a person—shoot the hostage free before it can leave the area, otherwise the mission is deemed a failure.
The Snatcher also spits a toxic, fiery projectile that causes heavy damage with direct contact and leaves the ground burning for several seconds. Fire on the Snatcher’s stomach as it marches toward your position, then dodge-roll away as it pauses to spit its fiery phlegm.
Listen for the Snatcher’s attack call, as that indicates it’s about to fire its quill. Be quick to dodge behind cover if it’s facing you when it makes that warbling noise, else you’ll be downed for sure, even if only leaning out of cover. The Snatcher will also periodically leap into the air to perform a ground-pound attack and can use its front legs to strike you if, by chance, you get revived before it has a chance to abduct you.
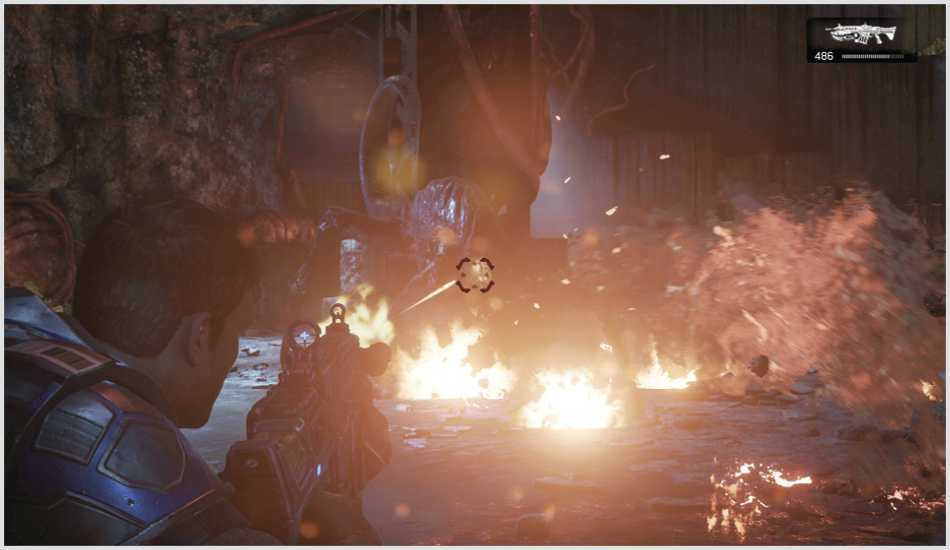
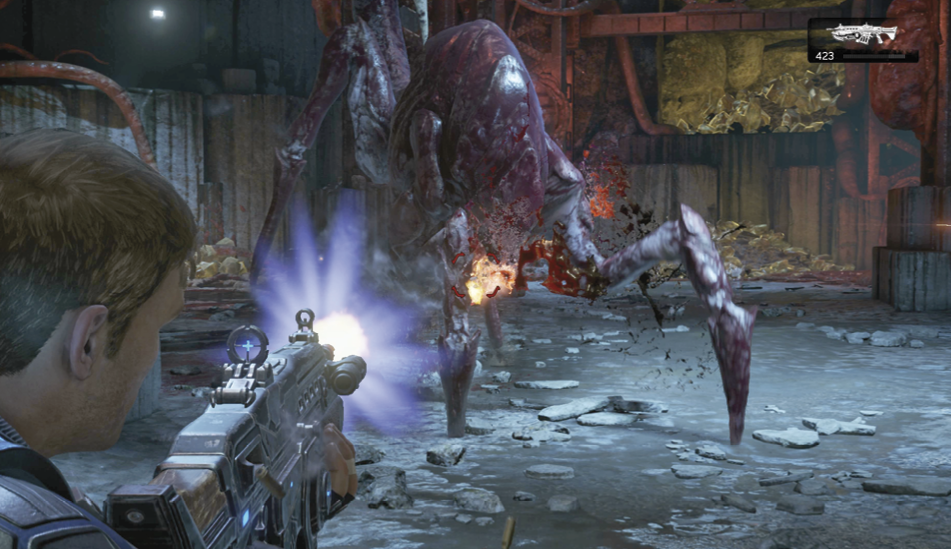
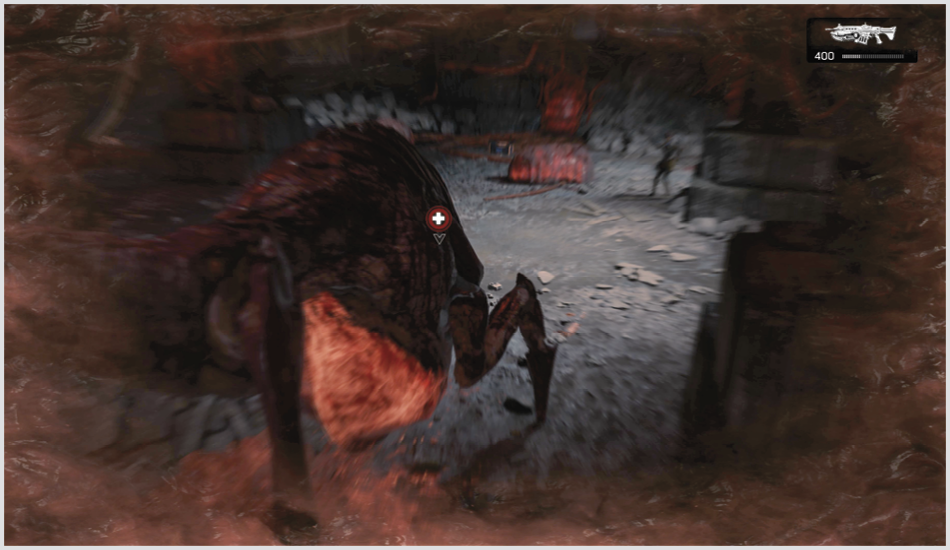
The way to kill the Snatcher is to just focus your firepower on its stomach and keep away from it as best as possible. Frag Grenades tossed underneath it are a great way to inflict damage and also instantly free a captured ally. Also, there’s a Boomshot on the ground in the cavern, near one of the pods, that can be used to make quick work of the Snatcher.
Cross the cavern to the fallen slab of metal that gives you a ramp up and out of the pit. Head to the right and follow the path to a clearing with a fresh pod—the pod containing Marcus. Act 4 continues from this very spot.