Gears of War 4 Guide Campaign Act 5
Chapter 1: Convergence
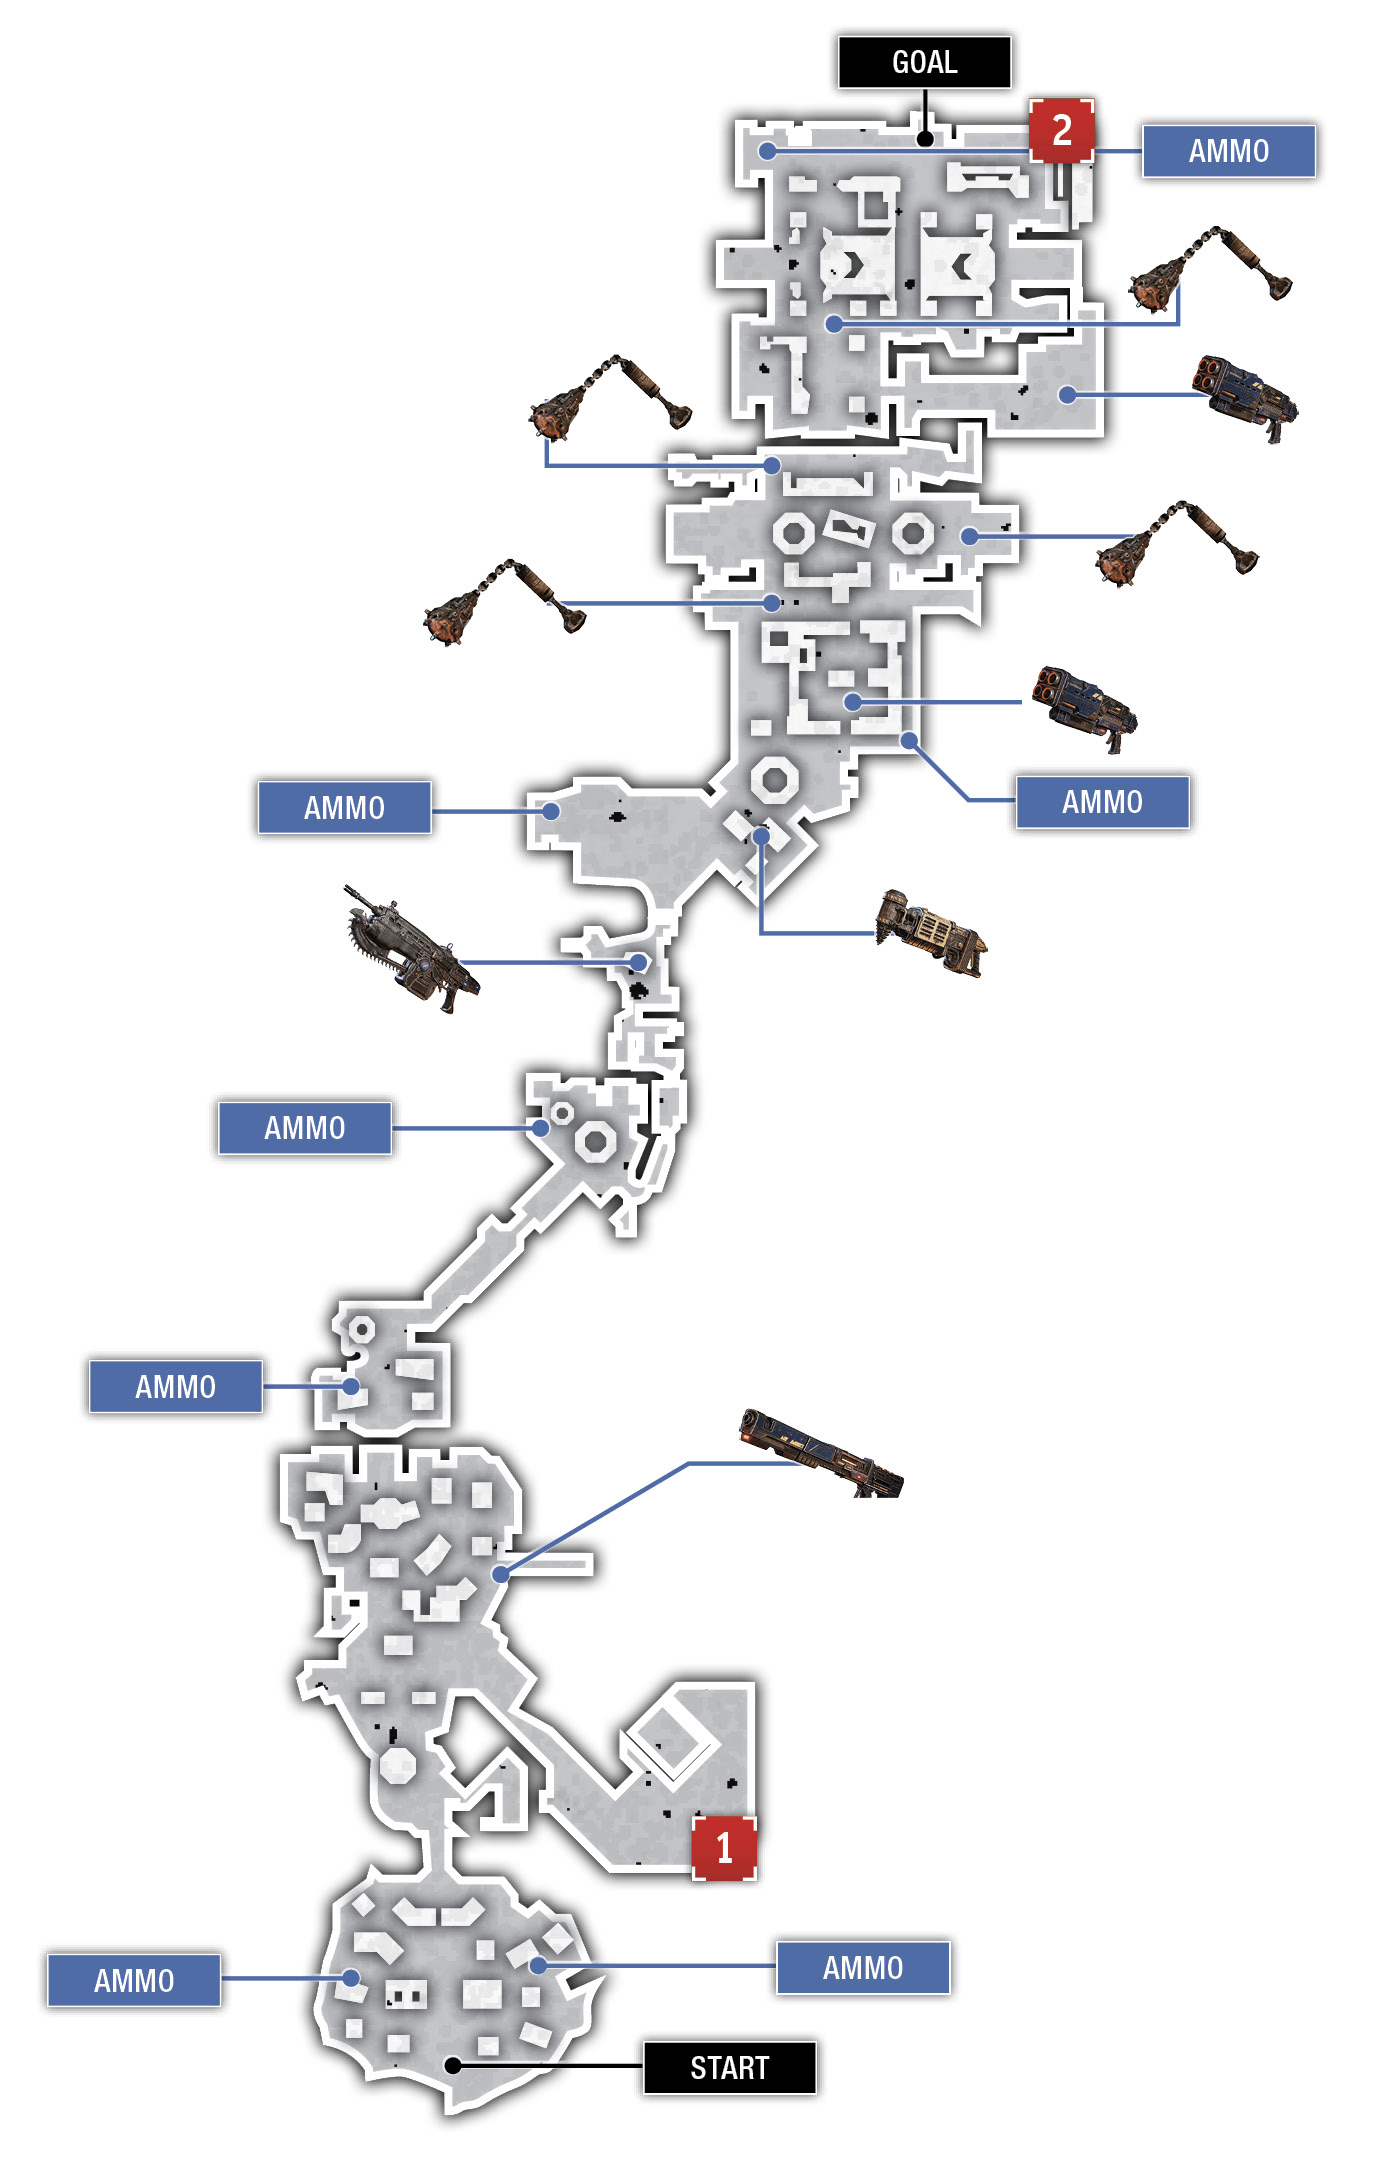
Collectibles
|
 COG Tag
 Work Stoppage Order
Situation Overview
With the Swarmak and Speaker both dead, JD and Marcus lead the squad to the town of Speyer where they can hopefully rendezvous with backup. First Minister Jinn’s veiled acknowledgment that she knows the Outsiders weren’t responsible for taking her people was a nice gesture, but the meeting was cut short by another Swarm attack. The squad is closer than ever to a very large hive; the Swarm aren’t going to allow them to proceed easily.
Speyer
Objective: Get to the Town
Use the boulders for cover and dispatch the two Pouncers that interrupt the meeting with Jinn. Gather up the ammo, cut through the chain on the gate, and slowly advance toward the plaza up ahead. Jinn’s DeeBee army are currently fighting it out with the Swarm. Sadly, the DeeBees have yet to be programmed to treat you as an ally.
Grab the EMBAR Sniper Rifle at the top of the stairs on the right and begin sniping whichever enemies—Drone or DeeBee—seem to be in the stronger position in the battle below. We recommend focusing your efforts on any Scions you happen to see, as the Guardian will target them as well. The first Scion to appear has a Mulcher with it. Kill it, then destroy the Guardian. A final Scion armed with a Dropshot attacks last. Don’t worry about using cover against it, and don’t get too close, as the Dropshot can be hard to dodge if you don’t have enough time to react.
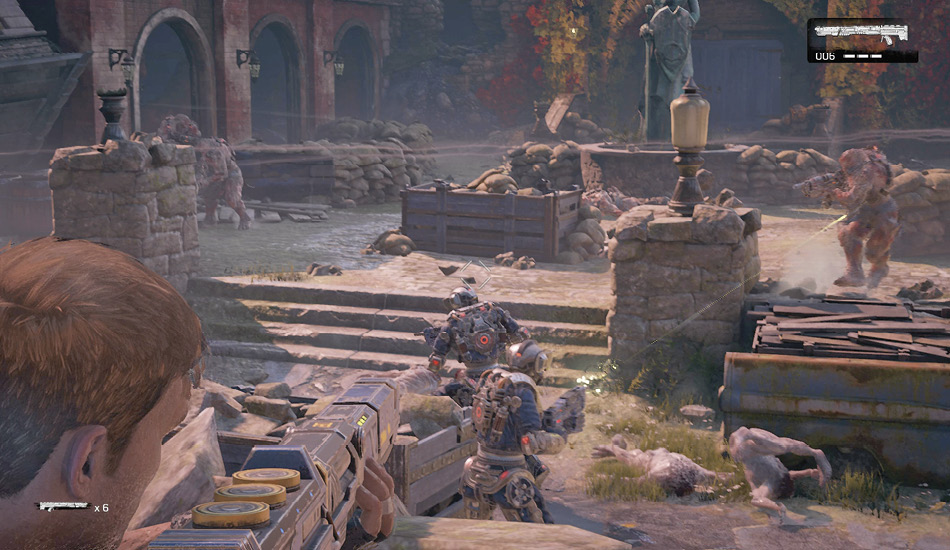
Pay attention to where the Guardian falls and rip the Tri-Shot from its wreckage. It can come in handy against the Scion with the Dropshot that attacks last. Gather up the ammo from the dropped EMBAR Sniper Rifles (or Dropshot). Push through the blue town gate once you’ve found the collectible and are ready to move on.
Objective: Get to the Factory
Follow the path that angles off to the right and descend the steps to the fountain in the next small plaza. Pick up any loose ammo you need while listening to Del try to explain how the Pouncer’s quills may have hacked Jinn’s bot. Ascend the stairs of the house on the right, cut through the door snot, and drop through the hole in the walkway.
Marcus spots a factory in the distance—your way to the radio tower—but you’ve got a very big fight on your hands before you can reach the factory. Descend the steps slowly to the street and inch forward to trigger the hatching of a nearby Swarm nest. Lob your Frag Grenade, then fall back, grab the Lancer, and fire.
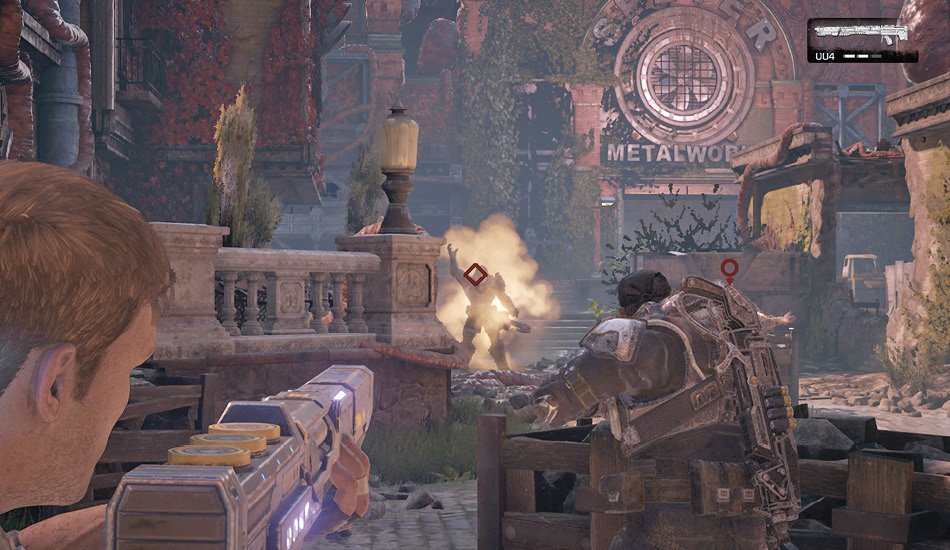
Retreat down the alley to the left (near the ammo crate) if you need to heal. Don’t advance beyond the wooden rock-filled crates until you’ve killed the Scion with the Mulcher and any other Drones in close proximity.
Grab the fallen Mulcher and swap your spent EMBAR for the Dropshot inside the nest. Enter the house on the right and claim the Frag Grenades on the bed. This house offers plenty of cover, but it’s also quite small and can be a deathtrap if the next wave of enemies manages to corner you inside it. Remember to leap through the windows to safety if needed, or flee to the alley that wraps around the house on the right.
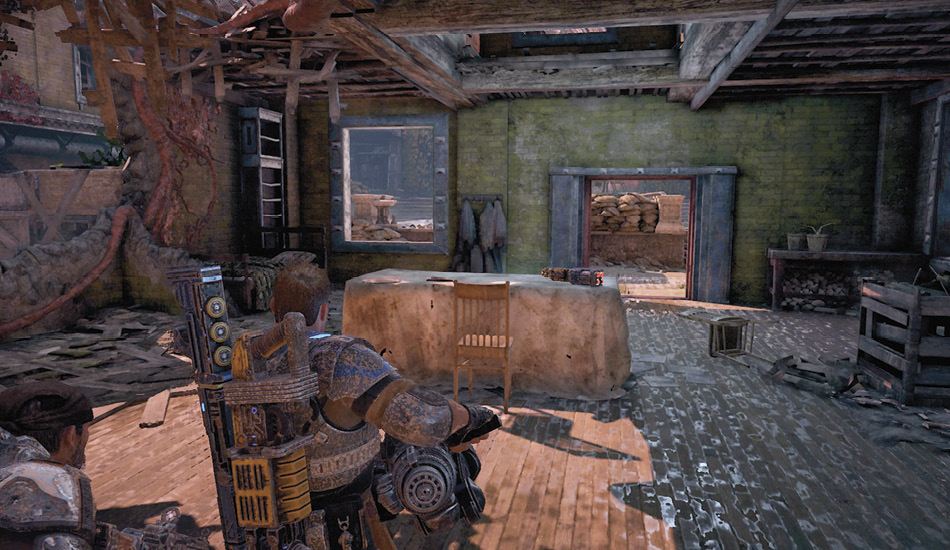
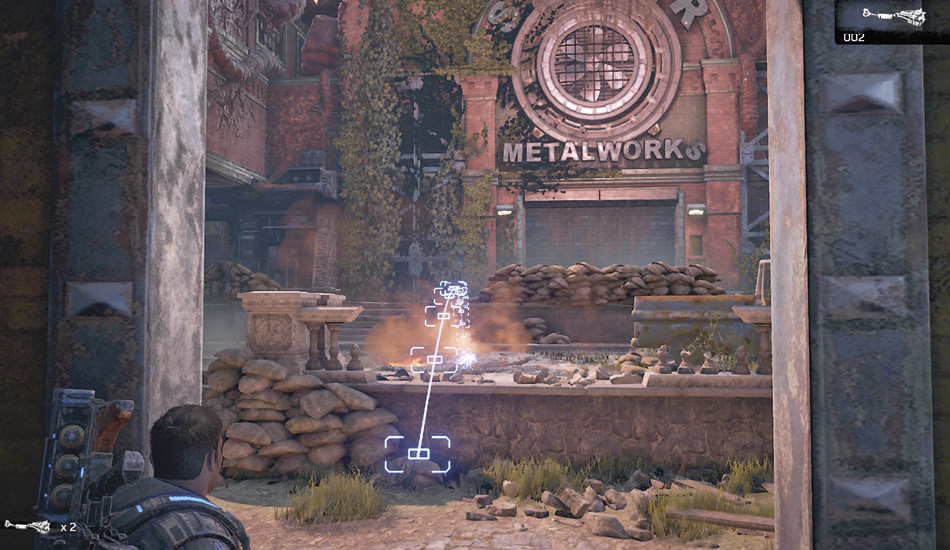
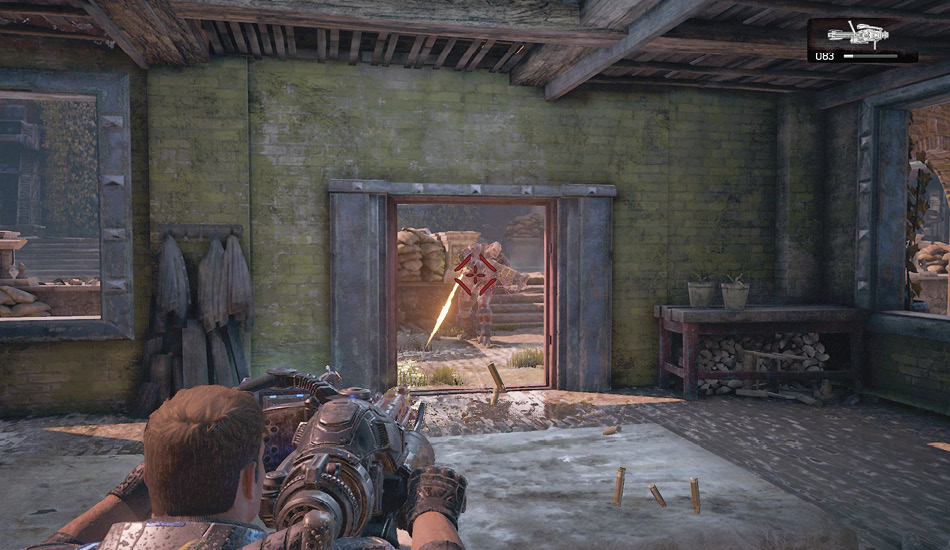
A Scion exits the door to the left of the factory’s sign, so be ready for it with the Mulcher. Fall back as the Imago Drones begin pushing into the house, and use the Dropshot to fire shots into (or through) the house to take out the Drones. Beware the Scion with the Mulcher marching down the street to the left of the house. Put the Overkill to work against him if you’re out of Mulcher or Dropshot ammo, then prepare for the final Scion armed with a Dropshot. Take the Mulcher from the second-to-last Scion and use it to finish off the Swarm.
Objective: Exit the Factory
Pick up the Frag Grenades from the two nests near the factory doors and head inside. Enjoy the quiet of the old Centaur factory and follow the walkway to the right to grab an Overkill, then move to the far right-hand corner to secure the collectible.
Ascend the stairs and kick open the door in search of a way out of the factory. This will take you to the walkways high above the manufacturing floor. Unfortunately, the area is already crawling with Swarm.
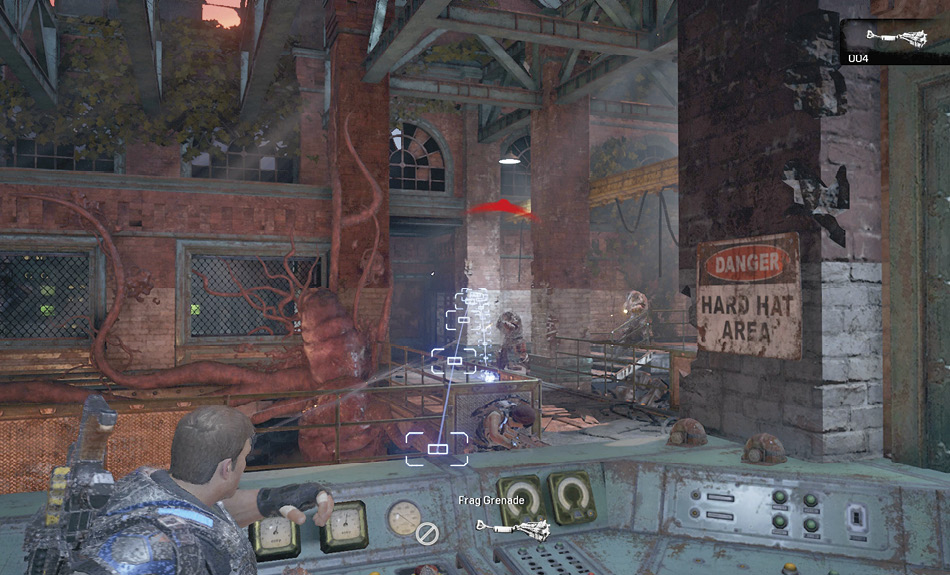
Use the brick columns for cover and stay close to where you enter this area. Take out the Rifle Drones on this side of the factory first, then advance to the walkway in the middle of the room.
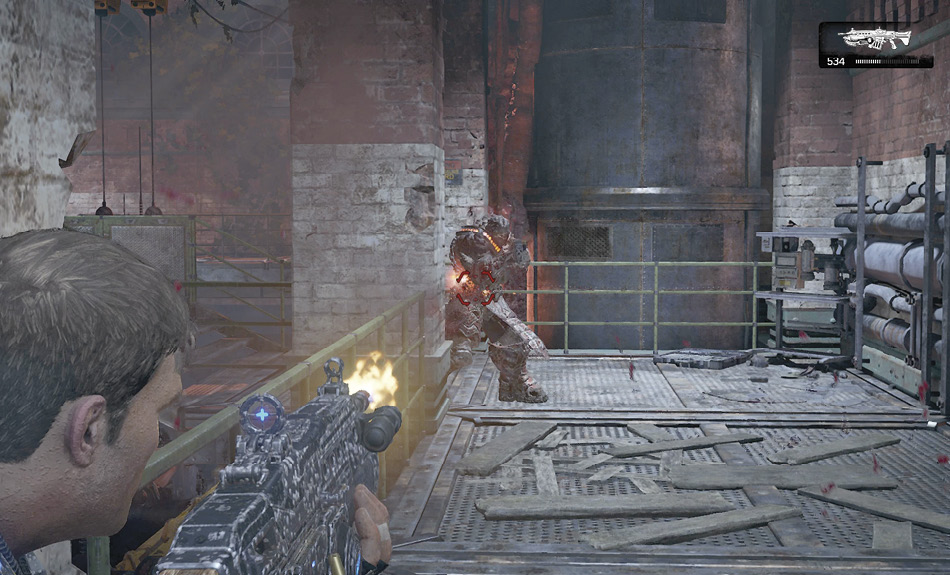
A Scion enters from the far right corner alongside other Drones. Run across the bridge, vault through the window of the tool shop, and grab the Frag Grenades. Stay behind cover and bounce the Frag Grenades off the far wall to land at the feet of the Scion with the Buzzkill. Complete the clockwise loop around the perimeter of the room to finish off the last of the Drones, then exit down the hall, making sure to take the Buzzkill with you. Exit the factory and ascend the hill toward the radio tower.
Objective: Get to the Radio Tower
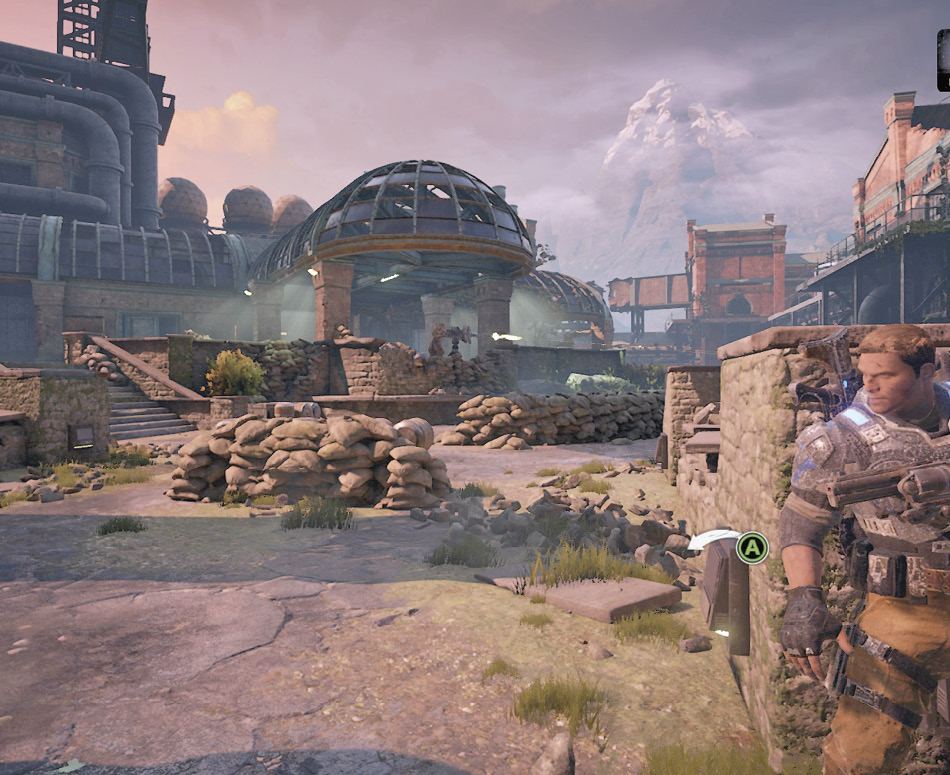
Head up the hill toward the radio tower and take cover with the Buzzkill behind the sandbags. Blind-toss a Frag Grenade at the nest to avoid the turret in the distance, then advance to the next set of sandbags. Open fire on the turret’s position with the Buzzkill, while aiming both at the turret gunner and the columns and ceiling behind him. It’s not guaranteed to work, but it can make things a lot easier if you get lucky.
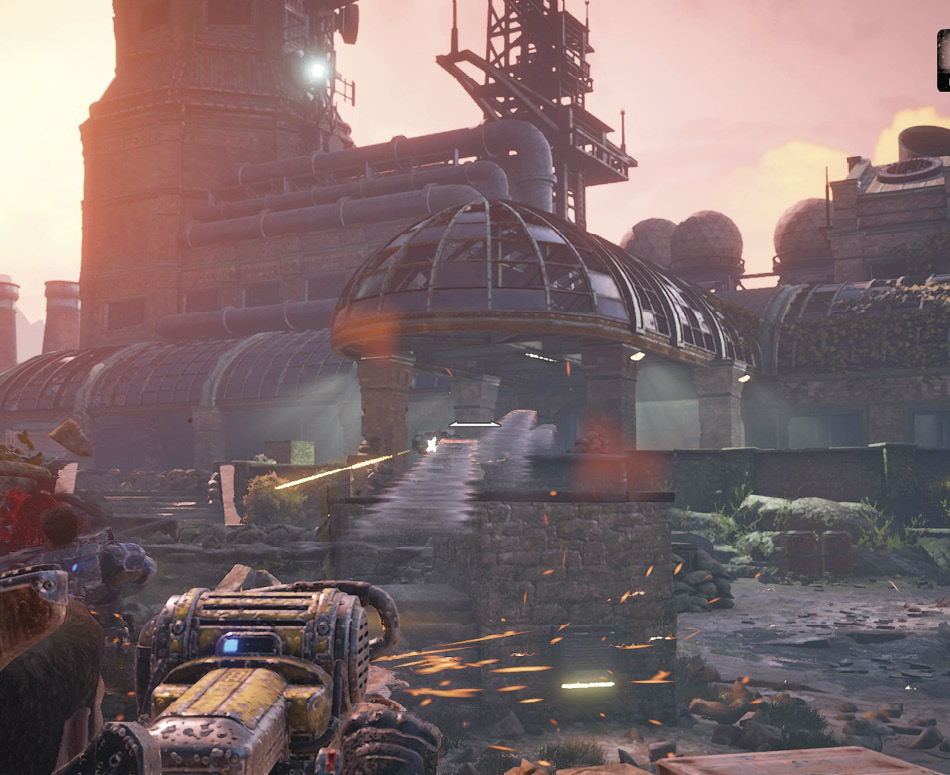
Take a moment to fire some Boltok shots at any Drones in the immediate area, then advance to the wall up ahead and move alongside the cover to the left. The goal is to flank the turret and get a clean shot at him either with the Boltok or a Frag Grenade, but you’ll need to move quickly while he’s still focused on the rest of the squad. Push up the stairs toward the turret and gun down the final two Grenadier Drones that exit the facility.