Gears of War 4 Guide Campaign Act 1
Chapter 3: New Friends
Collectibles
|
 DeeBee Safety Notice
Situation Overview
With the Fabricator in their possession, the squad returns to Oscar triumphantly, only to find him tied up by DeeBees. Apparently it was safer for Kait inside, after all! But just when things appear to be going from bad to worse, a mysterious transport cart arrives with instructions for them to get in. There’s no telling who sent it or where it will take them, but right now they’re in no position to question this stroke of good luck.
Settlement 5
Objective: Defeat the Attacking DeeBees
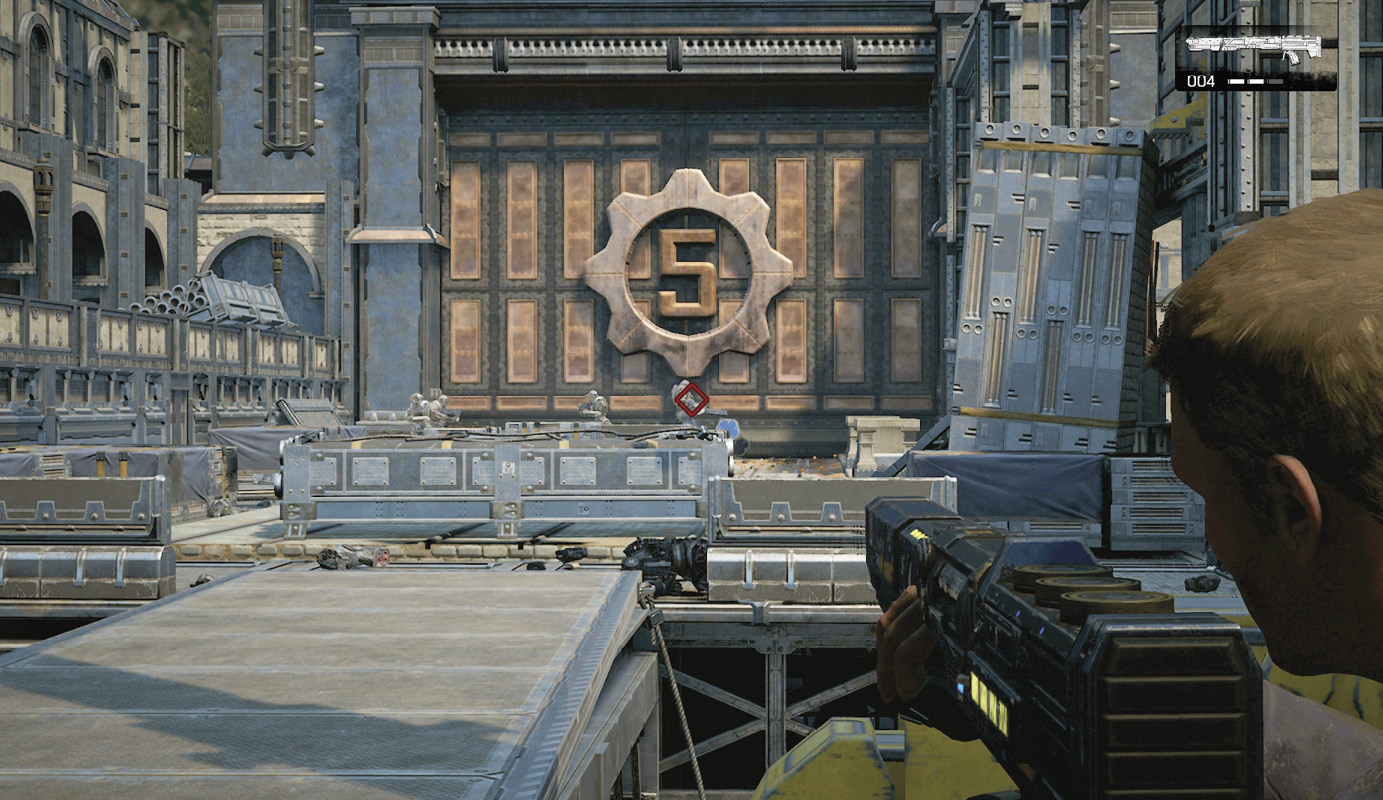
JD and company get knocked from their transit cart as a Condor deploys multiple DR-1 robotic soldiers. These upgraded DeeBee units are far more resilient and wield far deadlier weaponry. Stay behind cover, target the nearest enemy, and focus your firepower on it until it is destroyed. DR-1 units don’t utilize cover. Instead they simply march straight toward their target, using thrusters to either side-hop or leap up and over cover. DR-1 units have been programmed to be purely offensive and will not seek self-preservation like the Shepherds.
Eliminate the first pair of DR-1 robots with concentrated firepower, then rush forward and swap the Shock Enforcer out for the Overkill. Duck behind cover as another Condor swoops low overhead and deploys a second wave of DeeBees.
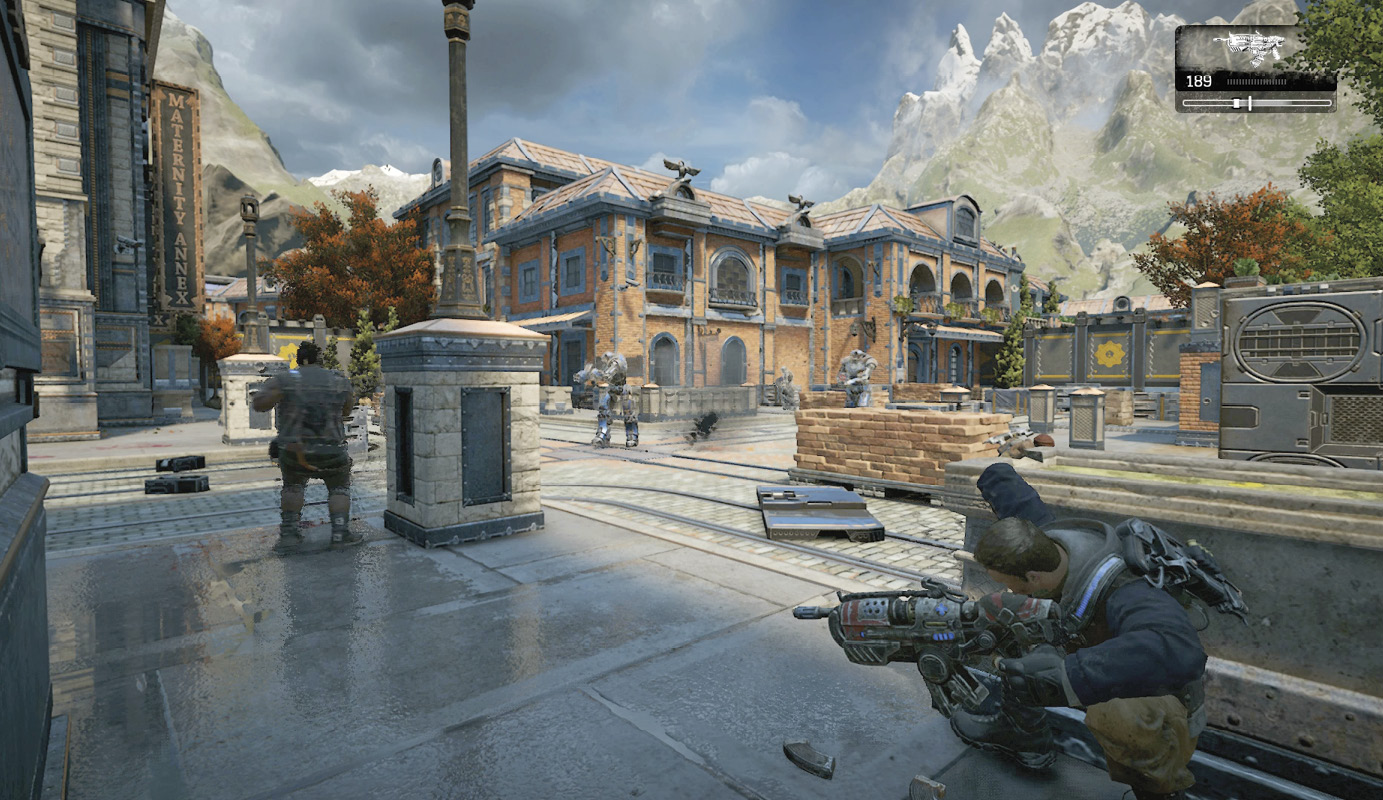
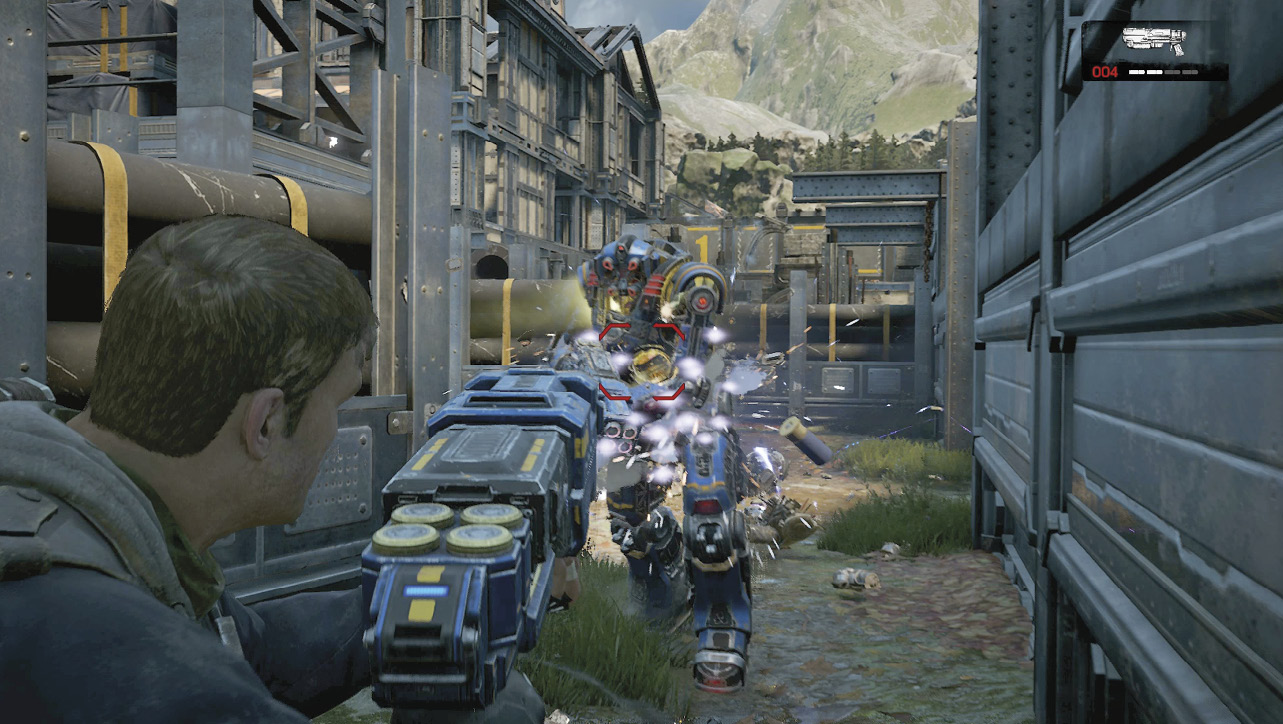
The Overkill is a semi-automatic shotgun that fires large-diameter projectiles with each pull—and release—of the trigger. Although it can only load four shells at a time, each shell can be fired twice. The Overkill has tremendous kick, so aim low, especially if you wish to squeeze rapidly for a high firing rate. It only takes a few shots from the Overkill to down a DR-1, but ammo is limited so make your shots count! Each wave deployed by the Condors also contains a pair of Shepherds. These lesser foes will hang back, behind cover, while the DR-1s march forward. Don’t target the Shepherds until after the DR-1s have been eliminated.
Objective: Get the Fabricator Out of the Settlement
Del and Oscar carry the Fabricator, leaving JD and Kait to lead the way. Advance toward the smoking debris in the distance, while keeping to the right-hand side of the street. A DR-1 bursts through the brick wall on the left, but it’s not alone. Target the Trackers by its side with the Overkill to quickly detonate them next to the larger foe.
Enter the building, kick open the double doors, and proceed to the courtyard out back. As always, make sure your weapons are reloaded before exiting.
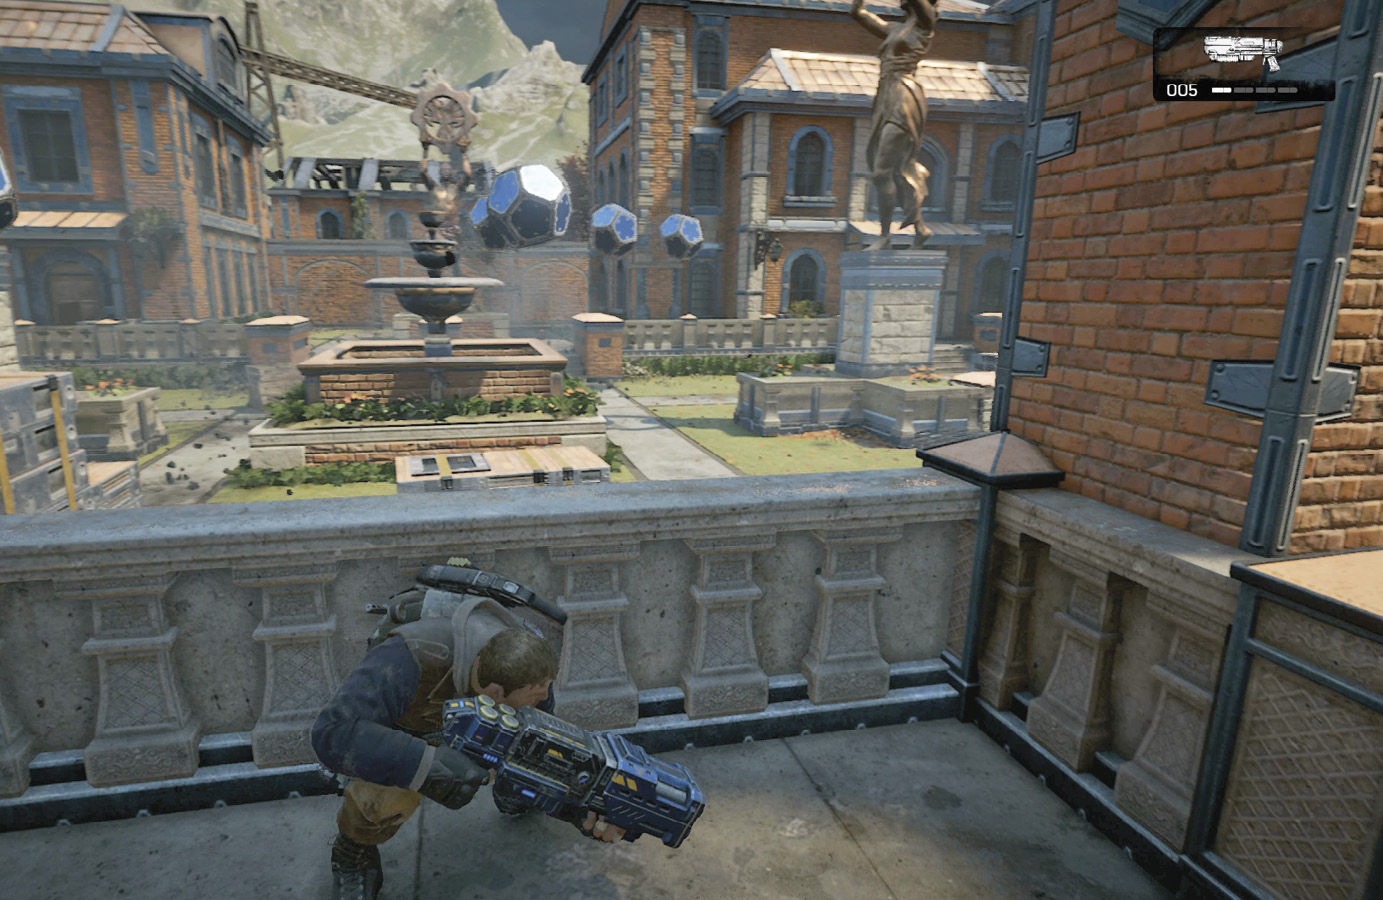
Multiple drop-pods are deployed by another Condor as soon as you reach the exterior. Stick to the porch to maintain an elevated position and use any grenades you have with the Overkill to beat back the DR-1s. Slip out of cover and down the steps to the right to eliminate any Shepherds moving alongside cover on that side of the garden so you can flank the remaining DR-1s. The larger foes will likely be distracted by Kait and the others, giving you a chance to open fire from their blindside.
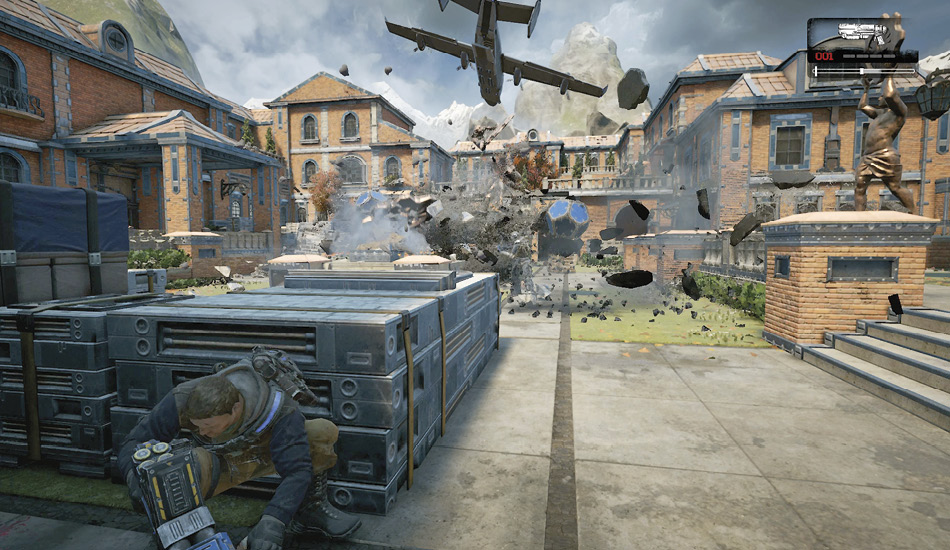
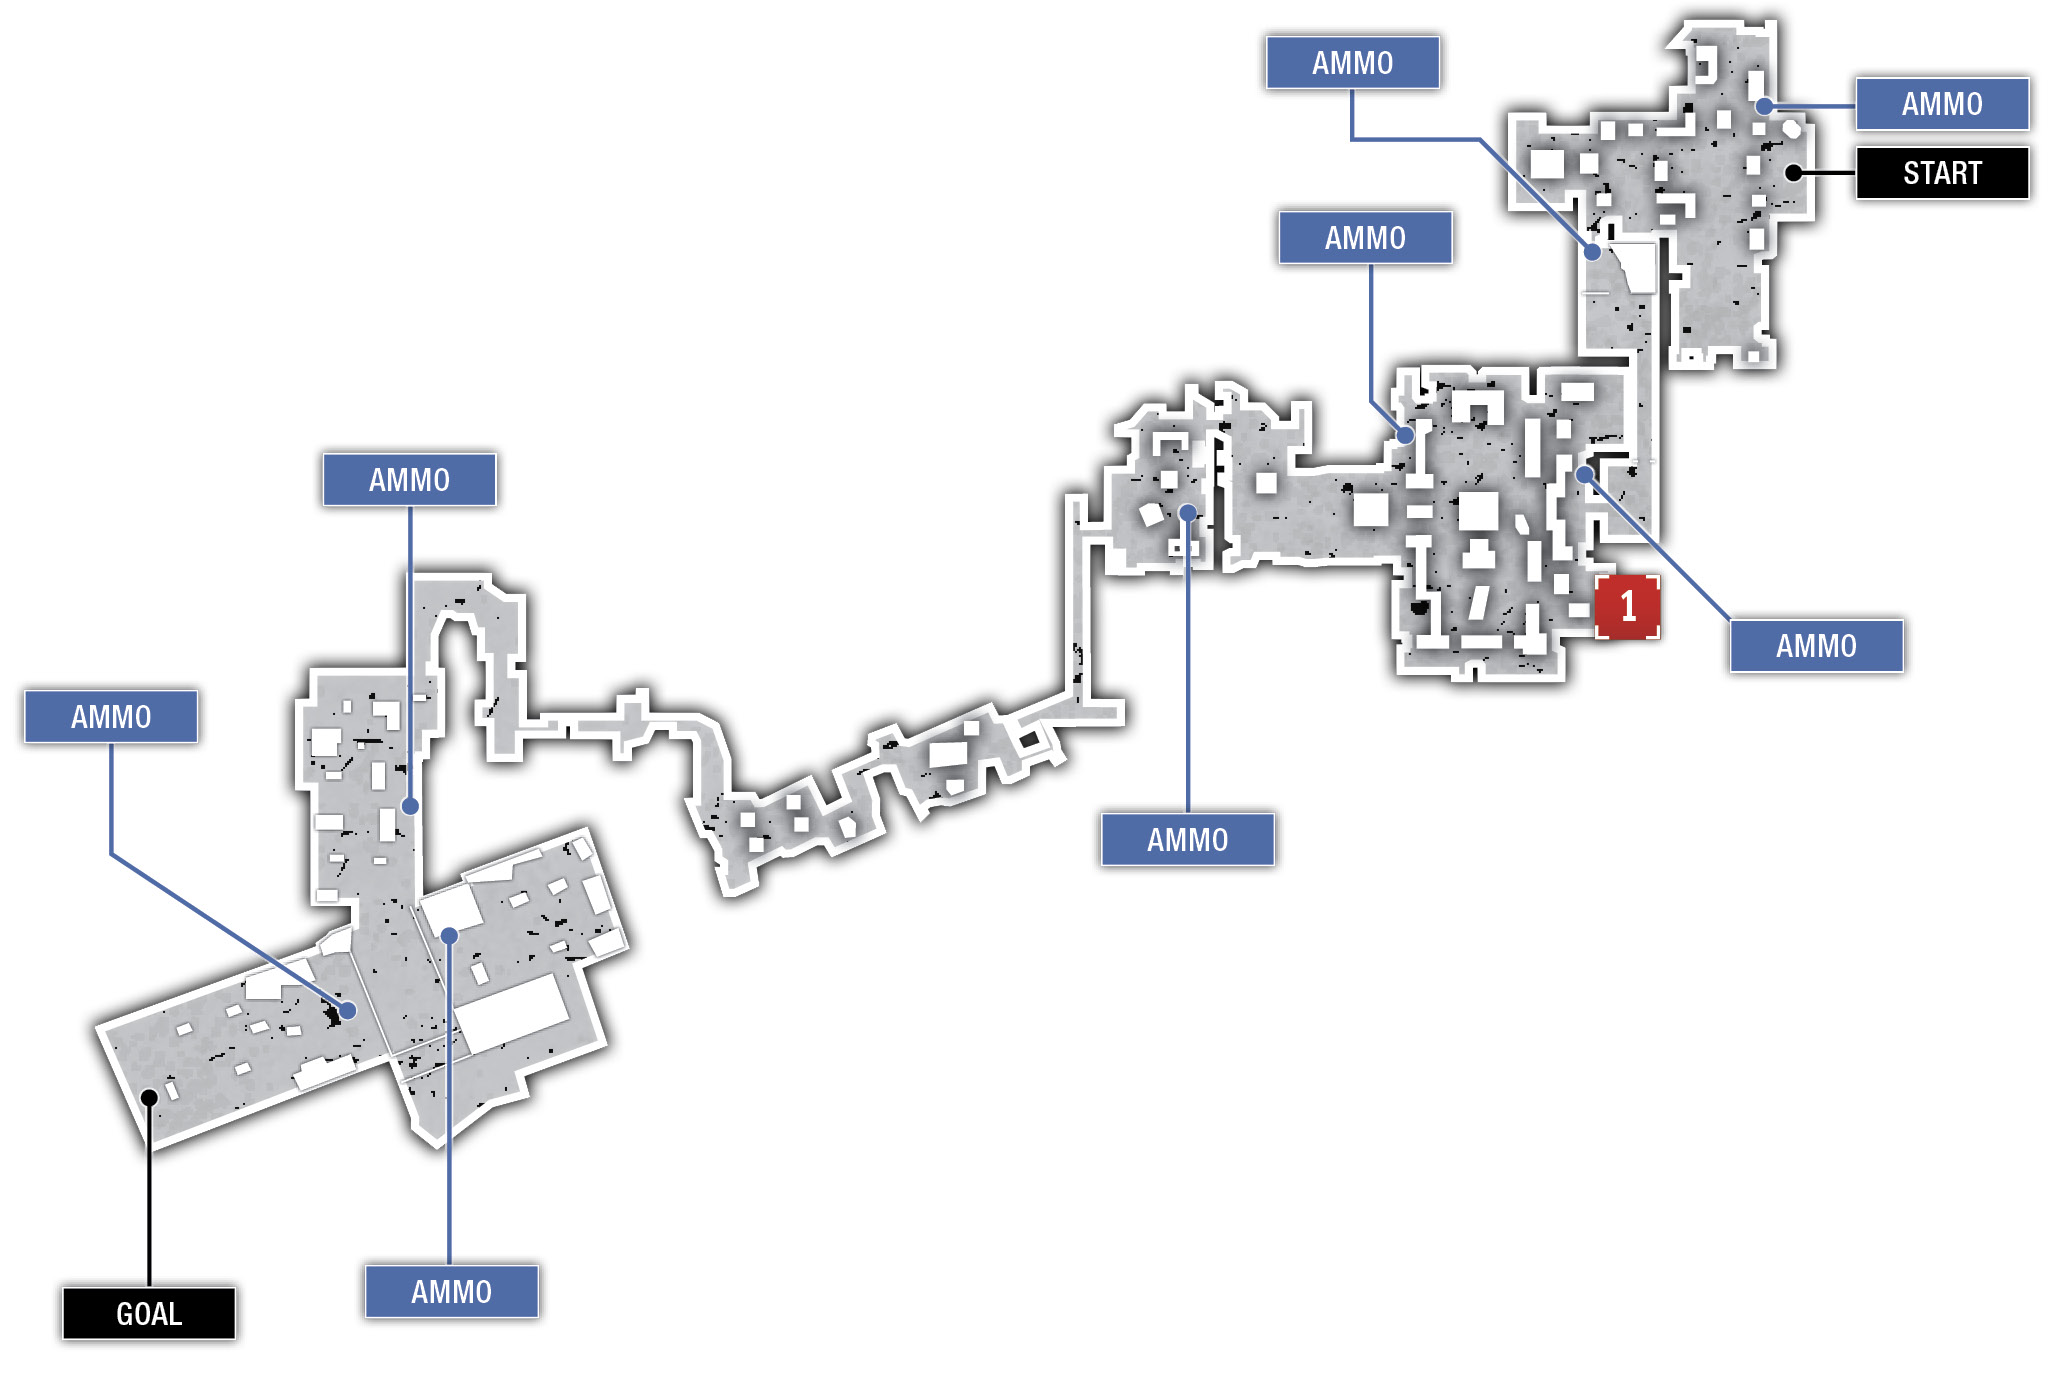
Circle around to the right to get the drop on the remaining Shepherds. There’s an ammo crate atop the steps to the right of the brass statue should you need it. It is probably much safer for you to get this crate than to try and salvage any Overkill ammo from the center of the garden.
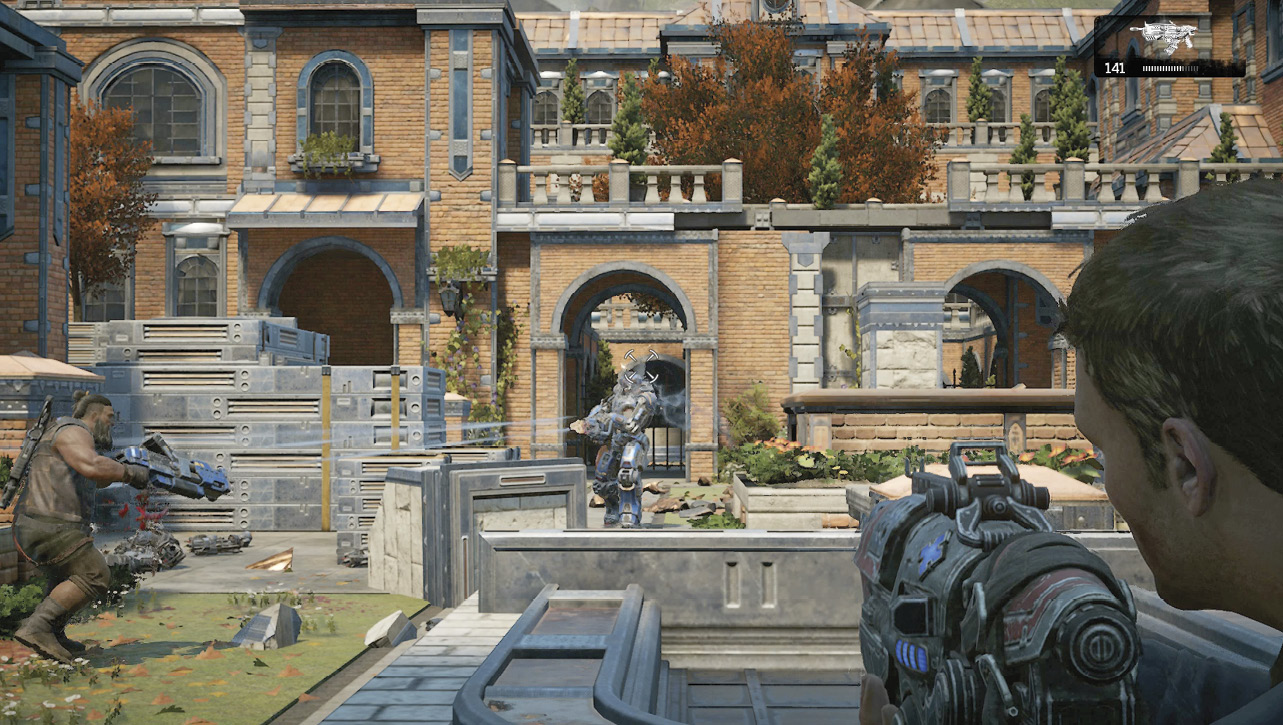
A lone DR-1 armed with a Tri-Shot attacks last. Use the available cover along the periphery to flank it. If forced to contend with it head-on, stay in cover and blind-fire the Overkill one shot at a time to ensure you don’t waste ammo. Don’t poke your head out for any reason! Swap to the Gnasher and finish off any remaining Shepherds.
Grab the dropped Tri-Shot as another Condor approaches and mount it atop the wall near the ammo crate. Take aim toward the large bronze statue and wait for the DeeBees to come marching into your line of fire.
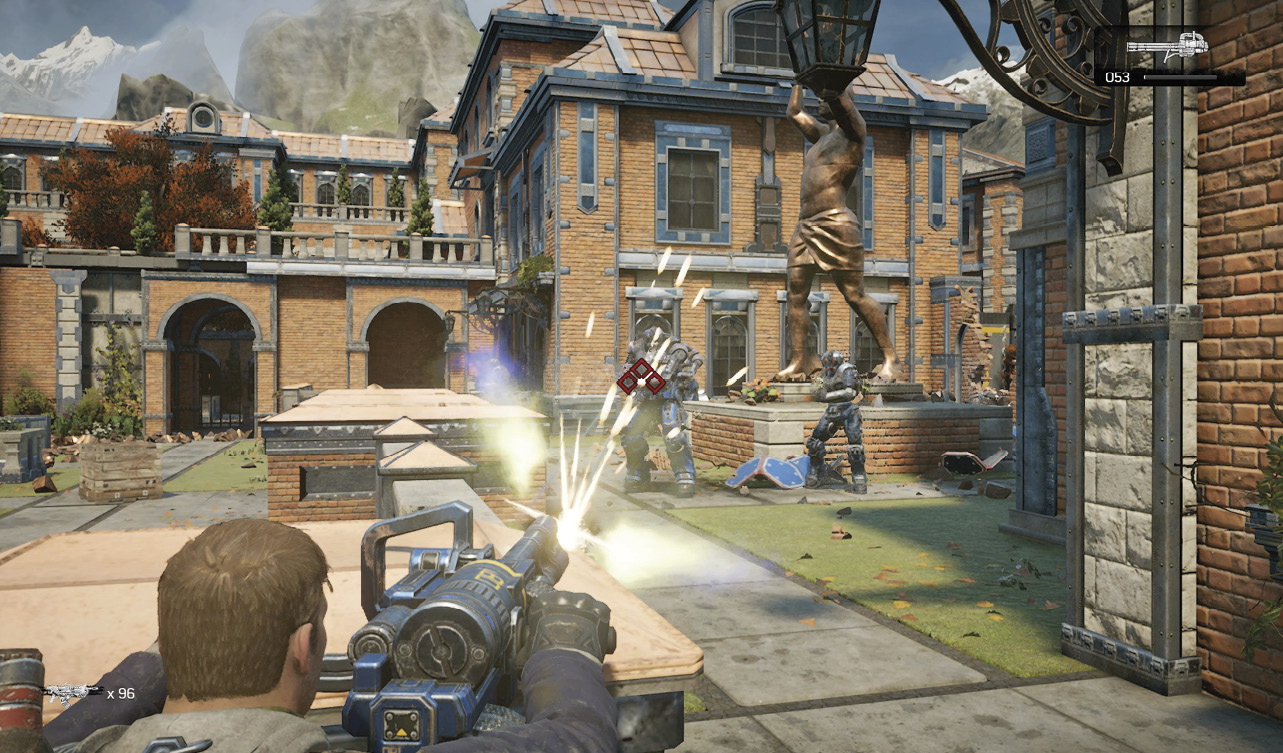
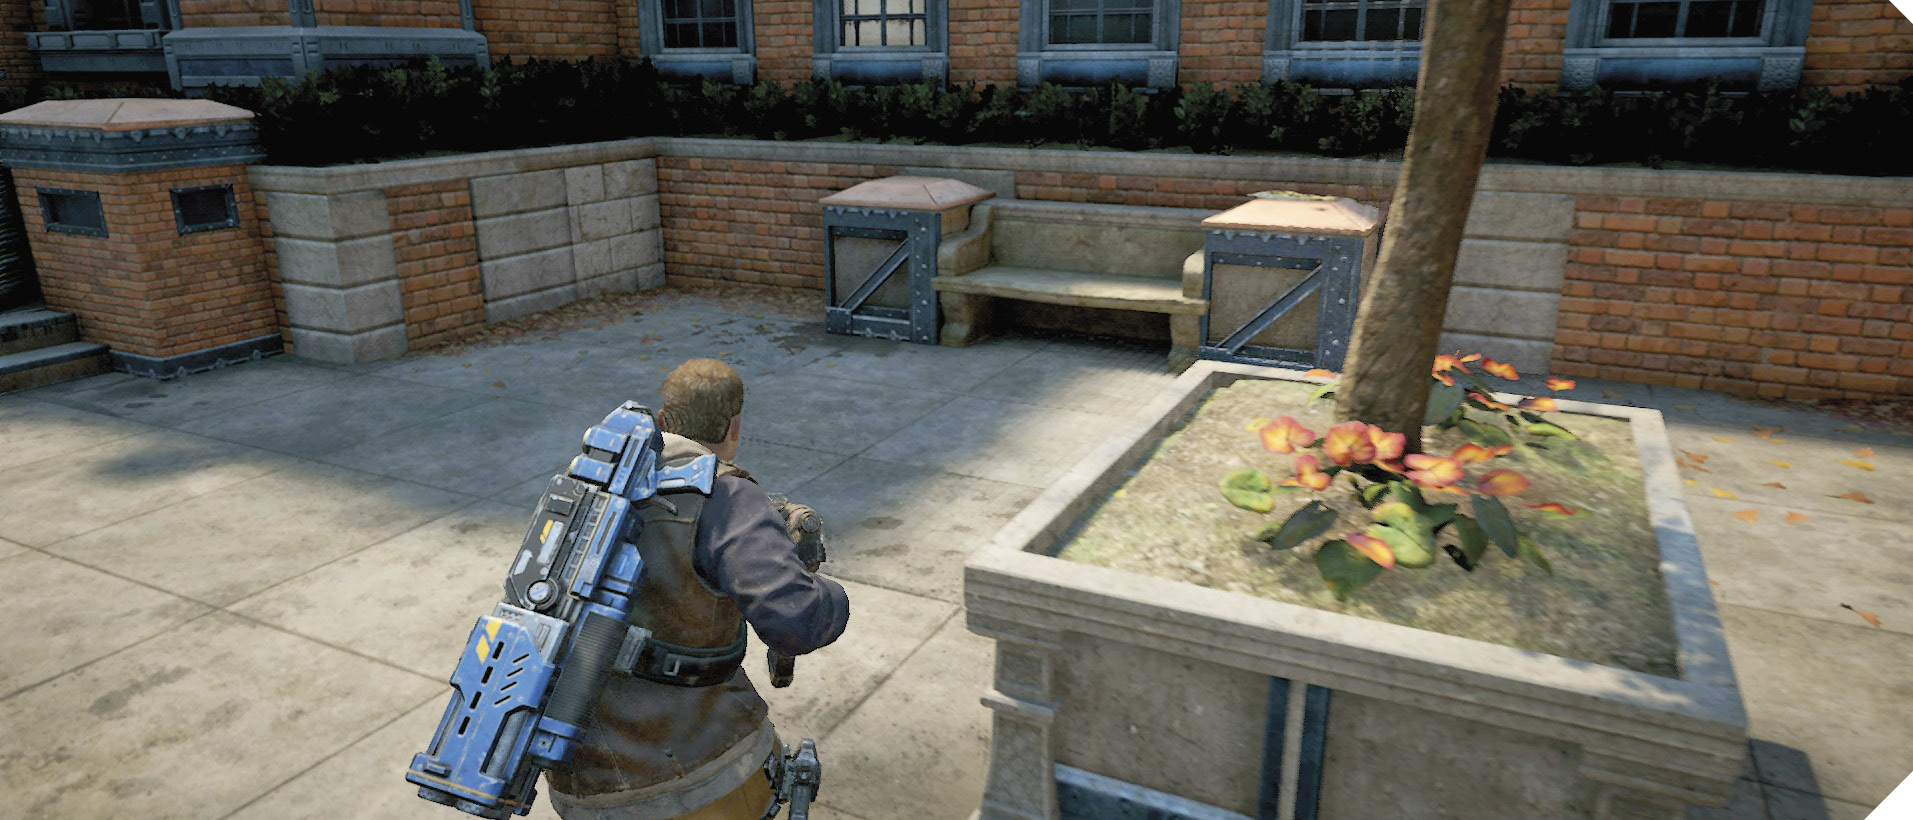
Lead your squad through the hole in the wall and kick open the double doors across the road to enter the next construction pit. Retreat to the upper walkway once multiple Trackers enter from the pipe and the area above it. Don’t waste any Overkill ammo on the Trackers; use the Snub Pistol and melee attacks instead. Keep the Fabricator between you and the Trackers for added protection.
Continue through the utility corridor to the next construction site, grab the Overkill leaning against the crate, and get ready. More Trackers and DR-1s are inbound. Use the bin of pipes and the vertical beams up ahead for cover. One final enemy will burst through the wall up ahead—that’s your way out!
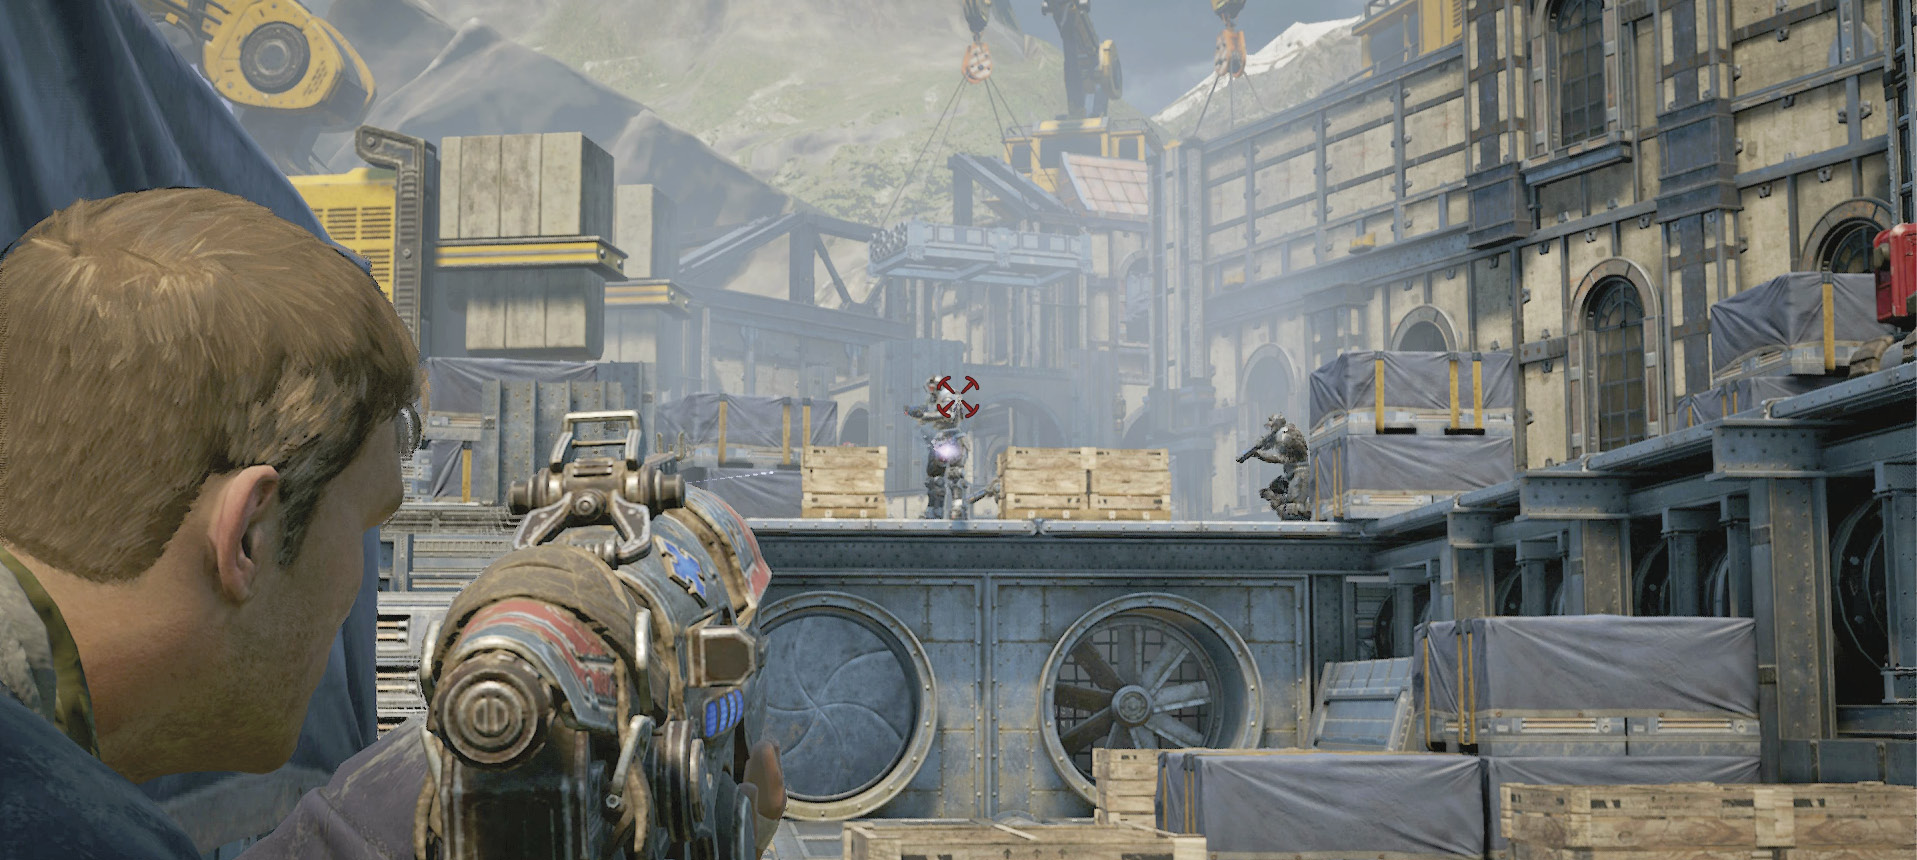
JD alerts the squad to DeeBee Snipers up ahead. Take cover behind the taller piles of construction materials and use the Hammerburst or Markza Mk1 to take them out from afar (obtained from the Fabricator). If this proves too difficult, sprint to the taller cover nearest the Snipers and use the Overkill or a grenade from that position. Multiple Trackers drop into the pit after you destroy the Snipers, so stay on guard. Swap out the Overkill for the EMBAR Sniper Rifle dropped by one of the Snipers and gather up the other rifles for additional ammo. Don’t leave this area without it!
Ascend the ramp to reach the crane and use the Snub Pistol to shoot the hook holding the suspended platform. This drops a bridge into place for your squad to cross. Don’t target the other hooks just yet!
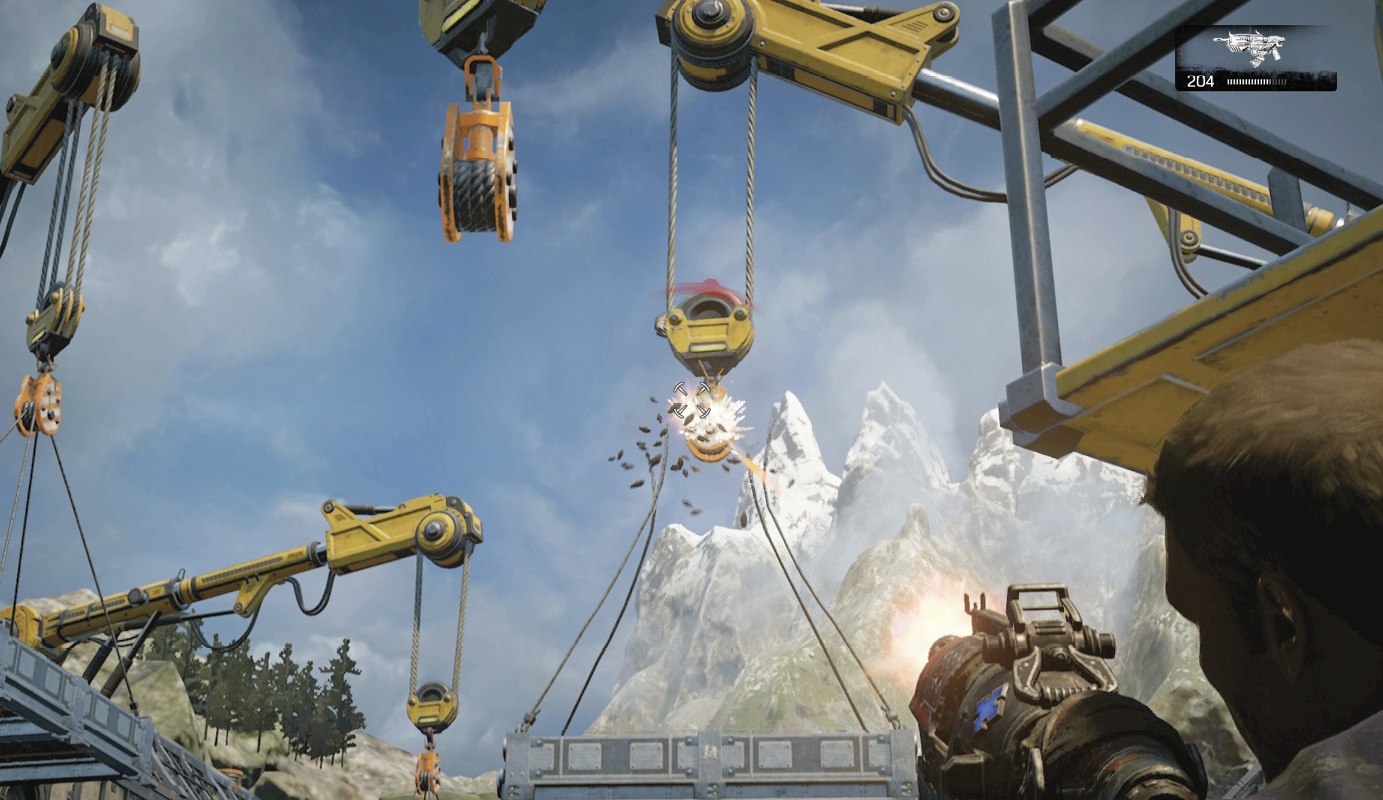
Take cover at the base of the crane, wait for the DeeBees to come forward, then shoot the second hook to crush several of them. Shoulder the EMBAR Sniper Rifle and take aim at the DR-1s that attack next. Hold the trigger to charge a shot, wait for the reticle to tighten, and release the trigger with the crosshair fixed on a DR-1’s head. You only have a brief period to fire the shot, else the EMBAR will vent the current one and require you to charge up another shot. Don’t worry if this happens, as it doesn’t waste any ammo.
Wait for the additional snipers to move into position along the upper walkway on the left, then, once they’ve advanced to the corner, shoot the hooks on the other cranes to crush the Snipers with the building materials. Pick off the remaining DeeBees and approach the gate.