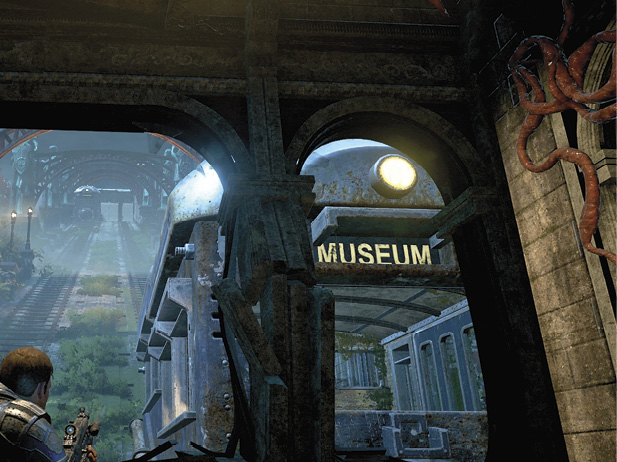
Gears of War 4 Guide Campaign Act 3
Chapter 2: Night Terrors
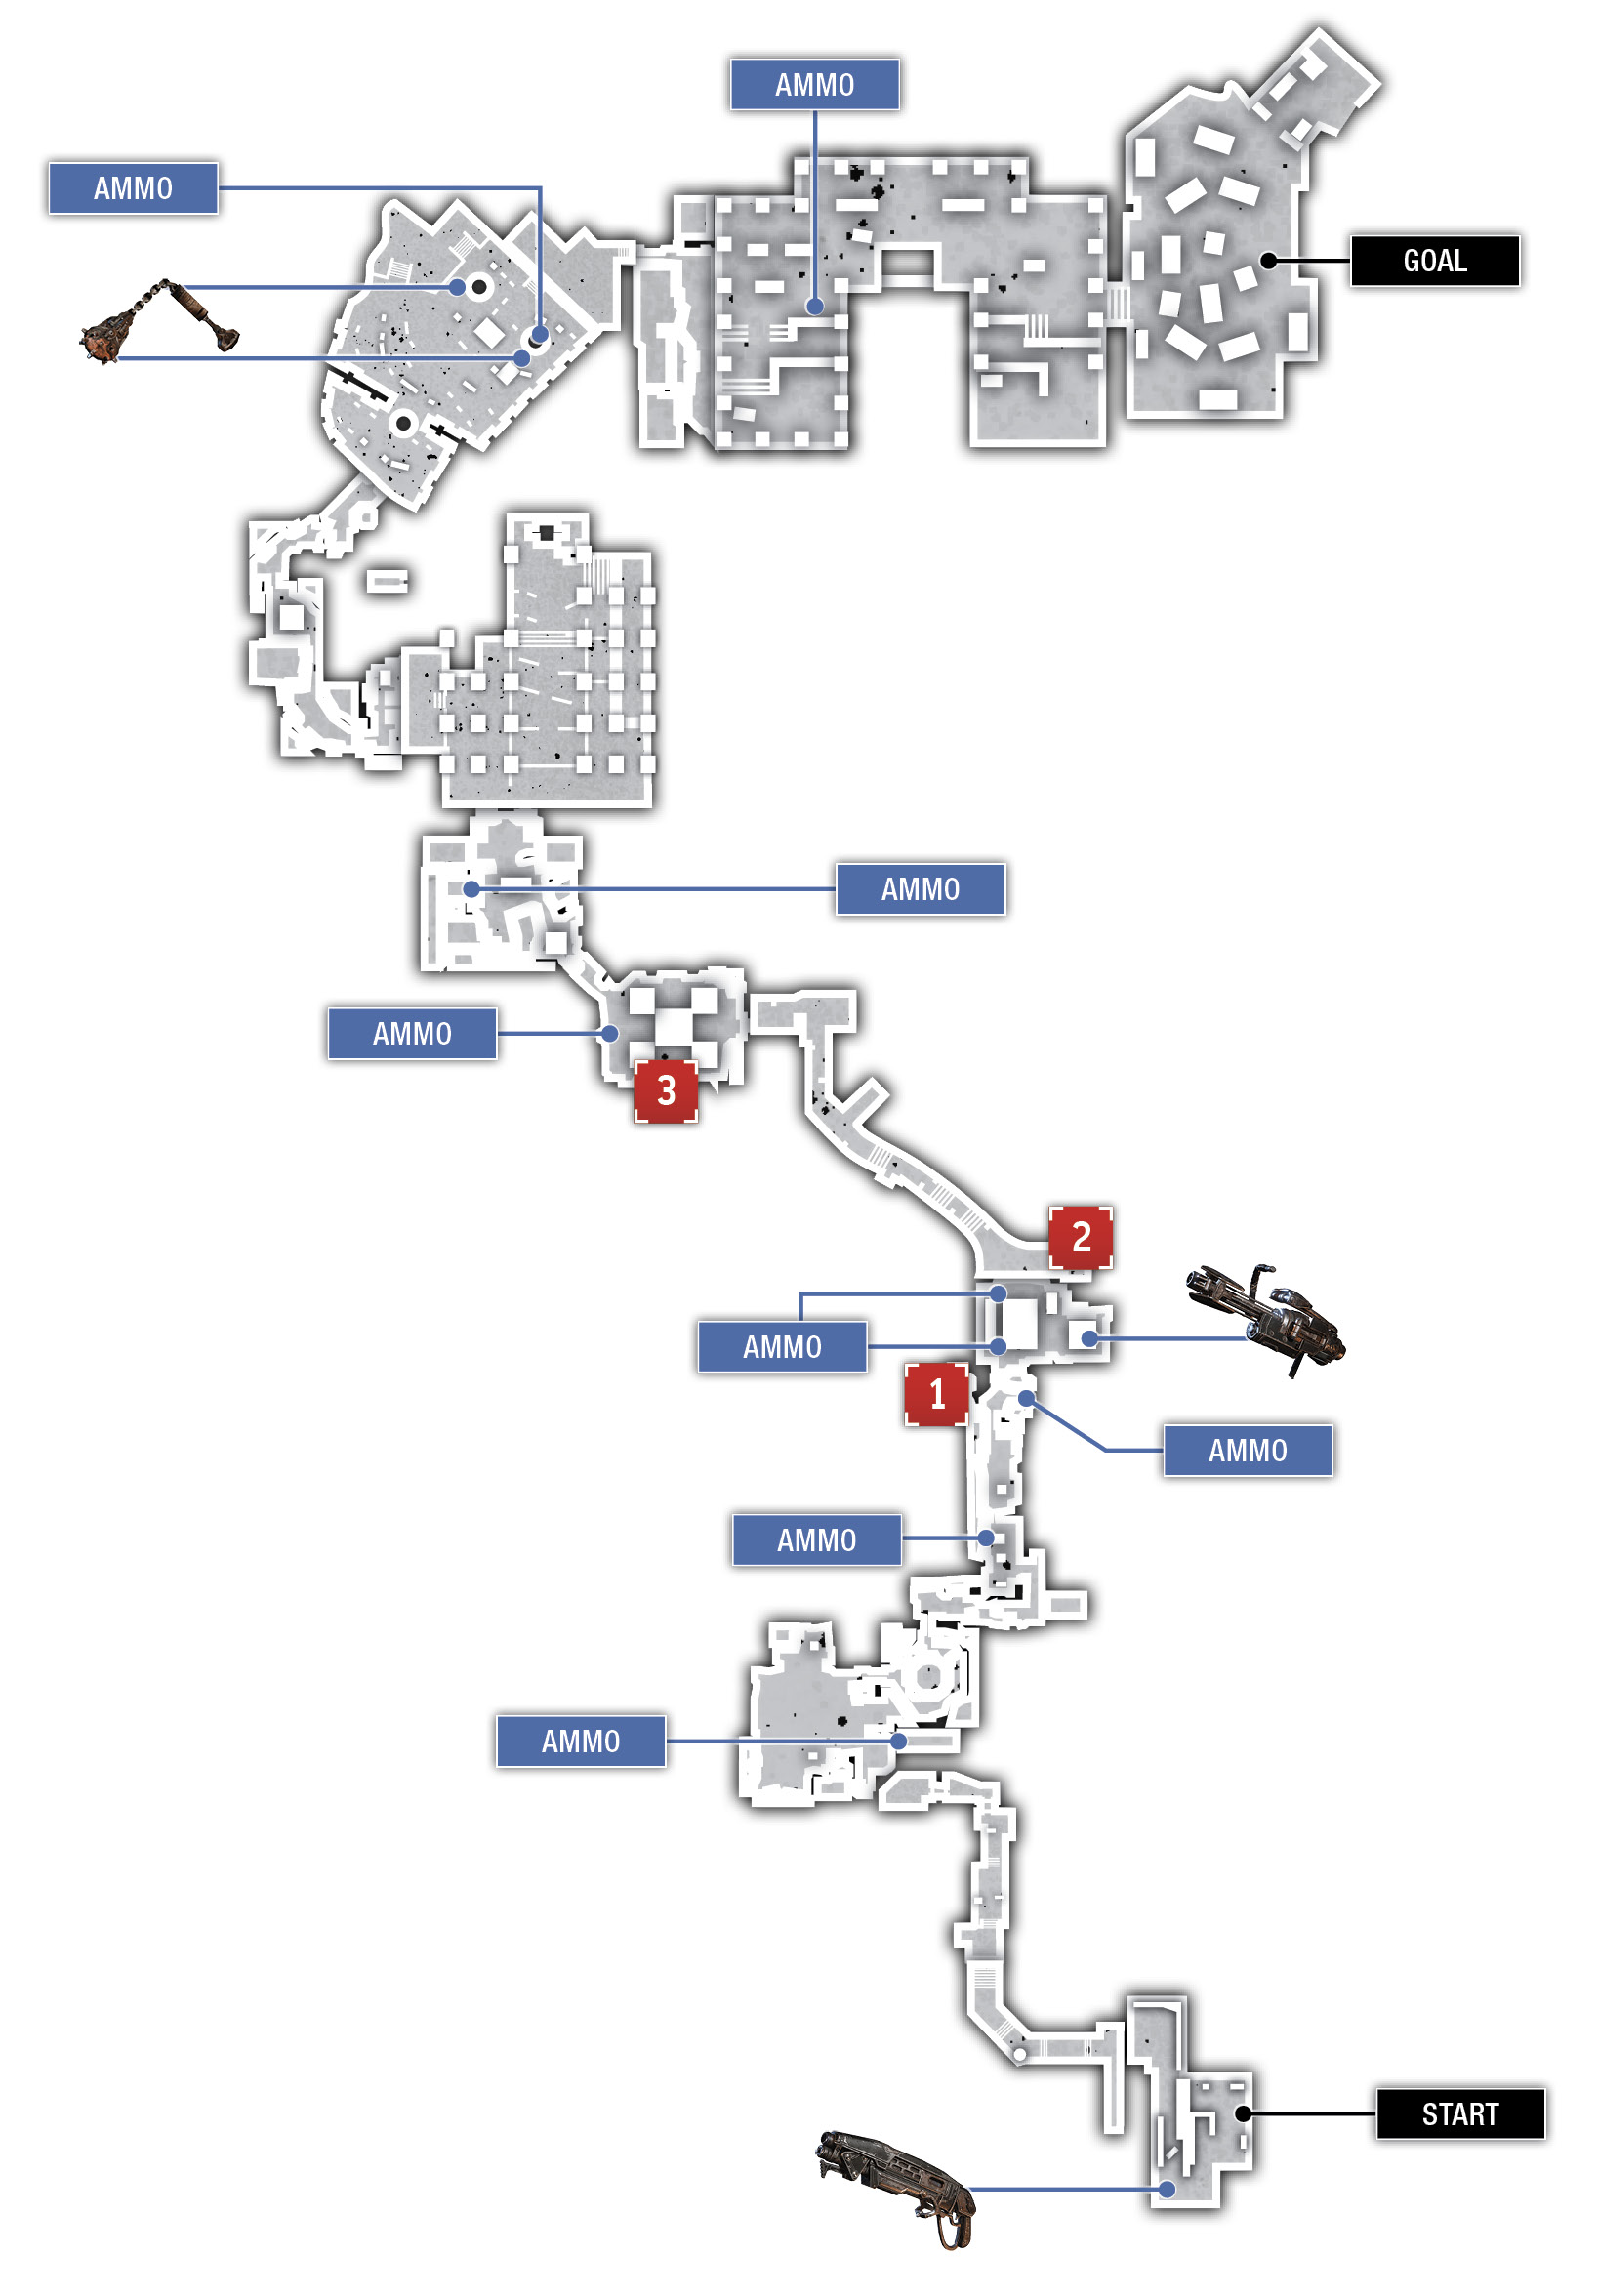
Collectibles
|
 Medical Supplies Status Form
 COG Tag
 Tourist Map of Fort Reval
Situation Overview
Marcus thought there might be a clue at the Locust burial site and now JD has no choice but to hope that’s where the Swarm has taken his father. The group needs to find Marcus if they are to have any chance of uncovering the origin of the pods, the creatures that attacked the Outsider village, or of finding Reyna. There’s no time to be upset or dwell on the worst-case scenario. They must track that Snatcher and find Marcus!
Fort Reval
Objective: Find a Way Out
The trio fled behind the nearest door and barricaded themselves in. Now they need to find a way out. Push aside the shelving and head down the hallway toward the vine-like growth in the distance. Continue up the stairs to the doors in the distance and chainsaw through the pod on the other side of the door. Quickly switch to your Gnasher after cutting through the pod.
The Screamer released from the pod screams and wakes the other Juvies from the nearby pods, unleashing a small army of clawing, hopping creatures straight for JD and the others. Backpedal away from them, stay out of cover that they can hop over, and blast them with the Gnasher. They die easily and lack any ranged attacks, but they can inflict moderate damage if they get within arm’s reach. Longtime Gears of War fans may want to think of the Juvies as taller, slightly faster versions of the Locust Wretches (encountered during the Prologue).
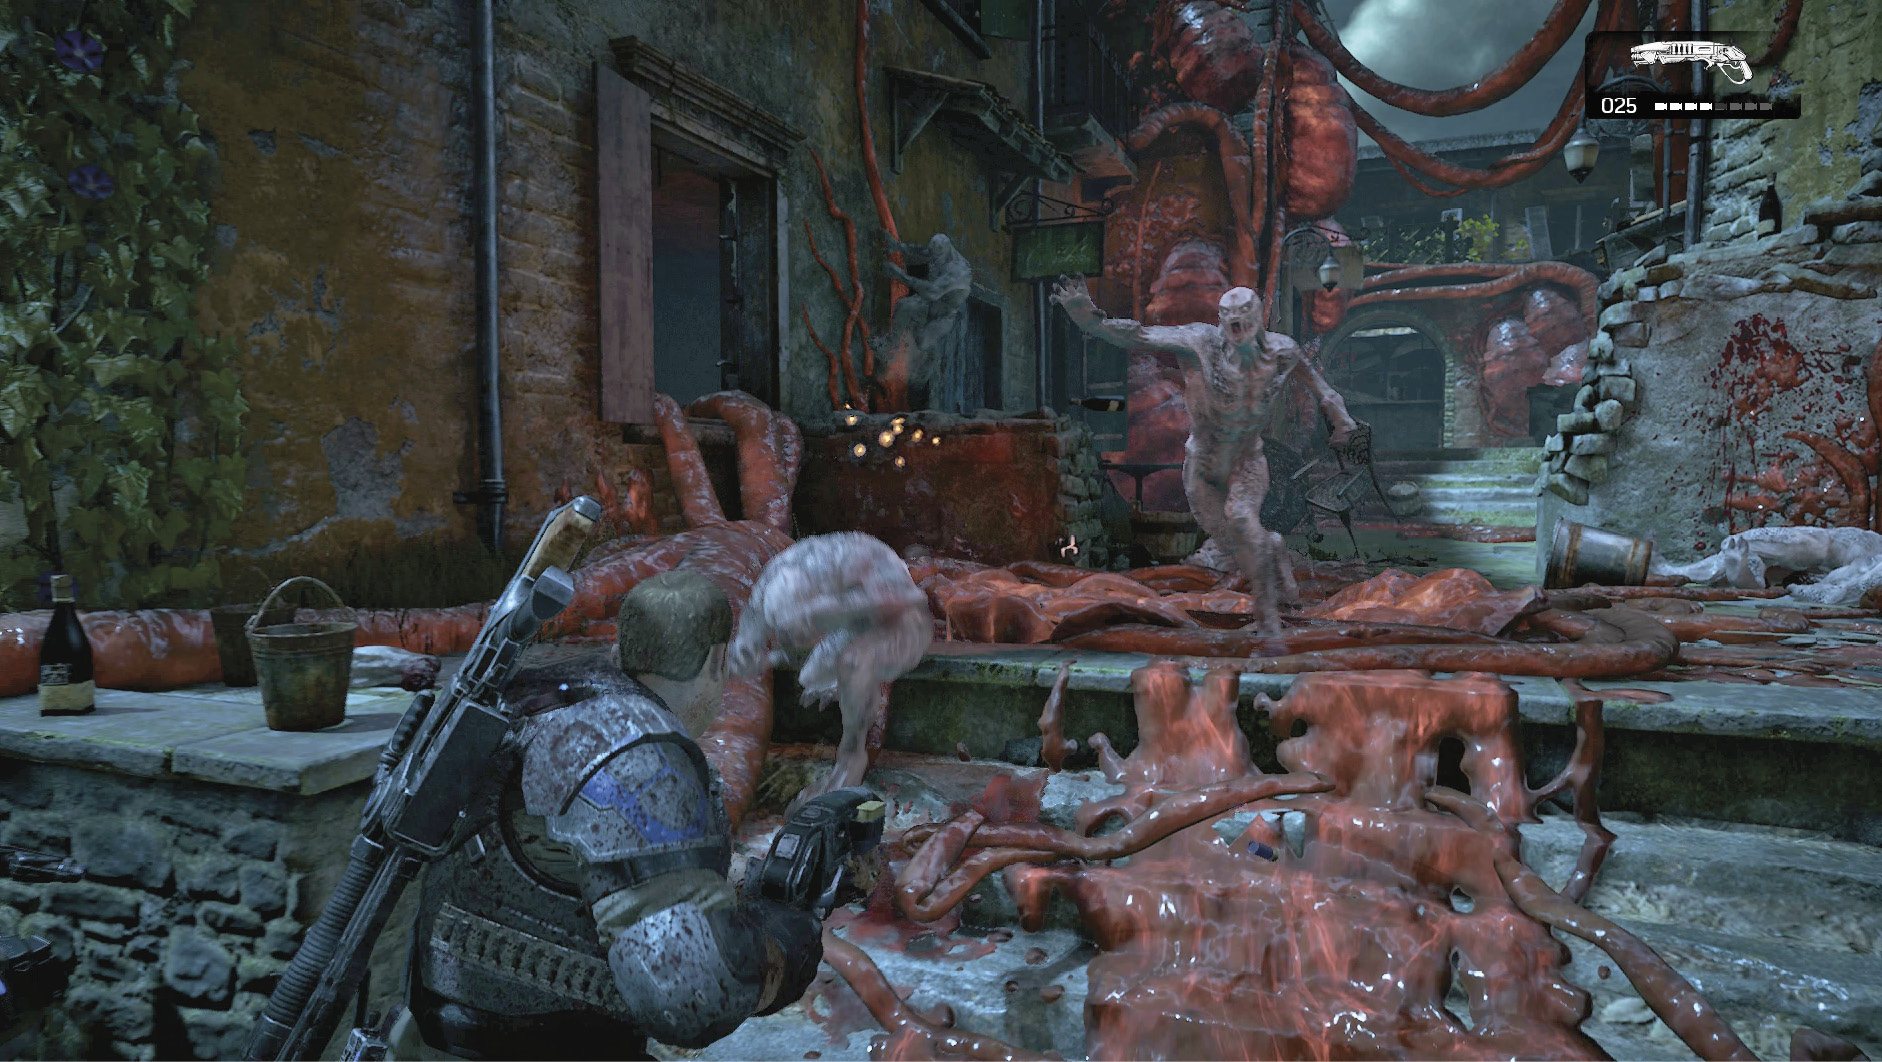
Kill the twenty or so Juvies that attack in this alley while taking care not to pop any additional pods. Continue to the building with the open window up ahead near the ammo crate. JD falls through the floor as you mantle the wall, but that’s okay. The others will drop down and join him.
Lead the way through the maze of pods and up the stairs to the main floor. Collect the ammo from the room where JD fell through the floor, then saw through the ropy vines of “door snot.”
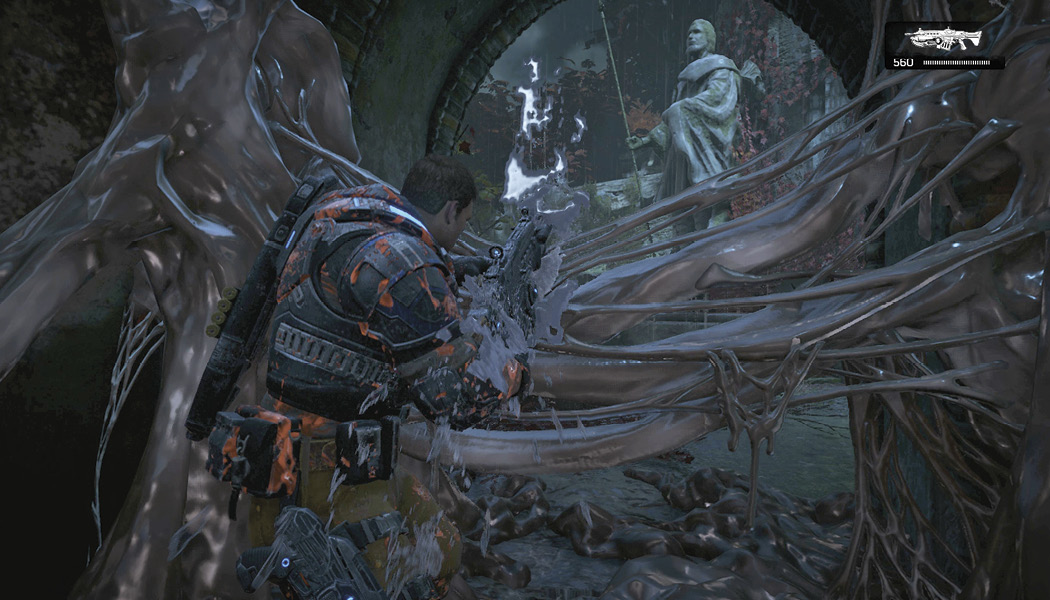
More Juvies attack outside, right after JD spots the Snatcher in the distance. Continue to use the Gnasher to dispatch the Juvies as you move through the stables and out the door on the other side. Stay on guard until the two Juvies near the door have been slain.
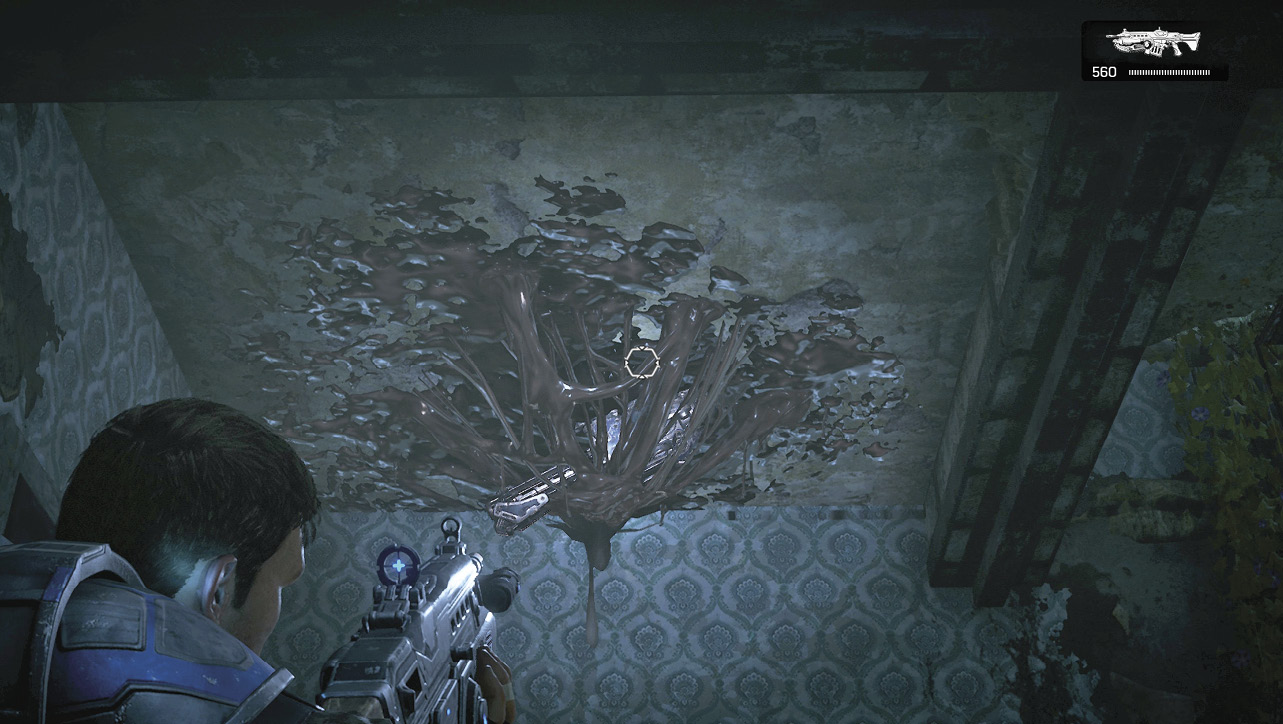
Lift the object barring the door and enter the next building. Head through the room on the right to find a second staircase that hasn’t been destroyed. Kait calls your attention to a “snot bubble” hanging from the ceiling. Shoot it apart with the Lancer to free the Mulcher entangled within it. Kick open the red door and head outside, where JD spots the Snatcher once again.
Objective: Get to the Tram Station
Follow the path to where Del sees the Juvies on the roof in the distance. Mount the Mulcher on the crate on the right, take aim at the stairs, and wait for the Juvies to come streaming toward you. Open fire to gun them down and don’t be shy with the ammo. Use up the Mulcher’s bullet supply, then switch to the Gnasher and fight your way up the stairs. If a Juvie vaults over the crate and kicks the Mulcher from your hands, don’t worry. Just pick it up and fire the Mulcher from the hip.
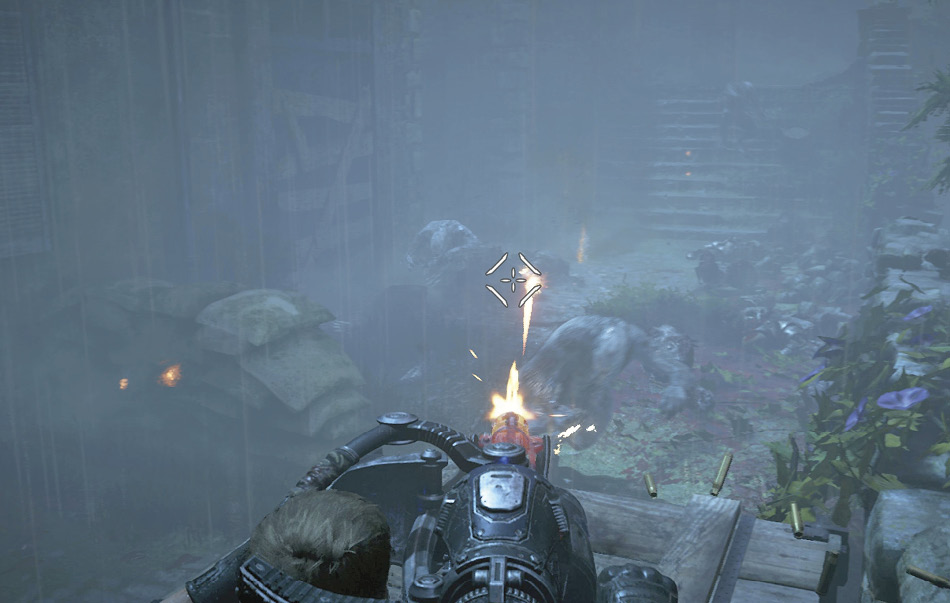
Shoot your way past the remaining Juvies en route to the door leading to the courtyard up ahead. You can take a breather once you see the statue in the fountain and the red-leafed trees. There are no enemies here. Have a look around, collect some ammo, and locate the collectible. Continue on to the cathedral up ahead.
A Juvie inside the cathedral burrows into a nest of sorts and emerges as a Drone. These new upgraded forms of Swarm stand taller, can use weaponry, and will utilize cover. In many ways, they are like the Locust.
Take cover behind the nearest pew and open fire with the Lancer on any part of the Drones that stick out from behind cover. Offer up enough suppression fire to keep them pinned in place, then flank around the left-hand side, using the columns for cover. Another nest is about to open near the altar. Ready a Frag Grenade and toss it over the table to close the nest before the Drones can emerge.
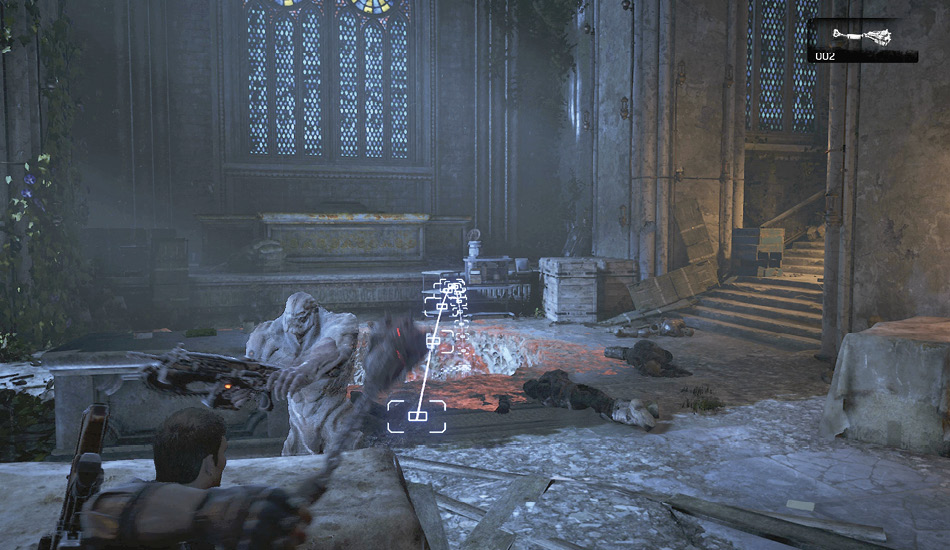
Finish off the Drones armed with Lancers and inspect the nest for Frag Grenades and any dropped weapons. Two more Drones burst through the door on the right, armed with a Hammerburst and Boltok. Dispatch these enemies and gather up the Boltok before leaving.
Use the Lancer to shoot through the vines suspending the pod above the floor in the hallway. Take cover behind the fallen pod, then quickly shoot the second pod free as well. This one should fall and crush the Drone in the distance. It’s always a gamble to add more pods to the battlefield, since those that are shot may release a Juvie, but the extra cover is often worth the risk.
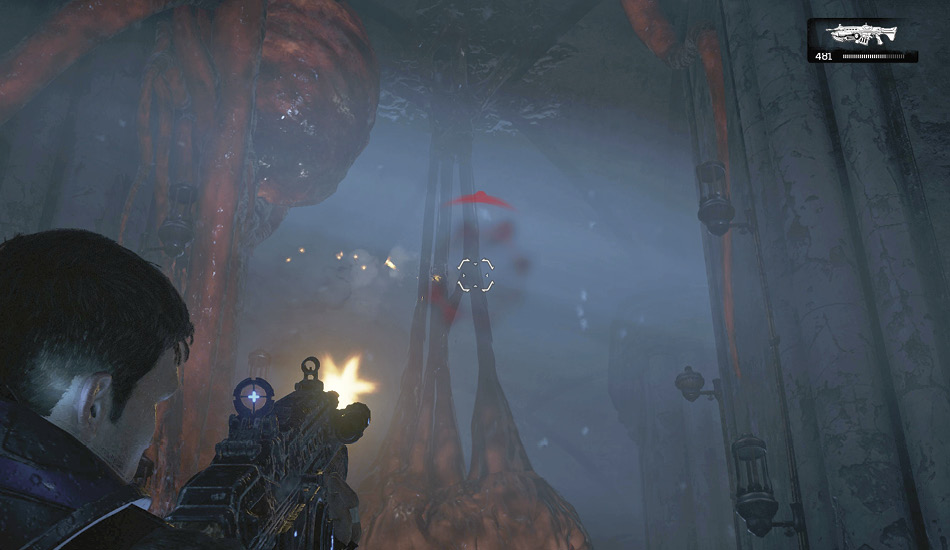
Collect the Lancer ammo from the dropped weapons and step out onto the balcony. Shoot the pod free above the screaming Juvie to crush it, then follow the upper walkway to the left. Drop additional pods for cover as needed and sweep your way around the balcony in a clockwise direction, taking out the Juvies and Drones as you go. Switch to the Gnasher and use the columns near the exit for cover as you move in close and blast the Drones in two pieces.
Kick the door open and step back out into the rain. Follow the path through the graveyard to the gate. Equip a Frag Grenade, kick open the gate, and get ready to toss the grenade at the nest opening up ahead. Duck into cover near the nest and ready the Lancer or Hammerburst, as there’s a Sniper Drone atop the wall to the left.
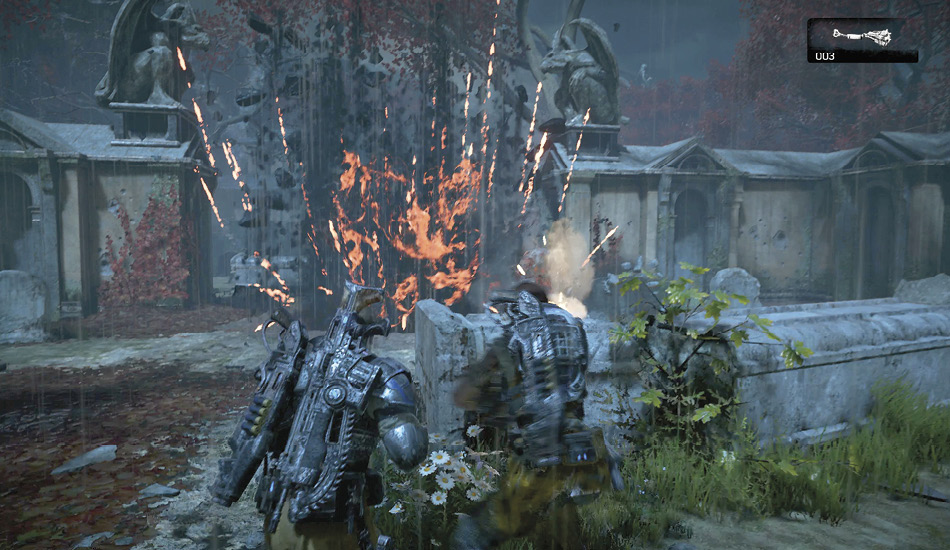
Cover-swap your way to left, moving from stone to stone so you can close on the Sniper Drone’s position. Lob a Frag Grenade up onto the platform where he’s standing or rush him with the Gnasher. Have another Frag Grenade ready for the nest about to open in the center of the graveyard.
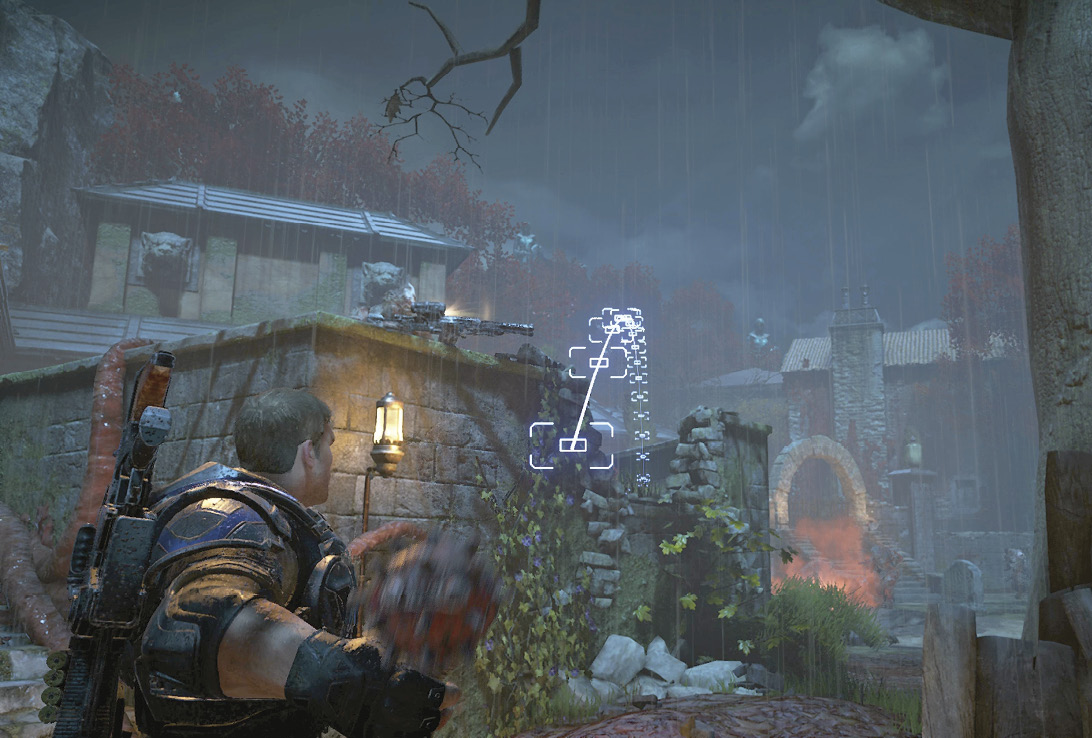
Rush up the stairs, claim the Longshot from the dead Sniper Drone, and pick off any remaining Drones down below. Toss another Frag Grenade at the nest in the distance if you haven’t closed it already. Replenish your Frag Grenade supply with the ones found in the nests, then break through the chained gate and exit the graveyard.
Continue through the ruined buildings up ahead and follow the brick path to the sign for the Fort Reval Keep. Cautiously enter the parking area outside the tram station.
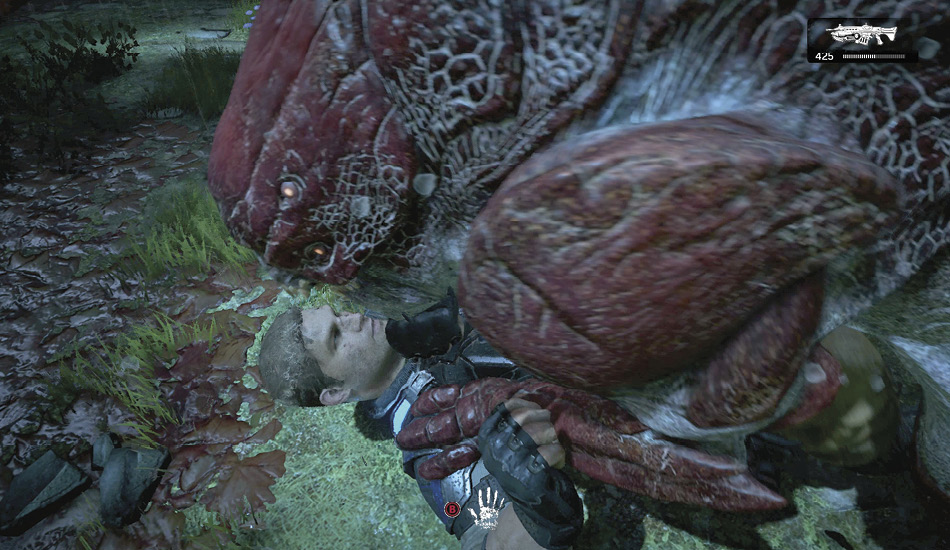
A creature known as a Pouncer attacks the group outside the tram station. This large beast leaps from perch to perch and uses its tail to launch a barrage of deadly quills. An orange glow moves up its tail as it prepares to fling the next set of barbed quills. This is your cue to dodge-roll or slide behind cover, as the quills inflict heavy damage and can be fatal on harder difficulty settings. The Pouncer often fires three or four volleys of quills before leaping to a different piece of cover. Try to avoid being in cover behind the object the Pouncer is leaping to, as you’ll be knocked aside and left vulnerable to an immediate quill attack.
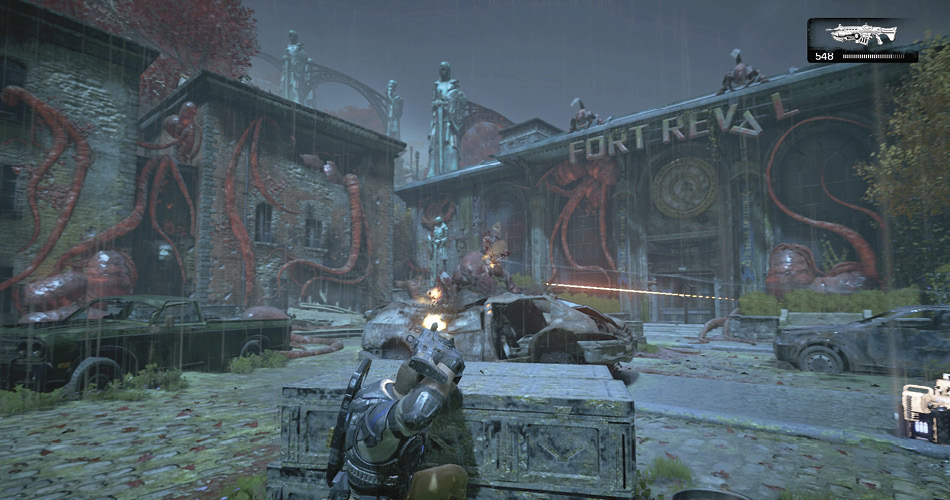
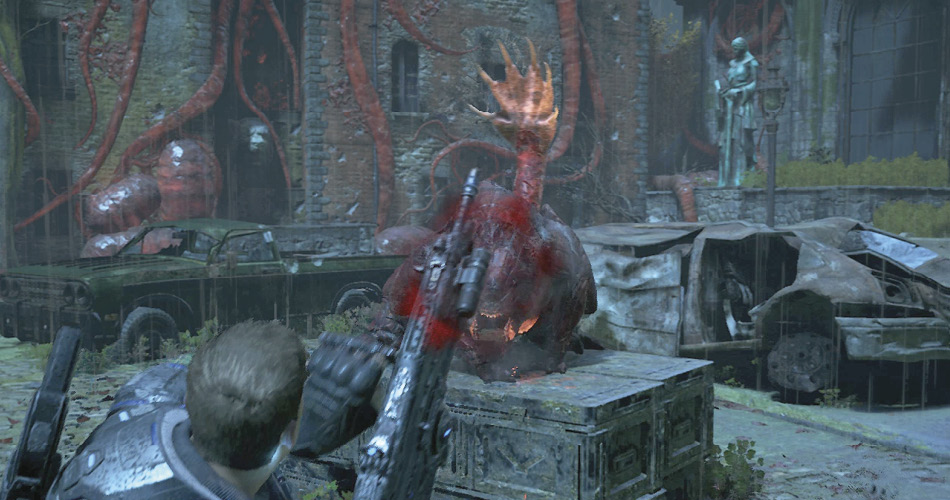
Drop into cover as soon as the Pouncer appears and blind-fire at its body with the Lancer or Hammerburst. Keep your distance and try to avoid being directly in front of it whenever it’s firing its quills. Move from cover to cover and continue firing at the Pouncer with the Lancer from afar. Two additional Pouncers attack after the first one has been defeated, so don’t let your guard down.
Objective : Call the Tram Down
Kill the third Pouncer and gather up any available ammo and weaponry you see. Kick open the door to the tram station and loop around the perimeter in a counter-clockwise direction. Cut through the door snot and pull the lever to call for the tram car.
Board the tram via the platform up the stairs on the right. Del will get it working as soon as you’re on board. And JD will find a way to speed things up.