Gears of War 4 Guide Campaign Act 2
Chapter 4: The Great Escape
Situation Overview
The four escape Jinn’s trap on a pair of Track Mules, motorcycle-like vehicles that can outrun most everything in Jinn’s fleet except the Vulture, a massive attack jet with multiple guns, the ability to deploy firebombs, and a large cargo bay. With JD driving and Marcus on the back, armed with a Enforcer, you must take out the plane and flee to safety.
Wilderness
Objective: Get to Fort Reval
Steer the Mule around the firebombs being dropped by the Vulture until the aircraft pulls away and the path leads into the riverbed. Open fire on the boards blocking half of the openings under the stone arch bridges so the Mule can slip through without crashing. Hitting the boards won’t be a fatal collision on Normal difficulty, but it will slow you down and cause damage.
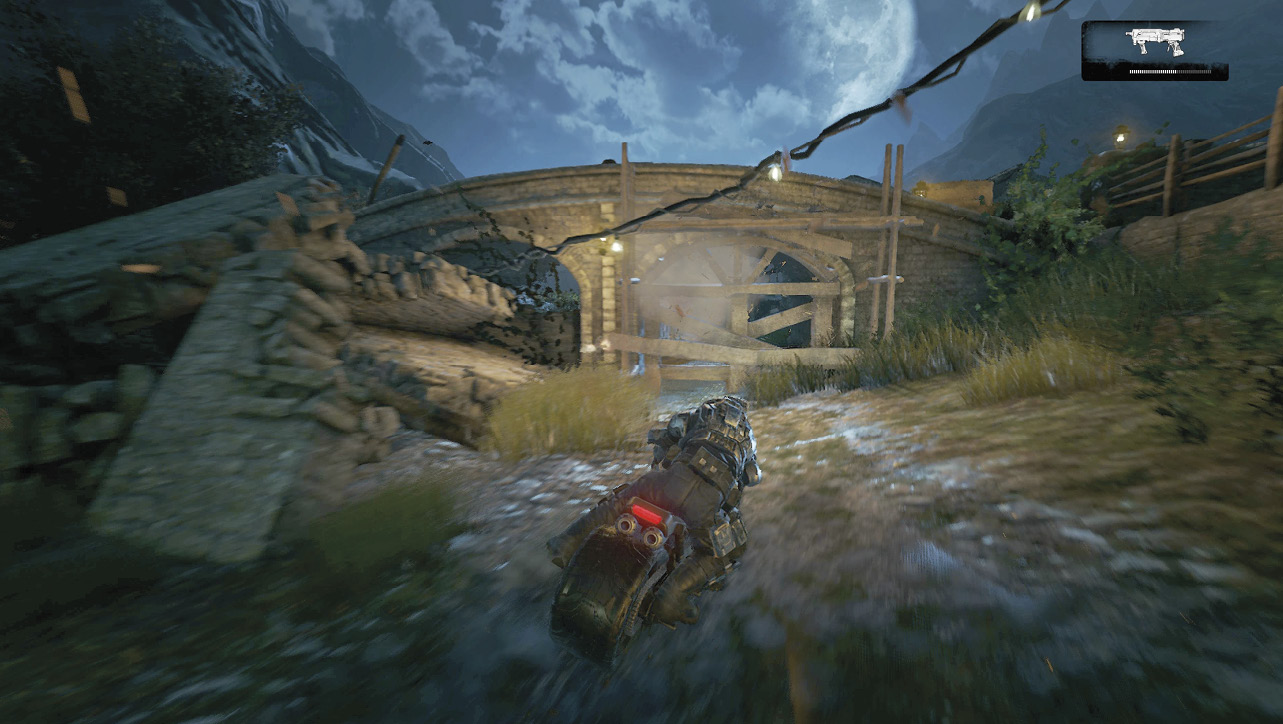
The path is going to get pretty narrow and quite bumpy, but there’s not much that can go wrong provided you don’t crash into a wall or a tree. Steer the Mule along the track and trust Marcus that you’re not going to hit any dead ends. After a pair of harrowing jumps, the two Mules exit the ravine near another farm, just in time for the Vulture to appear. Swerve back and forth to avoid the firebombs.
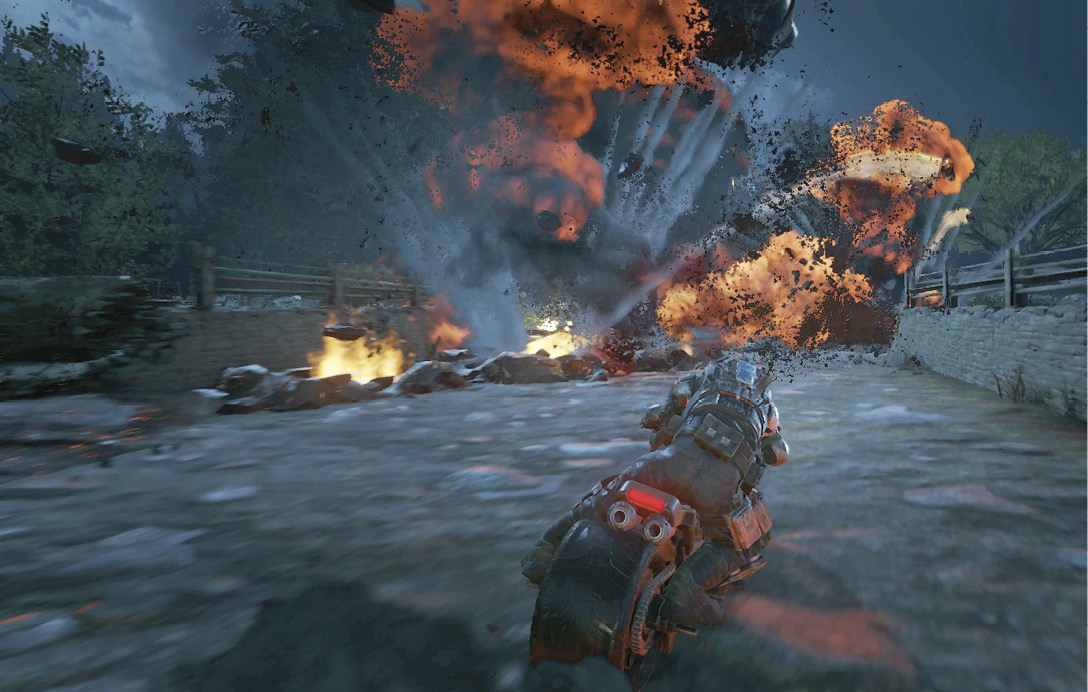
A fallen tree forces the bikes into the forest. Your main concern here is avoiding the trees, but there are also several DeeBees standing in the way. Open fire on them with the Shock Enforcer to blast them out of the way before the Mule crashes into them. When in doubt, aim for the Shepherd instead of the DR-1, as it won’t do as much damage if you crash into it. And always aim for the side of the tree with the most room.
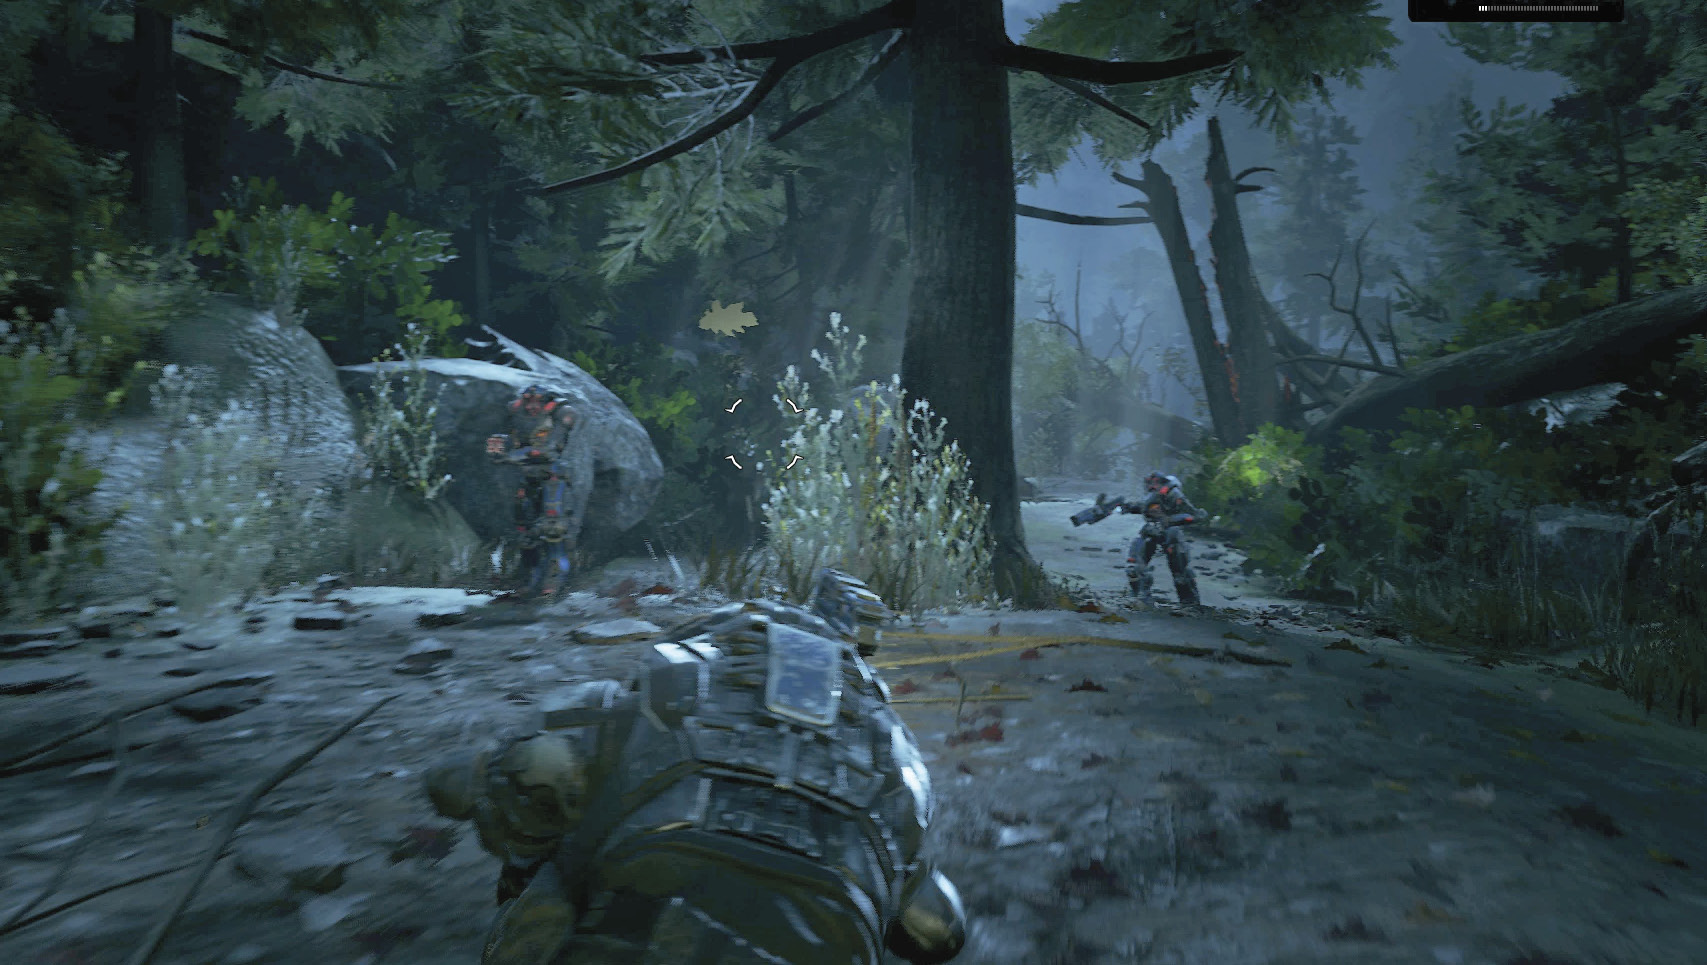
Stick to the center of the path as you make your way through the burning forest. The trees fall around you, but they won’t block your way or land on the Mules. Just hold your line, swerve as necessary to avoid any solid trees, and keep going to the clearing.
Objective: Destroy the Kestrel
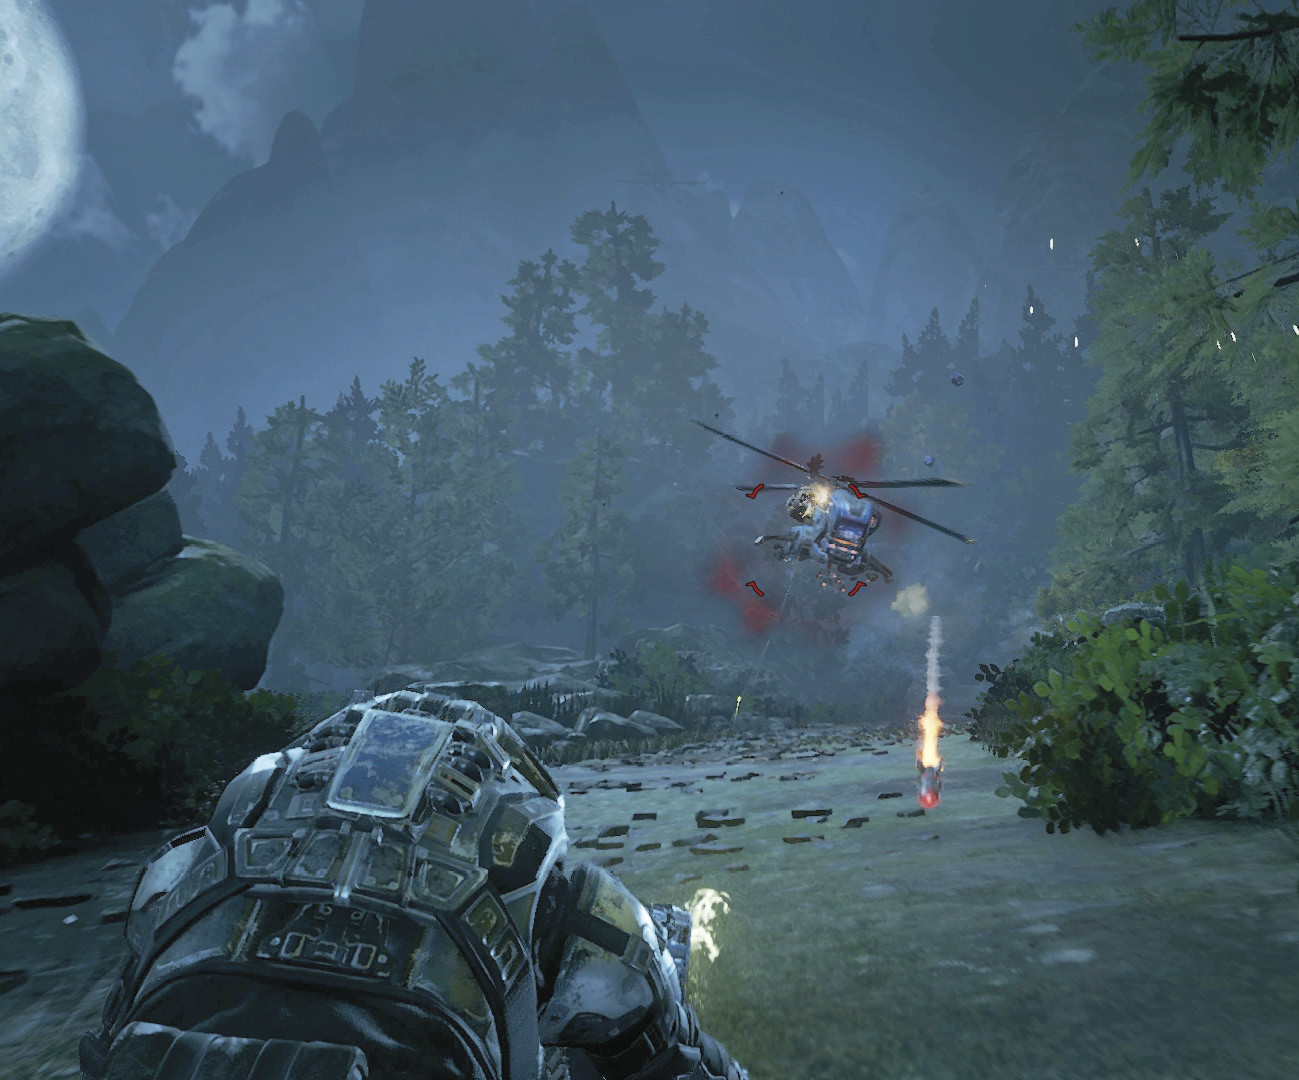
Open fire on the Kestrel as soon as it appears by aiming down the sights at either of its engines. It will fly past firing its guns, which are easily avoidable by steering left and right. The Vulture swoops low overhead and deploys a number of drop-pods. Steer to avoid these while continuing to fire at the Kestrel.
Continue shooting at the Kestrel once it turns around to face you. It’s now going to fire rockets at the Mules. Weave back and forth across the road to avoid the inbound rockets as you shoot. Keep up the attack until the Kestrel is downed at the mouth of the tunnel. The mountain will provide a reprieve, but the battle isn’t over.
Objective: Destroy the Vulture
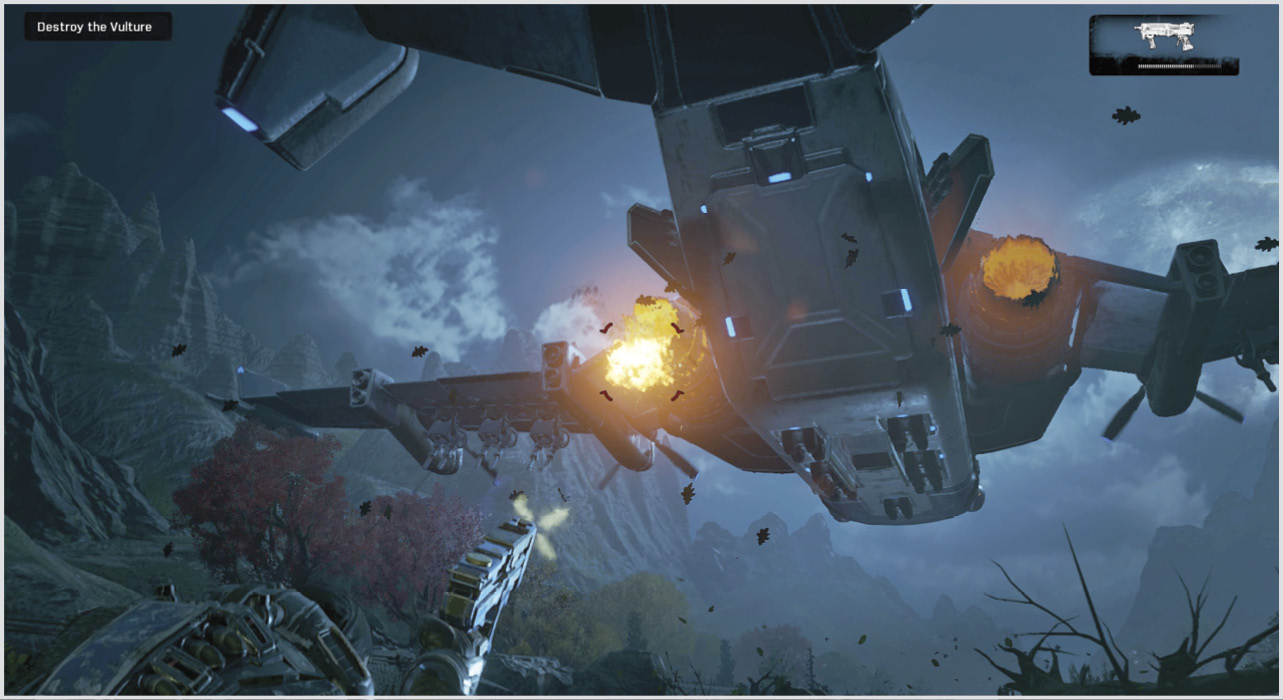
There’s no putting it off any longer: you must destroy the Vulture. Focus your firepower on either of its two main engines until the Vulture lists to one side and flames erupt from the engine. Begin shooting at the other engine as soon as that happens. The second engine should erupt soon enough.
The Vulture begins its counterattack once you’ve damaged its engines. Swerve back and forth to avoid the incendiary bombs, just as you did earlier. Wait for the smoke to clear, then resume shooting either of the engines.
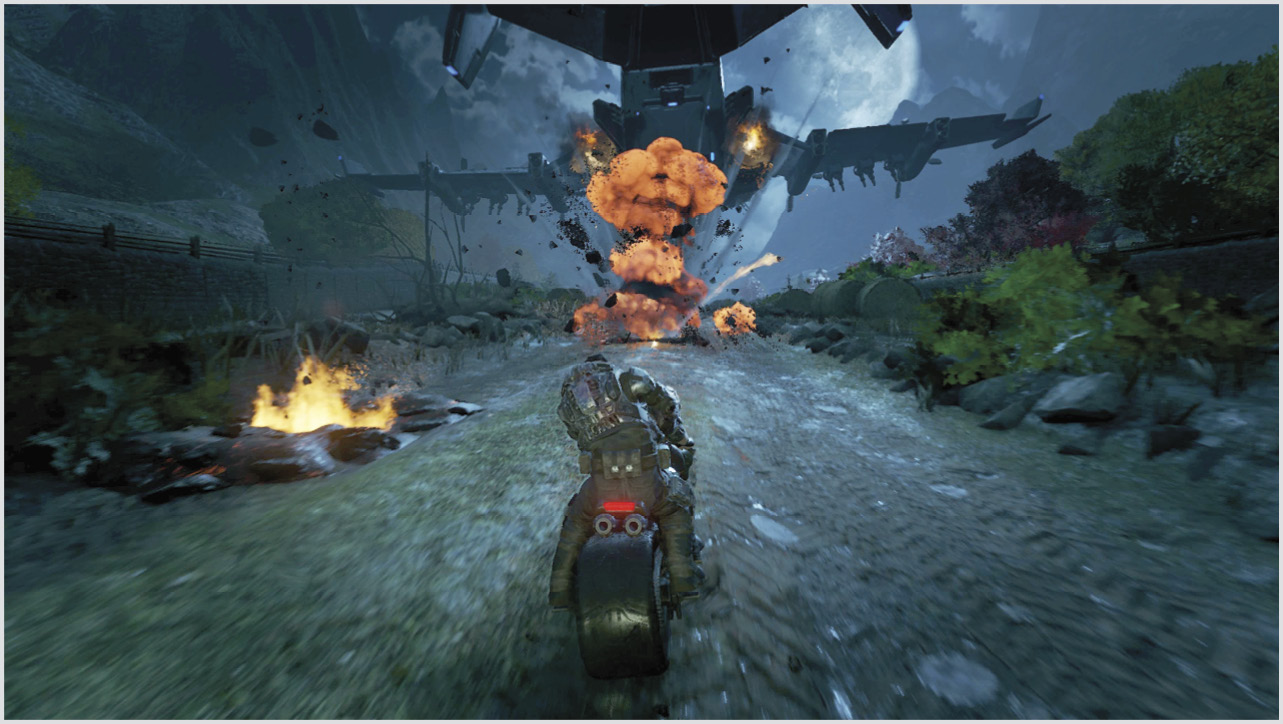
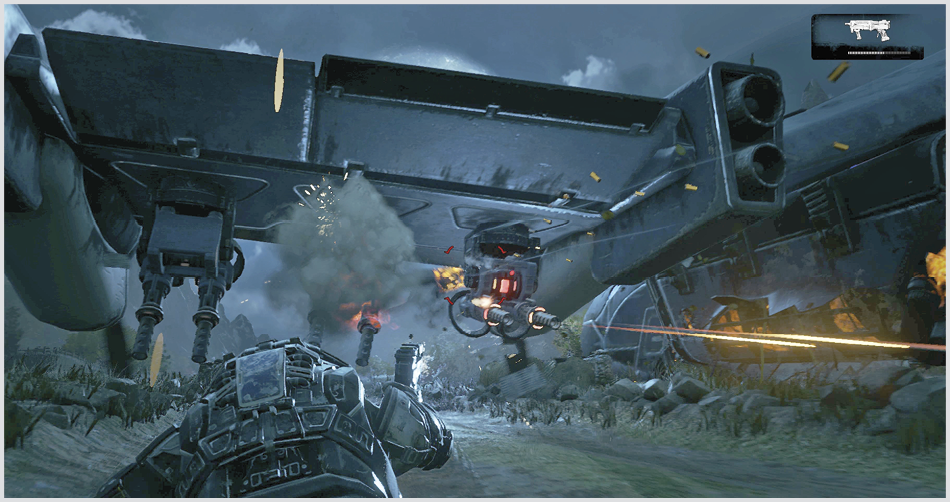
The Vulture takes heavy damage and drops to one side so that it can attack with its wing-mounted guns. Open fire on the three twin Tri-Shots mounted beneath the left-hand wing. The guns will turn red when active, but shooting them quickly disables them. Continue shooting the guns as they come online to disable them and reduce the quantity of bullets you need to worry about. Continue shooting the guns until each of them is destroyed.
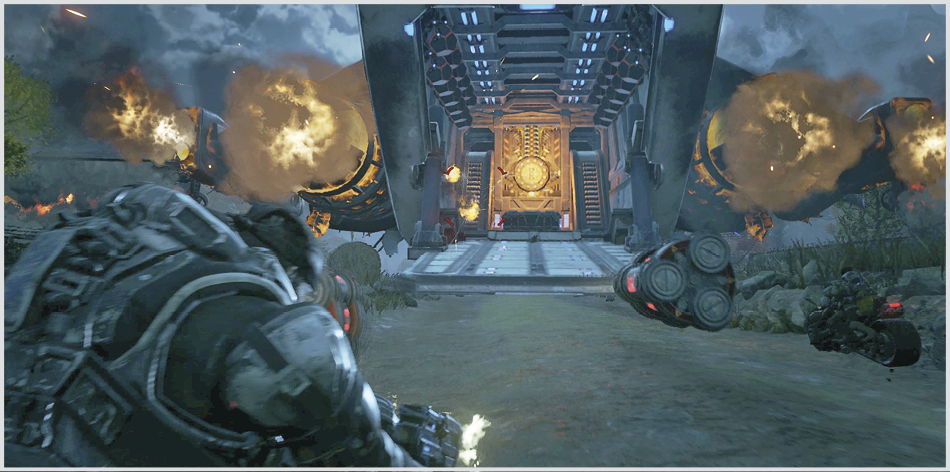
With the guns destroyed, the Vulture speeds up, making it possible to resume shooting the other engine. Finish off the second engine to cause the Vulture to open its cargo bay door, revealing the reactor core powering the craft. Dodge the incendiary bombs tumbling out the back of the plane while firing at the orange core in the center. Ignore the drop-pods and keep on firing at the core until the plane is brought down.