
Gears of War 4 Guide Horde 3.0
Overview
Fight for survival against intensifying waves of enemies with up to four other Co-Op players.
Horde Ribbons
| Ribbon | XP | Description |
|---|---|---|
| 3rd and Long | 125 | Kill an enemy by downing that enemy three times in a Versus or Horde match. |
| Big Exit | 75 | Kill an enemy while grenade tagged. |
| Boombardier | 50 | Kill multiple enemies with a single explosive shot in Versus or Horde. |
| Charge | 100 | Bayonet Charge three enemies in a row in Versus or Horde. |
| Clear! | 100 | Have the most revives in Versus or Horde. |
| Clusterluck | 100 | Kill multiple enemies with a single Frag Grenade in Versus or Horde. |
| Combat Engineer | 150 | Build, repair, or upgrade five fortifications during wave halftime. |
| Construction Worker | 20 | Upgrade the Fabricator. |
| Contender | 75 | Have the most melee hits in Versus or Horde. |
| Coup de Grâce | 50 | Get the final kill with an Execution in Versus or Horde. |
| Death from Beyond | 25 | Kill an enemy while you are dead in Versus or Horde. |
| Demolition Man | 100 | Kill multiple enemies with a single Dropshot shot in Versus or Horde. |
| Diversity | 50 | Win a Horde match with a team that has no duplicate classes. |
| Downer | 75 | Down five enemies who are then killed by another player. |
| Equal Opportunity | 50 | Kill one of each enemy type in a Horde wave. |
| Evasive | 100 | Take the least amount of damage in Versus or Horde. |
| Final Word | 50 | Get the final kill in Versus or Horde. |
| Financier | 150 | Deposit 5000 power into the Fabricator. |
| First! | 125 | Get the first kill in Versus or Horde. |
| Go on Without Me | 25 | Complete the wave as the only dead player. |
| Grenadier | 100 | Have the most grenade kills in Versus or Horde. |
| Guys? Hello? | 25 | Spend the most time down but not out in Versus or Horde. |
| Hail Mary | 100 | Kill an enemy who is at least 200 feet away with the Boomshot or RL-4 Salvo in Versus or Horde. |
| Hat Trick | 150 | Headshoot three enemies in a row in Versus or Horde. |
| Headhunter | 100 | Have the most headshots in Versus or Horde. |
| Helping Hand | 75 | Assist teammates 10 times in Versus or Horde. |
| High ROI | 75 | Kill five enemies with a weapon from the Fabricator. |
| I Gotcha | 25 | Revive all four of your teammates in a single wave. |
| I Know Kung-Fu | 75 | Counter a close-cover combat move. |
| Industrious | 100 | Use more than one DeeBee weapon to kill a single enemy. |
| Inside Out | 150 | Kill an enemy with a Dropshot headshot in a Versus match. |
| Last Hope | 150 | Complete a wave as the only player alive. |
| Last Man Out | 100 | Be the only surviving member of your team in Versus or Horde. |
| Like a Boss | 150 | Complete a Boss Wave while not dead or DBNO. |
| Long Hauler | 150 | Complete all 50 waves in a single session. |
| Lumberjack | 100 | Chainsaw three enemies in a row in Versus or Horde. |
| Medic | 125 | Revive five teammates in Versus or Horde. |
| Methodical | 50 | Execute five enemies. |
| Military Intelligence | 150 | Mark five enemies who are then killed by someone else within ten seconds in Versus or Horde. |
| More Guts Than Skill | 75 | Kill yourself at least three times in Versus or Horde. |
| MVP | 100 | Have the most points in Versus or Horde. |
| No Smoking | 100 | Kill an enemy with a Smoke Grenade in Versus or Horde. |
| No, Wait! | 75 | Kill an enemy who is reloading in Versus or Horde. |
| Not So Fast | 100 | Kill an enemy who is executing a teammate in Versus or Horde. |
| Phat Loot | 100 | Complete a bonus objective. |
| Pistoleer | 75 | Have the most pistol kills in Versus or Horde. |
| Point Man | 125 | Pick up the most power in a wave. |
| Quick Clips | 75 | Have the most Perfect Active Reloads in Versus or Horde. |
| Repair Man | 50 | Spend 1500 power repairing fortifications. |
| Rope-a-Dope | 25 | Kill three enemies who are distracted by a decoy. |
| Rough Day | 150 | Die the most in Versus or Horde. |
| Sawdust | 100 | Kill five enemies with a Buzzkill in a Versus or Horde match. |
| So Close | 100 | Die within one second of either dying or self-reviving in Versus or Horde. |
| Special Delivery | 25 | Kill an enemy with a bag-’n’-tag in Versus or Horde. |
| Spray and Pray | 50 | Have the most blind-fire kills in Versus or Horde. |
| Stab ’Em | 75 | Kill an enemy with a knife Execution after a close-cover combat move. |
| Supervisor | 100 | Complete a wave with no kills. |
| Team Player | 50 | Have the most assists in Versus or Horde. |
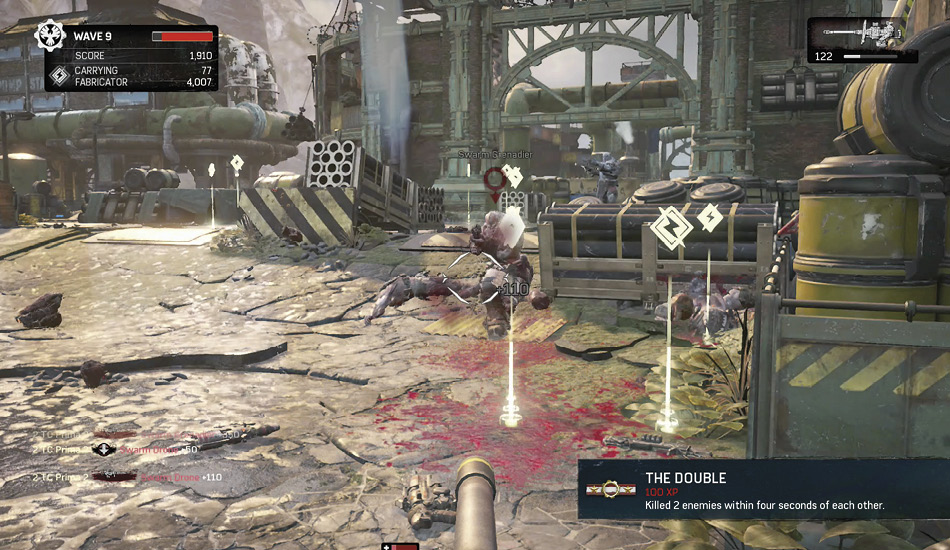
| The Double | 100 | Kill two enemies within four seconds of each other. |
| The Quad | 150 | Kill four enemies within four seconds of each other. |
| The Quinn | 175 | Kill five enemies within four seconds of each other. |
| The Specialists | 100 | Win a Horde match with a team that’s all the same class. |
| The Super | 25 | Headshot a rolling enemy in Versus or Horde. |
| The Triple | 125 | Kill three enemies within four seconds of each other. |
| Tough Guy | 50 | Die the least in Versus or Horde. |
| Trick Shot | 75 | Get a Torque Bow headshot that is also a double kill in Versus or Horde. |
| Well Protected | 75 | Be the most revived member on your team in Versus or Horde. |
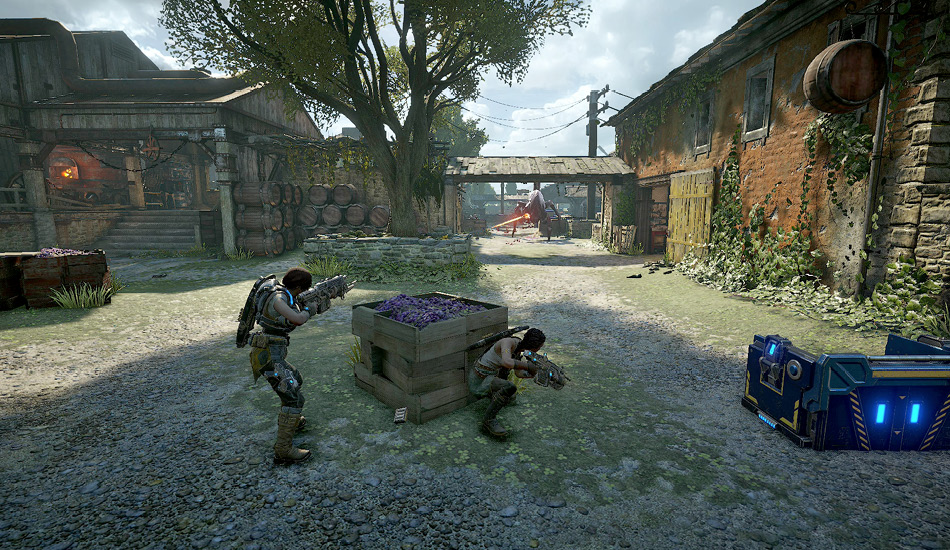
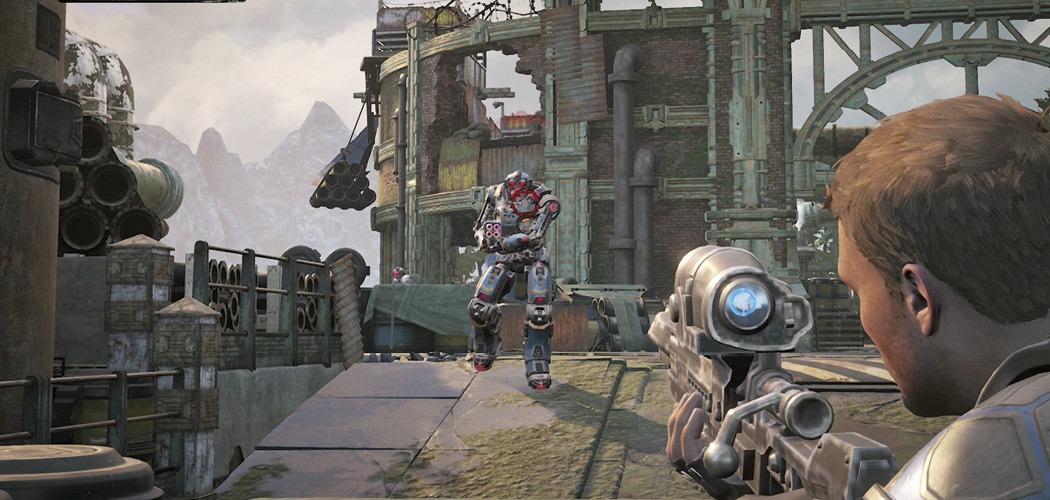
Horde mode returns in Gears of War 4, allowing you to join up to four other players as you fight through 50 waves of increasingly difficult enemies. The selection of foes starts out with weak DeeBees, but as you progress, stronger DeeBees and Swarm spawn into the battle. Build fortifications and purchase new weapons to increase your odds against the adversaries.
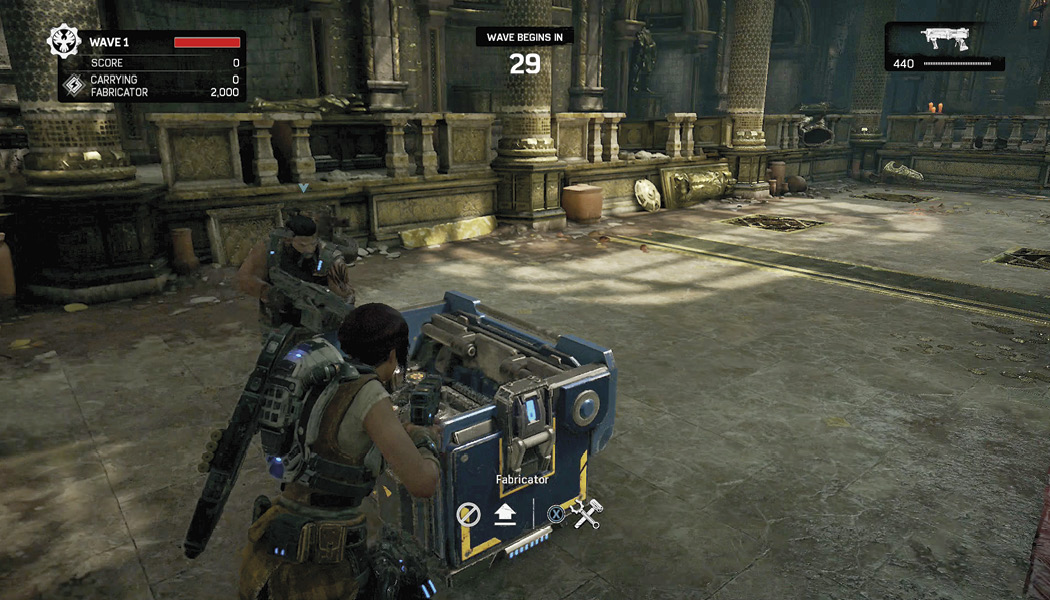
The first step is to find the Fabricator and scout the map out. Move the Fabricator to a defensible location and protect the area from the onslaught of enemies. Gain power from defeated foes and use it to build fortifications and weapons at the Fabricator. This is key to making your way through all fifty waves.
Starting a Game
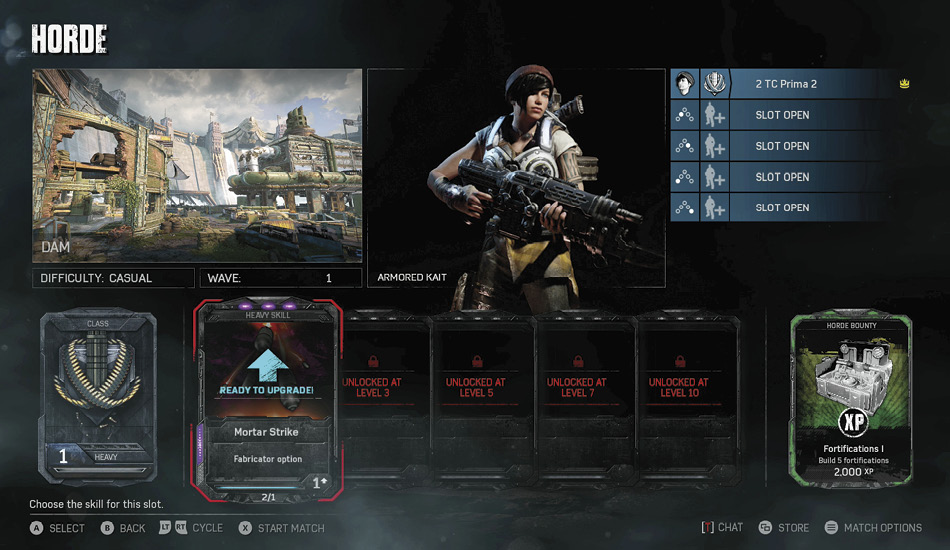
At the Horde Menu, you can select a Standard online game, a Private match, upgrade your Class Skills, and select a Bounty. A Standard game allows you to select a difficulty, at which point matchmaking finds an online game for you. While it searches for an available spot, you have the opportunity to Gear Up—giving you a chance to view your stats, buy Gears Packs, and customize your Horde character, class, and Bounty.
Select Private to host a Horde match. Once inside the lobby, you select the map, difficulty, and starting wave. Invite up to four friends to join the game. Each player can use this opportunity to customize the character, class, and Bounty.
Difficulty
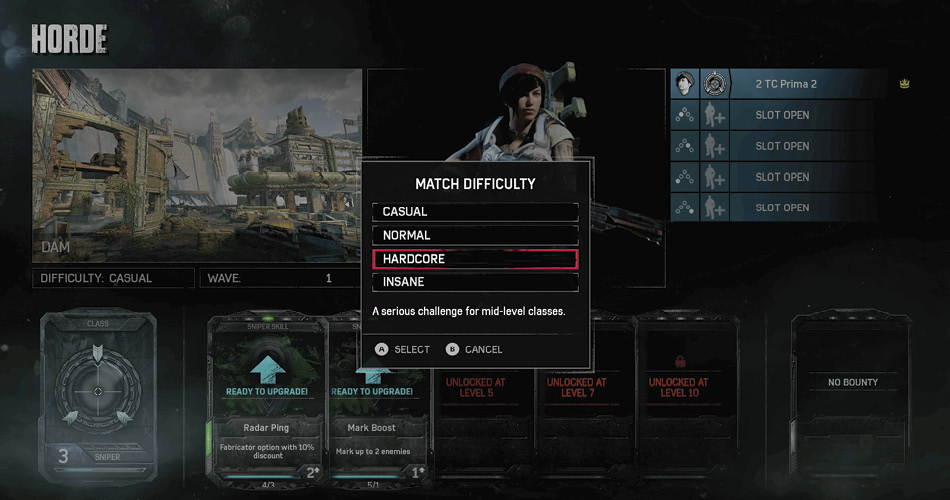
Select between four difficulties before beginning a game of Horde. This modifies your health and the damage you deal against the enemies. Casual gives you a significant boost in damage over the three tougher settings. Player health takes a big hit as the difficulty goes up, giving you only 210 health at the top setting—making cover and team play that much more important.
It is necessary to level up your classes to complete the tougher difficulties. The game is extremely tough if you do not have a full team, so try matchmaking if you do not have enough friends to fill a squad.
Difficulty Modifiers
| Difficulty | Description | Player Health | Player Damage | Score Bonus |
|---|---|---|---|---|
| Casual | Start your Horde career here. | 275% | 250% | 1x |
| Normal | Standard difficulty for beginning classes. | 150% | 170% | 2x |
| Hardcore | A serious challenge for mid-level classes. | 70% | 130% | 3x |
| Insane | The true endurance test for high-level classes. | 35% | 100% | 5x |
Horde Cards
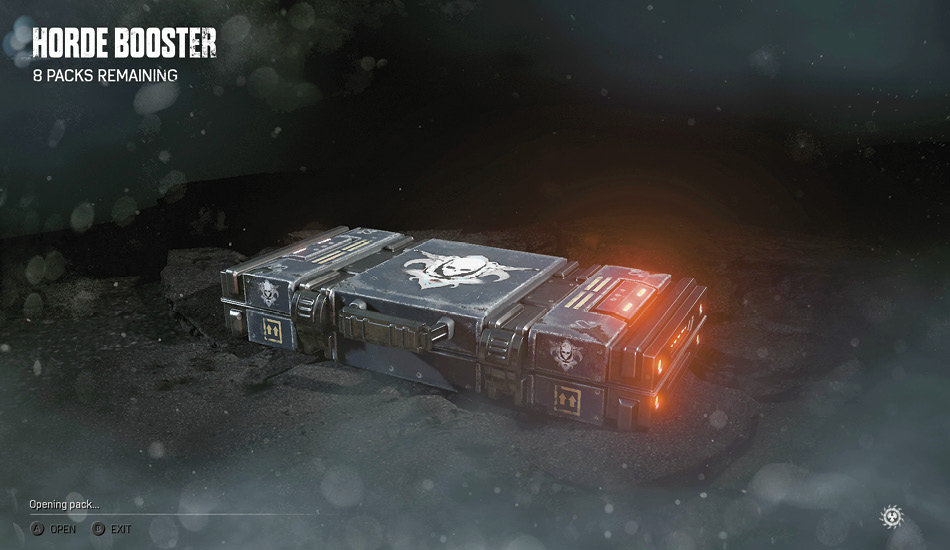
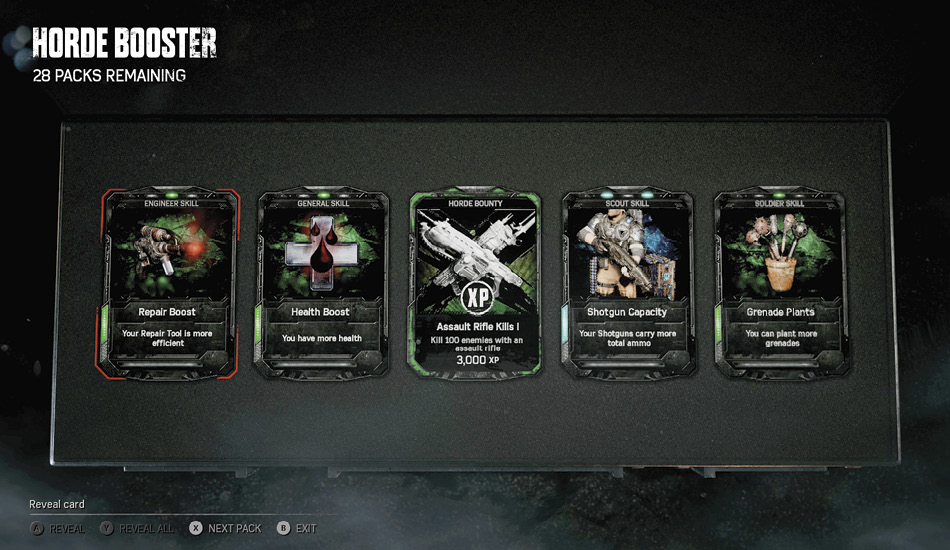
Purchase Gears Packs from the Store to find Horde Class Skills and Bounties. Skills give you an improved chance at defeating the Swarm with stat bonuses and special skills. Consumable Bounty cards allow you to set a challenge on your Horde game. Complete the action listed on the card to earn bonus XP. Refer to the Appendices for a full list of cards.
Just like the rest of the Gears cards, these can be destroyed for a small amount of scrap. This can then be used to create cards that you own. The following table shows the scrap required to create a new card, and scrap gained with a destroyed card. Note that there are no Legendary Horde Skill cards.
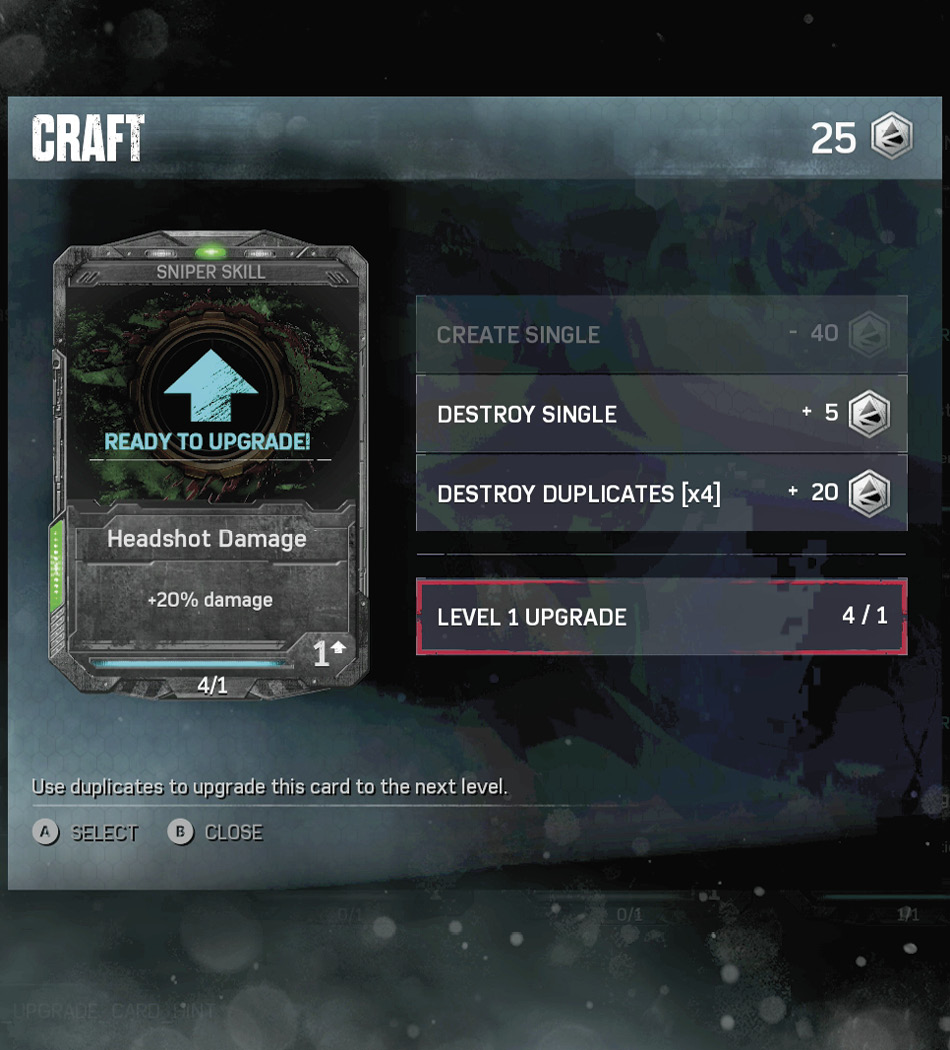
Scrap Required for Creation and Gained When Destroyed
| Rarity | Burn | craft |
|---|---|---|
| Common | 5 | 40 |
| Rare | 20 | 100 |
| Epic | 150 | 600 |
| Legendary | 600 | 2400 |
Find duplicates of a Class Skill card to upgrade its level and improve the effect. The following table displays the number of duplicates required to increase the skill to Levels 2 through 5. As you can see, this requires a whole lot of Gears Packs, with 20 versions of the same card needed to max out a skill’s potential. As more skill slots are gained, you will want more maxed skills. Remember that unwanted cards can be destroyed for scrap, and owned cards can be created. Be careful to only scrap Class Skill cards that are positively unwanted. Refer to the Classes section later in this chapter for detailed information on all skills.
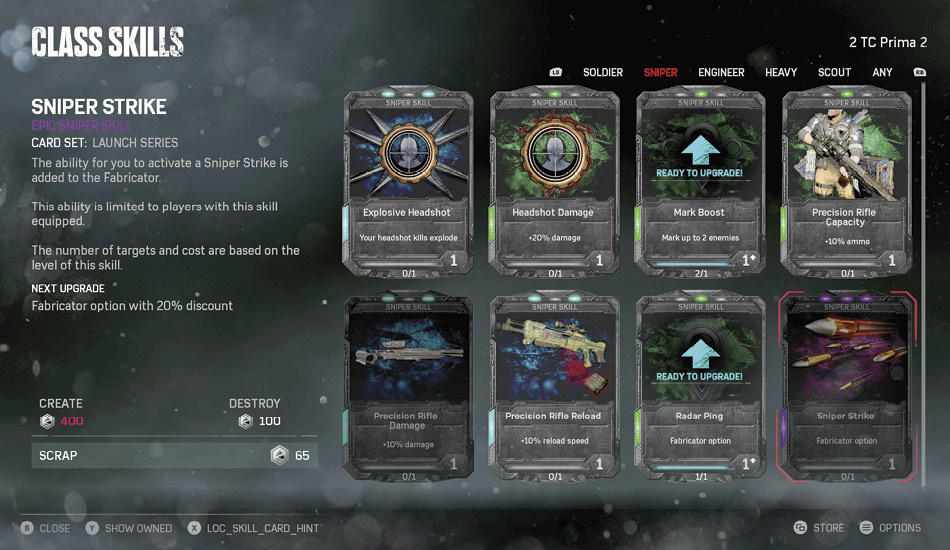
Card Requirement for Upgrading
| Level | Duplicate Cards Required |
|---|---|
| 2 | 1 |
| 3 | 3 |
| 4 | 5 |
| 5 | 10 |
Bounties
Collect Horde Bounty cards from Gears Packs. These cards allow you to earn bonus XP for completing tasks. The following table lists all of the Horde Bounties available. Select the Bounty you wish to work on from the lobby. Note that you must own the card to attempt the Bounty, and it must be completed in one match. Once completed, though, it is removed from your deck.
| Bounty | Description | XP / Credits | Rarity | Card Set |
|---|---|---|---|---|
| Assault Rifle Kills I | Kill 100 or more enemies with an assault rifle (Lancer, Retro Lancer, Hammerburst, Enforcer) during a Horde match on any difficulty. | 3000 XP | Common | Launch Series |
| Engineer Challenge I | Beat the first 20 waves of a Horde match while playing as the Engineer class on any difficulty. | 10,000 XP | Common | Launch Series |
| Heavy Challenge I | Beat the first 20 waves of a Horde match while playing as the Heavy class on any difficulty. | 10,000 XP | Common | Launch Series |
| Scout Challenge I | Beat the first 20 waves of a Horde match while playing as the Scout class on any difficulty. | 10,000 XP | Common | Launch Series |
| Sniper Challenge I | Beat the first 20 waves of a Horde match while playing as the Sniper class on any difficulty. | 10,000 XP | Common | Launch Series |
| Soldier Challenge I | Beat the first 20 waves of a Horde match while playing as the Soldier class on any difficulty. | 10,000 XP | Common | Launch Series |
| Explosive Kills I | Kill 100 or more enemies with an explosive launcher (Boomshot, Dropshot, Torque Bow, RL-4 Salvo) or Frag Grenade during a Horde match on any difficulty. | 5000 XP | Common | Launch Series |
| Fortifications I | Build five or more fortifications during a Horde match on any difficulty. | 2000 XP | Common | Launch Series |
| Fortifications II | Build 50 or more fortifications during a Horde match on any difficulty. | 20,000 XP | Common | Launch Series |
| Hardcore Challenge I | Beat the first 20 waves of a Horde match on Hardcore difficulty. | 20,000 XP | Common | Launch Series |
| Headshot Kills I | Kill 100 or more enemies with headshots during a Horde match on any difficulty. | 5000 XP | Common | Launch Series |
| Horde Challenge I | Beat the first 10 waves of a Horde match on any difficulty. | 1000 XP | Common | Promo |
| Horde Challenge II | Beat the first 20 waves of a Horde match on any difficulty. | 10,000 XP | Common | Launch Series |
| Insane Challenge I | Beat the first 10 waves of a Horde match on Insane difficulty. | 10,000 XP | Common | Launch Series |
| Insane Challenge II | Beat the first 20 waves of a Horde match on Insane difficulty. | 20,000 XP | Common | Launch Series |
| Kills I | Kill 50 or more enemies during a Horde match on any difficulty. | 2000 XP | Common | Launch Series |
| Kills II | Kill 500 or more enemies during a Horde match on any difficulty. | 20,000 XP | Common | Launch Series |
| Normal Challenge I | Beat the first 20 waves of a Horde match on Normal difficulty. | 10,000 XP | Common | Launch Series |
| Normal Survival I | Beat all 50 waves of a Horde match on Normal difficulty. | 1000 CR | Rare | Launch Series |
| Rare Engineer Survival I | Beat all 50 waves of a Horde match while playing as the Engineer class on any difficulty. | 750 CR | Rare | Launch Series |
| Rare Hardcore Survival I | Beat all 50 waves of a Horde match on Hardcore difficulty. | 1100 CR | Rare | Launch Series |
| Rare Heavy Survival I | Beat all 50 waves of a Horde match while playing as the Heavy class on any difficulty. | 750 CR | Rare | Launch Series |
| Rare Horde Survival I | Beat all 50 waves of a Horde match on any difficulty. | 750 CR | Rare | Launch Series |
| Rare Insane Survival I | Beat all 50 waves of a Horde match on Insane difficulty. | 1200 CR | Rare | Launch Series |
| Rare Scout Survival I | Beat all 50 waves of a Horde match while playing as the Scout class on any difficulty. | 750 CR | Rare | Launch Series |
| Rare Sniper Survival I | Beat all 50 waves of a Horde match while playing as the Sniper class on any difficulty. | 750 CR | Rare | Launch Series |
| Rare Soldier Survival I | Beat all 50 waves of a Horde match while playing as the Soldier class on any difficulty. | 750 CR | Rare | Launch Series |
Fabricator
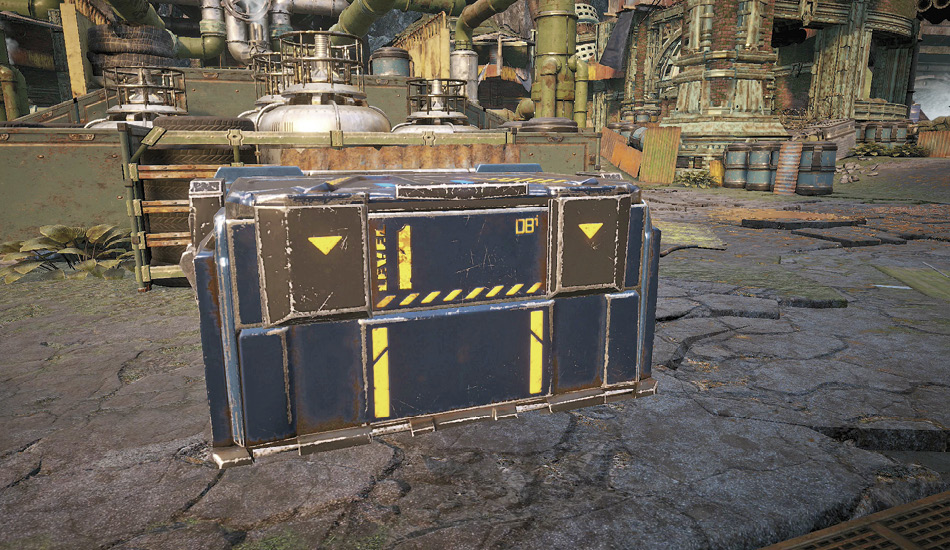
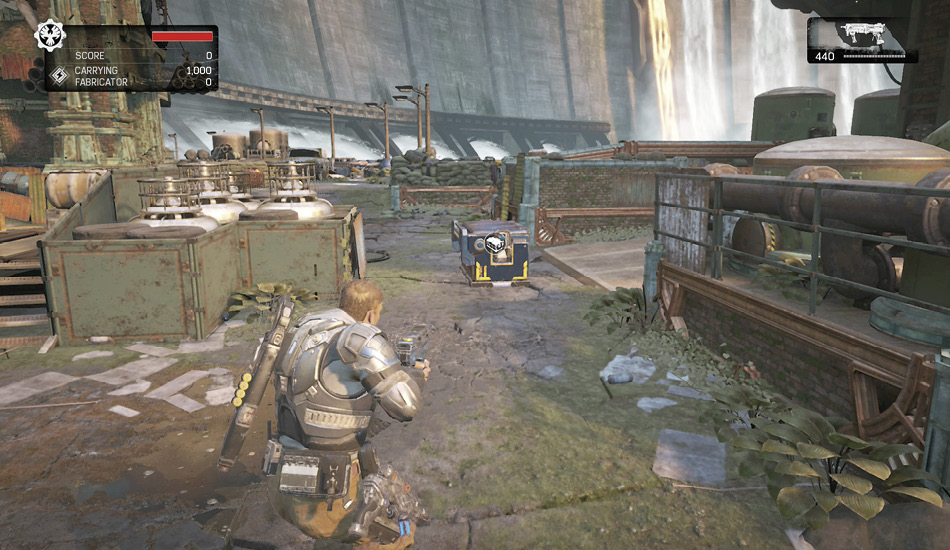
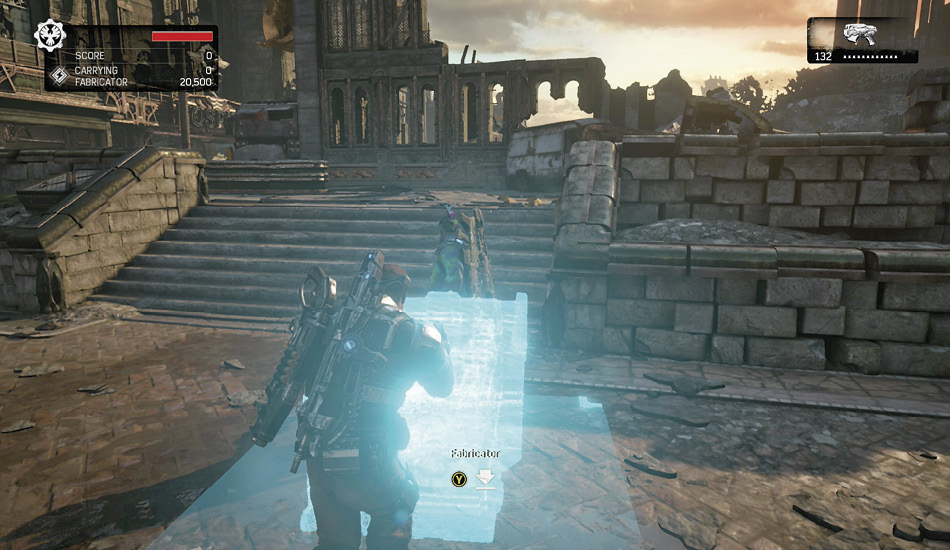
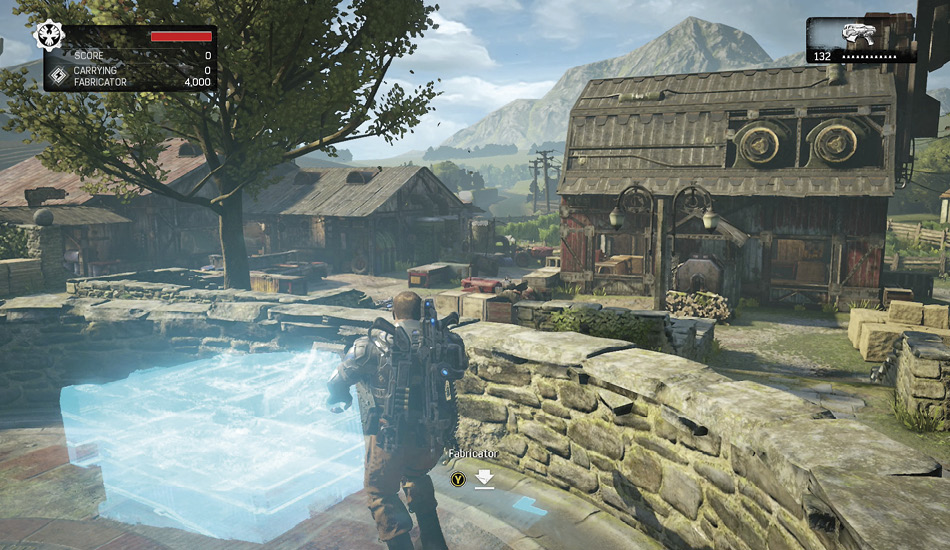
When you start a game of Horde, a Fabricator is found in the center of the map. Use TAC/COM to quickly find it. This device gives the team access to fortifications and weapons. To begin, approach one side and secure it by pressing . This picks up one side of the Fabricator. Move around to push and pull it around. Once you have found a good spot for it, press again to drop it. Another player can grab the other end to double the movement speed.
Fabricator Level
| Level | Power Spent |
|---|---|
| 2 | 30,000 |
| 3 | 90,000 |
| 4 | 120,000 |
The Fabricator highlights in red to notify you that it cannot be placed at the current location; blue signifies an acceptable spot. Once it has been deployed, a 30-second timer counts down to the first enemy spawn. If it has not been placed after five minutes, the timer automatically begins.
Wave Progress
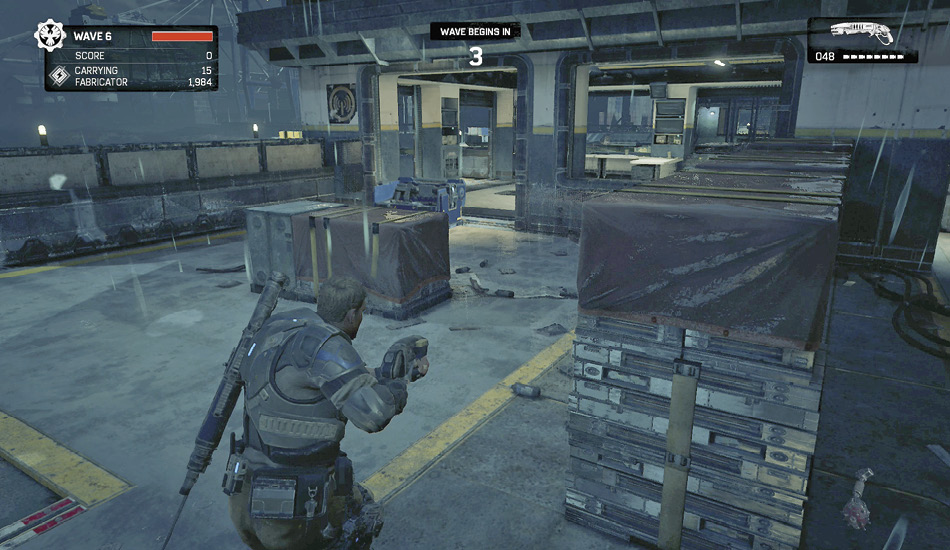
The wave number and a red bar are shown in the upper-left corner of the HUD, just above your current Energy holdings. The bar represents the number of enemies left in the current wave—depleting as the DeeBees and Swarm are eliminated. Once five remain, this switches to a number. After you defeat the final foe, the leaderboard is displayed for a short period. Then a 30-second timer allows you to prepare your defenses before the next wave begins.
Power
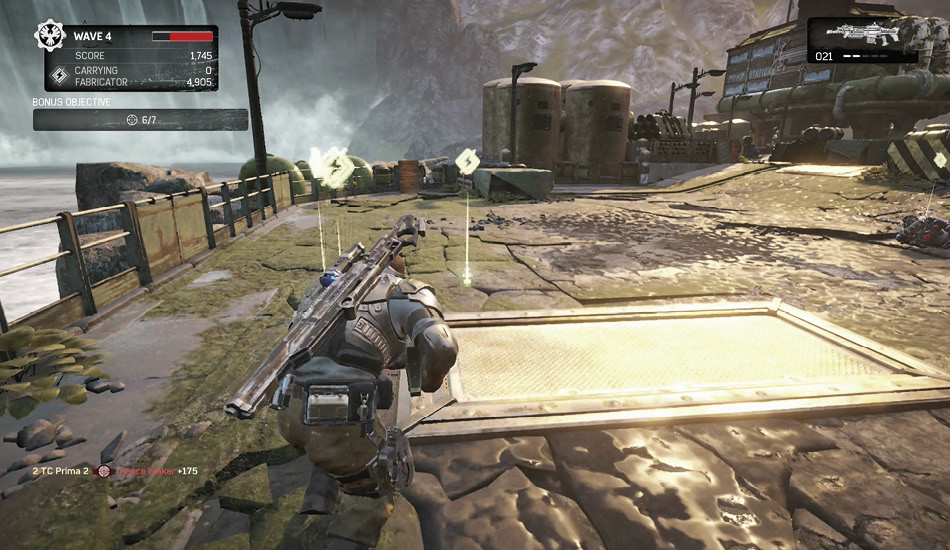
Defeating enemies earns power, which in turn is used to build/repair fortifications and purchase weapons from the Fabricator. There is a small, instant gain of power with each defeated foe, but a bigger pile of power is left behind at the point they are taken out. If you fail to grab it before the final enemy is defeated, you can pick it up during the 30-second break without the bonus. Once the next wave begins, though, the power is removed from the battlefield.
Power is required to purchase anything from the Fabricator. Each player begins the game with 1000 power, which is automatically deposited to the Fabricator once it is touched. Note that joining a game in progress does not grant you the starting 1000 power. If you are killed, your power is left behind in a big pile, so be sure to collect it before the next round begins.
Downed and Death
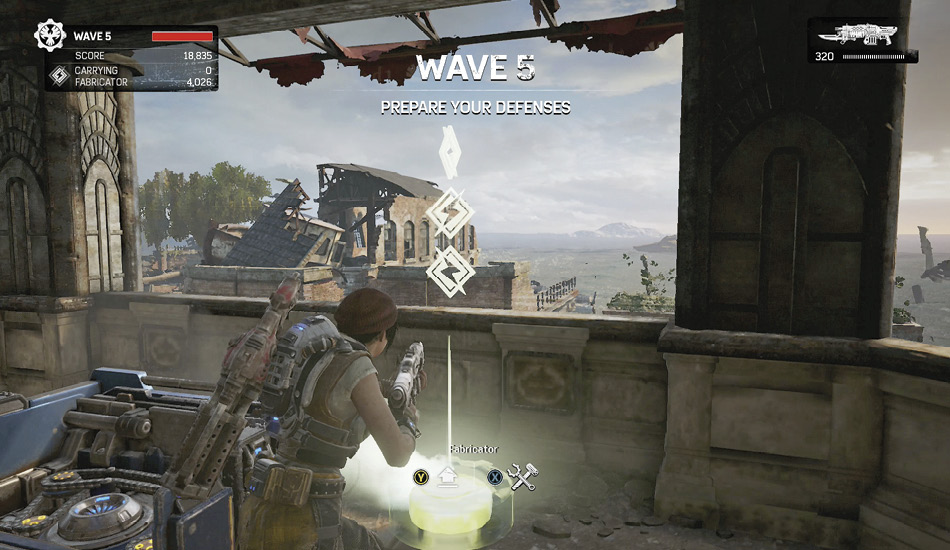
If you are downed, your teammates can pick you up within a time limit, unless of course an enemy finishes you off. An exclamation icon appears at the bottom of your HUD to signify that a teammate needs help. Press to be pointed in the right direction. When you die, your COG Tags are left behind, at which point you can be revived. Approach the tags, hold the button to pick them up, and return to the Fabricator.
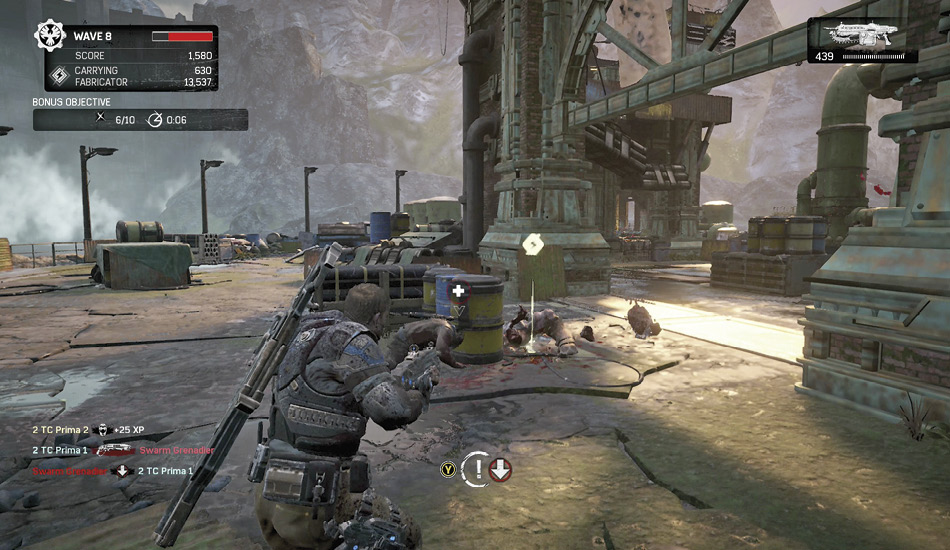
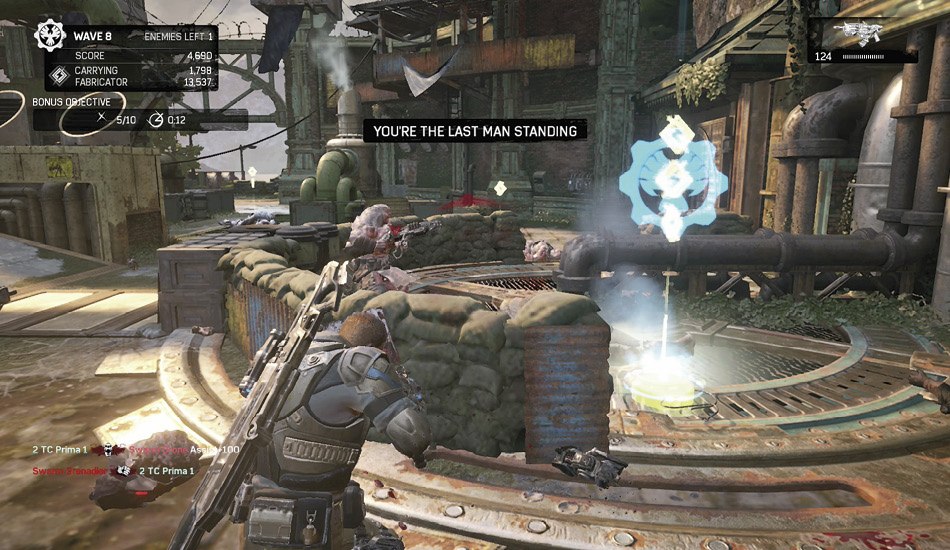
The team is given one free revive per round. All subsequent revives cost power, which increases by 2500 each time. Once the round ends, all dead players are revived for free. Use this information wisely to decide if a revive is worth the cost. There is a Rare General Skill, Team Revive, that allows you to revive all teammates from the Fabricator—for a cost.
Revival Cost per Round
| Death | Cost (Power) |
|---|---|
| 1 | 0 |
| 2 | 2500 |
| 3 | 5000 |
| 4 | 7500 |
| 5 | 10,000 |
| 6 | 12,500 |
| 7 | 15,000 |
| 8 | 17,500 |
| 9 | 20,000 |
| 10 | 22,500* |
*Continues to increase by 2500 with each death.
Do not pick up someone’s COG Tags unless you intend to revive the player, or you will not be able to deposit your power. Players revive with full ammo, so dying can sometimes be a good thing.
Fortifications
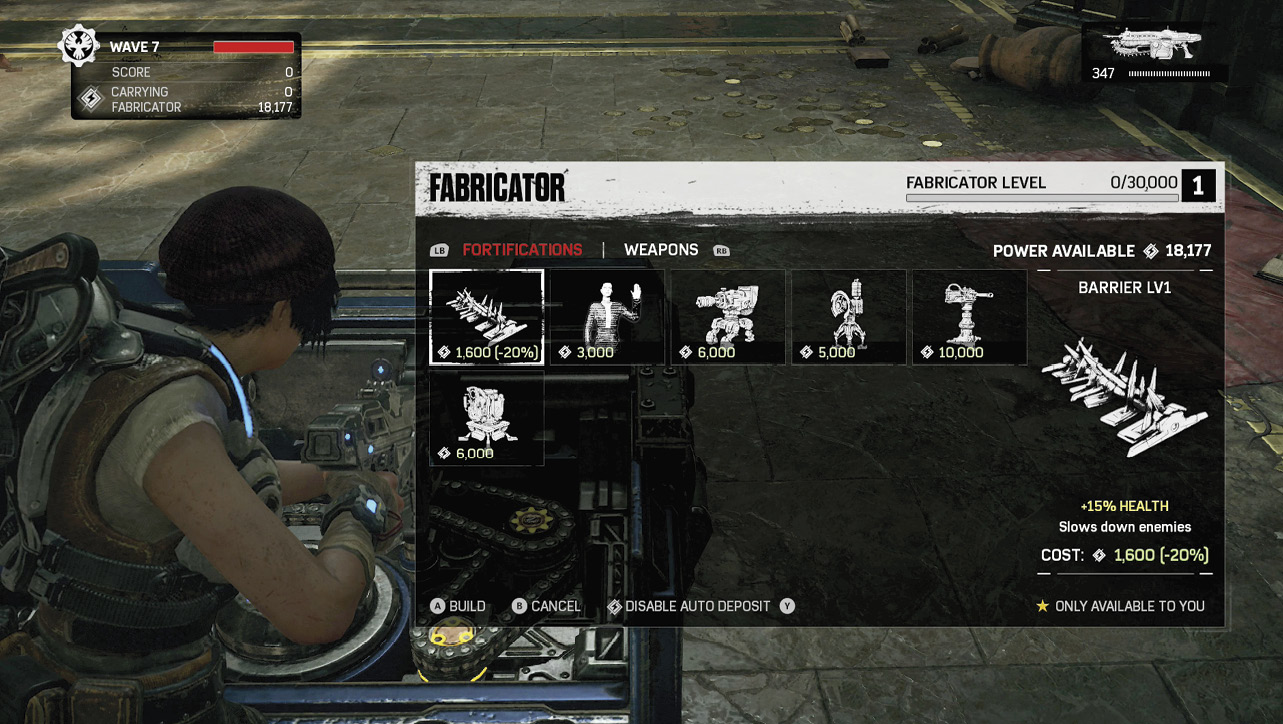
Barriers, decoys, sentries, turrets, and weapons lockers are available for purchase at the Fabricator once it has been placed. Deploy these anywhere on the map to assist in your battle against the enemies.
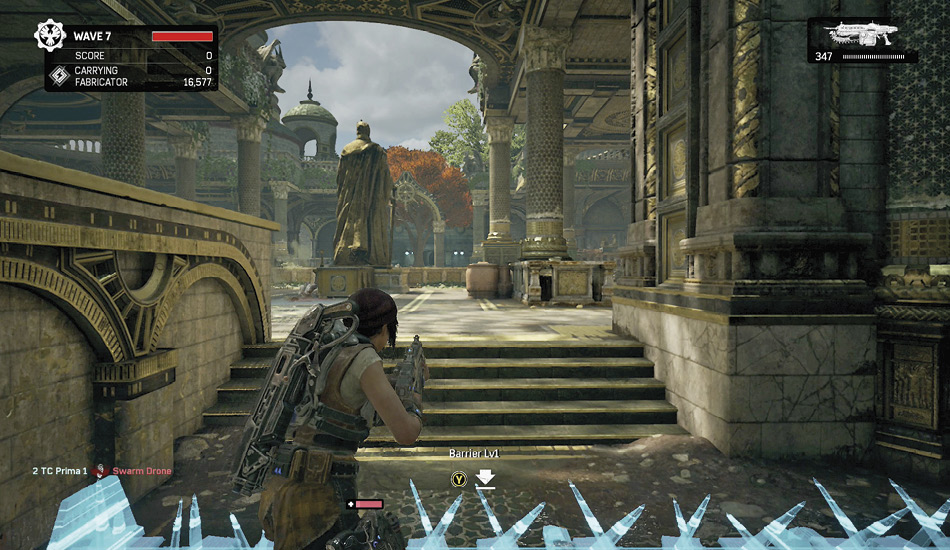
Barriers slow or stop enemy progress. Place them at entrances to your base to slow them down. Place sentries or turrets so that they face these locations, and they will mow down the weakened foes.
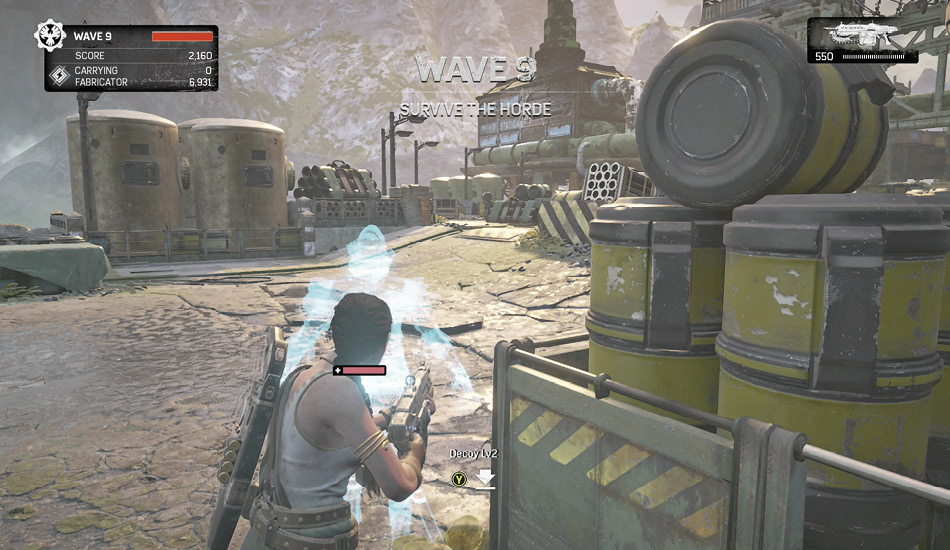
Decoys attract enemy fire. Use them to absorb weapon fire, allowing you and your teammates to take down the distracted opponents.
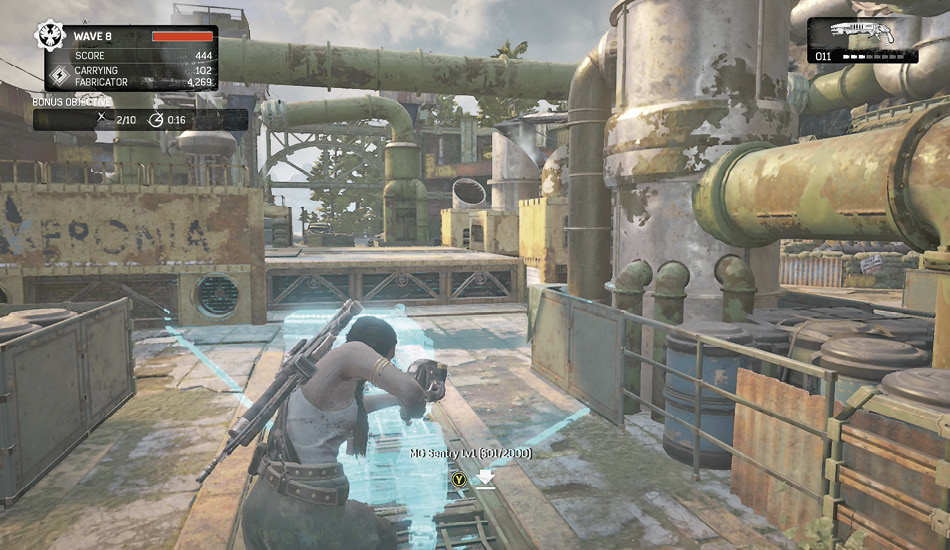
Sentries attack enemies within range. These automated guns are great for protecting the team. Use them to alert the team of enemy presence or to protect a player’s flank.
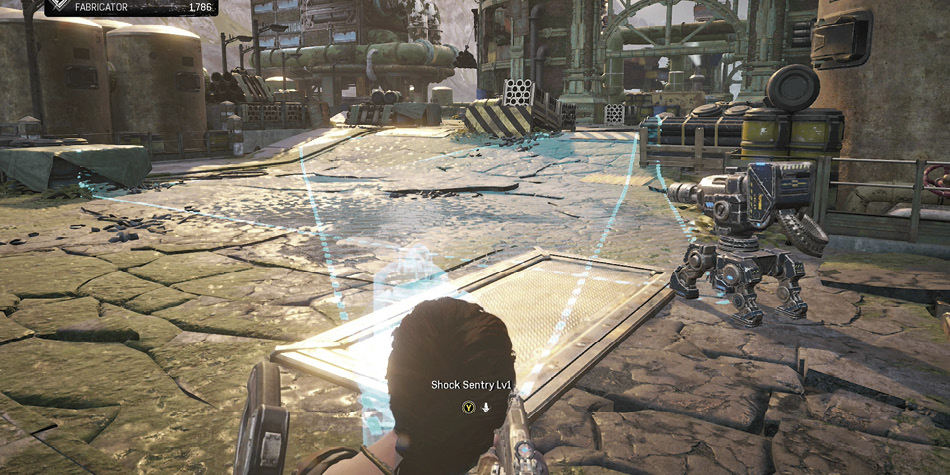
Shock Sentries stun and slow enemies. Target openings to your base with these automated weapons to slow down an enemy rush.
Turrets are heavy weapon emplacements that must be manned by a player. This uses up a member of the team, but its power is greater than the sentries.
Weapons lockers allow the team to store up to four weapons, where ammo is automatically refilled.
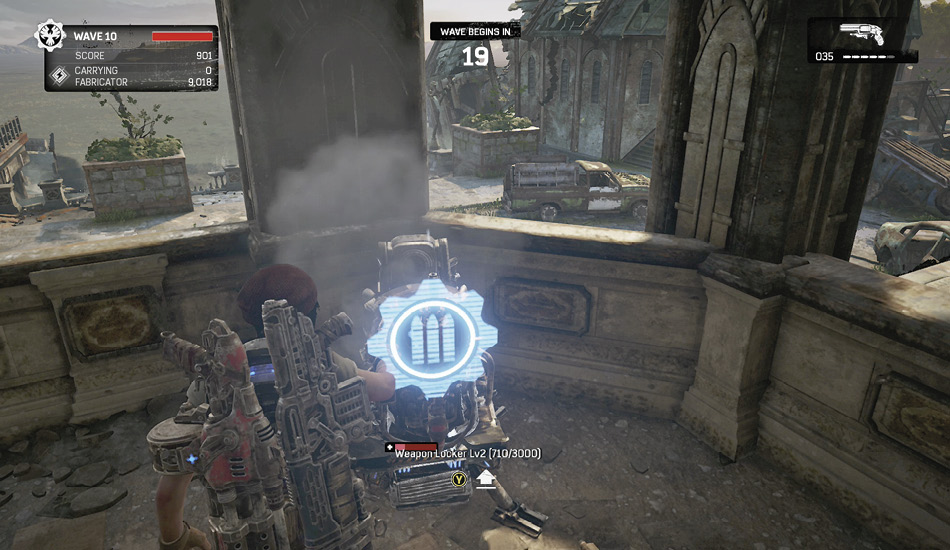
Fortifications in the Fabricator are automatically upgraded as the Fabricator levels up. For example, if you have a Level 3 Fabricator, Level 3 fortifications are built. The cost of upgrading a fortification in the field is equal to the difference between the new and old levels. Therefore, upgrading a placed item from Level 1 to 4 costs the same as purchasing a Level 4 item. Note that each fortification is marked with a number, representing its current level.
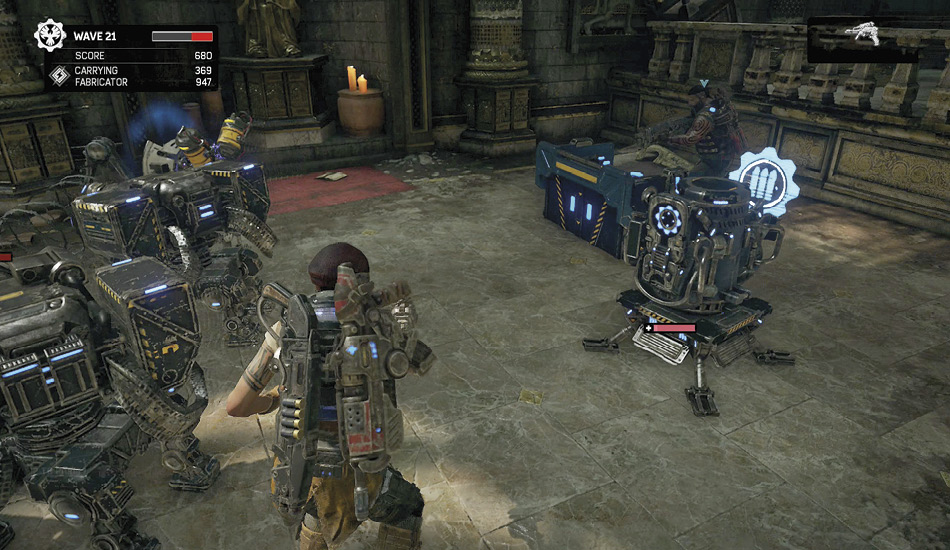
A red bar displays the health of each fortification. Fire the Repair Tool at the defensive item to heal it. Sentries and turrets also show a blue bar, which represents the weapon’s ammunition. This is also refilled with the Repair Tool.
A destroyed fortification drops power equal to 25% of the build cost. Therefore, there may be an occasion where it is best to allow a defensive item to be destroyed instead of attempting to repair it.
 Repair Tool
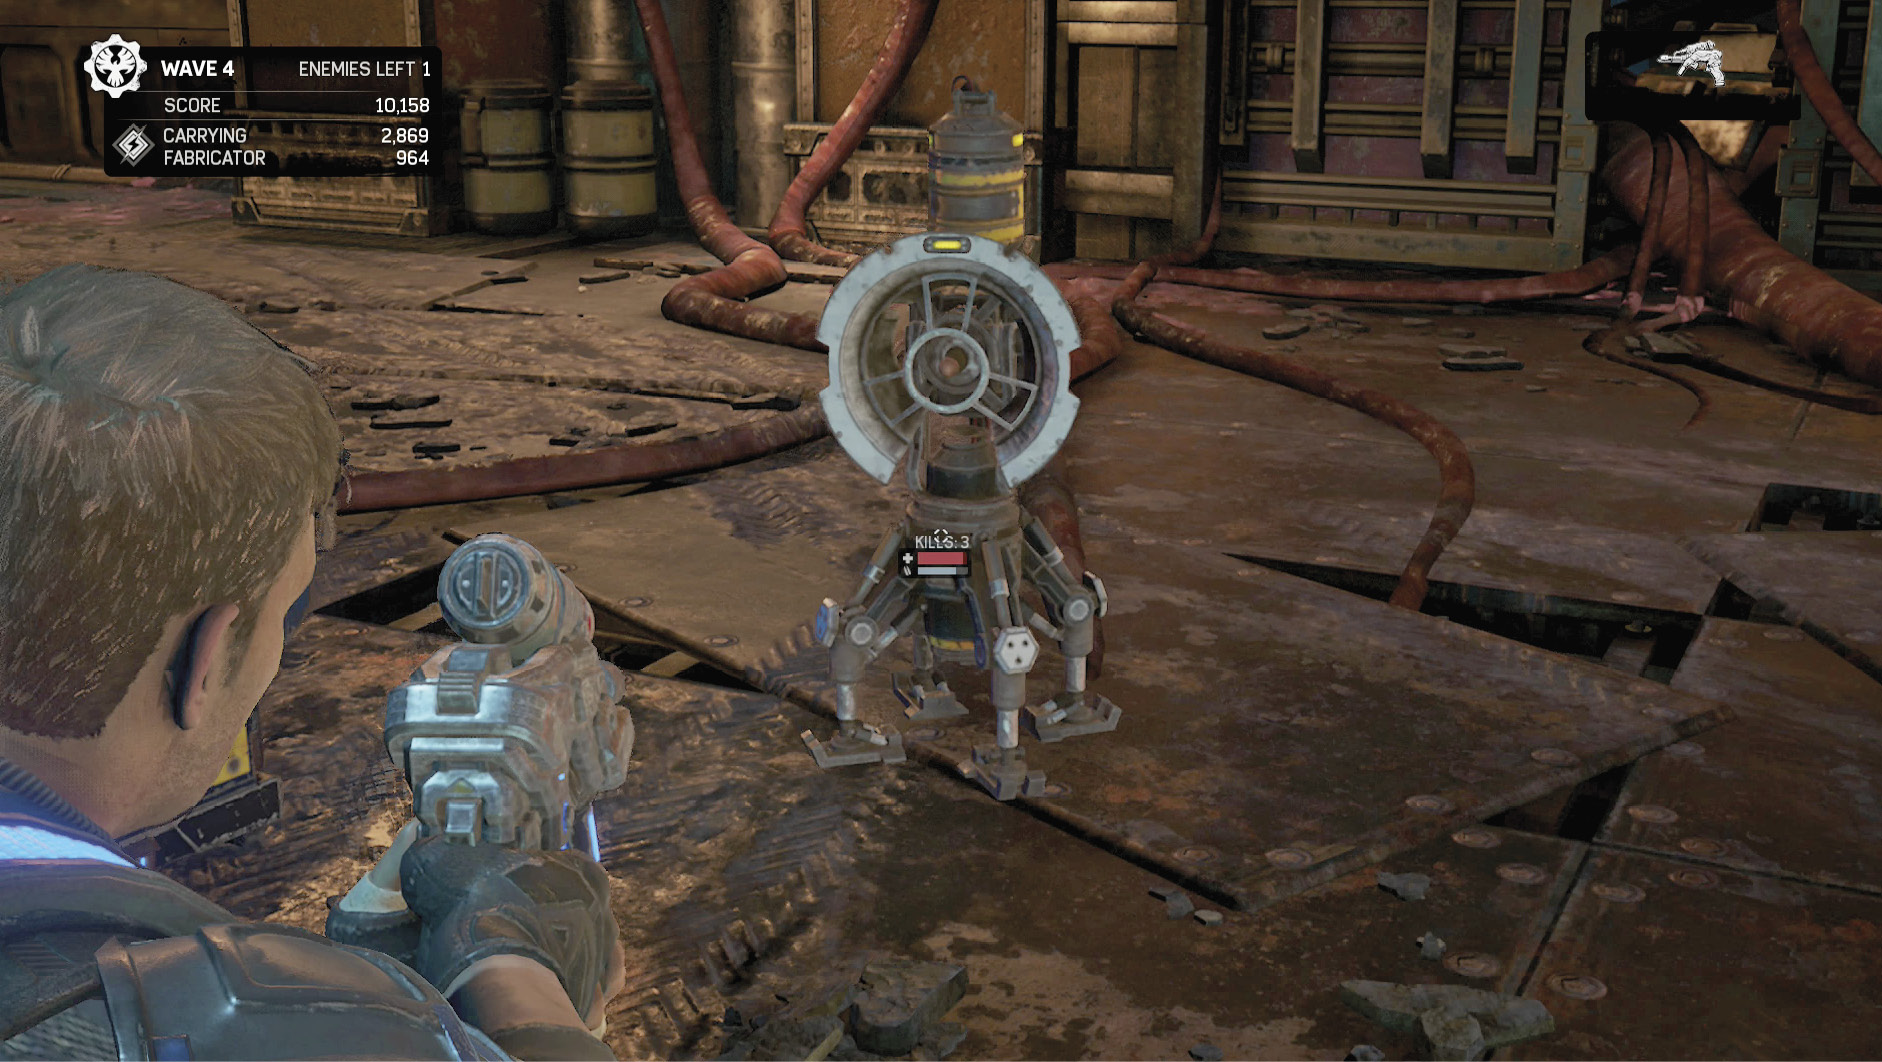
A Repair Tool is required to repair fortifications and refill the ammunition for sentries and turrets. Only the Engineer class begins with the Repair Tool, but anyone can purchase one from the Fabricator for 5000 power.
Simply aim toward a fortification and fire to repair. This costs power and earns XP, so be careful that you do not eat through your power reserves. Power used does not contribute to leveling up the Fabricator. When you repair a sentry or turret, the ammo is steadily refilled. Red and blue bars represent the item’s health and ammunition respectively.
Fabricator Option
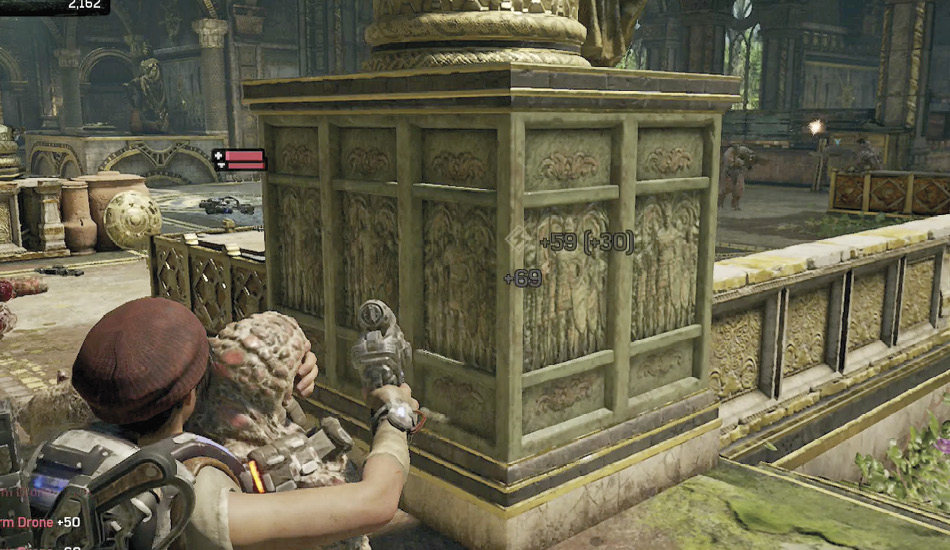
If you have a Fabricator Option equipped, it becomes a choice when accessing the Fabricator. Found to the left of the fortifications, it is only available to the player who has the skill equipped. Select this option to purchase the skill, and it is automatically used. More information about these abilities is given in the Classes section later in this chapter.
Purchase Weapons
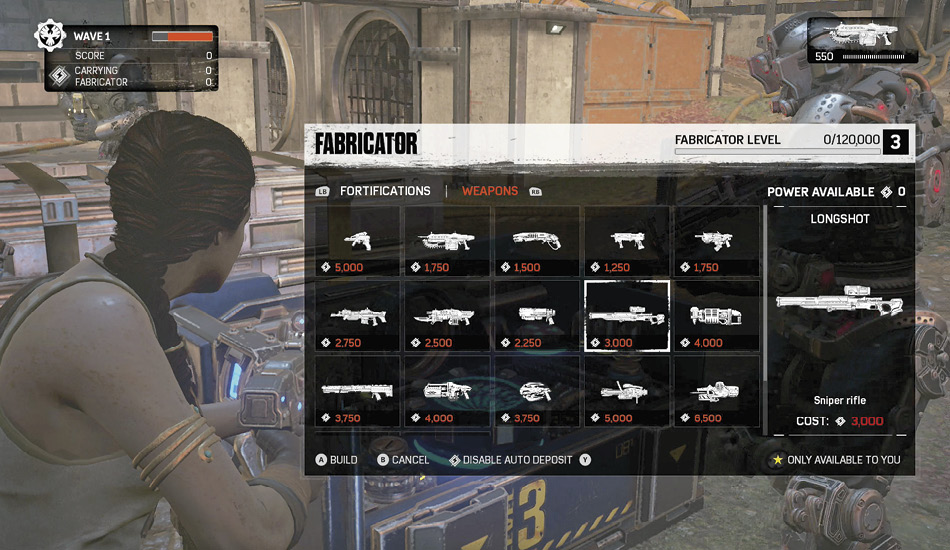
As the Fabricator is leveled up, weapons become available for purchase. This is the only way for non-Engineer classes to obtain a Repair Tool. Once the Fabricator reaches Level 3, all weapons except for pistols and grenades can be purchased. In the right hands, the more powerful weapons can be more valuable than any fortification. The purchased weapon replaces the currently equipped gun.
Weapon Costs
| Fabricator Level | Weapon/Tool | Cost |
|---|---|---|
| 1 | Repair Tool | 5000 |
| 2 | Lancer | 1750 |
| 2 | Gnasher | 1500 |
| 2 | Enforcer | 1250 |
| 2 | Hammerburst | 1750 |
| 2 | Markza Mk1 | 2750 |
| 2 | Retro Lancer | 2500 |
| 2 | Overkill | 2250 |
| 2 | Longshot | 3000 |
| 2 | Dropshot | 4000 |
| 2 | EMBAR | 3750 |
| 2 | Boomshot | 4000 |
| 2 | Torque Bow | 3750 |
| 3 | Mulcher | 5000 |
| 3 | Buzzkill | 6500 |
| 3 | Tri-Shot | 5500 |
| 3 | RL-4 Salvo | 6250 |
The Enemies
DeeBees and Swarm join forces to take down the COG players in Horde 3.0. Wave 1 begins with weaker DeeBees, such as Shock Trackers and Peace Makers. Tougher robots are added in the next few waves. Then the Swarm join the fight, followed by Juvies, Drones, Grenadiers, and Hunters. At Wave 10 a boss spawns into the mix, randomly chosen from a Carrier, Kestrel, Snatcher, or Swarmak. These guys present a tough challenge for the COG. Defeat the Boss Wave, and the process starts over with only DeeBees in Wave 11, but they are more numerous and tougher to take down. These enemies are covered in more detail later in this chapter.
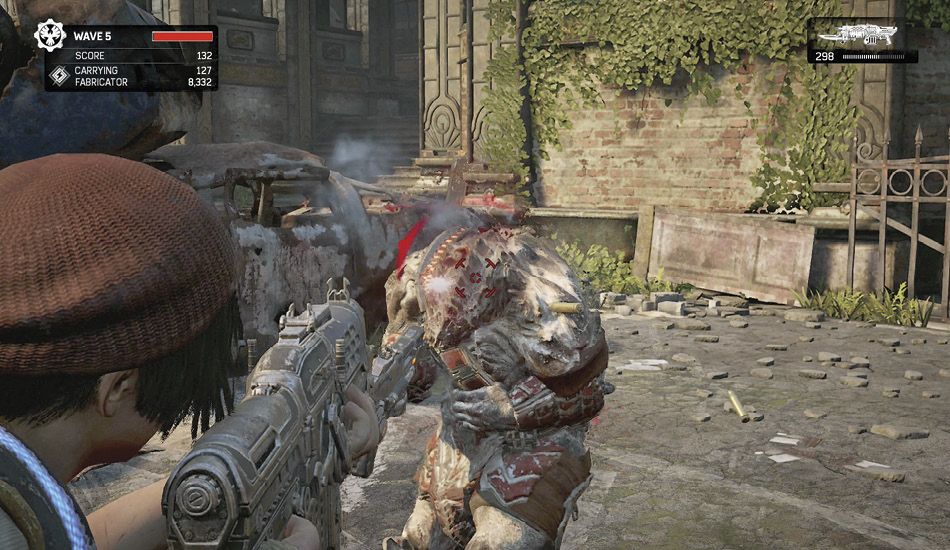
A wave has a point value associated with it, as well as as well as a group of enemies. Enemies are randomly selected from a pool until there are not enough points to spawn more. Since one of the four bosses is present in the enemy pool at each tenth wave, it is possible for another boss to appear after you defeat one. Therefore, it is best to defeat the smaller enemies before taking down the superior.
Assists and kills grant points, while dead enemies drop power. Each kill automatically provides a small amount of power, but the rest must be collected on the battlefield. Special kills, such as Executions, earn bonus XP.
Poisons
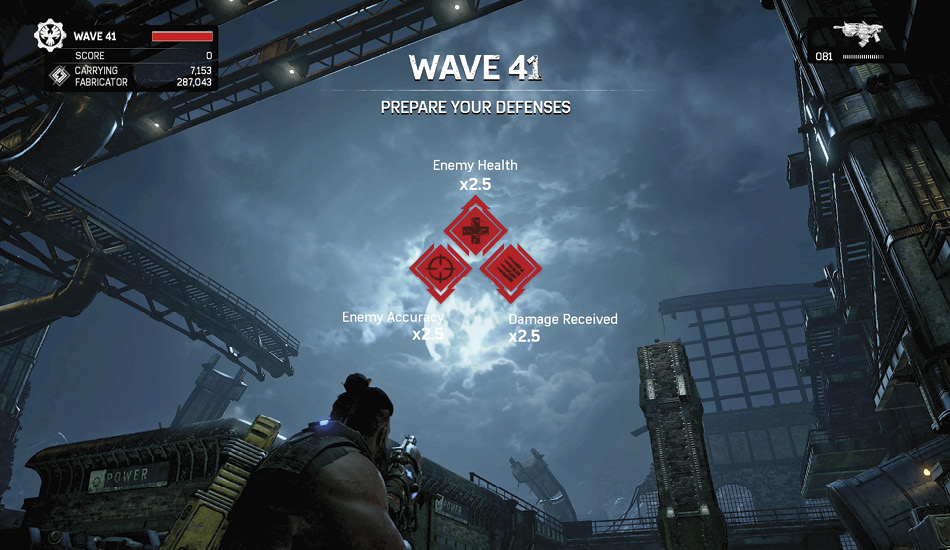
Starting with Wave 11, penalties, called Poisons, are added to the game—making the enemy that much tougher to defeat. At Wave 11, enemies gain double health. Wave 21 introduces better accuracy for the Swarm. Once you reach Wave 31, they do double the damage. Reach 41 and all three stats are raised to two and a half times the usual. Poisons are cumulative and remain through Wave 50.
Poisons by Level
| Poison | Starting Wave |
|---|---|
| 2x Enemy Health | 11 |
| 2x Enemy Health, Enemy Accuracy | 21 |
| 2x Enemy Health, Enemy Accuracy, Damage Received | 31 |
| 2.5x Enemy Health, Enemy Accuracy, Damage Received | 41 |
Bonus Objectives
Every fourth wave, a Bonus Objective gives you an opportunity to earn extra power by completing a set task. This appears at the start of the wave in the upper-left corner of the HUD. Progress toward completion is always shown. Press the TAC/COM / Objectives button (LB) to remind yourself of the objective. There are seven possible Bonus Objectives.
Possible Bonus Objectives
| Objective | Note |
|---|---|
| Chainsaw—Kill six enemies with the chainsaw or retro charge | Requires Lancer or Retro Lancer, which are used by three classes (Heavy, Scout, and Soldier). They can be purchased from a Level 2 Fabricator. Plus, the Lancer is dropped by Swarm Drone Elites. These close-quarter Executions are very effective against smaller two-legged enemies, such as Juvies, Drones, Peace Makers, and Deadeyes. Watch out, though, as you are vulnerable when using the chainsaw. |
| Execution—Execute eight enemies | Perform a vault kick against an enemy behind cover to stun it, and then perform an Execution. Note that headshots, chainsaw, and retro charges also count as an Execution. |
| Headshots—Kill seven enemies with headshots | Easiest for the Sniper who is equipped with the Markza Mk1 and Longshot, though any gun can score a headshot. Accurate, long-range weapons can be purchased from a Level 2 Fabricator. |
| Kill Streak—Kill 10 enemies in any 30-second window | The kill count always notes the number of kills in the past 30 seconds. Let a group of enemies amass near your base before taking them down. Use explosives to hit multiple targets. This objective simplifies with more players on the team. |
| Survival—Complete the wave without dying | Everyone on the team must survive the entire wave without dying to complete the objective. |
| Time—Complete the wave in x time | The time varies depending on the wave. |
| Turret—Kill seven infantry units with a manned turret | Put a player or two on turrets and let the enemy move into your base before mowing them down. |
You do not get a Bonus Objective on Boss Waves, thus allowing for ten opportunities when starting on Wave 1. No matter what wave you begin on, the Bonus Objective always appears three rounds later—unless, of course, that is a Boss Wave. For most of these tasks, a portion of the maximum power is earned for partially completing an objective.
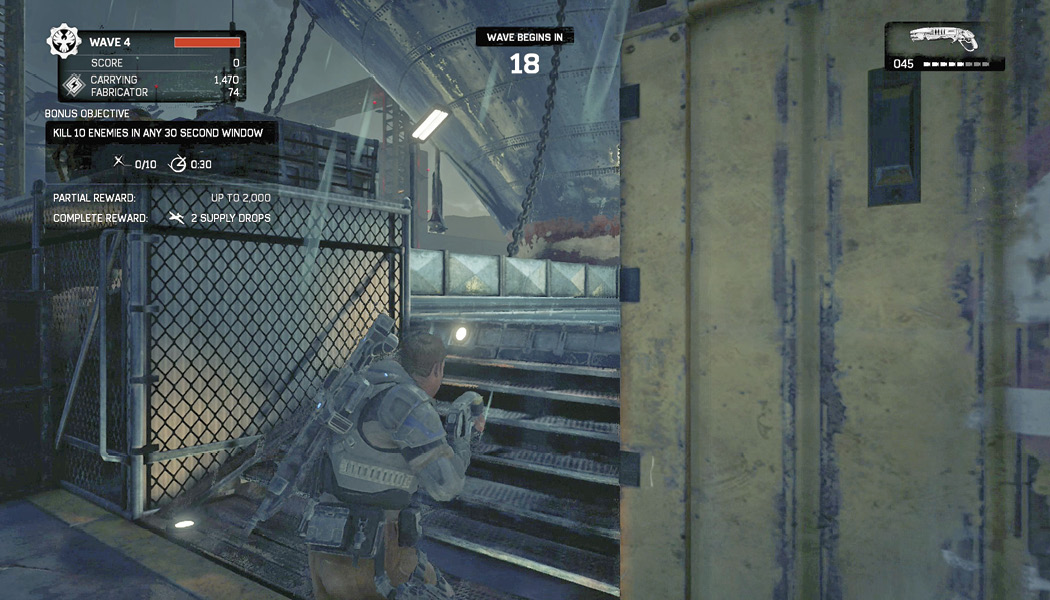
Once an objective is complete, power is given to the players. If an objective is only partially completed, power is rewarded at the end of the wave or when the timer reaches zero. The maximum amount of power available is based on the following table.
Max Power Earned from Bonus Objective
| Wave | Max Power Available |
|---|---|
| 4 – 9 | 2000 |
| 11 – 19 | 4000 |
| 21 – 29 | 6000 |
| 31 – 39 | 8000 |
| 41 – 49 | 10,000 |
Air Drops
Completing an objective immediately earns two Air Drops, which are delivered near the Fabricator. Open one to reveal weapons or ammunition. Five duplicates of the rewarded weapon are given so that everyone can have one. When collecting an ammo Air Drop, everyone receives ammunition. The contents of the crates are randomly selected from the following:
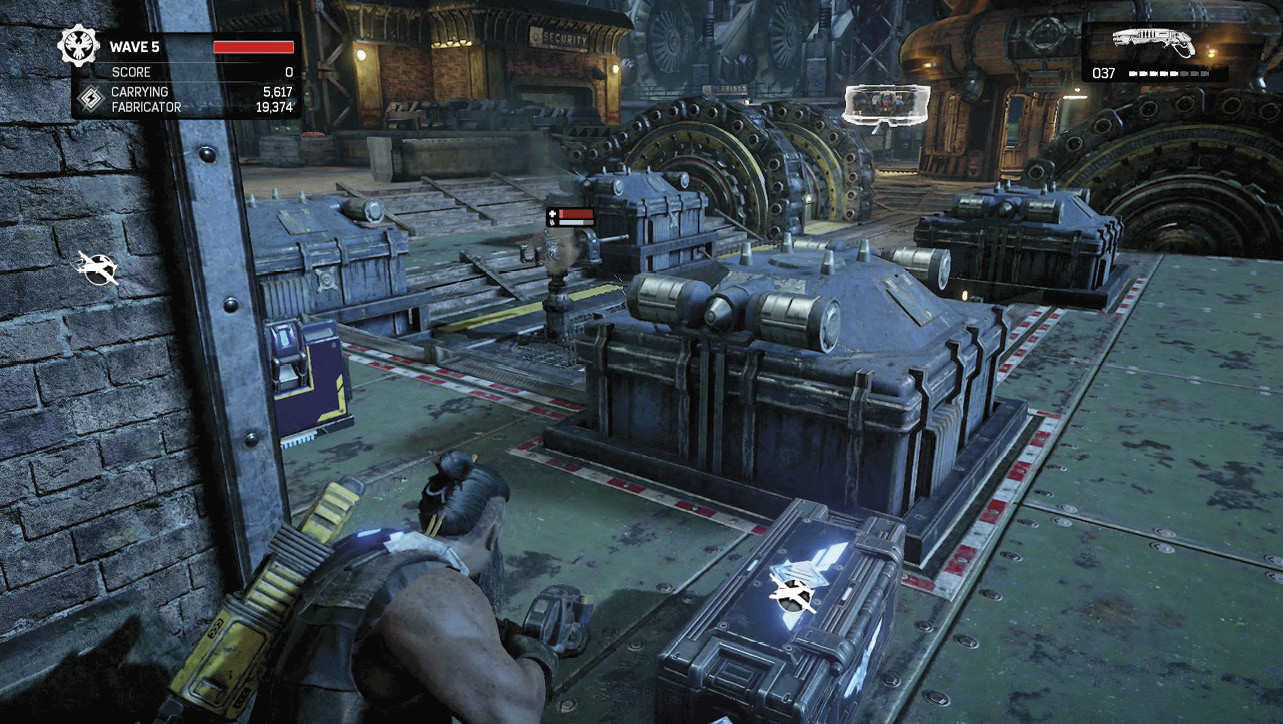
- Ammo for all players
- 5x Dropshots
- 5x Frag Grenades
- 5x Incendiary Grenades
- 5x RL-4 Salvos
- 5x Shock Grenades
Scoreboard
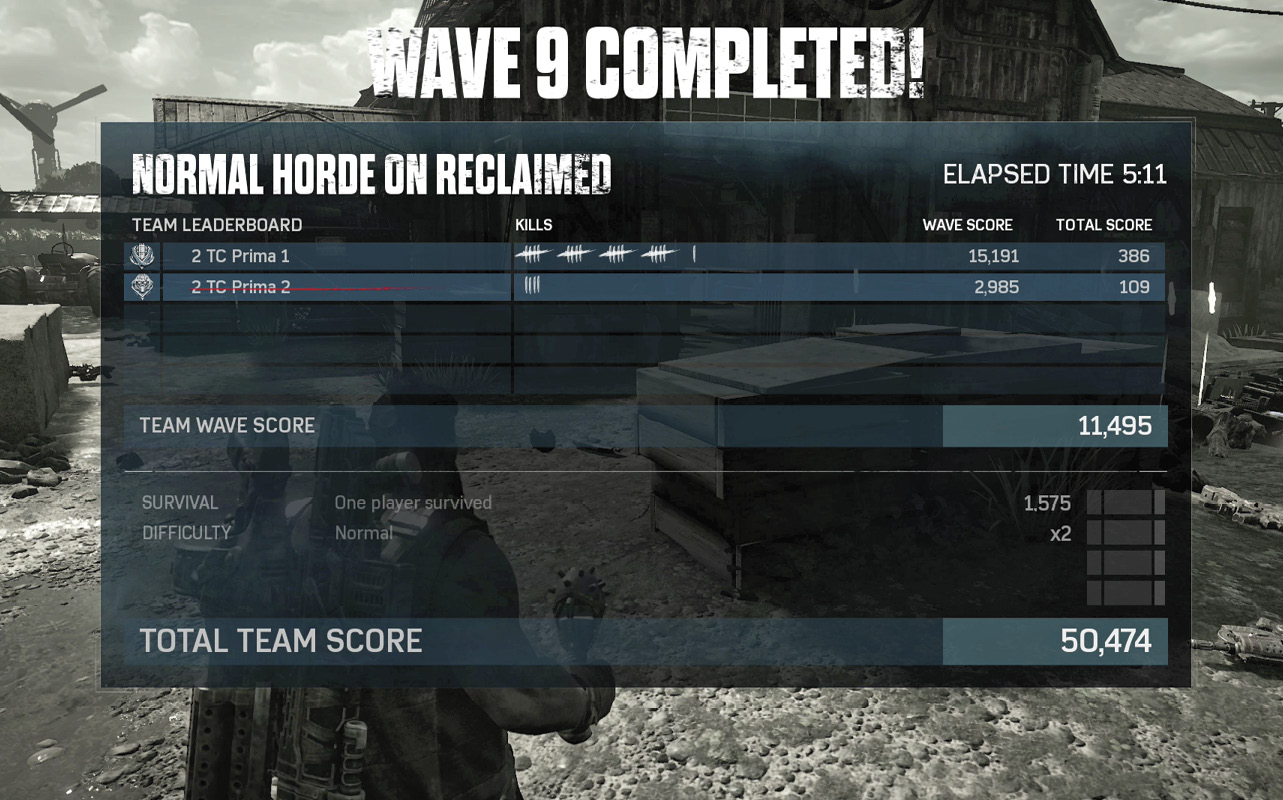
Hold the View Scoreboard button to check the current score. Progress on your active Bounty is displayed, as well as current Poisons and equipped skills. Players are ranked based on points earned during the wave. At the end of the wave, a Survival bonus is given based on how many players survived the wave. A difficulty multiplier is applied (Casual x1, Normal x2, Hardcore x3, Insane x4). Wave completion and a Consecutive Wave bonus earn XP and Credits, while completed Ribbons give more XP.
At the Scoreboard, press to view the overhead map. This allows you to see the current location of all teammates, as well as any marked enemies.