
Gears of War 4 Guide Enemy Forces
DeeBees
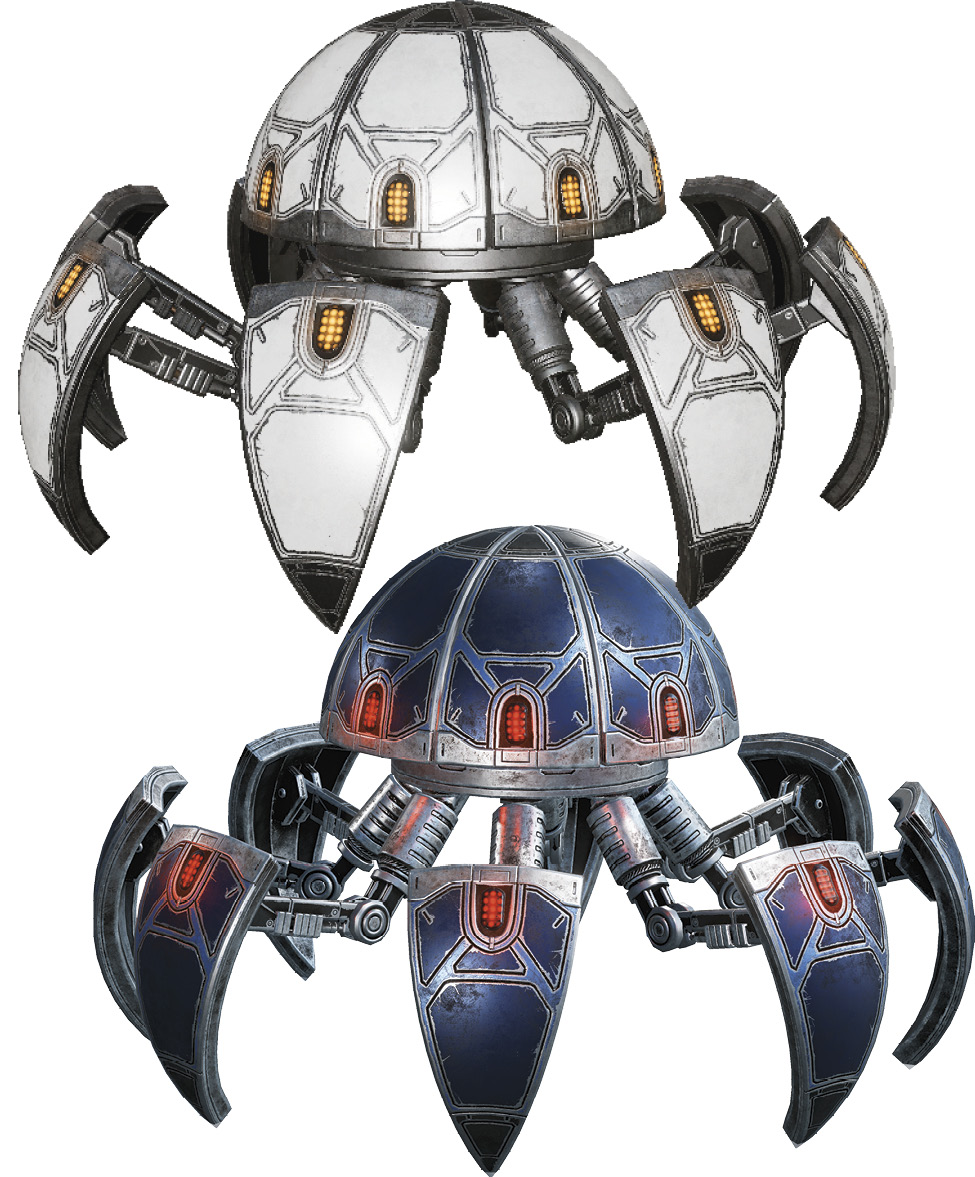
Trackers
| Health | Threat | Weaponry/Attacks |
|---|---|---|
| 250 HP | Minor | Shock Grenade, Frag Grenade |
The spherical Trackers spill out of drainage pipes, hatches in the ceiling, and other small openings to attack en masse at close range. An individual Tracker poses little threat, but they are never alone. Trackers roll across the landscape in attempt to get close to their target, at which time they open their metallic shell and deliver their payload.
Trackers can be easily kicked aside, either while they are still rolling or after their shell has opened, though this is riskier. Shooting a Tracker repels it slightly, slowing its advance, yet it will keep on coming. Keep your distance, kick aside any that get too close, and use your Snub Pistol to shoot them repeatedly. Trackers explode when drained of health, and their detonated Shock Grenade (or Frag Grenade) may destroy other nearby Trackers.
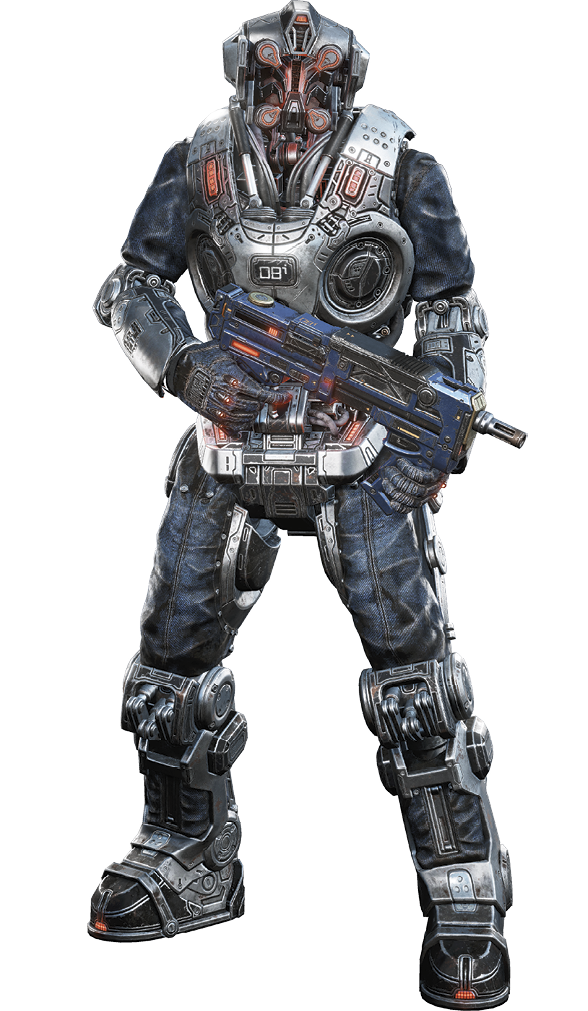
Shepherd
| Health | Threat | Weaponry/Attacks |
|---|---|---|
| 1400 HP | Minor | Enforcer, Shock Enforcer |
The Shepherd is the most common form of law enforcement within the DeeBee line-of-defense robots. DeeBee Shepherds commonly arrive via a transport cart or by drop-pod and appear in groups of as many as six at once. Shepherds are polite, issue stern but well-mannered warnings, and are humanoid in form. Shepherds are armed with the Enforcer or Shock Enforcer weapon, an energy-based SMG with a rapid rate of fire that stuns and inflicts damage.
Shepherds take cover and are generally conservative combatants, choosing to play it safe and not take too many chances. They can be dealt with using any manner of weaponry and are as susceptible to headshots as any other biped. In fact, getting a headshot kill will cause a Shepherd to fire its weapon wildly before erupting in a damaging explosion. This can be used to damage other nearby DeeBees. The Shepherds’ proclivity for crouching behind low cover leaves them vulnerable to vault-kicks and the yank-and-shank maneuver.
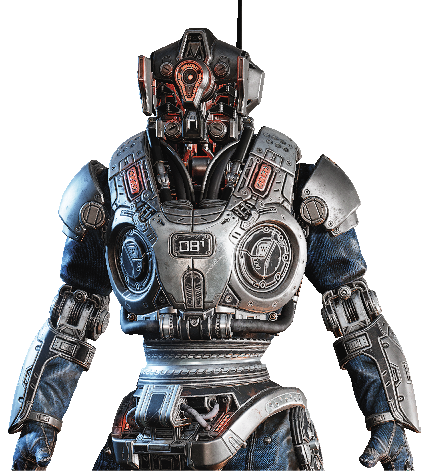
Deadeye
| Health | Threat | Weaponry/Attacks |
|---|---|---|
| 1000 HP | High | EMBAR Sniper Rifle |
The DeeBee Deadeye (aka DeeBee Sniper) shares the Shepherd’s appearance, but is seldom seen up close. This unit typically attacks from a distant, elevated position, often in pairs, and is armed exclusively with the EMBAR Sniper Rifle. Deadeyes make use of cover and are very accurate, even without an optical scope. Their advanced AI and built-in imaging system renders an optical scope a frivolous unnecessity. Fortunately for the squad, a flash of light, akin to the sun reflecting on a scope’s lens, can be detected right before the EMBAR is fired.
Deadeyes, though stealthy snipers, seldom go unnoticed. Listen for your squad to alert you to their presence, then duck into cover. The best way to take out a Deadeye is with another sniper rifle, such as the Longshot or EMBAR. If that’s not possible, the next best method is by utilizing cover, getting close, and lobbing a Frag Grenade at their position. The key is to stay in cover, as the EMBAR can fire far more quickly than the Longshot can. The Dropshot is also useful against the Deadeyes, and skilled wielders of the Buzzkill may succeed in bouncing a circular blade off the terrain to kill a Deadeye behind cover.
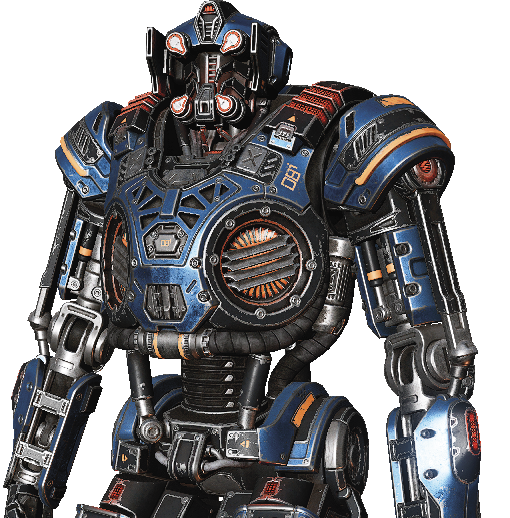
DR-1
| Health | Threat | Weaponry/Attacks |
|---|---|---|
| 7500 HP | Moderate | Overkill, Tri-Shot, RL-4 Salvo |
The DR-1 is the largest of the DeeBee line-of-defense robots. Resembling a Shepherd, but larger in every dimension, the DR-1 marches straight into battle upon being deployed by a drop-pod. The DR-1 is too big and too aggressive to utilize cover. In fact, it often uses its built-in thrusters to leap over any low cover lying between it and its target. DR-1 units come equipped with either a high-powered heavy-weapon assault rifle known as the Tri-Shot, the fast-firing Overkill shotgun, or the RL-4 Salvo rocket launcher. DR-1s enter a self-destruct phase when depleted of health. They charge toward the nearest enemy and explode with devastating results. Shooting their heads or inflicting additional heavy damage to their torsos interrupts this self-destruct sequence.
DR-1s are not to be taken lightly, especially when attacking in a pair or with the Tri-Shot. Those wielding the Overkill pose a threat, but their range is limited. Keep your distance and attack from afar. Aim for the DR-1’s head and avoid staying behind cover as it approaches, as it will hop over cover, knock you back, and cause you to stumble. Have your squad focus their firepower on the DR-1, and stay alert in case it should enter its self-destruct phase and target a downed ally.
Guardian
| Health | Threat | Weaponry/Attacks |
|---|---|---|
| 6000 HP | Moderate | Tri-Shot, RL-4 Salvo |
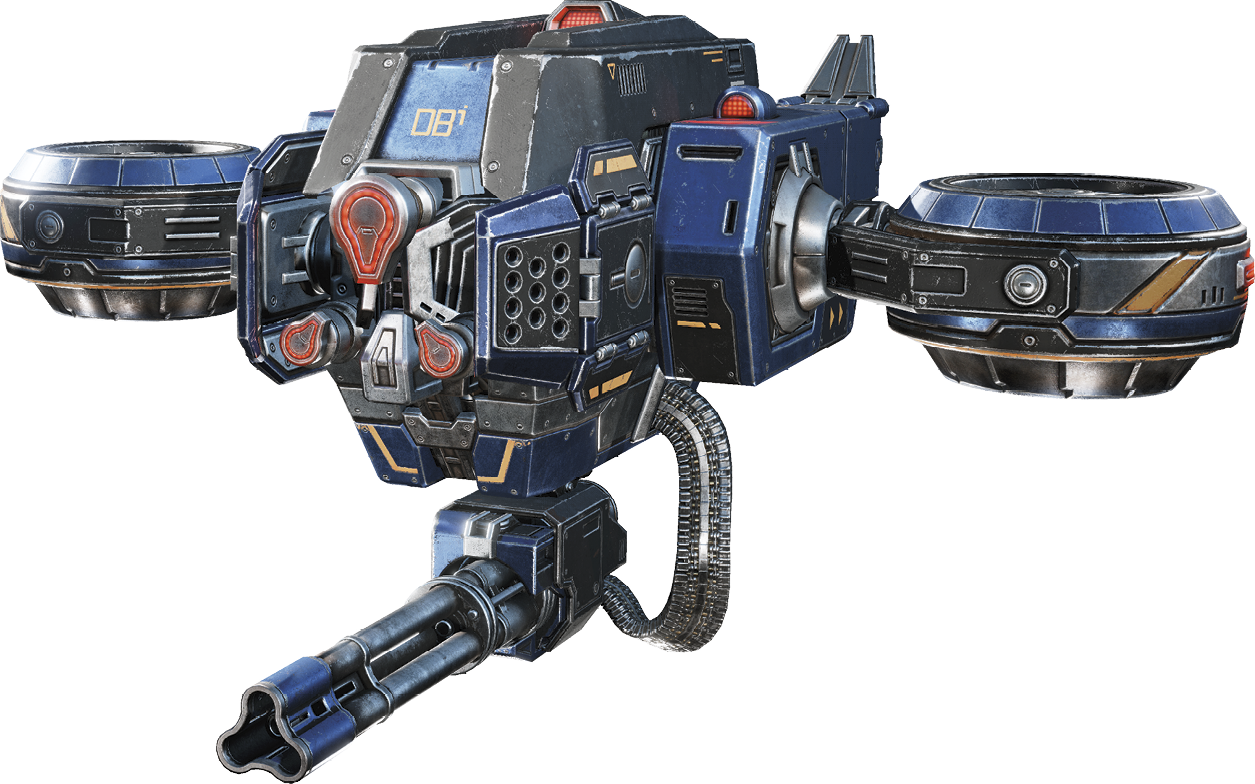
The Guardian is a flying-attack unit in the DeeBee lineup. This sentry hovers above the battlefield, periodically attacking with its Tri-Shot heavy gun or the RL-4 Salvo rocket launcher. The Guardian’s most defining feature is the energy shield it generates in front of its body. This shield can absorb multiple shots before being disabled. The Guardian will repair its energy shield after several seconds.
The Guardian’s firepower and elevated position make it a threatening adversary, but the unit is not as aggressive as a DR-1. Depending on how far you are from the Guardian, you may choose to prioritize any nearby DR-1s above it. To destroy the Guardian, try flanking it to get a clean shot on its unshielded sides. If that’s not possible, use a Lancer or similar weapon to knock out its shield, then open fire on the Guardian with something more potent like a Boomshot, Torque Bow, or Longshot. Never miss an opportunity to rip the Guardian’s weapon from its wreckage after downing one.
Kestrel
| Health | Threat | Weaponry/Attacks |
|---|---|---|
| 43,000 HP | High | Rockets, Twin Chainguns |
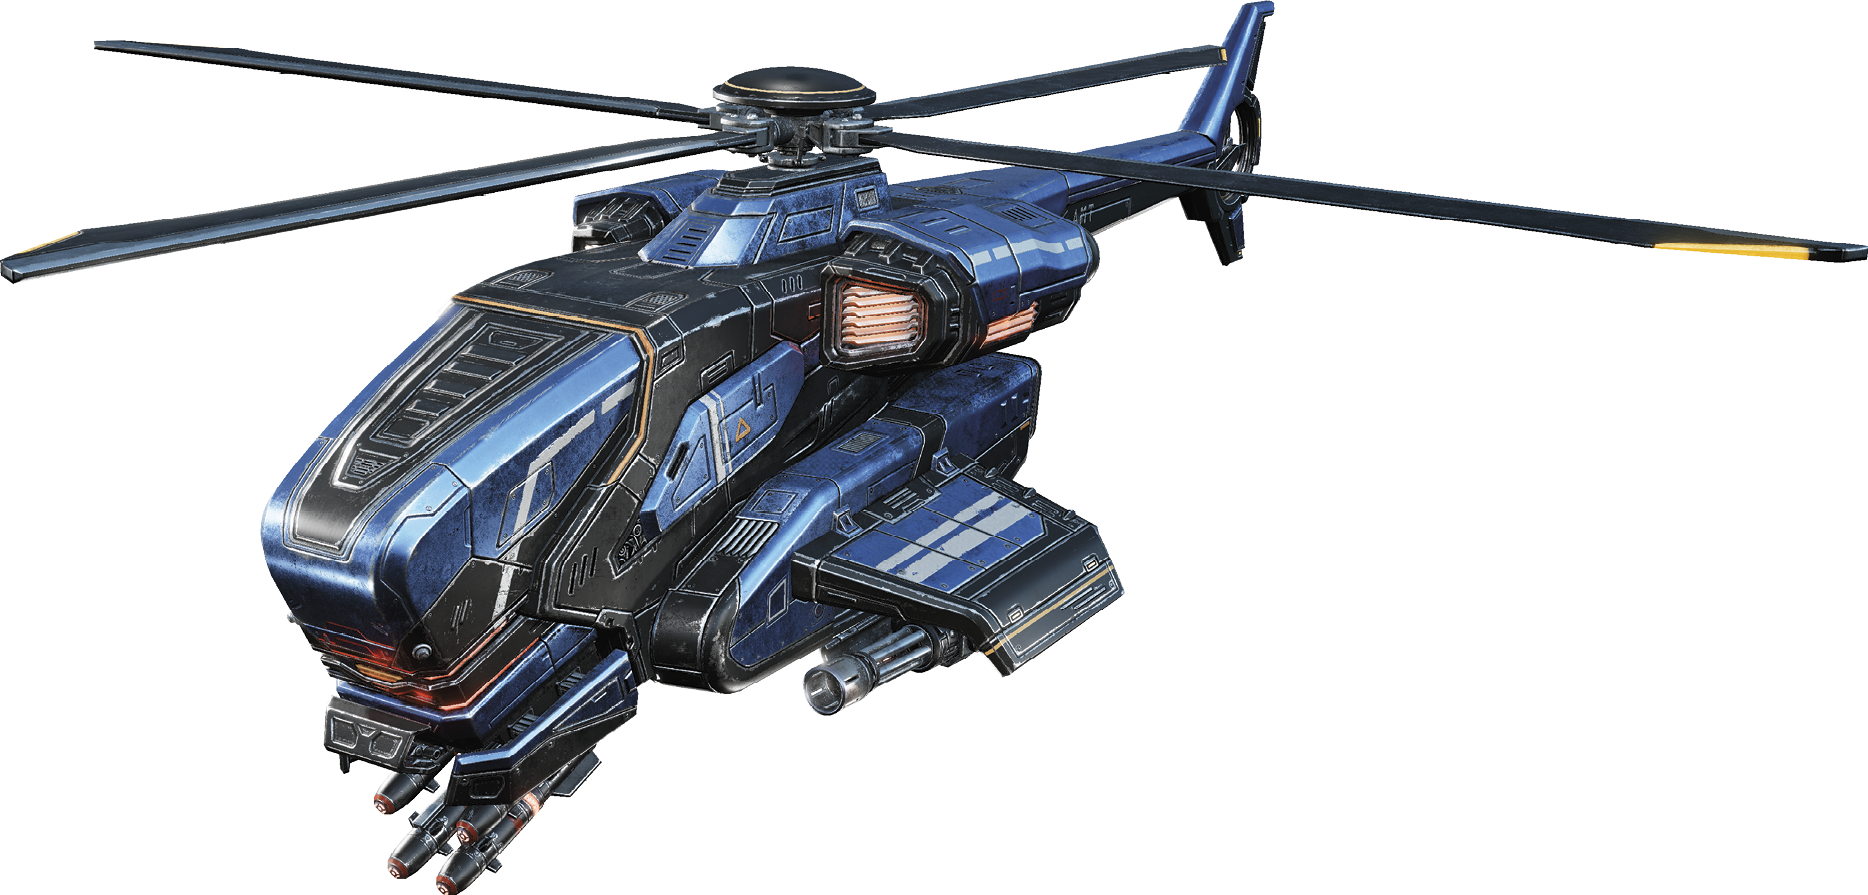
The Kestrel helicopter is a gunship armed with laser-guided rockets and twin chainguns on its wings. The Kestrel is capable of hovering in a single position, soaking up damage, and unleashing enough firepower to topple buildings. Kestrels are rare and should be treated as mini-bosses. They are most vulnerable in their orange-glowing engines.
Moving in and out of cover is paramount when fighting a Kestrel, particularly as its gun and rockets tend to destroy cover and portions of the terrain during the fight. The Kestrel pauses between attacks for several seconds to reload its rockets or allow its guns to cool. This is your chance! Hit it with everything you’ve got, while striving to target its orange-glowing engines for maximum damage. Refer to the walkthrough for detailed tactics for each of the three Kestrel encounters during the Campaign.