
Gears of War 4 Guide Campaign Act 2
Chapter 2: Geared Up
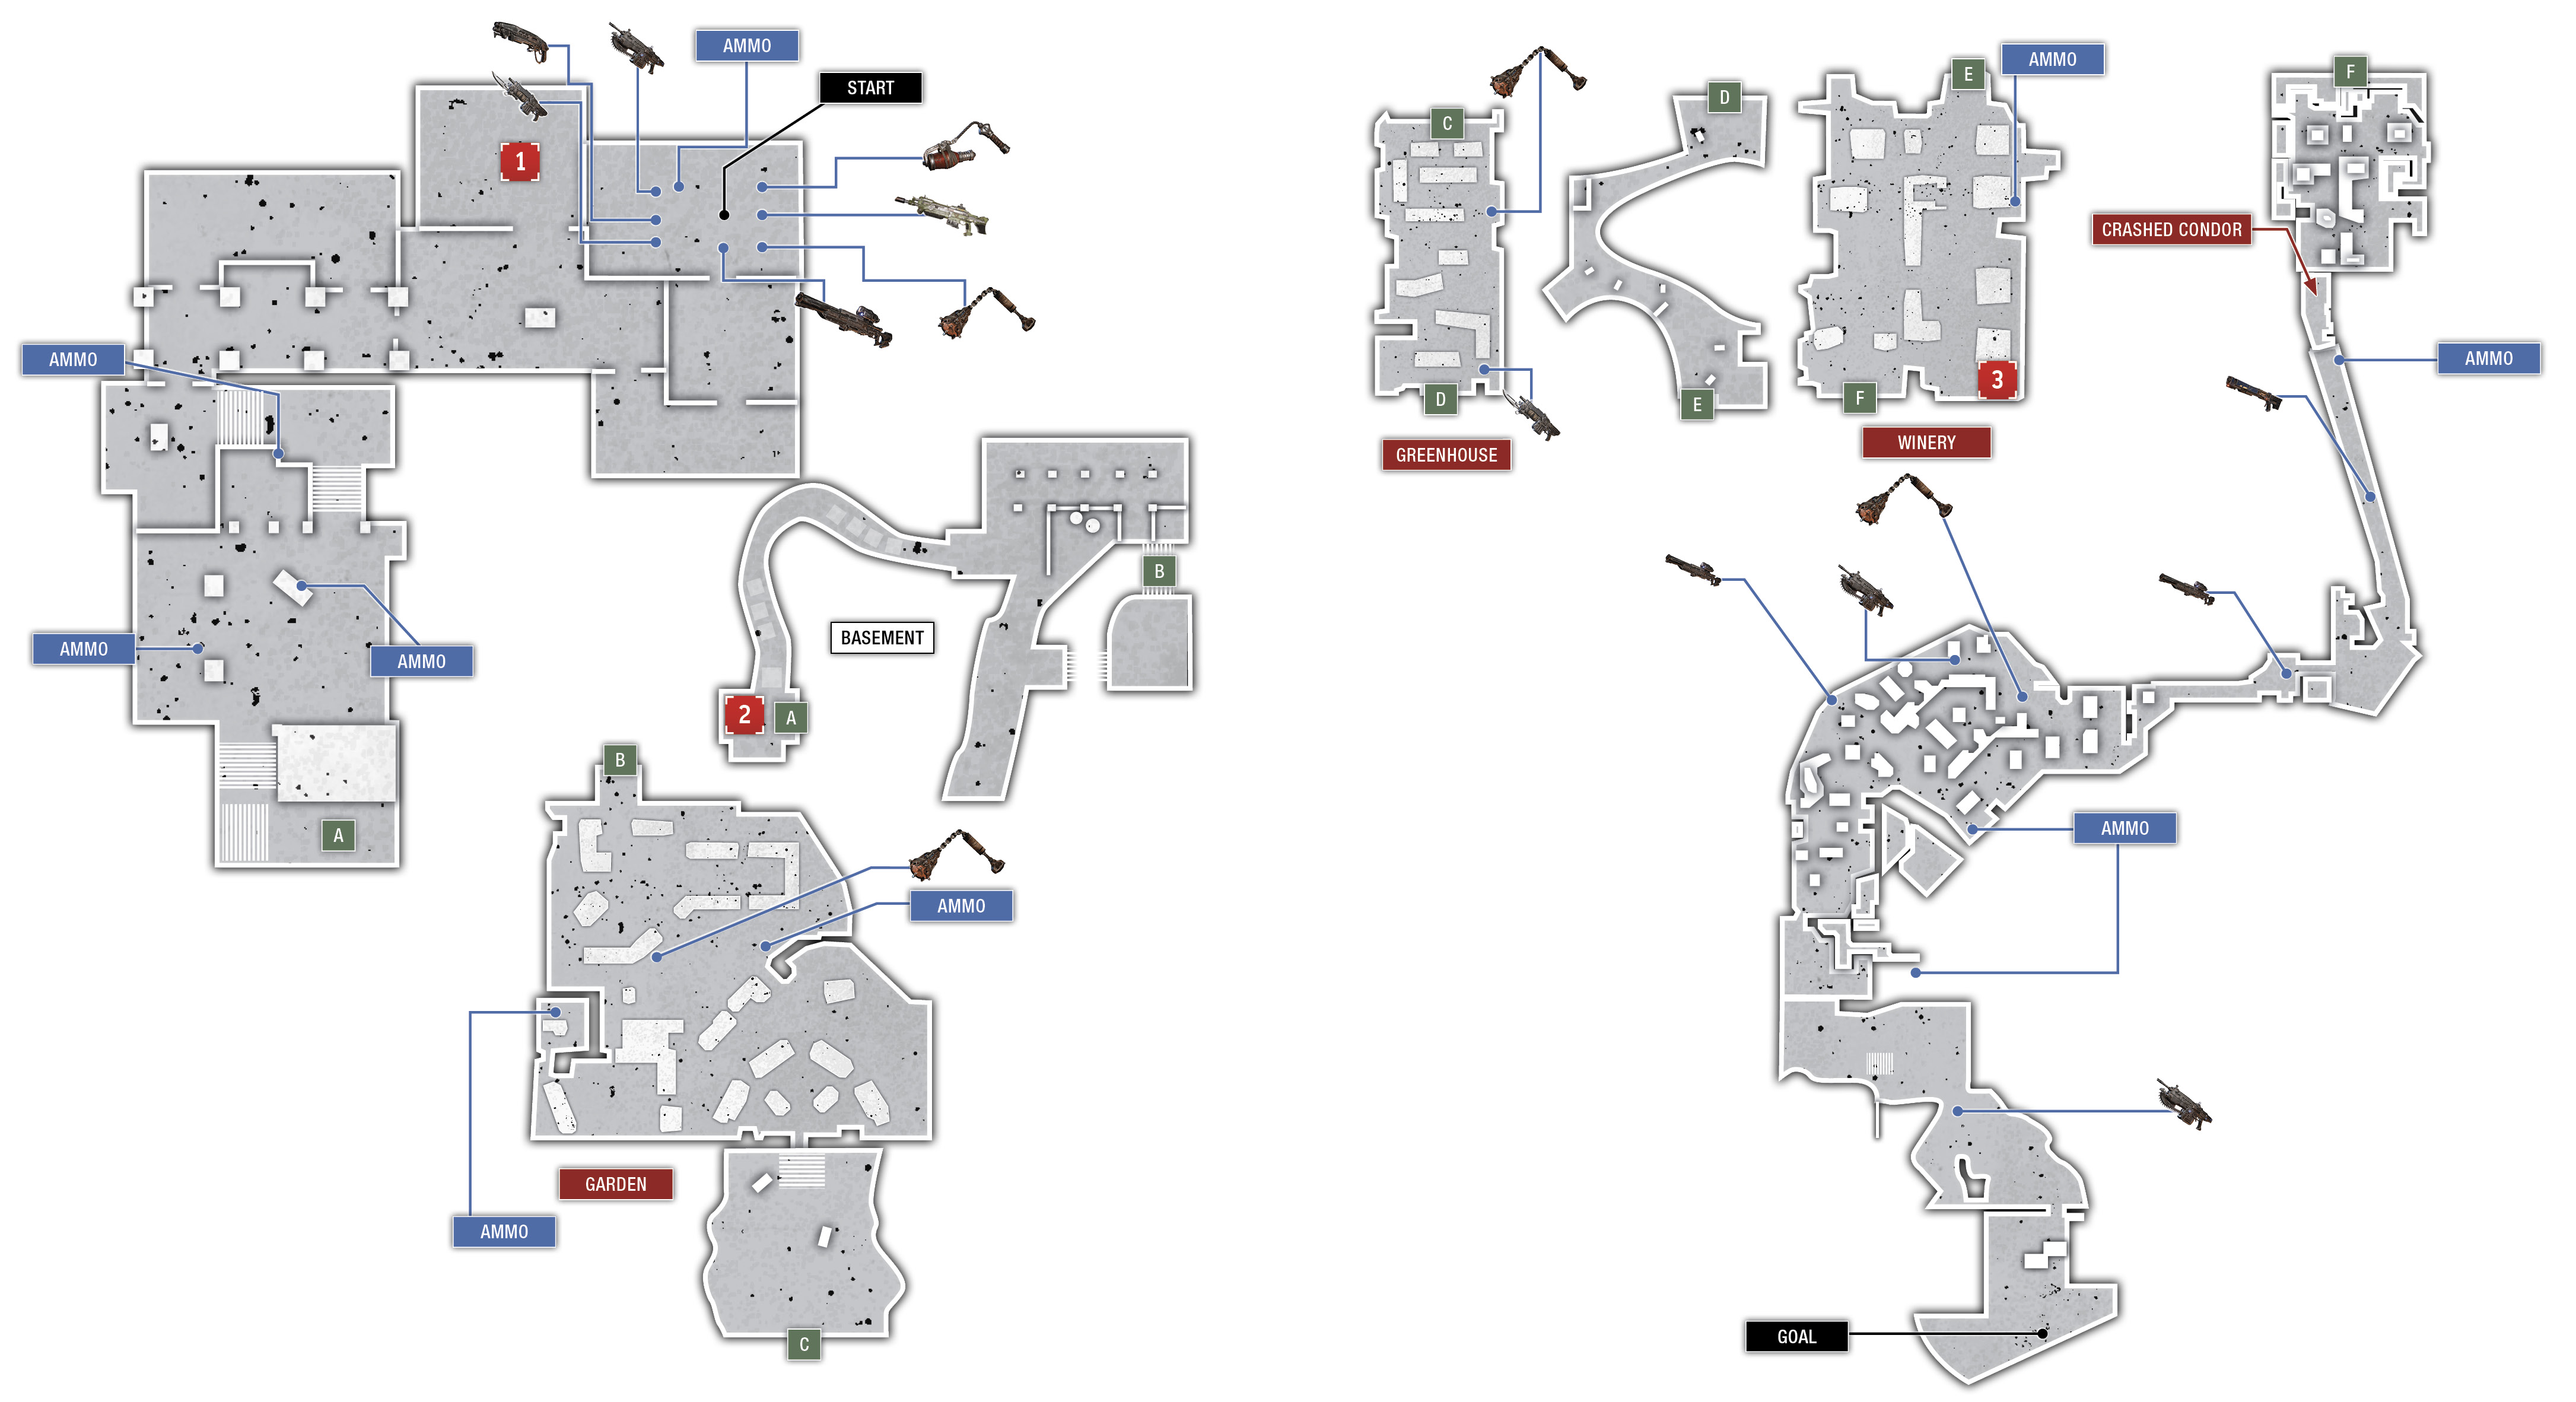
Collectibles
|
 Photo of JD & Anya
 House Plans
 Old Bottle of Wine
Situation Overview
The family reunion went about as well as JD expected, which is to say awful. But it wasn’t all bad. Despite the shouting match with his father and the COG shooting up the cottage, Marcus seemed to know what the crystals were and already understand their significance. Not only that but he gave his son a Custom Lancer with a wooden stock and Kait was helped into JD’s mother’s armor. R.I.P. Anya.
Stroud Manor
Objective: Defeat the Kestrel
With the COG armor equipped, take a moment to load up on weapons, grenades, and ammo. Choose between Frag Grenades and Incendiary Grenades, then swap out the Gnasher for the Longshot if you are a good shot. Use the pile of ammo crates in the corner to top off your supply of ammo.
Open the door and slide immediately into cover behind the desk as DeeBees blow through the wall from the balcony outside. Lob a Frag Grenade over the desk, then put the Custom Lancer to use and gun them down with blind-fire.
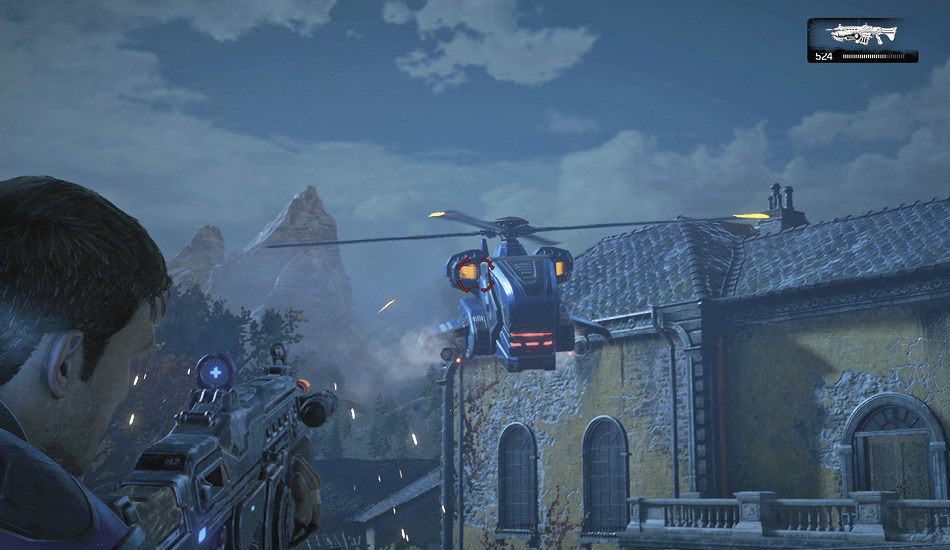
A helicopter gunship known as a Kestrel destroys Marcus’s truck, then opens fire on your position inside the house. Take cover beside the ruined wall and target the Kestrel’s glowing engine with the Custom Lancer. Continue firing until its targeting lasers home in on your position, then dodge to a different location.
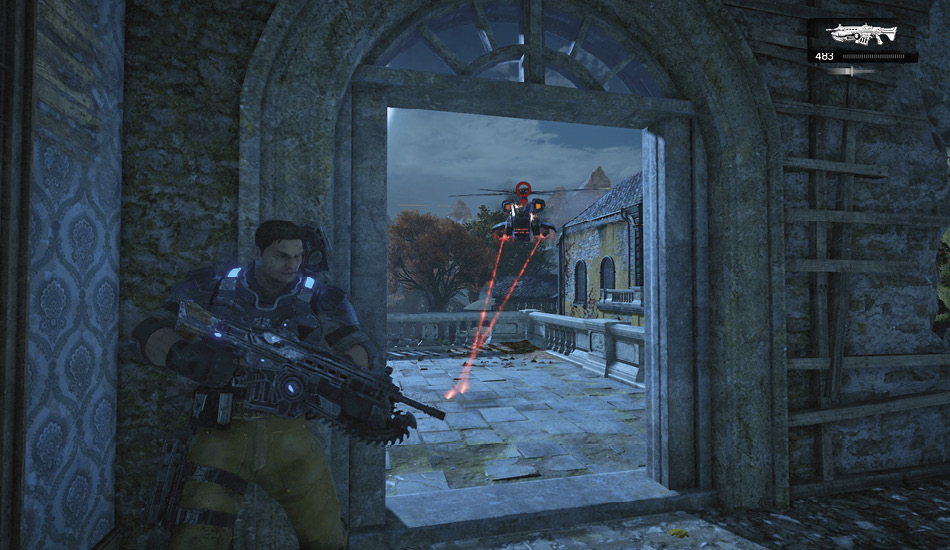
The Kestrel flies away once it has taken critical damage, but it’s no time to relax. A Condor drops multiple drop-pods onto the balcony and the far end of the hallway. Stay in cover outside the armory and use the Longshot to snipe the Deebees at the far end of the hallway. Duck into the armory or one of the other rooms on the right-hand side of the hallway whenever you need to heal. Marcus announces the Kestrel’s return.
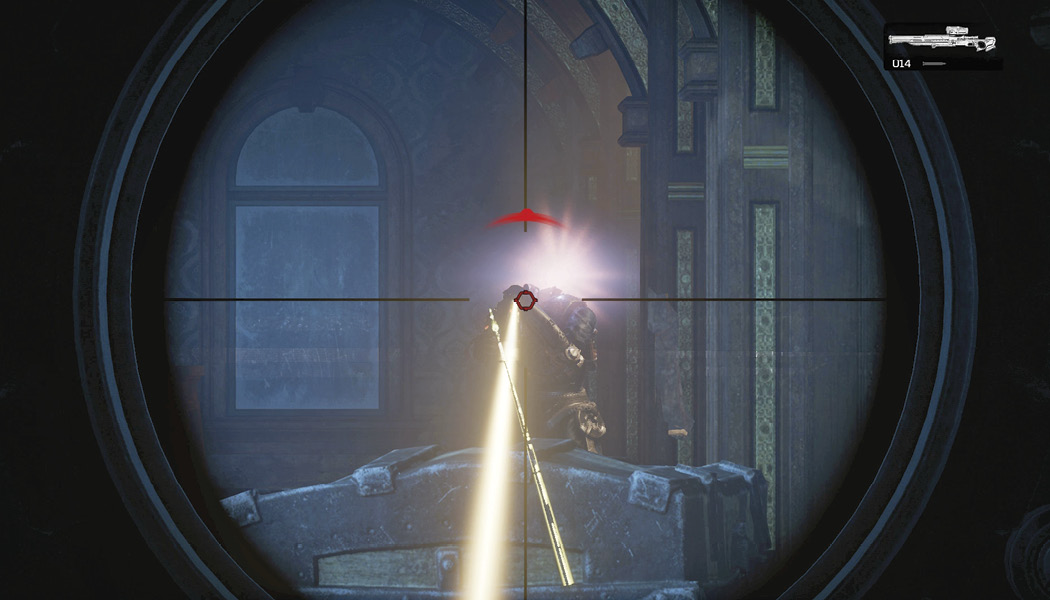
The Kestrel quickly blows up the wall outside the armory, nearly bringing the house down. Equip the Custom Lancer and duck in and out of the armory doorway as needed. Fire on the Kestrel’s engine, then duck into the armory to heal and replenish your spent ammo. The Kestrel’s rockets are less accurate than its laser-sighted guns, but they are far deadlier. Continue firing on the Kestrel’s engine until it is critically damaged and the Kestrel repositions itself in front of the manor. If you open fire on the Kestrel’s rocket pod while it is open, you can do major damage quickly.
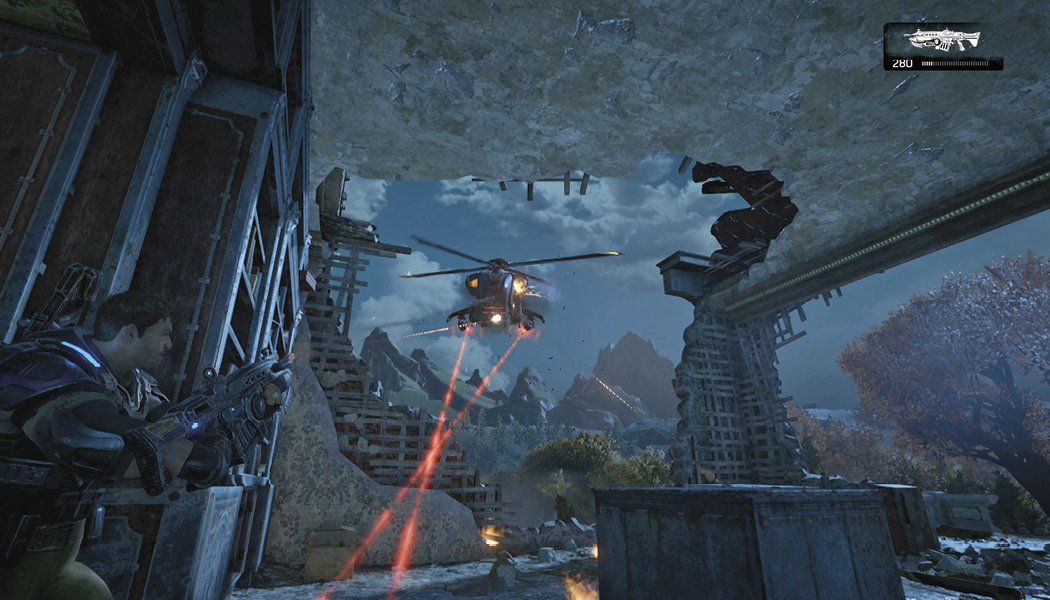
Take cover near the remaining window and finish off the Kestrel by shooting its engines (or the rocket pod) until the helicopter is destroyed once and for all. Return to the armory for one final replenishment, then follow Marcus to the other end of the hall.
Objective: Get Downstairs
Sprint down the hallway and duck into cover behind the column at the far end in time to intercept the DR-1 that bursts through the door with the Tri-Shot. Lob a pair of Frag Grenades at its feet to destroy it, then grab the Tri-Shot and march down the stairs toward the fire. Fight your way down the stairs and through the burning building before the Kestrel collapses atop you.
Follow Marcus through the secret passage leading out of the manor’s basement, through the wine cellar, and outside to the garden. The conversation you hear between Marcus and JD depends on whether or not you visited the cemetery before visiting Marcus.
Objective: Head Toward the Barn
The secret passage trick wasn’t enough to fool Jinn and her DeeBee army. Another Condor deploys a gaggle of drop-pods as soon as you reach the garden. Duck into cover and use the Shock Enforcer to pick off those closest, then switch to the Longshot and snipe those farther away.
Circle around to the left side of the garden after sniping the initial wave of DeeBees. Two DR-1s, several Trackers, and a Guardian blasts through the wall. Have a Frag Grenade ready for the DR-1s in hopes of taking out a Tracker or two as well. Roadie run back to the barn on the right side of the garden and take cover near the firewood. This position provides a nice flanking opportunity and offers good sightlines so you can see if any Trackers are rolling your way.
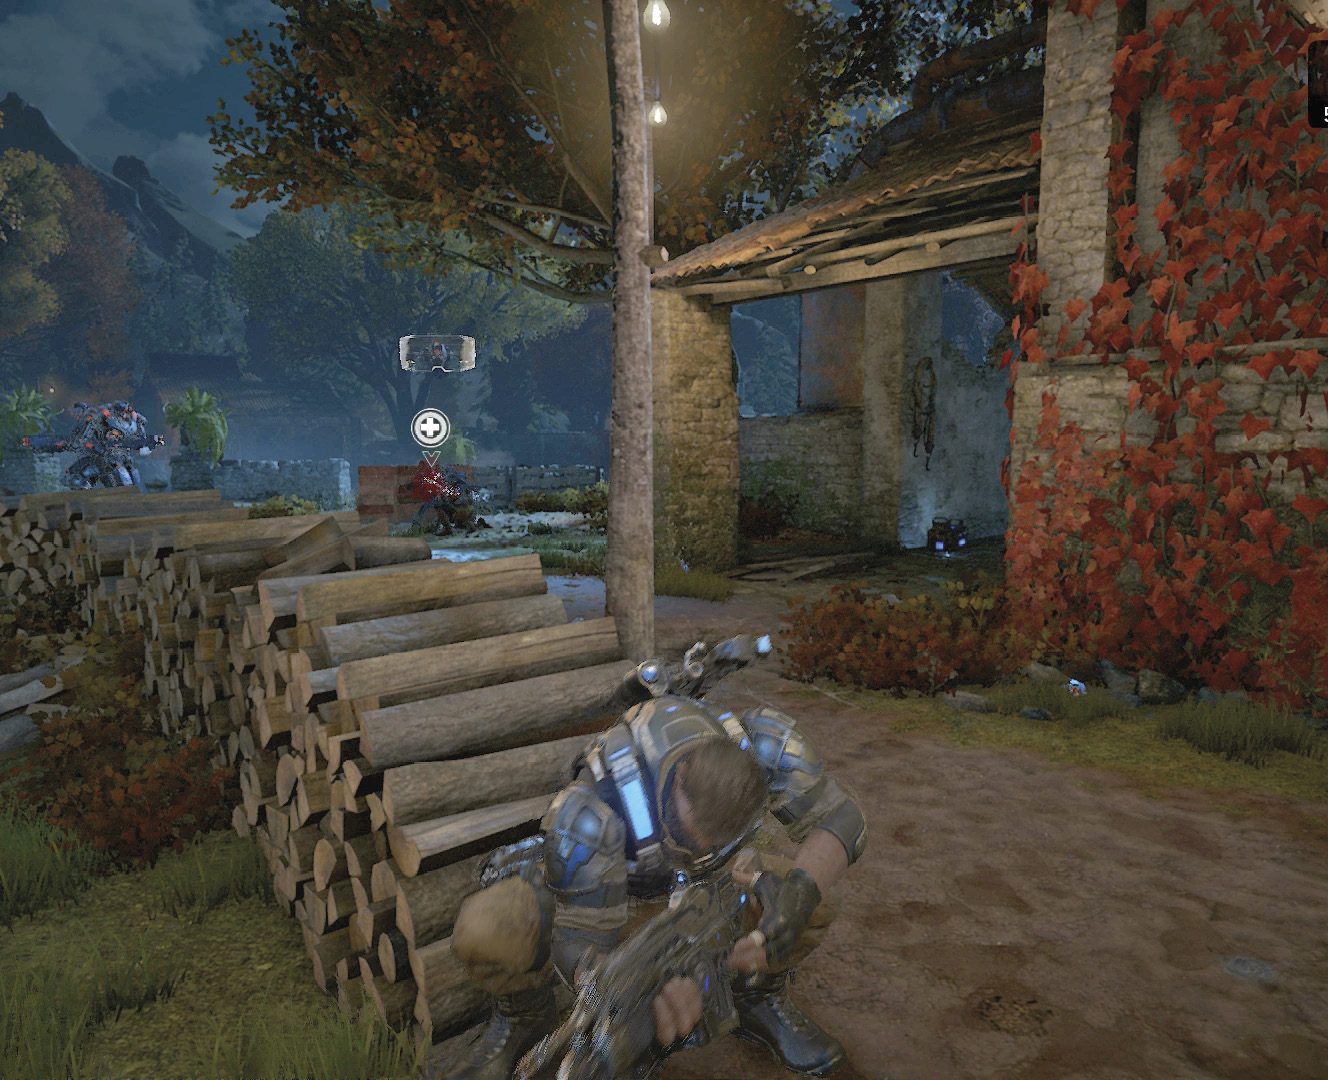
Keep to the perimeter of the garden, take out the Guardian, and retrieve the Tri-Shot from the wreckage. Let your allies finish off the remaining DeeBees while you scour the area for ammo and Frag Grenades. Follow Marcus to the greenhouse up ahead and quickly duck into cover behind the first table. Drop-pods crash through the ceiling—use the Tri-Shot to take them out!
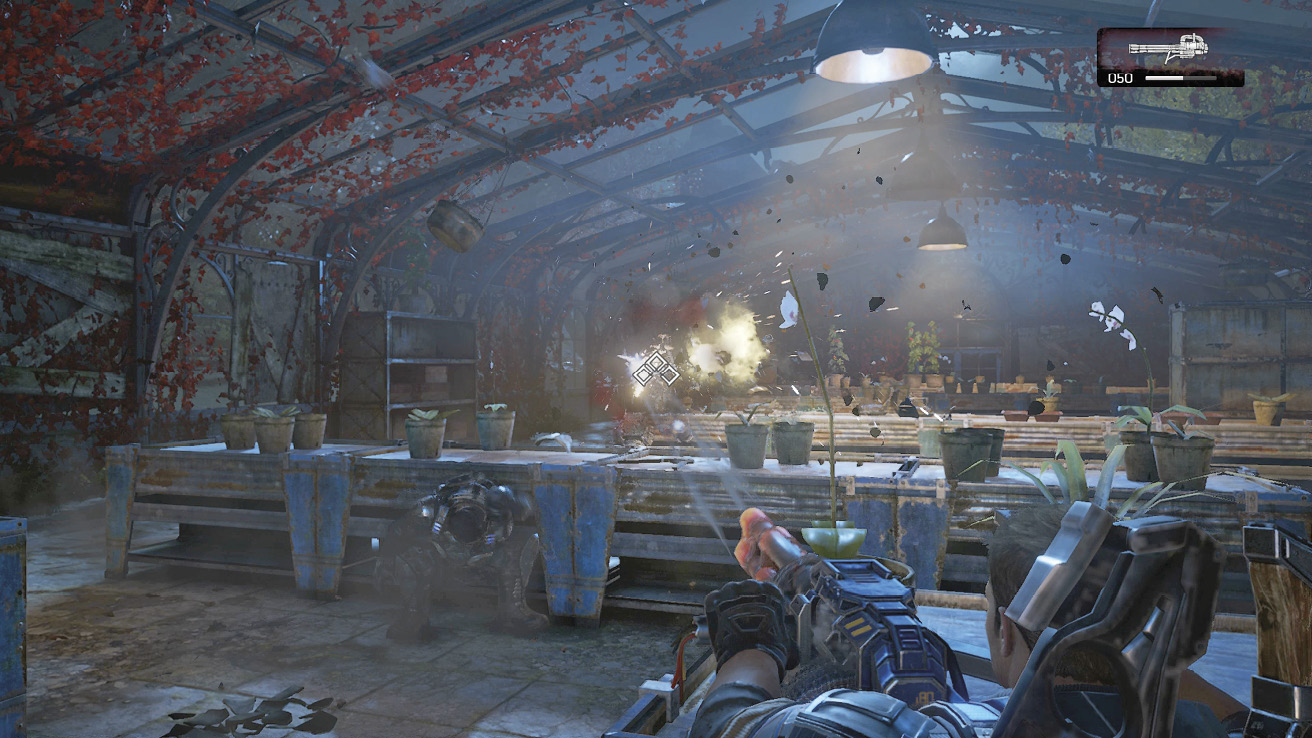
The third Condor to pass deploys several DR-1s. Move into cover along the left side of the greenhouse to find some additional Frag Grenades and toss them at the DR-1s as they enter. Swap out the Longshot for the Overkills dropped by the DR-1s and keep moving.
The squad emerges from the greenhouse just as a Windflare begins to approach. Marcus commands the group forward to the barrel shed, believing it will hold up in the storm. Follow the path to the wooden door up ahead and go inside.
The barrel shed isn’t as safe as Marcus had hoped. Multiple Guardians and other DeeBees have infiltrated the area. The Guardians are equipped with Tri-Shots capable of ripping the blue wooden pallets and tables to pieces. Stay behind the heavy-duty, metal-sided workbenches for cover and focus on any Shepherds charging your position before targeting the Guardians. Spot the Guardian once you destroy its shield to focus your squad’s firepower on it.
The barrel shed holds out long enough for the fight with the DeeBees to end, but it isn’t long before the Windflare—and a Condor—destroys it entirely. Take a look around the smoldering debris for ammo and weapons you may want, then advance through the wreckage.
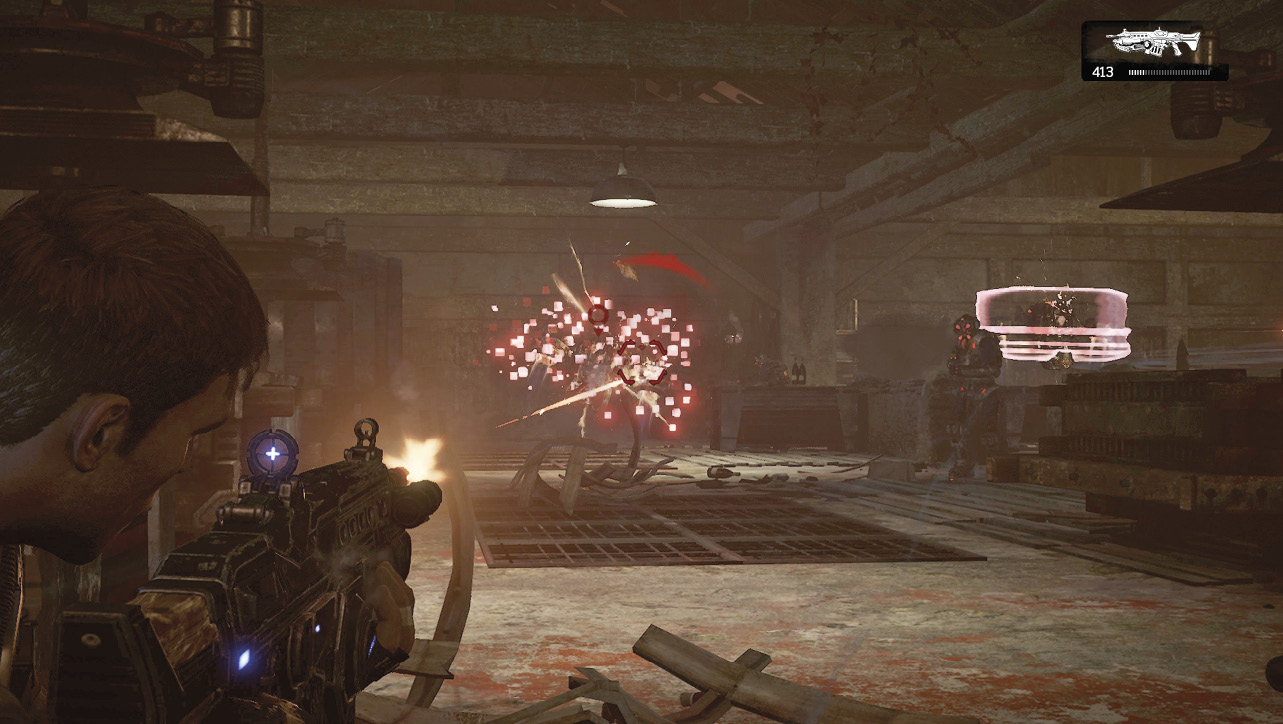
Continue through the smashed Condor toward the barn. Pick up the EMBAR Sniper Rifle beyond the propeller on the right and follow the others through the vineyard. A fresh batch of drop-pods are deployed beyond the arbor. Take cover atop the stairs, behind the stone wall, and snipe the Shepherds as they descend the other side. Slide to the taller cover on the left once the Guardian appears and use the Custom Lancer to pierce its defenses and bring it down. Try to destroy it only when it’s to the right of the outer wall, or else you won’t be able to retrieve its heavy weapon.
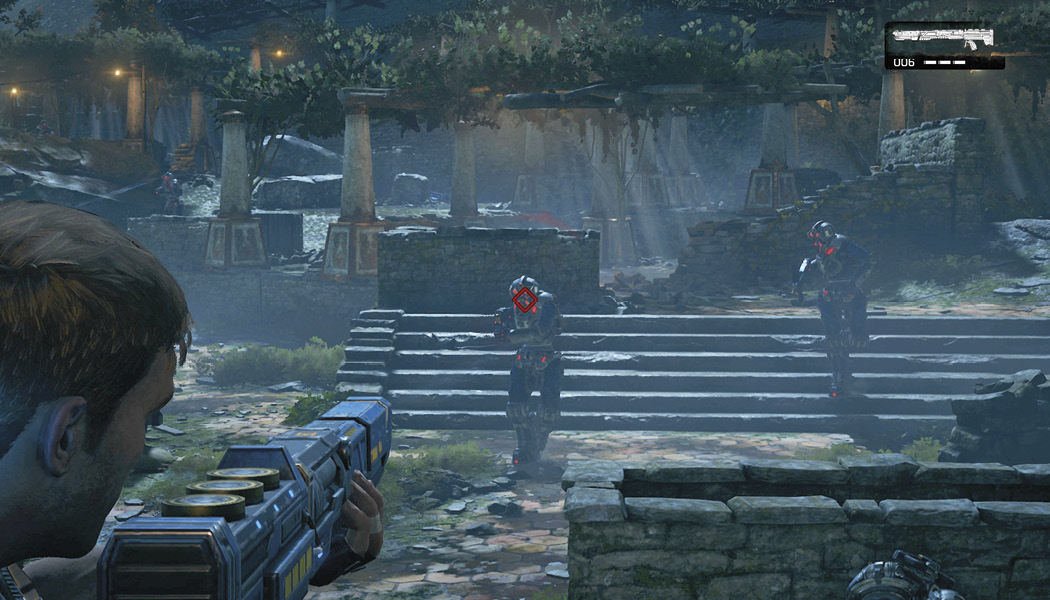
Co-Op TacticsThere’s going to be plenty of opportunity for sniping up ahead and, fortunately, there’s weaponry for both players. Have one player pick up the EMBAR Sniper Rifle as you pass the Condor wreckage. The other can equip the Longshot just steps ahead, right before going through the grape arbor. The only thing better than one sniper is two! Once in the vineyard, you can find a second Longshot atop a weapon crate that is along the right-hand side of the area. |
Once the Guardian has been destroyed and you’ve run out of EMBAR rounds, cross the vineyard to the right side and battle your way up the stairs to the trellis. Here you can find a Longshot and another Custom Lancer. Put the Longshot to use against the remaining Shepherds in the back of the vineyard.
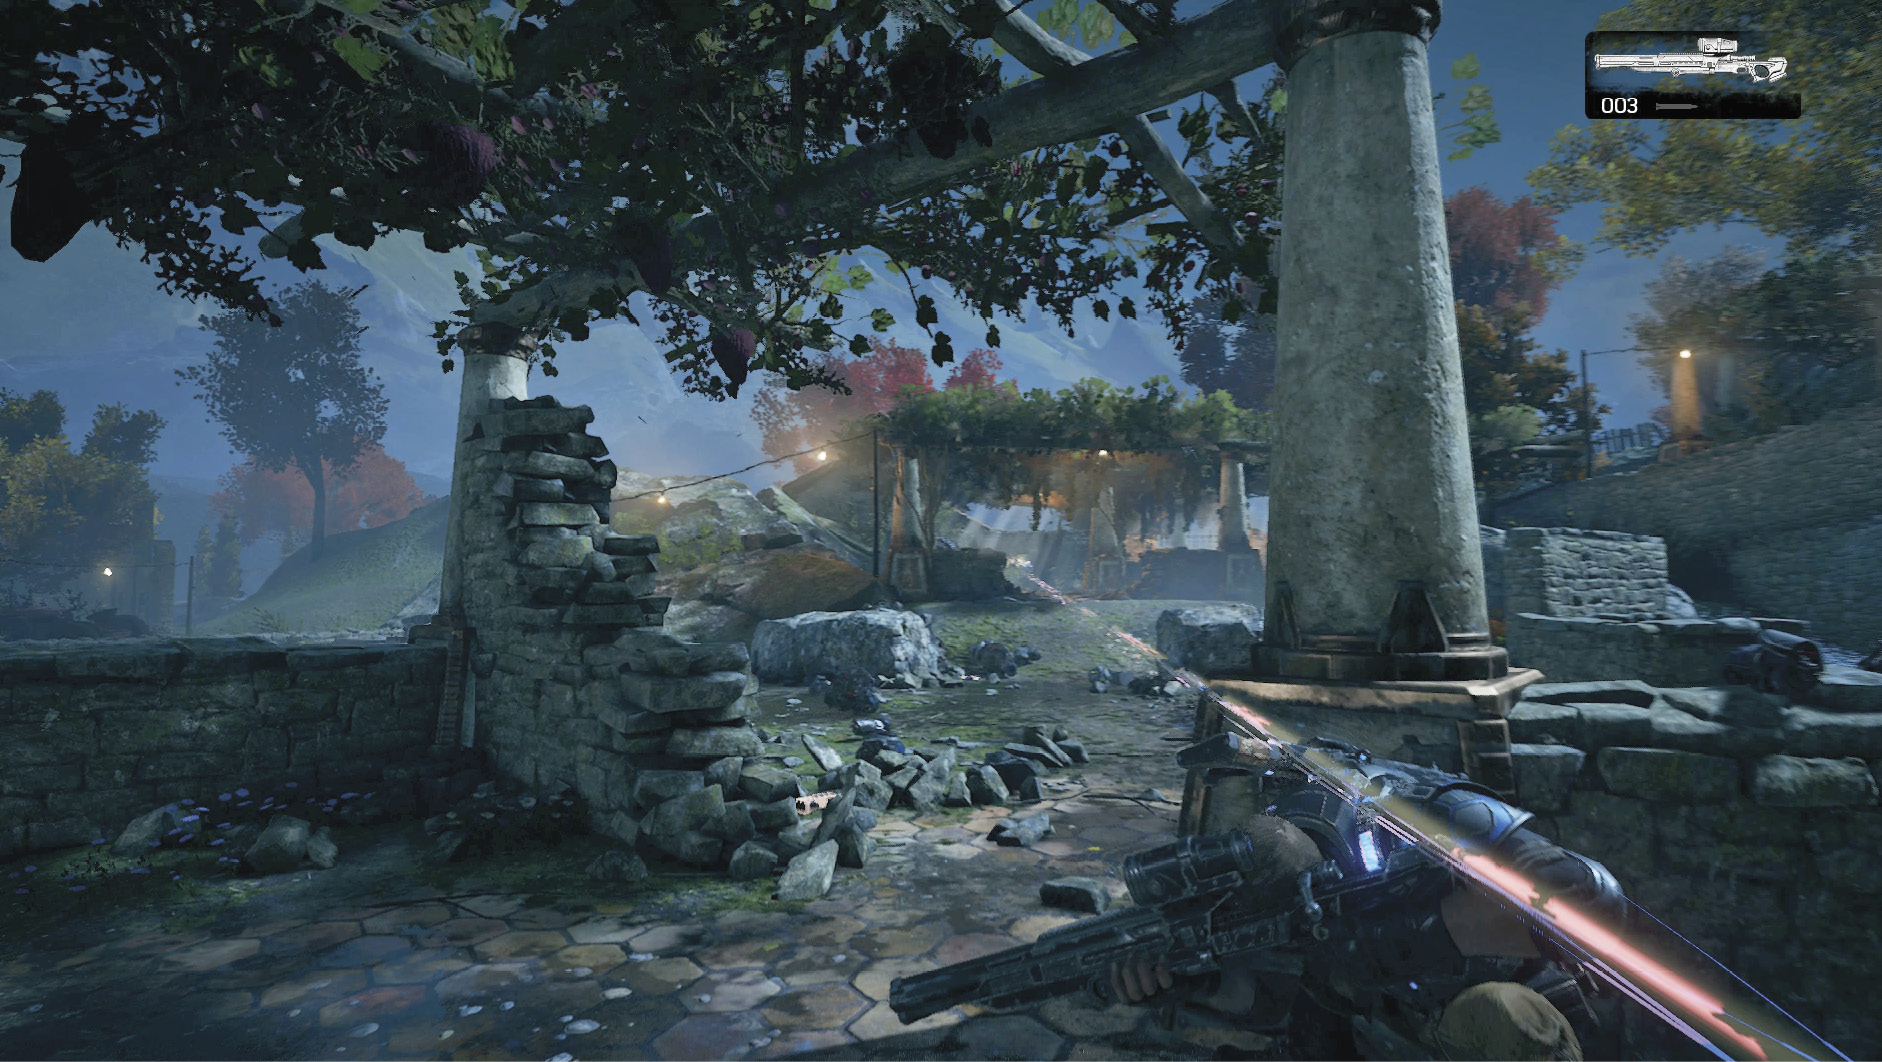
Search the vineyard for Frag Grenades and ammo, then follow Marcus out the far end, past the view of the windmill, and through the gate up ahead. The barn isn’t much farther, but things can change quickly.