Gears of War 4 Guide Campaign Act 5
Chapter 3: Gate Crashers
Situation Overview
JD’s honorary uncles arrive inside a pair of massive mechs, just what was needed to take on the Swarm. And if that wasn’t enough, the rest of the group is going to follow along in a helicopter, offering aerial support. Tensions are high between JD and the older men, but there will be time enough later to hash out old grievances.
Tollen Dam Outskirts
Objective: Get Through Town
Head out onto the road and follow the others in the King Raven as you make your way toward the dam. Test out Jack Junior’s controls by kicking the cars in your path and by dodging left and right. Run ahead to where the numerous Drones are located and melee stomp them to bits before opening fire on the Carrier. None of these Swarm creatures can withstand Jack Junior’s attacks, not even a Carrier.
Jack Junior is equipped with a gigantic, fully-automatic stapler that fires with considerable accuracy and speed. The mech’s guns can be fired continuously until the barrel overheats, then you’ll need to cool it just like with the Mulcher and other weapons.
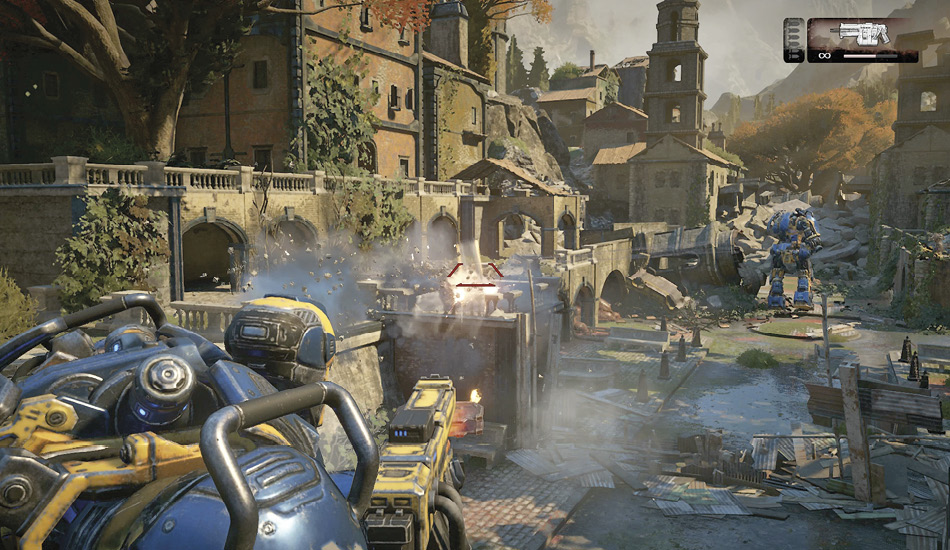
The gate beyond the bridge is too stout for you to breach in the mech, but you can call in an airstrike. Hold the Tac-Com button to highlight up to six of the targets displayed on the screen, one for each of the King Raven’s missile launchers. Highlight a few of the targeting reticles to unleash a small barrage of missiles from the King Raven.
Continue up and over the pile of rubble to the numerous Swarm in the town square up ahead. Call in an airstrike for different groups of Swarm, then signal for another at the Snatcher on the roof. Head into the riverbed to the left and shoot through the first wooden bridge while the King Raven’s missiles replenish, then call for an airstrike on the two beyond it.
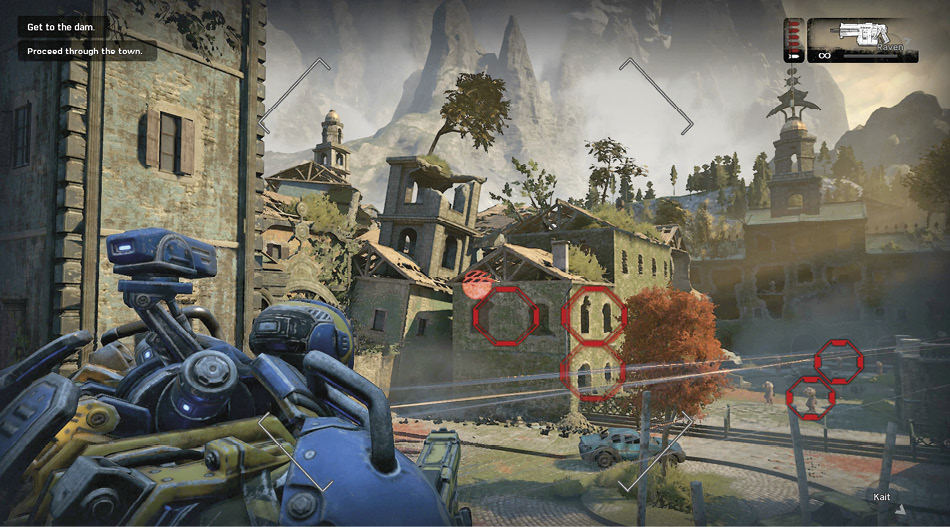
The two Snatchers up ahead can inflict significant damage with their quills, but they won’t down the mech with a single strike. Nevertheless, don’t treat them lightly. Call in an airstrike with at least two missiles before you step out of cover. Call for a single missile to hit each of the two Snatchers on the roof up ahead, wait for the King Raven to reload, then signal for an airstrike on the wall where the fountain is located. This will create an opening for the two mechs to continue.
Cross the bridge and duck into cover with the mech as a Swarmak appears. This is where having two massive mechs comes in handy.
Objective: Kill the Swarmak
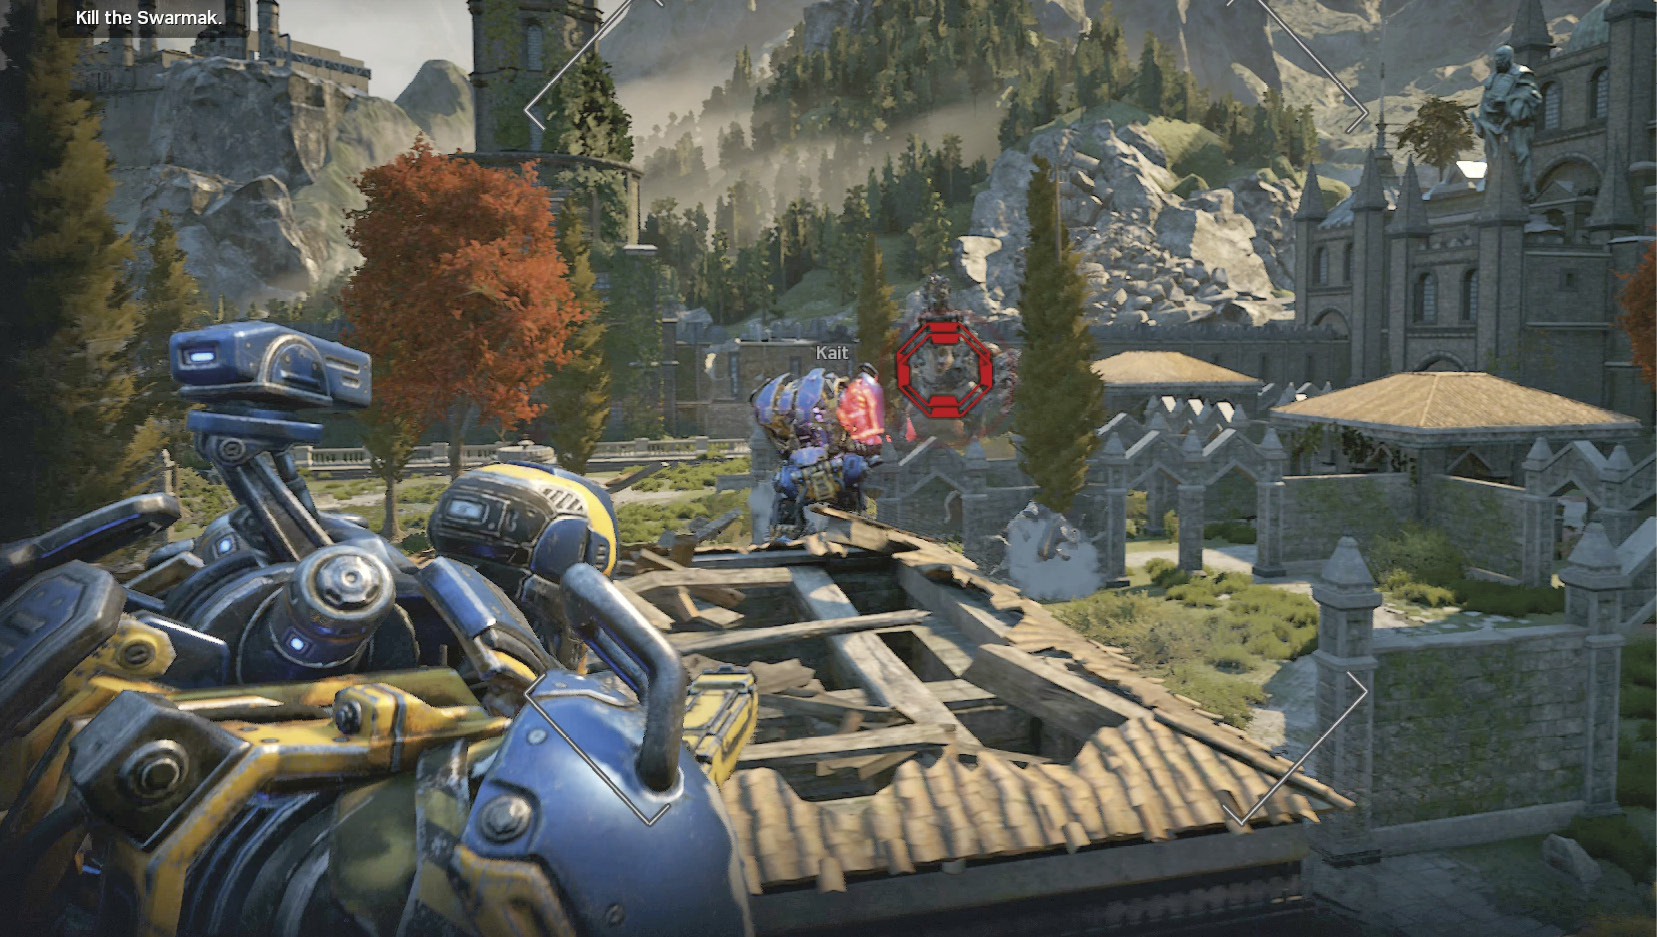
The Swarmak’s wrist-mounted chainguns do very little damage to the mechs, but its rocket barrage can inflict heavy damage. Stay behind the building near the bridge and let the other mech move forward to attract some of the Swarmak’s attention. Call in repeat airstrikes to blast the Swarmak and destroy its scabs. Open fire on the blisters while the King Raven reloads, then send additional rockets at the Swarmak.
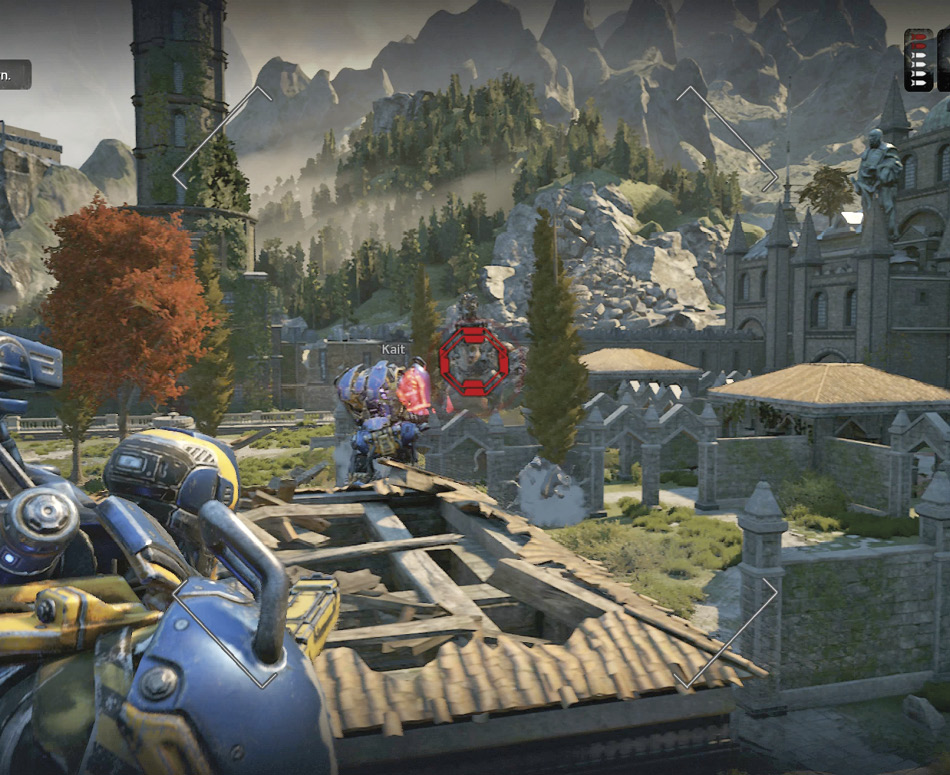
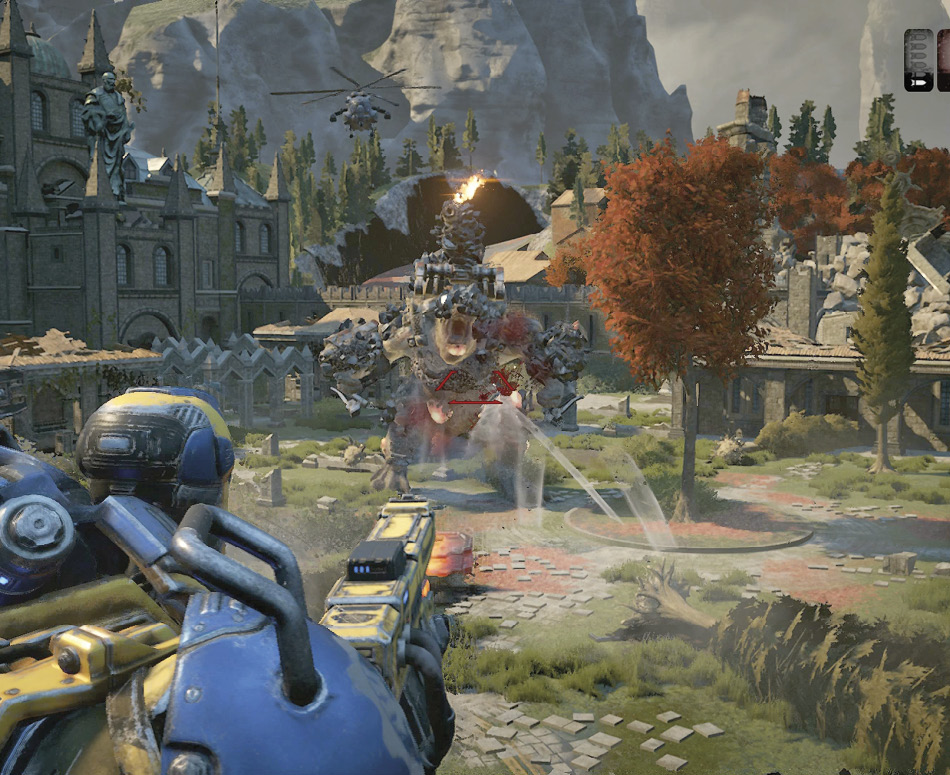
Continue to call in airstrikes against the Swarmak as you strafe in and out of cover and around the plaza, trying to keep the Swarmak in front of you. Your guns will inflict damage over time, but the airstrike is your main tool for defeating the Swarmak.
The Swarmak will eventually be knocked into its own special DBNO state (down but not out). Charge forward and press the button as indicated on-screen to perform an execution.
Objective: Get to the Dam
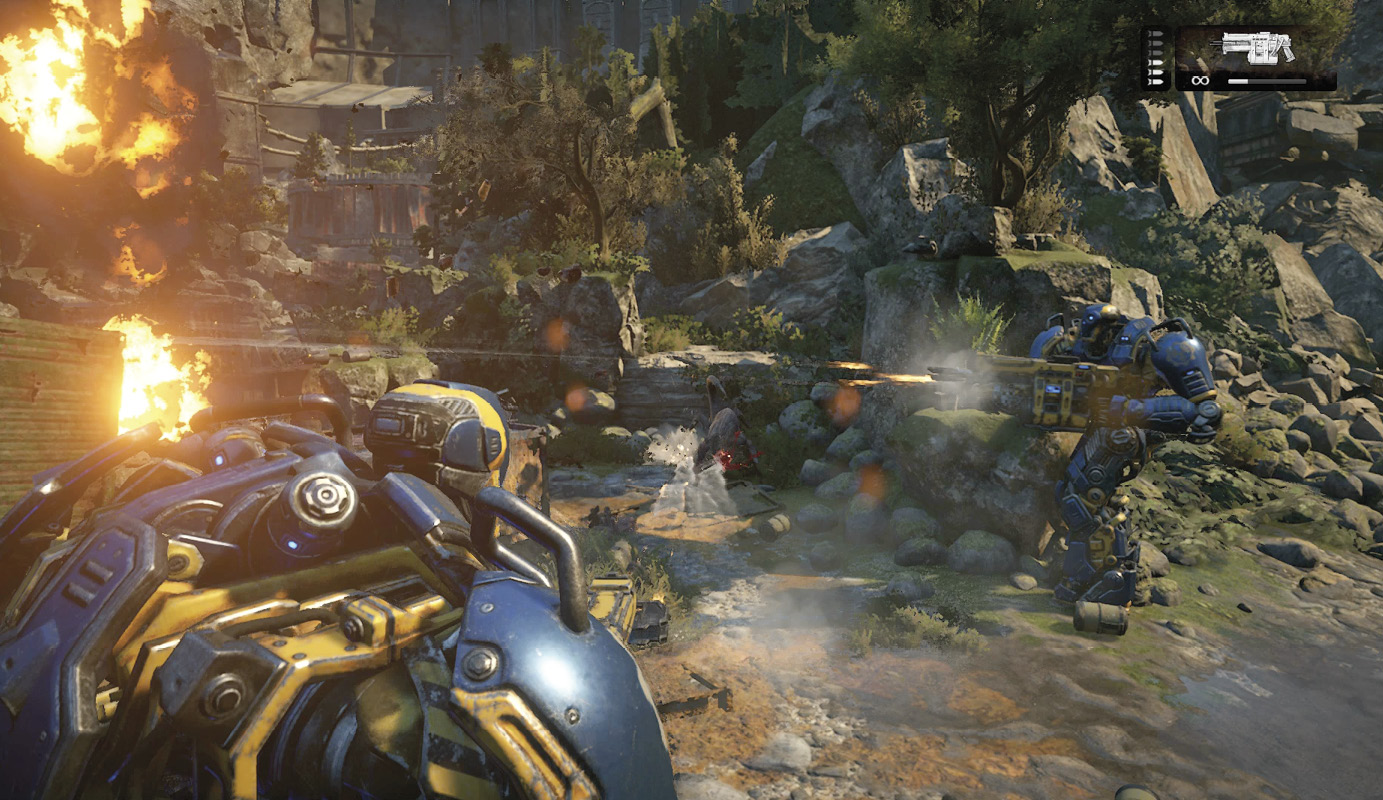
Airstrike the wall where indicated and drop into the ravine on the other side. Head left through the river valley. The path eventually winds its way through a series of narrow openings on the right where multiple Snatchers and Carriers attack simultaneously. Don’t underestimate the damage three of these greater Swarm creatures can do to the mech. Target the Snatchers for an airstrike and back out of the narrow opening, so as to funnel them through a chokepoint. You’ll be able to finish them off as they move to the wider space.
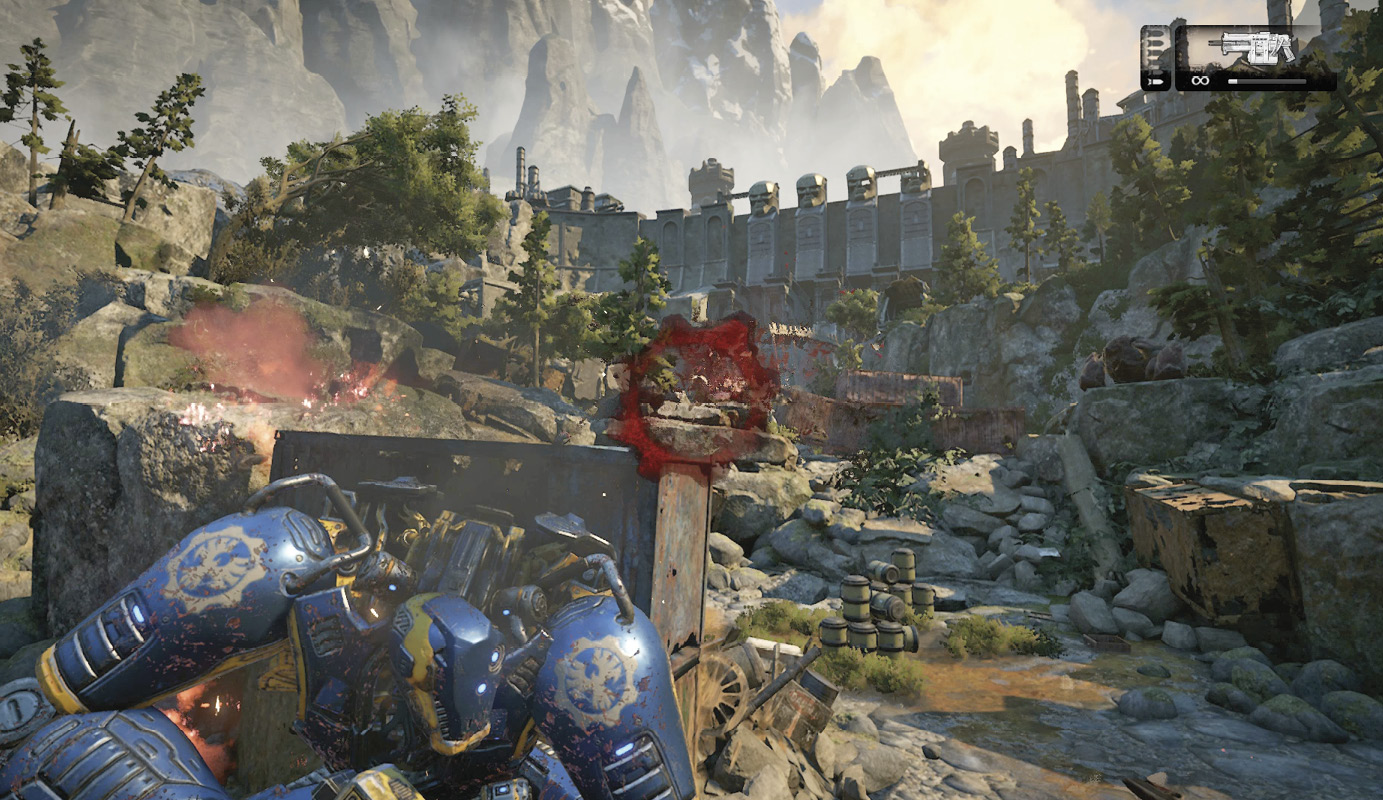
Two more Snatchers attack alongside two Carriers up ahead. Airstrike the Snatchers together, then strafe to the left, behind cover, and airstrike the Carriers once ready. Use the mech’s guns to shoot the Carrier’s projectiles out of the air before they can do any harm.
Proceed ahead to the toppled turbine, continuing to use the combination of airstrikes, cover, and Jack Junior’s mighty gun to beat back the Snatchers and Carriers. Grab hold of the turbine alongside the other mech and pull it aside so the two can continue on.
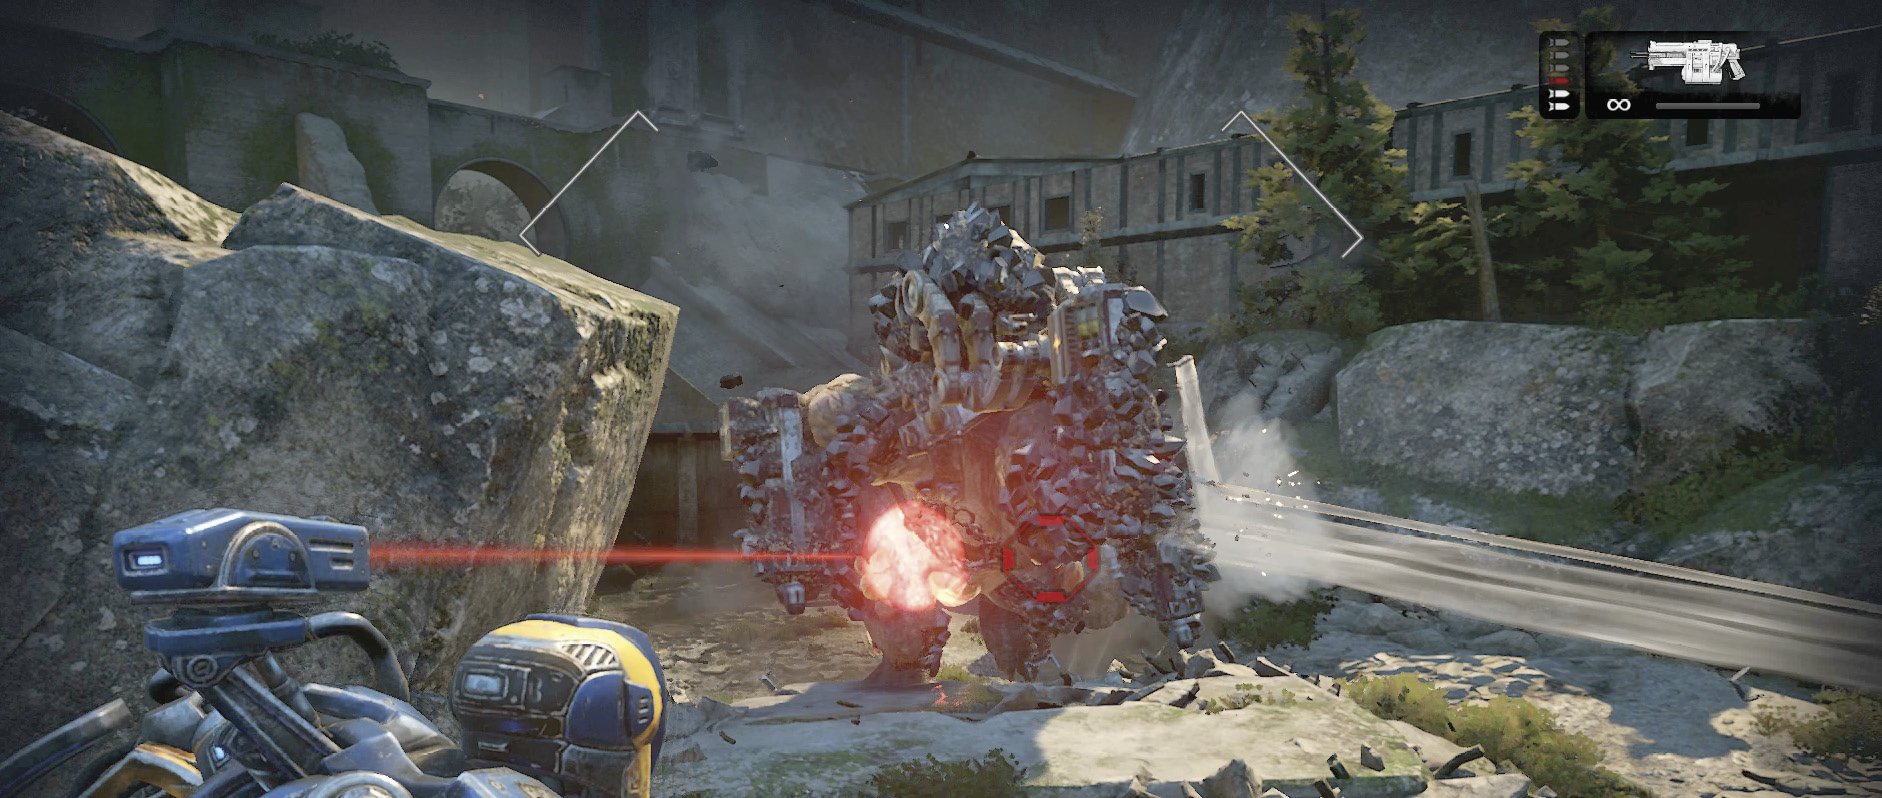
One final Swarmak attacks at the base of the dam. Use the large boulder in the center for cover and strafe around it as you continue to summon airstrikes at the Swarmak. Keep up the pressure with the mech’s guns until the King Raven has another two or three missiles reloaded, then call for another airstrike. Rip the beast’s jaws apart as before with an execution move. Turn left at the base of the dam to proceed to the final encounter.