
Gears of War 4 Guide Campaign Act 5
Chapter 2: Killing Time
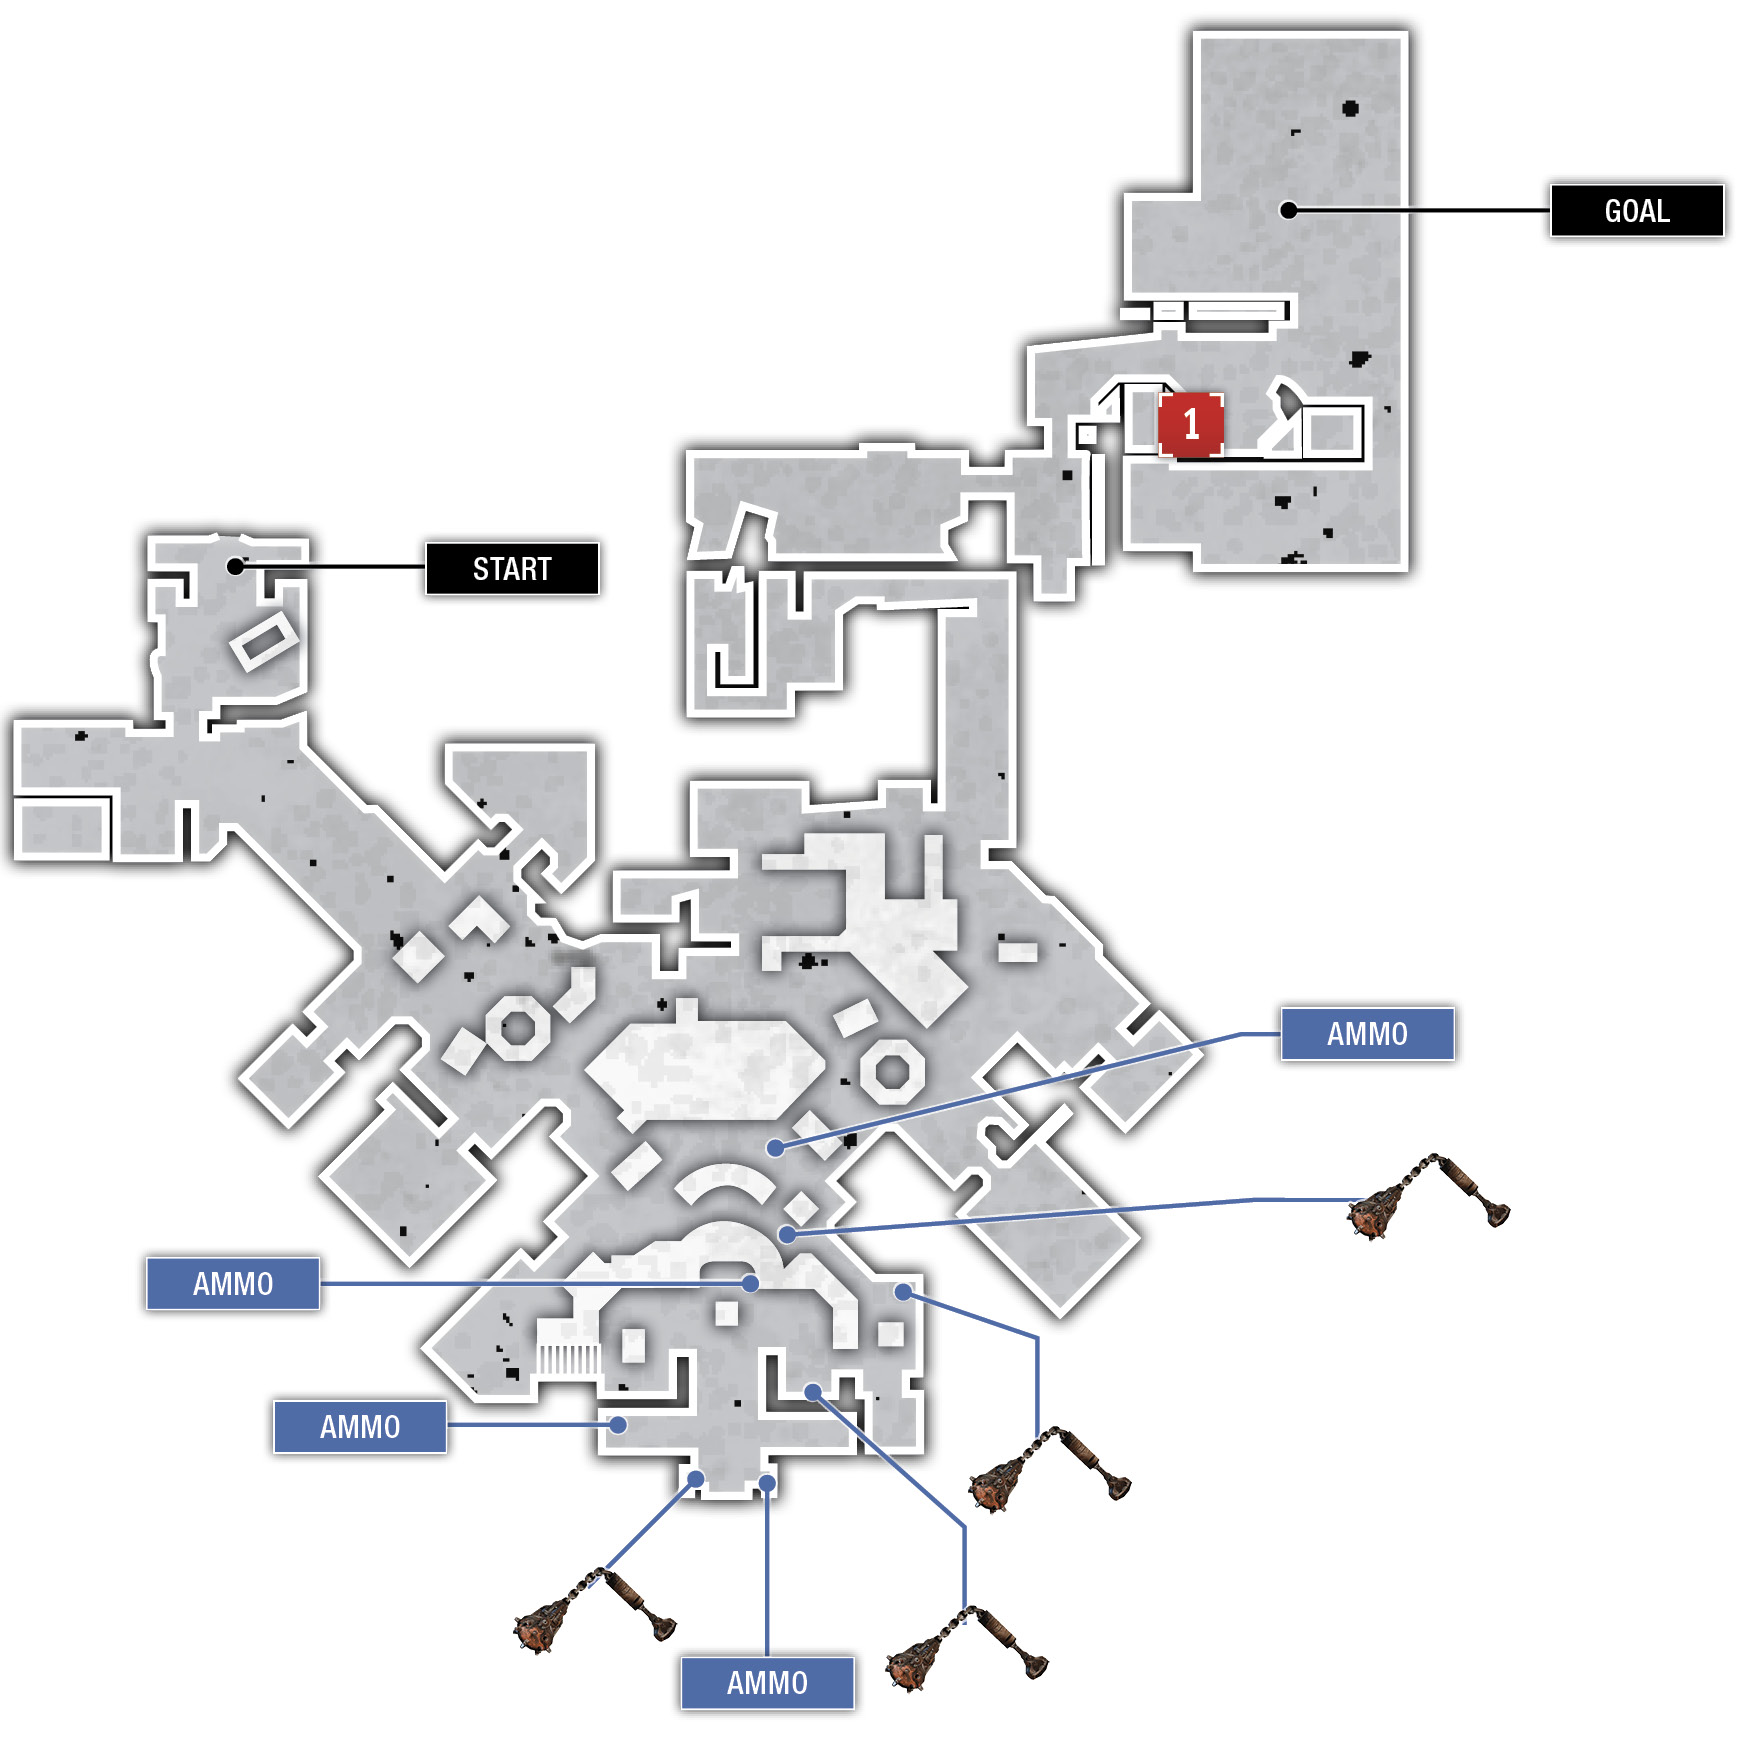
Collectibles
 Speyer Scavenger List
Situation Overview
The squad reaches the radio tower in Speyer and help is on the way. Unfortunately, while Marcus was inside calling his mysterious friend, a massive contingent of Swarm surrounded the facility. Marcus may have expected as much and dragged a Fabricator out onto the porch.
Speyer
Objective: Defend the Radio Tower
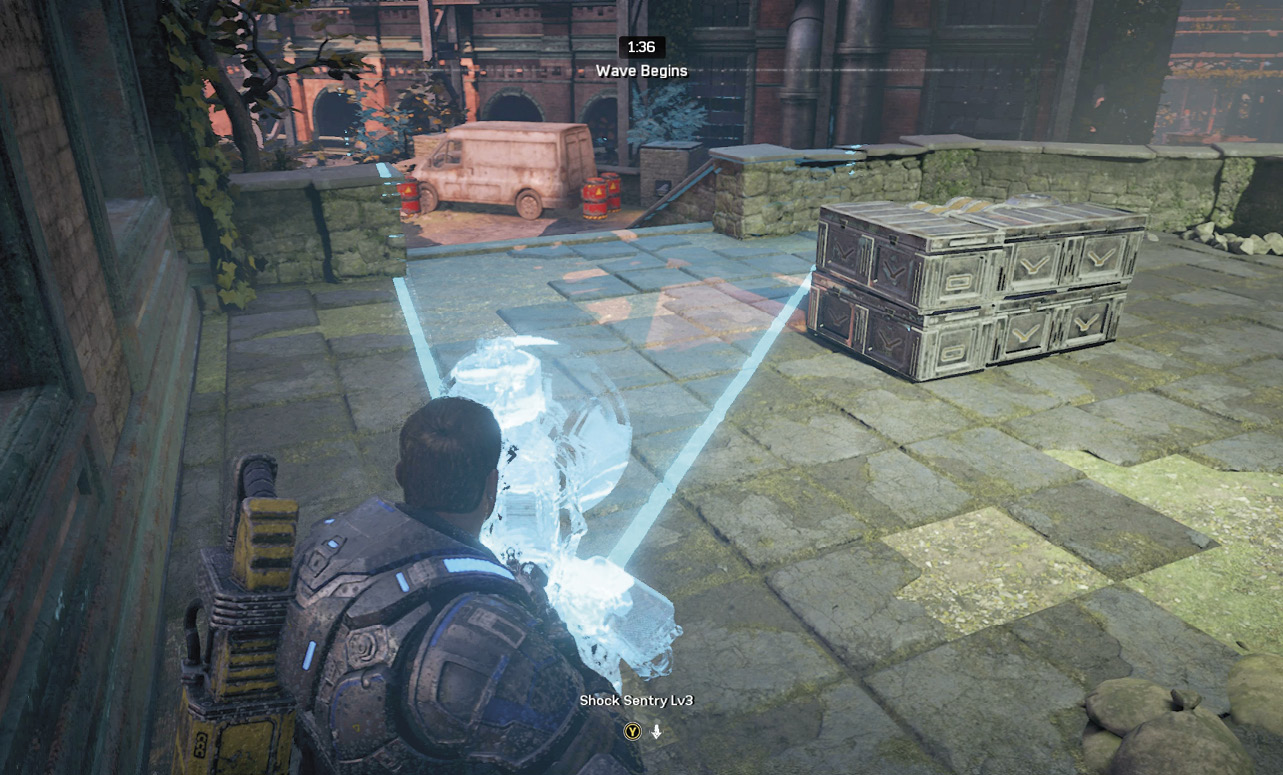
The squad has two minutes to fortify the radio tower in preparation of the first wave of attack. The fortifications available at the Fabricator are more effective than those encountered previously, but they also cost more. Either purchase two Shock Sentries or two MG Sentries—the choice is yours—and place them in the corners overlooking the stairs leading up from the street. Place them far enough back so that enemies can’t get to them easily. There are plenty of Frag Grenades scattered around the area for you to scavenge, so you shouldn’t need to purchase any.
Fabricator Options: 20,000 Initial Power
| Item | Category | Power Cost |
|---|---|---|
| Barrier LV 3 | Fortification | 5500 |
| Shock Sentry LV 3 | Fortification | 8000 |
| MG Sentry LV 3 | Fortification | 10000 |
| Frag Grenade | Weapon | 4000 |
| Lancer | Weapon | 2000 |
| Gnasher | Weapon | 1750 |
| Dropshot | Weapon | 4000 |
| Torque Bow | Weapon | 3750 |
The wave begins with an explosion in the building across the street from the radio tower. Man the turret and open fire right away! Ignore any Juvies that appear and focus on the Drones and Scion that emerge from the doors of the burning building.
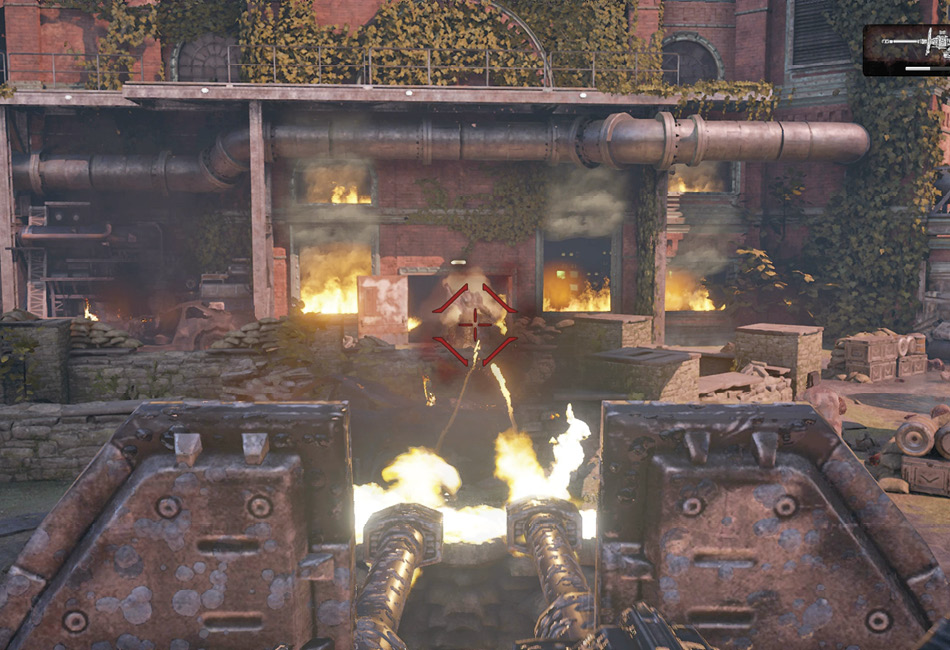
Listen for any alerts indicating that the Swarm have ascended the stairs. If they do, leave the turret and assist your squad in defending the fortifications you purchased. Return to the turret as soon as the deck is clear, as Pouncers will begin showing up any moment. Look for two to leap down from the balcony of the burning building.
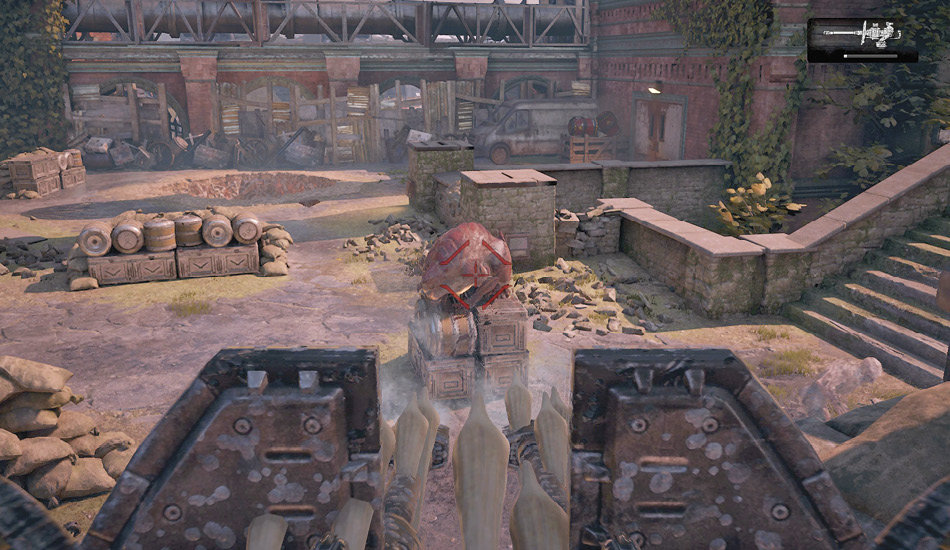
The second wave begins just 1:30 after the first wave is finished. You’ll regain 15,000 power units to build what you can. We recommend an MG Sentry and a Torque Bow. Place the MG Sentry near the turret, angled toward either side so as to assist the Shock Sentry from the first wave. Ideally, you’ll be able to keep these three sentries operational until the third wave. Use the remaining time to plant a pair of Frag Grenades on the walls and cover leading toward the radio tower and to collect some ammo from the street. Return to the turret and start the next wave.
The second wave begins with an assault from the left. Drones, Juvies, and a Scion attack from the building across the street to the left. Use the turret to cut down the Drones as they appear, then focus on the Scion with the Buzzkill. Don’t be afraid to use the turret against any Scions with Buzzkills, as the shields will protect you. The same is not true for any Dropshot-wielding enemies you encounter.
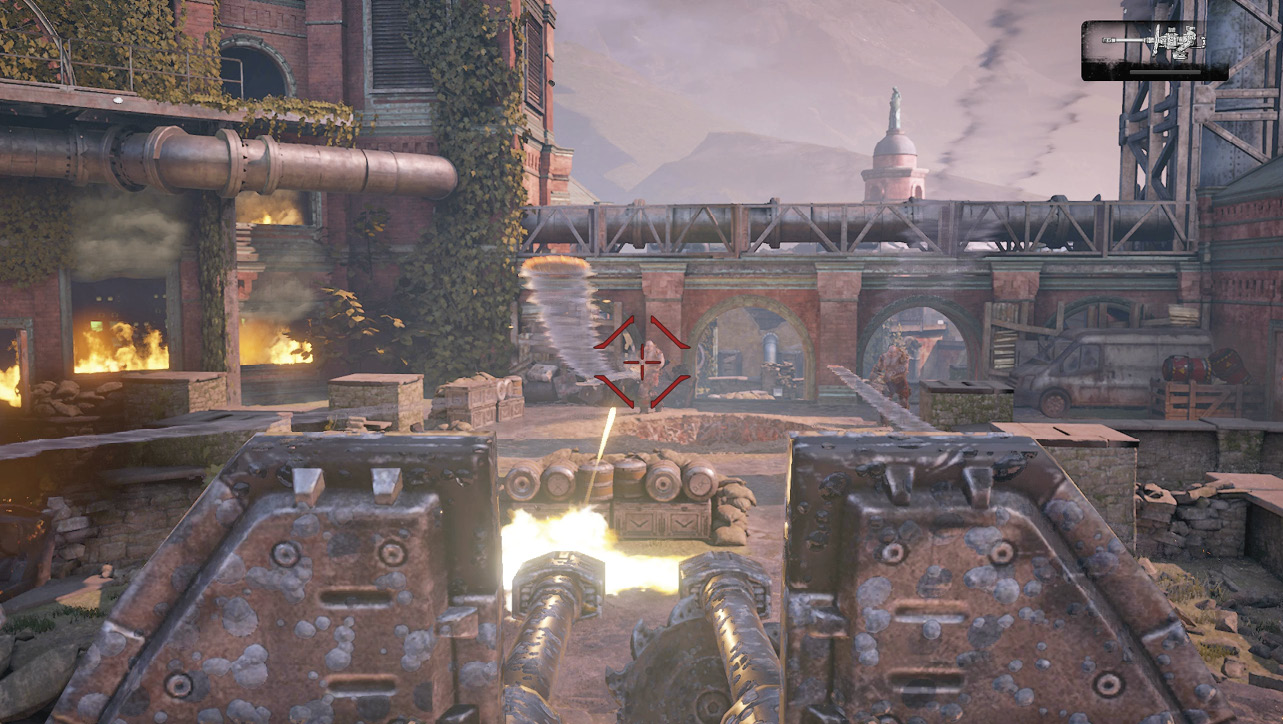
Take out the Scions and Drones that attack from the right, then take aim on the upper balcony of the building directly across from the turret. Two Hunter Drones are about to move into position. Take them out!
Snatchers appear from both sides. Pick one and open fire on it with the turret, but listen for the attacking cry of the other. If you hear the attack scream and don’t see the Snatcher you’re facing preparing an attack, release the turret and roll away. It only takes one shot from the Snatcher’s quill to be downed and you don’t want to take any chances.
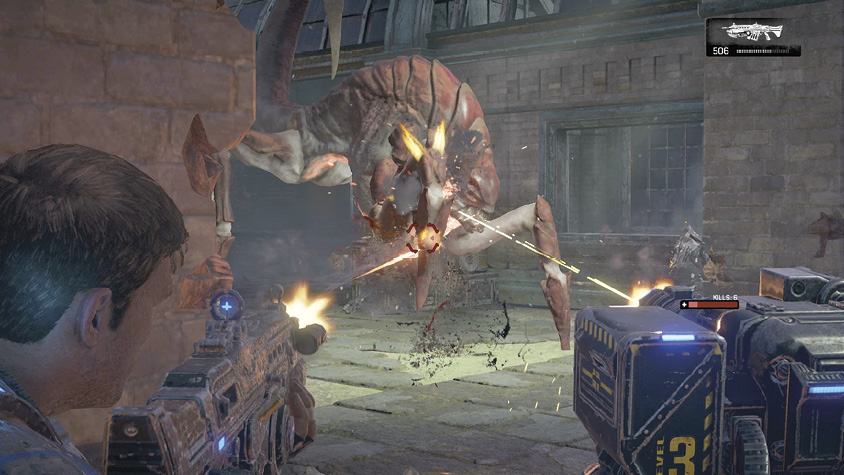
Retreat to the door leading inside if the two Snatchers manage to climb the stairs and get close. Take cover behind the walls that flank the Fabricator and lob Frag Grenades under the bellies of the Snatchers. Try to slip past the Snatcher and return to the street so as to lure it away from your fortifications. A Snatcher can destroy an MG Sentry LV 3 in one strike and you’re going to need it for the third wave.
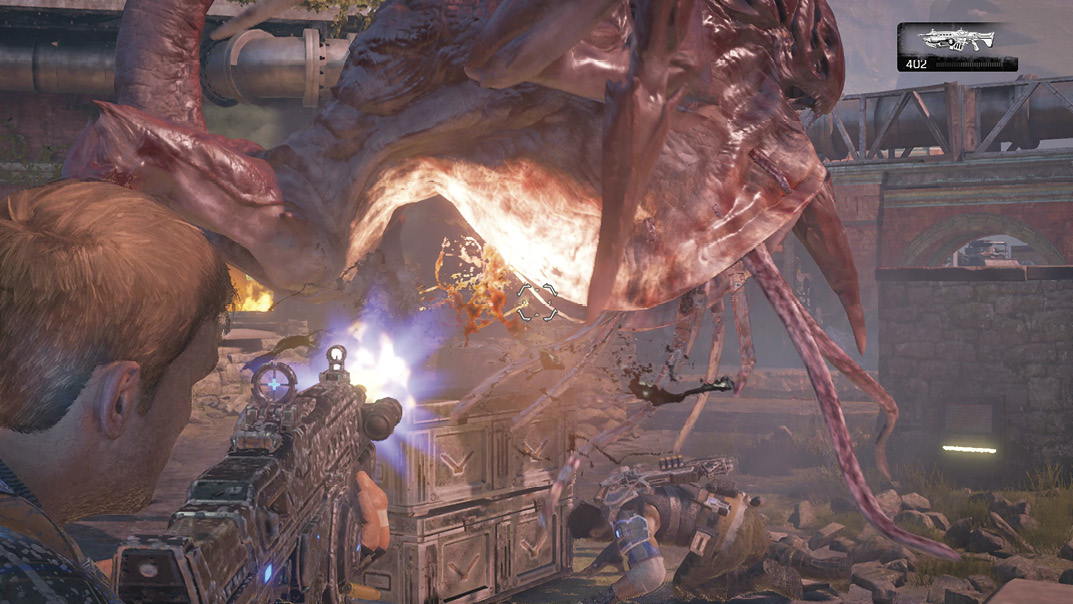
Depending on how much you spent in the second wave, you should have enough to purchase two MG Sentries for the third and final wave. Consider placing one near the turret and another behind the Fabricator, near the door, so they might catch enemies in cross-fire. Gather up any remaining Frag Grenades and ammo from the street and start the wave once back on the turret.
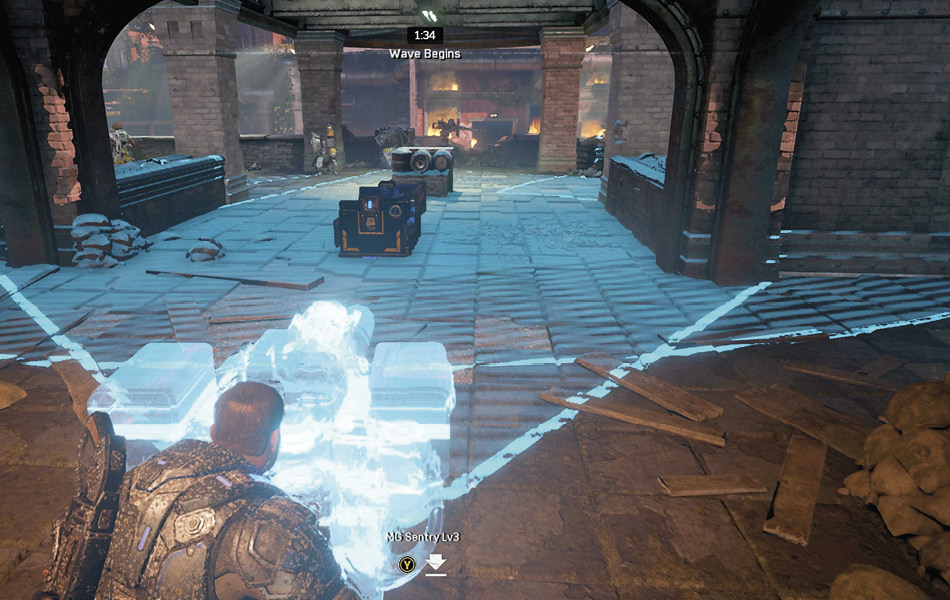
Look to take the Buzzkills dropped by the Scions and the Torque Bow from the nest before beginning the wave. Once the wave starts, you need to stick close to the squad and avoid venturing out onto the street.
A Scion and several Drones and Juvies attack from the building to the right, near the van. Gun them down with the turret, then swing around to the left to intercept an identical group moving in from the other side. These Scions are armed with Dropshots, so you had better be ready to leave the turret at a moment’s notice, else suffer a fatal headshot from above.
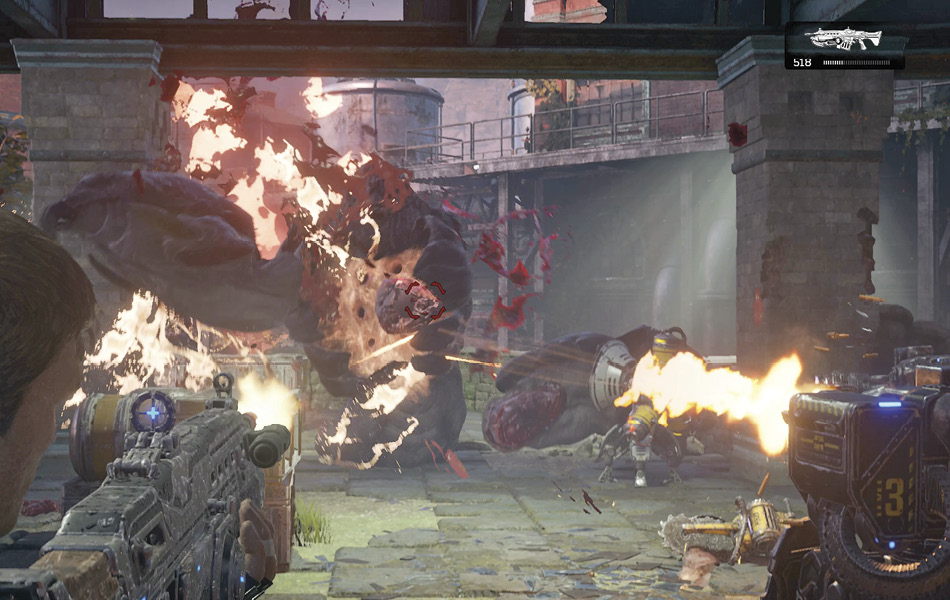
The wave culminates with two Carriers attacking simultaneously from either end of the road. Man the turret for as long as you can to soften up the Carrier coming from the right while trusting your allies to keep the fiery projectiles off your back from behind. The turret will deflect most incoming projectiles from the Carrier, but it helps to shoot them out of the sky when you can, as it will help protect your squad.
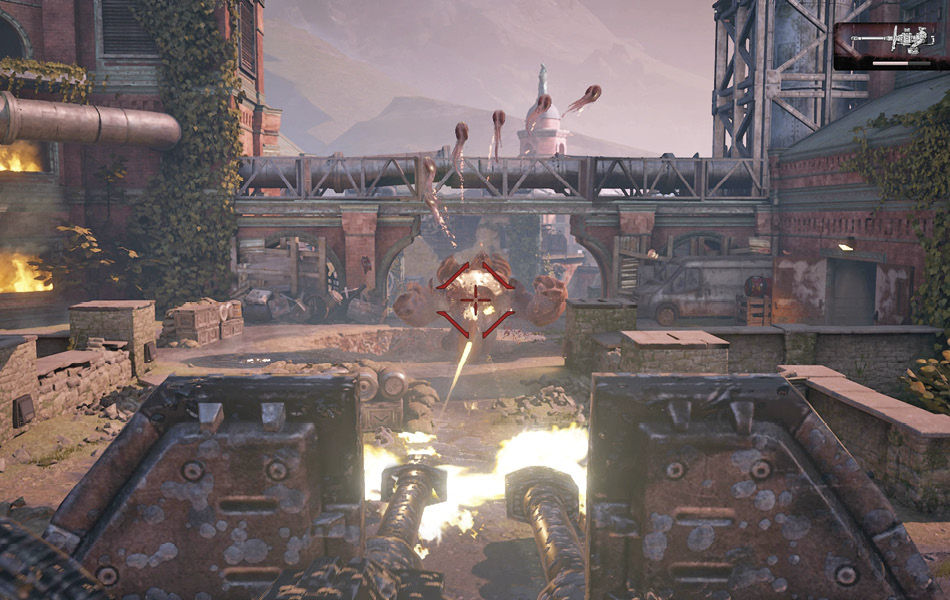
Aid your sentries in attacking the other Carrier once the first one is destroyed. Continue lobbing Frag Grenades at it whenever it opens its chest cavity. If necessary, retrieve one of the sentries that isn’t being utilized and reposition it so it can be of greater help.
Objective: Get to the Drop Zone
Marcus spots a smoke signal down in the valley to the right. Leave the radio tower and head down the hill to the right, and through the building behind the doors on the left. Snake your way through the building to the alley on the other side, comfortable in the knowledge that it really is clear of Swarm, despite Del’s worries. Cut the chain on the gate and proceed to the rendezvous point to reunite with some old friends.