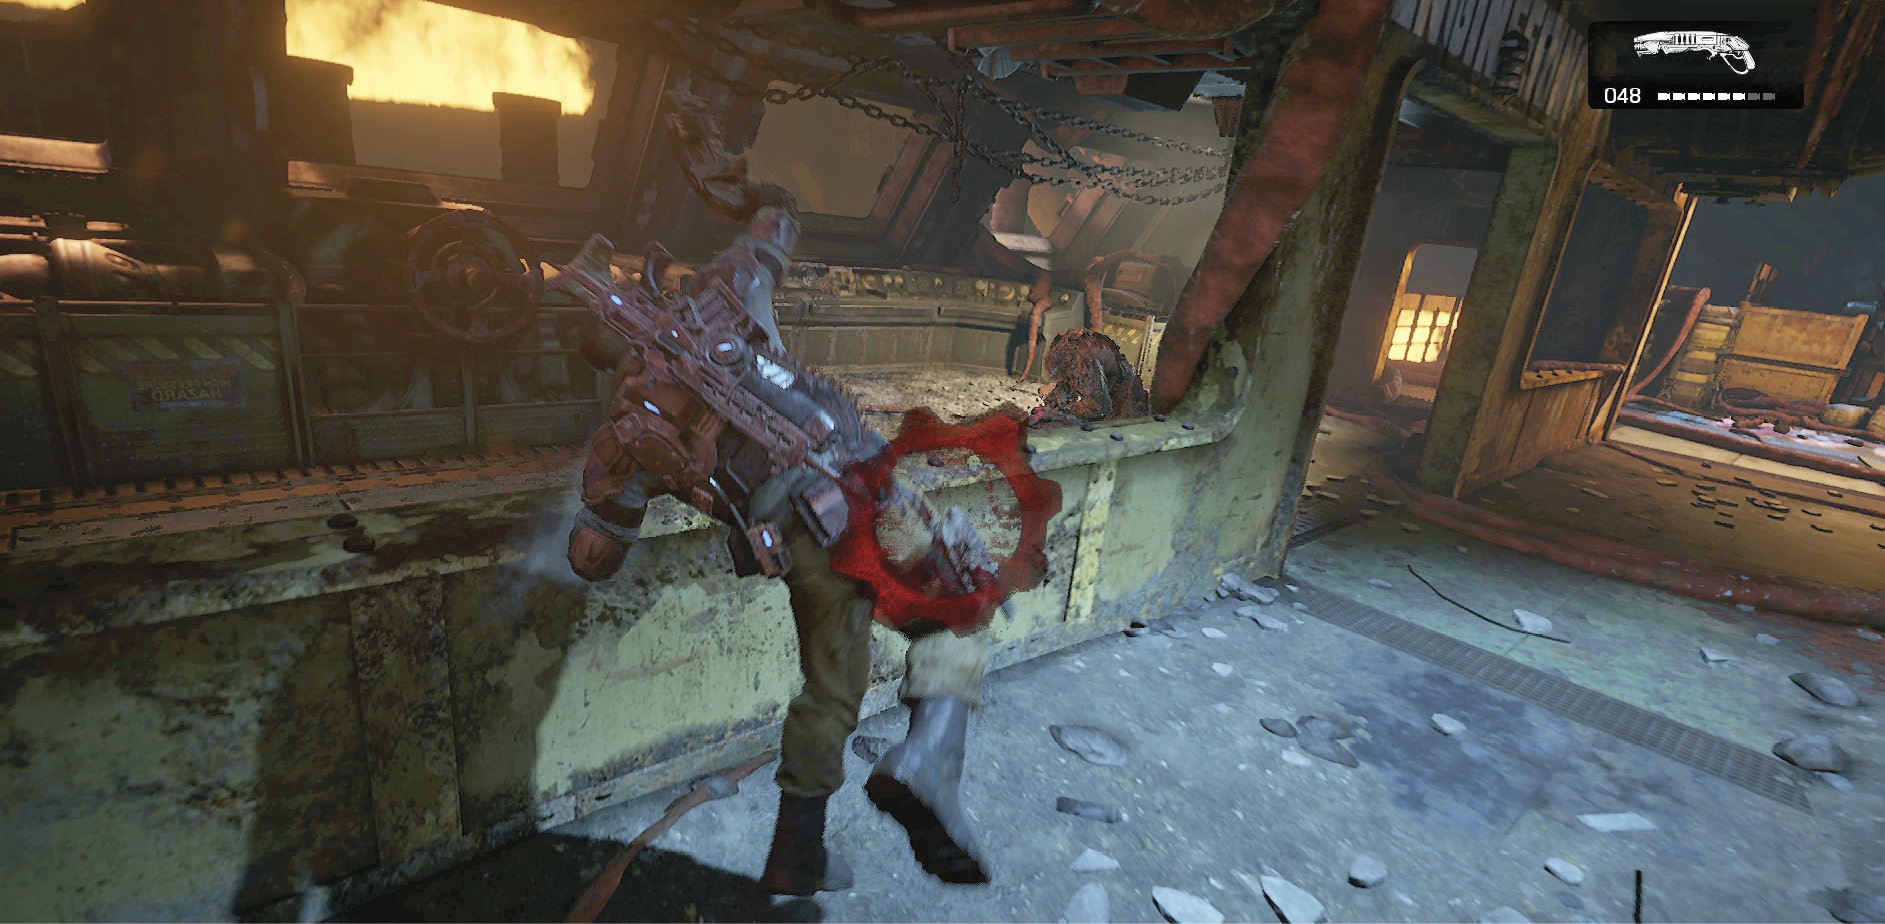
Gears of War 4 Guide Campaign Act 3
Chapter 5: Elevator to Hell
Collectibles
|
 Ephyran Tribune
Situation Overview
They’ve come this far, only to find an abandoned ore transporter leading into a seemingly bottomless pit. Nobody knows what they’re going to find, but after a few moments of hesitation, the squad decides to try riding the platform into the trench. After all, the one thing they hope to find is Marcus Fenix, and he’s very likely down there.
Ore Transporter
Objective: Start the Transporter Engines
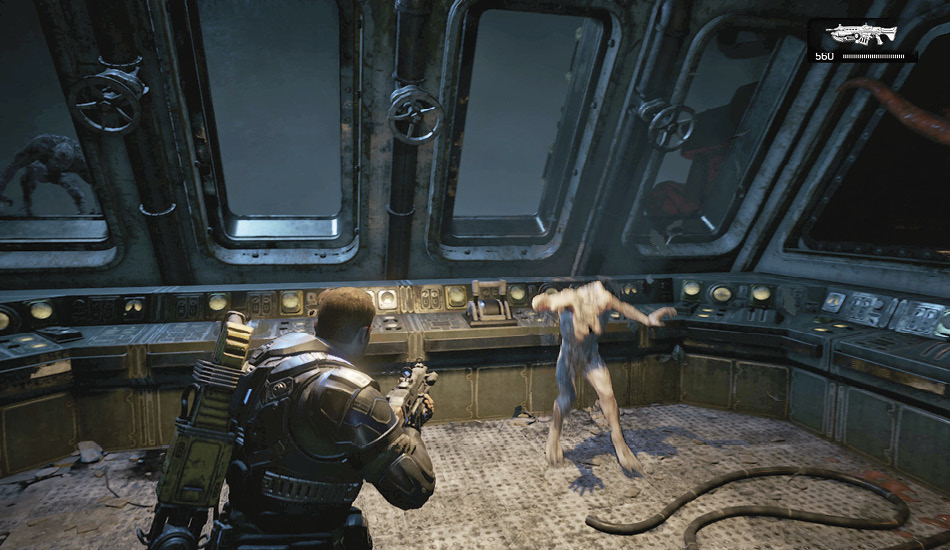
The squad climbs up to the ore transporter with the hope of being able to power it up and ride it down into the mines far below ground. Things are quiet for now, so have a look around and make your way to the control room (use Tac-Com if you’re unsure where the goal is). Pull the lever to turn on the lights.
The engines don’t start but Del thinks it might be a case of fuel. Cross the ore transporter to the room on the opposite side of the platform. Have the Gnasher or Retro Lancer handy, as a few Juvies will attack as soon as JD goes to pull the lever for the reserve tanks. Kill the Juvies, then pull the second lever to fire up the engines and begin the slow descent.
Objective: Defend the Ore Transporter
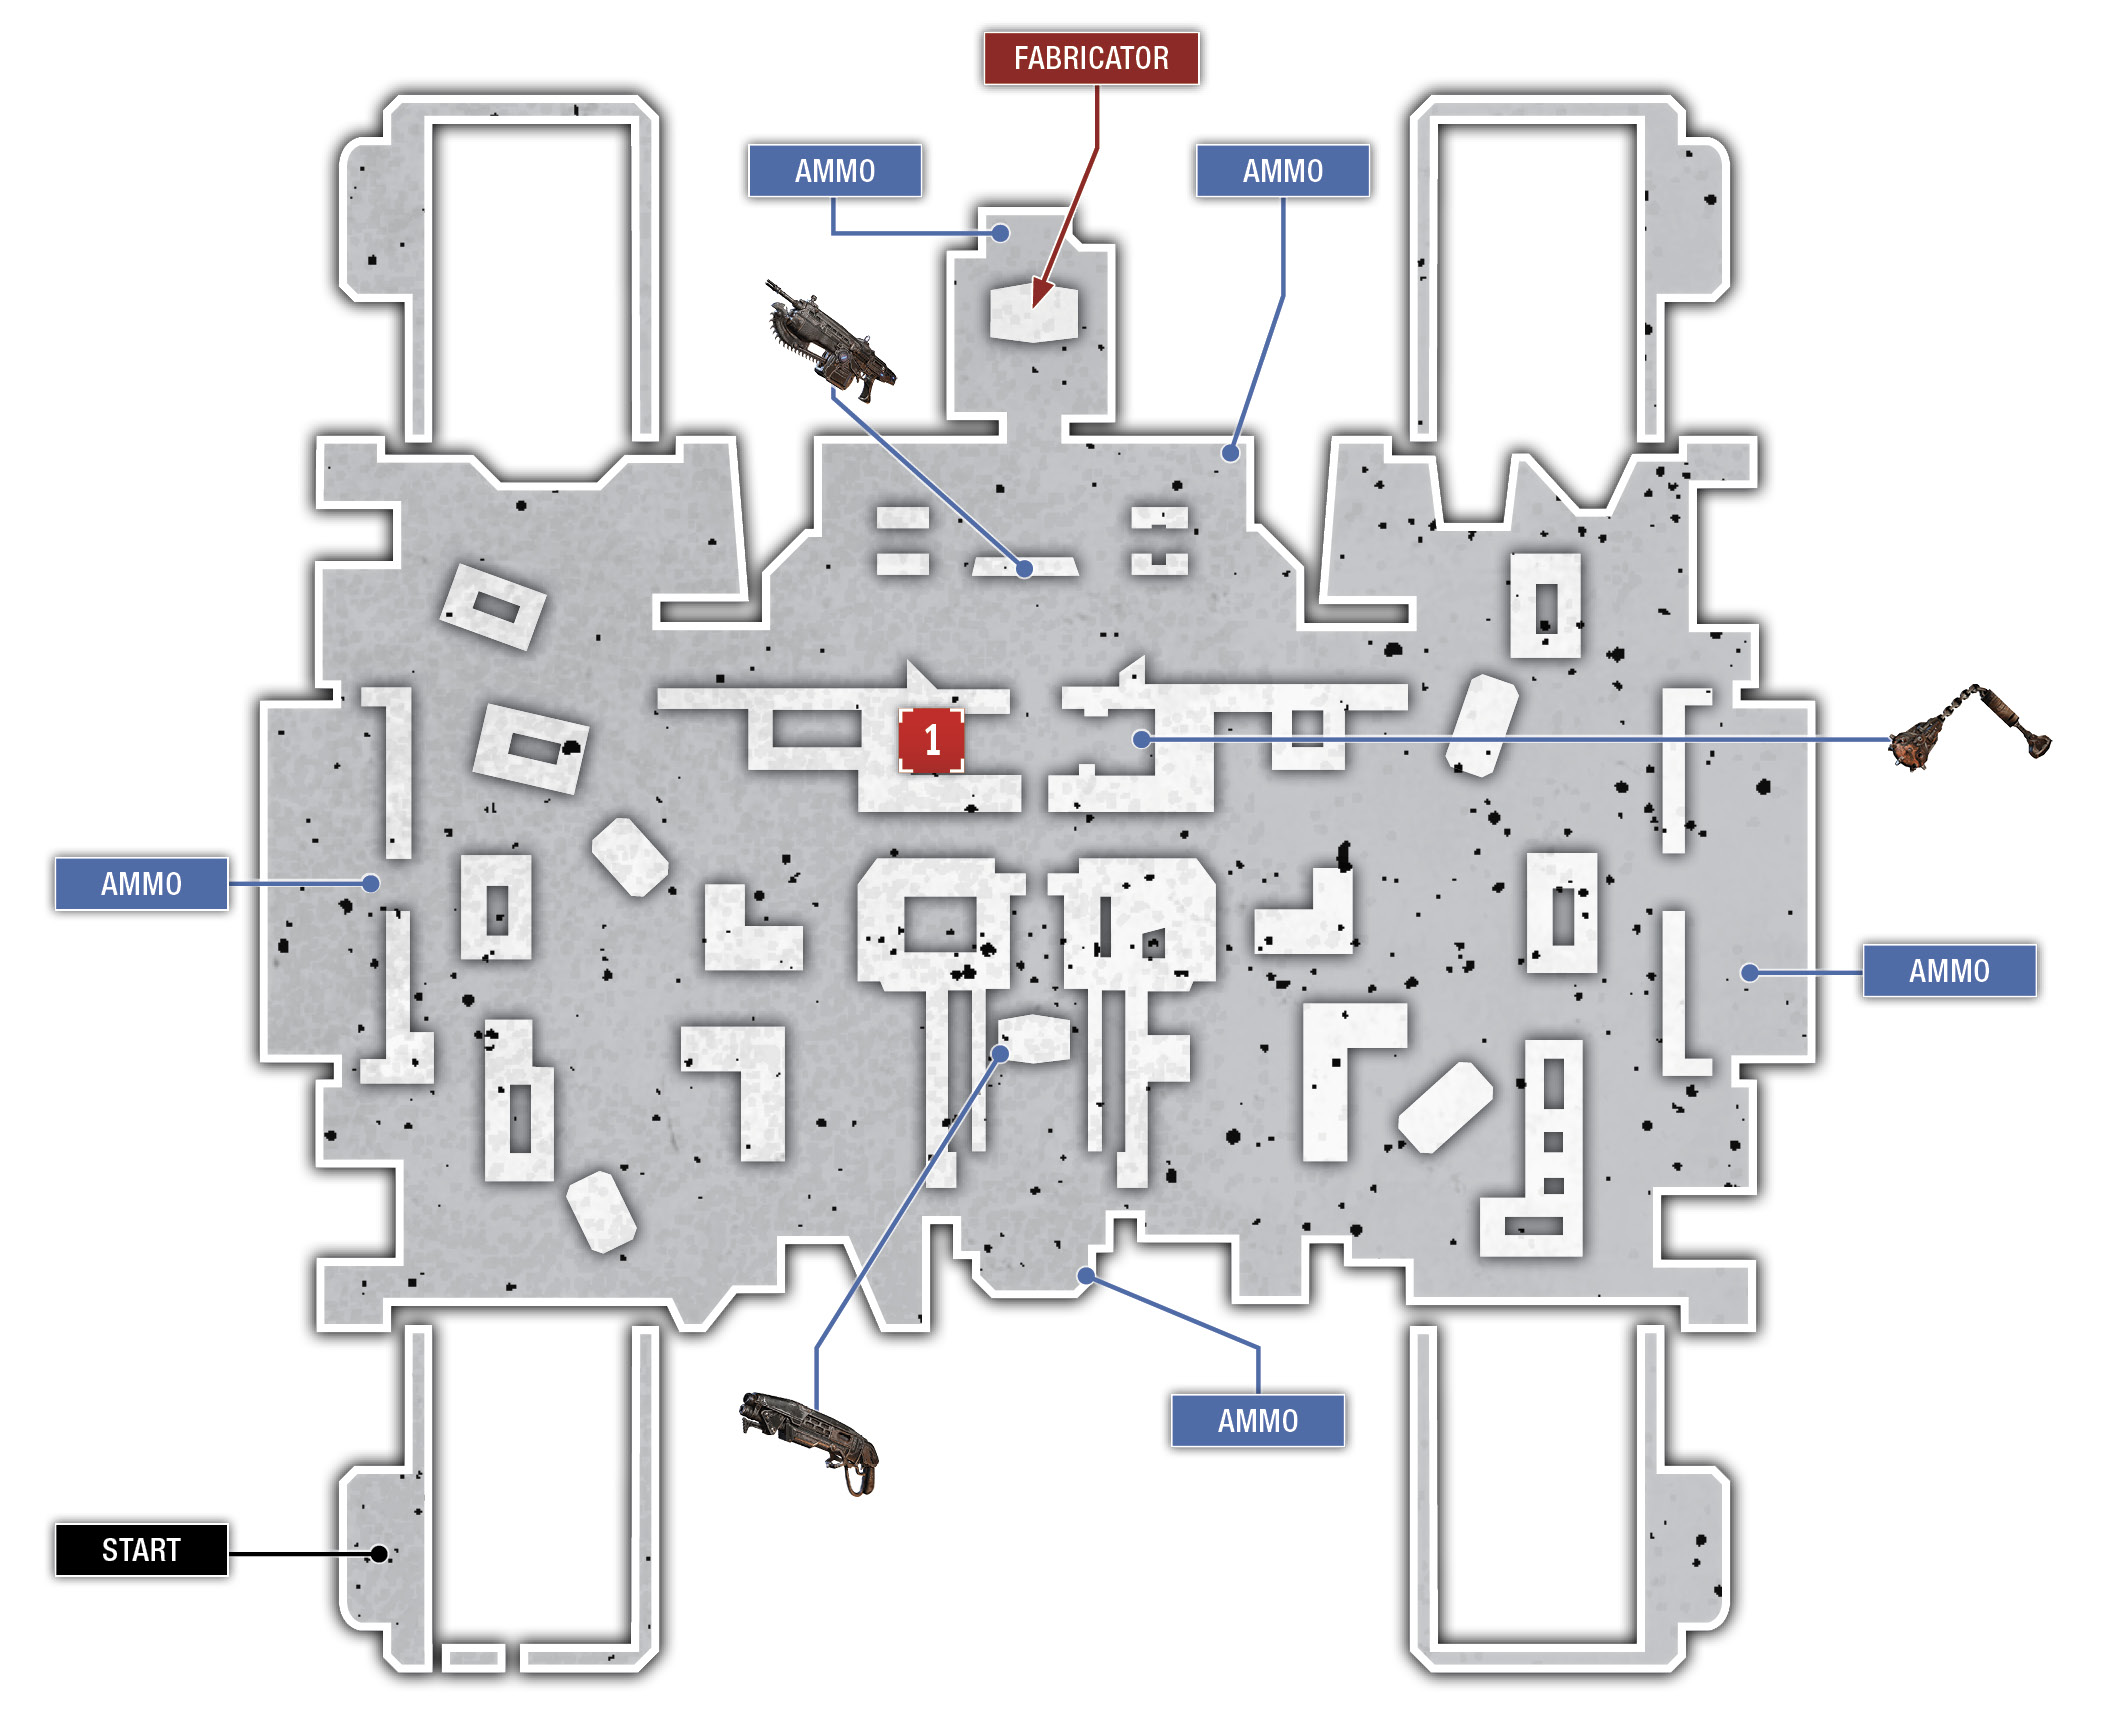
There’s no telling why someone left a Fabricator in the control room, but it’s a good thing they did. The whoops and screams of the Swarm can be heard echoing throughout the chasm, and they’ll be making their way onto the ore transporter soon enough. Use the Fabricator to build some defenses.
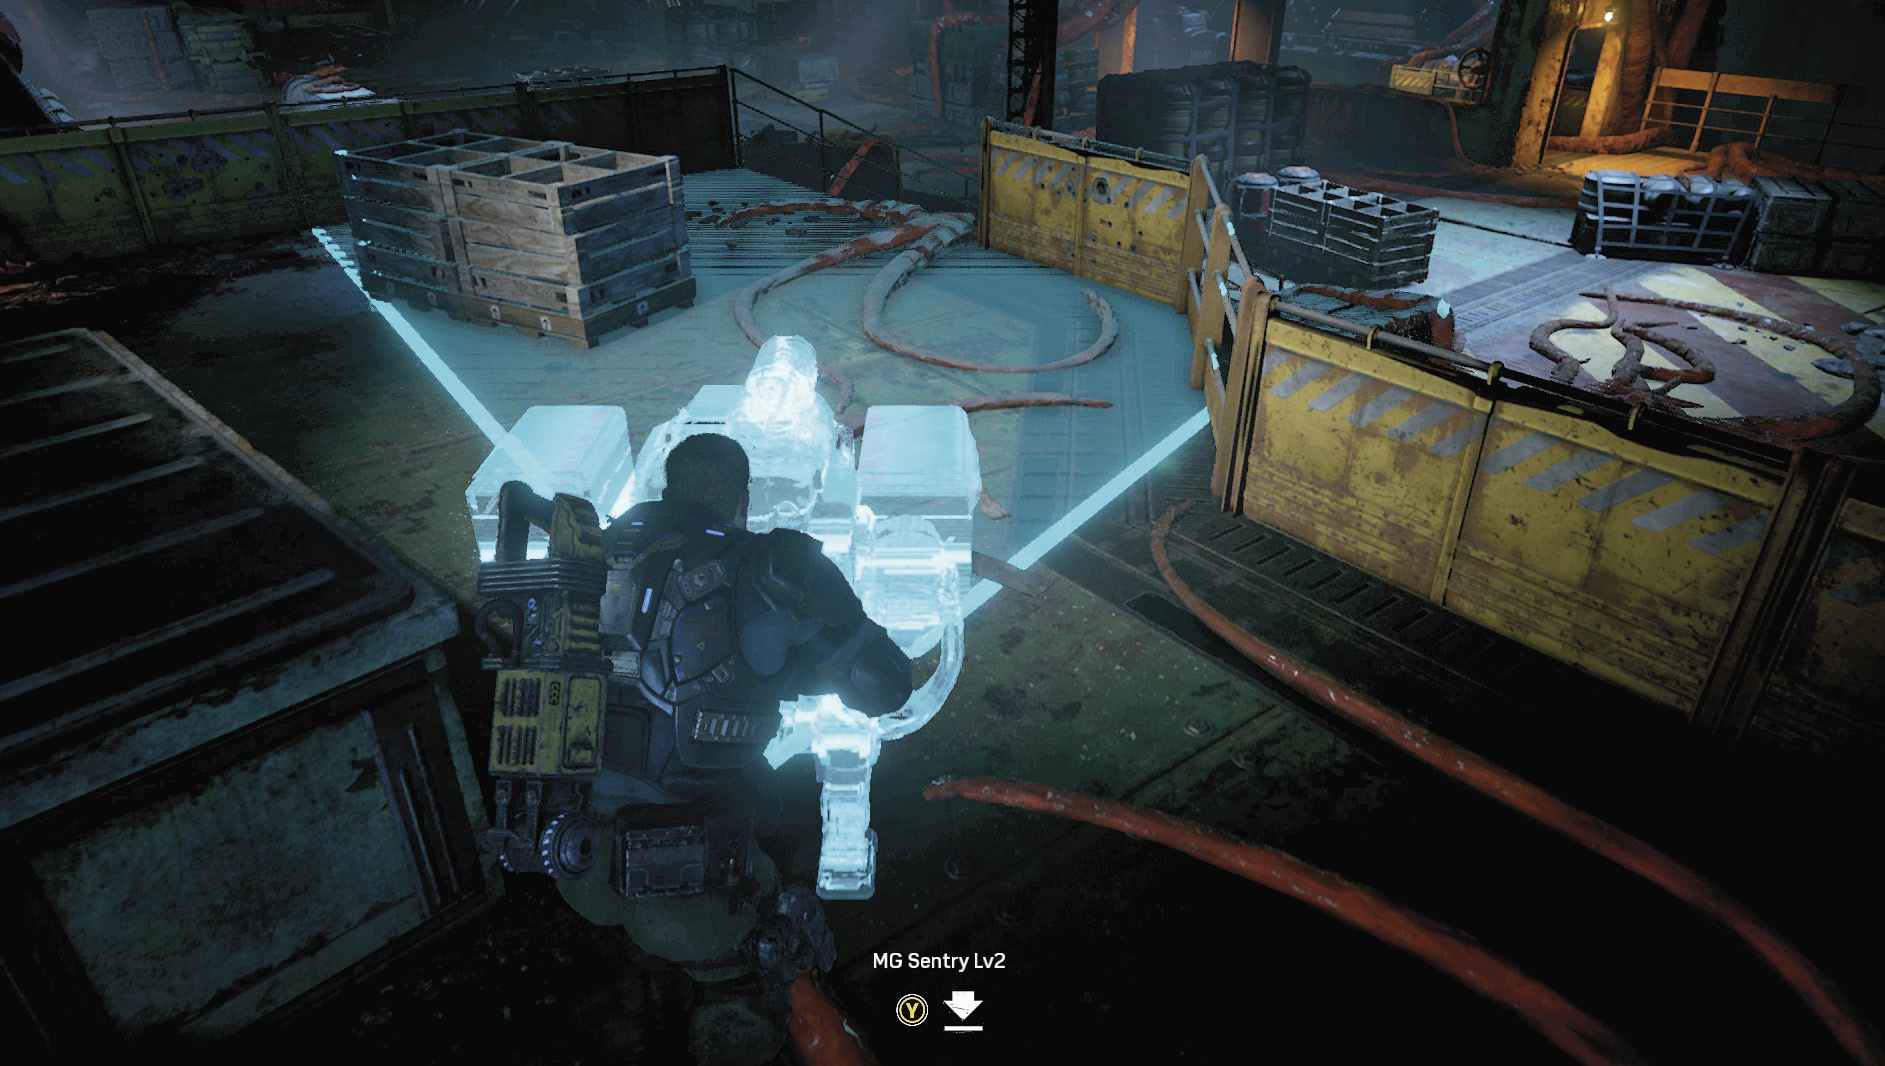
Make the control room your base and use the Fabricator to cover the various approaches to this defensible area. We recommend buying a pair of MG Sentries and placing them in the corners on either side outside of the control room so that they can chew up any Swarm that come up the stairs.
Fabricator Options: 20,000 Initial Power
| Item | Category | Power Cost |
|---|---|---|
| Barrier LV 2 | Fortification | 4000 |
| Decoy LV 2 | Fortification | 4500 |
| Shock Sentry LV 2 | Fortification | 6000 |
| MG Sentry LV 2 | Fortification | 8000 |
| Turret LV 2 | Fortification | 12000 |
| Frag Grenade | Weapon | 4000 |
| Lancer | Weapon | 2000 |
| Markza Mk1 | Weapon | 2750 |
| Longshot | Weapon | 3000 |
| Dropshot | Weapon | 4000 |
| Buzzkill | Weapon | 6000 |
Players who like to use Barriers can place one near the hallway leading to the control room from the toilet, so as to slow down enemies coming up the lower stairs. Another option is to plant a Frag Grenade on each of the central stairs and another one on the workbench opposite the control room entrance.
The first wave consists entirely of Juvies. Lots and lots of Juvies. Use the Lancer to pick them off as they approach on the right-hand side, then switch to the Gnasher to better keep them from damaging your MG Sentry. Some of the Juvies make their way up the stairs leading to the central hallway, so be on the lookout for those coming up behind you.
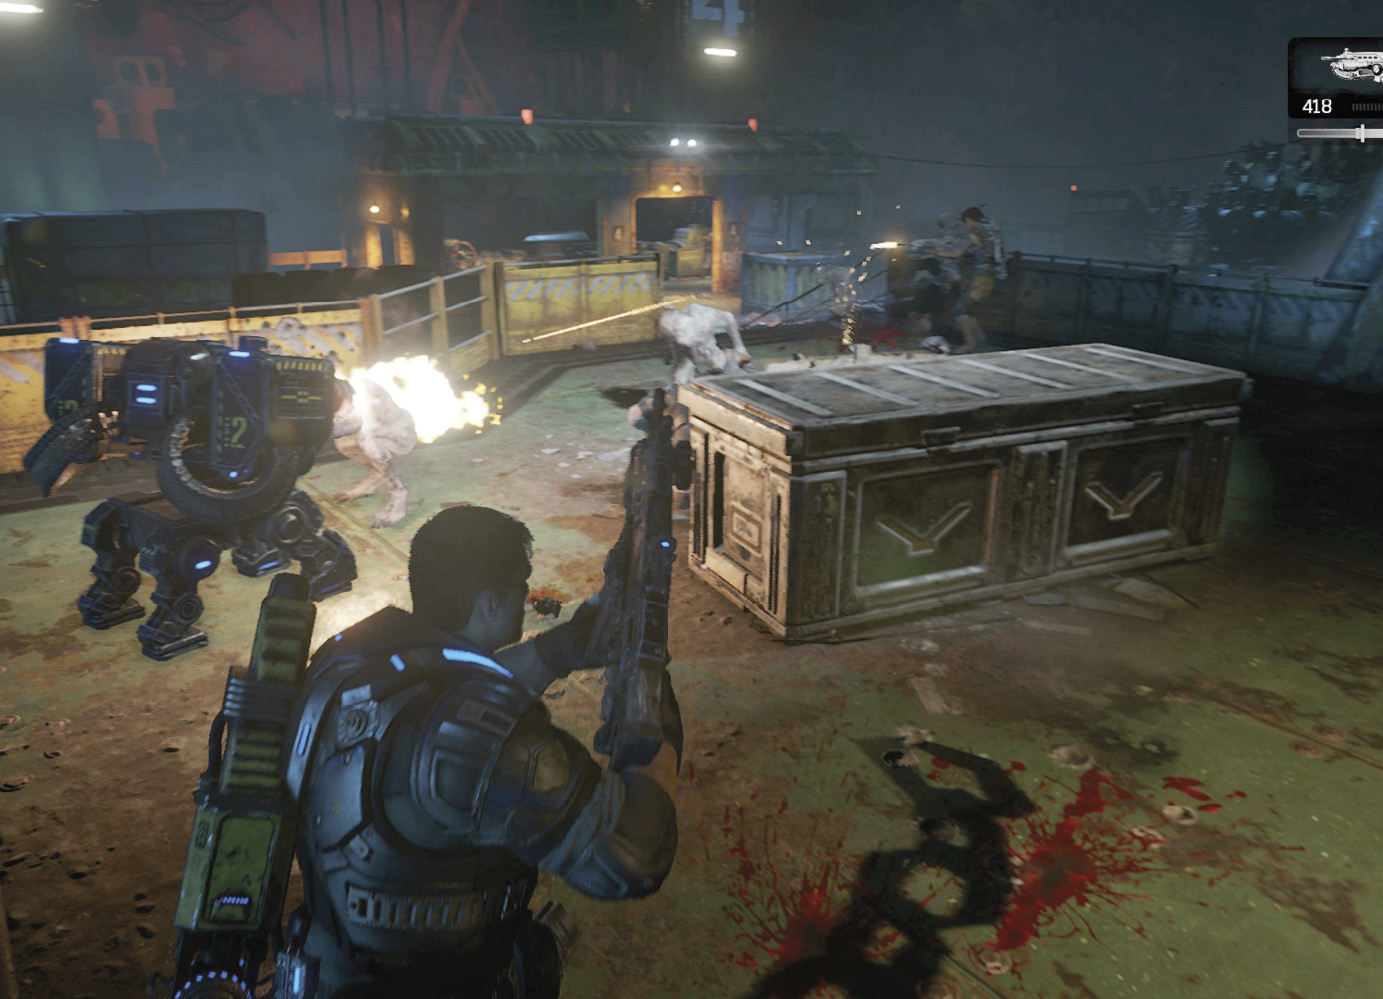
Most of the Juvies attack from the left, though a small handful eventually attacks from the right. Do your best to keep the MG Sentries intact so you don’t need to buy another one before the second wave.
You’ll receive 18,000 power units back on the Fabricator for use in the second wave. Consider purchasing a new MG Sentry to replace any that were destroyed and/or a turret. Place the turret just beyond the doorway leading out of the control room so whoever is using it can sweep the entire deck with bullets and not be blocked by the doorframe. If building the turret, place a barbed-wire barrier near the hallway leading from the toilet. This slows enemies down and makes them an easy target for the turret.
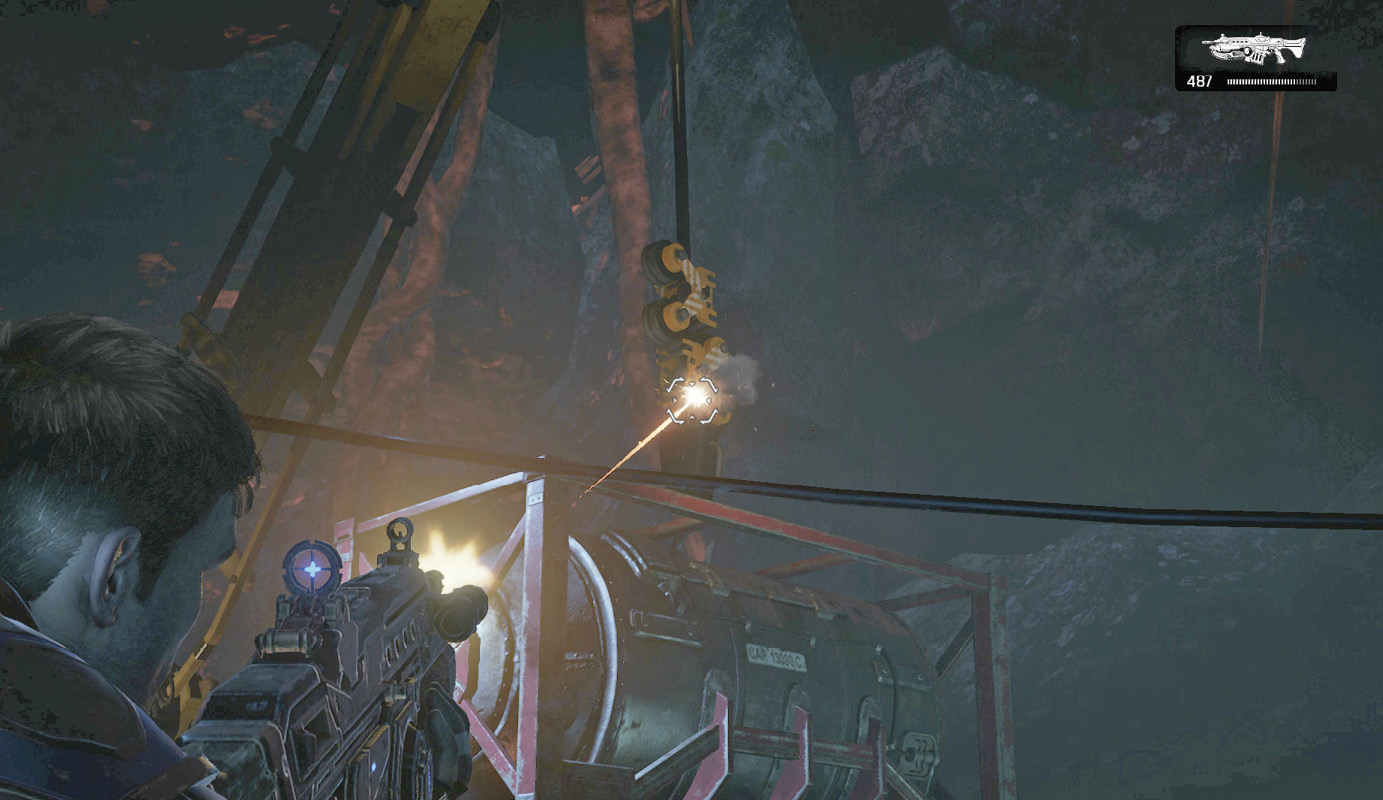
Many of the Drones attacking at the start of the second wave will come from the right. Watch to see where they are, then shoot the pulleys holding the large fuel tank above the platform. This drops the tank onto the deck, crushing the Swarm.
Move the turret to either side of the platform to replace any destroyed MG Sentries. Several Hunter Drones armed with Torque Bows attack during the second wave, so either kill them quickly or let go of the turret, as you’ll be a sitting duck while manning the gun.
Co-Op TacticsThis battle is much easier with a human ally that you can coordinate with. You’ll naturally want to split up and watch over the left and right sides simultaneously, but your goal should be to defend the MG Sentries during the first wave. During the latter waves, place turrets near the stairs on either side and use those to kill the enemies as they spawn. A third turret or MG Sentry near the door to the control room can take care of any enemies coming up the middle. |
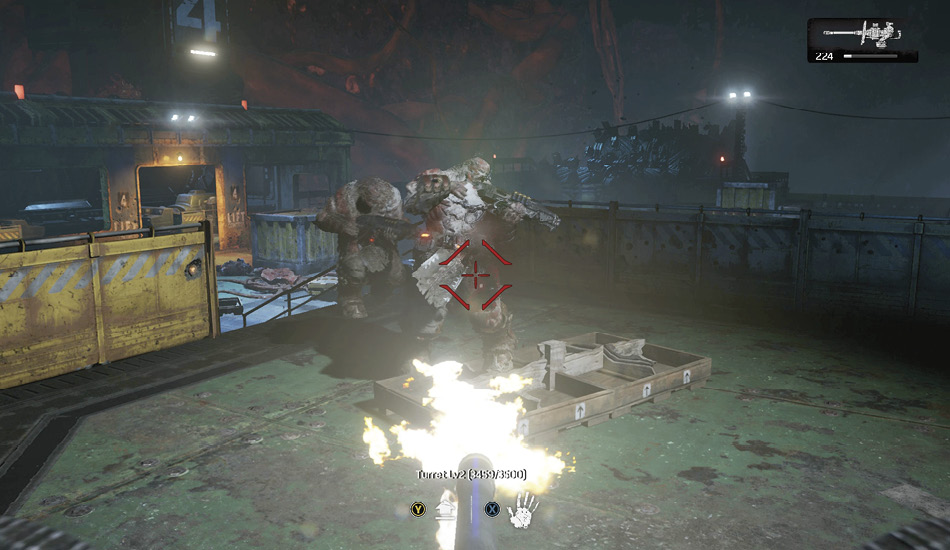
The third wave starts with several Juvies and Drones attacking from the left before even more come from the right. Expect a steady parade of Grenadier Drones and Rifle Drones headed your way throughout the rest of this wave. Stick close to the control room door so you can keep the action in front of you, and don’t be afraid to fall back to the Fabricator for cover, if necessary.
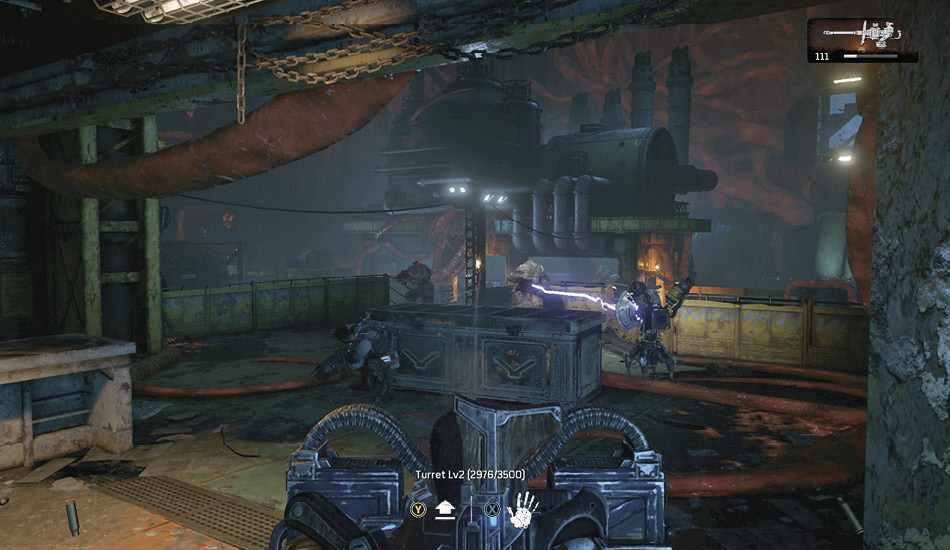
The scream of a Juvie announces the final ambush. Multiple Juvies will attack from all directions, followed closely by several Gnasher-wielding Drones. Use the Gnasher to take out the Juvies as quickly as you can so they don’t destroy your fortifications, then switch to the Lancer and focus on the Drones. Your MG Sentries and turrets are a magnet for the Drones—don’t be afraid to lob a Frag Grenade at them if it means killing multiple Drones at once. You’ll probably lose the MG Sentry anyway if the Drones get it surrounded.
Objective: Activate the Coolant System
The engines stopped prior to the third wave due to the grinders overheating on the Swarm tendrils. Exit the control room and head left to the engine room on the side of the ore transporter. Grab hold of either of the large red valves and turn it once Del or Kait grabs the other. This activates the coolant system.
Hurry back to the control room and gather up the ammo and dropped Torque Bows littering the deck. Pouncers attack shortly after the transporter gets moving again. Take cover inside the control room and use the Torque Bow to take out the Pouncers. Focus your firepower on one Pouncer at a time, as you’ll have Juvies joining the fight before long. You don’t want both Pouncers still leaping about, firing their quills at you while the deck is crawling with Juvies.
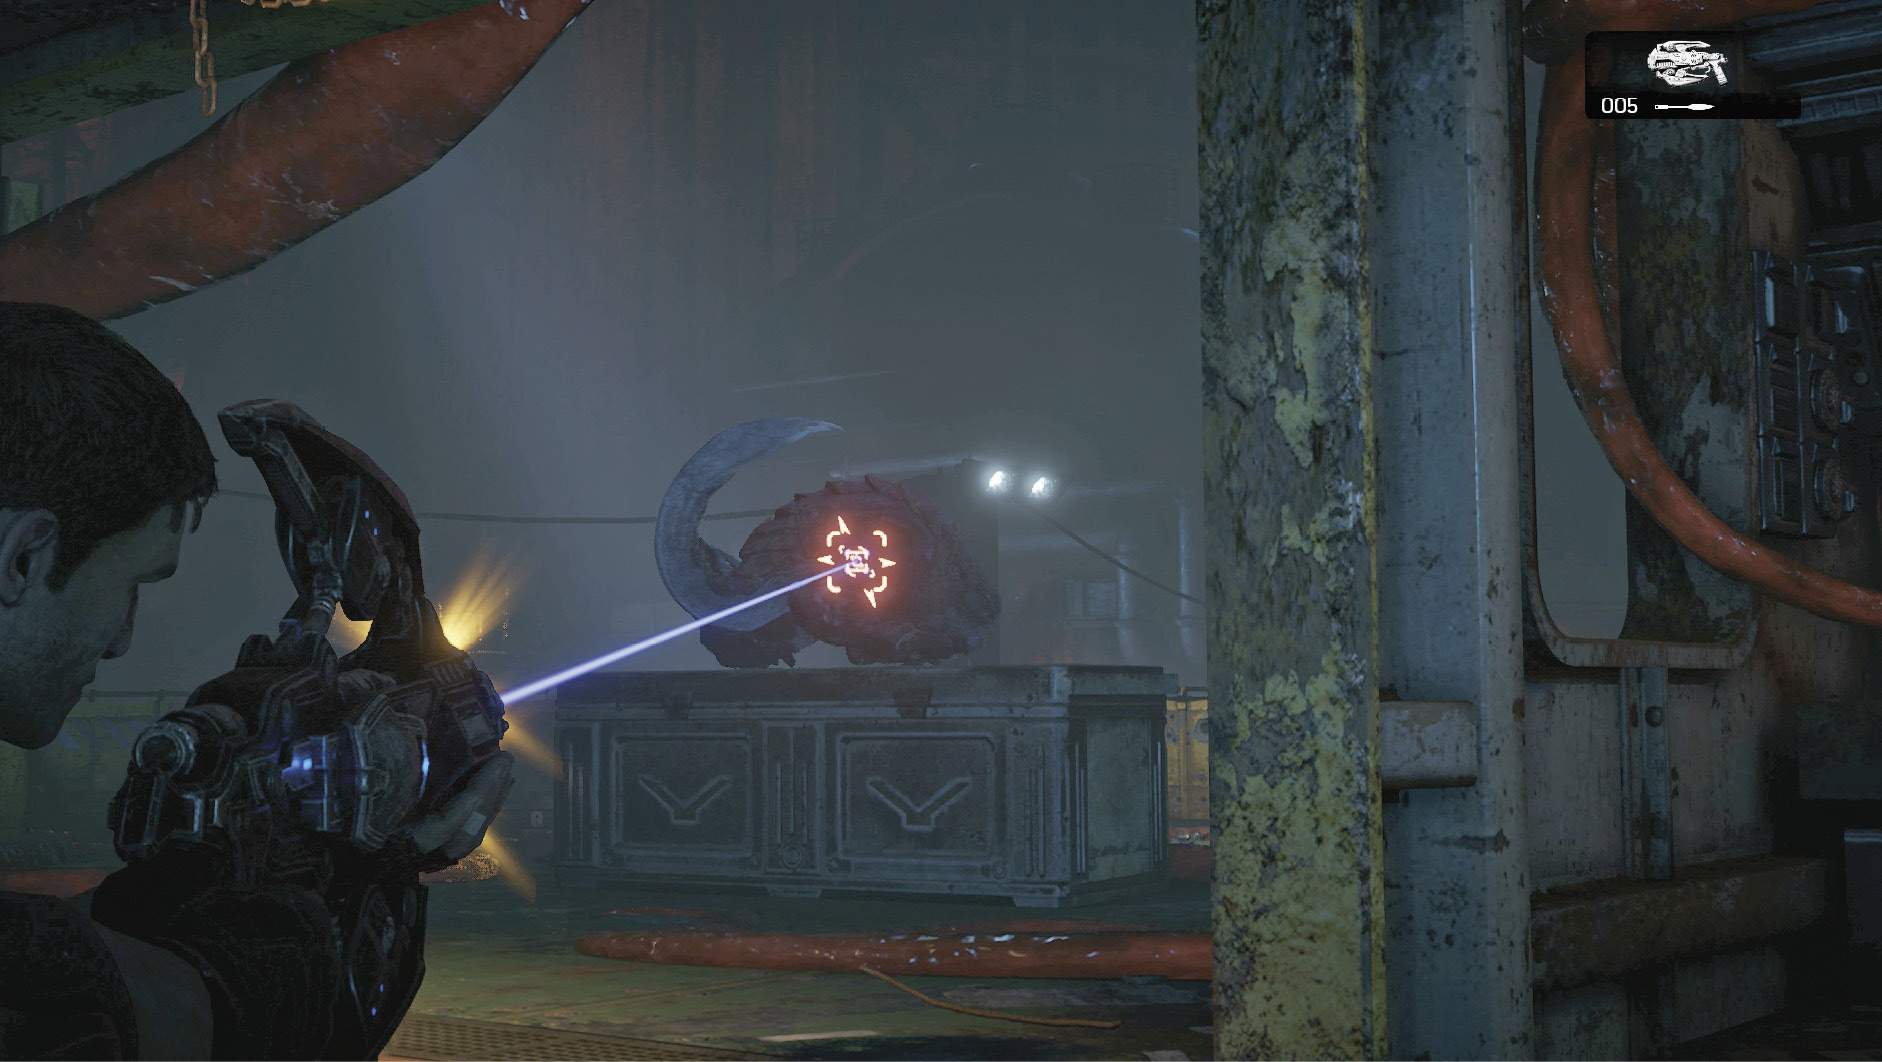
Objective: Activate the Emergency Brake
The ore transporter begins to fall from its tracks as you battle the Juvies, causing a fire to break out and much damage. You must activate the emergency brake on the other side of the lift, and there’s not much time to do it. Ignore any and all Swarm that appear on the platform and roadie run toward the indicator. Vault over cover to take as straight a path as possible and to avoid enemies.