
Gears of War 4 Guide Campaign Act 1
Chapter 1: The Raid
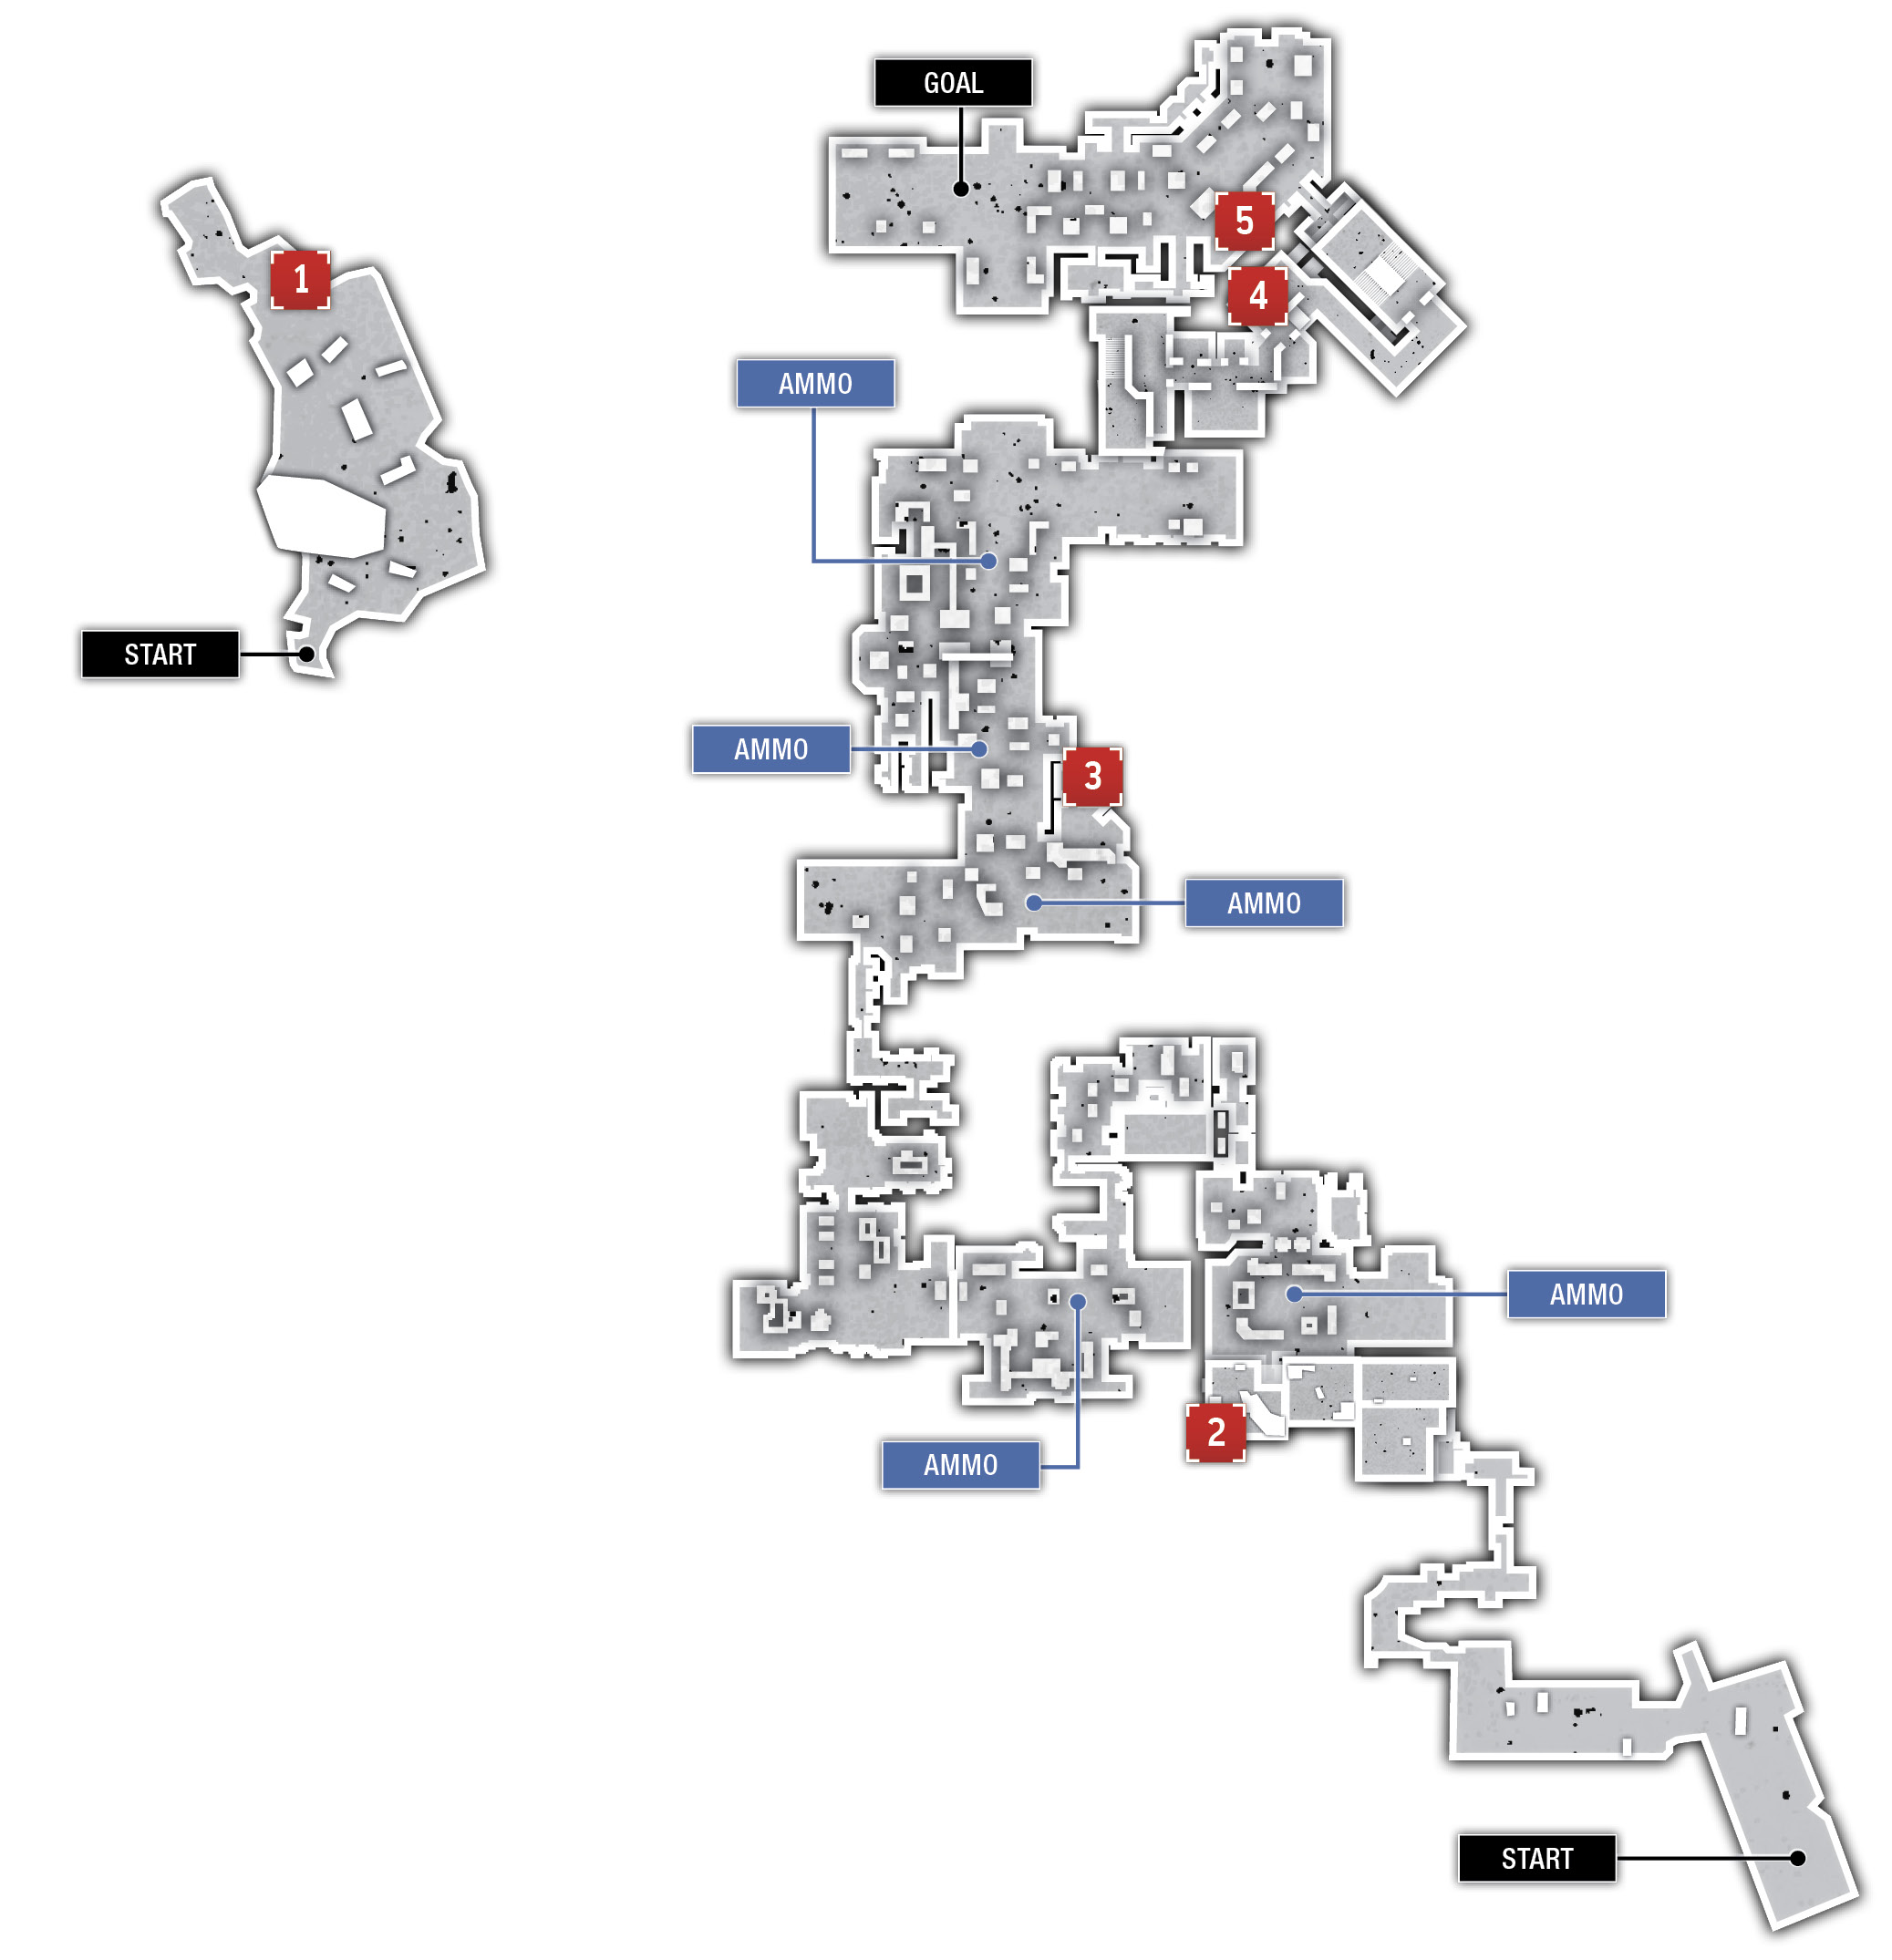
Collectibles
|
 Rubble Reclamation Manifest
 DeeBee Protection Pamphlet
 Settlement 5 Resident Assignment List
 COG Birthing Pamphlet
 Windflare Lockdown Procedure
Situation Overview
Twenty-five years after the events that saved humanity on Sera from the Locust, life has improved—marginally. Massive wind storms of an unknown cause wreak havoc on the landscape, uprooting trees and villages alike. The COG, led by First Minister Jinn, have taken the idea of martial law to the extreme, forcing civilians to relocate to government-controlled settlements. Those who dare to live beyond the walls are at constant risk of being brought to heel by Jinn’s robotic army of DeeBees. You and your friends are currently attempting to break into one such settlement in attempt to steal a manufacturing device known as a Fabricator. Ironic, since JD and Del recently went AWOL from the COG.
Settlement 5
Objective: Outrun the Windwall
JD Fenix, son of legendary Sergeant Marcus Fenix, and his friends Del and Kait are en route to Settlement 5, but get caught outside the walls when a powerful Windflare rolls in. These powerful wind storms can send unsecured objects, corpses, and projectiles flying. They also dramatically slow your movement speed and reduce your agility.
The city gate isn’t far, but you need to survive the storm before you and the others can get on with the raid. Sprint to the downed tree for cover, mantle over it, and use the large stone blocks and piles of rubble for shelter from the wind as you advance toward the gate. The wind is howling straight toward you, so stay on the near-side of any large objects for protection. Cover-slipping from item to item provides an extra boost of speed that really helps in a Windflare. Similarly, you can vault over cover to gain a slight speed boost as well. Make your way toward the crane in the distance.
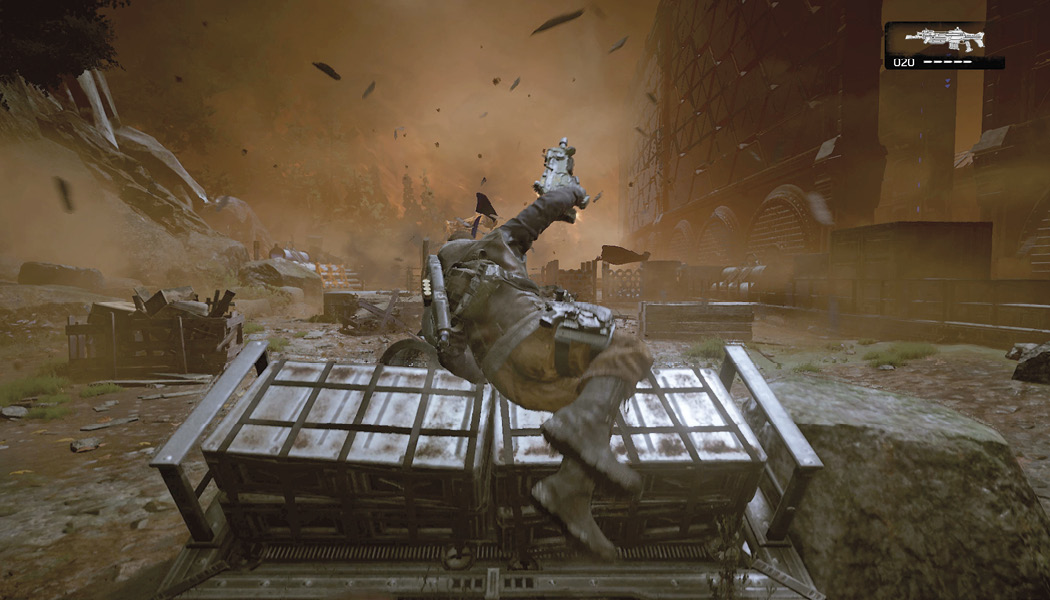
Take cover behind the large metal slabs up ahead and target the wooden barricade to the left of the locked gate. Open fire with the Markza Mk1 to destroy the barrier, releasing the metal pipes into the wind and through the gate. This tactic of shooting destructible objects to release heavy items into the wind is one that will serve you well. Sometimes it helps you bypass an obstruction; other times it helps you clear enemies.
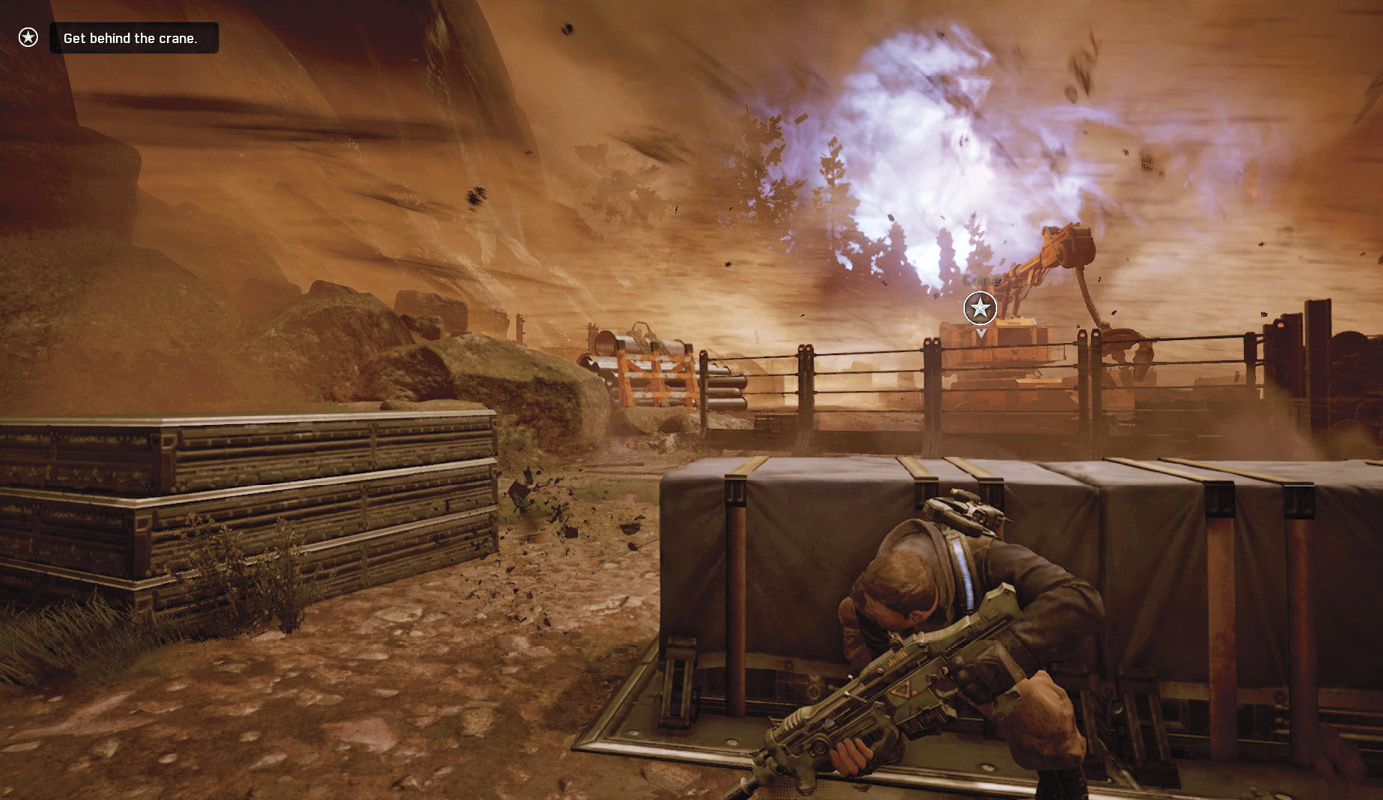
Make your way across the construction trench toward the crane and wait for the Lightning Flurry to pass. These sudden swarms of lightning strikes can be fatal and must be avoided at all costs! Stay put until JD mentions that the storm is letting up. It’s time to check on Kait’s uncle.
Objective : Find a Way into the Construction Hub
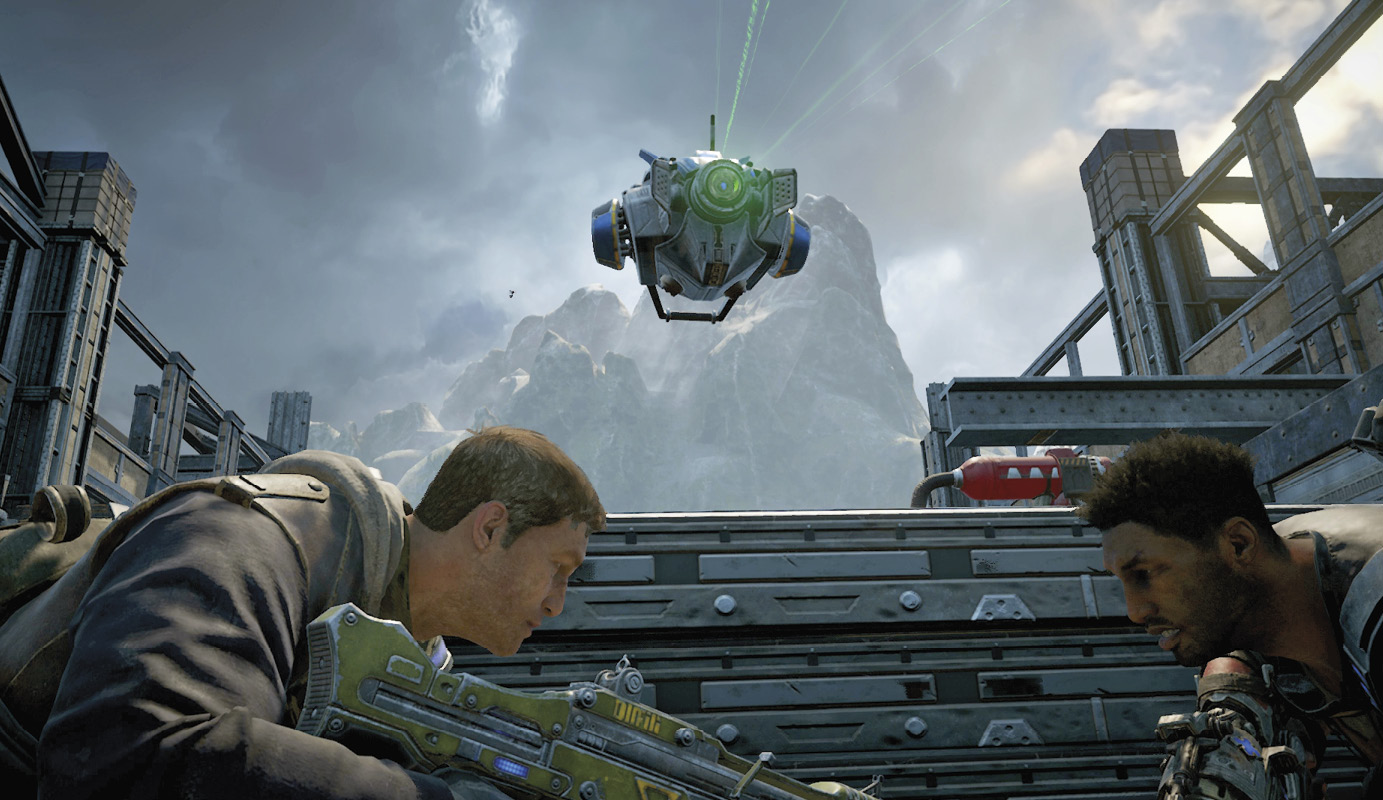
Kait’s uncle Oscar has insisted on coming along for the raid on the COG settlement, much to JD’s dismay. But there is strength in numbers, even if one-fourth of your quartet is a little bit drunk. You’ll be glad to have the extra firepower by the time this is over.
Follow Oscar into the construction pit and duck through the pipe on the left. JD takes cover as a Watcher flies past. These surveillance drones patrol the outer areas of the city in search of Outsider raids—it’s best to keep clear of them.
Practice the running vault technique as you wend your way through the construction zone (hold Up and press  to vault over cover). Climb the ladder inside the third ring and kick open the door on the left using the
  button. The massive builder robot is harmless; keep moving and drop to street level after locating the collectible in the next room.
The Watcher up ahead summons a cart full of Shepherds, peacekeeper robots equipped with the Shock Enforcer rapid-fire weapon. Shepherds are the least dangerous of the DeeBee line of security robots, but they’re not to be taken lightly. Dash into cover, equip a Frag Grenade, and toss it at the Shepherds before they split up. Use the Markza Mk1 to shoot the heads off any out in the open, then close on any stragglers hiding behind cover with the Gnasher. It takes two blasts with the Gnasher to destroy a Shepherd.
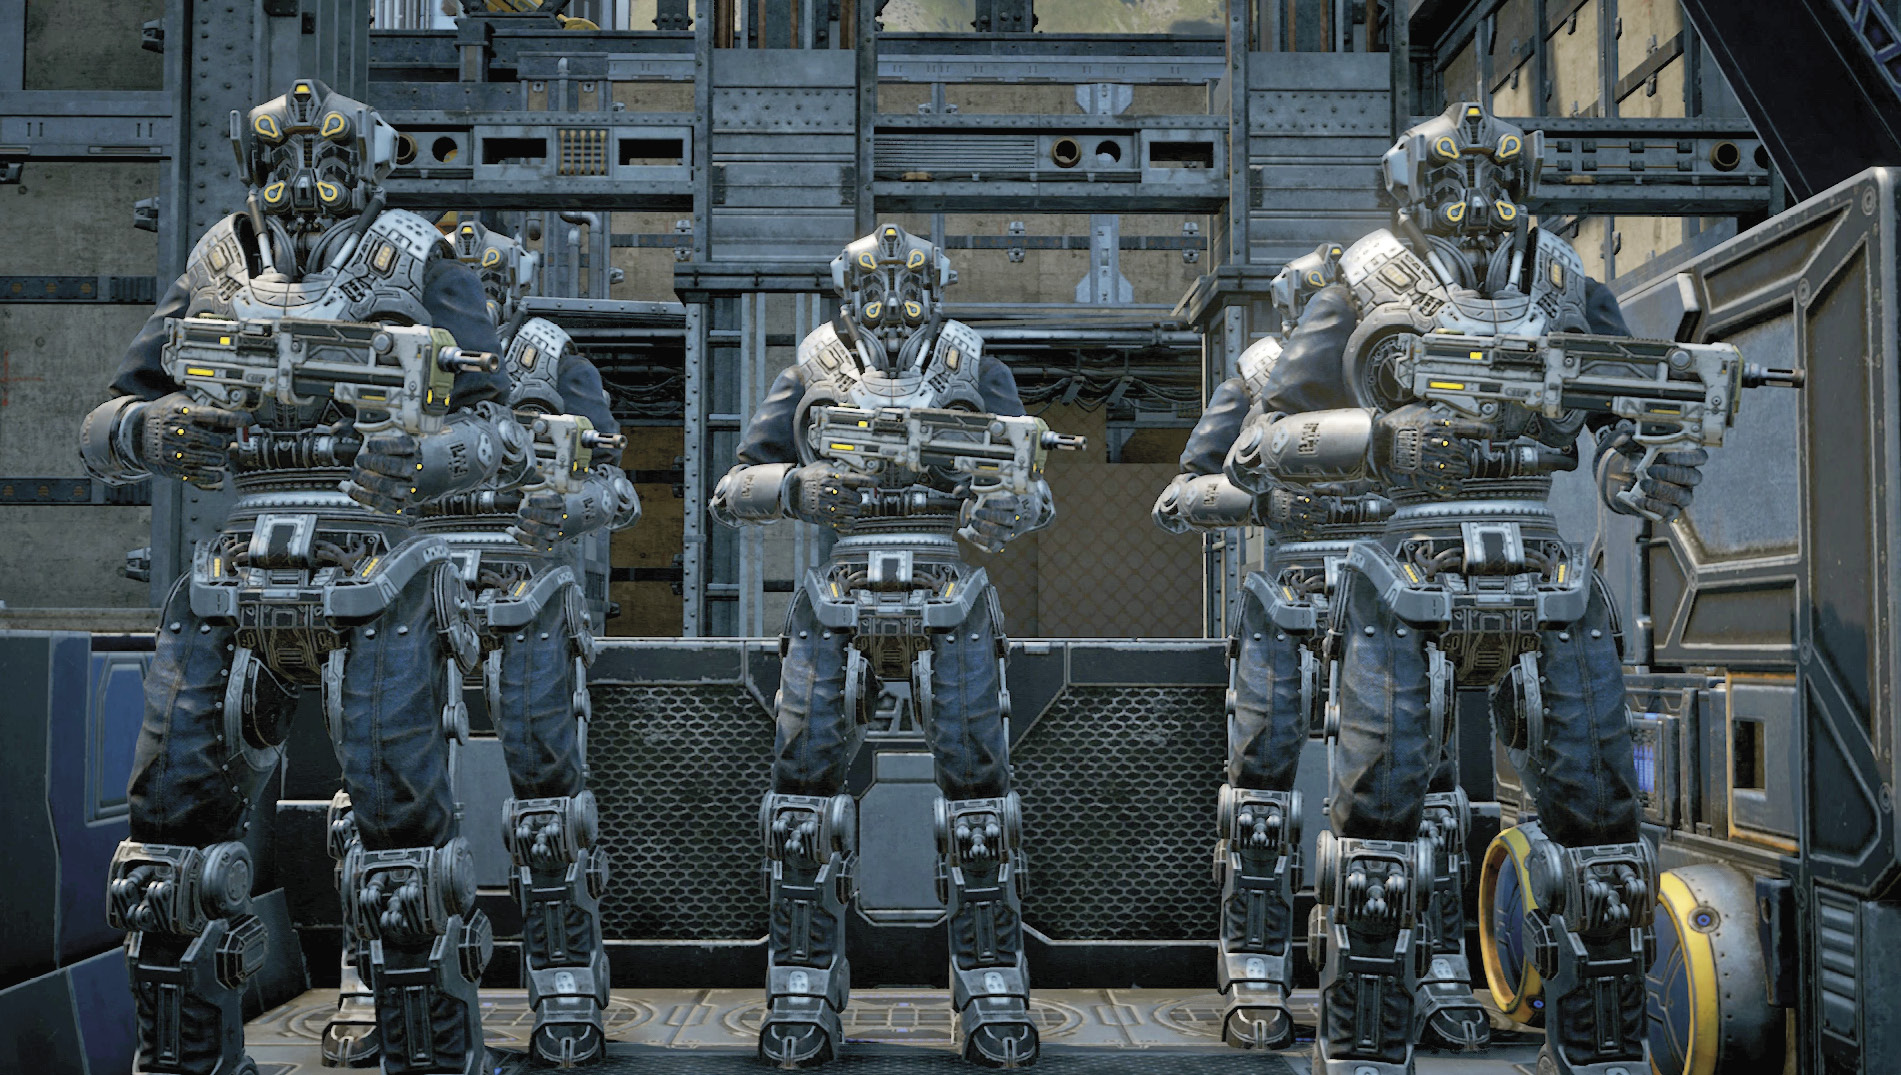
Consider swapping out the Markza Mk1 for one of the many Shock Enforcers lying around. Gather up ammo from the other guns and the ammo crate on the cart, then continue through the door on the left.
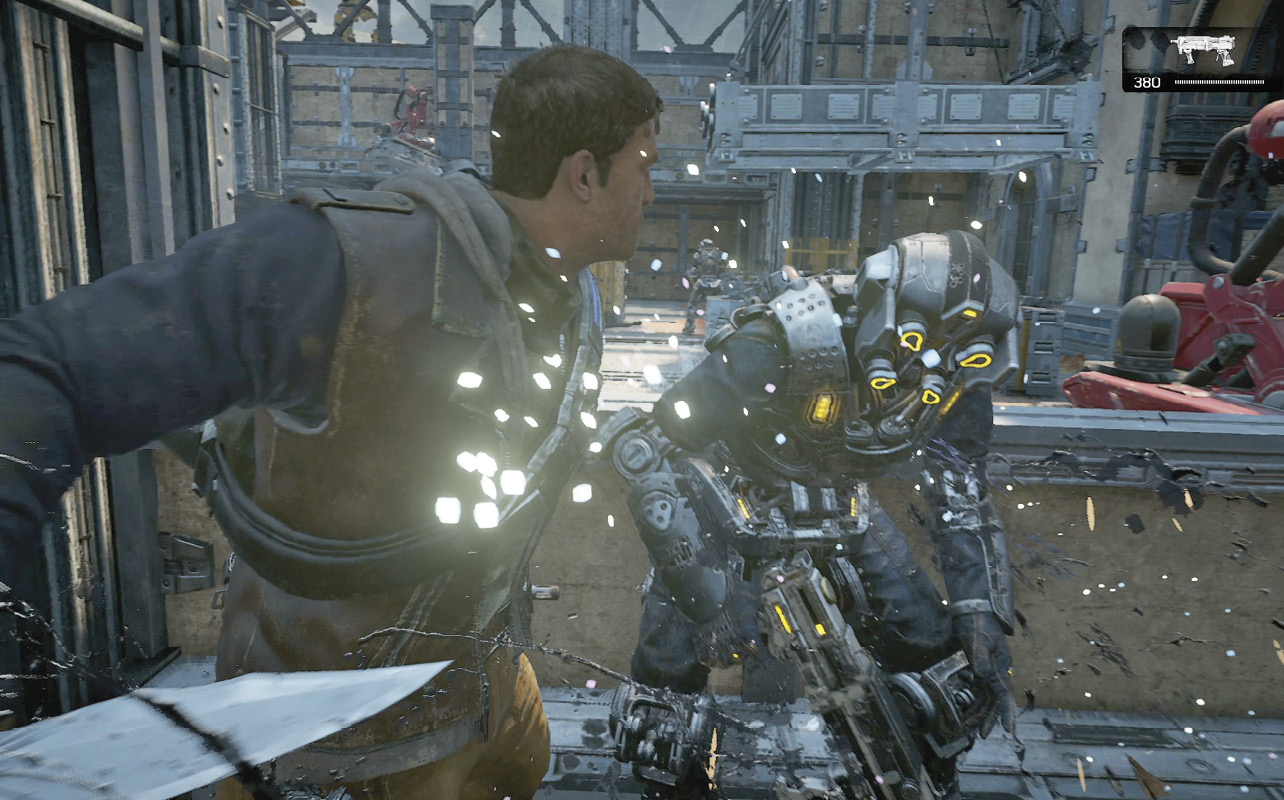
Duck into cover behind the Shepherd on the left to practice the yank technique. Push Up on the Left Thumbstick and press  to grab the enemy and yank it over cover. You can then quickly execute the enemy by continuing to hold Up while pressing the
  button. JD will use his knife to kill the foe. Eliminate the two other Shepherds that appear with a couple of headshots.
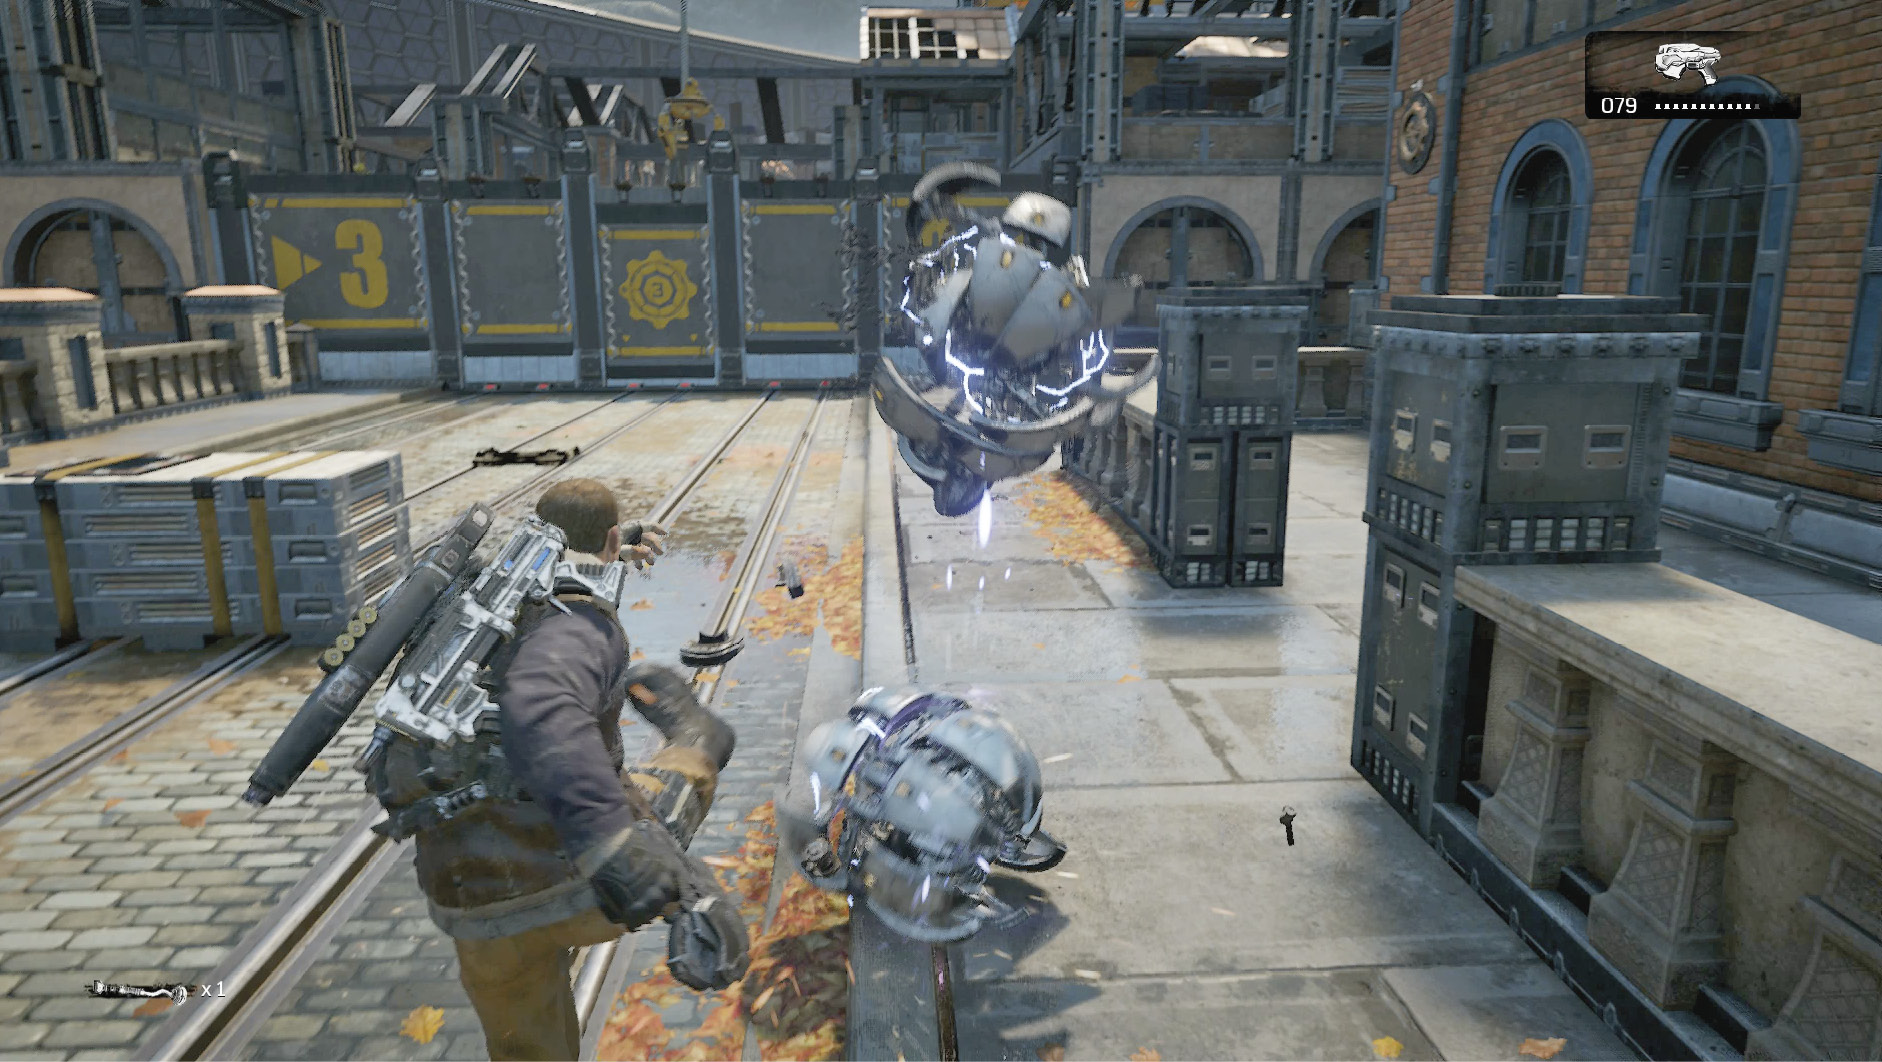
Spherical DeeBees known as Trackers emerge from a pipe in the street up ahead. Trackers aren’t terribly dangerous by themselves, but they often attack by the dozen! Trackers roll across the ground toward their target, then open their shell and trigger a high-voltage Shock Grenade. Switch to the Snub Pistol and use it to repel the Trackers. They can’t be damaged in their rolling state, but several shots from the Snub will pop them open into into their vulnerable form. Fortunately, Trackers don’t detonate as soon as they get close, affording you enough time to kick them out of the way while they charge up their Shock Grenade blast.
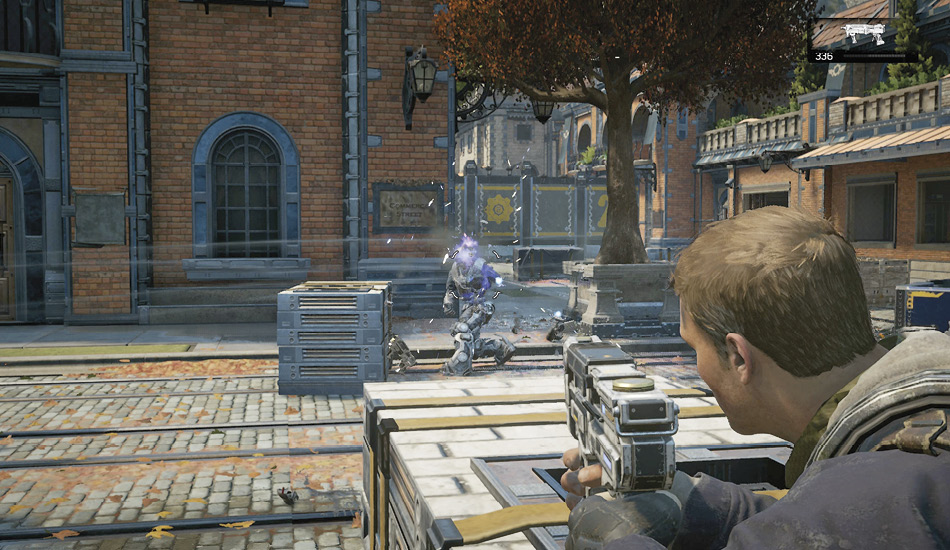
The walls in the distance separate as another cart loaded with Shepherds arrives. Use the pallets of construction materials for cover and pick them off as they disembark. It helps to use the walkway on the left to gain an elevated, flanking position. Gather up the ammo (or the dropped Shock Enforcer guns) and continue along the road once the security gate opens again. This leads you inside the second ring.
Take cover behind the construction materials on the right as another cart full of DeeBees arrives. Lob a Frag Grenade if you have one, then equip the Gnasher and look for an opportunity to vault-kick. Roadie run toward an enemy behind cover and hold Up and press  to vault over the obstacle and kick the enemy. This causes them to stumble, giving you the perfect opportunity to shoot them with the Gnasher. It’s JD’s answer to his dad’s two-piece technique!
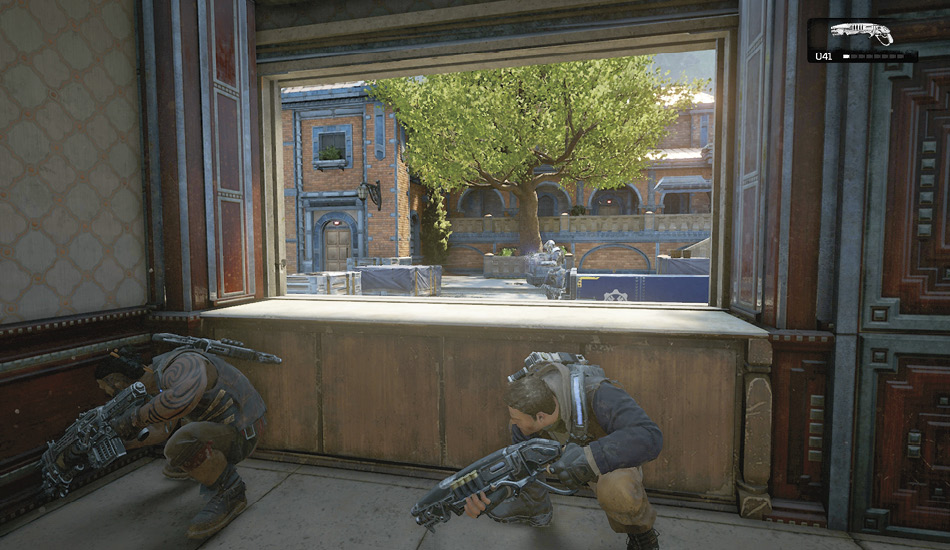
Move from cover to cover until you finish off the last of these six Shepherds. Stick to the near-side of the transit cart and prepare for another DeeBee influx. Trackers attack alongside Shepherds, so keep your distance, allow Kait and Del to draw the attention of the Trackers, and focus on the Shepherds. Restock your ammo via the first of the two carts, then flank right and advance through the storefront.
Ascend the stairs to the left of the security gate with the number “2” on it. Fall back behind the cover of the planters and listen for Trackers. Advance only once the Trackers have been eliminated, as this position forces them to funnel toward you. Move ahead too soon and you risk losing track of them. No pun intended.
Stick to the elevated walkway, use the cover of the railing, and lob a grenade down at the next cart of DeeBees as they disembark. Cover-swap between the two sides of the staircase while picking off any remaining Shepherds. This third cart full of Shepherds represents the last of the DeeBees in the second ring.
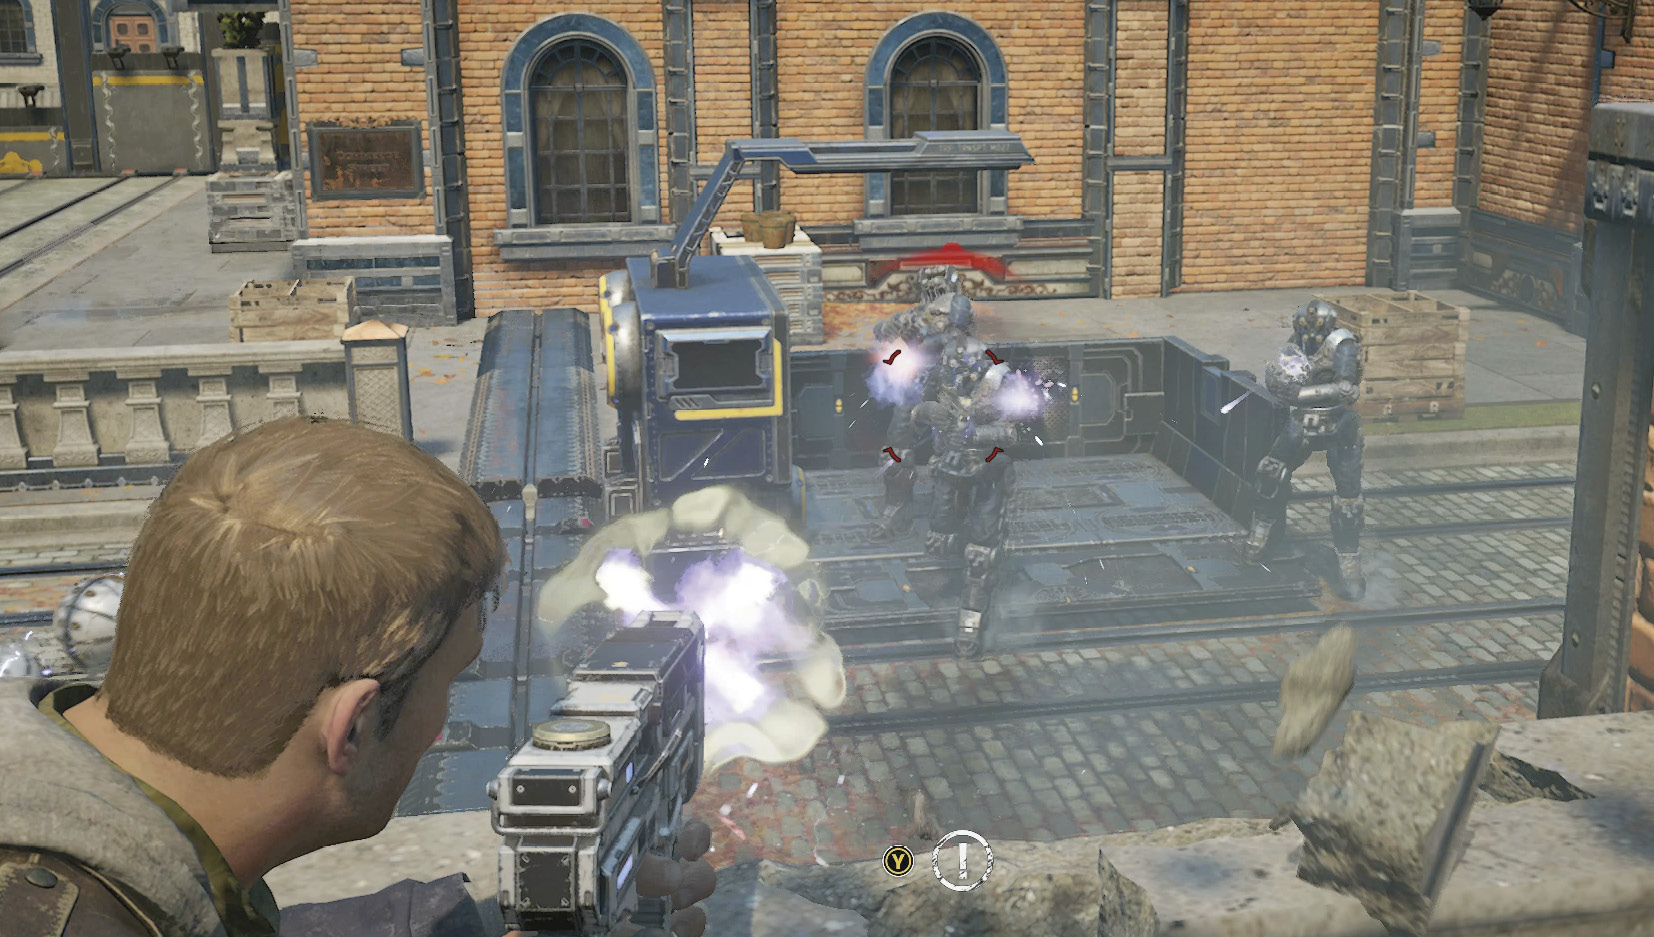
Objective: Find a Way into the Center of the Settlement
The only way to the Construction Hub is through the maternity annex. Break the chain on the door and go inside. Ascend the stairs and continue through the hospital to the open window overlooking the central spire. Now that they’ve found the Construction Hub, you just need to get to the maintenance access door in the street below. Continue through the hospital to the main atrium and take cover atop the stairs when the Watcher appears.
Descend the stairs to the planters alongside the street and slide into cover. Several Trackers tumble off the ledge across the road as several Shepherds begin marching down the stairs. Hold your ground behind cover and target the Trackers that reach the street first. If possible, take aim at the Trackers near the Shepherds—detonating a Tracker near other DeeBees is akin to dropping a small grenade in enemy territory!
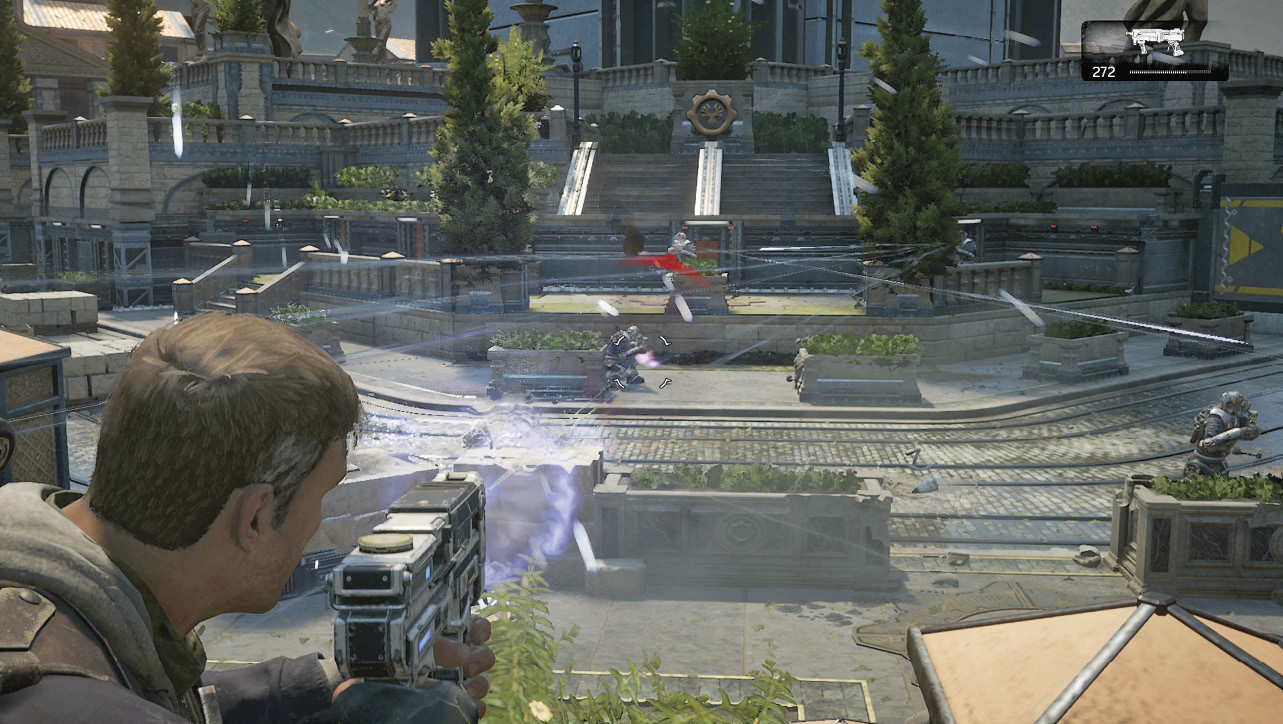
Some of the Shepherds march directly across the street toward your position, giving you a clear line of sight. Focus on these first and leave those in cover for last.
Gather up the dropped Shock Enforcers and continue down the road to the left, toward the gate with the “1” on it. Another batch of DeeBees appears beyond the gate. Take cover within the small courtyard behind the metal spiked fence on the left, as this forces the Trackers to funnel through an archway to reach you. This location also provides plenty of cover from the Shepherds. Finish off the Trackers, pick off the Shepherds you can target from this area, then switch to the Gnasher and take the fight to the rest. Vault-kick and shoot your way to a street free of DeeBees.
Use the keypad to the right of the maintenance access door to enter the Construction Hub. The Fabricator isn’t much farther!