
Gears of War 4 Guide Campaign Act 4
Chapter 4: Powerless
Collectibles
Map Legend Top Route Top Route Bottom Route Bottom Route |
 COG Tag
 Rations Schedule for Abandoned Gears
Situation Overview
Marcus has reason to believe the second hive is located near Tollen Dam and, after a run-in with a Windflare and a Carrier, they’ve finally made it inside. Now to find a way to the top so they can move beyond the massive power plant.
Tollen Dam
Objective: Get Power to the Dam
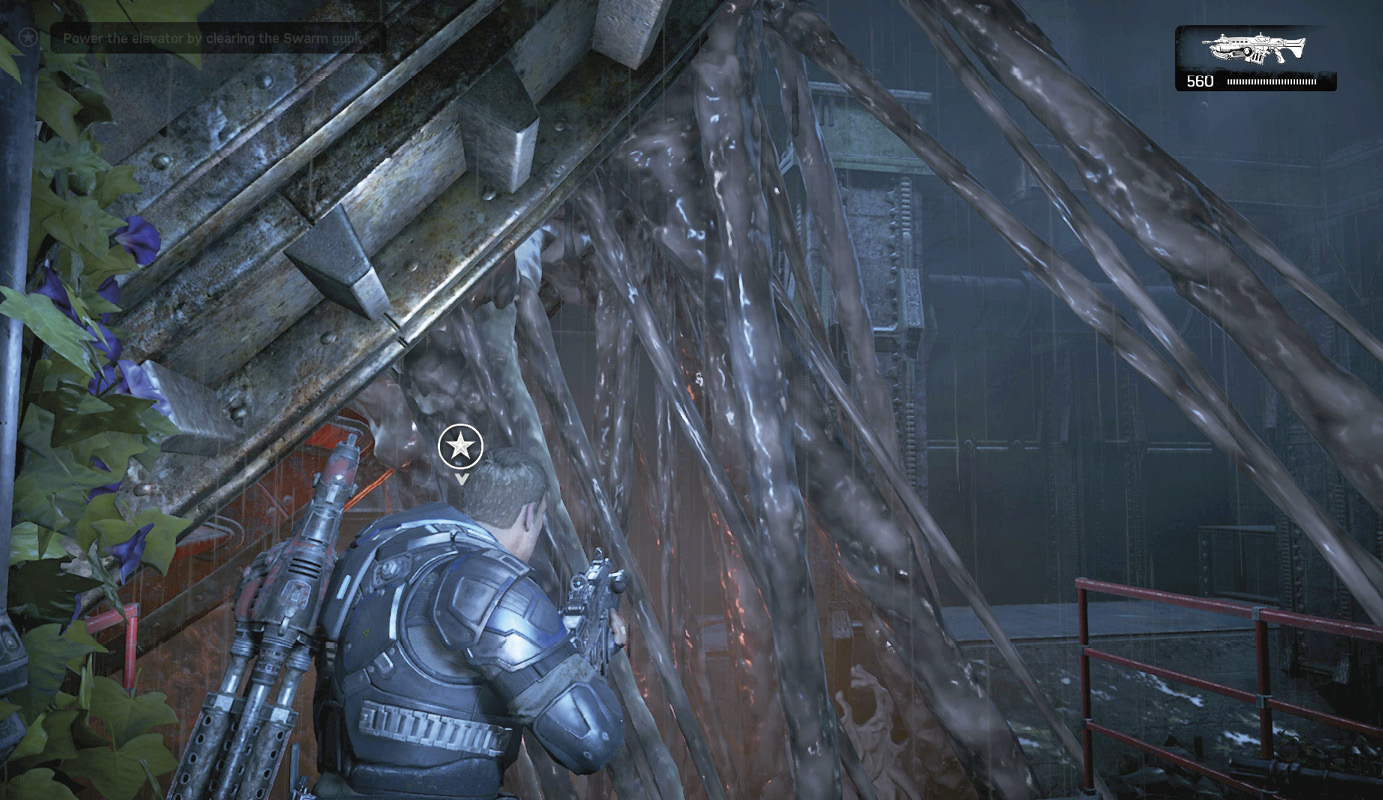
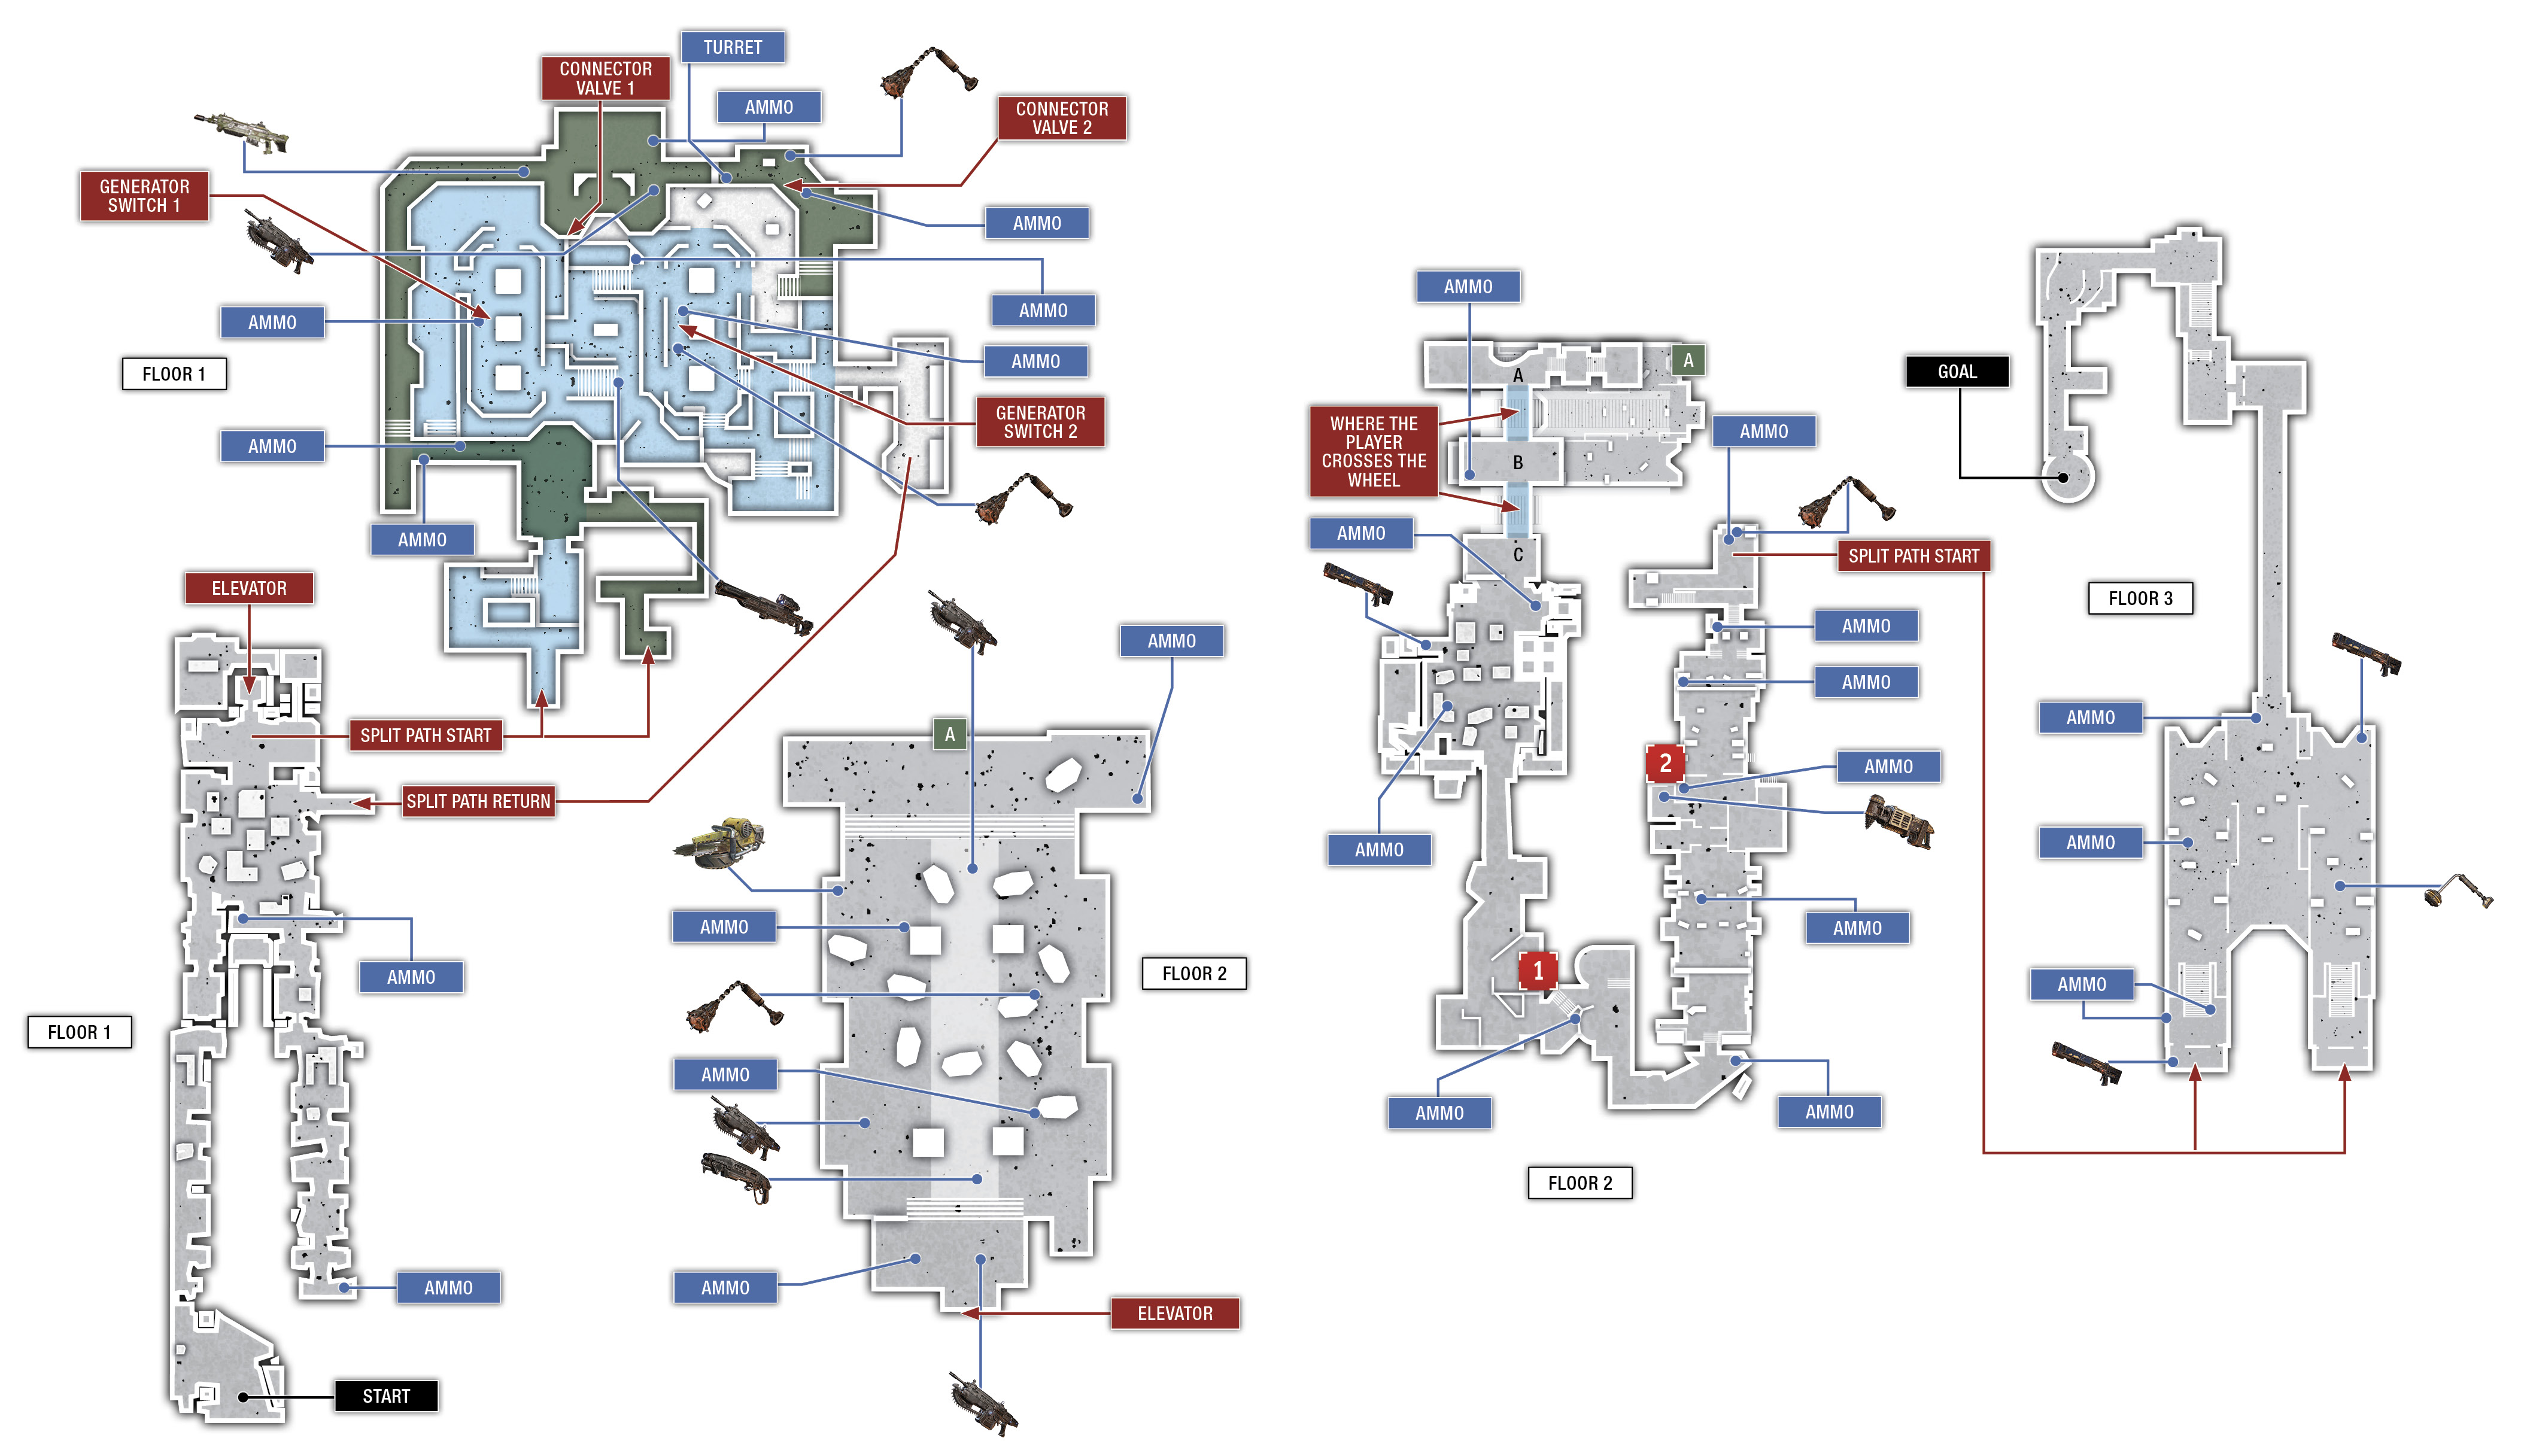
The squad enters the dam on the first floor, near a large turbine. Things are quiet for now, so enjoy it. Ascend the ladder and the stairs in the distance and cross the abandoned facility to the elevator at the far end of the floor. To nobody’s surprise, it’s out of order. The squad must find a way to restore power.
Head back across the floor, this time angling to the left. Kick open the red door to head outside to where the other turbine is located. Locate the control terminal next to the turbine (it looks like a large water wheel) and pull the lever to unlock the turbine.
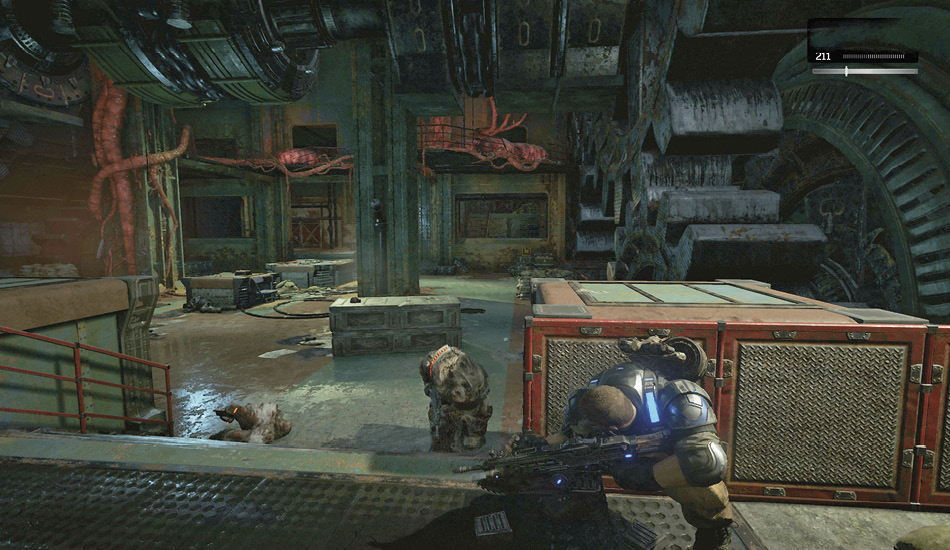
The turbine stays in place because the Swarm webbing has gummed up the works. Join Marcus at the end of the walkway and open fire on the webbing with your Lancer to tear the turbine free. Fight your way past the Juvies and Drones that attack on the walk back past the turbine and take cover near the stairs back inside. Several additional Drones, including some Frag-tossing Grenadier Drones, are dug in near the elevator. Keep your weapon loaded and be ready to rev that chainsaw quickly, as some of the Drones will rush your position. If you’ve managed to swap out the spent Boomshot for a Gnasher, this is a good time to use it.
A pair of Pouncers attack just as the squad gets close to the elevator. Fall back into cover and spot one of the Pouncers to focus the squad’s firepower on that single enemy. After all, it’s better to have one dead enemy than two injured ones!
Return to the elevator and try the lever once again. Still no power. Kait thinks the old circuits probably need to be reset. It’s a two-team job, so you’ll have to split up. Two will work the operations deck while the other two activate the generators.
Split Path: Generators (Left)
Follow the narrow hallway as it twists and turns past several control rooms to the first of the two large generator platforms. Cross the small bridge and activate the generator at the yellow panel. Several pods drop and more than a dozen Juvies attack. Work with Marcus and the others to clear the platform, then wait for Del and Kait to turn the circuit breaker, thereby extending a bridge for you to use to reach the central control tower.
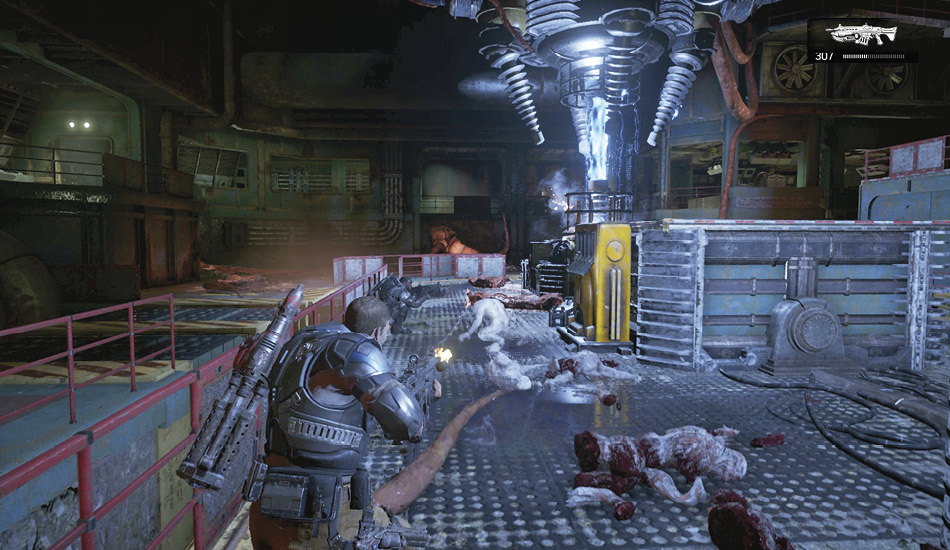
Shoot the Longshot free from the snot bubble above the stairs leading to the control tower and kill the Sniper Drones that have entered the room on the left. Del and Kait might be able to help with the Drones, but you’re going to have to take out the Drone manning the turret on your own. Use the Longshot to snipe the Drone manning the turret so Del and Kait can continue to the second circuit breaker.
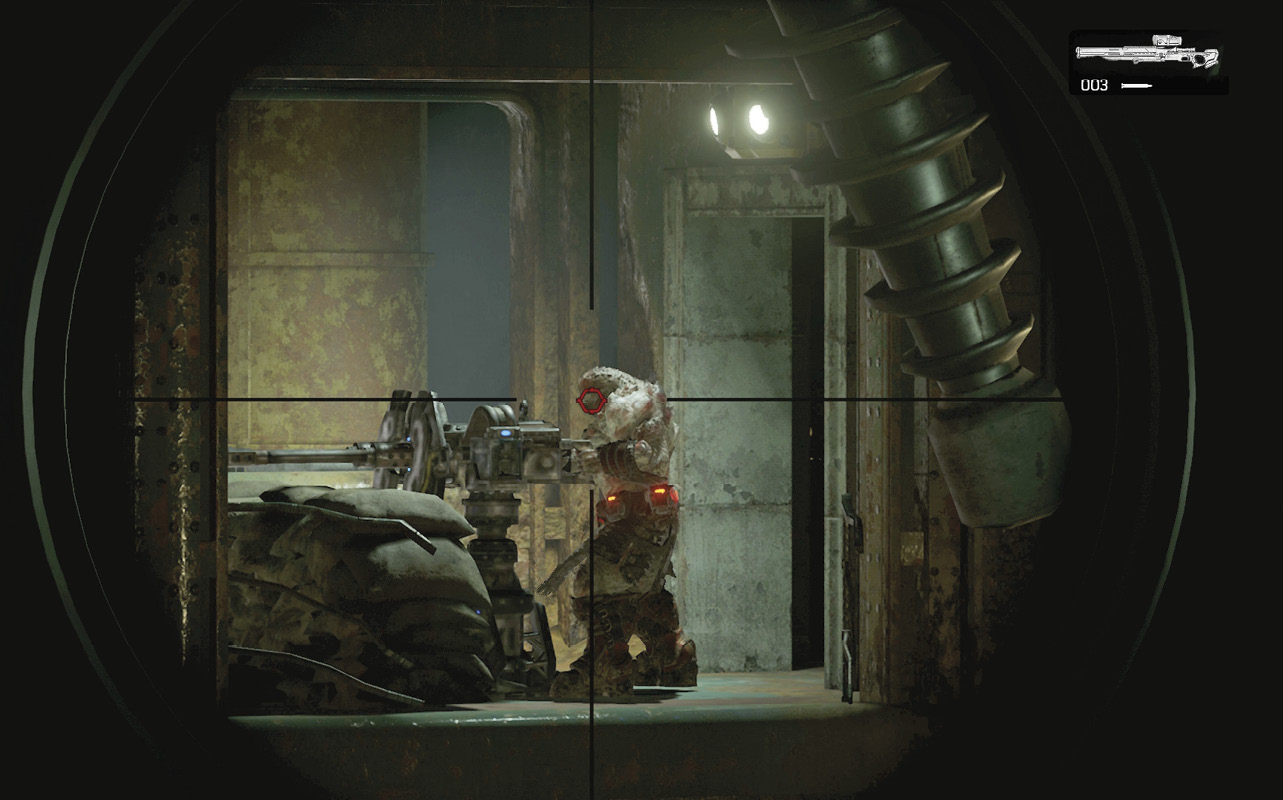
Listen for Del to man the turret, then start sniping the Drones that appear. There’s no reason to activate the second generator switch before clearing out the Drones. You may as well take advantage of the elevated sniping perch.
Descend the stairs on the other side of the control tower, flip the switch on the generator, and grab the Frag Grenades located near the switch. You’re going to have one final batch of enemies to contend with once the squad regroups.
Split Path: Operation Deck (Right)
Proceed along the corridor to the walkway overlooking the generators. Grab the ammo on the left and take cover overlooking the left-hand generator. Kait turns on the first pair of generators and a Swarm of Juvies attack as soon as the current starts arcing.
Clear the platform of Juvies with your Lancer, then continue along the walkway, through the operations offices to the room on the north side, where the circuit breaker is. Grab the Markza Mk1 from the corpse outside the main control room and turn the red wheel in the adjacent room to close the breaker.
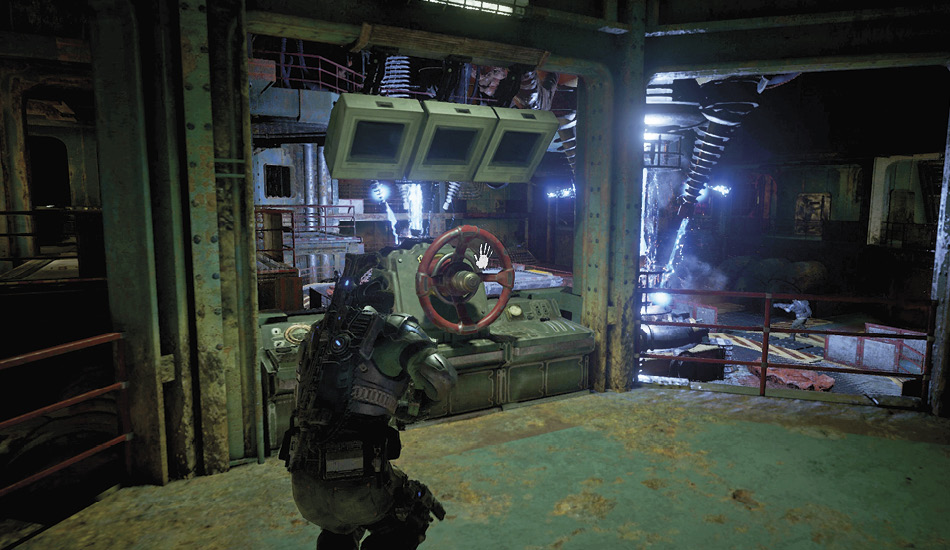
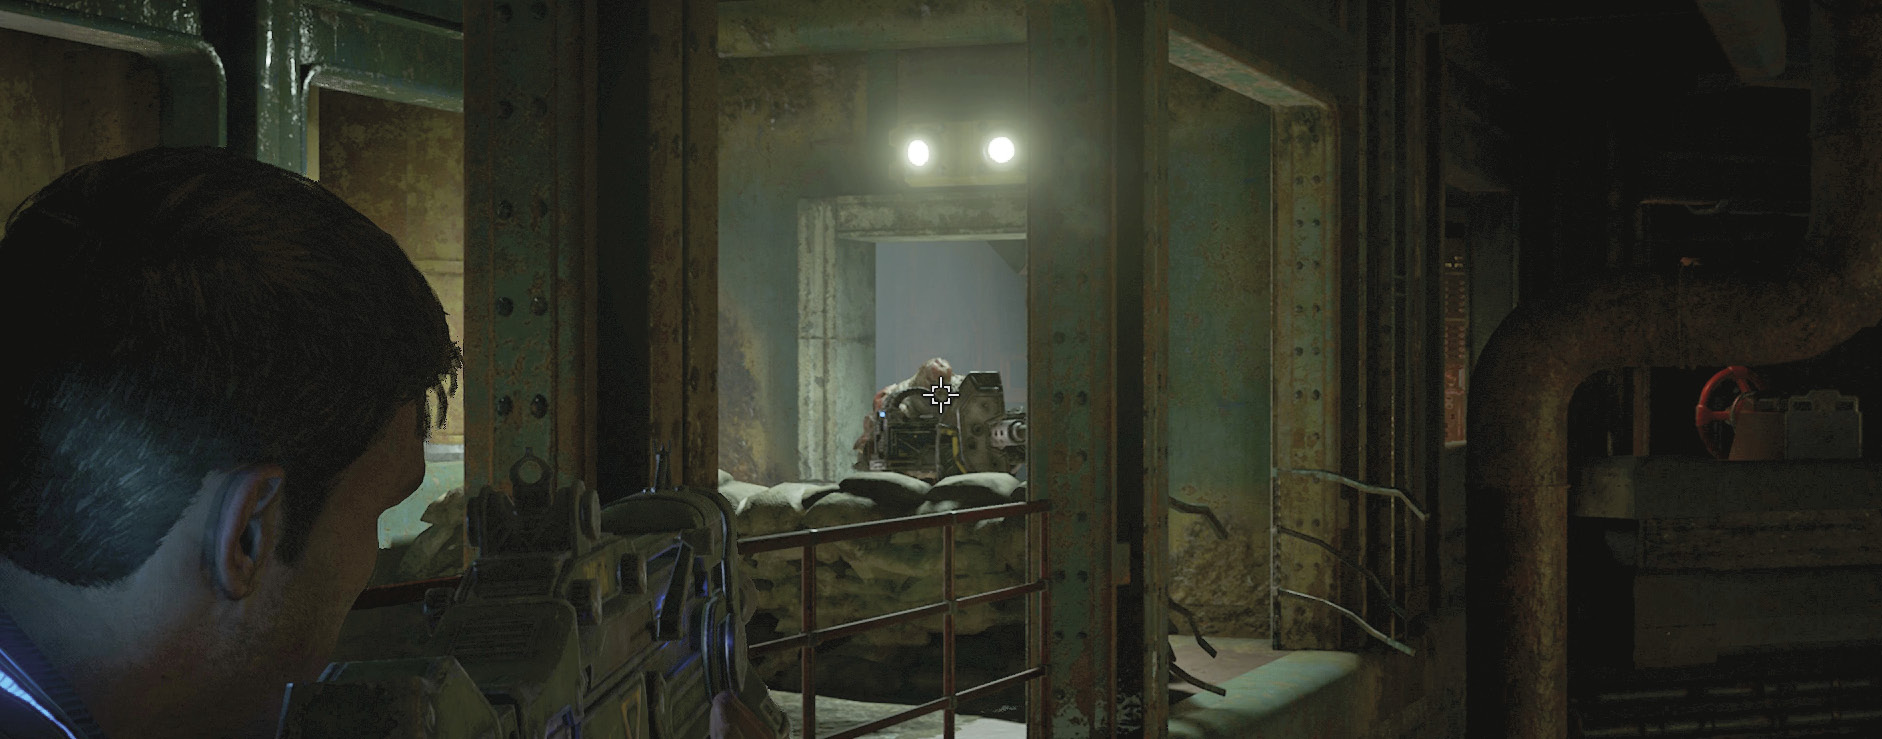
Take cover against the wall to the left and use the Markza Mk1 to snipe the Drones in the central control room between the two generator platforms. Clear the room to allow Kait and Del to advance up and down the flights of stairs from one platform to the other, then watch to see where Kait begins firing. There’s a Drone manning a turret on the other side of the door leading out of the control room. Shoot the Drone before kicking open the door, or pay the price.
Kick open the door, cut down the approaching Juvies, and fight your way around the corner to the next circuit breaker switch. Turn the wheel to bridge the gap from the central platform to the other generators so Del and Kait can cross. Put the Markza rifle and the nearby turret to use in clearing out the Drones that attack the second generator platform.
Objective: Get Back to the Elevator
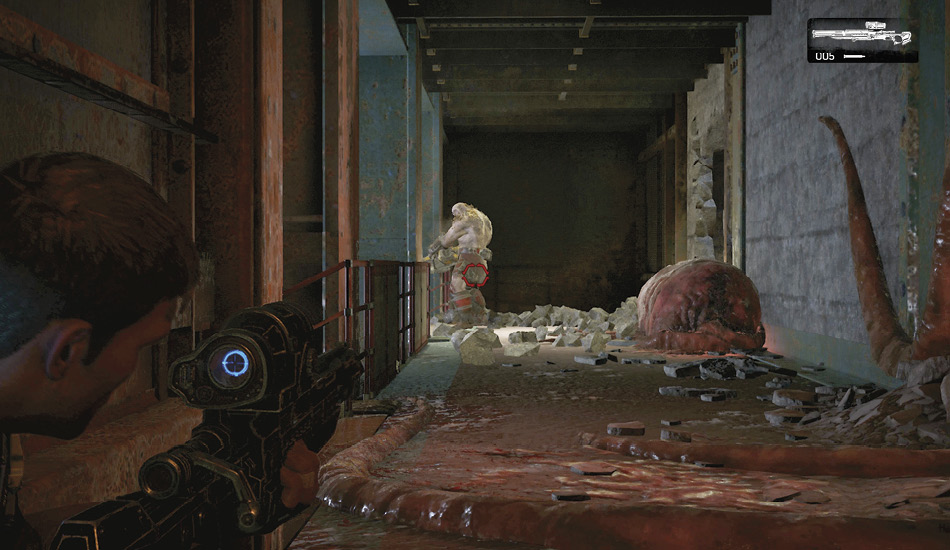
A Scion and several Drones break through the wall up the stairs from the second generator platform as soon as the group is reunited. Lob a couple of Frag Grenades up at him as you flank around to the right. Use your Lancer or any shots you have left in the Longshot to take out the Scion from the side. Grab the Buzzkill he drops and put it to use cutting down the remaining Drones he arrived with.
Proceed through the hole in the wall made by the Scion and follow the corridor back to the main room near the turbines. You’ll emerge from behind a red door in a side office, just steps from the elevator. Ride the elevator as far as it goes.
Objective: Find a Way to the Top of the Dam
The squad exits the elevator in a room dripping with hanging Swarm pods. Everything is quiet at first, but that soon changes when a Carrier bursts through the doors on the opposite side. Use the tactics you employed against the prior Carrier to defeat the one here. Wait for it to open its chest cavity, then open fire on its innards before taking aim at the flying fiery projectiles. If possible, use the Buzzkill you claimed from the Scion near the generators to inflict heavy damage at the start of the fight.
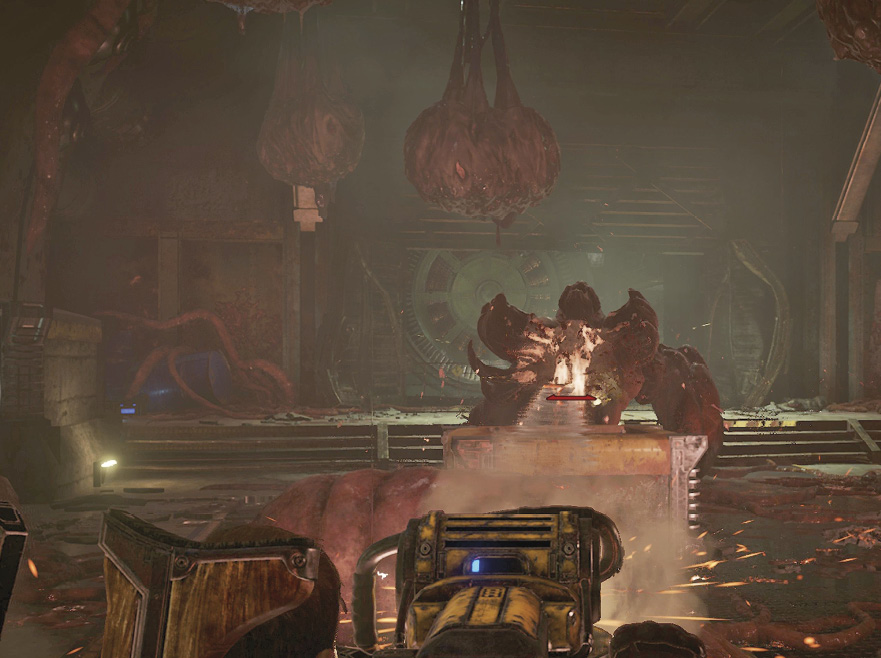
The Carrier’s ground-pound attacks rupture many of the pods in the area, releasing a number of Juvies. Ignore them as best you can and focus on the Carrier. Lead the Carrier back and forth from one end of the room to the other, slipping around it whenever it gets too close for comfort. There’s plenty of ammo and Lancers in the area to ensure you don’t run out.
Exit through the door on the right to enter a small room with a double-locked door. Activate the switches with an ally and head outside toward the turbines. Use the control panel up ahead to lock the turbine in place so the squad can cross from the right-hand walkway to the central one. Lock the second turbine and cross that one too.
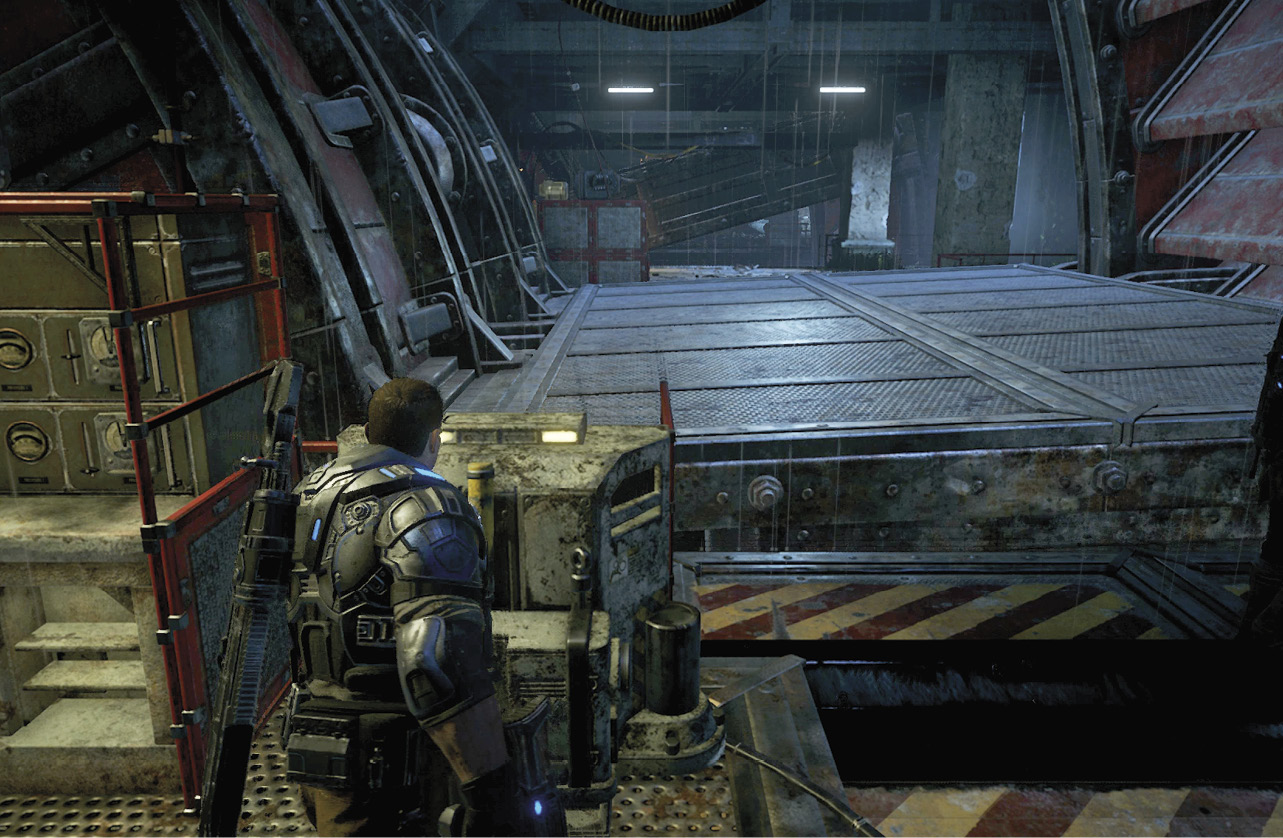
Cross the second turbine and drop into cover immediately, as several Drones appear near the ruins up ahead. Hang back and let them show themselves. Their aggressiveness will be their ruin as you let them charge straight into your chainsaw!
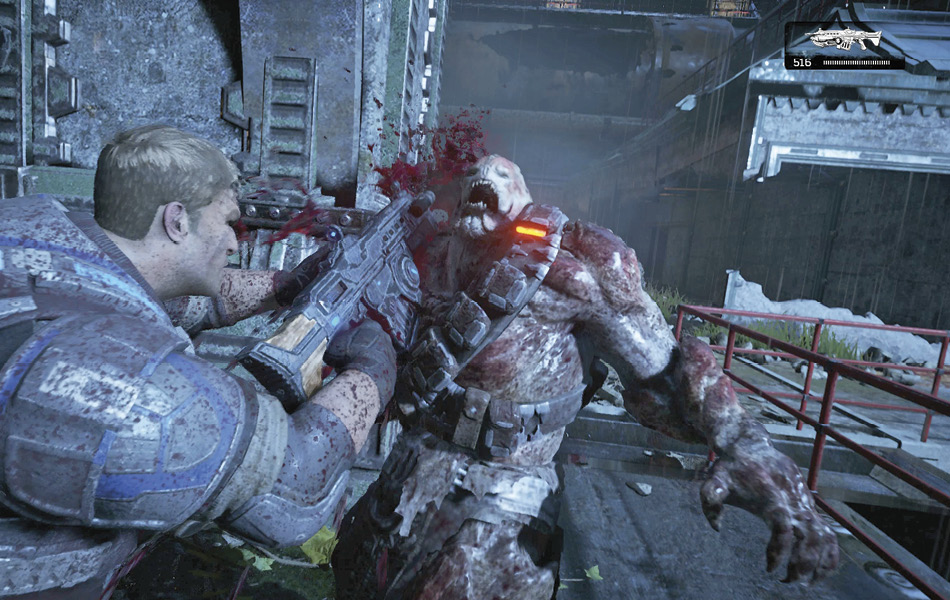
Keep a clear view of the doorway leading back inside so you can target the Scion as soon as it appears, otherwise it will harden the Drones outside and make the fight that much tougher. The Scion is armed with a Mulcher, so you needn’t be worried about staying in one place and being killed by the Dropshot.
Carry the Mulcher with you as you follow the exterior walkway in and out of small rooms where the COG were trapped so many years ago. Gather up ammo as you go and ultimately wind your way around to a turn to the south and descend a double set of stairs to another locked door. Head inside to a room with numerous chains.
Take a moment to study the movement of the chains in this room. Some are stationary while others periodically jerk up and over a gear, causing the other end of the chain to slam down onto the floor. This is a major hazard. Not only might your cover be removed, but you could be crushed to death by a falling chain. It’s best to stand back behind immobile cover and take on the Swarm as they try to cross the floor. Use Frag Grenades to flush the Swarm out of cover and to destroy the few wooden pieces of cover that exist in the room, then take aim on the Drones with the Lancer or Boltok.
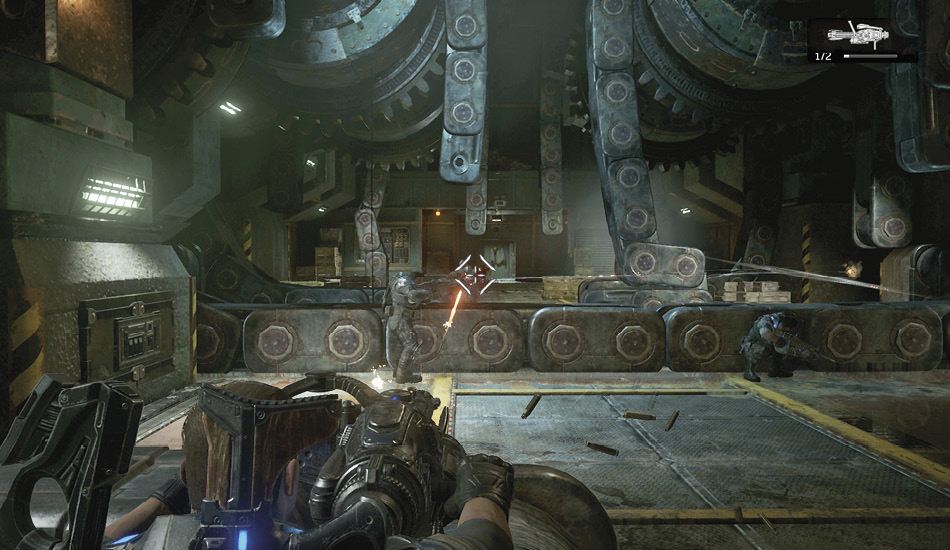
Use the immobile pieces of chain for cover and clear the room of Drones before crossing the room. You don’t want to be dodging enemy fire and accidentally get crushed by a falling piece of machinery.
There’s one more room with falling chains to cross. This one has a lot less stationary cover for you to utilize, but your approach should be the same. Duck into cover behind the wooden crates and let the Drones come forward. Use the Dropshot obtained in the storage room between the two chain rooms to blow up the Drones—and their wooden cover when possible—then finish off the rest with the Boltok.
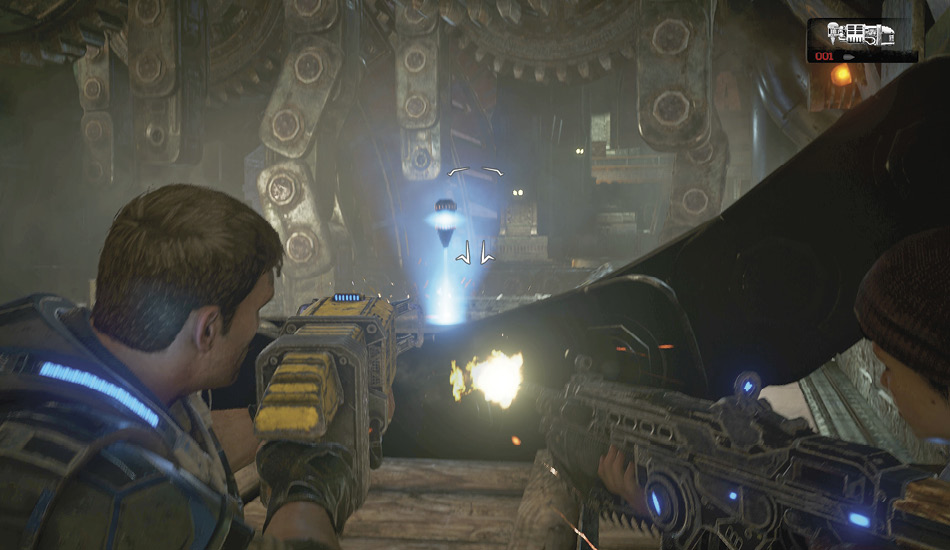
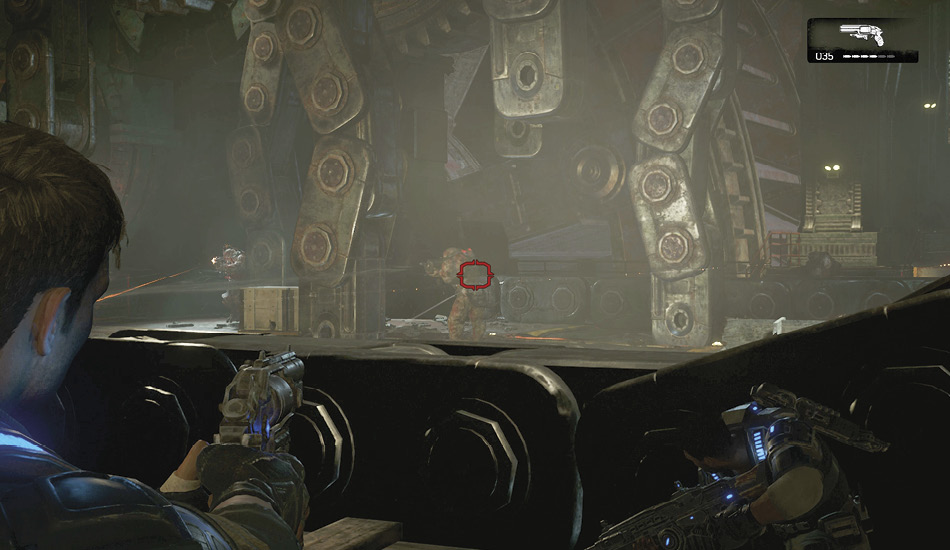
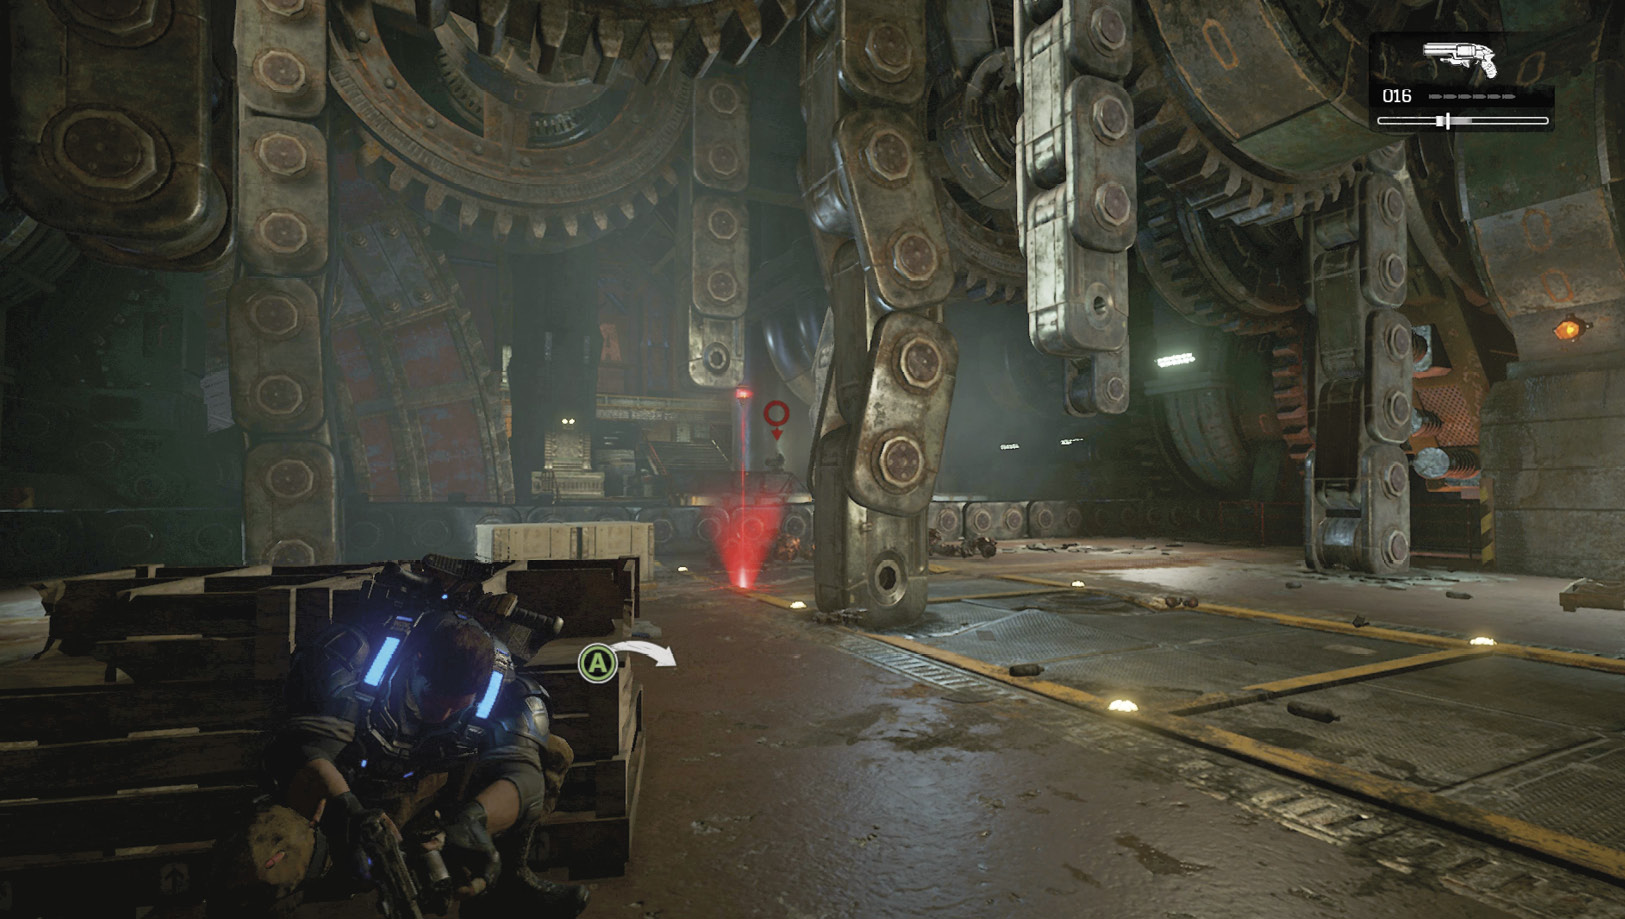
A Scion attacks with a Dropshot from a balcony on the far side of the room once there are only a few Drones left. Spot the Scion as you fire as many shots as you can into its head with the Boltok. Watch for the direction of its Dropshot attack and dodge-roll to safety as soon as you see it heading your way.
Ascend the stairs near the turbine and make your way past both turbines, through the darkened control rooms, and back outside via the double-locked door near the ammo crates. Walk along the crumbling exterior walkway to the metal catwalk at the end. Lower the raised panel and watch the squad ride the turbine to the upper level of the dam, as if it were a water wheel. Unfortunately, the squad is split again, with JD and Marcus on one side and Kait and Del on the other.
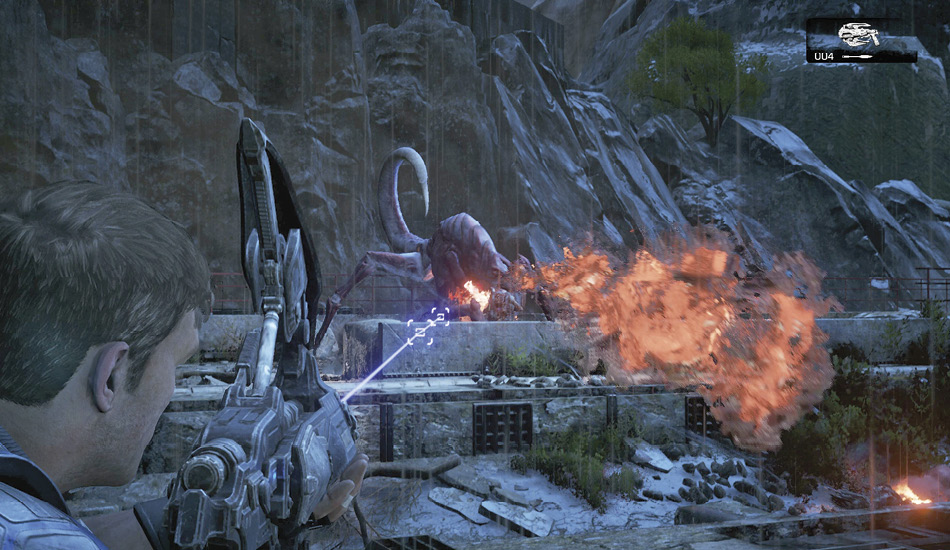
Climb the ladder at the edge of the upper walkway and locate the EMBAR Sniper Rifle on the left of the stairs. Snipe the Grenadier and Hunter Drones on the upper path, then take cover along the edge of the spillway and lend a hand to Kait and Del on the other side. Use the EMBAR until it runs out, then switch to the Torque Bow dropped by the Hunter Drone, but use the Lancer on the remaining Drones.
A Snatcher leaps out of the upper pipe as soon as the final Drone has been slain. Use the Torque Bow to fire arrows at its stomach as it focuses its toxic, fiery spew at Kait and Del. Stay as far from it as you can and keep your ammo topped off so you can free any of your allies should they get abducted. The Snatcher can fire its quill great distances and it will instantly down you if it hits, so be ready to dodge if you hear its attack scream.
Once the Snatcher has been killed, enter the overflow pipe, raise the door, and climb the ladder at the end of the ramp. Continue up the stairs and down the crumbled floor to the room with the moonlight shining through. There’s one final ladder up ahead for you to climb in order to reach the top.