Gears of War 4 Guide Campaign Act 4
Chapter 5: Storm Warning
Collectibles
|
 COG Tag
 Letter
Situation Overview
When the squad finally makes it to the top of the dam and sees what they’re up against, it’s clear they need backup. Marcus has a friend he can call for support, but he can’t reach him from the dam, least of all during a Windflare. The squad must make it to a nearby radio tower if they’re to have any chance of rescuing Reyna.
Tollen Dam
Objective: Get Across the Dam
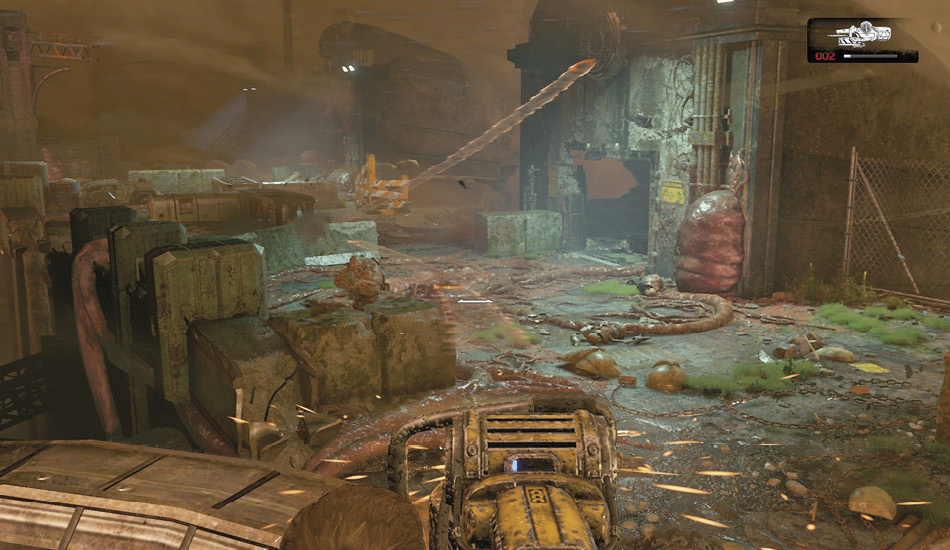
The Windflare has hit full strength just as the squad reaches the road across the top of the dam. Smash through the chain on the fence to the right and follow the path around to the left, to where the Buzzkill is located. Drones emerge from the building up ahead. Mount the Buzzkill atop the curved wall and take aim at the Hunter Drones and others down below. The wind is blowing from right to left, so you’ll need to aim into the wind a bit to make up for the slower velocity of the Buzzkill blades. Aim to the right of the Hunter Drones and a little higher than normal to ensure a hit.
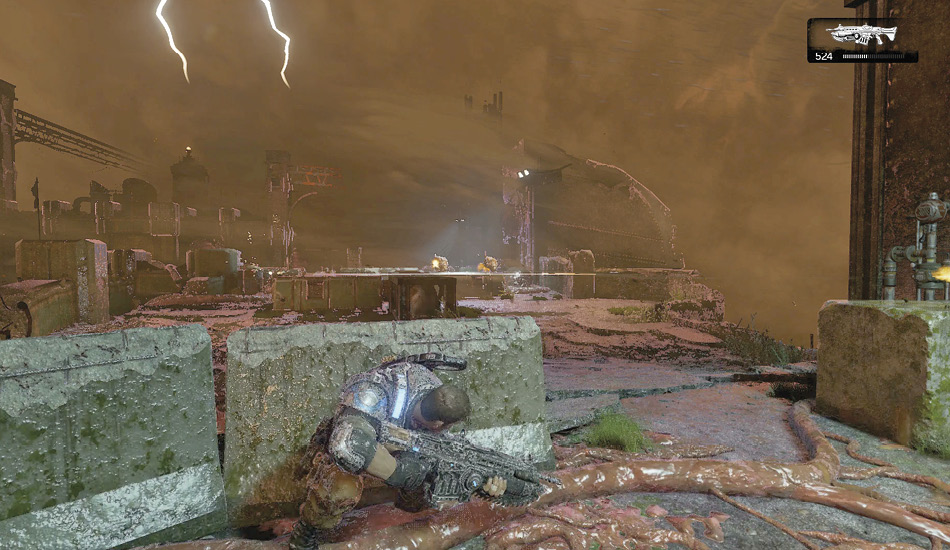
Advance to the concrete barriers near the building on the right and wait for the next set of Drones to approach. You want them even with the destructible barricade on the right before you target it. Doing so releases a number of drums into the wind and should eliminate several of the Drones.
Grab the Dropshot from the snot bubble in the room on the right once you’ve thinned the number of Drones, then advance to the L-shaped cover in the center. Multiple Scions attacking with Mulchers march across the battlefield straight at your position. Use the Dropshot to take them out as they pause to upgrade the other Drones. The Dropshot is affected by the wind as much as the Buzzkill, so take that into account and aim slightly to the right. Use the Scion’s Mulcher to take out the Drones and Juvies that attack up ahead near the crumbling infrastructure.
Duck into the stairwell on the left so the squad can take a break from the Windflare in a small substation. Gather up the Frag Grenades and ammo and push the orange door open to continue across the dam.
Duck into cover outside the door and let the Juvies come to you. Drones attack next, and they’ll hunker down behind cover. The wind is in your face, so you needn’t worry about lateral adjustments to aiming, but your Frag Grenades won’t go very far. Hold on to them. Kill the remaining Drones and take a look at the gap on the left.
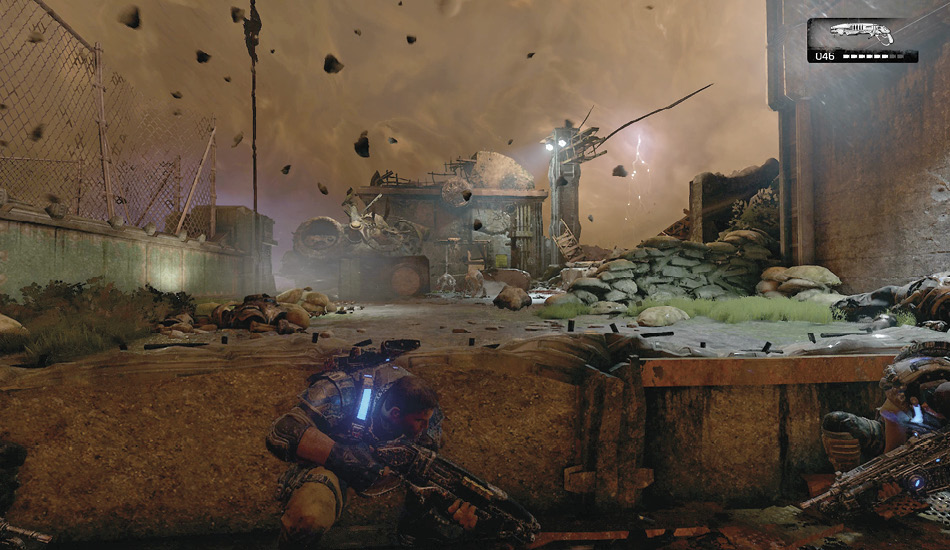
Objective: Destroy the Turret
As soon as you peer over the ledge on the left, wondering how you’ll cross, a turret in the distance opens fire. Drop into cover, then take a look at your surroundings, as there’s a decades-old Siegebeast lying on its side. Fortunately for JD, the Siegebeast’s bombs still have some kick.
Grab hold of the rear of the Siegebeast and turn it to angle into the wind. You’re going to use this catapult-like device to fire a bomb at the turret in the distance, but you’ve got to take the wind into account. Not only that, but you’ve got to fire the shot at such an angle as to have enough distance to clear the smokestack, which effectively defends the turret from just such an attack. This isn’t particularly easy, but you’ve got unlimited ammo and plenty of time.
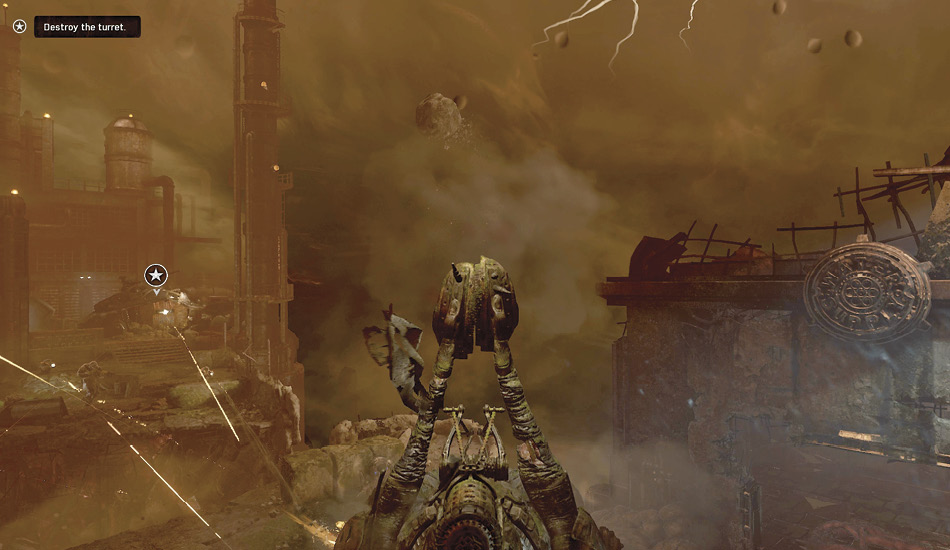
It’s likely going to take two hits to destroy the turret. If you aim correctly, Marcus will shoot the bombs at the precise moment to damage the turret.
You’ll hear Marcus praise your aiming if you score a hit. The best way to aim is to pull the Camera Controls back so that the bottom of the targeting reticle is even with the trim on the building to your right. Rotate the Siegebeast so that the curved portion of the front end is exactly even with the curved rock edge to the left of the building. Ready the shot at full power before releasing the catapult. If you are playing co-op, the second player needs to shoot the bombs out of the air to detonate them. You can’t destroy the turret without shooting the bombs. This is a bit easier if you shoot the bomb right at the moment it hits the turret.
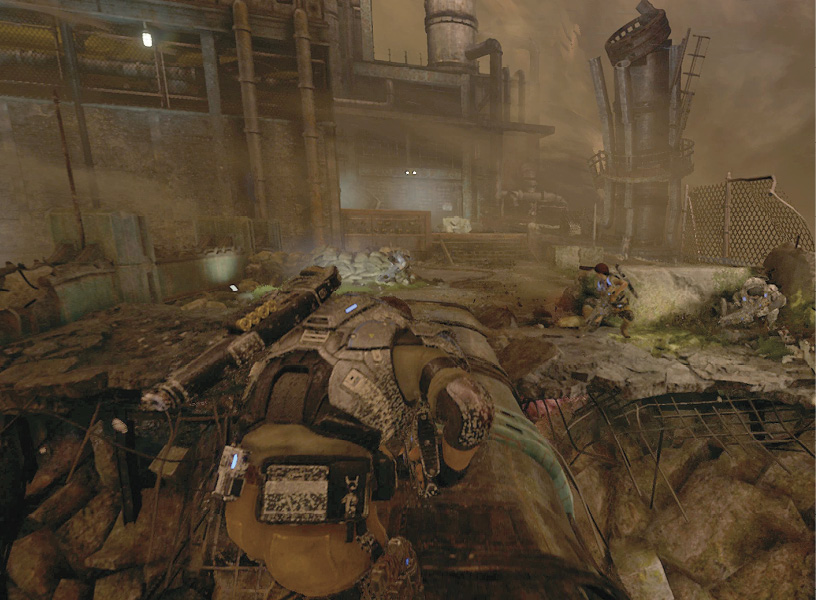
The explosion topples the smokestack and provides a way across the gap. Sprint across the fallen pipe and advance on the Drones atop the stairs. A boat sailing on the wind will crash-land atop the Drones, eliminating the need for you to fire at them. Raise the yellow garage door and head inside.
Get to the Substation
Grab the Buzzkill inside and use it to take out the Sniper Drone up ahead atop the stairs. Mount the Buzzkill on the floor and cut through the numerous pods and Juvies that attack—a screaming Juvie alerts the rest to your presence anyway, so you might as well start firing right away.
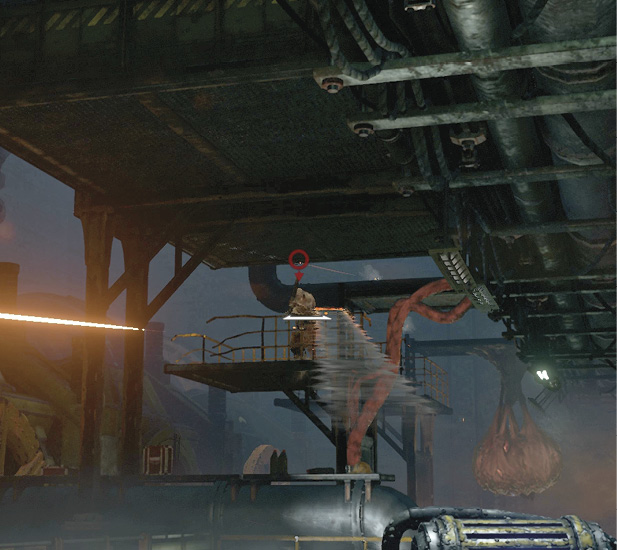
Take cover beyond the stairs where the Sniper Drone was and look out over the barrier to the Swarm nests outside. Target the barricade in the distance to release the crane and its load of pipes into the wind. The swinging crane and pipes will take out several of the Drones in the area
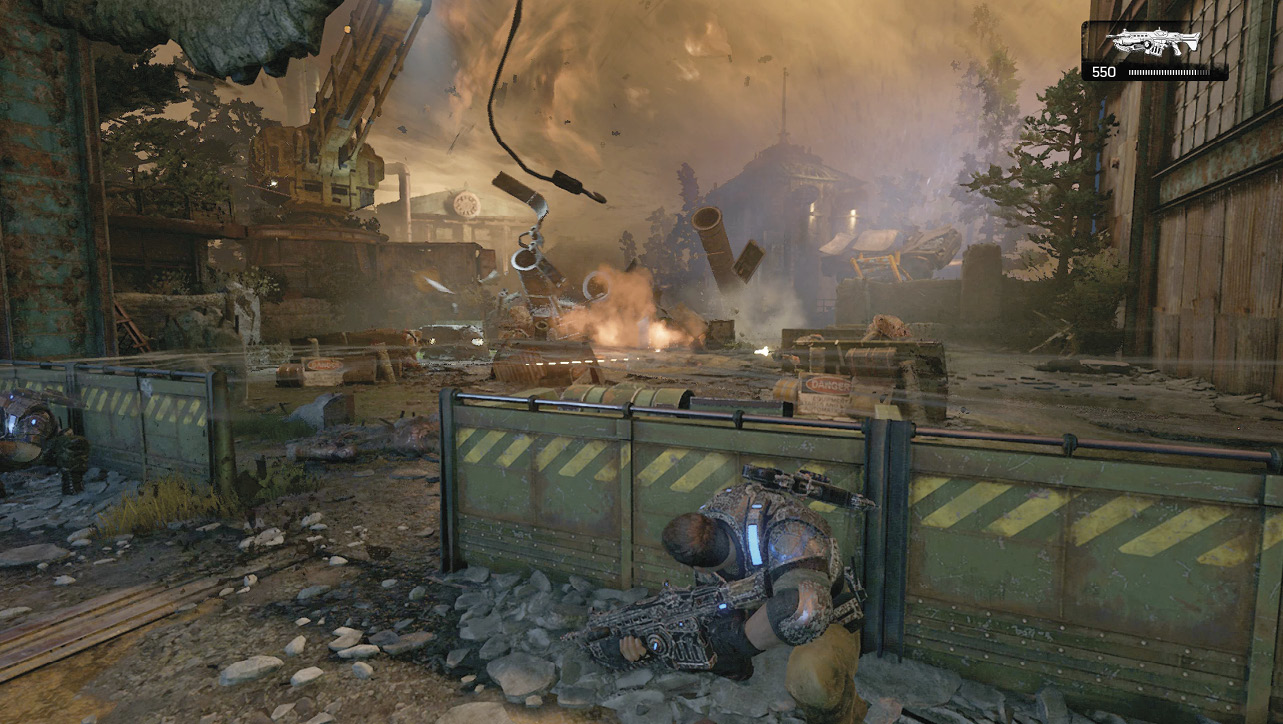
Shoot the barricade holding the car on the ledge near the Swarm nests to send the car toppling down on the Drones. This should clear most of the immediate threat.
The stormwall reaches just as you advance past the nests. Ignore any Drones that stand between you and the substation and focus on avoiding the Lightning Flurries. Sweep to the right around the cover and move along a relatively straight path without roadie running. Adjust your course as needed to allow the Lightning Flurries to hit and move. The door isn’t much farther.
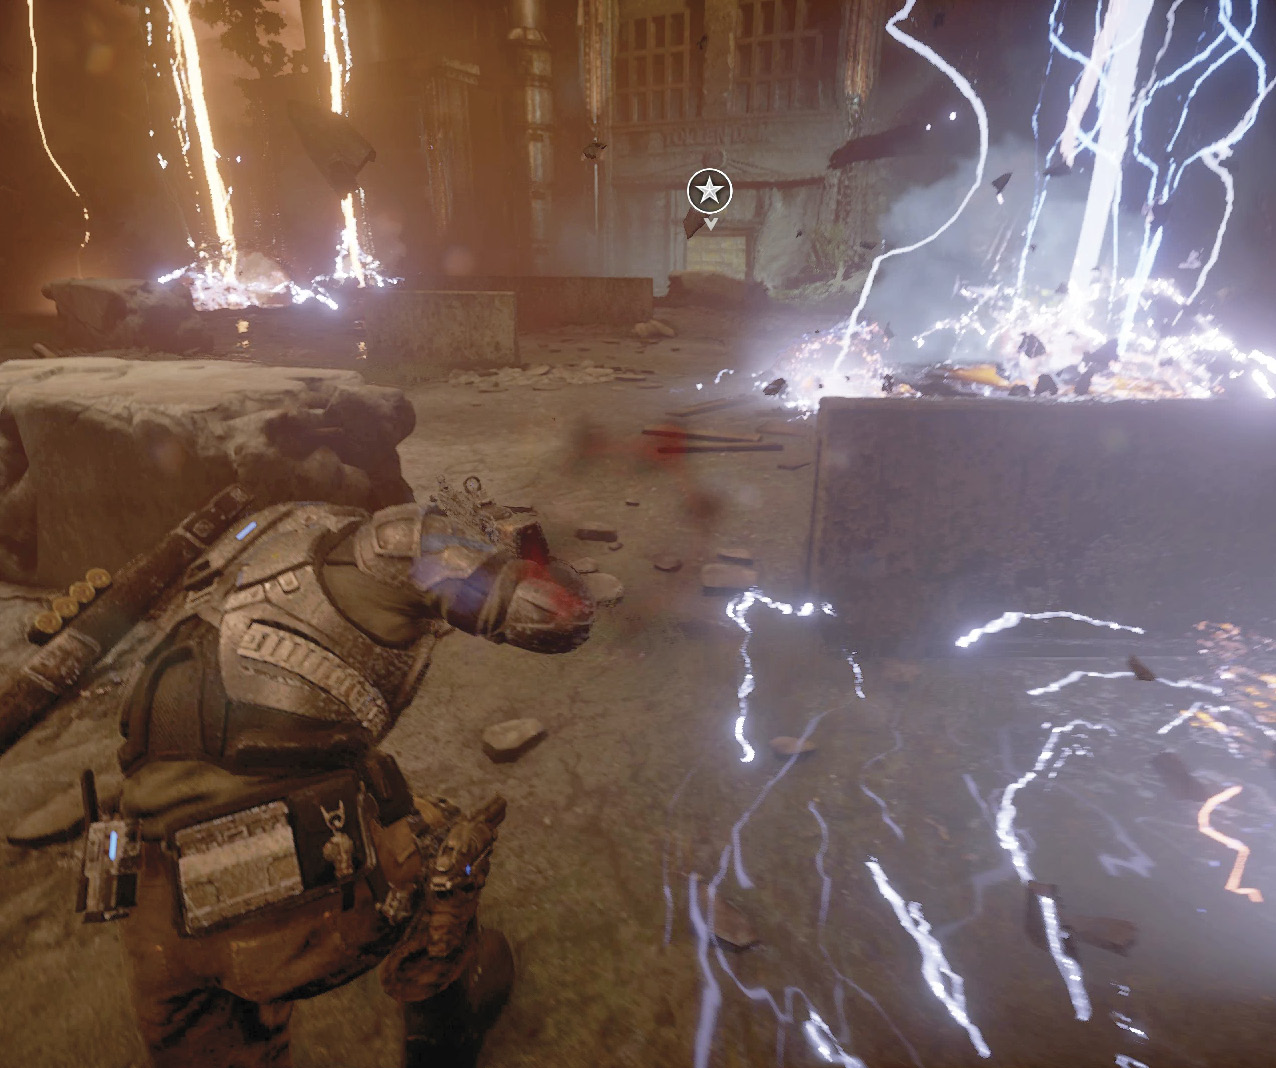
Objective: Find a Way Through the Substation
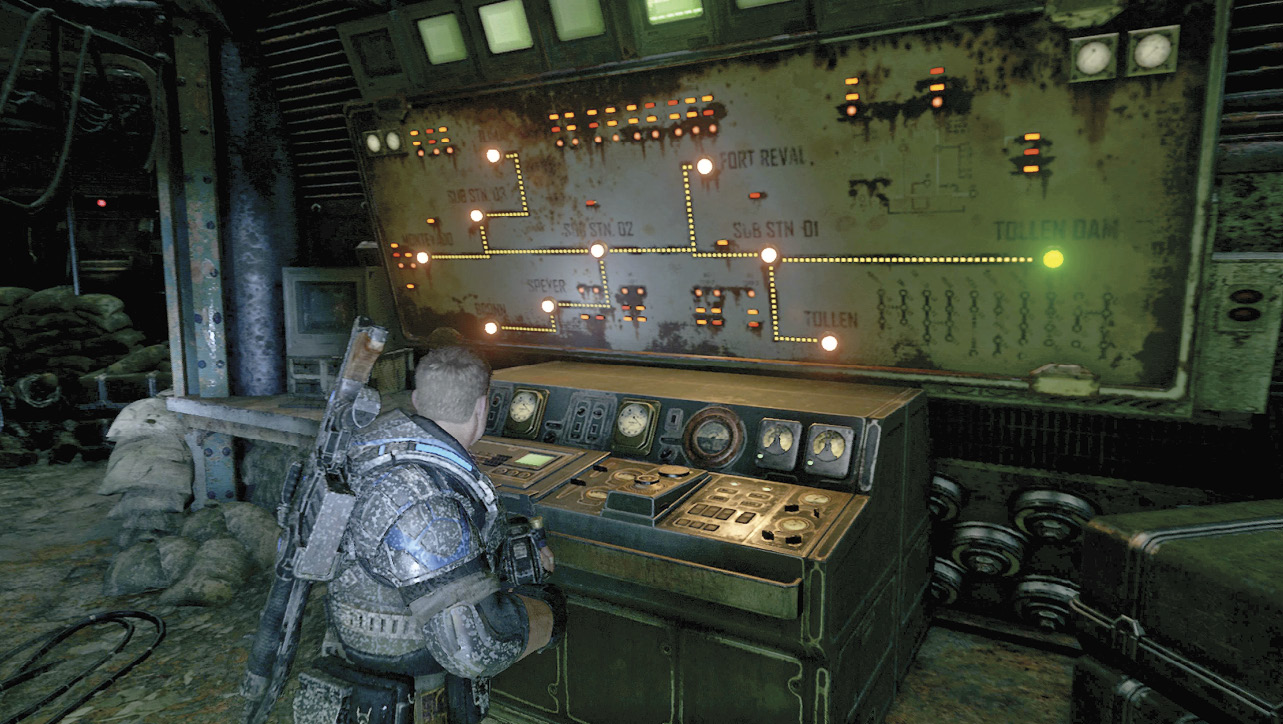
Grab the collectible, kick open the doors, and head down the stairs. Take your time looking around and enjoy the temporary reprieve from the Swarm. When ready, throw the switch on the control panel near the map to reroute the power feed.
Proceed along the lone path to the blockage between the two transformers. The only way out is through the blockade and Marcus has an idea. Pull the lever in the control room to lower the shield on the left-hand transformer. Open fire on the copper coil with your Lancer to overload the transformer and release a massive electric discharge, also known as an explosion.
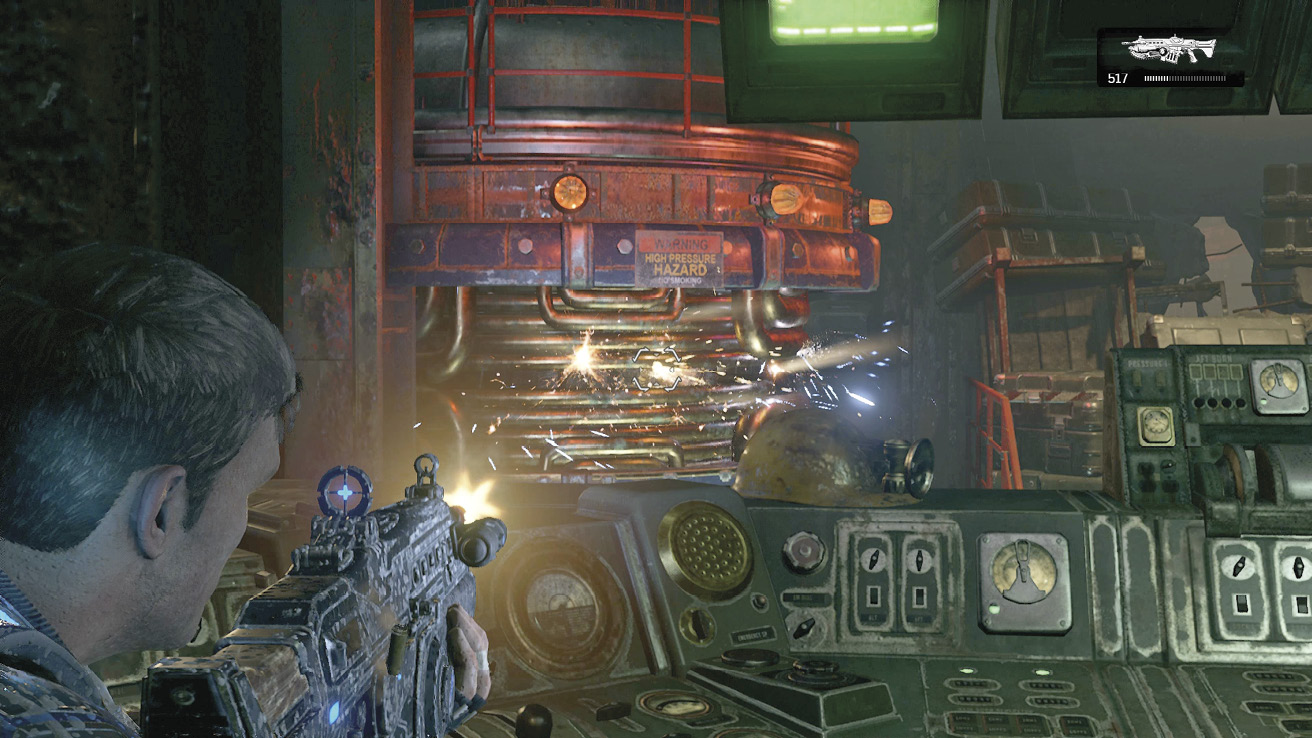
Proceed through the doorway once the blockage is removed and loop around the pit in the center of the next room. Continue to the hallway ahead.
Objective: Defeat the Swarmak
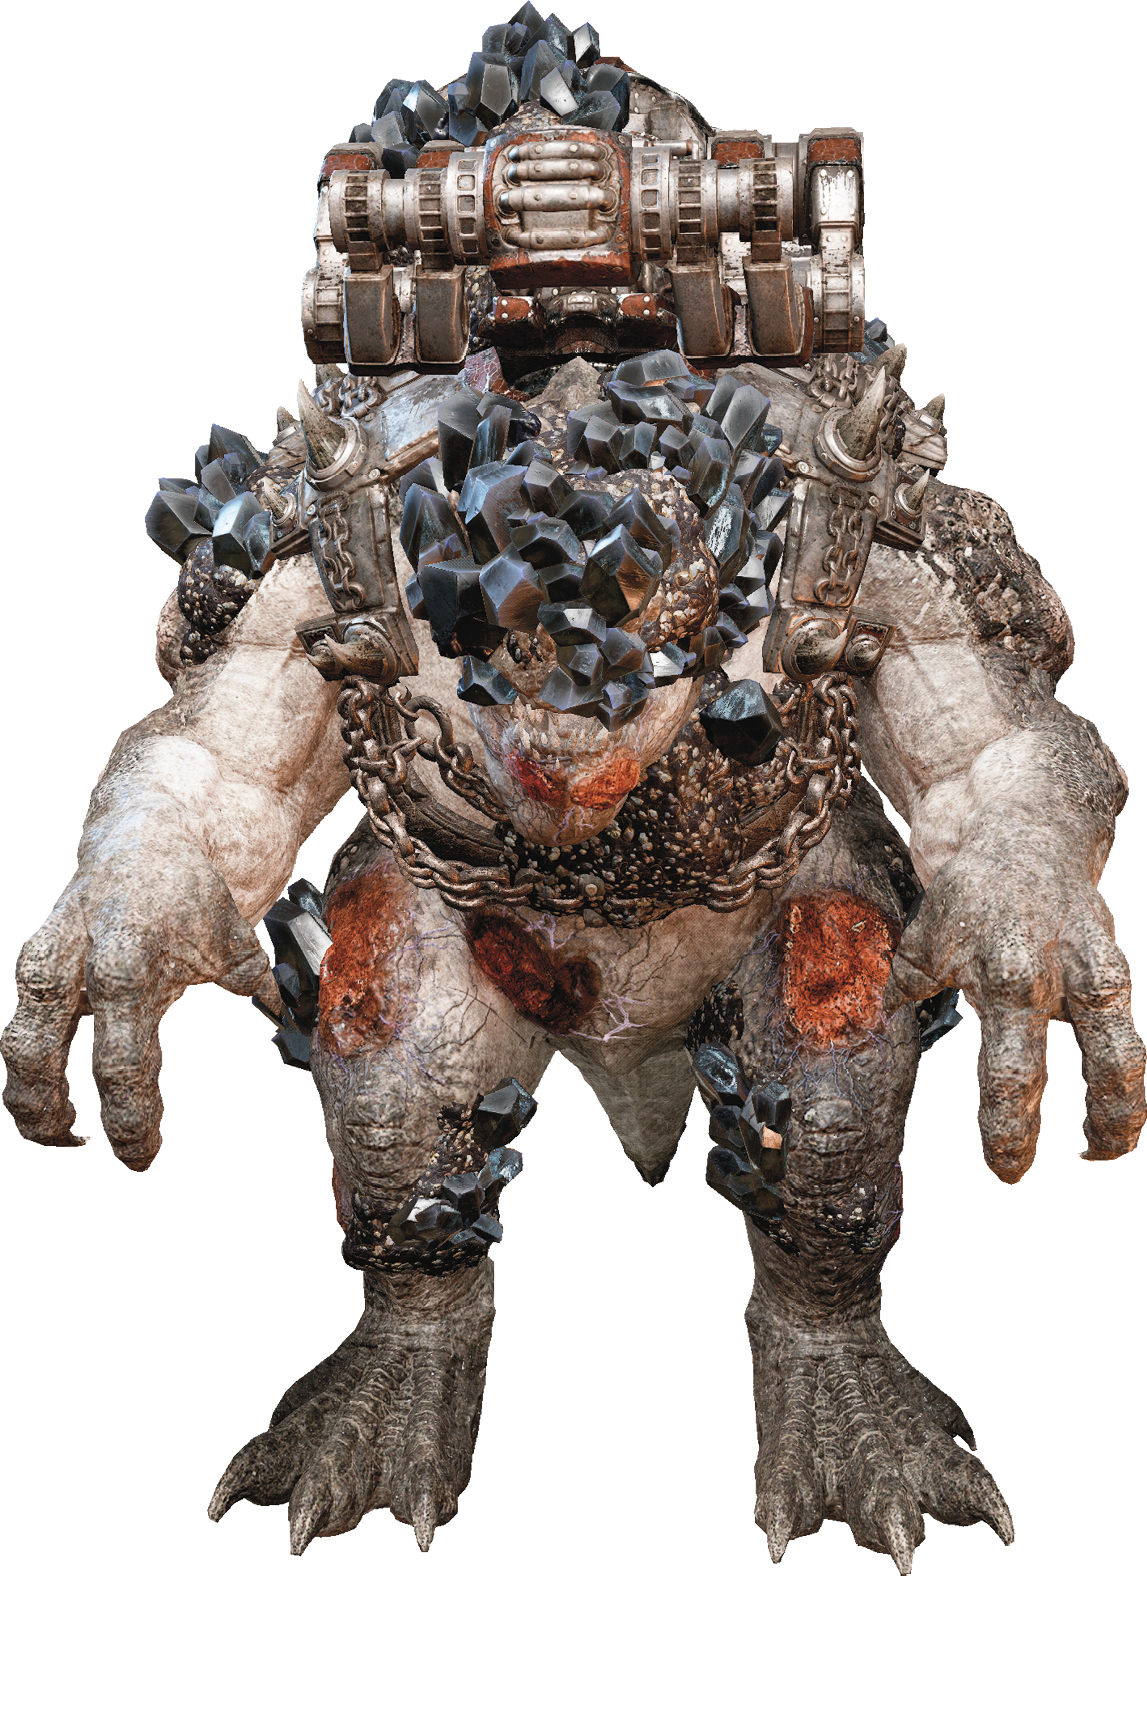
Swarmak
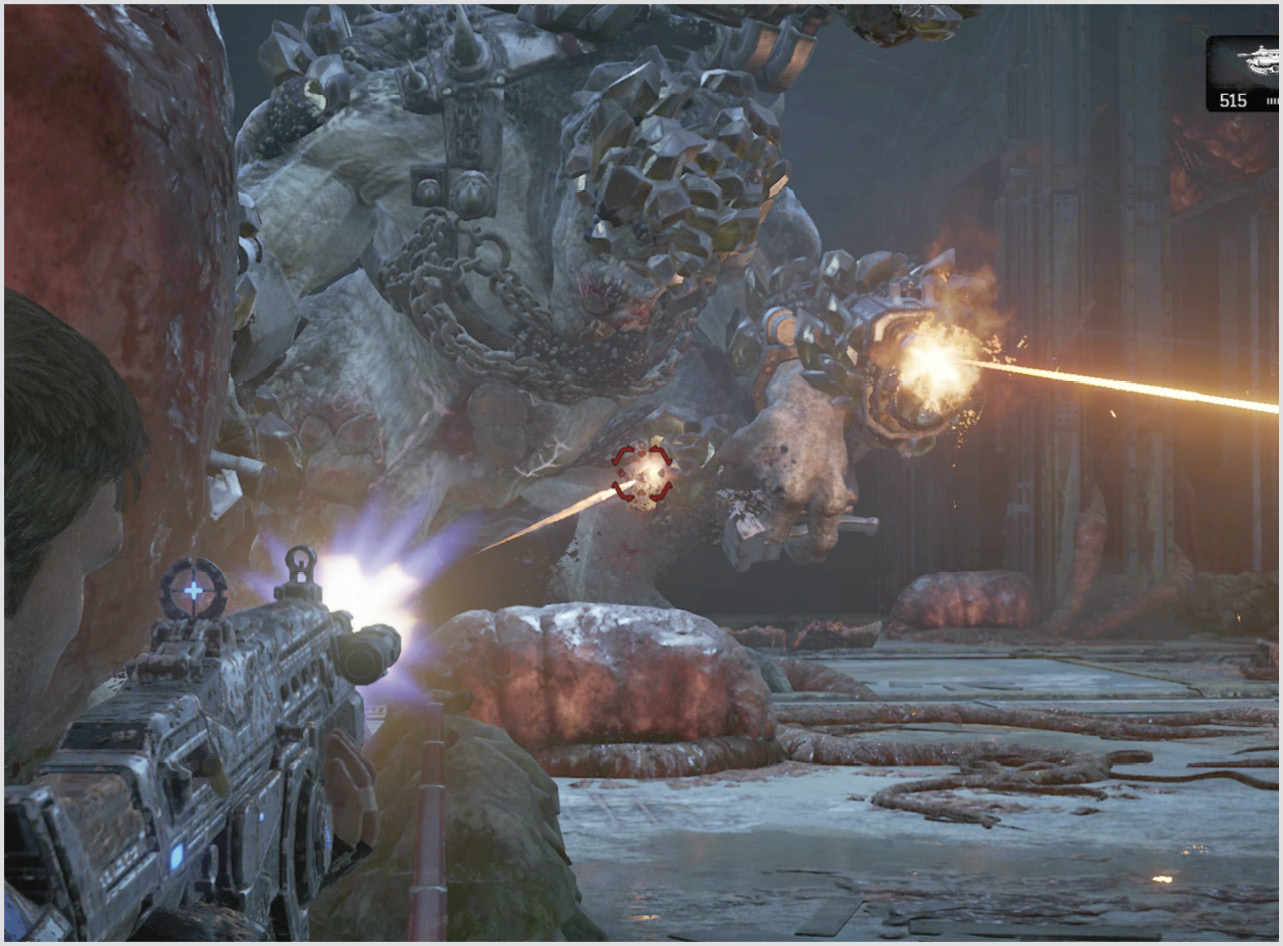
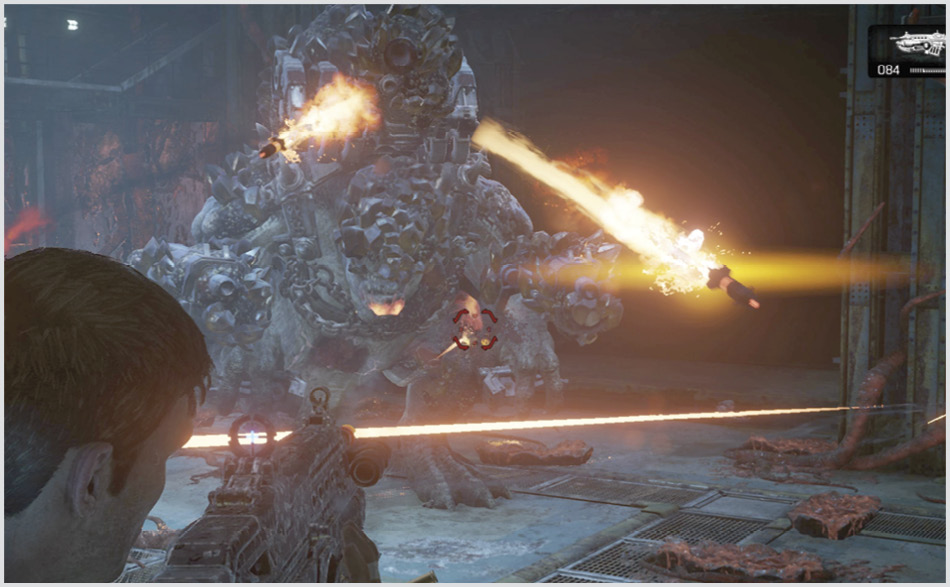
The massive beast you see before you is a Swarmak, a crystal-encased version of a Brumak fought by Delta Squad decades ago. This Swarm version is far harder to damage, as it has been upgraded with thicker, more resilient skin. Adding to its ferociousness, it’s being ridden by the very Swarm that captured Reyna, Speaker.
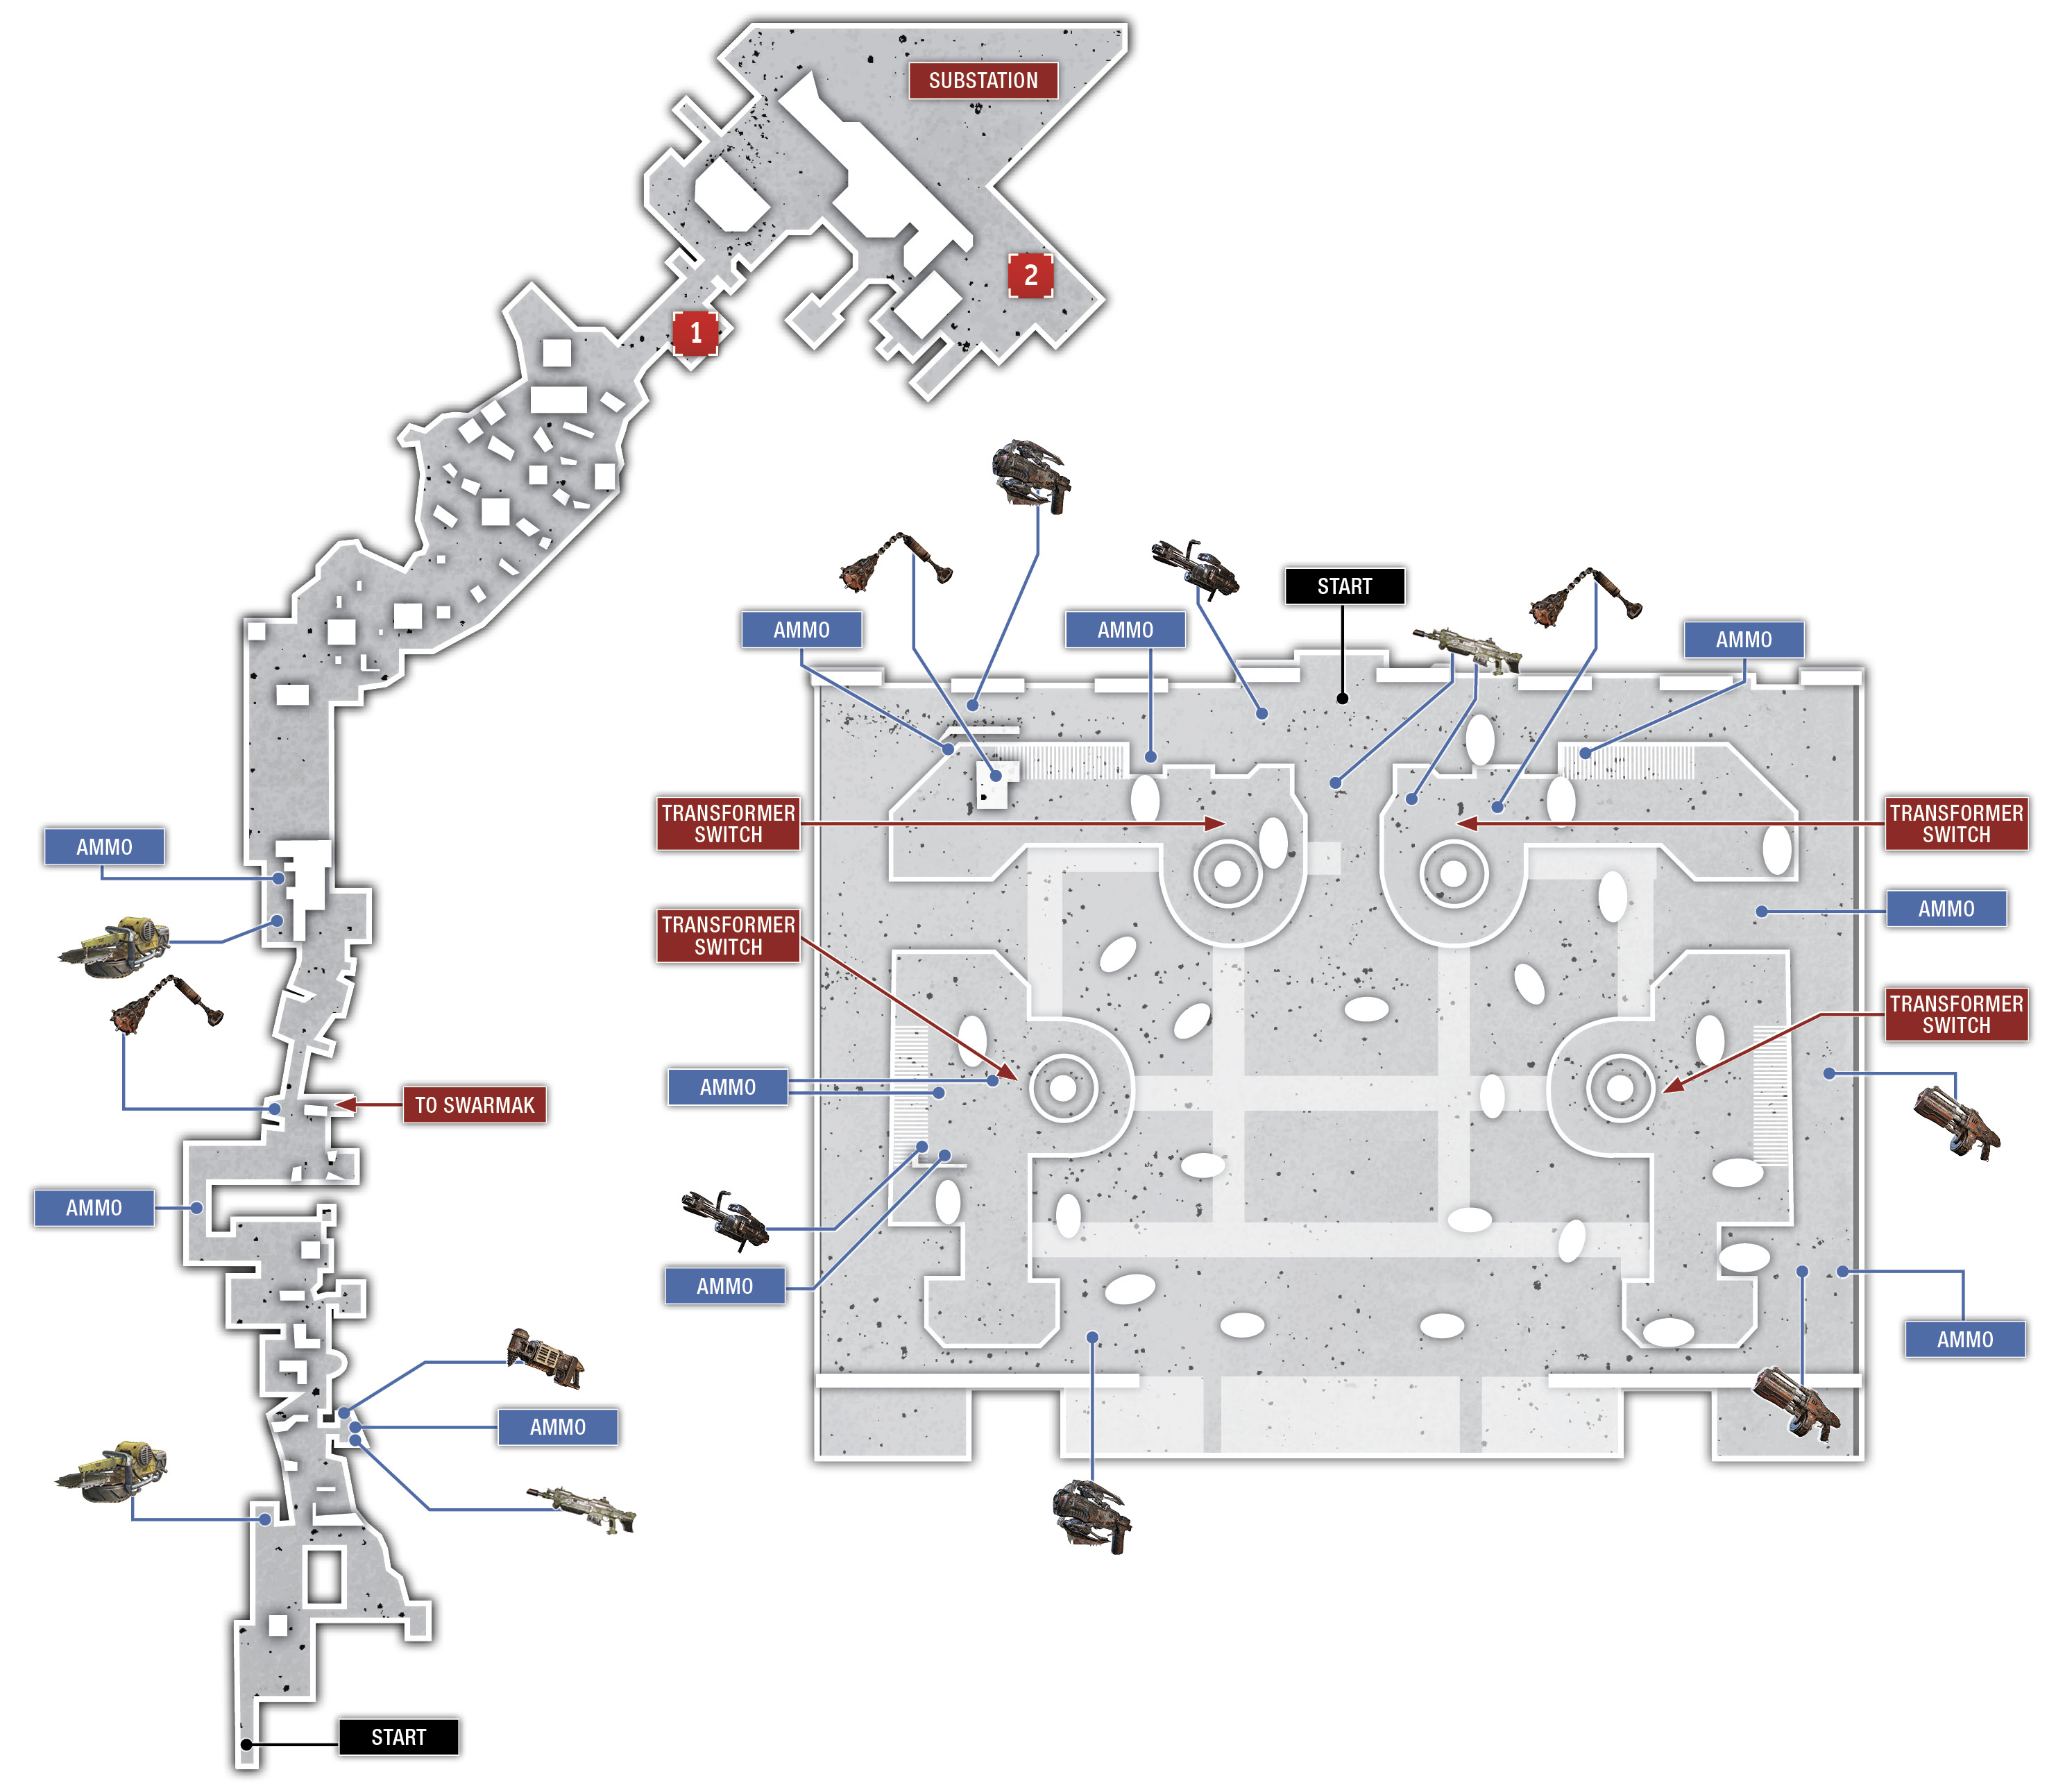
Duck into cover and expend a few rounds from your Lancer attempting Marcus’s tactic of shooting the scabs on the Swarmak’s body. The scabs are covering sores that can be targeted to inflict heavy damage, but you’ve got to get those scabs off first. Unfortunately, the Lancer just isn’t powerful enough to do it. But that’s okay, as you’re in a substation. There are four transformers in the room that can be used to damage the Swarmak.
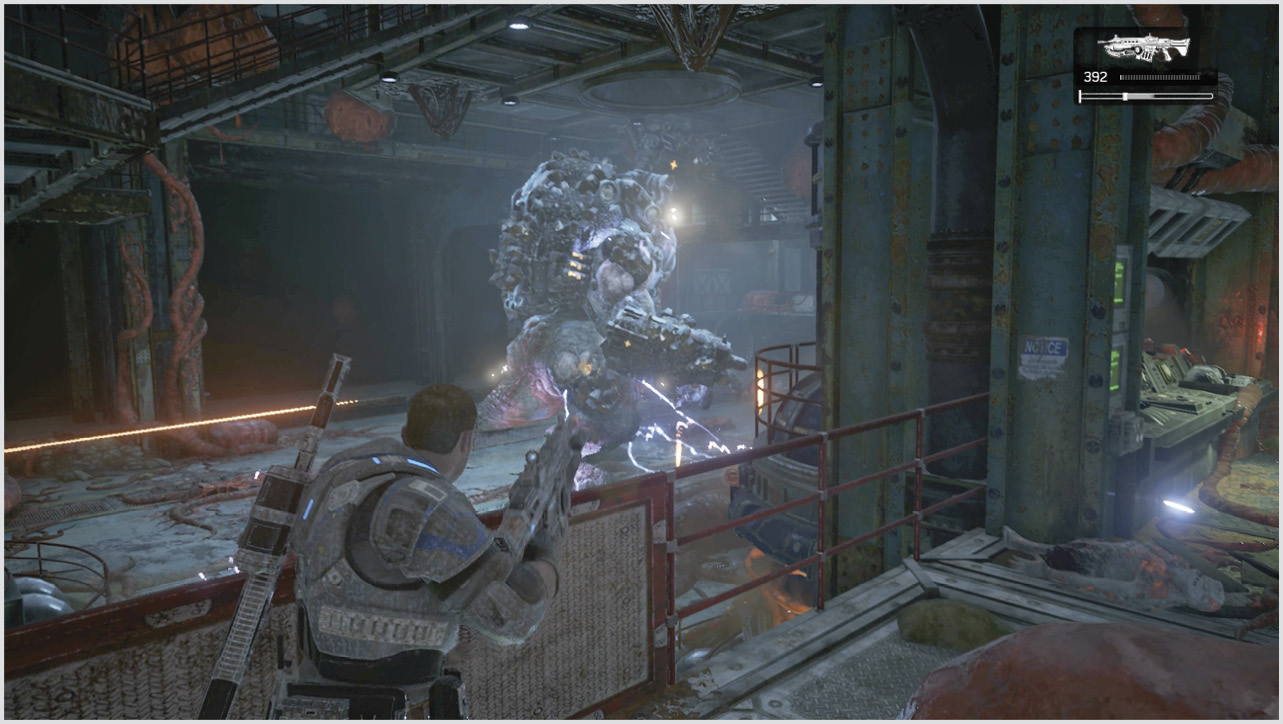
The beast, for all its size, does most of its damage by firing two massive wrist-mounted chainguns. While you can’t exactly ignore these—you do need to utilize cover—it’s possible to defeat the Swarmak while almost ignoring its attacks as you do. Things will get tougher for you later on, but for now just follow along with these steps.
Duck into cover on the left near the Frag Grenades, then head up the stairs right ahead. Locate the transformer control on the balcony overhead and pull the lever. Use the Lancer to overload the exposed transformer core just as before. Doing so will blow the scabs off the Swarmak, exposing its blistered skin. Grab the Markza Mk1 near the transformer control and use this precision rifle to target the blisters.
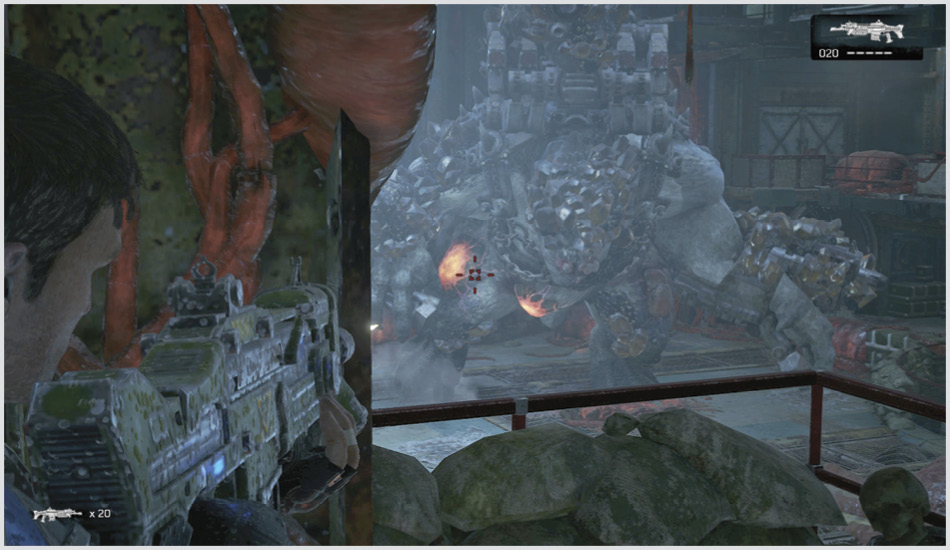
There are three other transformers in this area, one in each corner. You must repeat this task a few more times to defeat the Swarmak. Descend the stairs the way you came and continue around the perimeter of the room in a clockwise direction. Note the Boomshot behind the terminal near the staircase and swap out the Markza Mk1 for it. Climb the stairs, overload the second transformer, and use the Boomshot to pop the exposed blisters.
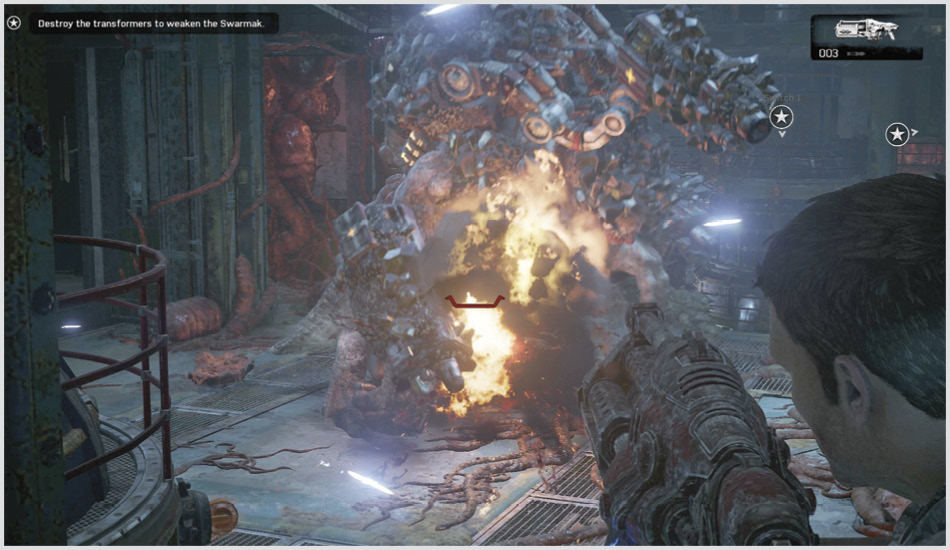
The Swarmak will stomp its feet in agony, releasing a number of pods into the room. If playing solo, Marcus will stick close by and work to keep the Juvies from attacking. Those playing Co-Op should stick together at all times so as to overload the cores even faster and to help protect one another from Juvies. Grab the Lancer and stand atop the stairs—mow down the Juvies as they funnel up the stairs toward you.
Loop around behind the Swarmak when ready to reach the third transformer. With any luck, Del and/or Kait will be luring it forward and attracting most of its attention.
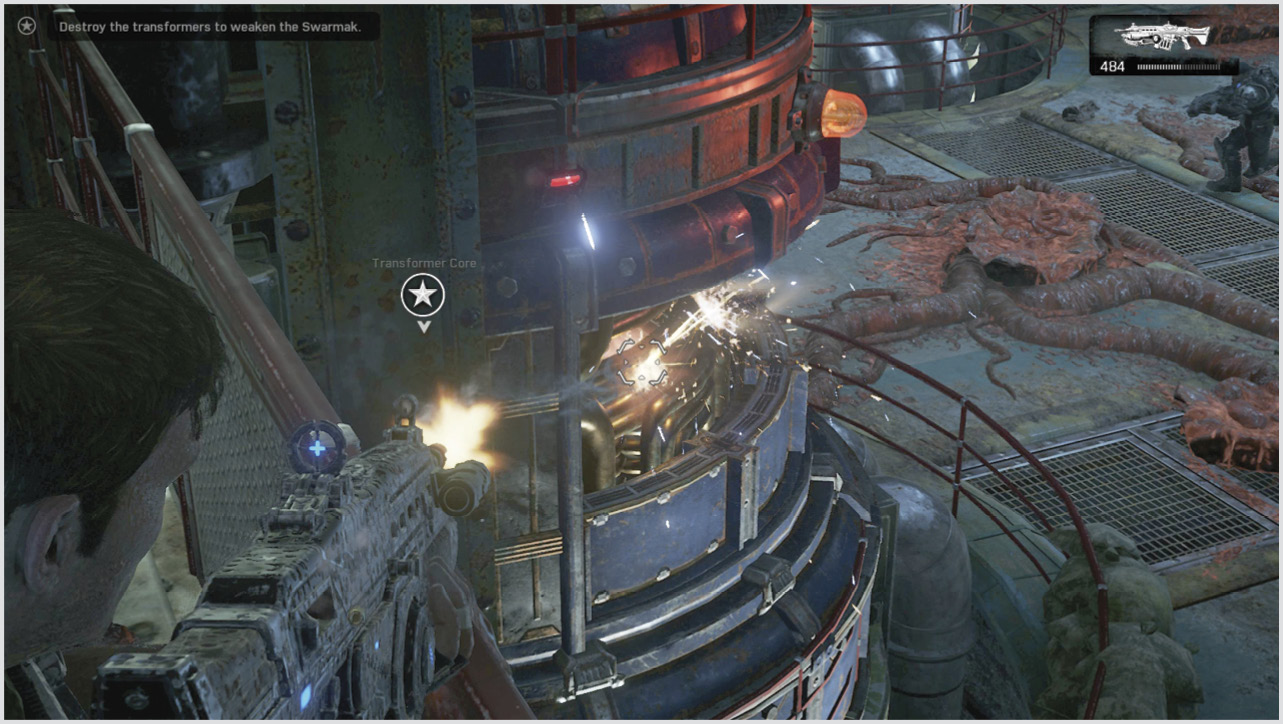
There’s plenty of ammo and even a Mulcher near the third transformer (the one in the far right-hand corner, as viewed from the entrance to this room). Scions will enter from the rear of the room once the third transformer has been destroyed. And it’s about this time that the Speaker will begin firing the rocket launcher mounted on the Swarmak’s head. Stick to the parts of the upper walkway with solid cover and use the Mulcher and Boomshot (or Torque Bow) to take out the Scions before they get to upgrade the lesser Drones that will soon be attacking.
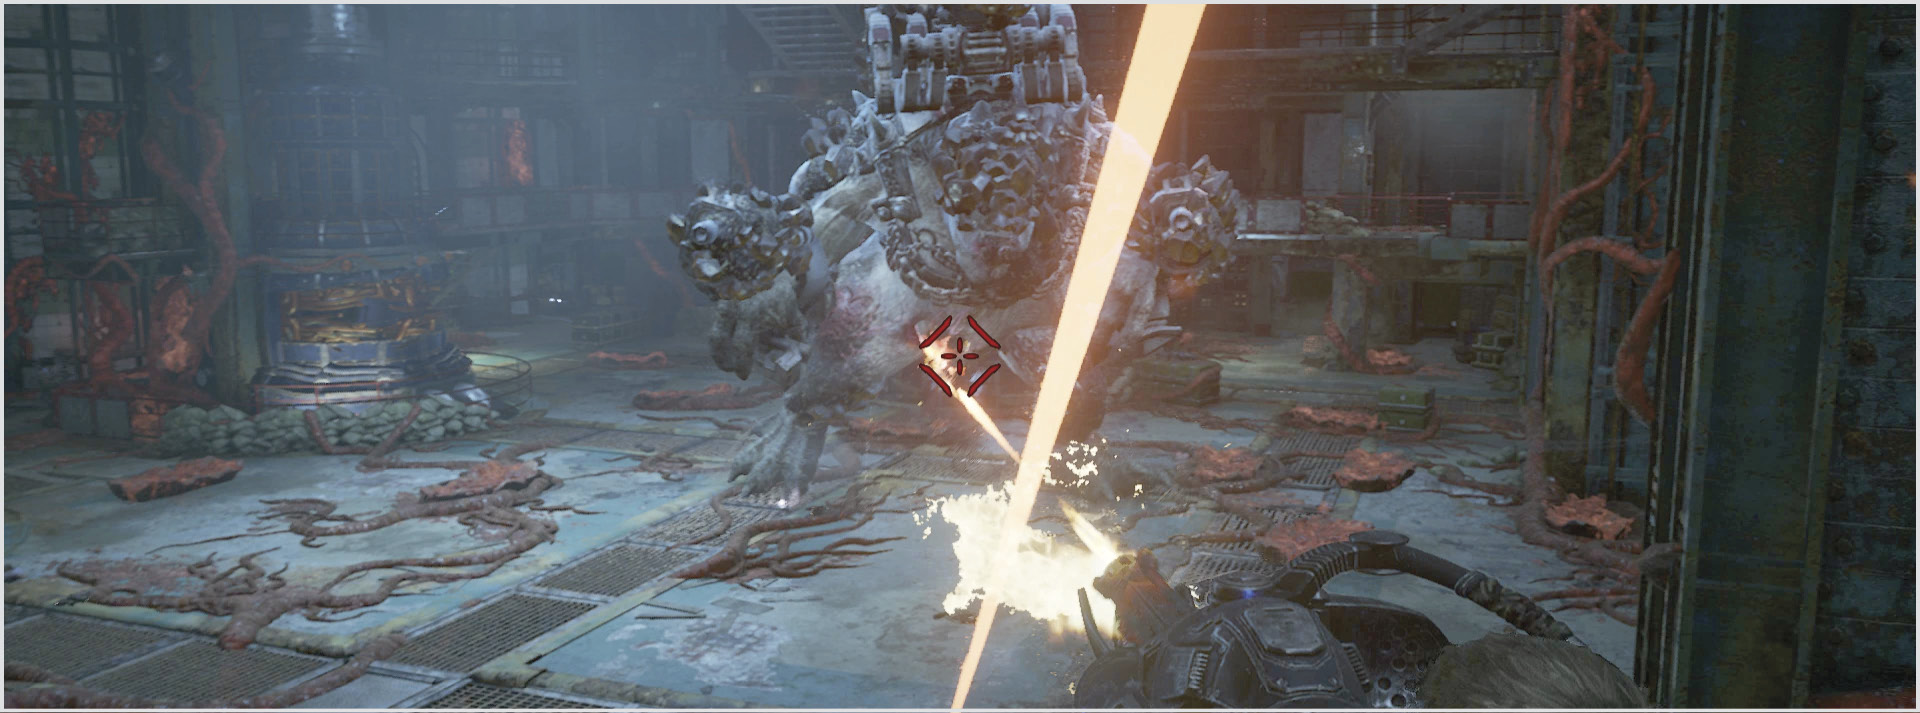
Continue your journey around the perimeter of the room to the fourth and final transformer. Once you blow that one, you need only pop the remaining blisters on the Swarmak to defeat it. Put the available Mulchers and Torque Bows to use against the Swarmak while the others fend off the Juvies and Drones that attack.