
Gears of War 4 Guide Campaign Act 1
Chapter 4: A Few Snags
Collectibles
|
 Village Mare Breeding Record
 Village Windflare Lockdown Procedure
 Book Inscribed to Kait
Situation Overview
The squad succeeded in retrieving the Fabricator as Kait’s mother Reyna had requested, but not without notice. The COG are on their way to the village, and history has shown them to not be averse to using force. But there’s something strange in First Minister Jinn’s demands. She says she’s come for her people, but who is she talking about? There’s no time to find out now. JD and the others must get the Fabricator set up to guard the Town Hall.
Outsider Village
Objective: Bring the Fabricator to the Town Hall
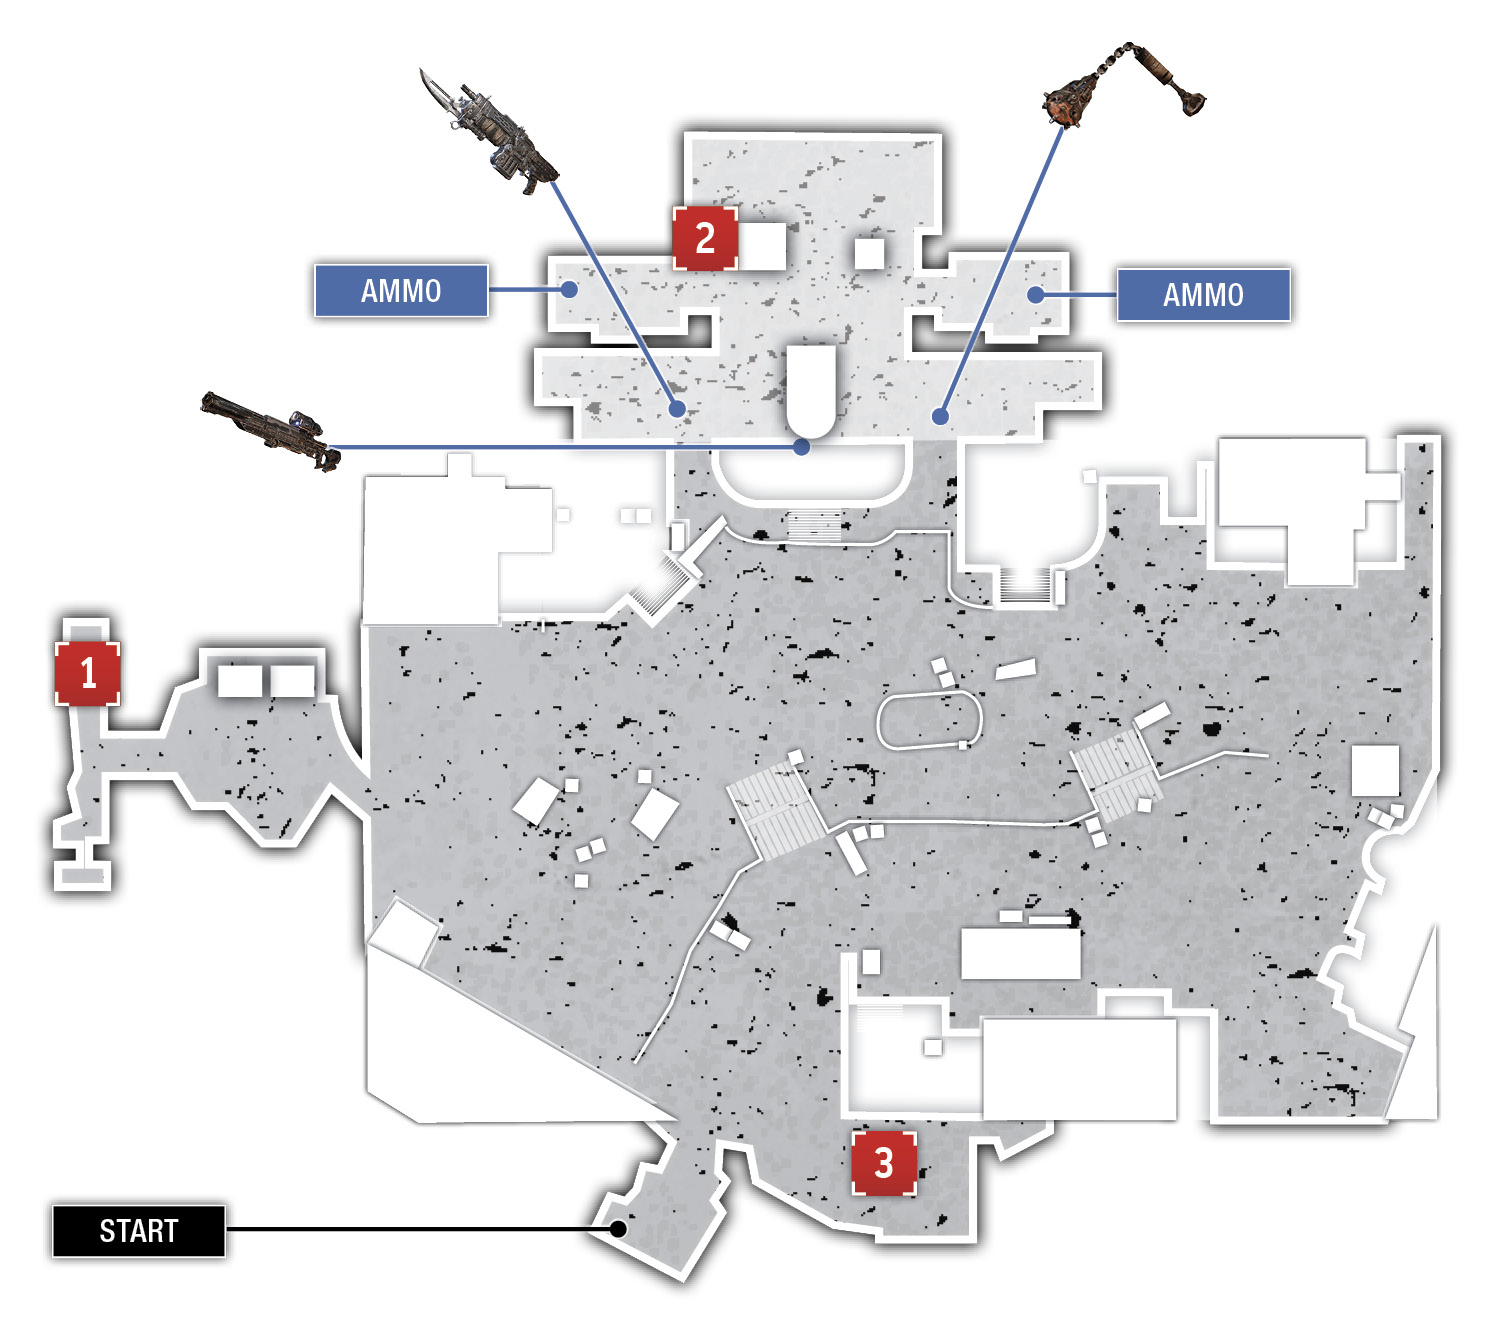
Follow Reyna through the village with the Fabricator. Kait helps you carry it to the Town Hall. There are multiple collectibles scattered throughout the farming area that you can find before using the Fabricator to erect defenses. There’s not going to be time to seek out the collectibles later, so do it as soon as the door to the Town Hall is sealed and the Fabricator is in place near the statue.
Objective: Use the Fabricator to Build Fortifications
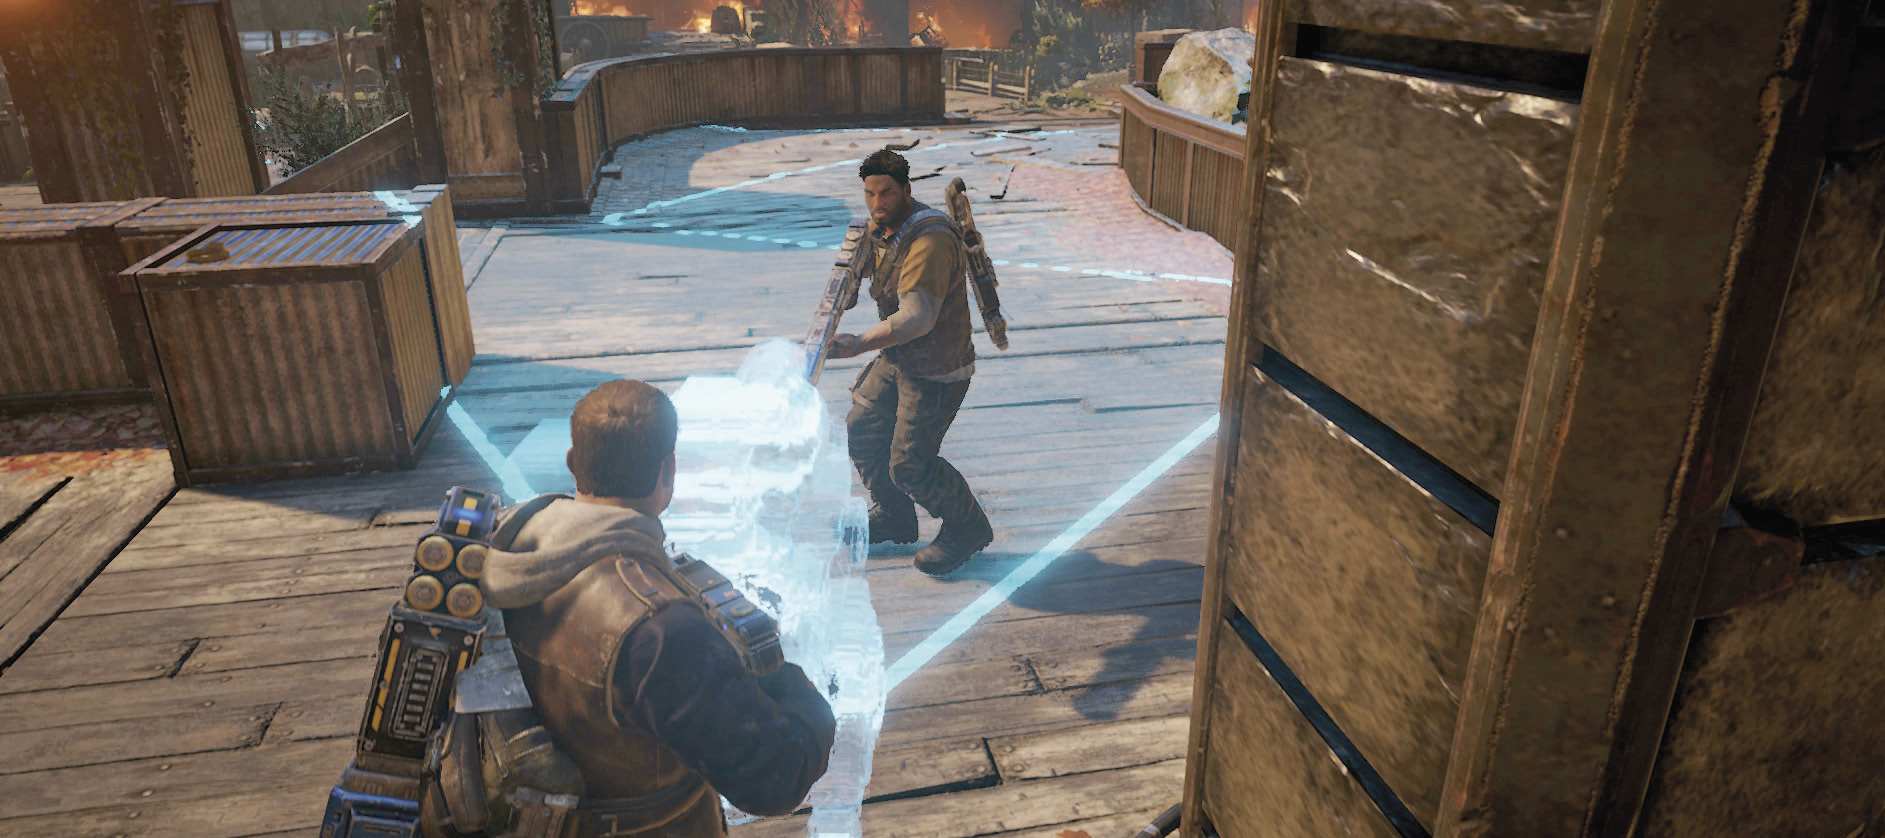
Now that the Fabricator is in a proper defensive position, it can be used to not only generate weapons, but to erect fortifications ala Horde mode. This particular Fabricator is a relatively low-power model and the quality of the fortifications and amount of power available are lower than you will have access to later on. Fortunately for JD and the others, the strength of the enemies is relatively low as well.
Fabricator Options: 10,000 Initial Power
| Item | Category | Power Cost |
|---|---|---|
| Barrier LV 1 | Fortification | 2500 |
| MG Sentry LV 1 | Fortification | 4000 |
| Shock Sentry LV 1 | Fortification | 5000 |
| Retro Lancer | Weapon | 2000 |
| Gnasher | Weapon | 1750 |
| Markza Mk1 | Weapon | 2300 |
| Frag Grenade | Weapon | 4000 |
| Shock Grenade | Weapon | 1250 |
| Longshot | Weapon | 2000 |
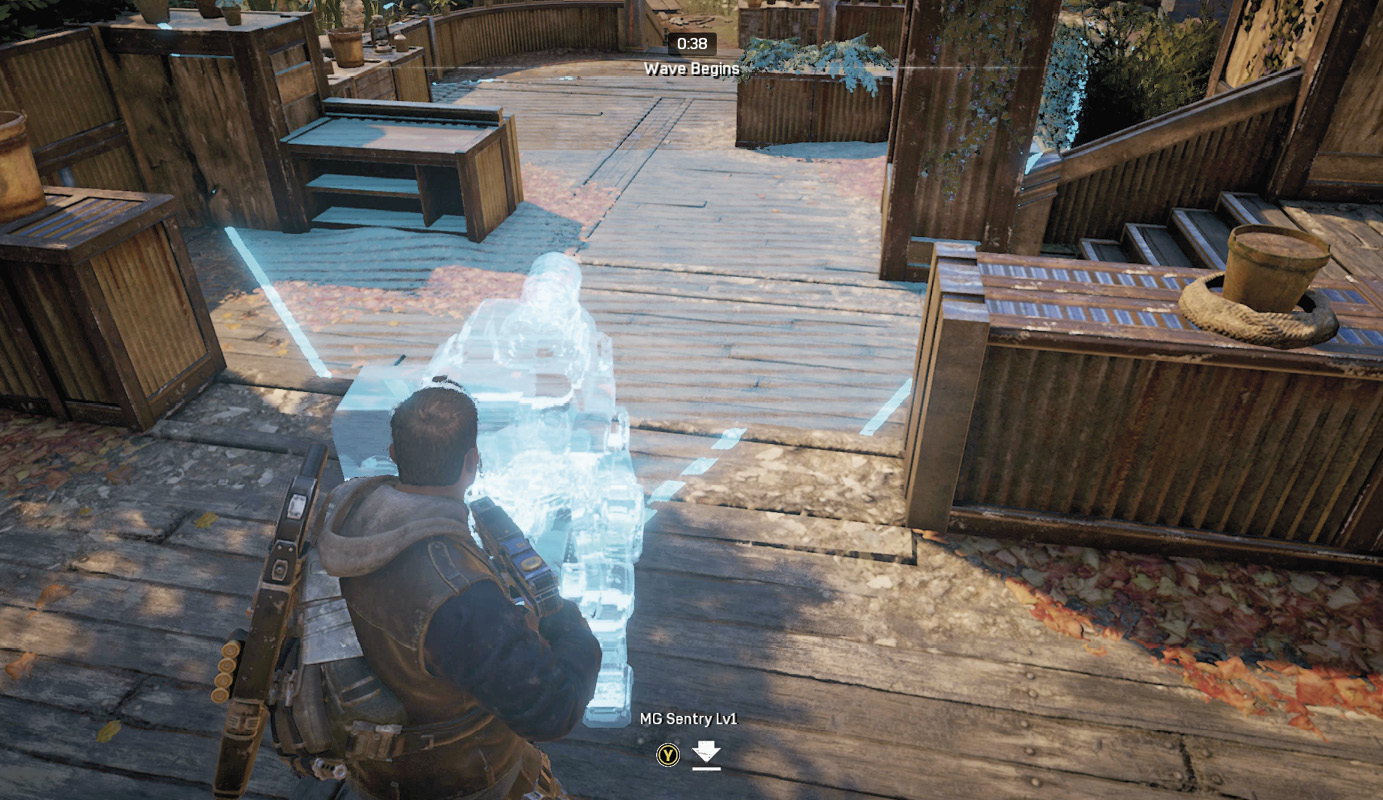
The Fabricator has 10,000 power units available at the start and will replenish energy between waves. How you construct your fortifications is entirely up to you and there are many paths to success, but you may want to purchase two MG Sentries and place them on either side of the approach, overlooking the lower walkway. The idea here is that you want to funnel enemies through a natural chokepoint—the stairway—without giving them the ability to get too close to your defenses. Barriers are helpful in slowing down enemies, but heavy firepower is a better option.
There is plenty of ammo and Frag Grenades are scattered around the area, as well as a Longshot rifle and other weapons should you desire them. The Fabricator will not necessarily regain all of the power that you spend between waves, so consider leaving the 2,000 remaining power for use in a subsequent wave (there are three total). Plant a Frag Grenade on each of the side approaches, but remember that only two Frag Grenades can be planted at any one time by a single player. Planting a third Frag Grenade will cause the first one planted to detonate.
Co-Op TacticsDefending the Town Hall has never been easier than with a second human player. Place the MG Sentries near the lower stairs, right at the edge of the farmland, and take cover near them, one player on each side. Call out where the DeeBees are coming from, request help when needed, but otherwise focus on keeping your side of the Town Hall clear. With two players each serving to defend their respective MG Sentry, you should be able to keep both sentries alive to later waves and ultimately have as many as three or four sentries protecting the Town Hall at once. Position additional sentries farther back, creating multiple layers of defense. |
Begin the wave and take cover alongside the bulletin board in front of the statue. Do your best to thin the number of DeeBees making their way to either side so the MG Sentry isn’t overwhelmed. The first wave consists primarily of slow-moving Shepherds, which can be easily handled, along with a couple of Trackers. Move back and forth between the two sides of the Town Hall to lend additional firepower wherever it is needed. The MG Sentries will do a fine job of mowing down the Shepherds, but they begin to take damage if left undefended.
Objective : Defend the Village
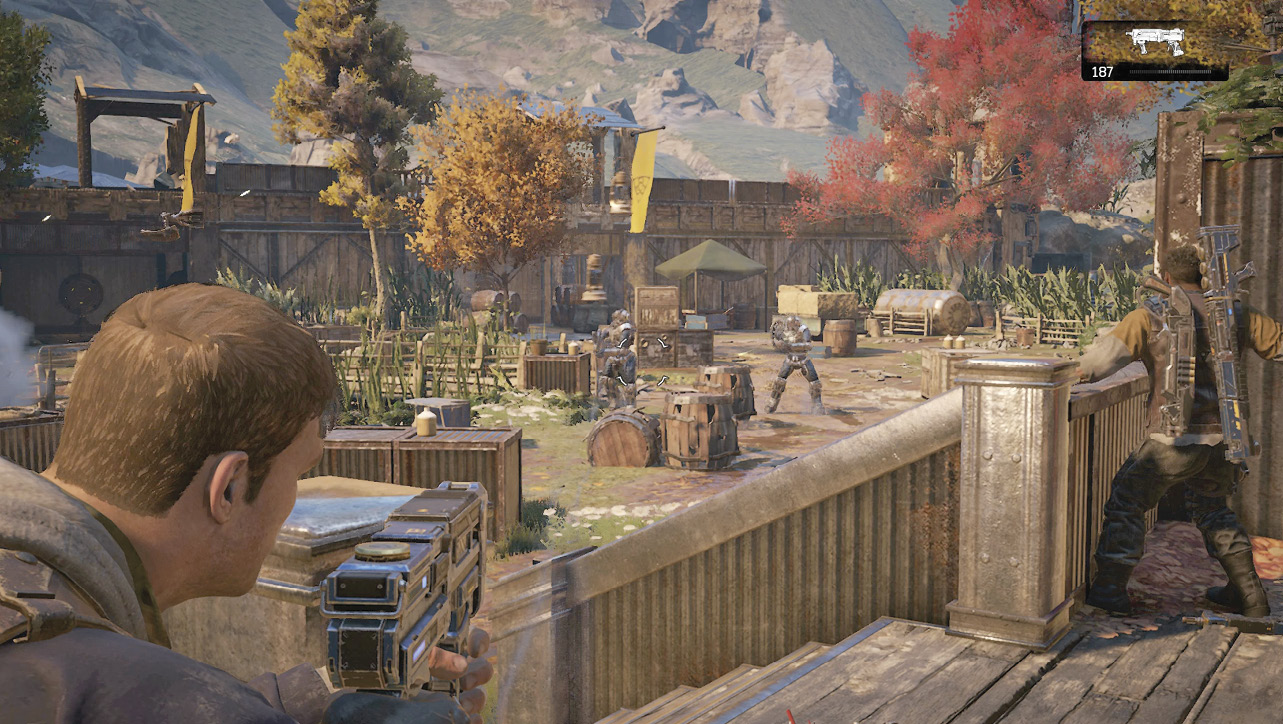
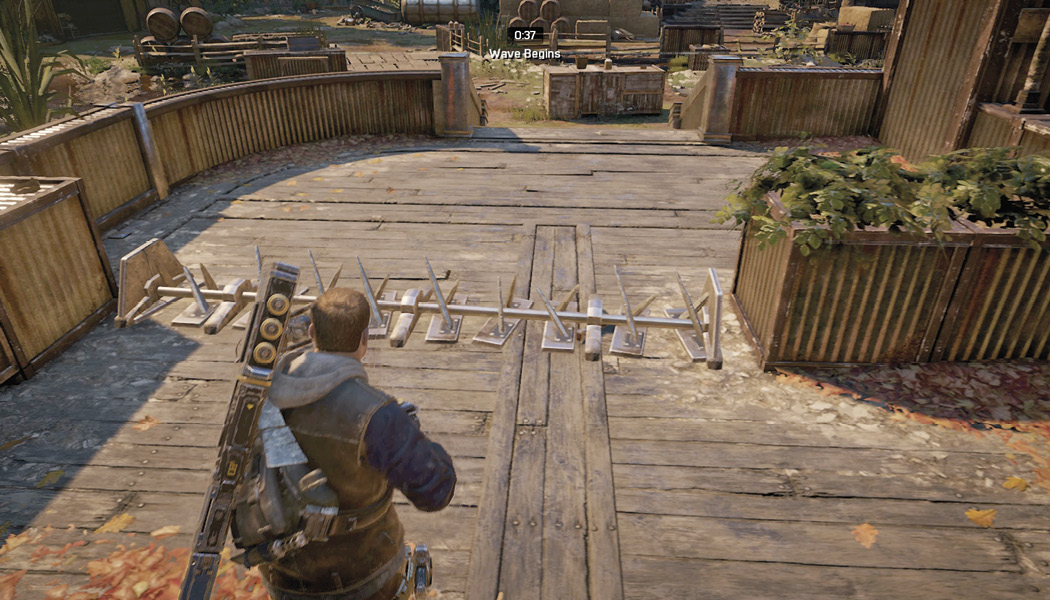
Reyna announces when it’s time to build more fortifications. You may have as much as 13,500 power available. Replace any destroyed MG Sentries and consider placing Barriers between the planters just behind the lower stairs on each side. This will slow enemies down within range of the MG Sentries. Gather up the abundant Enforcer ammo and any EMBAR Sniper Rifles you spot. Leave enough power remaining to purchase another MG Sentry or Shock Sentry but don’t purchase it just yet. The reason will be clear soon enough.
The second wave begins with the destruction of the main gate. Open fire with the EMBAR or Longshot as soon as you see the first DR-1 step out of the flames. Leave the Shepherds for the MG Sentries and the rest of your squad to worry about while you focus on the DR-1s. The barriers you set up will slow the Trackers and make them easier for the MG Sentries to destroy.
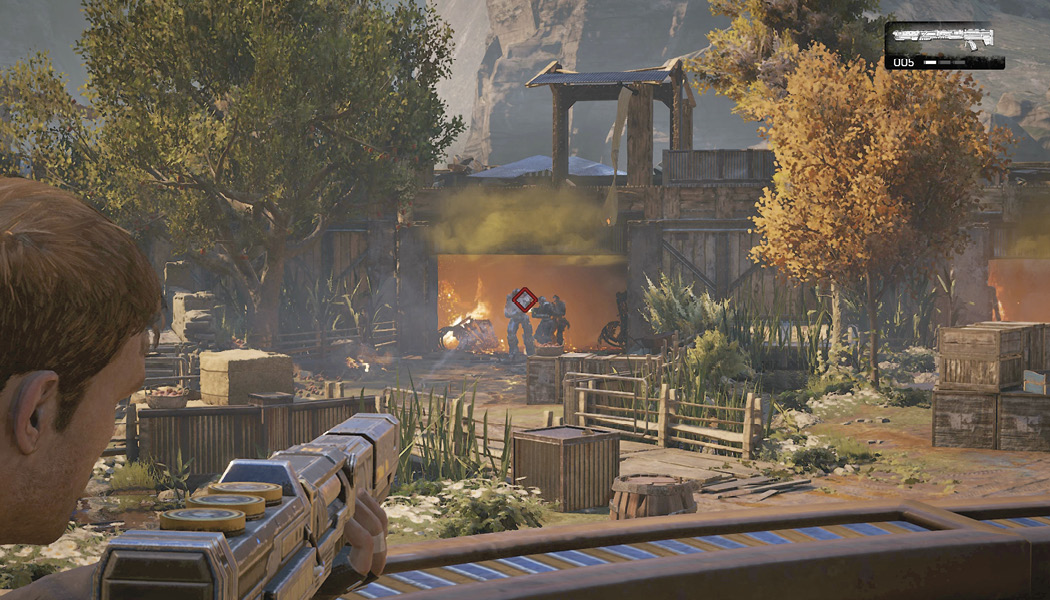
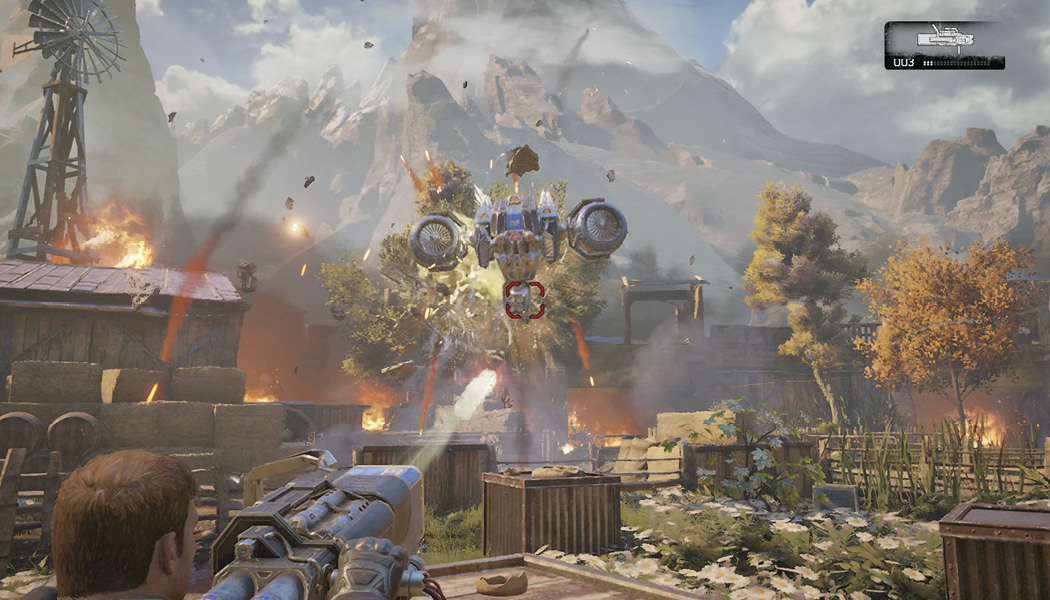
A flying DeeBee known as a Guardian appears halfway through the second wave and unleashes a salvo of rockets that destroys the bulletin board wall at the front of the deck, giving the DeeBees a third way up—right through the center. This is where that third sentry comes in handy. Destroy the Guardian by shooting through its energy field with the Enforcer or other assault weapon, then focus your firepower on the craft behind it. Once the Guardian has been destroyed, purchase an MG Sentry or Shock Sentry and place it alongside the statue, facing the new ramp leading up to the Town Hall. Collect the RL-4 Salvo heavy weapon from the downed Guardian and use it to combat the two other Guardians that appear.
You’ll likely have even more power to spend before the third wave, perhaps as much as 15,000. Purchase another two MG Sentries and place them closer to the columns in front of the Town Hall door, angled slightly toward the statue. You want to be able to cover the stairs as well as the central ramp. Place a Shock Sentry near the statue facing forward so as to stun any enemies that come up the central ramp, but keep this back enough so that its range overlaps with the MG Sentries. Plant some Frag Grenades, equip the Longshot and an Overkill dropped by the DR-1s, and scavenge the remaining RL-4 Salvo before the final wave begins.
Use the Longshot to snipe any Shepherds or DR-1s you spot emerging from the burning gates across the village yard. Listen for the sound of Trackers and stop sniping to deal with them. Though small, Trackers can inflict heavy damage on your sentries if given the chance to do so. Scan the debris for any Tri-Shot that happens to be dropped by a DR-1 and use it to mow down the Guardian that appears at the end of the attack.
The enemy threat ends with the DeeBee, but the hostilities continue as Reyna surveys the damage done to her village. Unfortunately for JD and the others, this is only the beginning of a very long night they have ahead of them.