
Gears of War 4 Guide Basic Training
Navigating the Battlefield
All About Cover
The earlier discussion of movement controls and the tutorials that accompany the opening chapters of the Campaign will teach you the basics of moving through the battlefield, but there is more to it than that. Success in Gears of War 4, whether in the Campaign or while playing Multiplayer, only comes by understanding how to utilize cover. It’s imperative that you present your enemies with as small of a target as possible. This is achieved by crouching/standing behind solid objects such as walls, cars, sandbags, and other bulletproof pieces of cover. There are essentially two types of cover: low cover and high cover.
Low Cover
Most cover falls into this category. Low cover, as its name implies, is any solid object that the player can take refuge behind, but that is low enough to be mantled over (i.e vaulted). Low cover is generally waist-high and forces the character into a crouching position once behind it. A small amount of the player is often exposed to standard enemies while behind low cover, but the player can blind-fire over the top of the object and even manually lean over the cover and aim while still concealing most of their body. It’s also possible to move left and right along low cover and attack from different positions. Grenades can be blind-tossed over the top of low cover.
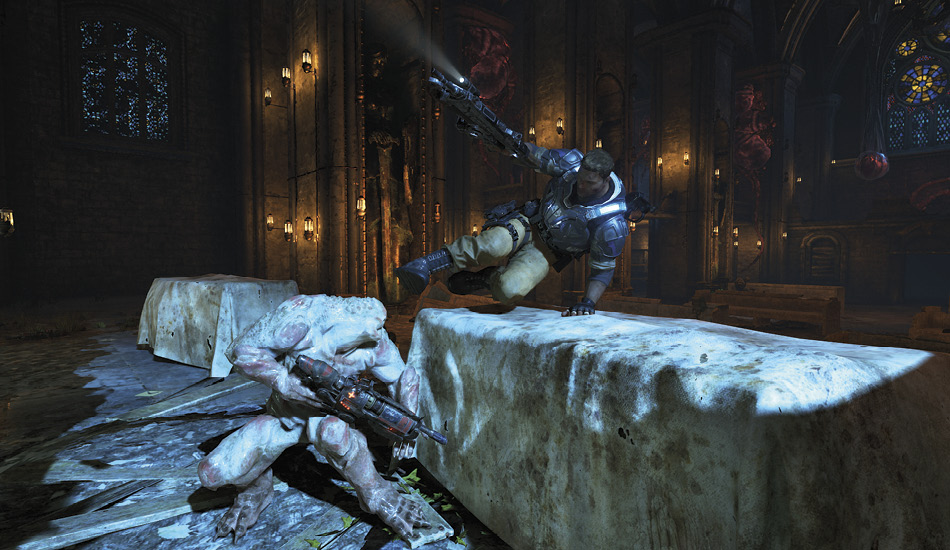
Low cover is the most flexible cover to use, and it gives the player several new tactical options. The mantle-kick from a stationary position—or vault-kick from a running approach—knocks the enemy backwards into a stagger, while giving the player a perfect opportunity for a point-blank shotgun blast or Combat Knife execution. Additionally, players can perform the yank-and-shank maneuver when in low cover opposite another unit. It’s possible to yank an enemy over the cover for an execution.
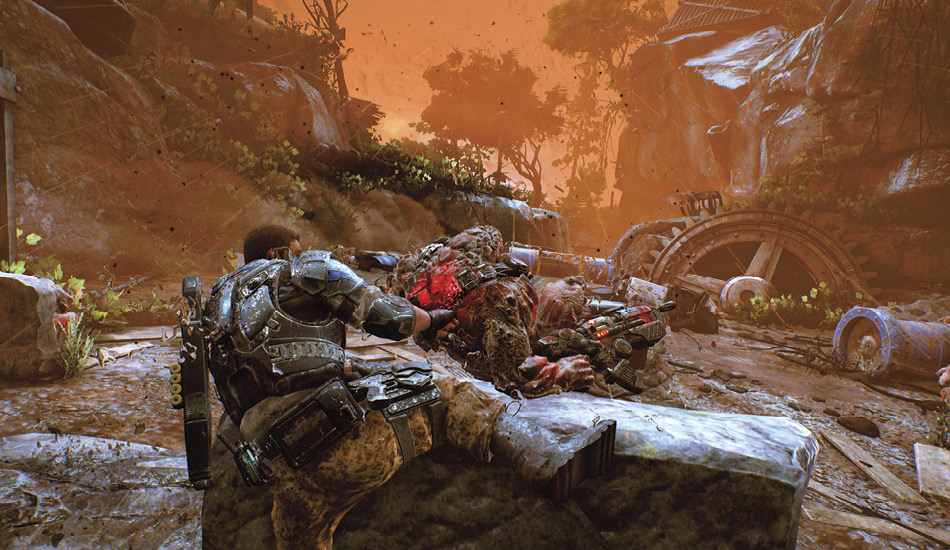
While being the most flexible cover to use, low cover does leave the player vulnerable in several ways. It is ineffective against certain enemies. Juvies can vault right over cover without breaking stride and Trackers can quickly roll around cover to detonate at the feet of the player. Furthermore, enemies armed with a Dropshot can score an easy kill against a stationary player behind cover. Low cover does not provide adequate protection against larger Swarm creatures.
High Cover
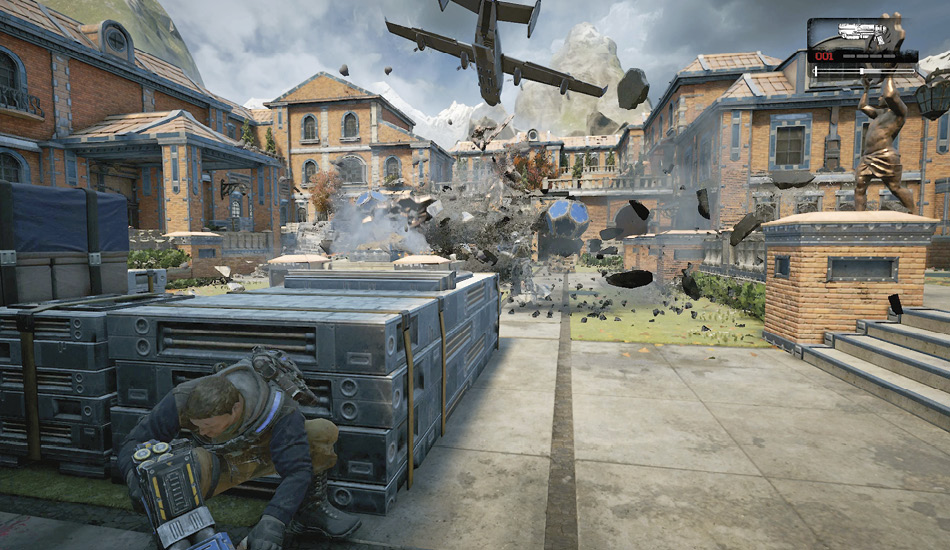
High cover refers to any solid object that is tall enough to provide complete coverage to a character standing behind it. As a rule, high cover offers more protection than low cover, but at the risk of maneuverability, High cover tends to be a solid wall or column, in which case the player is limited to leaning around the side of the structure to fire their weapon. Although the you can click the Left Thumbstick to manually crouch and keep opponents guessing, you cannot blind-fire over the top of high cover.
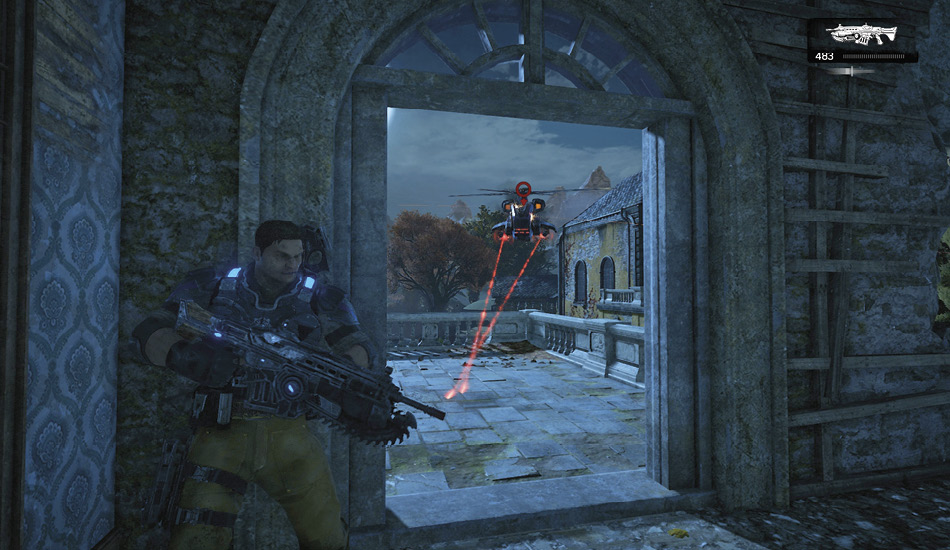
Players can blind-fire from the sides of high cover and even cover swap between two adjacent pieces of tall cover, such as the walls flanking a doorway or window. That said, high cover does somewhat limit the player’s field of view and can make it difficult to spot an enemy moving along your flank. Nevertheless, high cover does provide better protection from Juvies, larger enemies, and even a Dropshot in some situations.
Enemies in Cover
JD and the squad aren’t the only ones who know how to utilize cover. DeeBee Shepherds and Swarm Drones are also capable of employing many of the same techniques described previously. Hunter and Sniper Drones are particularly skilled at utilizing cover and can be difficult to dislodge without a Longshot, Dropshot, or Frag Grenade. The Campaign walkthrough includes battle tips for flushing enemies from cover wherever appropriate, but there are a few general purpose strategies that can be used throughout the game.
- Depending on the weapons in your possession, it sometimes makes sense to keep your distance and target the enemy while it’s in cover. Wait for it to expose itself during an attack and quickly counterattack. This is best done with a precision weapon—such as the EMBAR, Longshot, Boltok, or Hammerburst. Enemies often reveal a small portion of themselves while crouched behind low cover. Take the shot!
- An ideal way to expel an enemy from behind cover is by spotting and flanking. Spot the enemy to focus your squad’s fire on the foe. This suppression fire can keep the enemy pinned down and may even soften him up. This gives you time to safely flank the enemy. Use cover to move alongside the enemy to get a clean shot at it from a lateral position. This can be done without spotting the opposition, provided the area is large and the foe is distracted, otherwise it may see you coming.
- Explosives provide another excellent way of forcing an enemy out of cover. Lobbing an Incendiary Grenade, Frag Grenade, or firing the Dropshot at a foe will send it running if it doesn’t kill them. Take care when doing this, so you don’t waste grenades. Look to bounce the grenade off cover behind or to the side of the enemy. Pay attention to the trajectory indicator that shows where the grenade is going to ricochet to. Similarly, those skilled with the Buzzkill can fire at the wall behind the enemy for a ricochet kill.
Windflares and Stormwalls
One of the new and exciting features introduced to Gears of War 4 is the element of Windflares. Windflares are tremendous storms that slow your progress, affect the flight path of projectiles, and can even hurl large untethered objects through the air with fatal results.
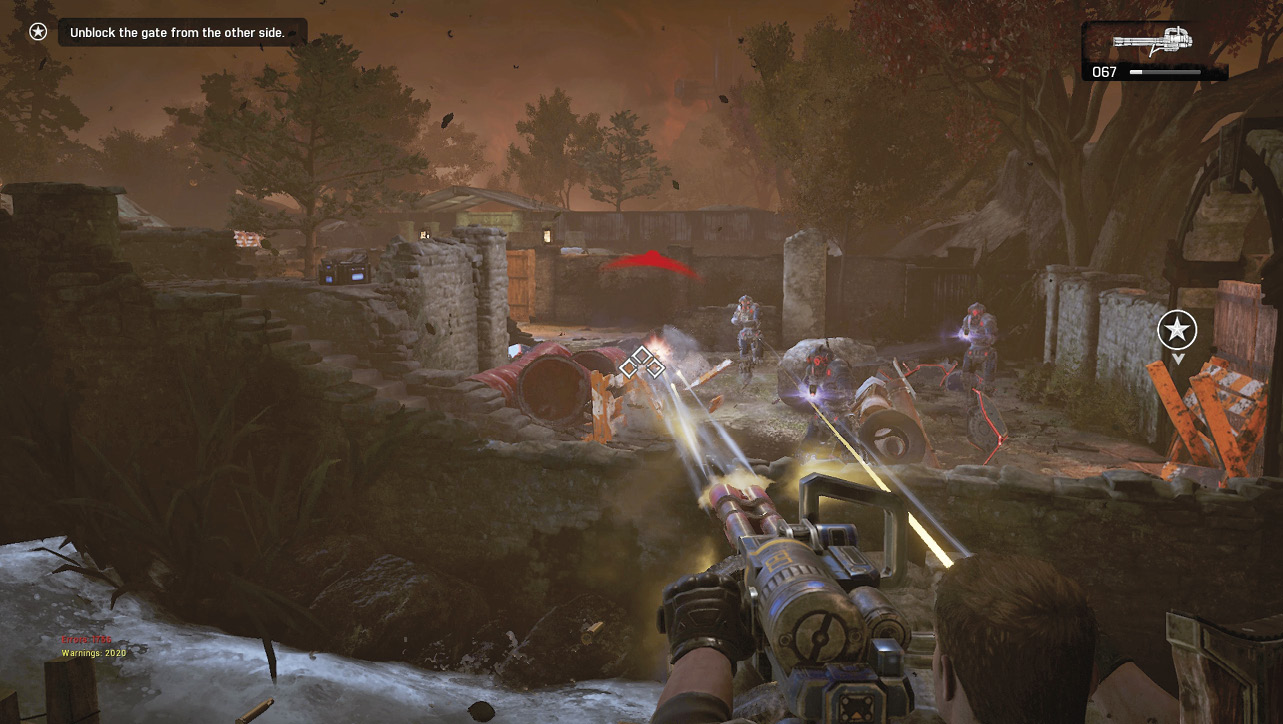
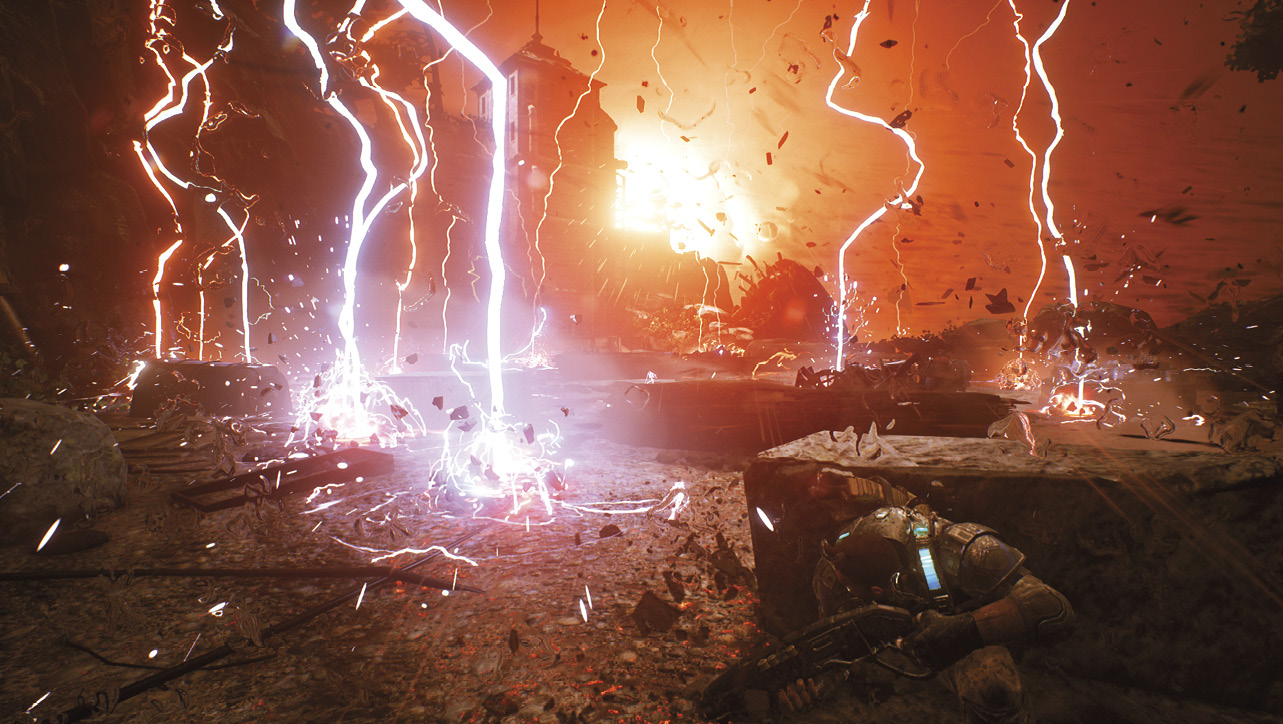
As the squad moves closer to the heart of the storm, they’ll have to deal with the stormwall. Stormwalls not only feature tremendously strong wind, but also Lightning Flurries. Numerous bolts of lightning strike the ground, leaving behind pools of deadly electricity as they dance across the landscape. Players experience multiple Windflare and stormwall events during the Campaign and tactics for each encounter are described therein. Nevertheless, the following tips are worth keeping in mind as you head into battle while a storm’s brewing.
- Utilize cover for protection from flying debris during a Windflare. Study the wind direction and target orange-and-white barricades upwind of enemies to release large obstacles into the wind, but only do so from behind cover.
- Stick with weapons that fire fast-moving projectiles, such as the EMBAR, Longshot, Lancer, and other rifles. The Boomshot, Dropshot, Buzzkill, and grenades can all be affected by a crosswind.
- Take your time when navigating a Lightning Flurry. The bolts of lightning can be quite unpredictable, so take your time and move with purpose from cover to cover as gaps open up. Vaulting and cover slipping helps you gain a small boost of speed.
Advanced Movement Techniques
Players can make their character sprint, otherwise known as roadie running, but they can also use the cover system to wall-bounce, vault, cover slip, and slide into cover faster than the character can run. These techniques are generally more important in Multiplayer mode than they are in the Campaign, but are still good to know. Even though there may be times when you need to run for your life while playing the Campaign, these moments are few and far between. In general, it’s often much safer to take a slower, methodical approach to combat during the Campaign. Keep your enemies at a distance and sweep across the field of battle to play the angles before advancing. Whereas staying in cover for too long in Multiplayer will likely get you killed, leaving cover too soon during the Campaign has a similar result.
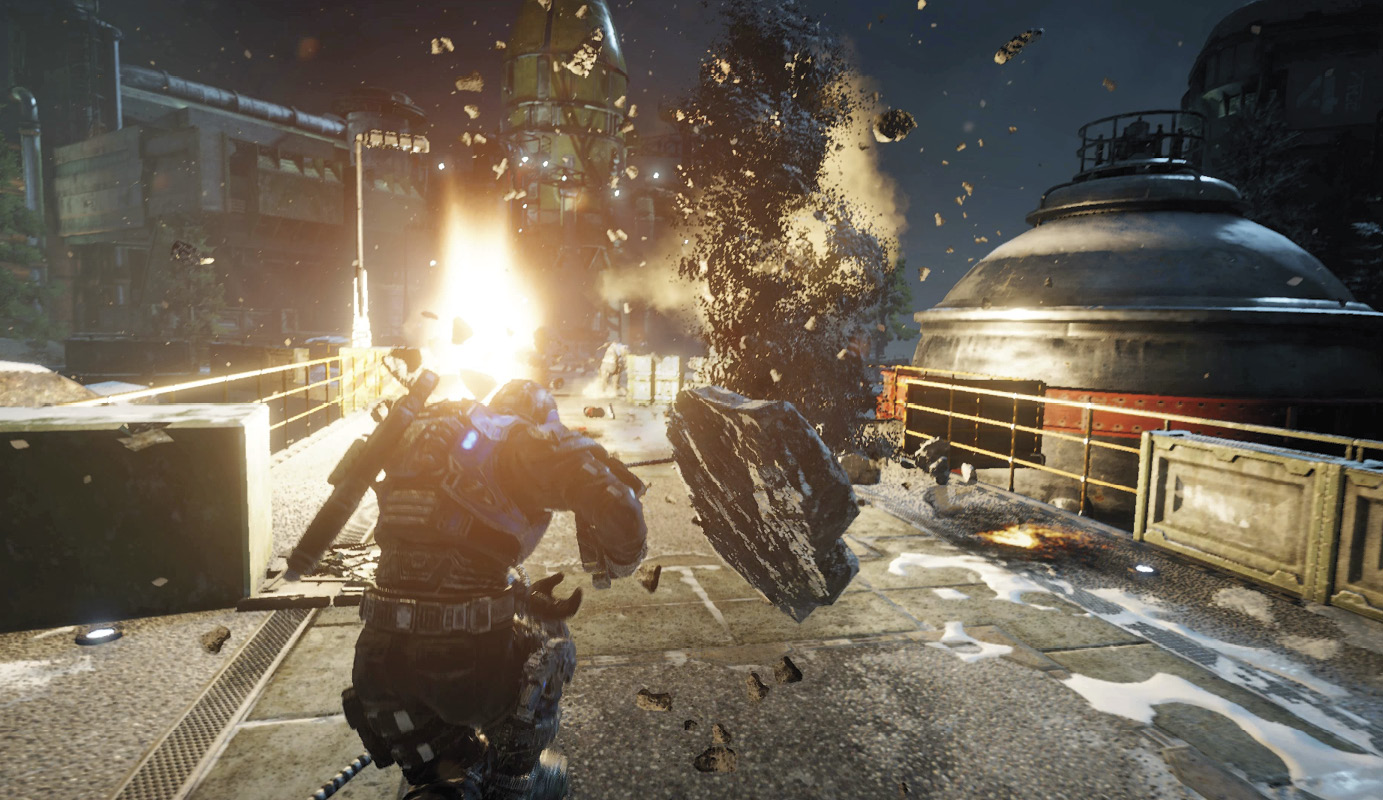
Mastering the art of steering your character while roadie running serves you well during the Campaign. Practice 90-degree and 180-degree roadie run turns, and always tap the  Button when nearing cover to slide into cover from several steps away. Although you are best served by staying in cover and picking off your enemies from the safety it affords, it’s important to move with urgency when out of cover.
The “Multiplayer Basics” chapter in the rear of this book contains a discussion of the advanced skills employed by many of the best competitive Gears of War players. If you’ve ever wondered how a player moves the way they do online, this chapter is for you!