Gears of War 4 Guide Campaign Act 3
Chapter 4: Do Not Go Gentle
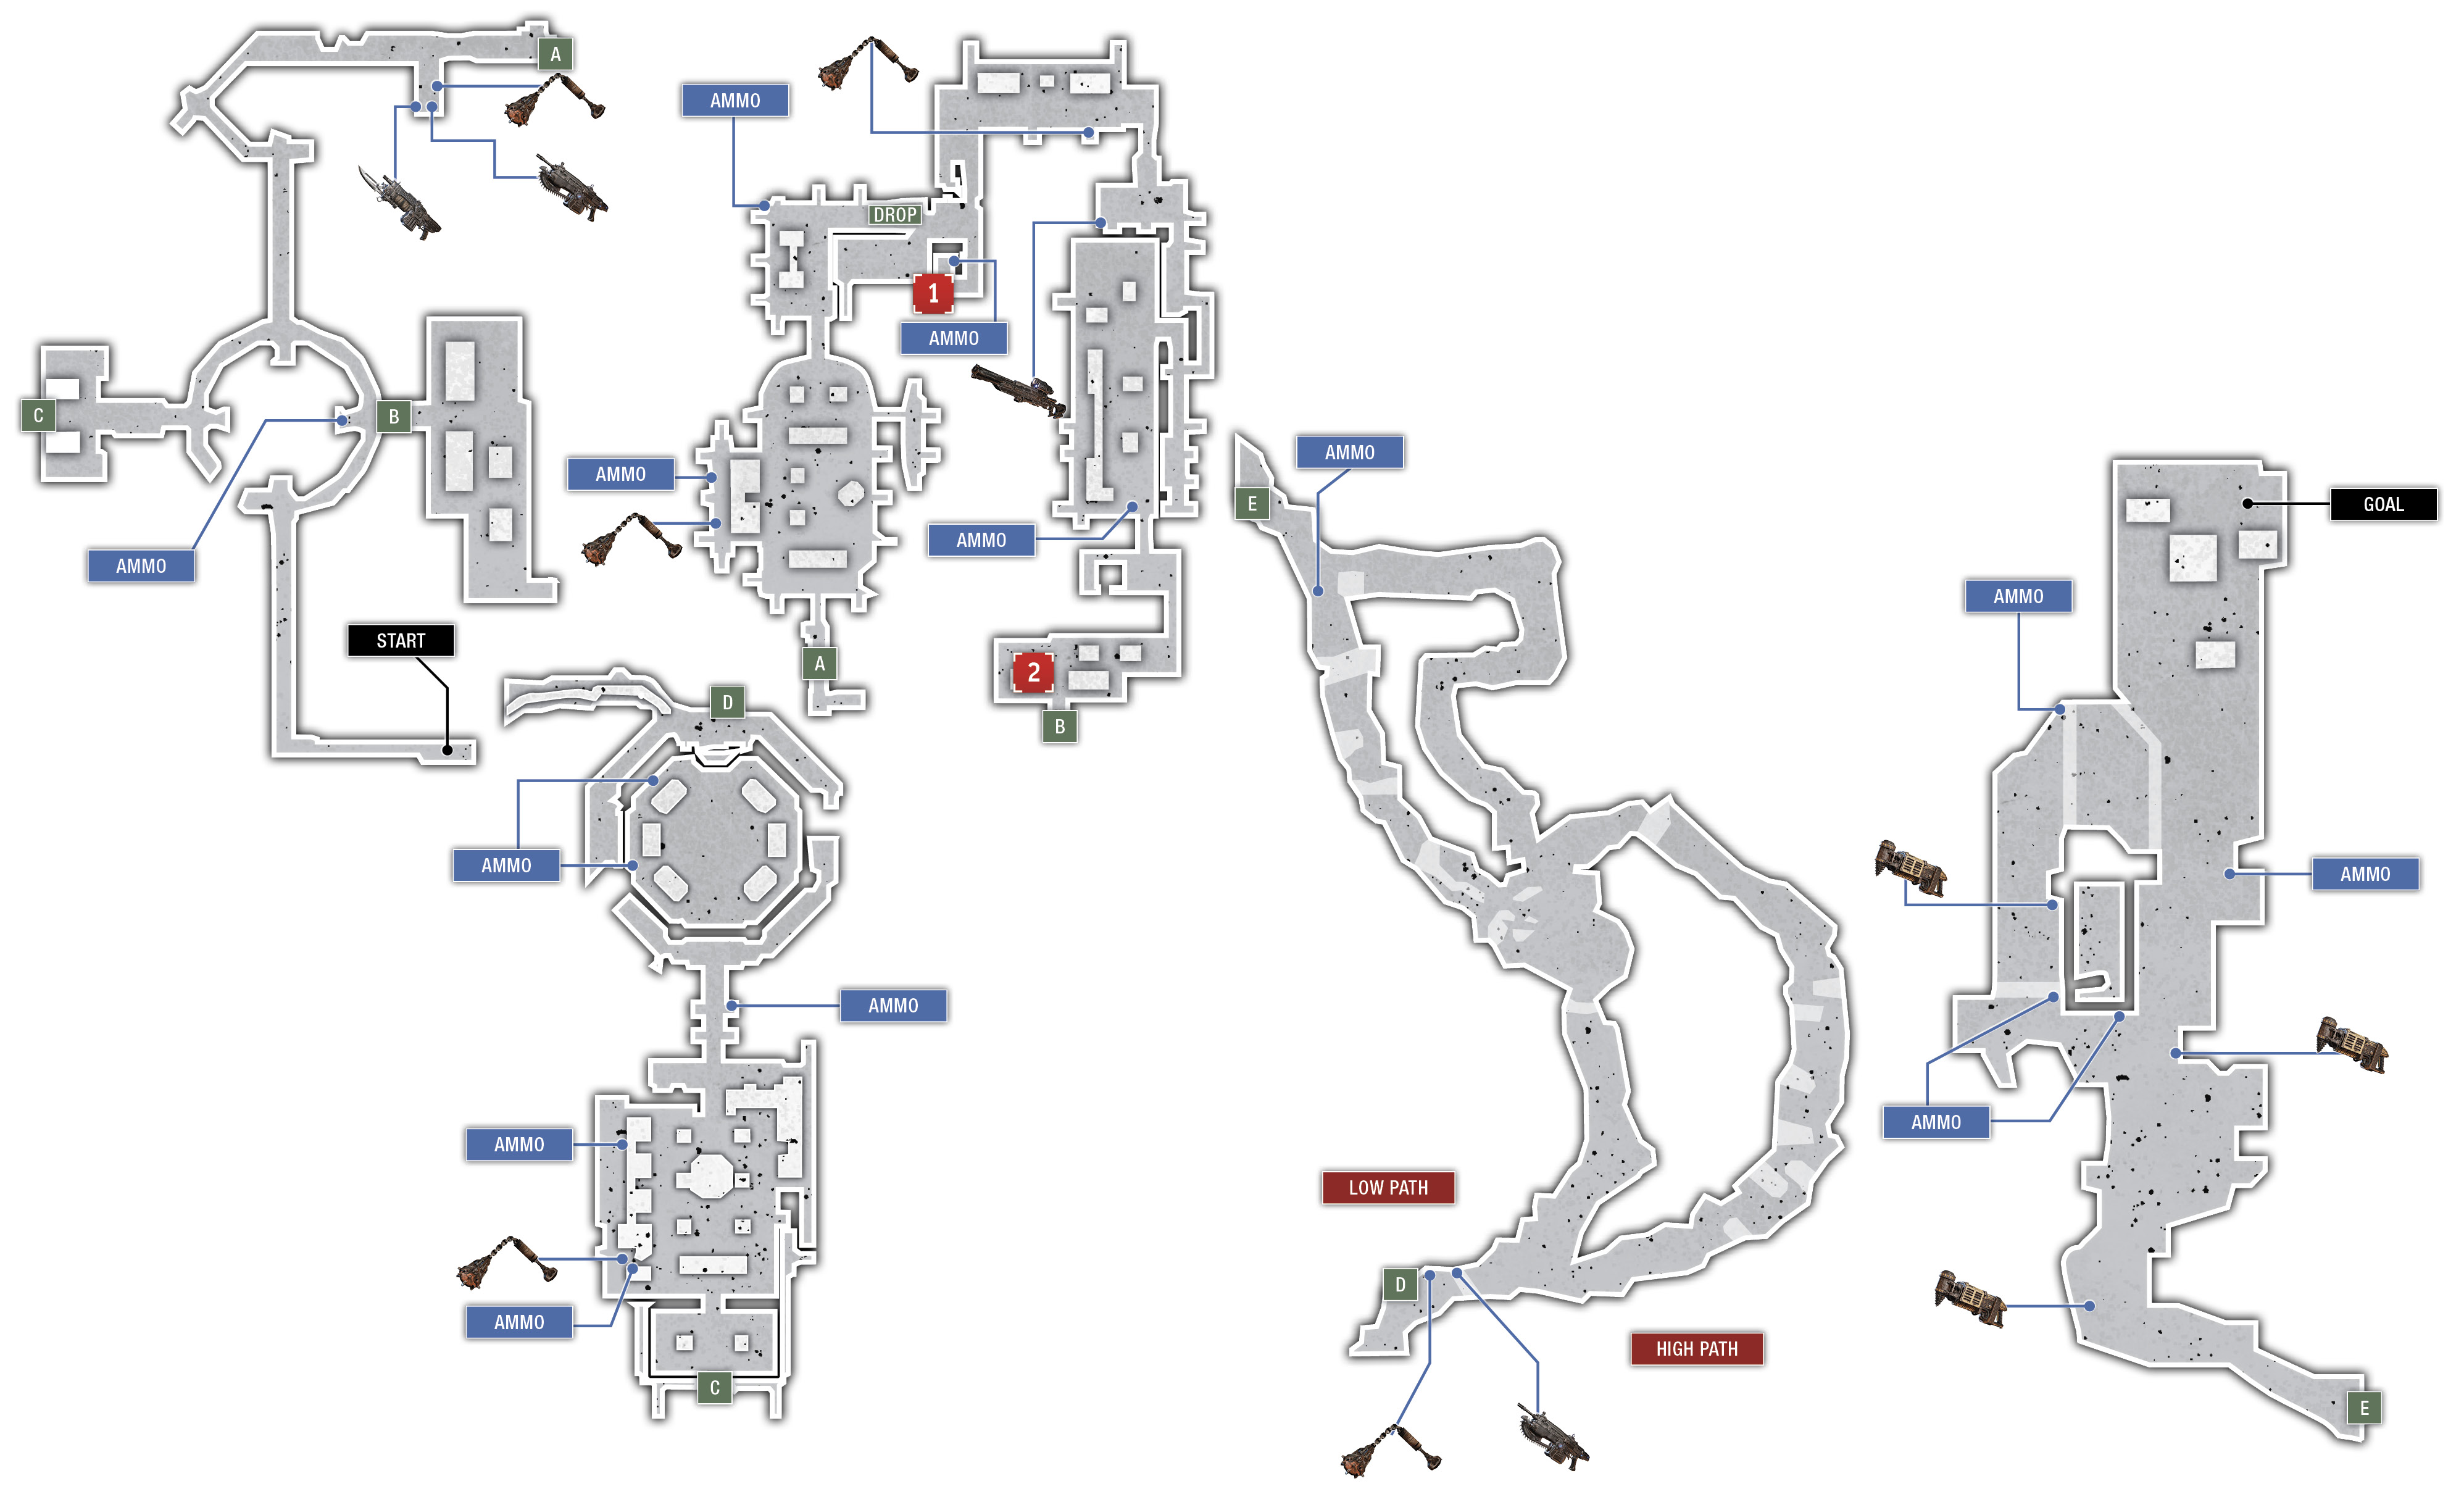
Collectibles
|
 Silver Age Dagger
 COG Tag
Situation Overview
JD has led the squad through Fort Reval and across the bridge into the keep, only to watch the Snatcher disappear into the catacombs underground. The Snatcher may not only be leading them to Marcus, but to the Locust burial site within the mine as well. The squad’s luck might finally be turning.
Fort Reval Catacombs
Objective: Track the Snatcher Through the Catacombs
Lead the way toward the large circular pit up ahead, where the Snatcher can be seen scurrying down the wall. Follow the spiraling walkway around the perimeter to the other side and continue along the path to the wooden door in the distance. Grab the Frag Grenades on the right and push through.
Take cover behind the wall at the bottom of the stairs and open fire on the Juvies and Drones that enter from the other side. There’s a wealth of pods in this room, including some hanging from the ceiling that can be dropped for cover. Shoot through the pods on the ground to flush the Drones out of cover, then look to drop the hanging pods on top of them.
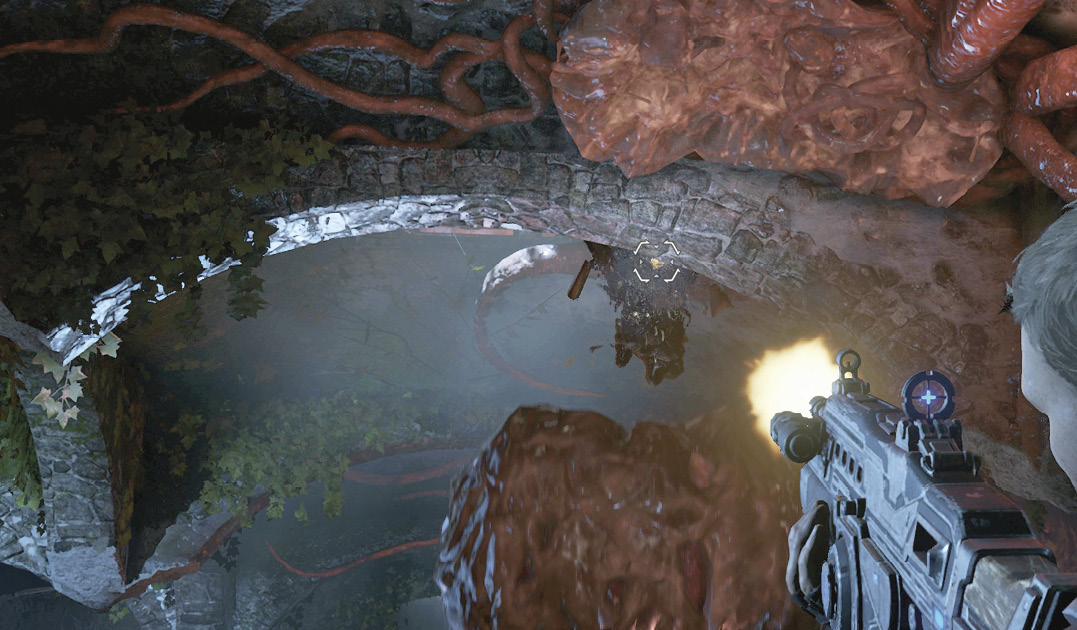
This is a good area in which to practice vault-kicking an enemy and then executing him with the chainsaw or knife. Just be sure to fall back behind cover near Kait and Del after the kill.
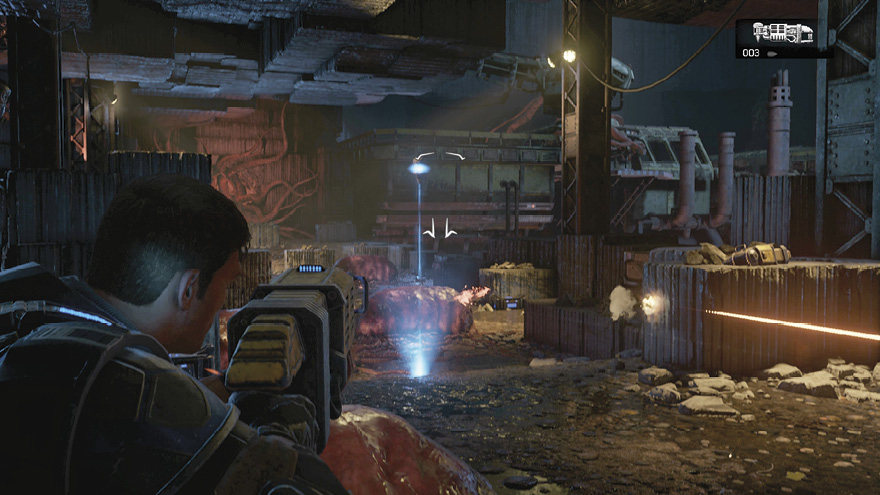
Drop through the hole in the collapsed floor and grab the Buzzkill off the table near the mummies. Round the corner to the right and place the Buzzkill atop the pod in the center of the room and open fire on the Juvies that come pouring forth. The Buzzkill’s blades bounce and ricochet off the walls and pop many of the other pods, but this isn’t a problem. Just keep firing those blades to slice straight through the Juvies that emerge.
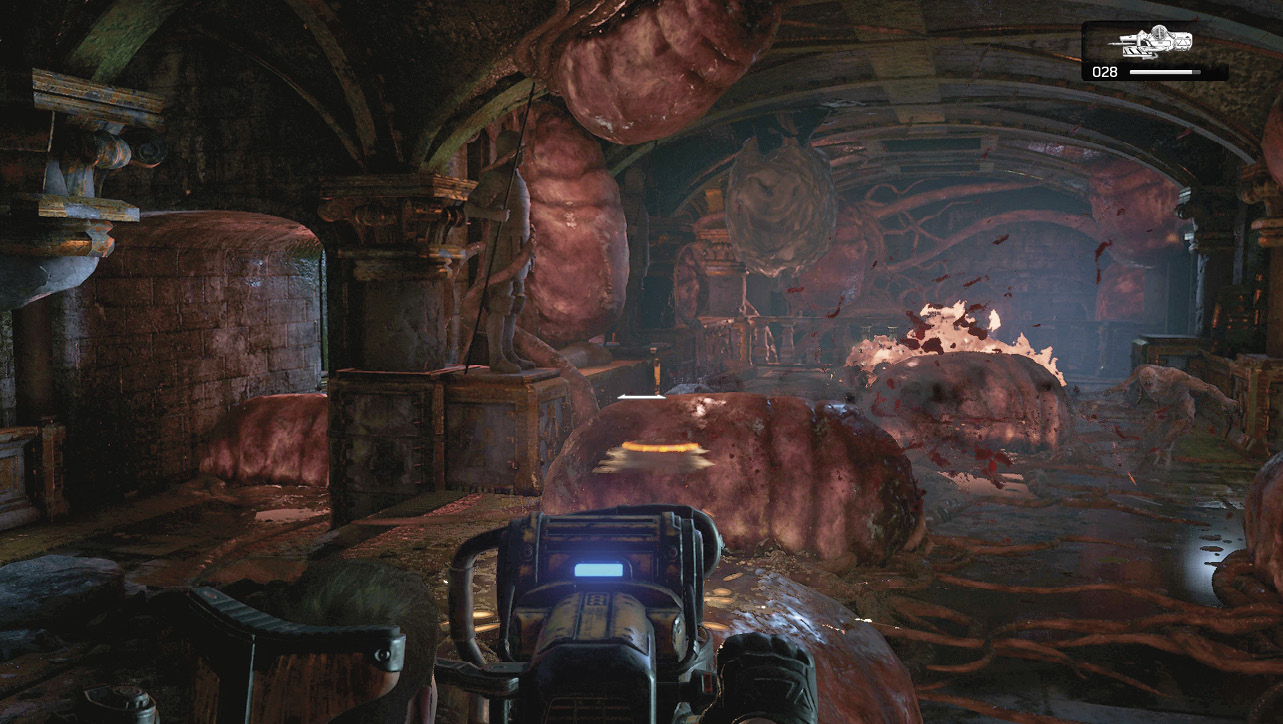
Continue through the catacombs after killing the last Juvie. Round the corner a few steps to trigger the next assault, then fall back behind cover and snipe the Drones that enter. There are a lot of pods in this area and you’re going to have to shoot them to get a clean shot at many of the Drones. Consider lobbing a Frag Grenade or two to better conserve your ammo and, with some luck, kill the Juvies that spawn as well.
Del helps JD with the heavy gate. Proceed through the room with the numerous mummies and out onto a lower level of the spiraling walkway you were on earlier. Descend the walkway farther and push through the massive golden door in the distance to continue the pursuit of the Snatcher.
Hunter Drones armed with Torque Bows appear across the room. Take cover behind the golden railing near the stairs and use the Boltok or Longshot to take out the Hunters from a distance. Watch for the glowing tips of their Torque Bow arrows and duck behind cover once the arrow’s tip has been spotted for over a second. Another option is to slip through the lower corridor on the left-hand side of the room to get good and close to the Hunters, then lob a Frag Grenade or two up onto the platform where they’re stationed.
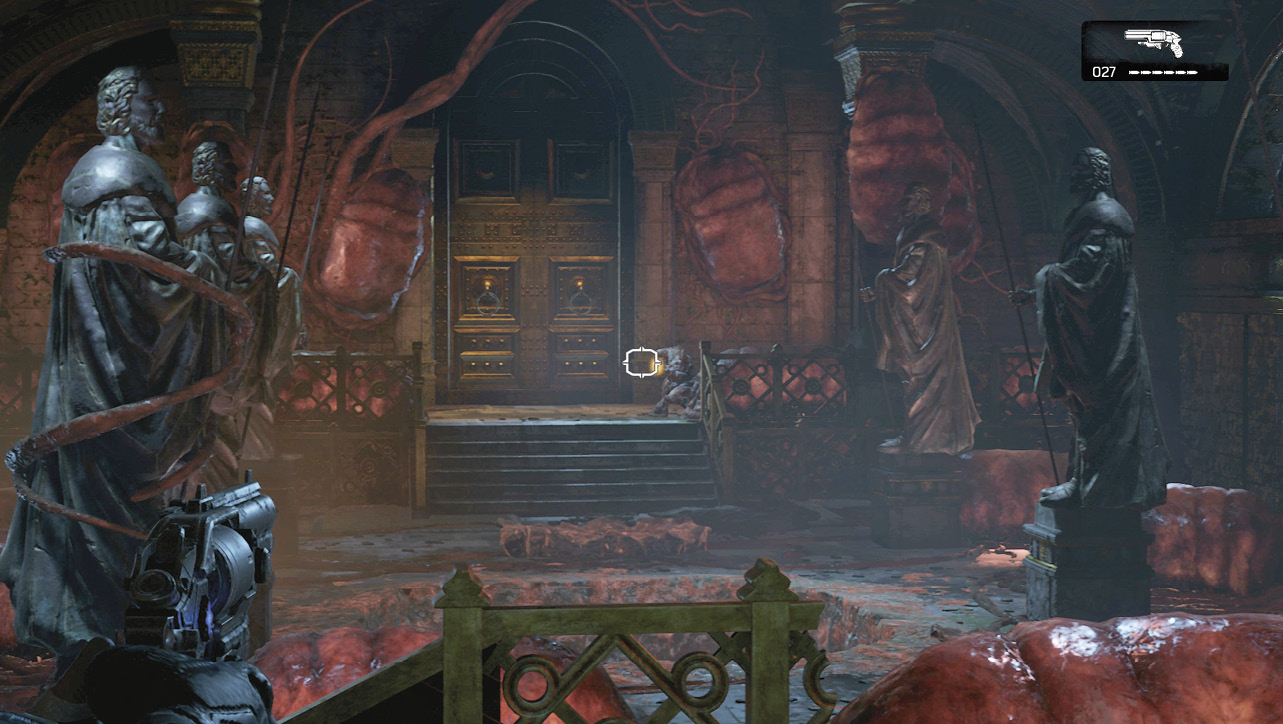
Kill off the Juvies that attack last, then gather up the two fallen Torque Bows and exit the room. Grab the ammo on the right and follow the path to the right around the massive statue. Drop onto the floor where the broken railing is located.
Objective: Find a Way to Get Below the Tomb
A Pouncer attacks in the large octagonal room with the massive statue of a former king. Use the statue in the center for cover and to play keep-away from the Pouncer while it focuses on Kait and Del. The Pouncer leaps from sarcophagus to sarcophagus, giving you a clean shot at its side. Pepper it with Lancer fire until it erupts.
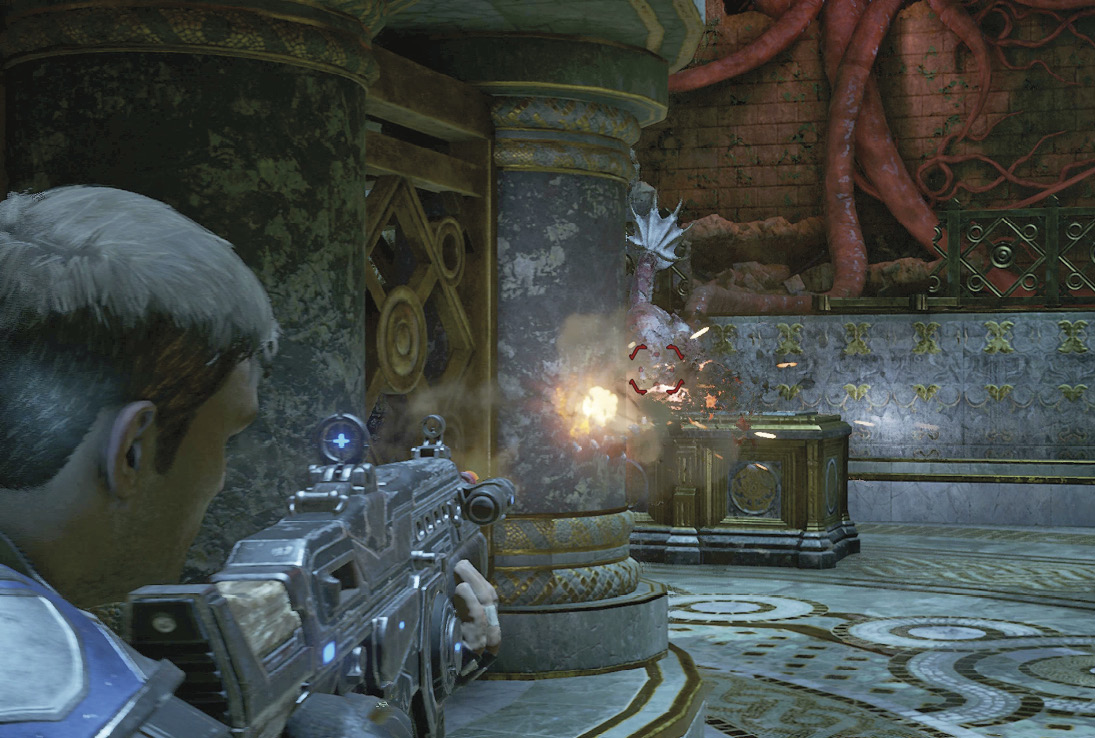
Two waves of Juvies attack once the Pouncer is defeated. Stay on the move and be close to your allies as the last of the Juvies is defeated, as a second Pouncer attacks soon after. Put the Pouncer down and approach the sarcophagus with the golden statue on it at the north end of the room. There’s a hole beneath it. And where there’s a hole, there’s a way down.
Objective: Explore the Tunnels
Grab the Frag Grenades and Lancer and cut through the door snot up ahead. The tunnels beneath the catacombs fork up ahead, offering you a chance to take the high road or the low road. The high road is more of a support option, whereas the low road puts you up close with the enemy. It’s your choice.
Split Path: Low (Left)
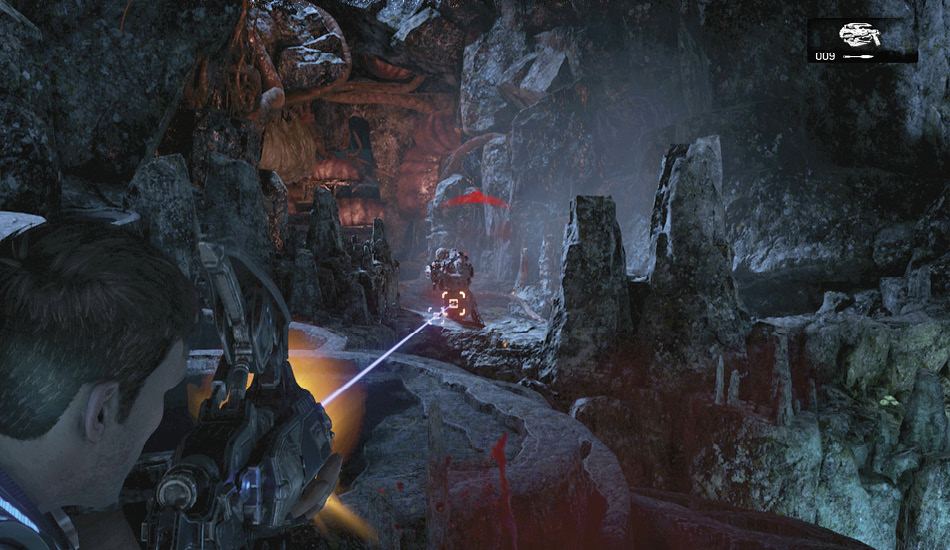
The lower path has a lot more obstacles and rocks to hide behind. Take cover right away and watch for Del to spot the Hunters on the upper route. Stay in cover until they’ve been dispatched. Lend some support fire if you can get a clean shot, otherwise keep your head down.
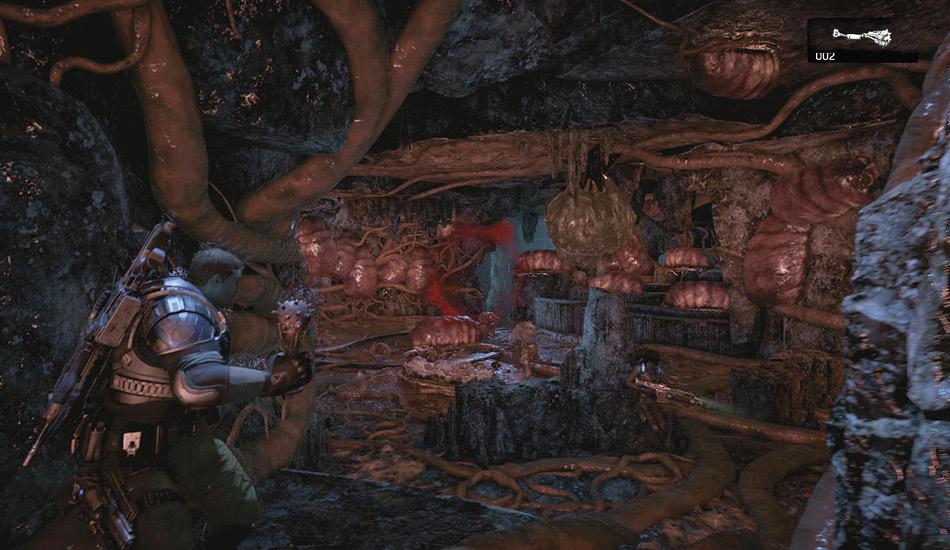
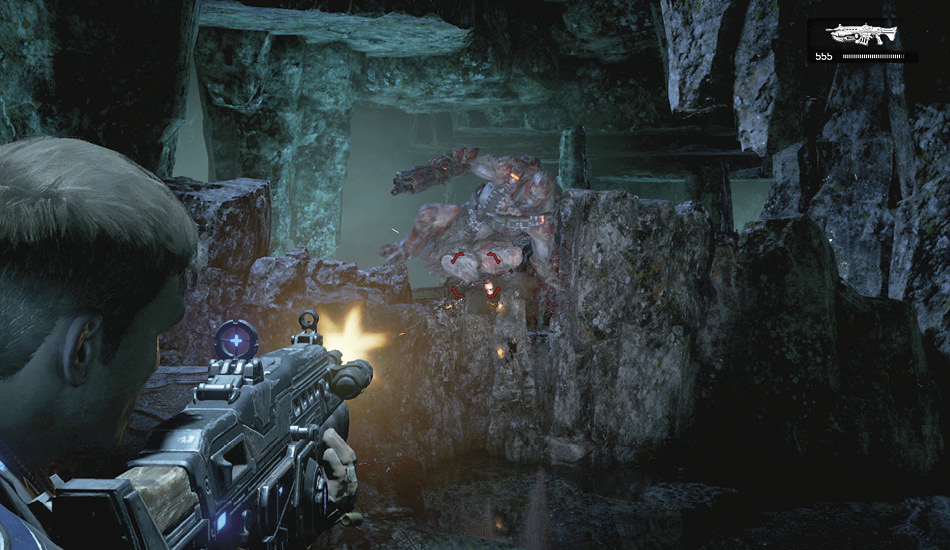
Use your Frag Grenades to eliminate the Drones in the cave with the pods. Juvies spawn but Kait is there to help take them out. Push on ahead to the area with the green glowing ponds. Charge up ahead toward the sound of Del’s voice and open fire on the Drones that have him pinned down. Join up with Del and make your way to the vine-covered tunnel beyond the ammo crate.
Split Path: High (Right)
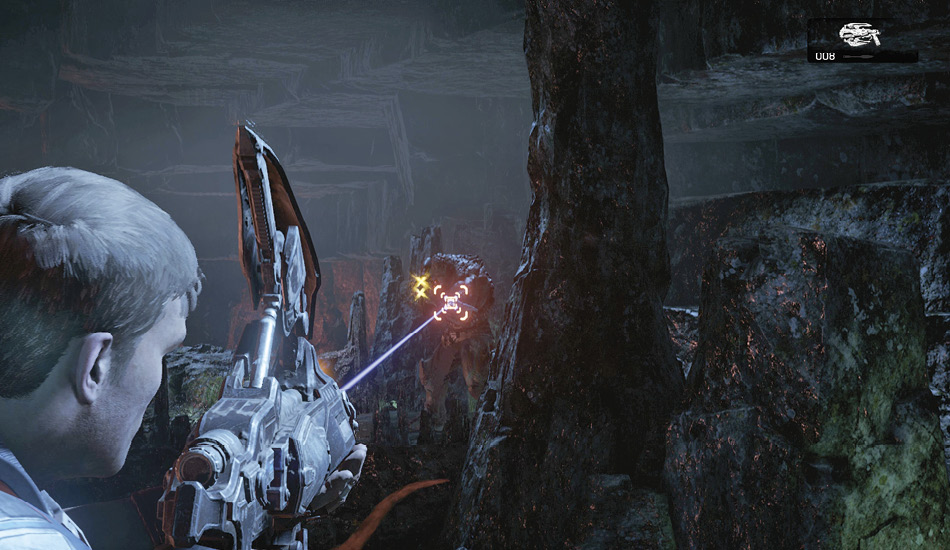
Grab the Frag Grenades on the right and toss them at the Hunter Drones up ahead. They’ve got their Torque Bows aimed at those on the lower path, so you should be able to get close enough without spooking them. Finish off the rest of the three Hunters with your Torque Bow, then pick up the weapons they drop and lend support down below. Pick off the Drones down below on the left, then keep moving.
The paths intersect up ahead, with the low road passing beneath your position. Listen for Del’s call for help and rush forward, drop off the ledge, and toss a Frag Grenade down at the Drones near the pods on the right. Three more Hunter Drones will attack up ahead, in your direction. Take cover and use the Torque Bow to pick them off, one by one. Del and Kait will lend a hand from the other direction if possible. Continue on to join up with them.
Objective: Get to the Ore Transporter
Pick up the Dropshot leaning against the mining materials and move into cover behind the nearest pod. The Dropshot can be used to kill enemies while they’re behind cover. Continue holding the trigger as the projectile flies forward, then release it directly over an enemy. This causes the spiked explosive to fire downward at the enemy. It’s not only possible to get a headshot with the Dropshot (on an enemy behind cover, no less), but you can even close Swarm nests. Put it to use against the Drones behind the pods and use it to close the nest up ahead.
Close the nest with the Dropshot, then slip past the ammo crates on the left, climb onto the elevated platform, and pick up the other Dropshot. Move along this left-hand path, picking off each of the Drones as you go, until the only one left is the Sniper Drone in the rear of the area. Take him out with the Dropshot and approach the ore transporter.