
Gears of War 4 Guide Campaign Act 5
Chapter 4: Release
Situation Overview
The heart of the hive is just ahead and though he has both aerial and ground support, this is largely up to JD. What a day it’s been. One minute he’s sneaking into a COG settlement in an effort to fix a broken generator, and the next he’s piloting a massive mech, calling in airstrikes, and about to square off against the largest beast ever seen on Sera. It’s almost enough to make his father proud of him…
Swarm Hive
Objective: Get to Reyna
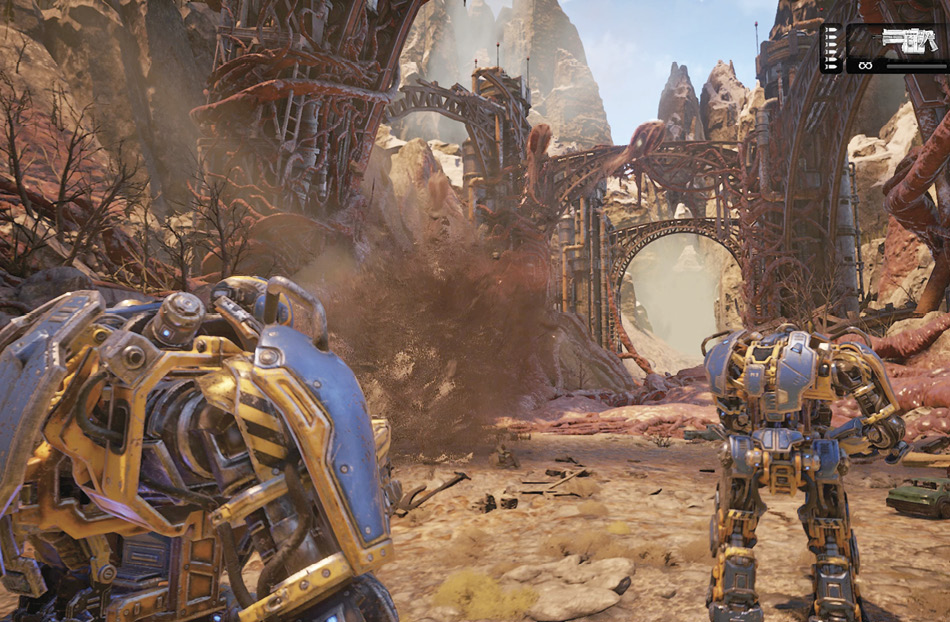
The two mechs have made it from Speyer to the Swarm Hive near the Tollen Dam, and their friends in the chopper are picking up some odd seismic readings. Marcus swears that you’re close, that Reyna isn’t far. But the rumbling beneath your feet suggests she isn’t going to just be handed over.
As you march toward the pink tendrils up ahead, you’ll notice a shockwave rippling toward you in a straight line. Suddenly multiple Canker-like projectiles emerge from the ground and begin to bombard the mechs. Open fire on these flying assailants and keep moving. More will come. Keep moving until you see the Cankers emerge, then pause to shoot them out of the air. Remember to vent the weapon after each barrage.
Objective: Destroy It
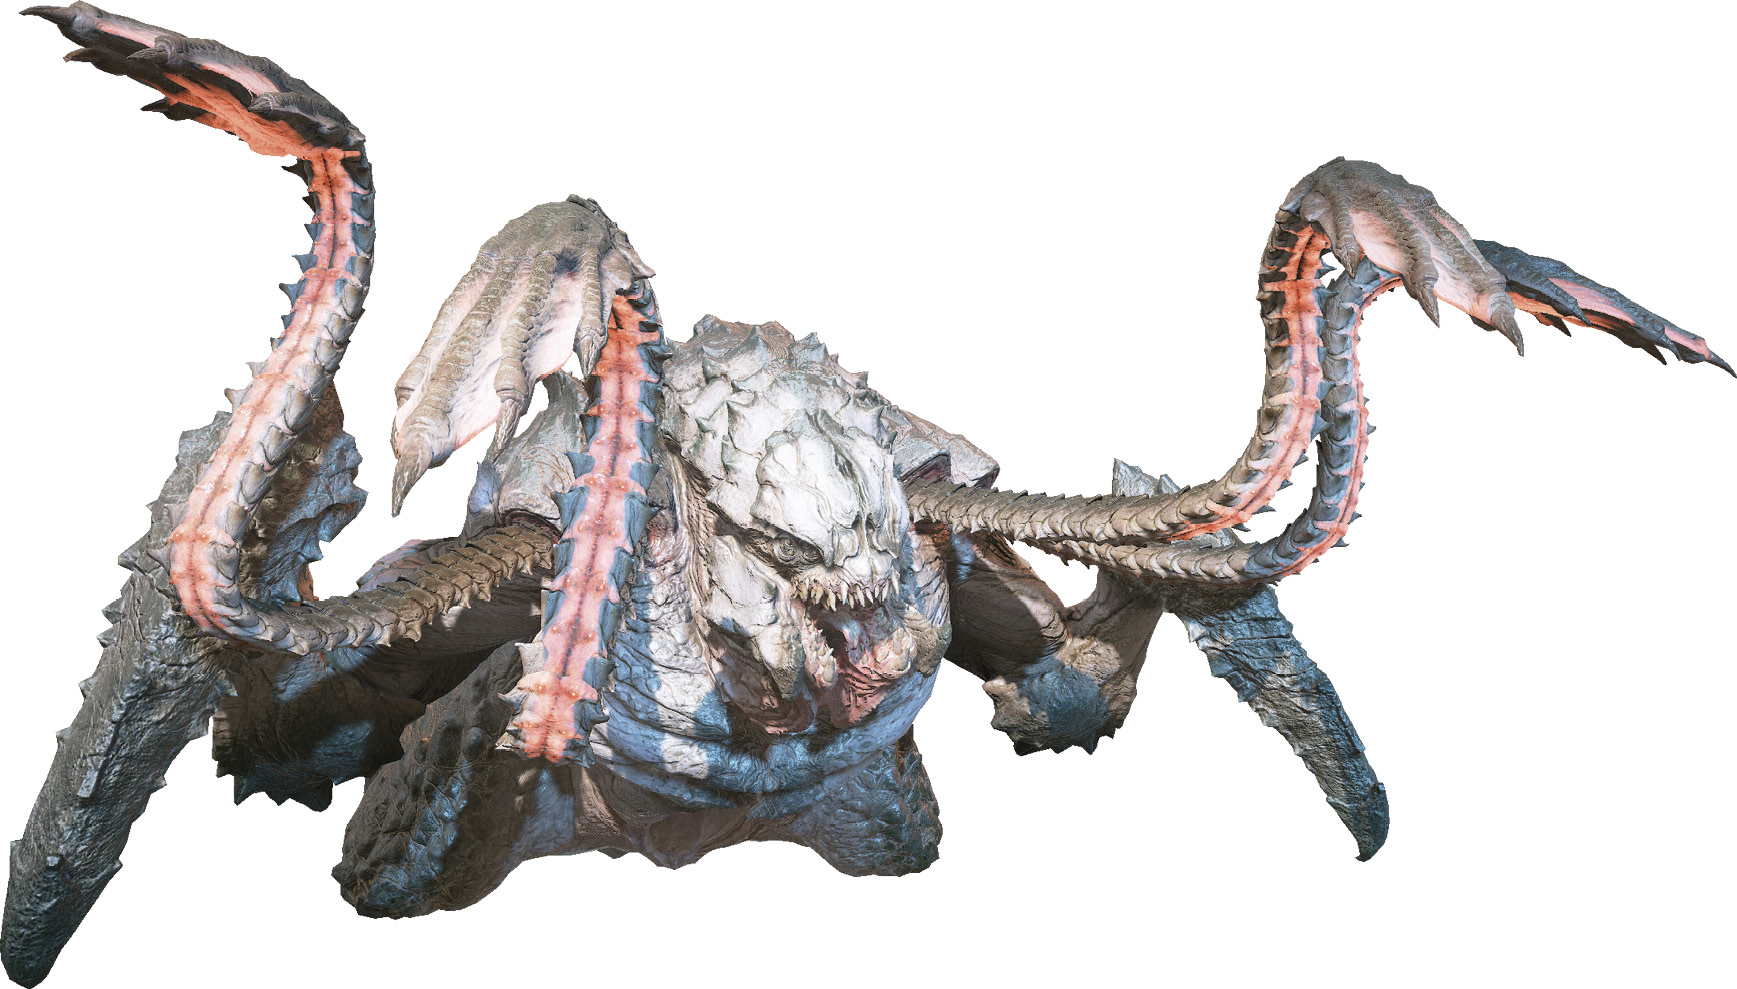
Hive Beast
There is no time to contemplate the size of the creature that has emerged from the ground. No time to think about the damage it could do to the mech, the King Raven, or to New Ephyra and the planet at large. You must act, and act quickly. If there’s one thing you know about the Swarm by now, it’s that glowing, whip-like tentacles are deadly and must be destroyed. That’s your first step: destroy those tentacles!
Keep your distance from the Hive Beast and use the Jack Junior to shoot the tentacles. Try your best to only target one tentacle at a time to destroy them quickly. While you are shooting the Jack Junior, you can call in airstrikes while you strafe side to side and avoid the massive quills that are being fired by each of the tentacles. Move from left to right to avoid the quills whenever one of the tentacles snaps forward. Evade quickly to the side as if performing a dodge-roll. Keep your fire trained on the tentacles until they are all destroyed.
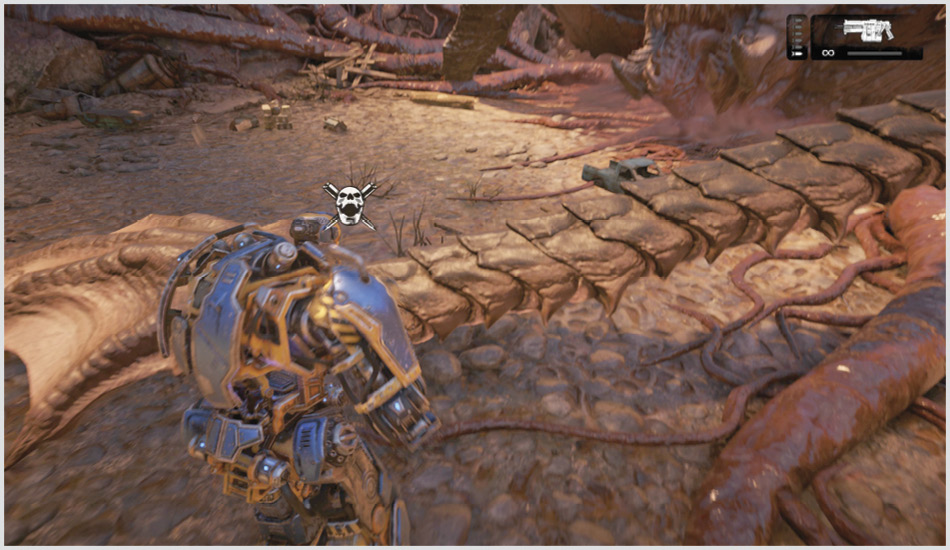
Once the airstrike (or your fire from the Jack Junior) has delivered heavy damage to a tentacle, it will go limp and fall to the ground while the others are retracted. Rush forward to the tentacle and perform the execution maneuver. Watch as the mech essentially staples the tentacle to the ground and the Hive Beast’s struggles result in a severed appendage.
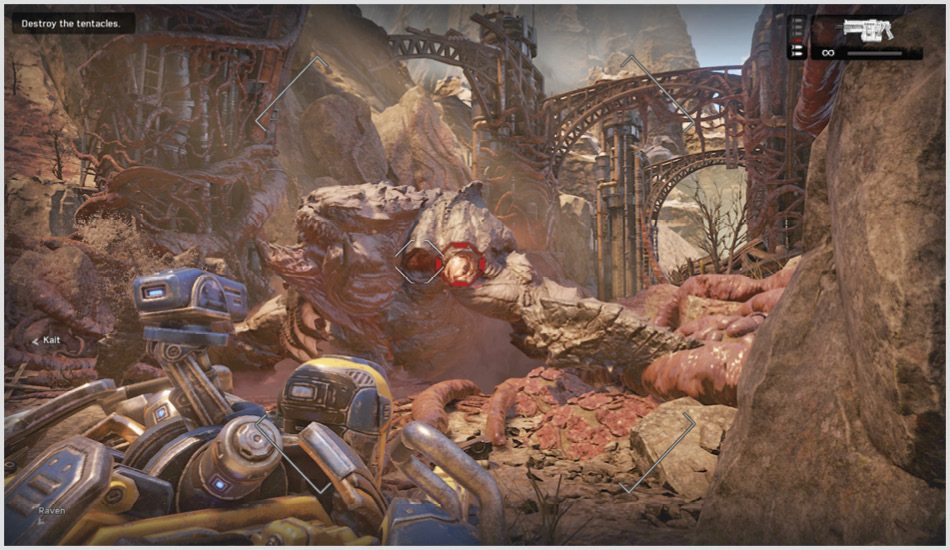
You need to move fast once the tentacle has been ripped free. Target the socket for a single airstrike quickly, else the Hive Beast will grow another appendage. The first tentacle is the most difficult to sever, as you have to deal with four tentacles firing deadly quills at you every few seconds. Repeat this process for each of the remaining tentacles. It gets easier with the destruction of each successive tentacle.
Destroying the tentacles damages the Hive Beast, but it’s far from dead. Unfortunately, you’ll have to finish it off without the aid of the King Raven’s airstrikes. That doesn’t mean you won’t be using the King Raven! Walk over to the downed chopper and rip the propeller from it. Jack Junior will wear the propeller and motor as if it were a new slicing-and-dicing appendage.
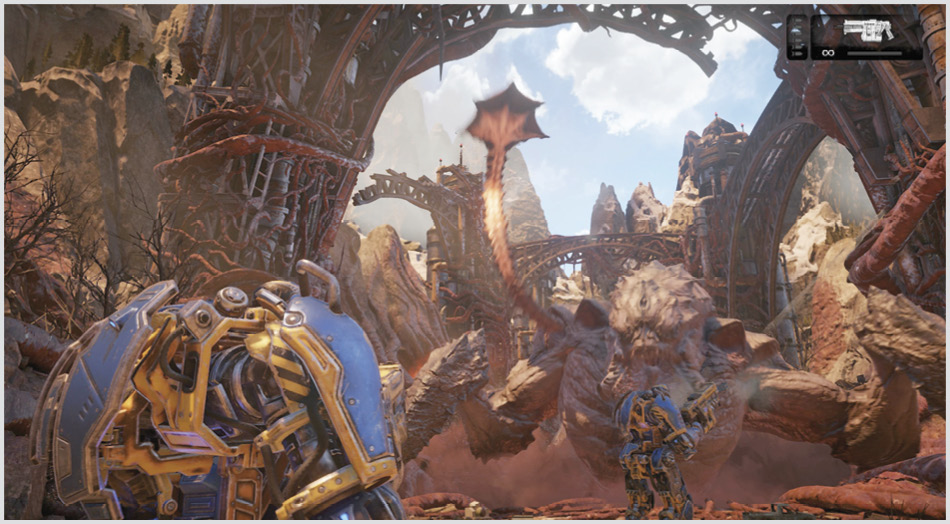
The Hive Beast emits a powerful roar capable of knocking Jack Junior backward to the far end of the cavern. Charge forward holding the propeller in front of the mech. Pull the Fire and Aim triggers whenever the Hive Beast fires its Cankers to shred the projectiles before they collide with Jack Junior. Let the propeller engine cool between attacks as you continue to push forward, closing the distance on the Hive Beast.
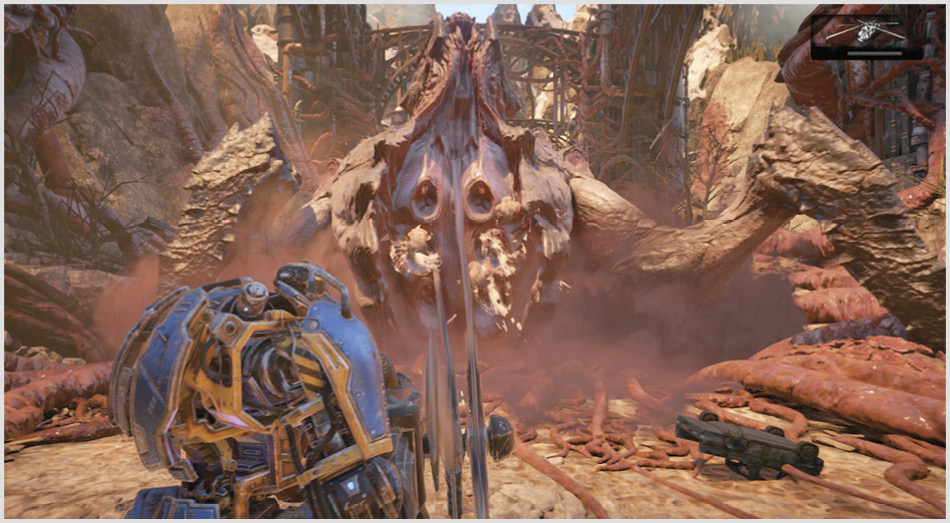
Approach the Hive Beast slightly to the left of its head and watch for it to raise its massive leg. Dodge to the side, away from the leg, then turn and press the Execution button to use the propeller to saw its leg off.
The Hive Beast emits a roar that knocks the mech across the canyon again. Use the propeller to cut through the incoming projectiles and close the gap on it. Dodging the lone leg is a bit tougher, as it will swing with a wider range. Approach the remaining leg on an angle, almost straight toward it, and dodge out of the way, toward the beast’s head as soon as the Hive Beast lifts the leg to strike. Press the Execution button just as before to sever this second leg. Defenseless and limp, the Hive Beast is ready to be slain. Approach its head and bury the propeller into its cranium.
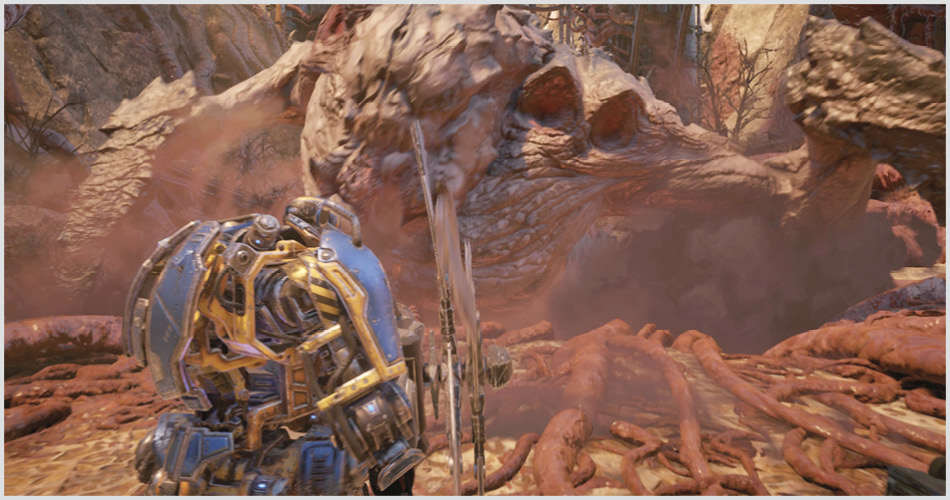
Congratulations, you just completed Gears of War 4.