Gears of War 4 Guide Multiplayer Multiplayer Maps
Harbor
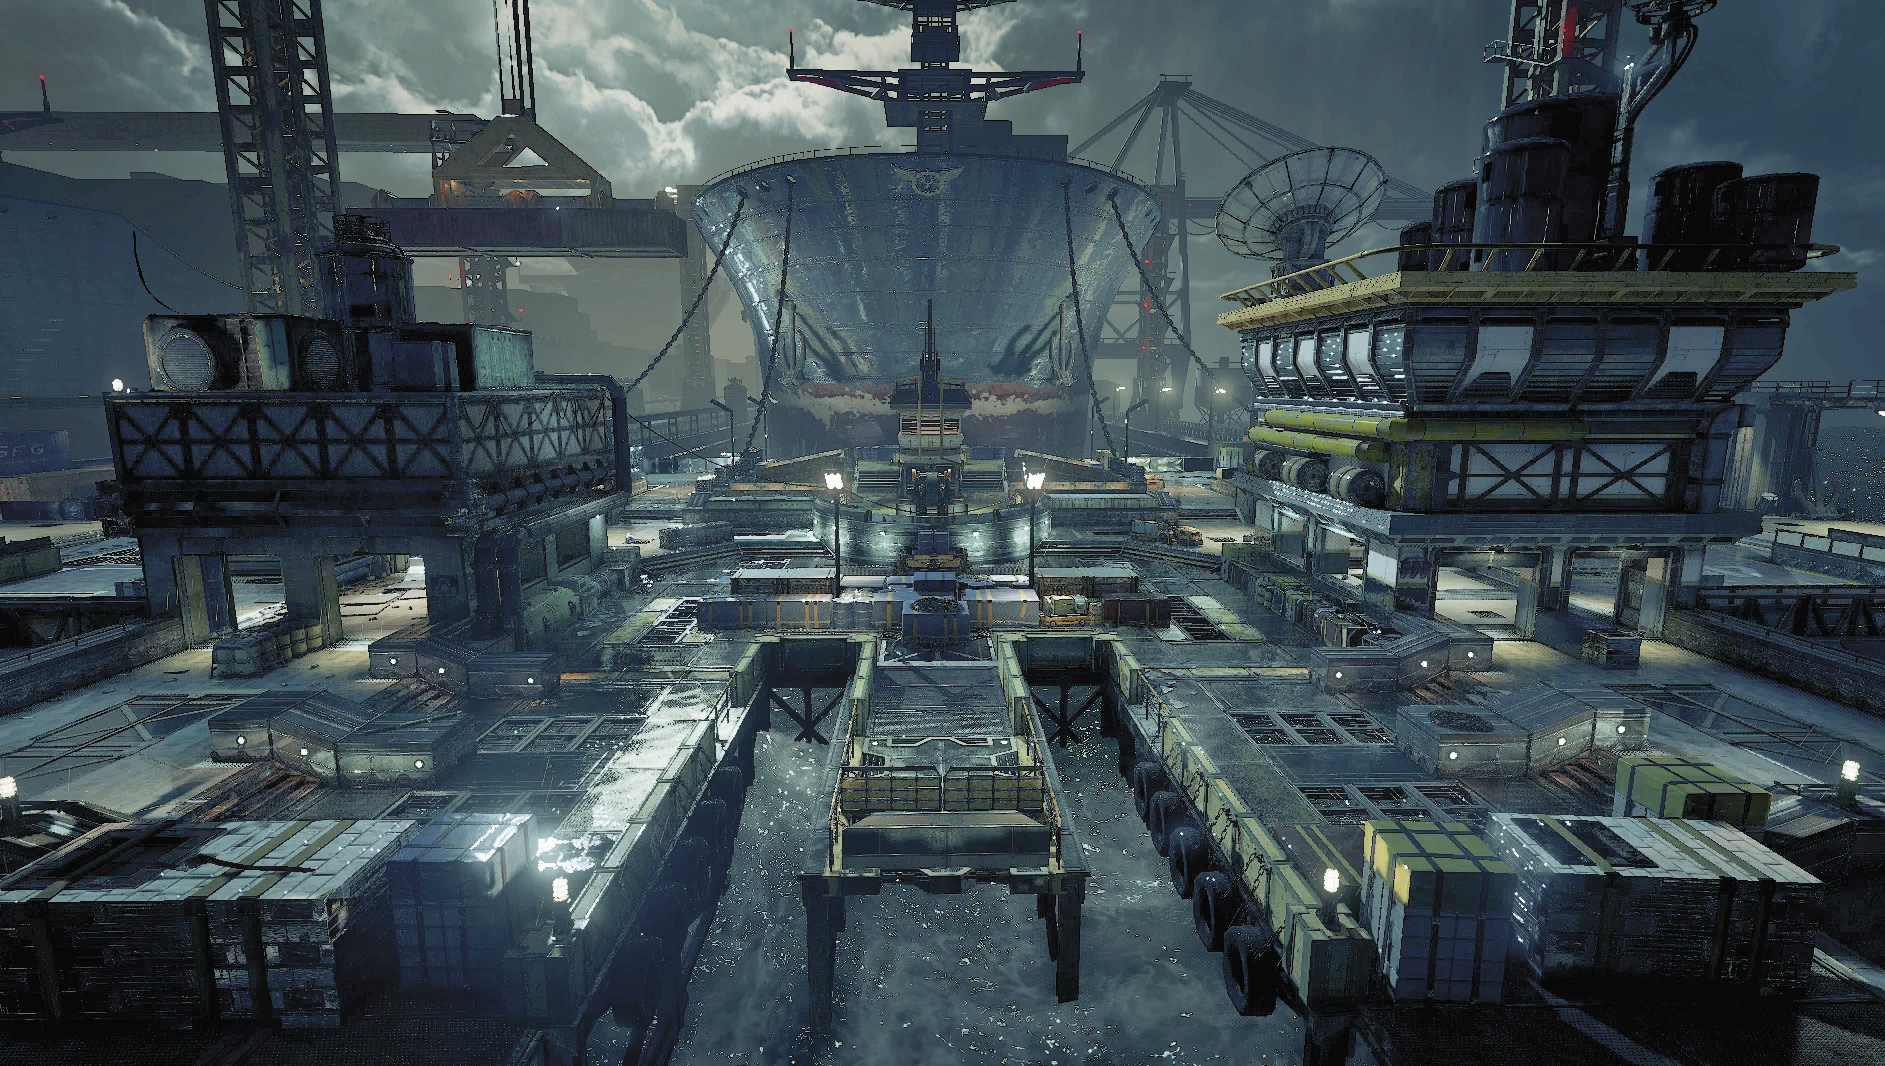
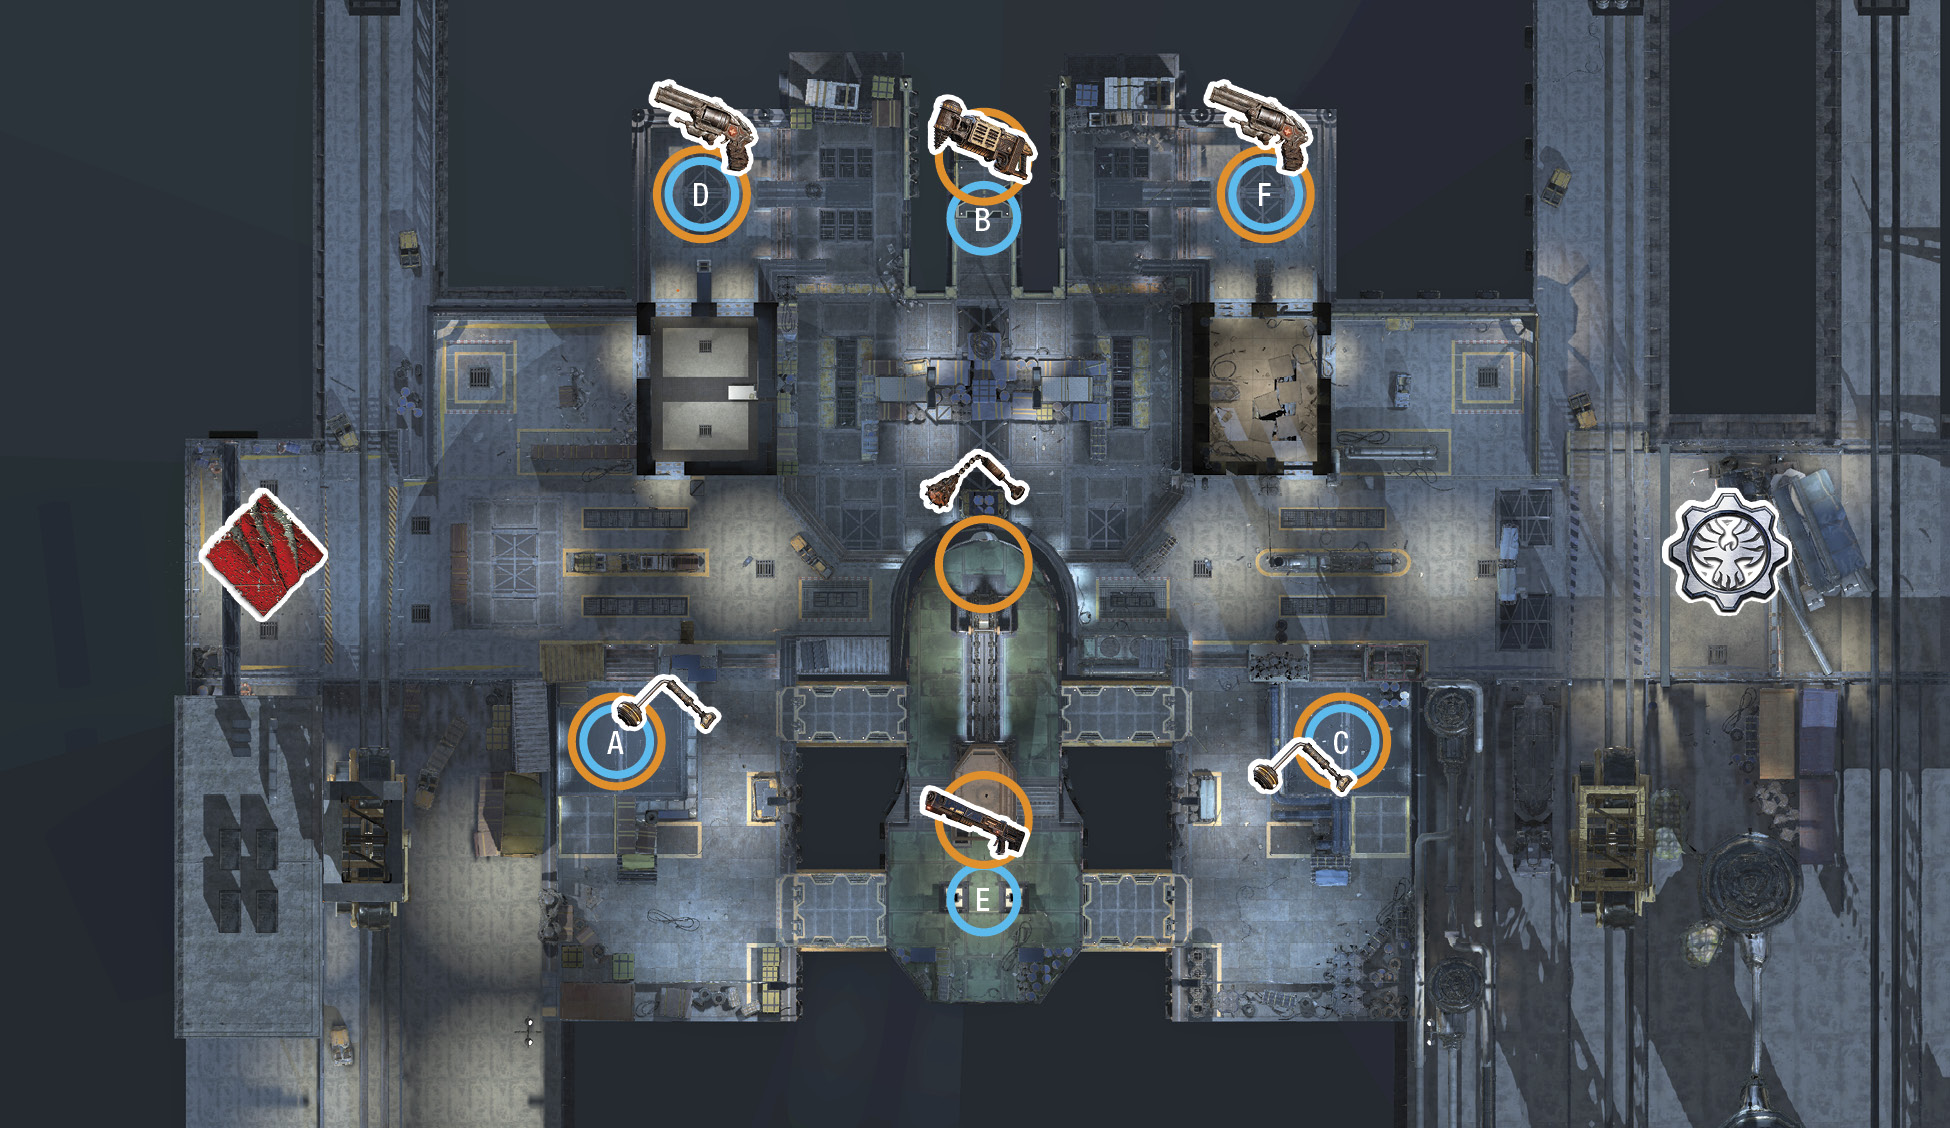
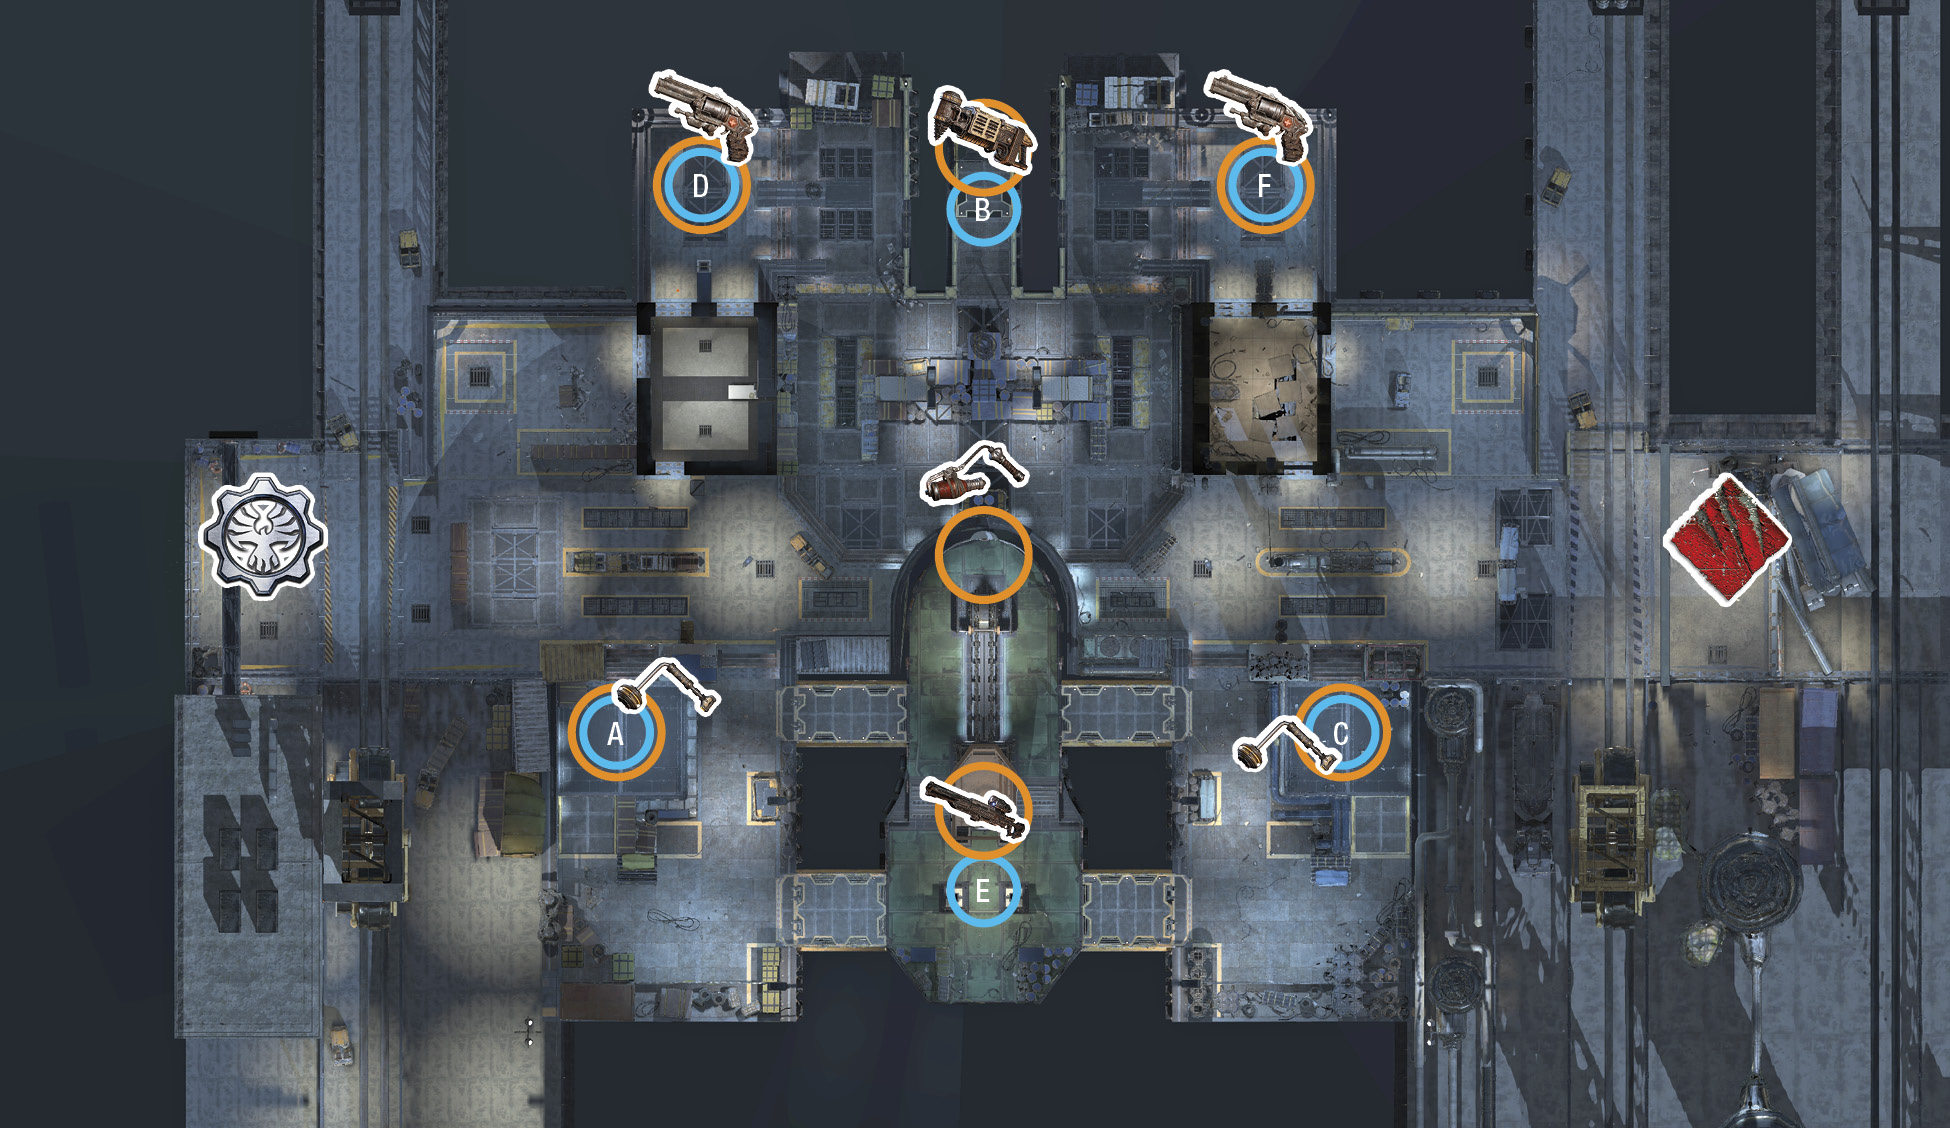
Large COG container ships weather the storms of Sera to bring supplies into harbors like this. The tug boat provides strong visibility over the docks and offices.
Points of Interest
Cargo
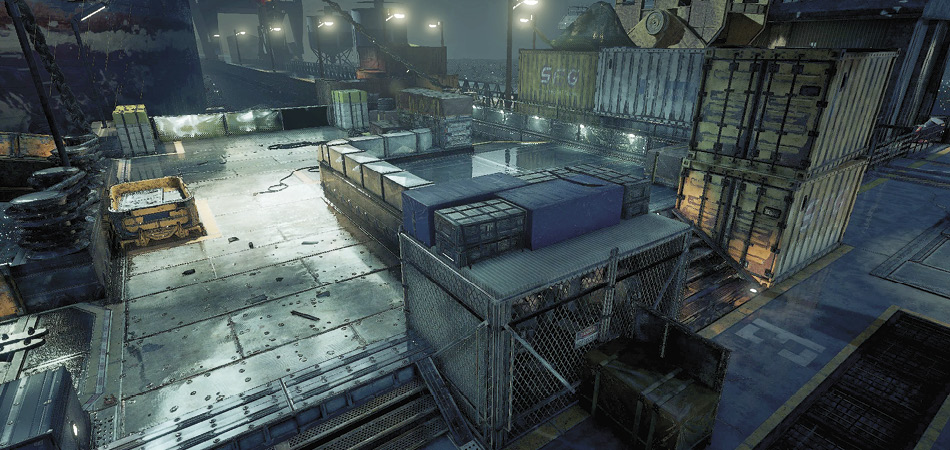
A small block of low cover is your only safety in this spawn. Quickly move to the Control Room or Cargo area quickly to stay safe! Vault over the low cover if you’re looking for a straight line to the Docks.
Control Room
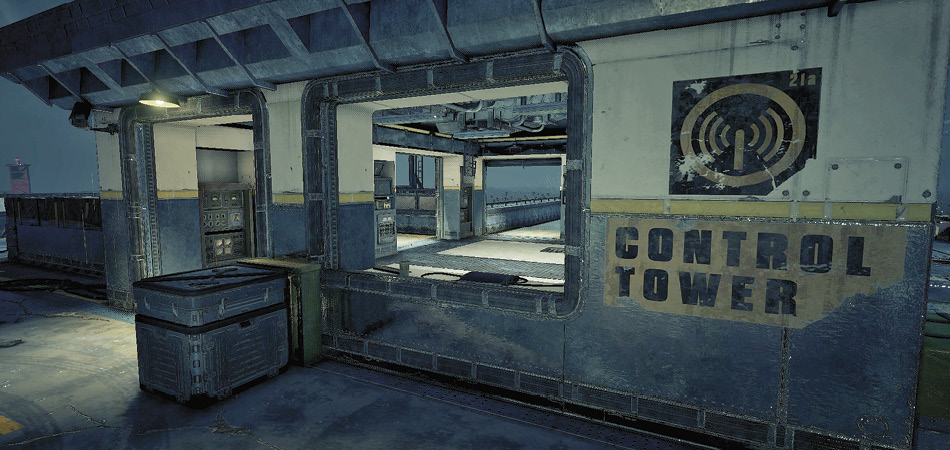
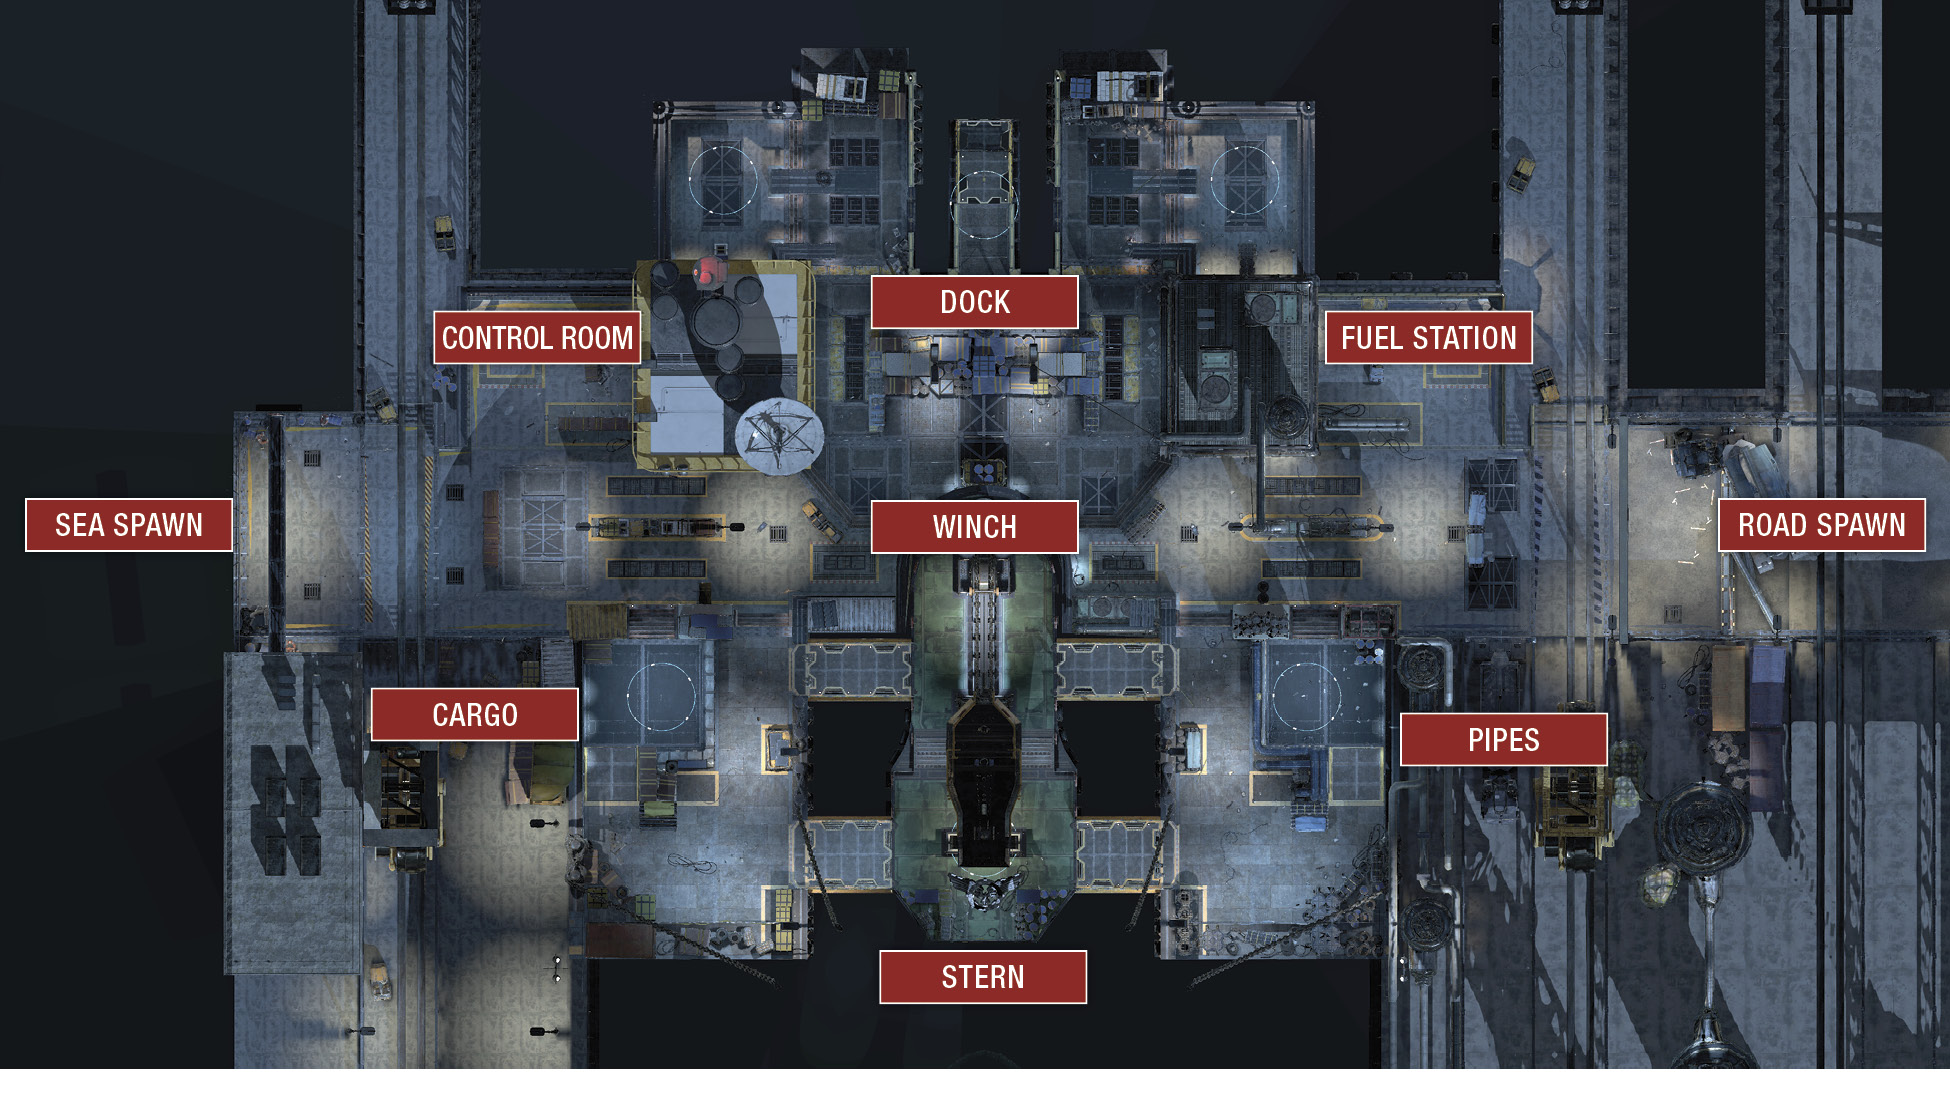
Located near the Sea Spawn, the Control Room allows the quickest access to the Dock area. Medium range weapons do well in this area.
Dock
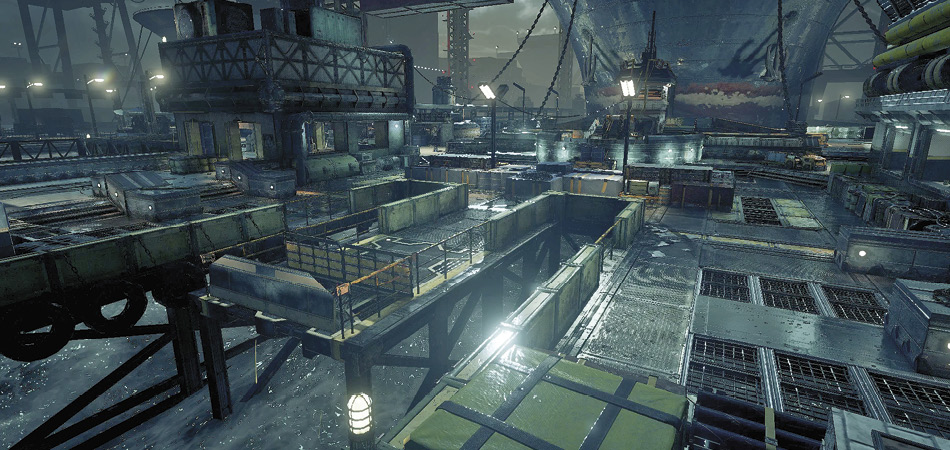
The Dock features a lot of short cover protecting players from attacks from the Control Room or Fuel Station, but leaving them mostly vulnerable to attacks form the Winch Area. Stay low and move quickly. Be ready for any enemies who may be tucked behind cover as you move through.
Fuel Station
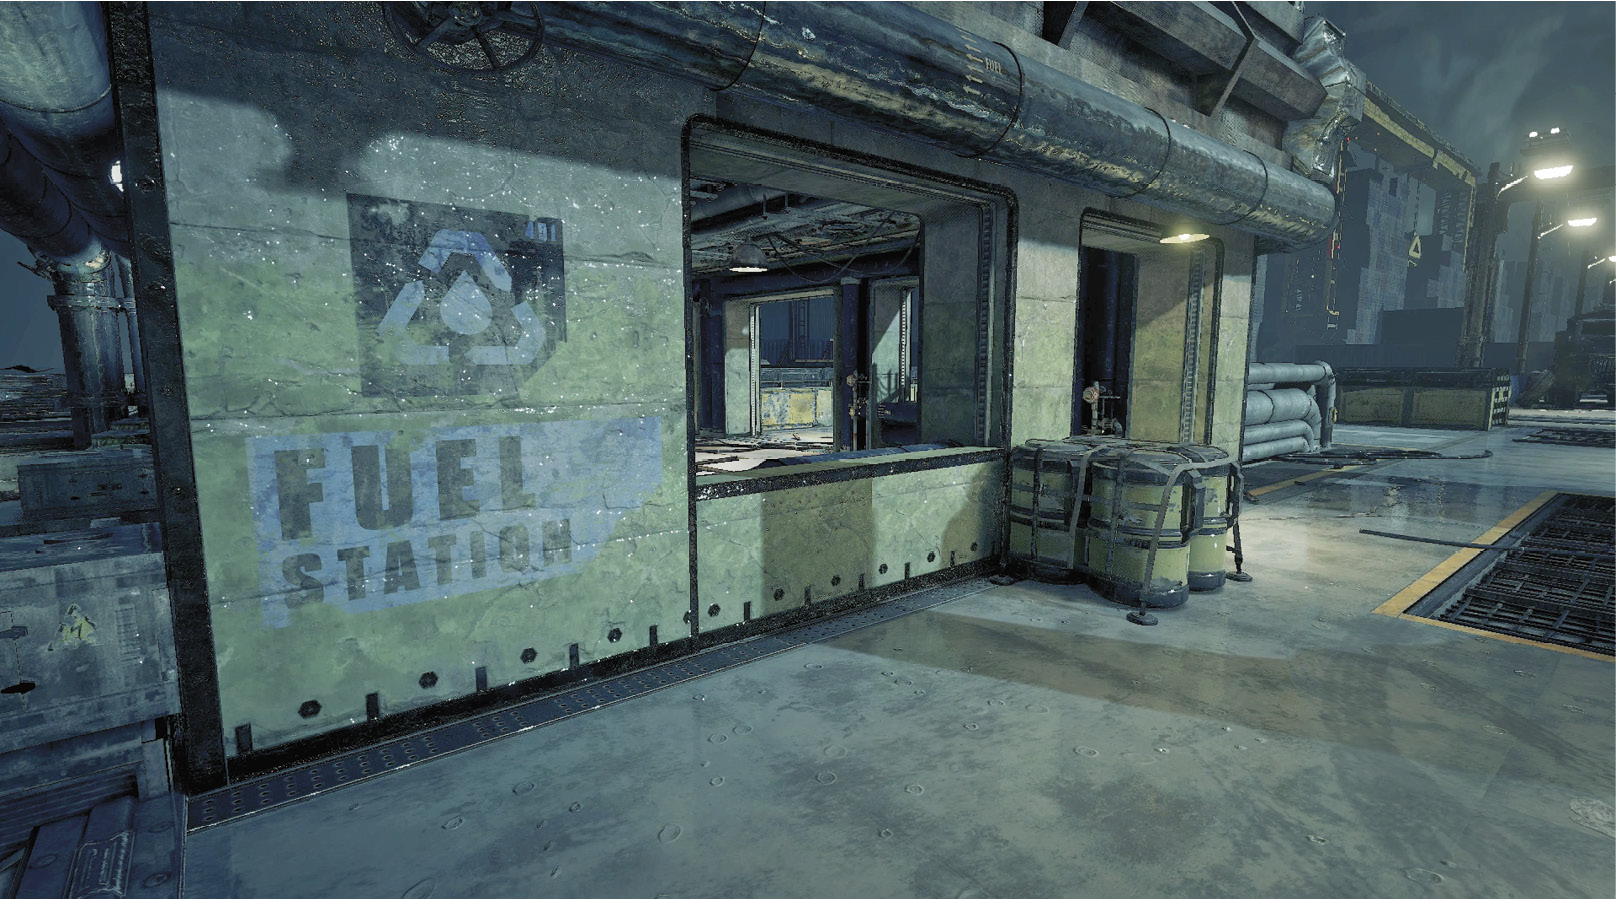
The Fuel Station building allows a great point of cover just outside the Road Spawn. Watch out for players who may try to sneak around from the Pipes area, since it is mostly hidden when inside the Fuel Station.
Take advantage of the higher ground cover behind the air ducts to get a great view on the Winch and Stern area. From there you can sneak out to the control room or through the scattered cargo to the Winch or Stern.
Pipes
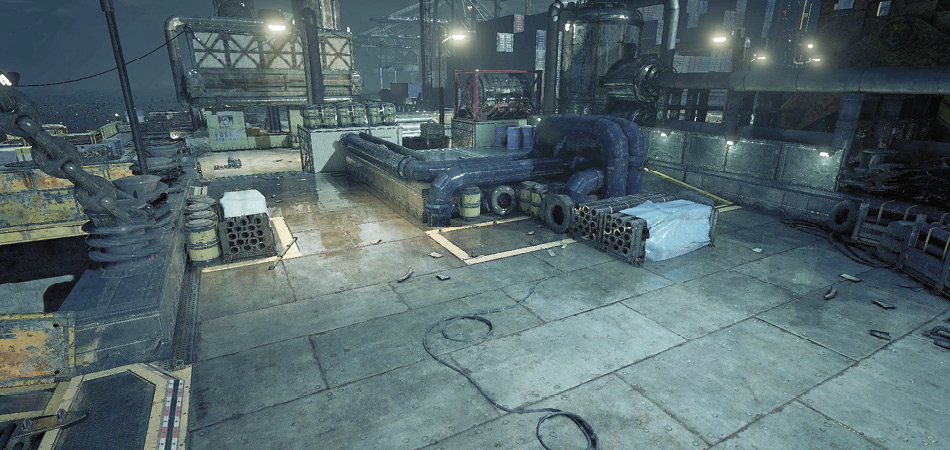
A small elevated area allows a great look down onto the Winch area. Use the low cover to transition from the upper to lower area without the enemy knowing. There are four possible entrances to this area so stay alert!
Road Spawn
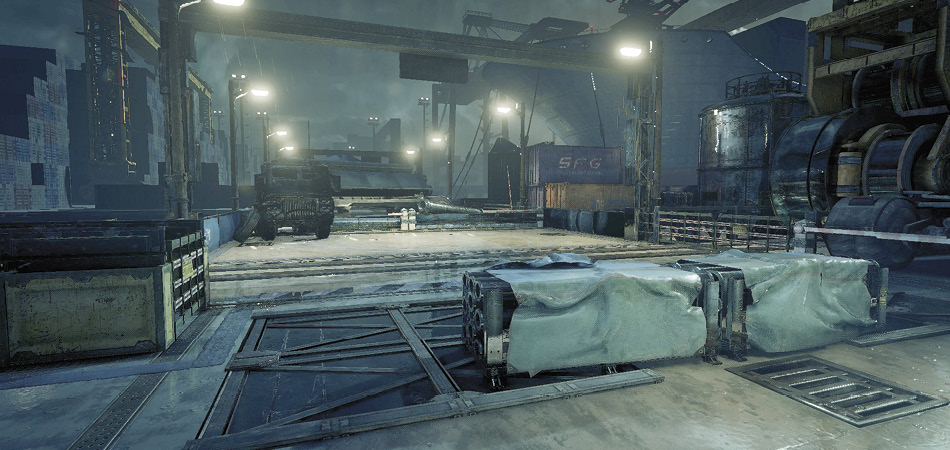
This area connects the Harbor to the road that takes in all the cargo. A small stack of pipes provides a bit of low cover, quickly head for the Fuel Station or Pipes for a much better vantage point on the map.
Sea Spawn
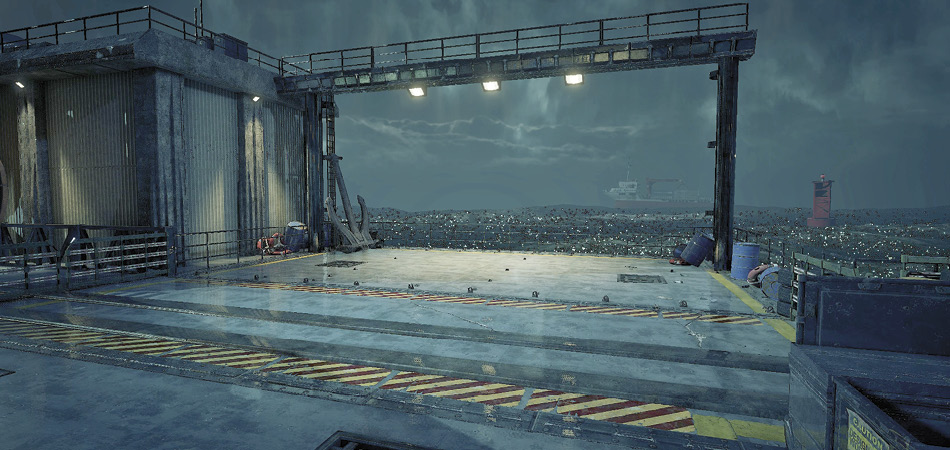
A small block of low cover is your only safety in this spawn. Quickly move to the Control Room or Cargo area to stay safe! Vault over the low cover if you’re looking for a straight line to the Docks.
Stern
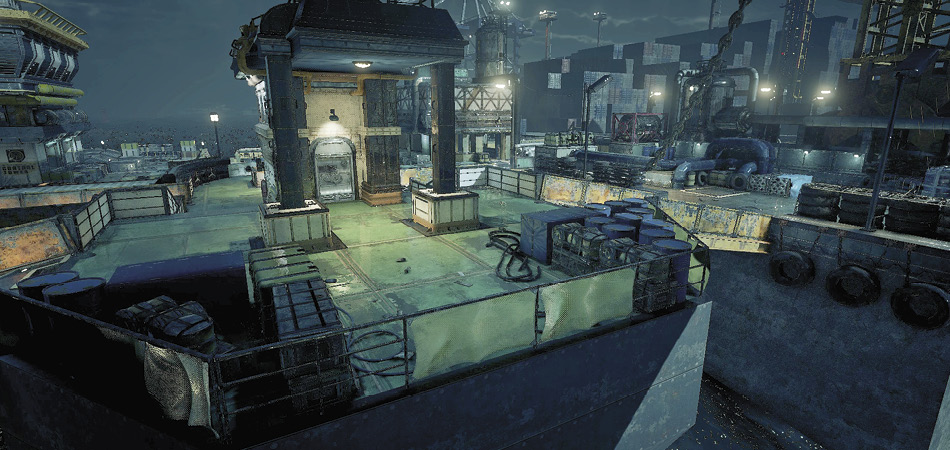
The Stern features two pillars that can act as a bit of cover, this area is mainly a transit area so hiding with your Gnasher may get you an easy kill. Don’t stay around too long or you will be picked off by the enemies that enter from the ramps on either side.
Winch
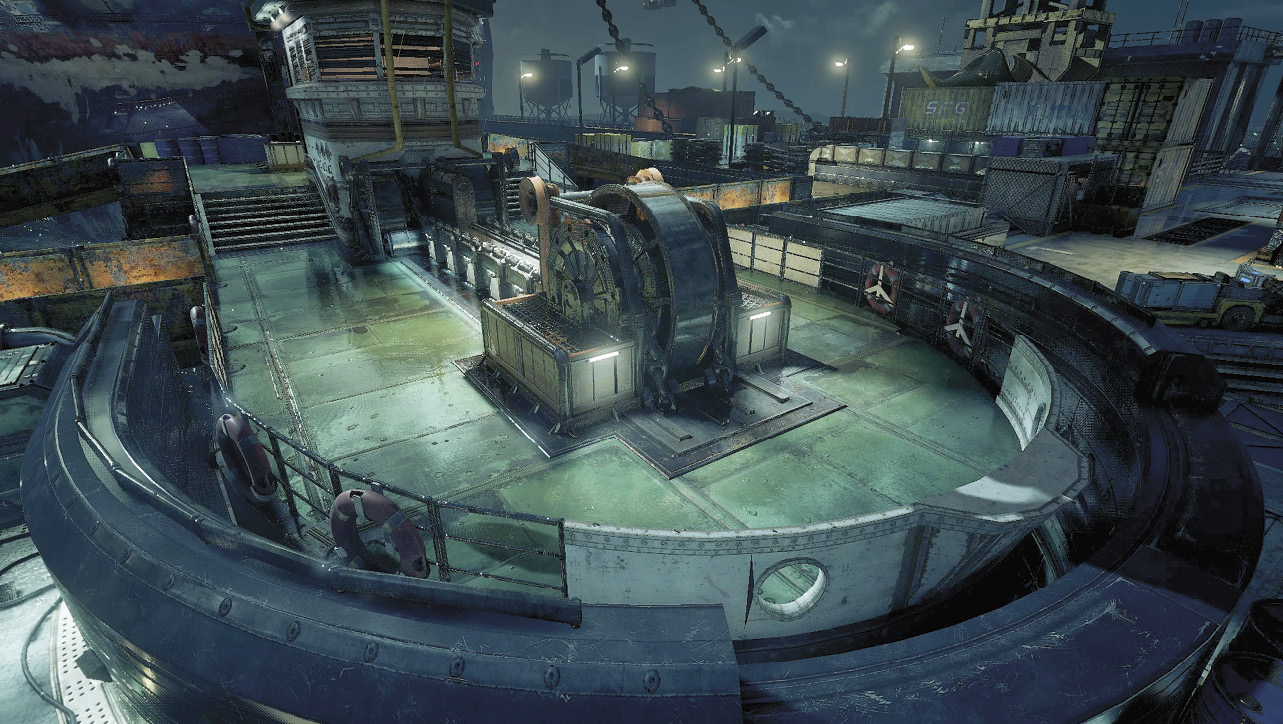
The Winch area allows you the best view of the map. However, with four entries into this area, enemies can very easily sneak up right behind you for an easy kill. Use this spot for a quick kill or some recon before moving away quickly.
Versus Callouts 1
Versus Callouts 2
Horde Callouts
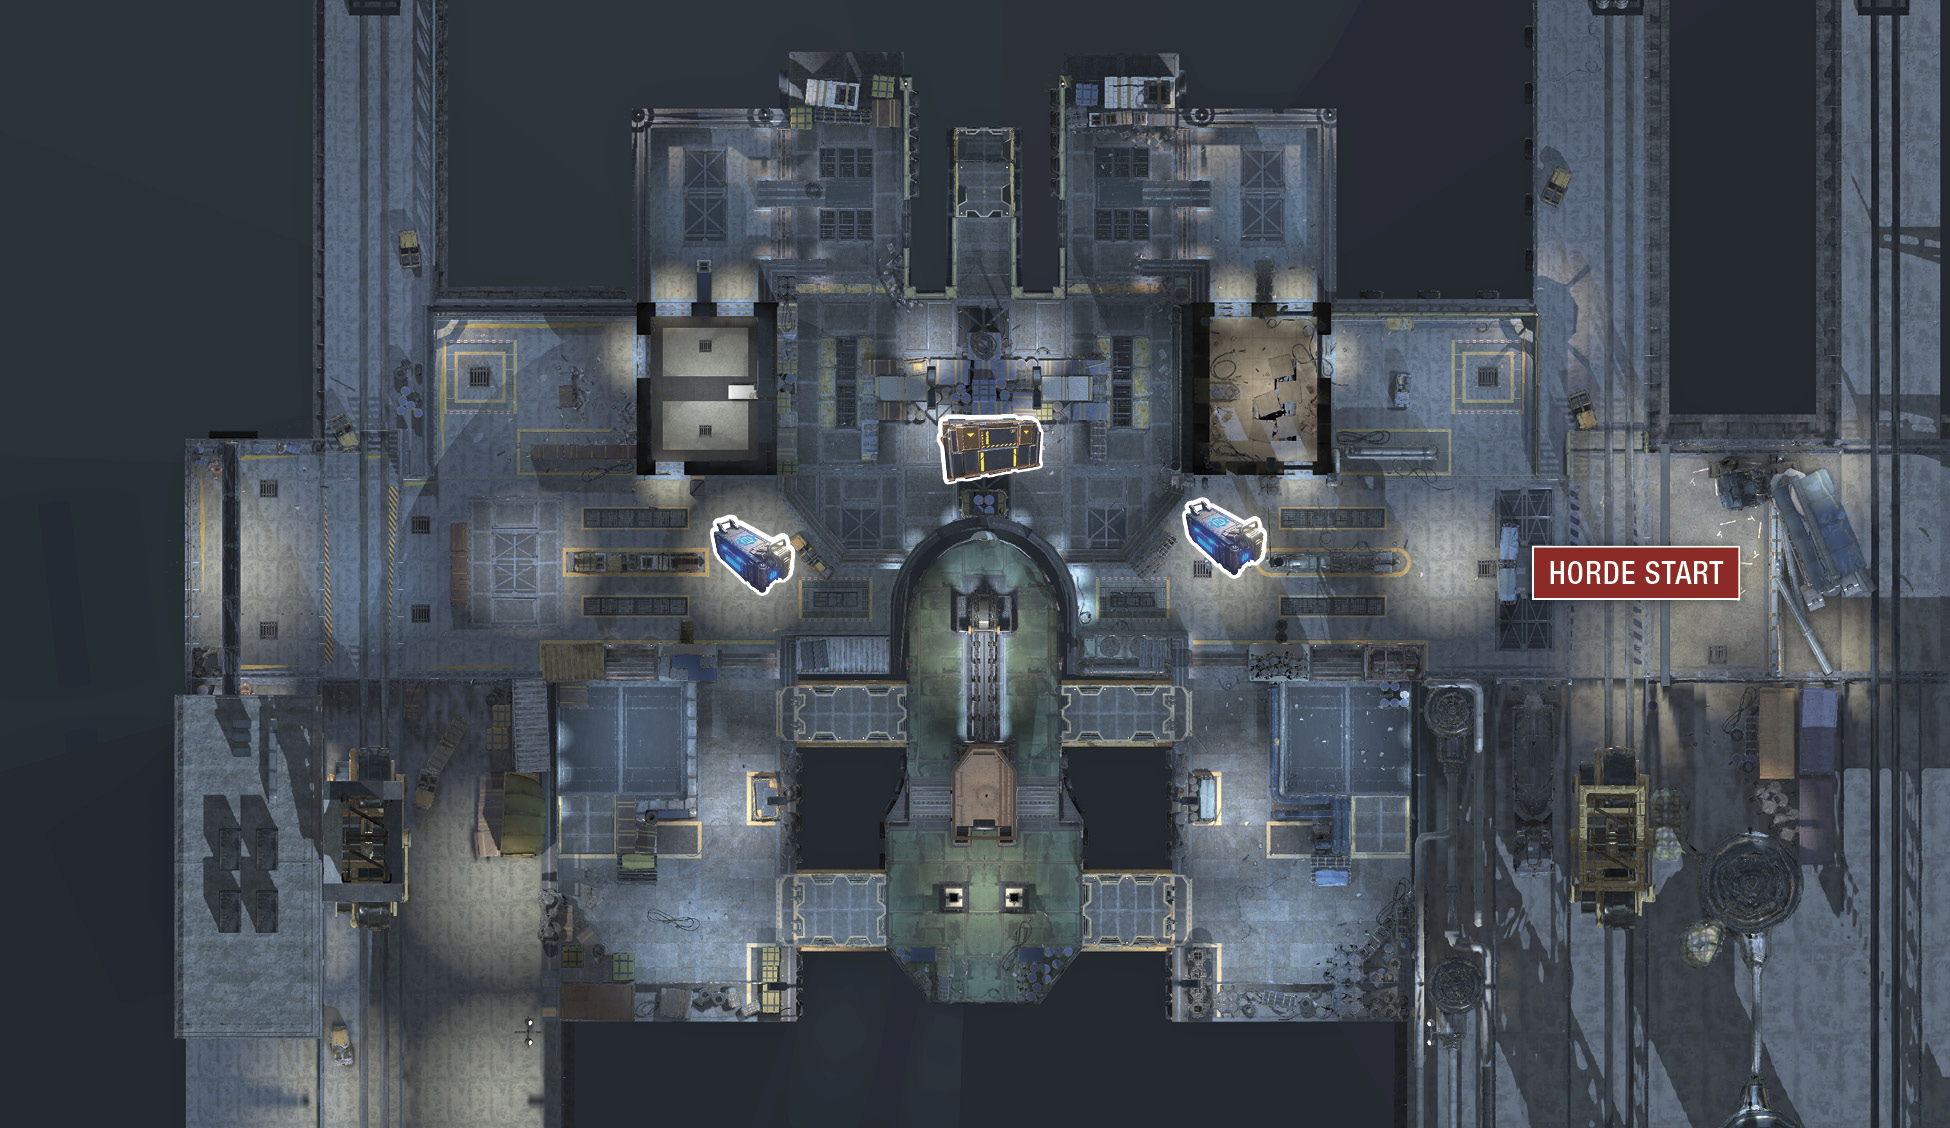
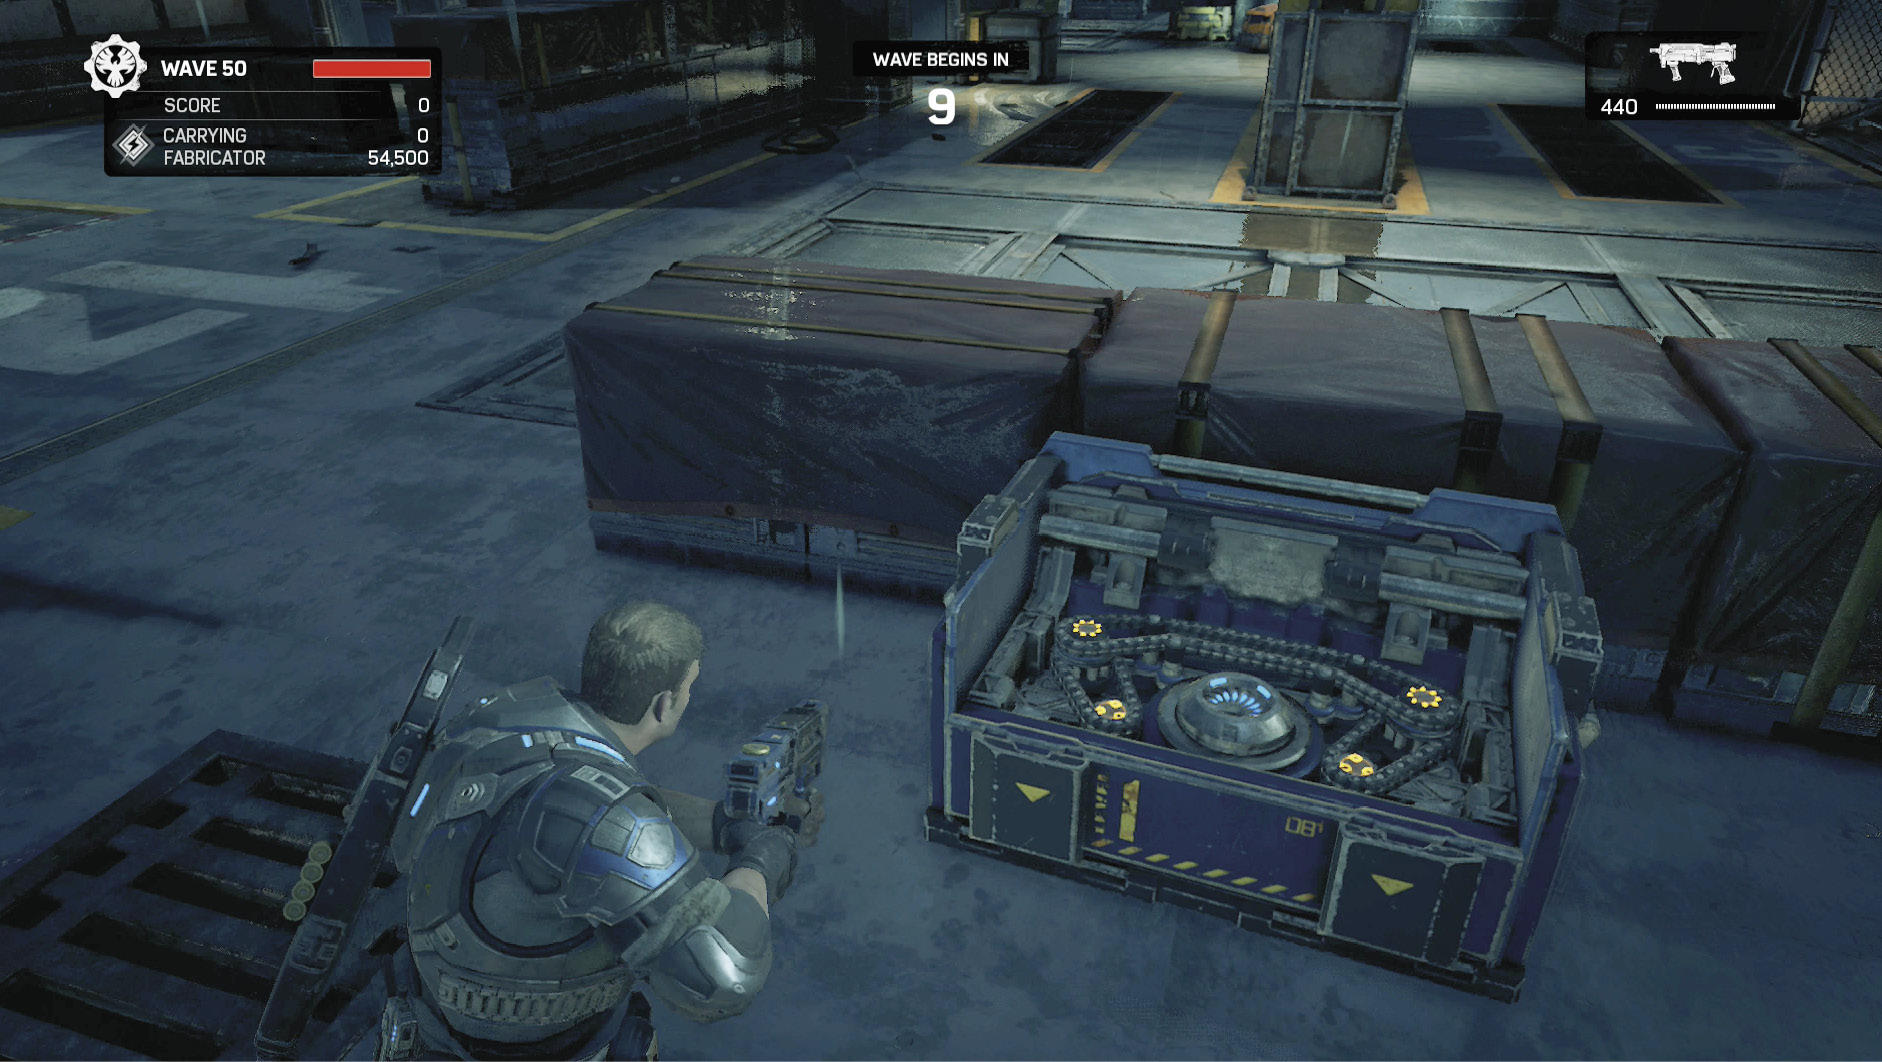
Harbor is fairly open, so it can be tough to setup a base and protect it from all sides. The spawn points are only open on one side, but cover is limited. Place the Fabricator just behind the cover and branch into the neighboring areas as the game progresses. The Control Room or Fuel Station could be used, but there are numerous openings to defend.