
Gears of War 4 Guide Campaign Act 4
Chapter 1: Get Out
Collectibles
|
 Locust Shell Disposal Form
Situation Overview
The squad’s decision to risk it all and brave the depths of the mine paid off. Not only did they find the pod with Marcus, but they got to him before it was too late! Marcus was able to provide some information about the origins of the Swarm and what they’re doing with the humans they capture, but the questions still outnumber the answers. They’ll have to check another burial site for Reyna, but first they need to find a way out.
Locust Burial Site
Objective: Return to the Ore Transporter
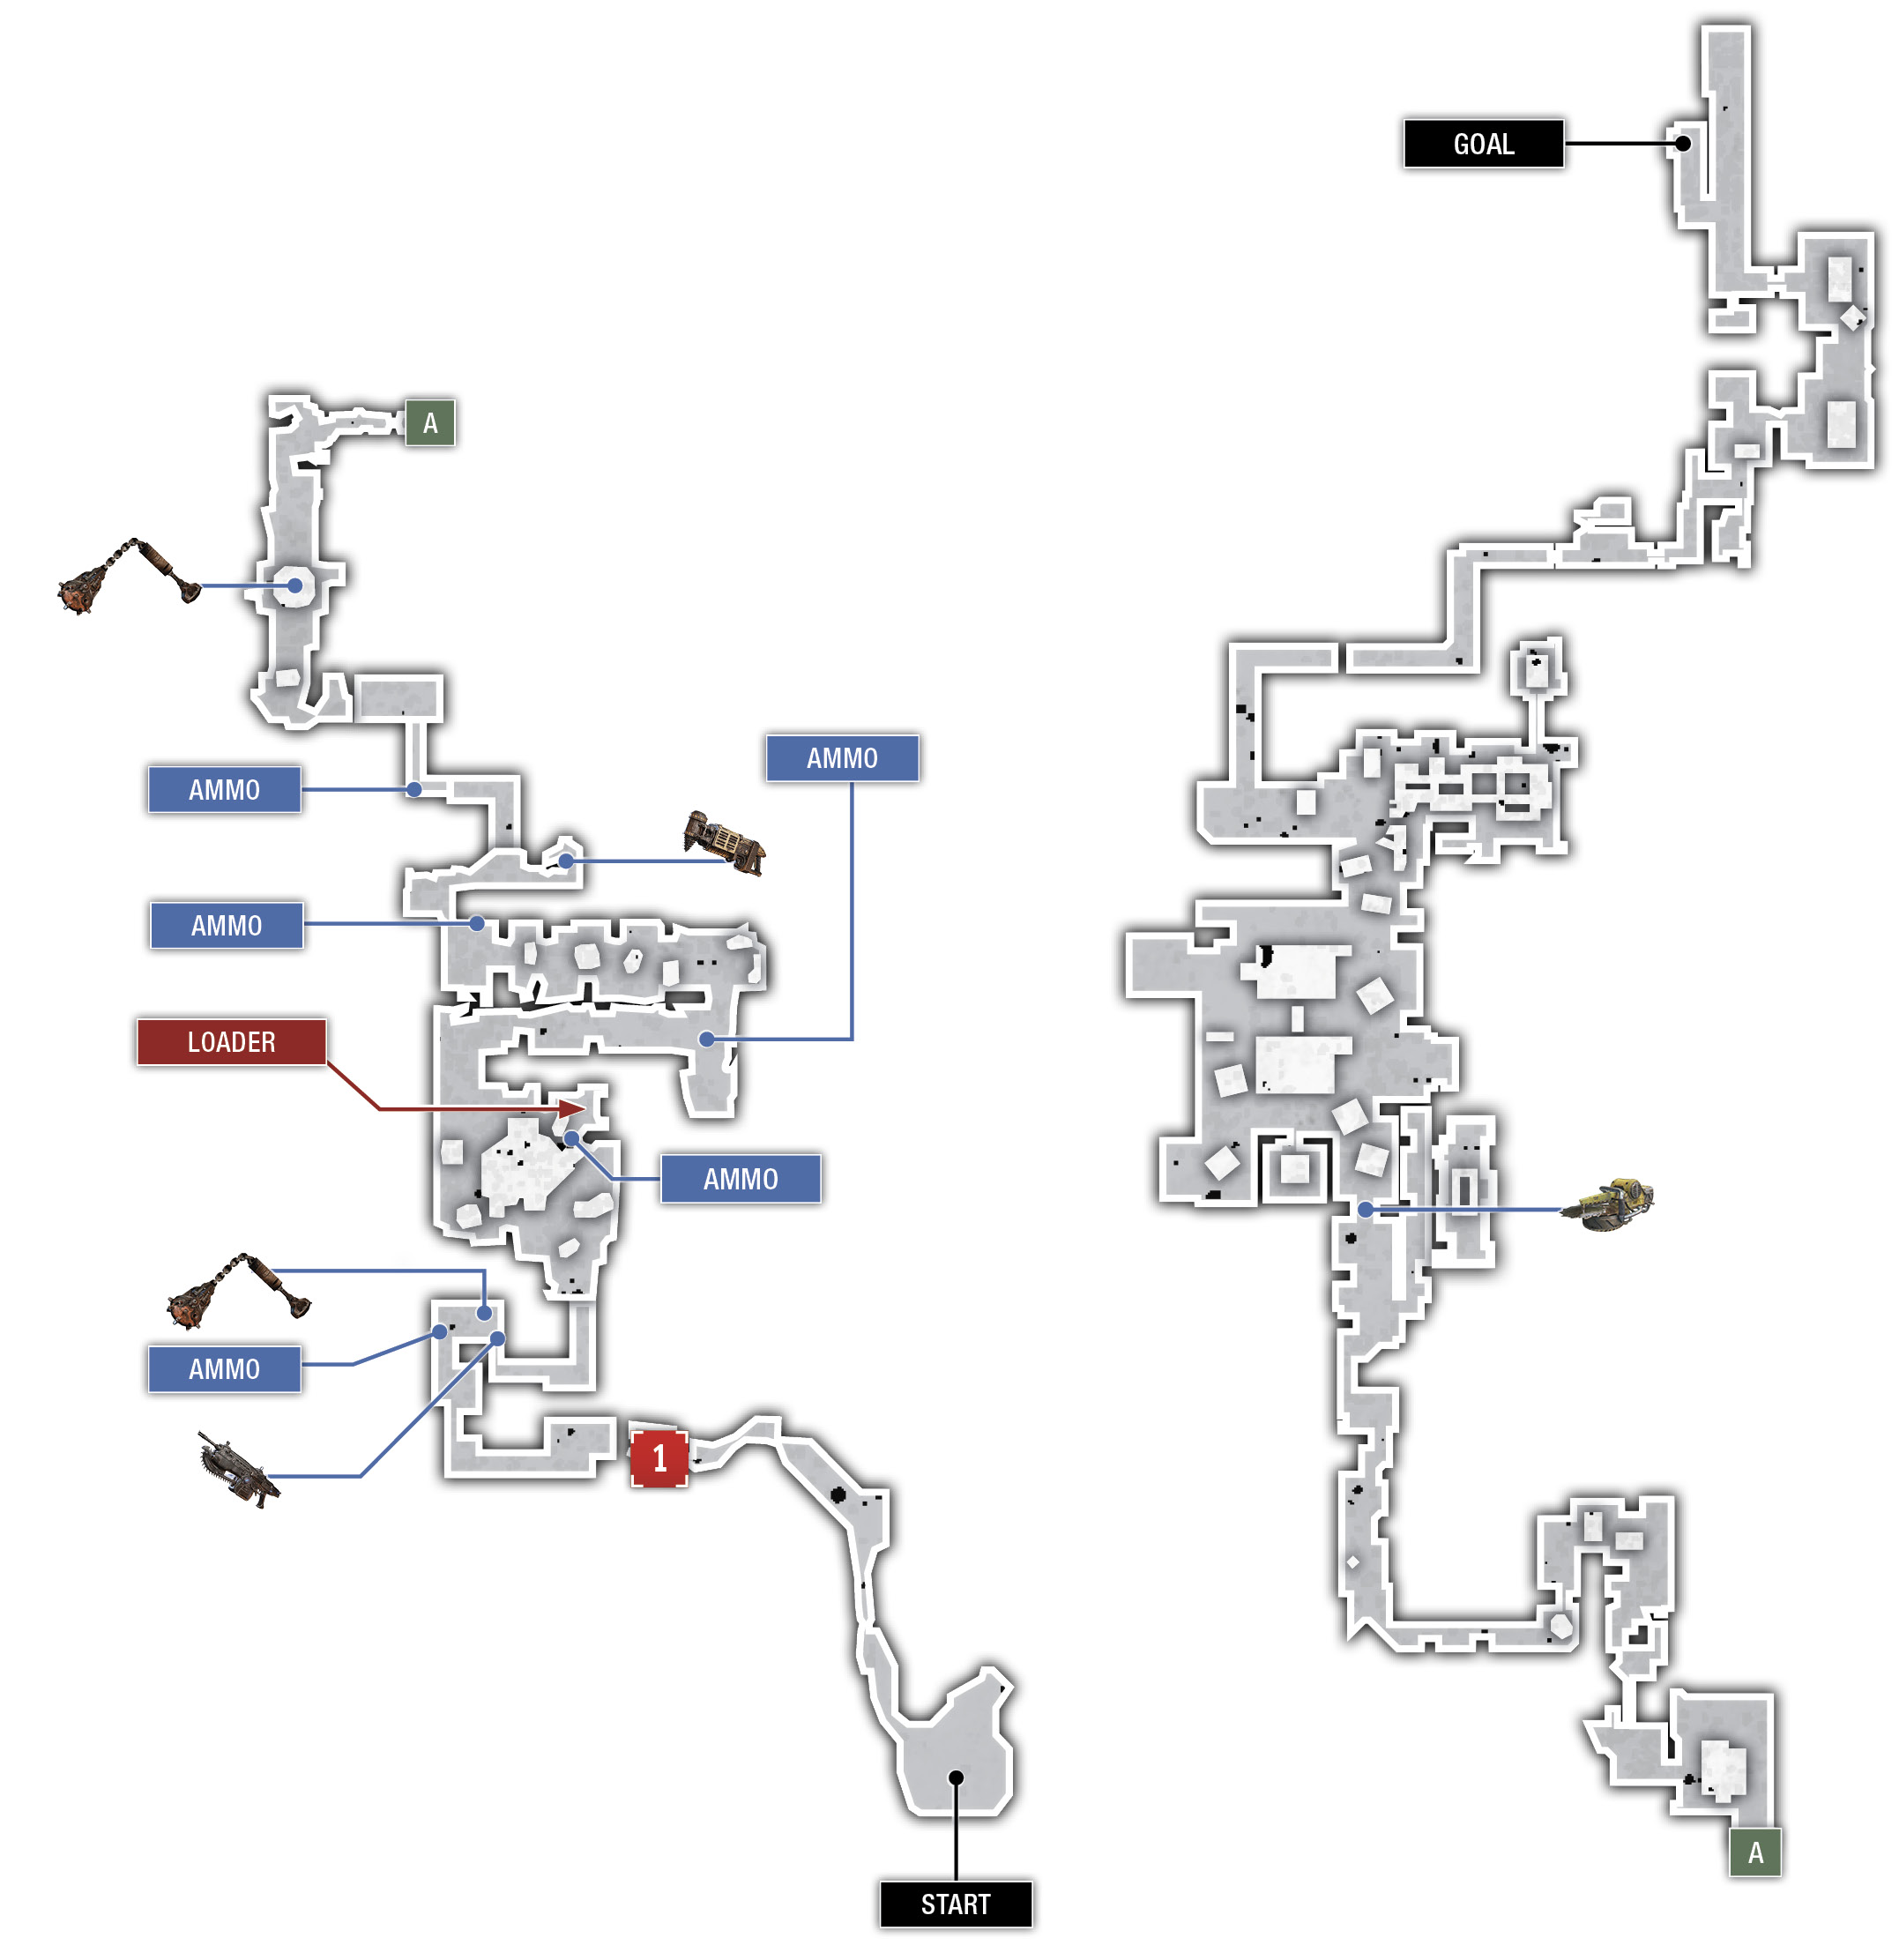
Lead the way up the left-hand path and cut through the tendrils. Follow the path out onto the mining platform with the collapsed mine cart tracks. Round the corner after the mine carts and grab the weapons and Frag Grenades that are beyond the door to the right.
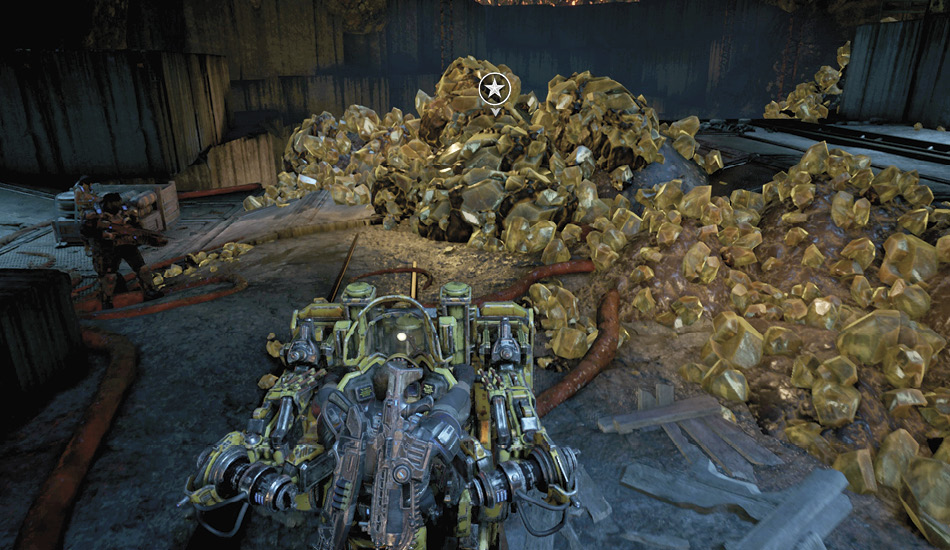
Loop around the pile of crystals to the left and locate the Loader. Climb aboard and take a running charge at the pile of Locust shells to push them into the abyss. This clears a path for the squad.
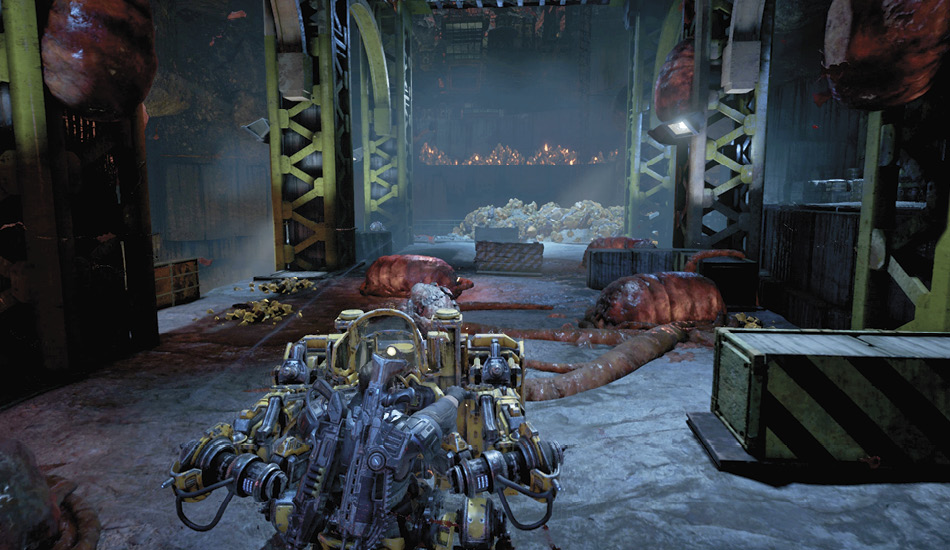
Kait calls attention to the Juvies attacking to the right. Pilot the Loader up the path to the right, straight through the Juvies. Turn the corner to the left and keep going past the Drones and Hunter Drones in the distance. Smash through any breakable cover, push the Drones off the ledge, and stomp any that dare approach the Loader. Push the second pile of Locust shells off the platform, then exit the Loader.
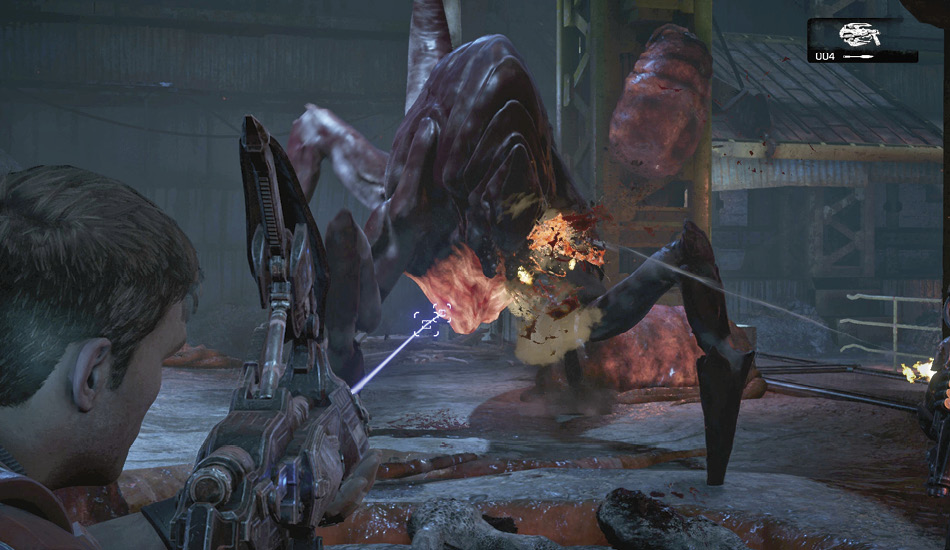
Grab one of the dropped Torque Bows and target the Snatcher that attacks. The Snatcher follows the winding path up to where you are, but if it manages to abduct any members of the squad, it leaps down off the ledge and hurries across the pit to escape. Ignore the Juvies that attack alongside the Snatcher as best you can and focus your attacks on the larger foe. Revive any fallen allies quickly and stay on the move. Consider running past the Snatcher to the far end of the path. Once it gets close, you needn’t fight it in such close confines.
Follow the path through the door and access hallways to where you spot a Dropshot in a mine cart. Swap out the Gnasher or Torque Bow for the Dropshot and continue to the next cavern where a Swarm nest appears. Lob a Frag Grenade to close the nest, then drop the hanging pod on any Drones that managed to exit the nest. Look for Frag Grenades in the nest and take cover inside the crater.
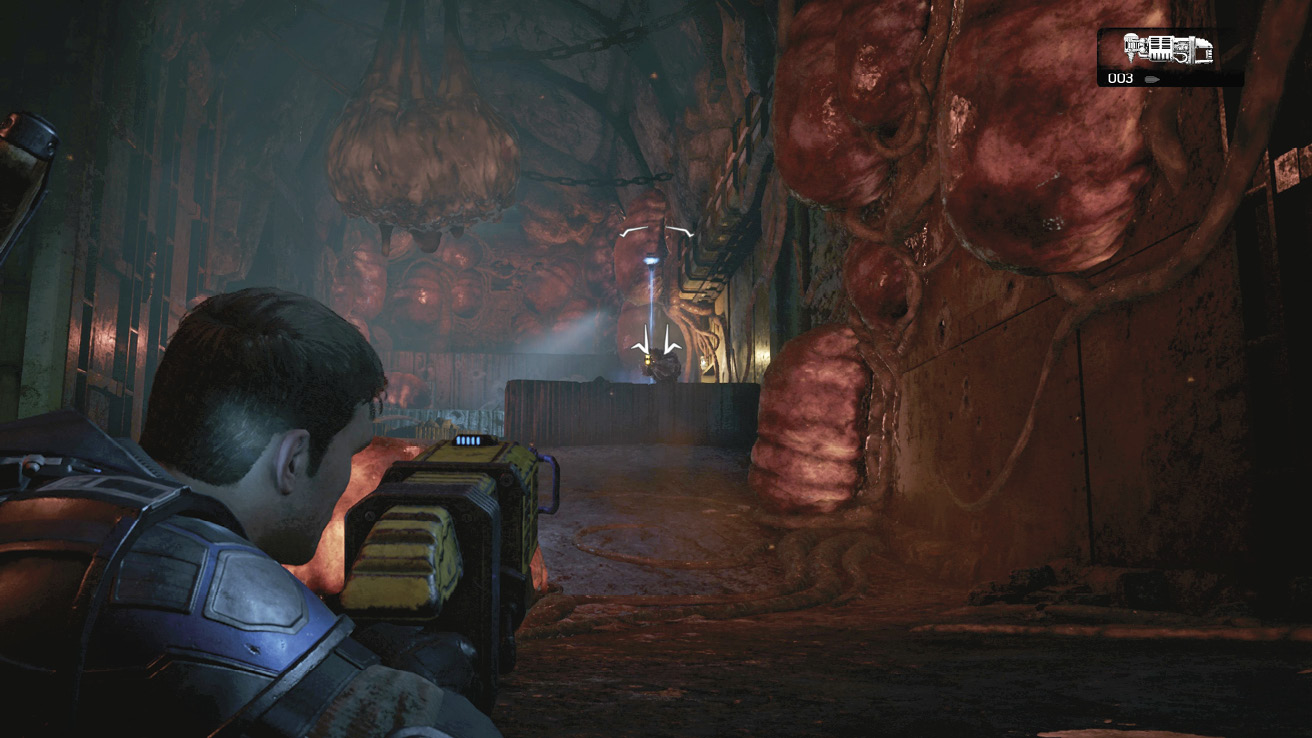
Collect the Hunters’ dropped Torque Bows and kick through the door on the right to continue. Climb the ladder and chainsaw through the chain on the doors to return to the room with the numerous Juvie corpses. This is the room you came through earlier. Ascend the spiraling stairs on the right to regain the original route that you took from the ore transporter. You’re getting close!
Wend your way through the control rooms to the Imago Drone behind the tendril-wrapped containers up ahead. Yank-and-shank this lone Drone, then lead the charge up the stairs to the right.
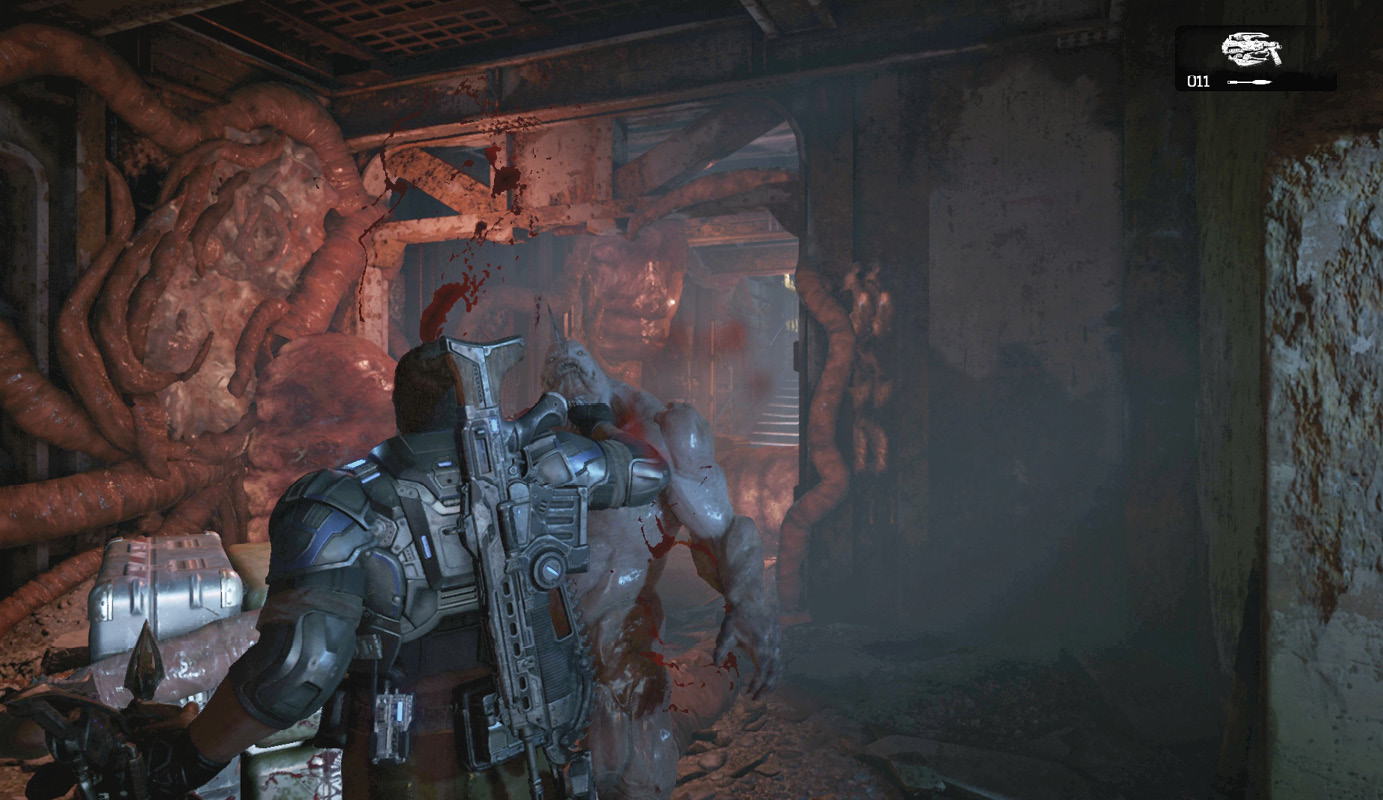
Ascend the sloping tunnel and exit the hole where you first encountered a Scion. Claim the Buzzkill near the cart up ahead and take cover behind one of the carts. A Snatcher appears atop the mining facility. Take out the Drones with the Buzzkill while you wait for the Snatcher to descend, then fire the Buzzkill blades at it as it approaches. Drop the Buzzkill when it runs out of ammo and flee to the relative safety of the walkway on the right. Use the Torque Bow that you found in the previous area to finish off the Snatcher.
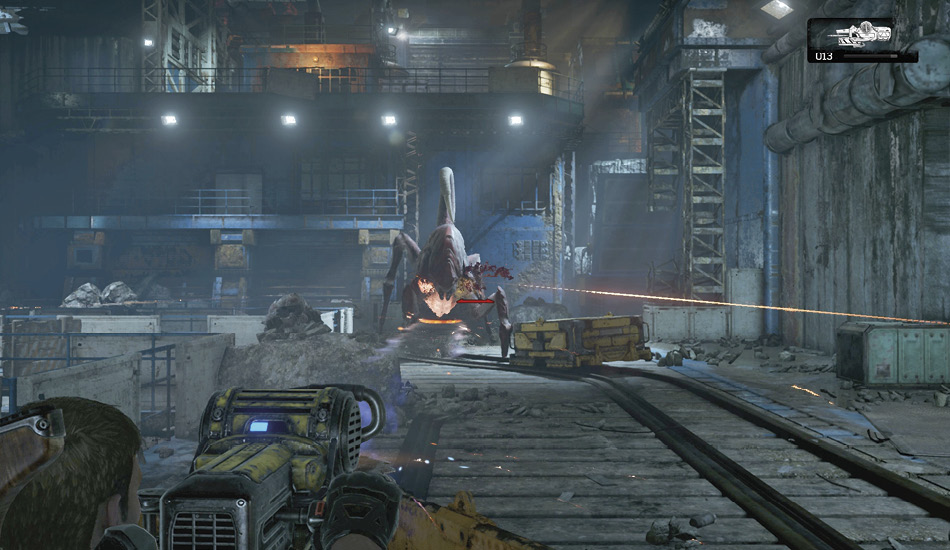
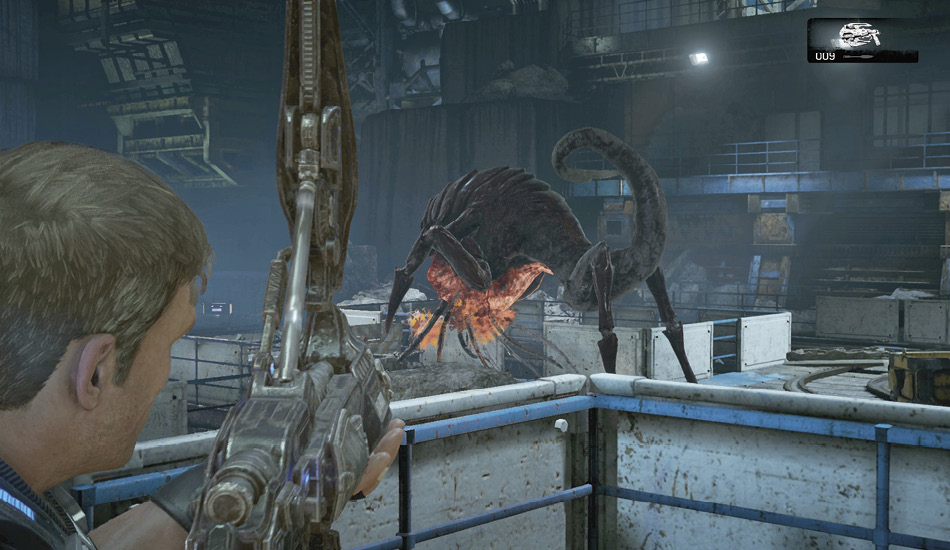
Climb the ramp that Marcus lowers and make your way back across the mining facility, the way you came in the previous chapter. Several Juvies will attack but you should only stop to repel them if they start to get too numerous, otherwise keep running. The ore transporter isn’t very far. Marcus and Kait will hold off the Swarm while JD and Del come up with a plan for how they’re going to escape the pit.
JD and the others each ride one of the counterweight cables out of the trench, but it’s not without its challenges. Numerous bits of webbing—aka door snot—span the shaft and need to be cleared out. Fortunately, the webbing has caught some falling explosives. Shoot the explosives with the Snub Pistol to clear the webbing. Keep firing at the webbing and anything caught in it as you ascend.
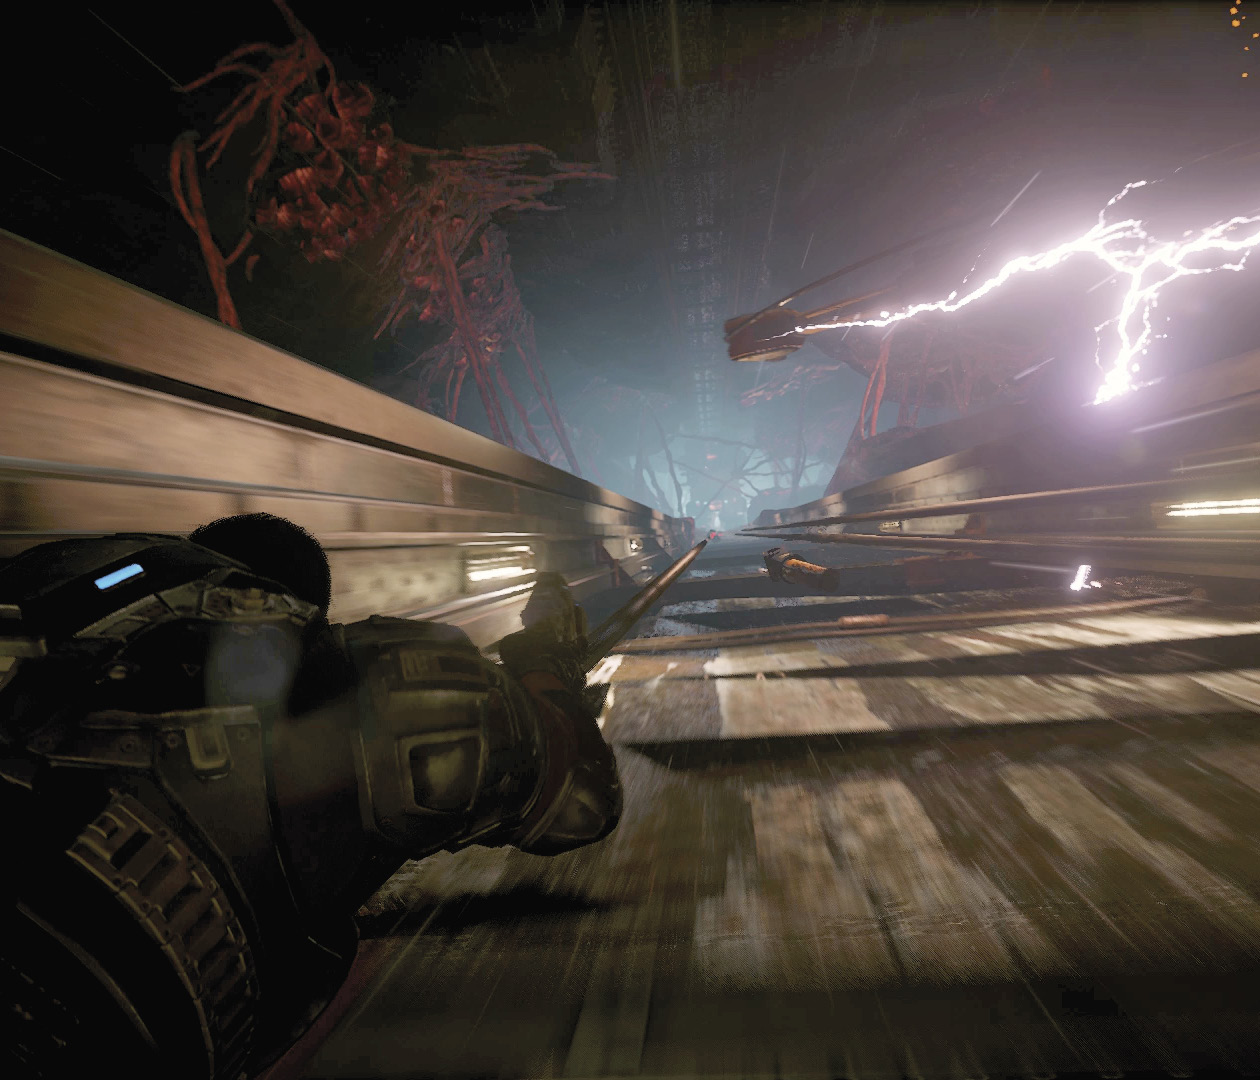
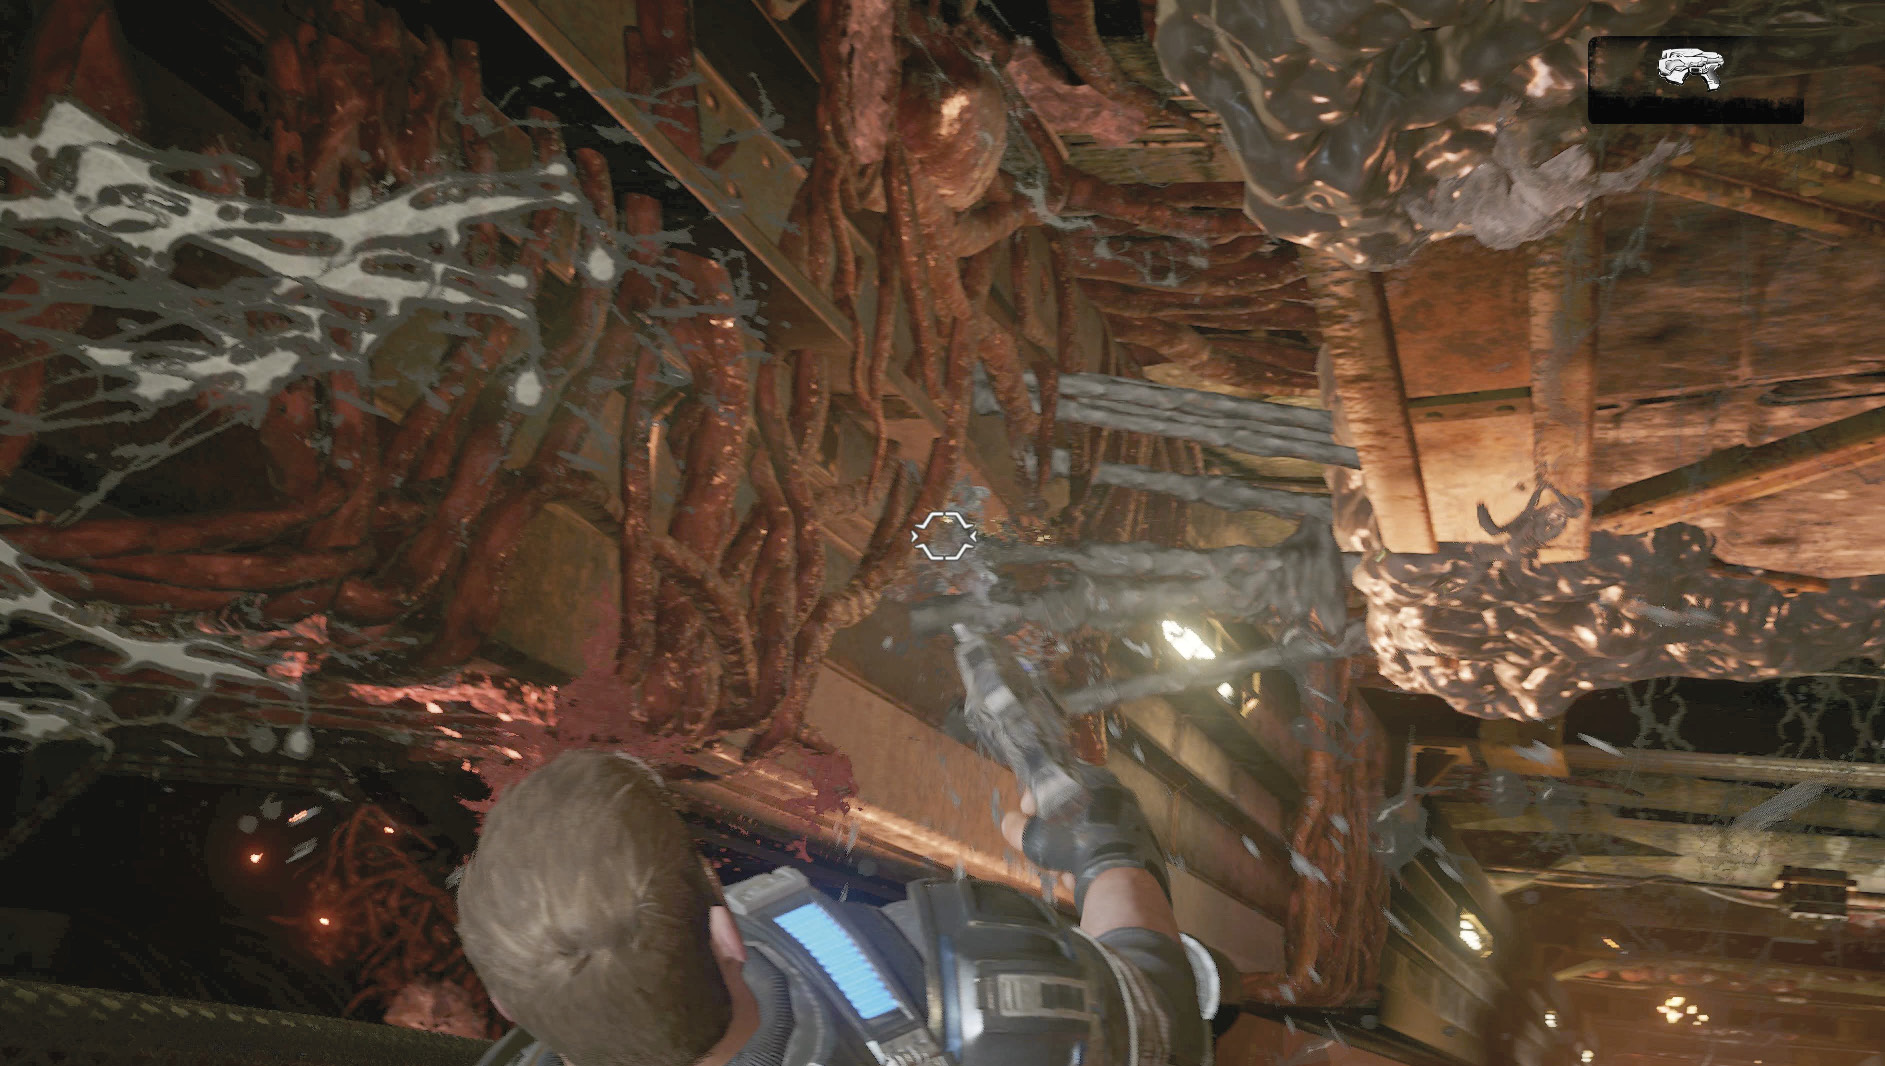
The counterweight soon comes falling toward the squad, but gets caught in the webbing, bringing their ascent to a standstill. Quickly shoot the webbing ensnaring the counterweight before the Juvies clamber up and attack.
The falling counterweight starts to bring down the entire mine shaft’s frame and the vertical rise becomes a horizontal swing. Use both the Movement and Look Controls to swing JD back and forth left to right to avoid the columns and rocks. JD can bounce off one or two if he takes a glancing blow, but a direct hit into the support structure will be fatal.
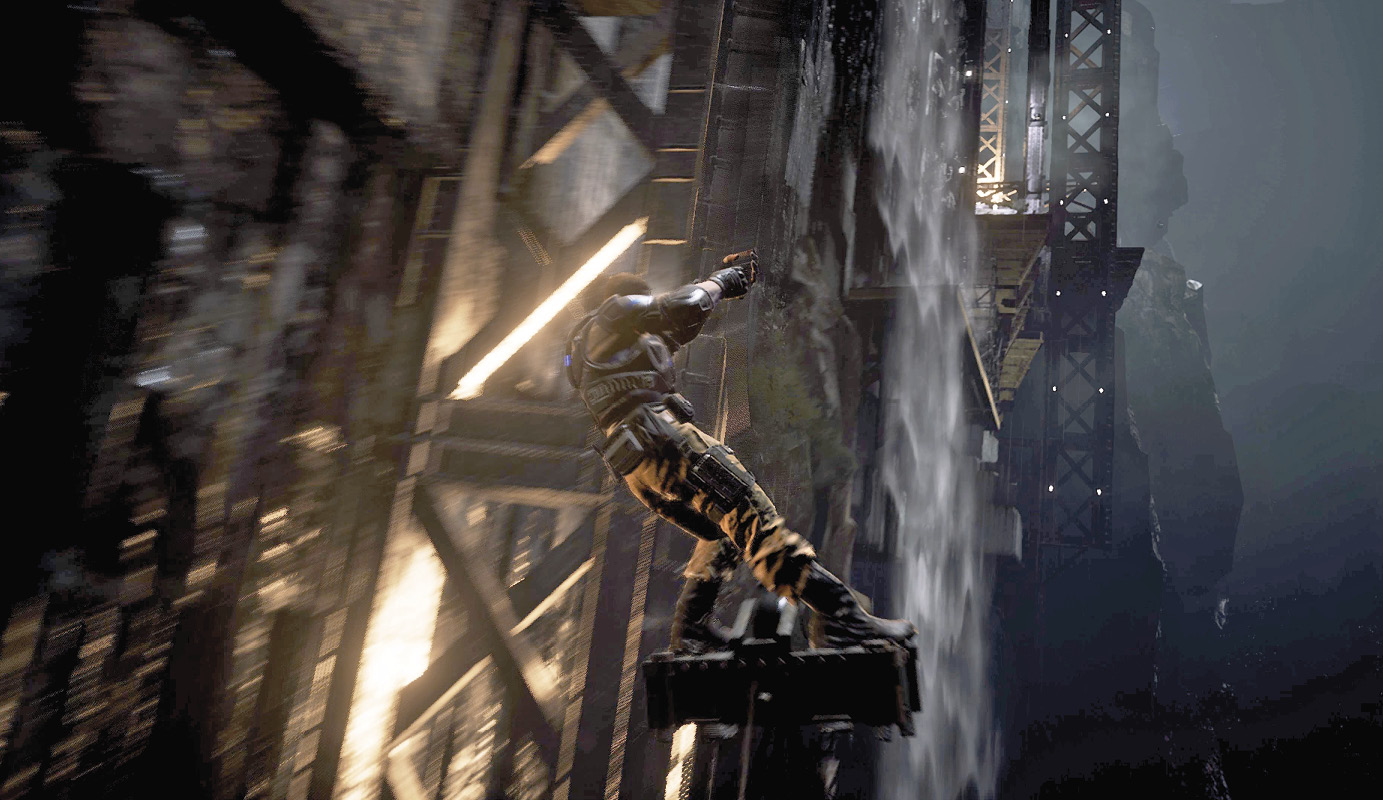
Begin firing on the gears as soon as the cables start pulling the squad vertically again. Don’t stop firing until JD is either safe or dead.