
Gears of War 4 Guide Multiplayer Multiplayer Arsenal
Assault Rifles
Assault rifles are the most commonly used weapons in the beginning of the match due to their medium-range dominance. They are your first line of defense against enemies’ aggressive rushes, giving you the ability to kill them as they come running.
When paired with a shotgun, you’ll be ready for a threat from practically any range.
The only thing you’ll need to watch out for is an enemy with a marksman rifle at the far end of the map. Try to stay hidden and blind-fire at them to prevent them from aiming accurately.
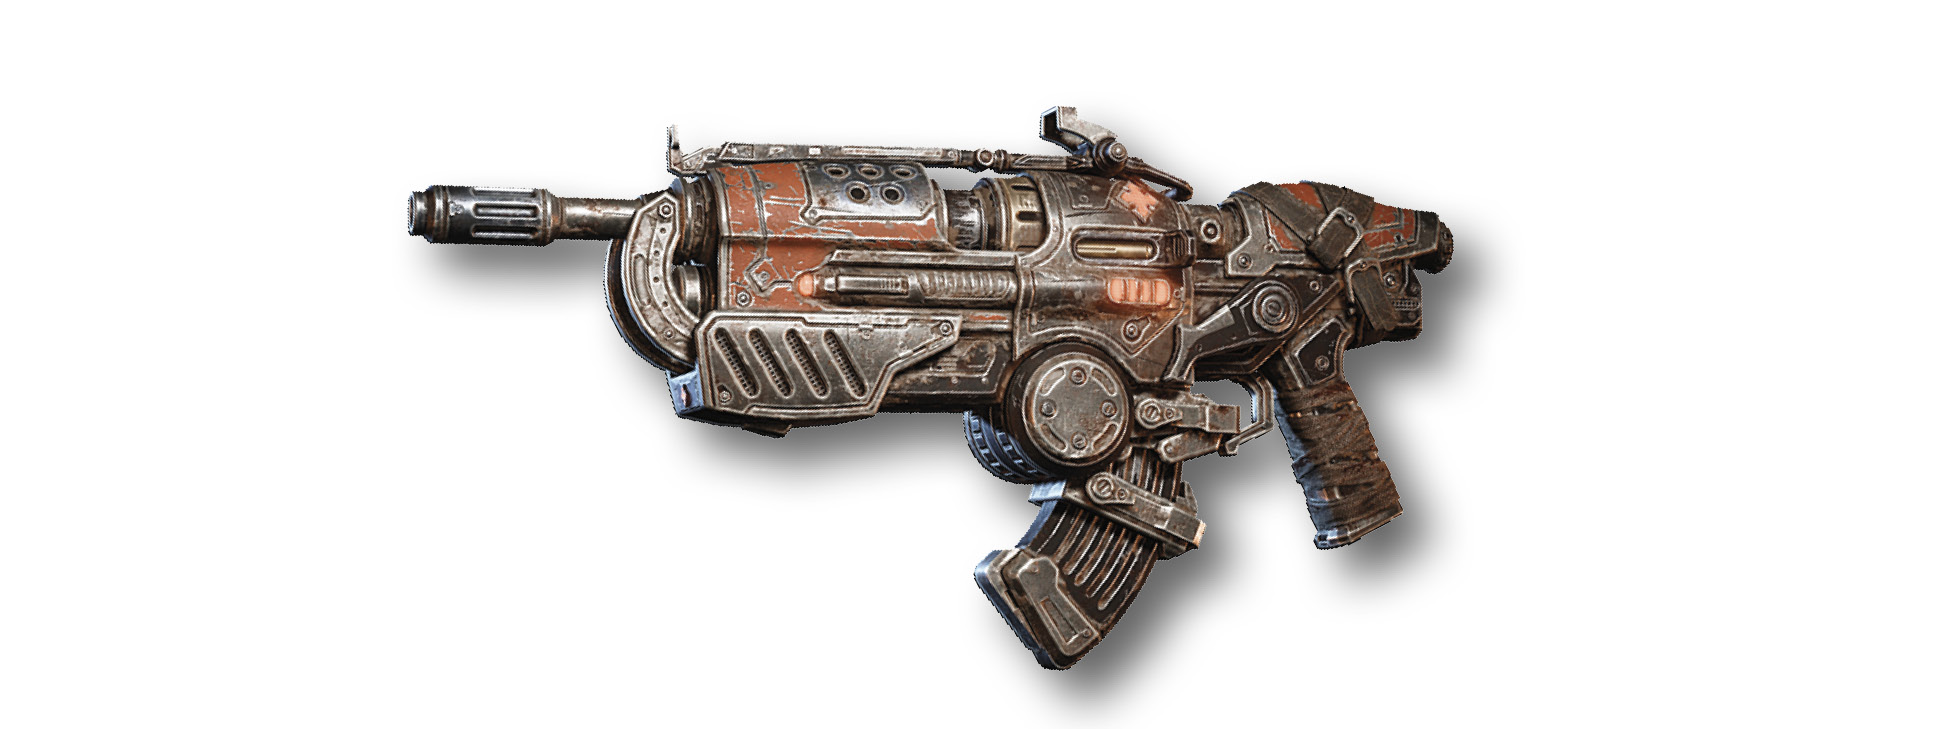
Hammerburst
The Hammerburst features a three-round burst, allowing accurate fire at medium range.
Slot: Primary
Trigger Type: Burst (three round)
Versus Availability: Loadout Selection
Horde Availability: Fabricator (LV 2), Swarm Drone
Weapon Stats (Core)
| Damage per round | Accuracy | Recoil | Rate of Fire (RPM) | Mag. Size | Ammo Capcity | Active Cooldown | Headshot Damage |
|---|---|---|---|---|---|---|---|
| High | High | Medium | 650 | 21 | 231 | 9 seconds | Medium |
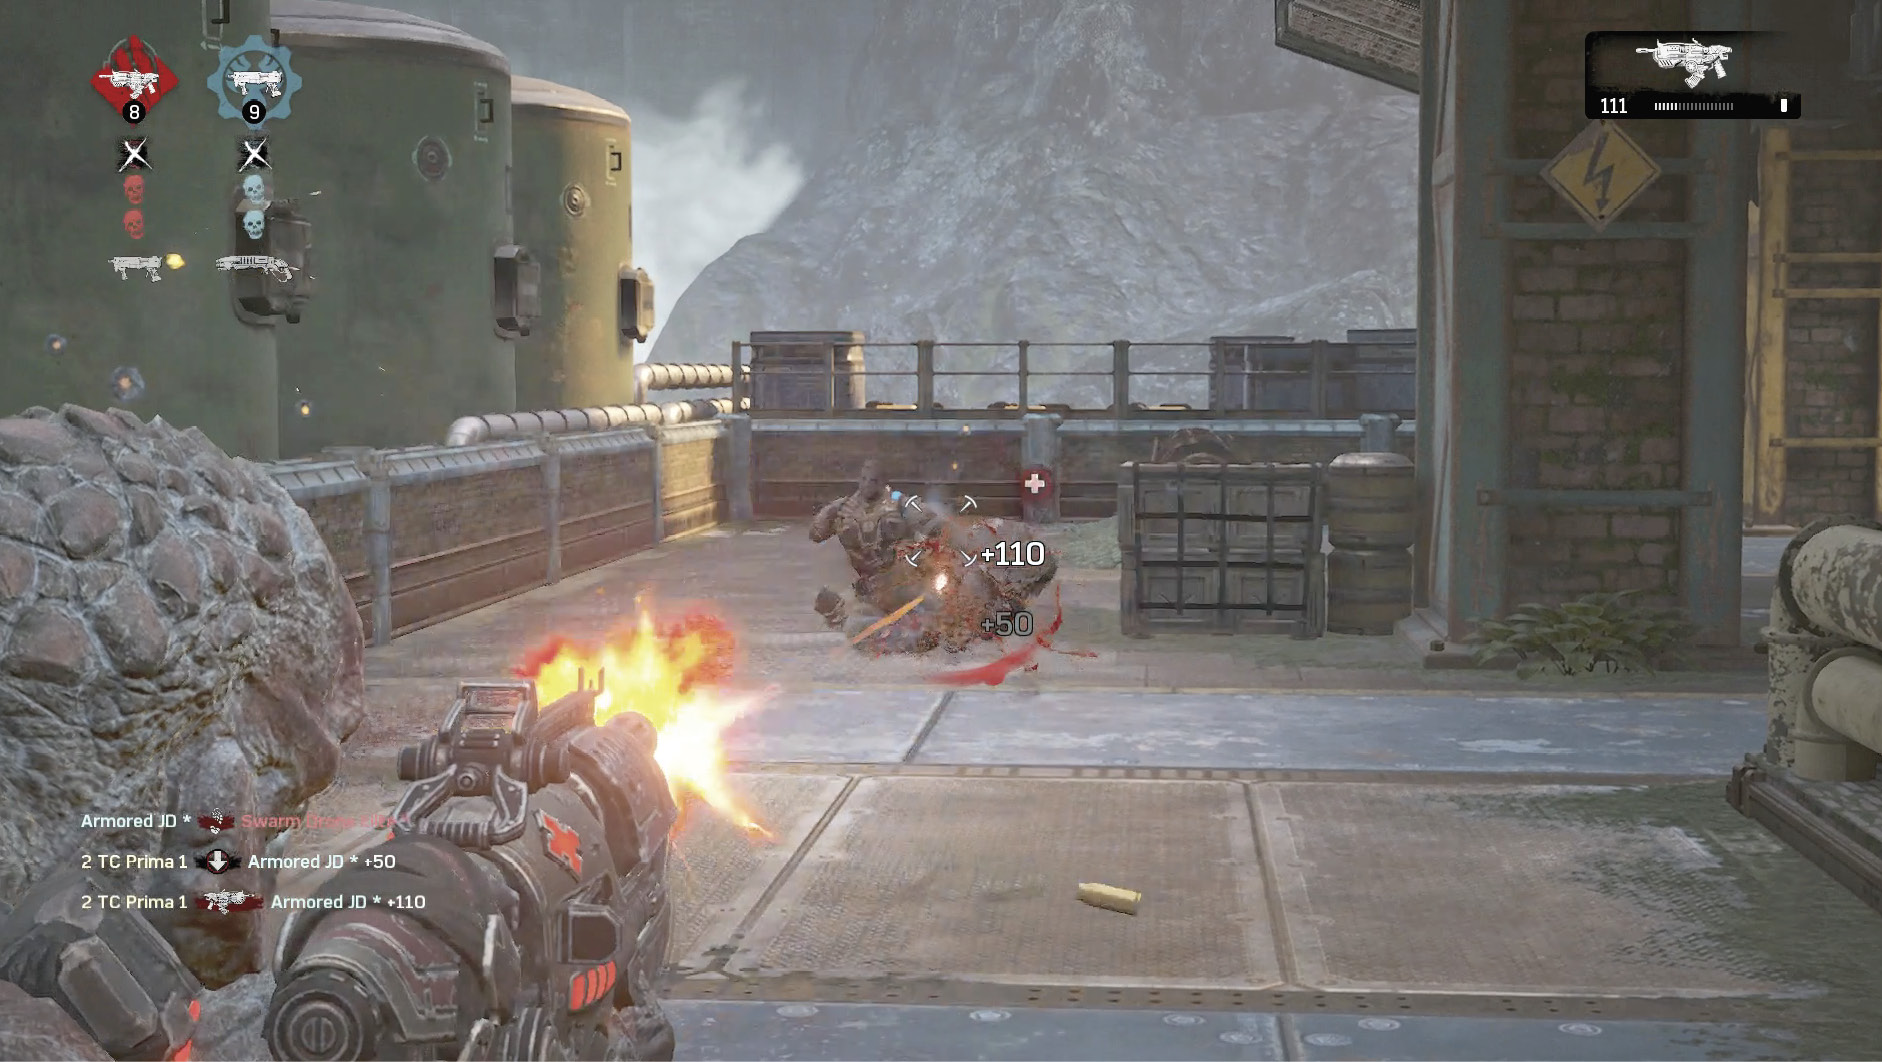
The Hammerburst is arguably the most accurate assualt rifle. Unlike the other two assault rifles, the Lancer and Retro Lancer, the Hammerburst does not have fully automatic fire. Instead it features a three-round burst that fires on every pull of the trigger.
The three-round burst makes the Hammerburst more effective at longer ranges, but when fired rapidly, it still has a punishing recoil. While the Hammerburst is not as common a choice as the Lancer as a loadout weapon, it is still good to have at least one on your team to counter weapons like the Longshot without the need of a map-based weapon.
Lancer
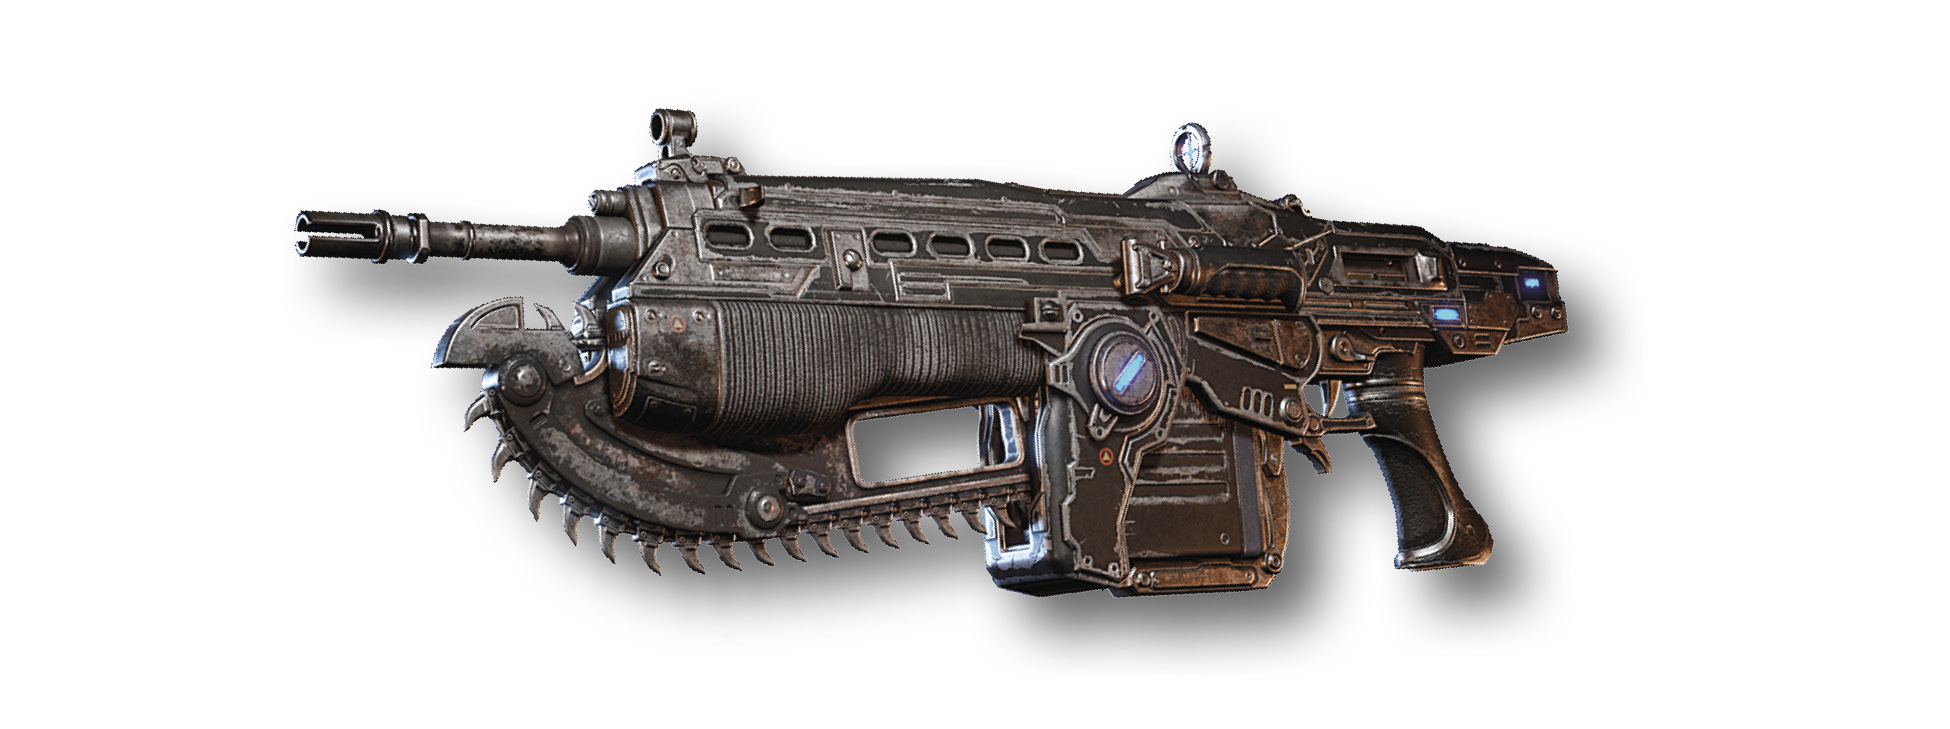
The Lancer assault rifle features a chainsaw to cut down close-range enemies.
Slot: Primary
Trigger Type: Auto
Versus Availability: Loadout Selection
Horde Availability: Soldier Class, Fabricator (LV 2), Swarm Drone Elite
Weapon Stats (Core)
| Damage per round | Accuracy | Recoil | Rate of Fire (RPM) | Mag. Size | Ammo Capcity | Active Cooldown | Headshot Damage |
|---|---|---|---|---|---|---|---|
| Medium | Medium | Low | 550 | 50 | 500 | 12 seconds | Medium |
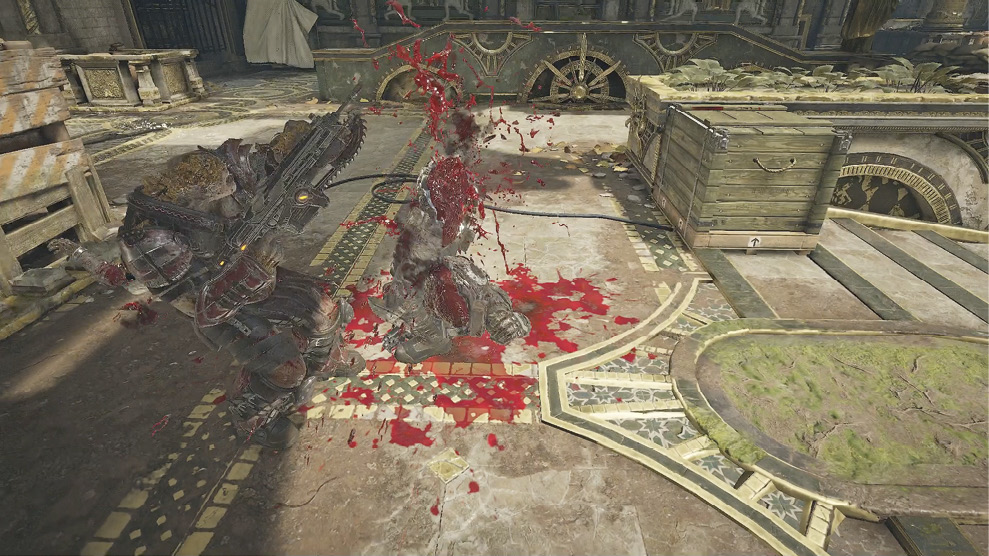
The standard Lancer is available as a loadout weapon and has a handy chainsaw that can be used to cut down enemies.
While the Lancer excels at medium-range combat, it becomes less accurate at longer ranges, allowing suppressive fire of a target while you move into a better position. The Lancer can be used at close range, but it’s real strength lies in the chainsaw attached to its underbarrel, allowing you to perform an execution on any target.
To cut down an enemy, hold down the Melee button  and you’ll rev up the chainsaw for some bloody action. You are vulnerable when chainsawing an enemy and cannot roadie run while your chainsaw is charged up, so use this when you have the drop on an enemy from behind and they are alone.
If another player attempts to use their chainsaw at the same time, you will both lock into a melee battle. To win this battle, you’ll need to press your Melee button  rapidly until you win, or get cut in half.
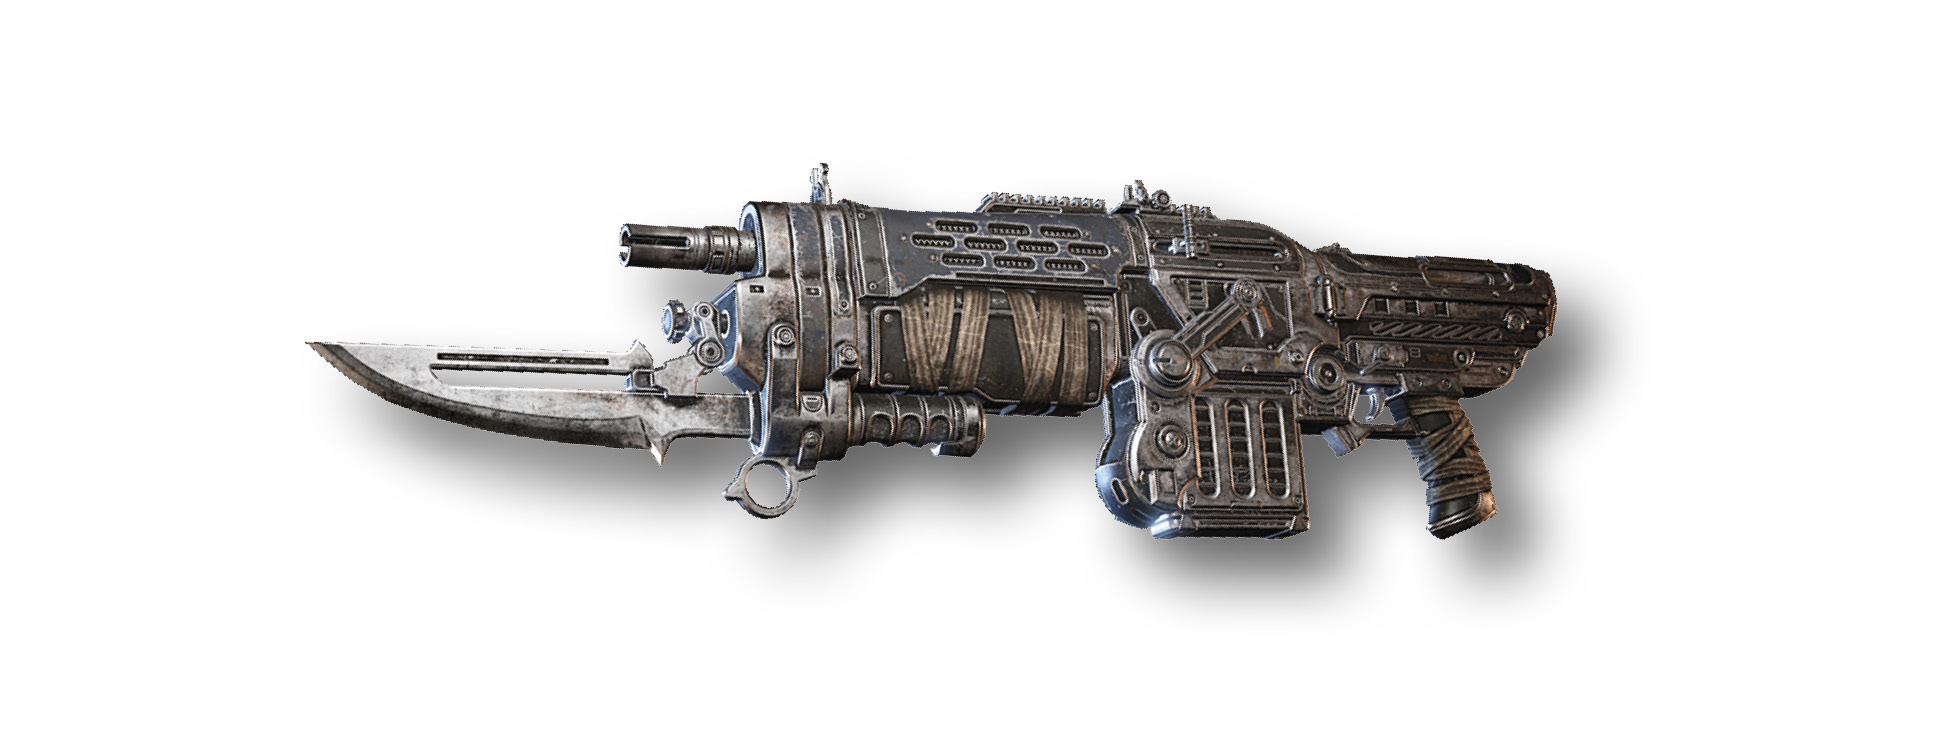
Retro Lancer
The Retro Lancer deals generous damage and allows the player to Bayonet Charge.
Slot: Primary
Trigger Type: Auto
Versus Availability: Dam, Forge, Reclaimed
Horde Availability: Heavy Class, Scout Class, Fabricator (LV 2)
Weapon Stats (Core)
| Damage per round | Accuracy | Recoil | Rate of Fire (RPM) | Mag. Size | Ammo Capcity | Active Cooldown | Headshot Damage |
|---|---|---|---|---|---|---|---|
| High | High | High | 450 | 20 | 220 | 15 seconds | Medium |
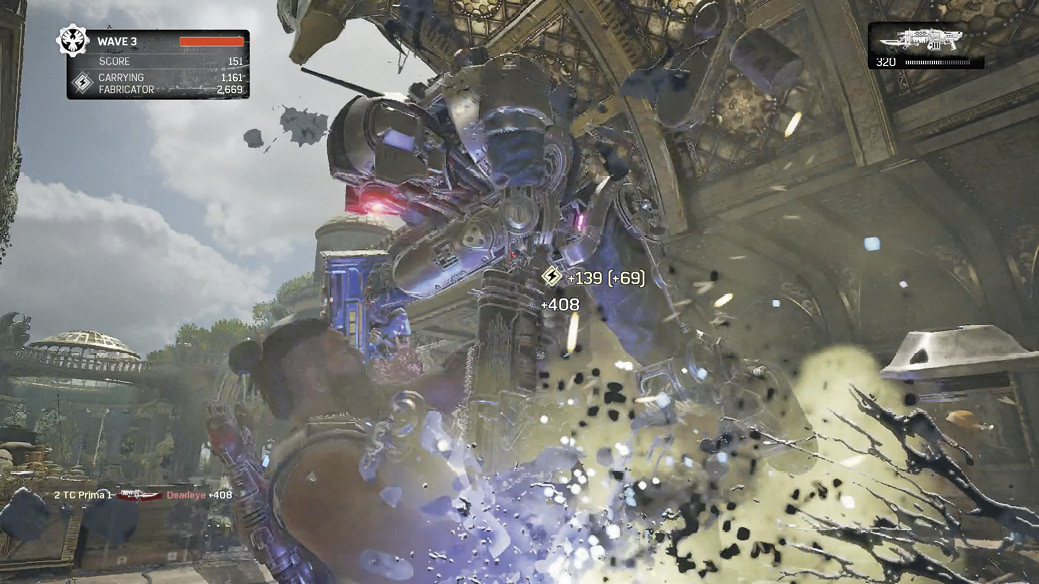
The Retro Lancer deals more damage than its Lancer counterpart and features a sharp bayonet at the business end of the gun. The higher damage and lower rate of fire for the Retro Lancer make it weaker at close range. To balance this difference, it has two different types of melee attacks.
The first melee attack is achieved by just tapping the Melee button  . This will cause you to swing your weapon and deal out a standard melee attack.
The second melee attack is the Bayonet Charge. A direct hit with a fully “charged” Bayonet Charge will execute any enemy you hit! When the Melee button  is held, you’ll begin a Bayonet Charge in the direction of the enemy. This charge is not indefinite like the roadie run. A short bar appears below the weapon at the beginning of the charge. While it is white, a hit from your charge will simply hurt an enemy and stop your run. When the bar turns red, a direct hit with your charge will kill an enemy, causing a short animation where you are vulnerable. Use this move to catch enemies who are alone and out in the open, moving between cover.