
Gears of War 4 Guide Campaign Arsenal
Primary Weapons
- Players beginning from a continue, loading a game save, or replaying a previously completed chapter are automatically equipped with the Lancer, Gnasher, Snub Pistol, and Frag Grenades.
- The left and right weapon slots are reserved for primary two-handed weapons. The top and bottom slots are reserved for grenades and a pistol, respectively.
- Players can equip any two primary weapons they choose, regardless of type. This includes power weapons, assault rifles, and shotguns.
- It is recommended that you have an assault rifle—preferably the Custom Lancer—equipped at all times in the right weapon slot and swapping weapons out of the left-hand slot to fit the situation.
- You can only carry a pistol and one type of grenade at a time.
Rifles
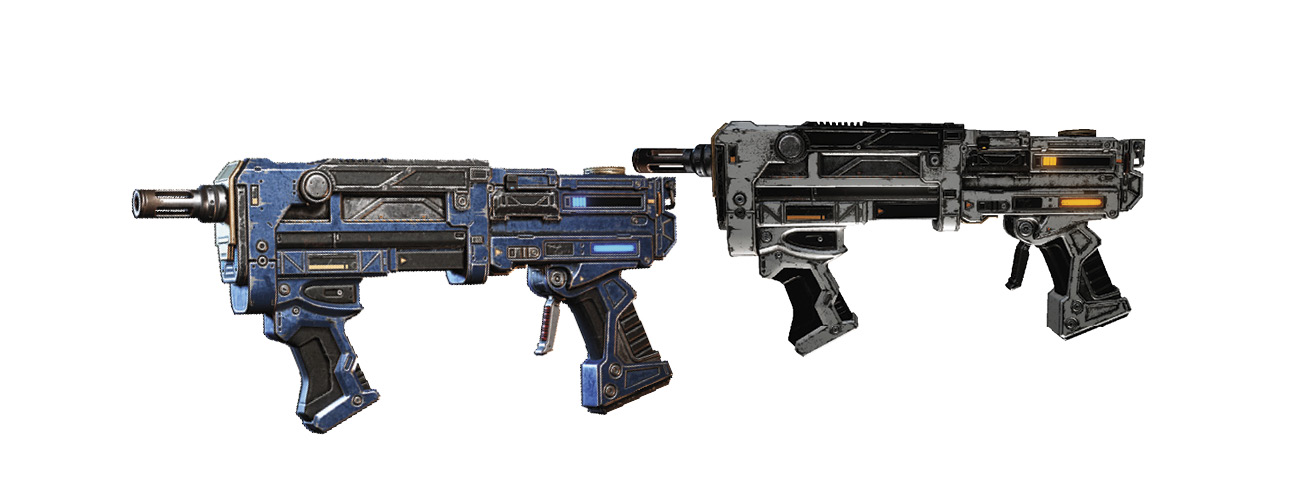
Enforcer
| Mag. Size | Ammo Capacity | Rate of Fire (RPM) | Recoil | Trigger Type | Base Dmg. | Headshot | Active Reload | Damage Radius |
|---|---|---|---|---|---|---|---|---|
| 40 | 440 | 1000 | Low | Auto | 42 | 1.25x | +20% Damage | N/A |
The Enforcer, the weapon used exclusively by DeeBee Shepherds, is a spectacularly fast-firing sub-machine gun that offers terrific punch at close to medium range. The Enforcer fires an energy projectile that causes debilitating burns. No one is ever hit by a single discharge, however. The Enforcer’s rate of fire rivals the Mulcher and, although it inflicts less damage than all other rifles, it can hold its own against any of them thanks to that speed. The Enforcer is a valued weapon during Act 1, while the trio make their way through the DeeBee-protected Settlement 5. Utilize its accuracy and low recoil and aim for headshots.
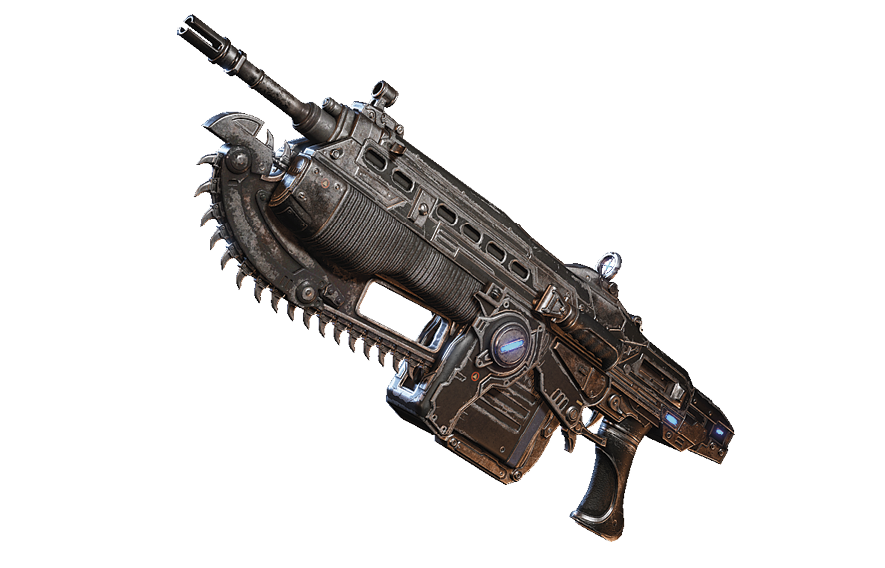
Lancer
| Mag. Size | Ammo Capacity | Rate of Fire (RPM) | Recoil | Trigger Type | Base Dmg. | Headshot | Active Reload | Damage Radius |
|---|---|---|---|---|---|---|---|---|
| 50 | 550 | 550 | Low | Auto | 55 | 1.5x | +30% Damage | N/A |
The chainsaw-equipped Lancer has been a COG staple since before Aspho Fields and the battle with the Indies. This versatile weapon can fire its entire clip in under 5.5 seconds with little recoil and above-average precision. The Lancer offers a near-perfect blend of power, range, and accuracy. It is ready to deal death in any situation. Although it is capable of inflicting damage at long range, the Lancer is best suited for close to medium range combat. Its impressive rate of fire and expansive magazine combine to make it capable of downing almost any enemy in record time and its chainsaw bayonet provides a way to instantly execute an enemy at close range without firing a single shot. The chainsaw bayonet does have a slight rev-up time.
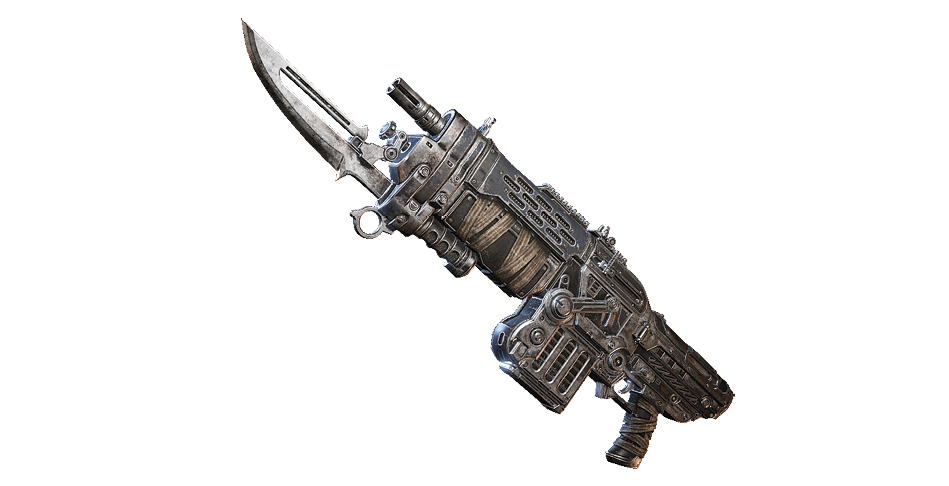
Retro Lancer
| Mag. Size | Ammo Capacity | Rate of Fire (RPM) | Recoil | Trigger Type | Base Dmg. | Headshot | Active Reload | Damage Radius |
|---|---|---|---|---|---|---|---|---|
| 20 | 200 | 450 | Moderate | Auto | 90 | 1.75x | +25% Damage | N/A |
The Retro Lancer is an older version of the Lancer, outfitted with a traditional bladed bayonet. What the Retro Lancer lacks in magazine size and capacity, it makes up for in base damage and increased headshot damage. The Retro Lancer deals nearly twice the damage of the tradition Lancer, albeit with greater recoil and a slightly slower rate of fire. In the right hands, the Retro Lancer is one of the deadliest weapons on Sera. Due to its moderate recoil and smaller magazine size, the Retro Lancer is most effective when fired in short bursts at close to medium range. The weapon rapidly loses effectiveness at range. Lastly, the Retro Lancer’s bayonet allows the user to perform a Retro Charge execution attack by holding the Melee Attack Button—just watch the charge meter on the screen to make sure momentum isn’t lost before the execution is performed.
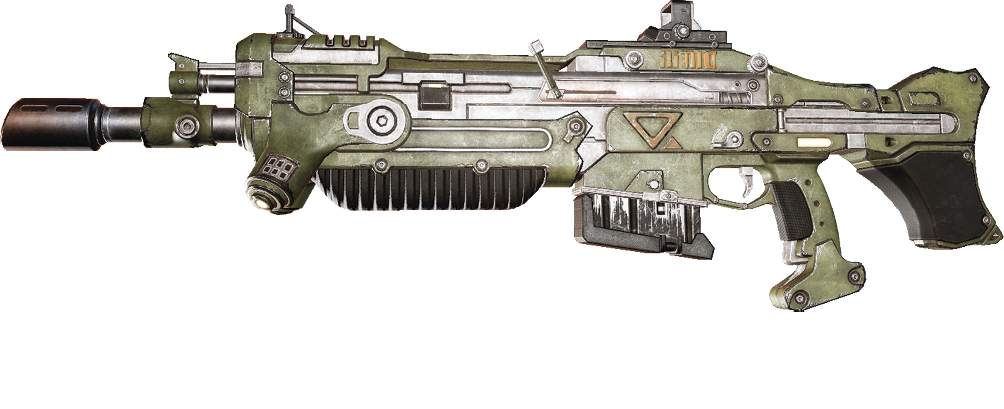
Markza Mk1
| Mag. Size | Ammo Capacity | Rate of Fire (RPM) | Recoil | Trigger Type | Base Dmg. | Headshot | Active Reload | Damage Radius |
|---|---|---|---|---|---|---|---|---|
| 5 | 30 | 300 | Low | Semi-Auto | 215 | 2.0x | +30% Damage | N/A |
This semi-automatic precision rifle dates back to the battle of Aspho Fields and has become a valued component of the COG arsenal, thanks to the UIR’s surrender to end the Pendulum Wars. The Markza Mk1 is a low-capacity, semi-automatic rifle. The Markza straddles the line between assault rifle and sniper rifle and is best thought of as a precision, semi-automatic rifle. It excels at medium to long range combat and inflicts heavy damage on headshots. The Markza is ill-suited for close-range combat, but its ease of use allows a warrior to defend himself at close range if attacked while sniping.
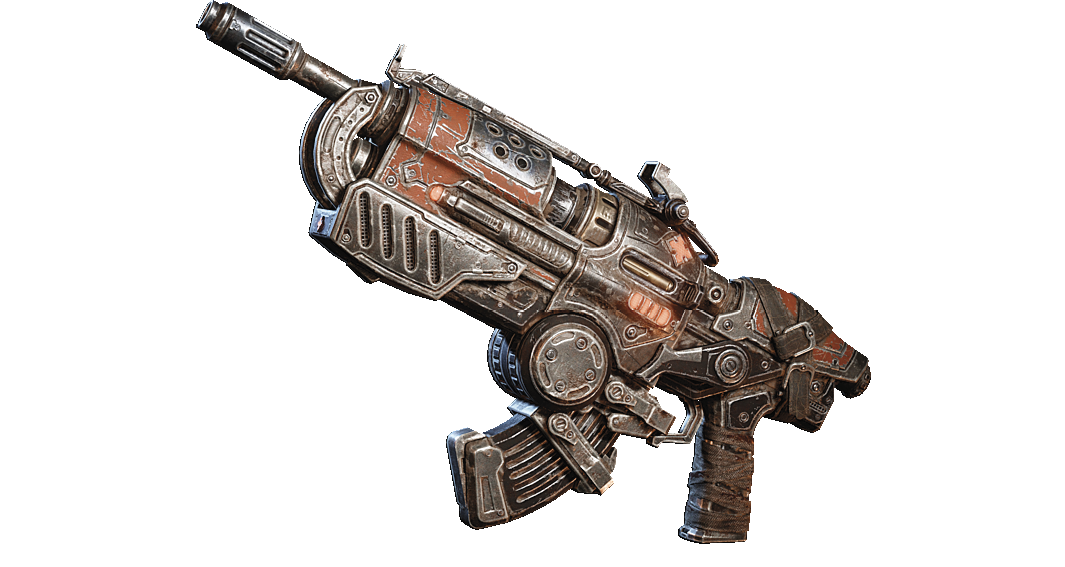
Hammerburst
| Mag. Size | Ammo Capacity | Rate of Fire (RPM) | Recoil | Trigger Type | Base Dmg. | Headshot | Active Reload | Damage Radius |
|---|---|---|---|---|---|---|---|---|
| 21 | 210 | 650 | Low | Burst (3-rounds) | 95 | 1.5x | +40% Rate of Fire | N/A |
The trademark weapon of the Locust, many of the Hammerburst rifles you encounter during the Campaign will be found in surplus, abandoned along with the Locust bodies. Despite inflicting more than twice the damage of the Lancer, the lack of an automatic firing mode makes the Hammerburst less effective at close range, particularly when facing a foe with a shotgun or Retro Lancer in hand. In contrast, the greater headshot capabilities and increased accuracy afforded by the burst-firing nature of the weapon makes it more suitable for medium to longer range combat. Although the recoil per trigger pull is low, the Hammerburst does kick considerably if you pull the trigger in rapid succession.
Shotguns
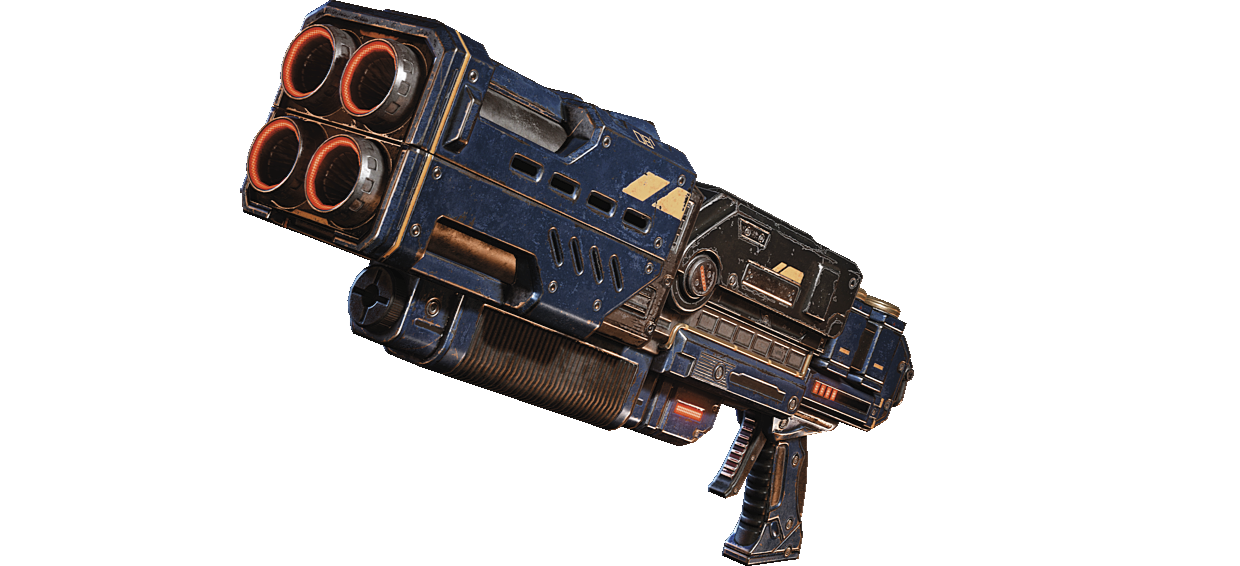
Overkill
| Mag. Size | Ammo Capacity | Rate of Fire (RPM) | Recoil | Trigger Type | Base Dmg. | Headshot | Active Reload | Damage Radius |
|---|---|---|---|---|---|---|---|---|
| 4 | 32 | 300 | High | Reactive | 300 | 1.5x | +20% Damage | N/A |
The Overkill straddles the line between a rifle and a shotgun. This DeeBee weapon is carried by DR-1 units and features a very unique firing mechanic. The Overkill fires on both the pull and the release of the trigger, making it possible to fire two shots at a devastating rate. One of the Overkill’s key features concerns its ammo usage. Even though the magazine can only accept four shells at once, each shell can be used for a two-shot pull-release sequence, effectively allowing you to fire eight shots per four-round magazine. The Overkill is a terrific close-range weapon, but does suffer from high recoil and a wide pellet spread. Consider pulling the trigger, holding it, and releasing at a slower rate whenever dealing with enemies that are more than a few steps away.
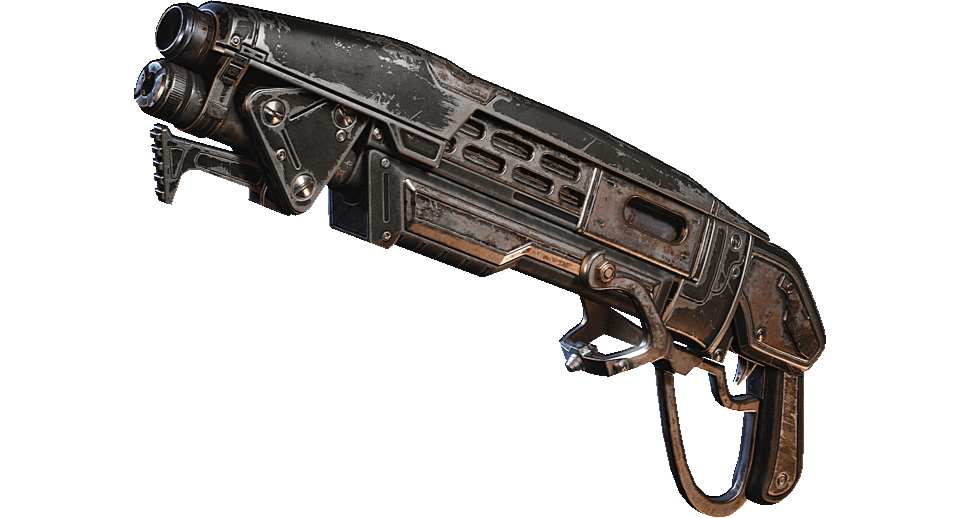
Gnasher
| Mag. Size | Ammo Capacity | Rate of Fire (RPM) | Recoil | Trigger Type | Base Dmg. | Headshot | Active Reload | Damage Radius |
|---|---|---|---|---|---|---|---|---|
| 8 | 48 | 60 | High | Semi-Auto | 500 | 1.0x | +20% Damage | N/A |
The Gnasher continues to be one of the most identifiable weapons in gaming. It is to shotguns what the Lancer is to assault rifles. This powerful shotgun has enjoyed a long and storied existence as the go-to weapon in the COG arsenal, regardless of the arena. The Gnasher inflicts bone-breaking damage at close range and is capable of delivering headshot kills if aimed properly. This weapon can be found throughout the battlefield and is ideally suited for battle against Juvies, DeeBee Shepherds, and any enemy that dares to get too close. It is best used in open terrain, outside of cover, where its short range and lack of precision won’t hinder it. That said, the Gnasher is the perfect weapon to equip when charging an enemy behind cover. Vault-kick the foe to stun it (or yank it over cover), then open fire with the Gnasher for high damage at point-blank range! It can even execute a leaping Pouncer!
Pistols
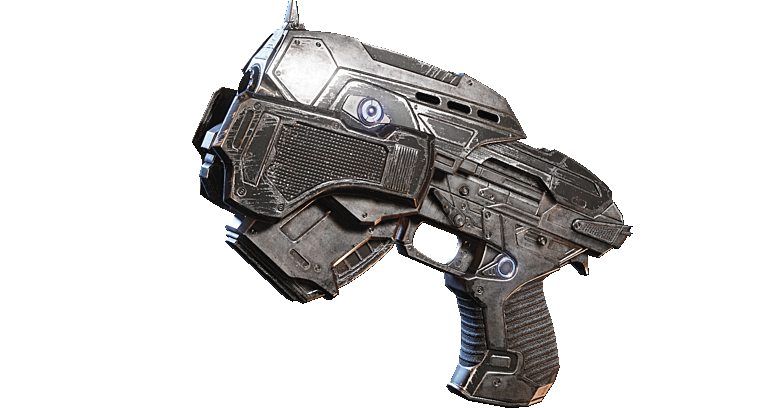
Snub Pistol
| Mag. Size | Ammo Capacity | Rate of Fire (RPM) | Recoil | Trigger Type | Base Dmg. | Headshot | Active Reload | Damage Radius |
|---|---|---|---|---|---|---|---|---|
| 12 | 108 | 625 | Very Low | Semi-Auto | 65 | 1.5x | +20% Damage | N/A |
The Snub Pistol is standard issue for every COG soldier. Occasionally found on the battlefield, the Snub Pistol is a fast-firing, semi-automatic pistol capable of inflicting more damage than the Lancer and Enforcer per bullet fired. The Snub Pistol has a much lower magazine size than a rifle, but can be used to fire repeat headshots with great accuracy and low recoil for 50% increased damage. The Snub Pistol isn’t as popular in Campaign mode as it is in Multiplayer, but it’s not a bad weapon to have as a backup.
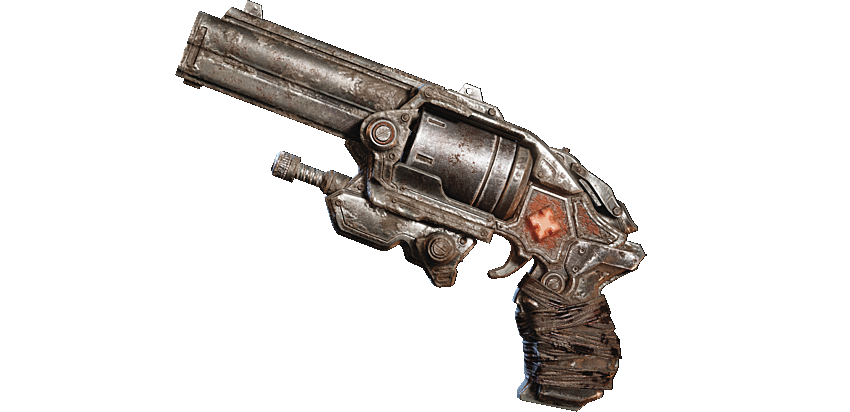
Boltok Pistol
| Mag. Size | Ammo Capacity | Rate of Fire (RPM) | Recoil | Trigger Type | Base Dmg. | Headshot | Active Reload | Damage Radius |
|---|---|---|---|---|---|---|---|---|
| 6 | 36 | 120 | Moderate | Semi-Auto | 340 | 1.5x | +400% Rate of Fire | N/A |
The Boltok Pistol enjoys a loyal following by those who have come to master its classic style and don’t mind its slower rate of fire. The Boltok is second only to the Longshot among non-power weapons in headshot capability and packs more punch than the Markza Mk1, despite the latter’s greater headshot multiplier. Despite having a small magazine size and sluggish rate of fire, the Boltok Pistol is still a fine option, particularly against the tougher Swarm units. The Boltok Pistol’s iron sights offer a slight zoom that can help bring distant enemies into range for a well-placed headshot. Get a perfect Active Reload and enjoy a marked improvement in firing speed!
Power Weapons
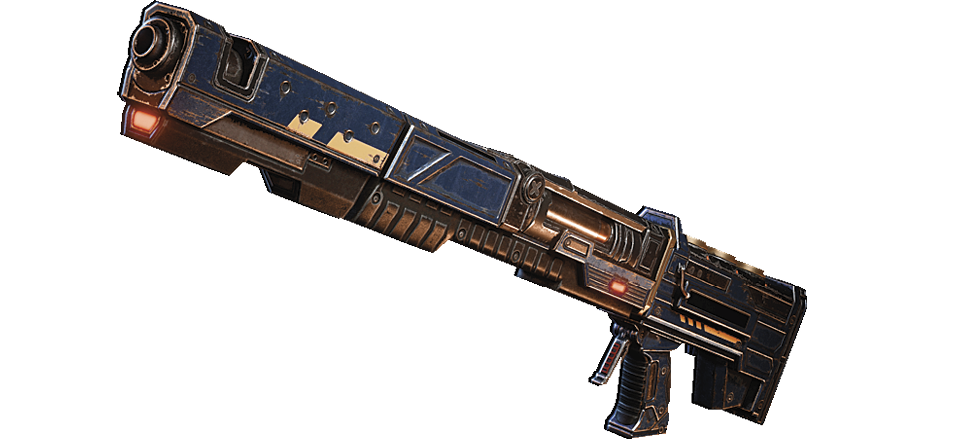
EMBAR Sniper Rifle
| Mag. Size | Ammo Capacity | Rate of Fire (RPM) | Recoil | Trigger Type | Base Dmg. | Headshot | Active Reload | Damage Radius |
|---|---|---|---|---|---|---|---|---|
| 3 | 12 | 60 | Low | Semi-Auto (Charge) | 695 | 3.0x | +Stun Target | N/A |
The EMBAR Sniper Rifle is a DeeBee weapon used by Snipers. In the hands of a robot, the weapon exceeds the Longshot in every regard, but the lack of an optical zoom limits its long-range ability in the hands of most human users. Aside from the greater damage and ability to stun enemies for two seconds with an Active Reload shot, the EMBAR has several other key differences. For starters, it’s three-round magazine allows for repeat firing between reloads, a big improvement over the Longshot. Each shot must be briefly charged, however, and the energy used in charging the shot will be automatically vented one second after charging. Users of the EMBAR must be ready to fire as soon as the targeting reticle tightens, else have to reacquire the target and recharge the shot. High risk, high reward.
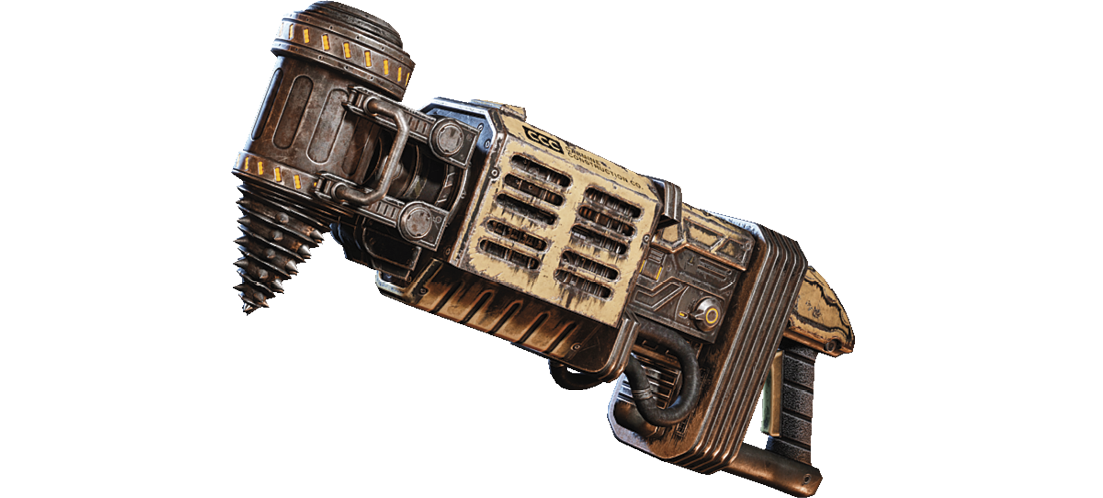
Dropshot
| Mag. Size | Ammo Capacity | Rate of Fire (RPM) | Recoil | Trigger Type | Base Dmg. | Headshot | Active Reload | Damage Radius |
|---|---|---|---|---|---|---|---|---|
| 1 | 7 | 60 | Moderate | Single Shot | 1750 | Instant-Kill |
+25% Damage, +25% Dmg Radius |
2.5m |
The Dropshot is carried into battle by Swarm Scions and must be immediately feared—and then confiscated! Hold the trigger after aiming to fire a projectile that hovers across the battlefield; release the trigger to have the Dropshot’s drill-like projectile fire downward and emit a large explosion. To help with aiming, the Dropshot emits a vertical laser that allows you to gauge its position as it flies across the battlefield. Not only is the Dropshot’s explosive radius enough to kill multiple enemies, but it’s possible to score an instant-kill with a headshot by releasing the trigger directly over an enemy’s head. The Dropshot is perfect for taking out enemies entrenched behind cover, for dislodging enemies from turrets, or for taking out a Scion while it’s in the middle of upgrading its nearby Drones. It’s not the easiest weapon to use, but practice yields perfection.
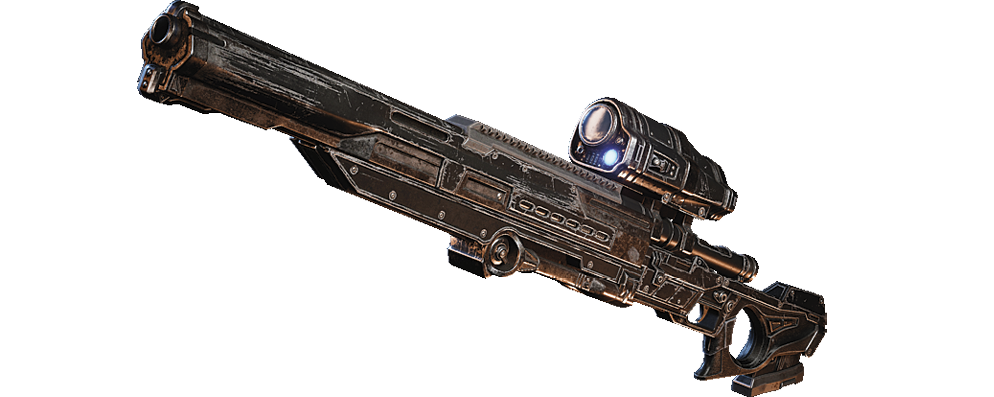
Longshot
| Mag. Size | Ammo Capacity | Rate of Fire (RPM) | Recoil | Trigger Type | Base Dmg. | Headshot | Active Reload | Damage Radius |
|---|---|---|---|---|---|---|---|---|
| 1 | 24 | 60 | Low | Single Shot | 375 | 5.0x | +10% Damage | N/A |
The Longshot is the most celebrated sniper rifle in the COG arsenal. Its powerful optics make it possible to headshot a foe from across the battlefield and its unrivaled headshot multiplier ensures a one-shot kill against nearly every enemy. The Longshot is far more powerful than the Markza Mk1 and Boltok, deals five times the standard damage when striking an enemy’s head, and suffers from no gun sway. The Longshot’s only drawbacks are its single-bullet magazine and relatively slow reload speed. Players who are capable of consistent active reloads will get the most out of the Longshot, as will those who can hit long-range enemies with no more than a split-second’s glance through the scope.
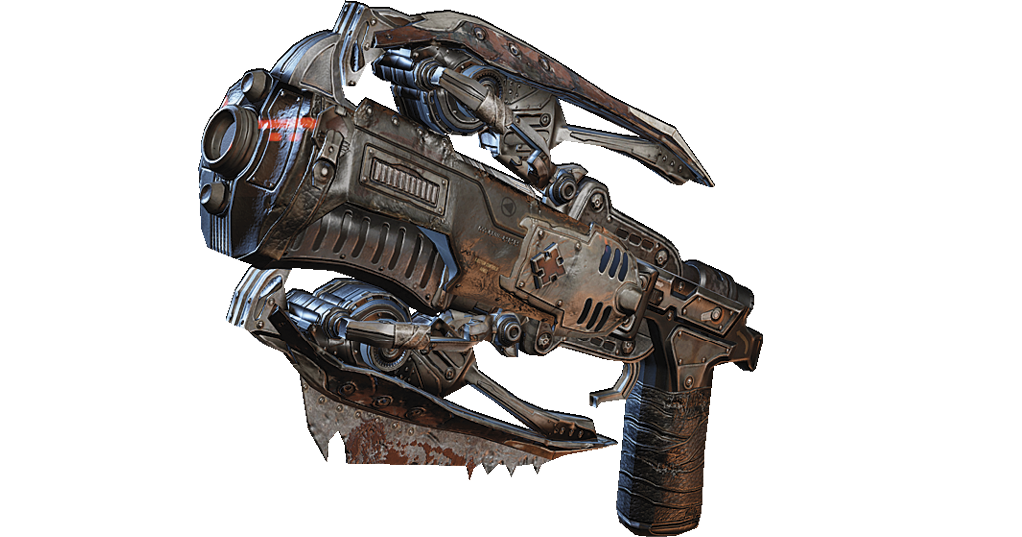
Torque Bow
| Mag. Size | Ammo Capacity | Rate of Fire (RPM) | Recoil | Trigger Type | Base Dmg. | Headshot | Active Reload | Damage Radius |
|---|---|---|---|---|---|---|---|---|
| 1 | 12 | 60 | High | Single Shot (Charge) | 1708 (stick-in) | Instant-Kill |
+25% Damage, +25% Dmg Radius |
1.9m |
The Torque Bow has made its way into the COG arsenal over the years, but is predominately used by Hunter Drones. This precision bow fires an explosive tipped arrow that can stick into an enemy or wall when fully drawn. The arrow explodes after a brief delay and is large enough to kill multiple enemies, particularly if they have already been weakened or if an Active Reload was achieved before firing. When using the Torque Bow, it’s imperative that you draw the bow back long enough to make sure the arrow sticks into its target the targeting reticule tightens into a straight line when the bow is ready to be fired. This weapon inflicts heavy melee damage, but is otherwise best left for medium to long range combat only. This is a weapon to be used from behind cover, when you have the time to fire it accurately. The Torque Bow can be used to headshot an enemy for an instant-kill. Arrows can travel through one target’s head and stick into another.
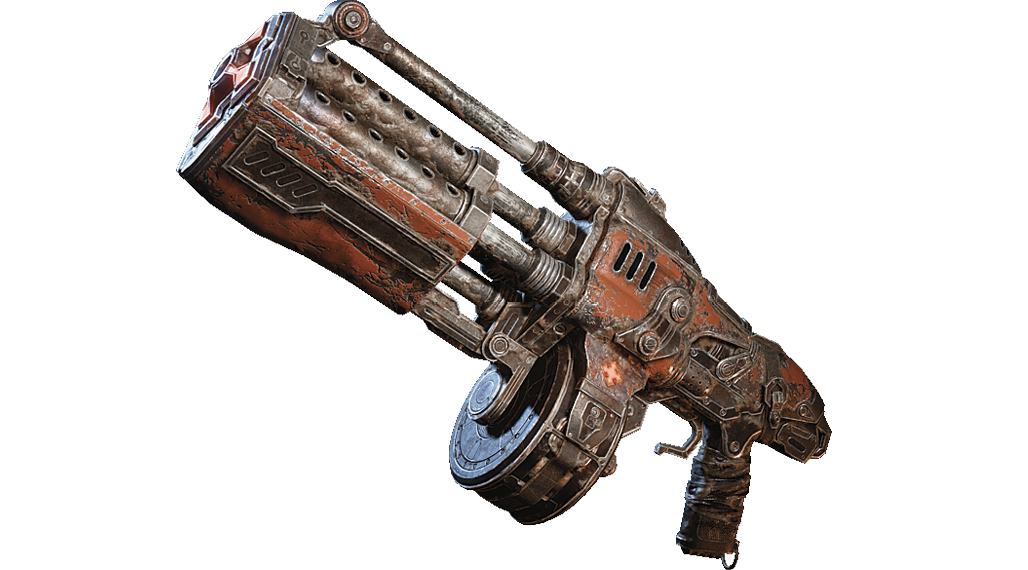
Boomshot
| Mag. Size | Ammo Capacity | Rate of Fire (RPM) | Recoil | Trigger Type | Base Dmg. | Headshot | Active Reload | Damage Radius |
|---|---|---|---|---|---|---|---|---|
| 1 | 6 | 60 | Moderate | Single Shot | 1300 | Instant-Kill |
+25% Damage, +25% Dmg Radius |
3.5m |
The Boomshot continues to one of the most potent weapons on Sera, delivering nearly as much explosive power as the Dropshot and Torque Bow over a wider area. The Boomshot launches with such accuracy that it’s possible to earn a headshot kill. A well-aimed Boomshot attack can kill multiple enemies in an instant and the splash damage can even circumvent cover. A weapon of this magnitude does require practice to master, since the projectile’s mass causes the trajectory to drop with distance the Boomshot is also particularly affected by Windflares. It’s important to account for gravity and arc long-distance shots up and over cover to hit the desired target. Lastly, it’s often good to aim slightly lower at the target so as to not risk shooting the projectile over the enemy’s head. And never, ever, fire it at close-range!