
Gears of War 4 Guide Enemy Forces
Swarm
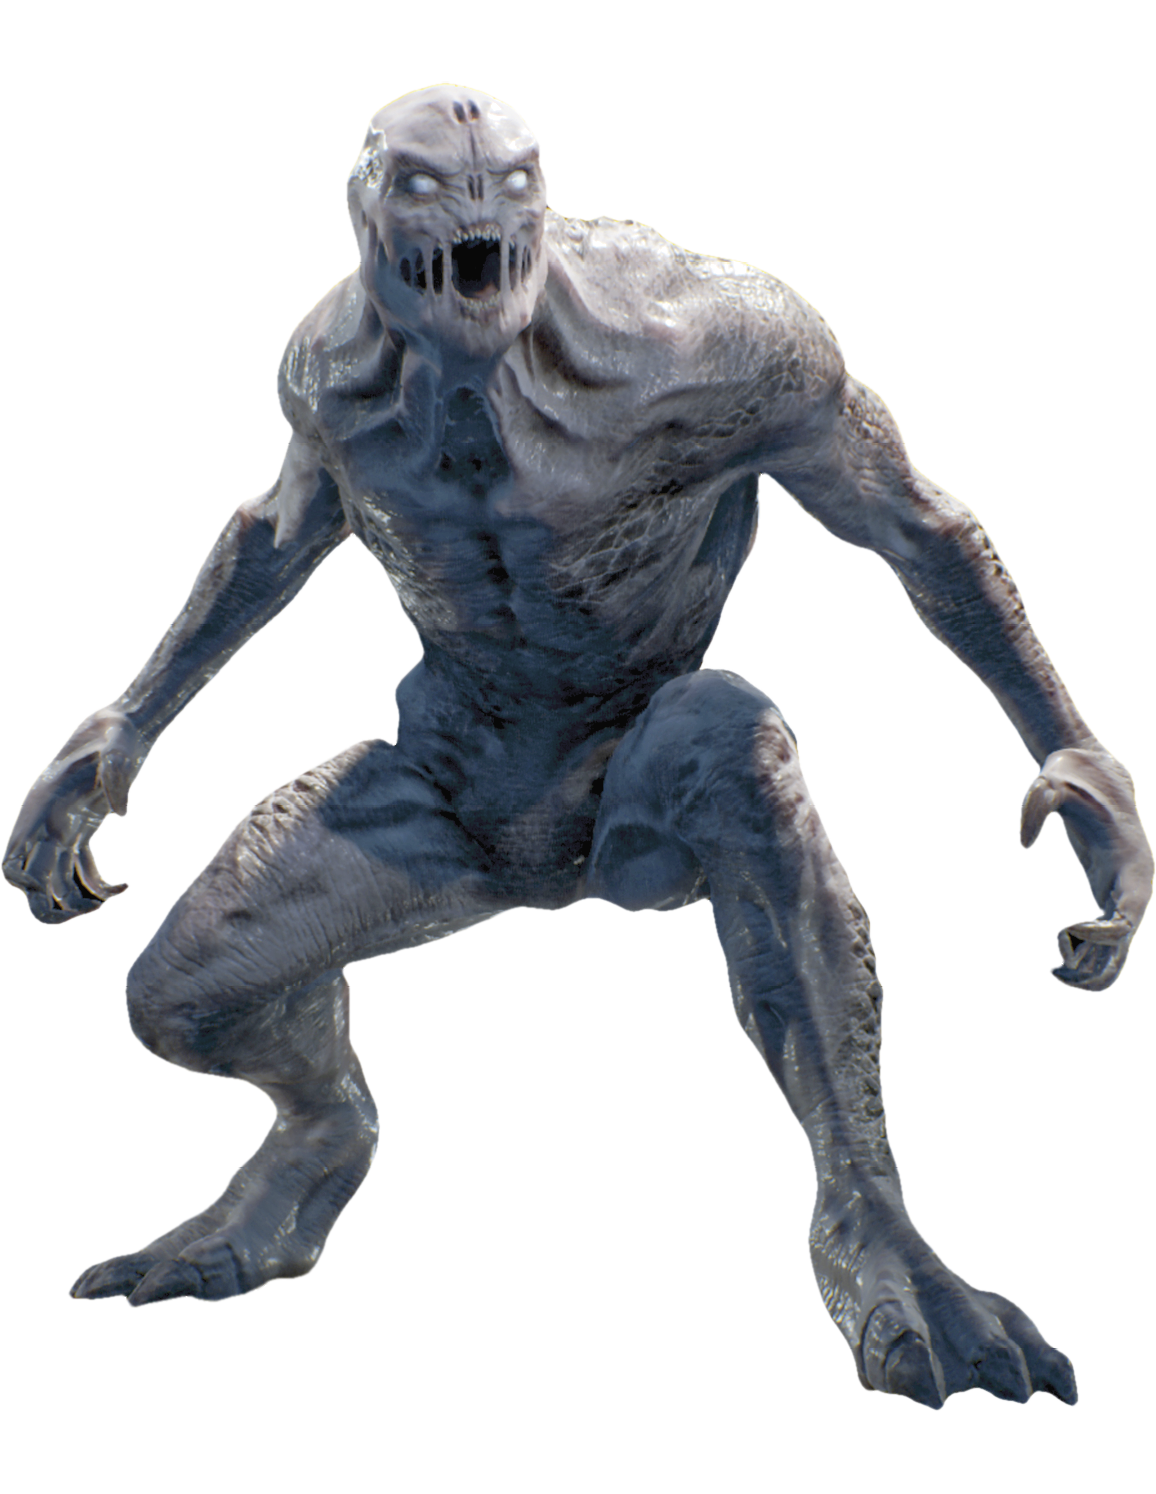
Juvie
| Health | Threat | Weaponry/Attacks |
|---|---|---|
| 350 HP | Minor | Claws (melee) |
Juvies are the lowest form of Swarm, emerging from slime-filled pods resembling a gooey form of cocoon. Juvies lack the intelligence of other Swarm and attack by running headlong at their enemies, leaping off walls, hopping over cover, and not stopping until they’re within clawing distance. In many ways, the Juvies are not unlike the Locust Wretches: they attack in numbers, are easily killed by any means, but can prove deadly if left unchecked.
Not every Juvie is alike. Sometimes you’ll encounter a Juvie known as a “Screamer.” The Juvie Screamer screeches so loudly it ruptures all other pods in the area, essentially calling other Juvies to its aid. Even when it seems that a Juvie is alone, it’s never alone. Juvies often attack by the dozen. Stay out of cover, try to funnel them through a chokepoint, and unload on them with the Gnasher or Retro Lancer when they get within range.
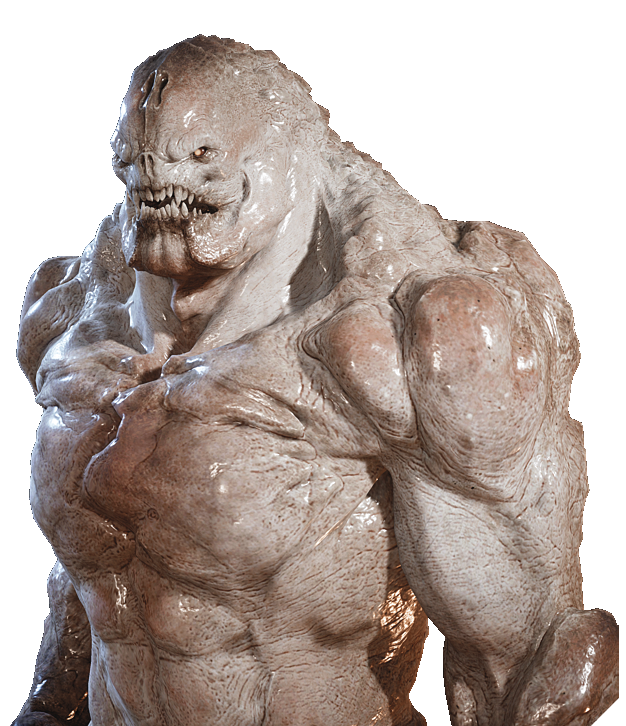
Imago Drone
| Health | Threat | Weaponry/Attacks |
|---|---|---|
| 1240 HP | Moderate | Hammerburst, Lancer, Gnasher, Frag Grenade, Boltok |
Imago Drones straddle the genetic no-man’s-land between a Juvie and the other Swarm Drones. Imago Drones crawl from the nest naked and lacking the intelligence of those that get more time to bake. Imago Drones may utilize cover but often charge toward their enemy, firing their Hammerbursts on the run in a haphazard manner.
Unpredictable aggression makes the Imago Drone more of a threat than it would be if it fought more conservatively. Imago Drones have the least health of all Drones (aside from Sniper Drones) and can be slain in any number of ways. You needn’t prioritize them over other Drones, but you shouldn’t ignore them either.
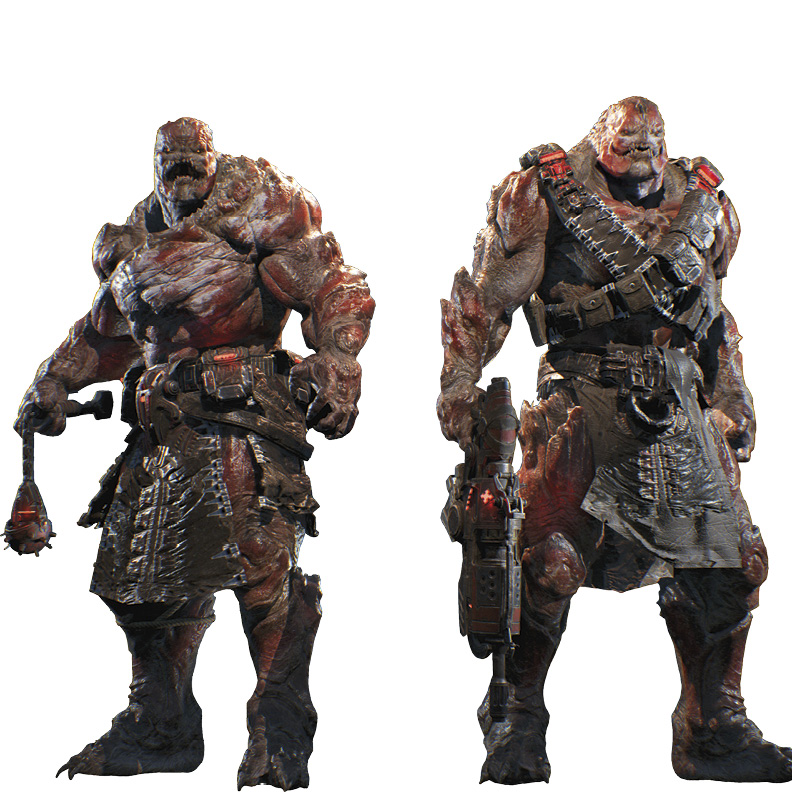
Drones
| Health | Threat | Weaponry/Attacks |
|---|---|---|
| 1400 HP | Moderate | Gnasher, Hammerburst, Lancer, Frag Grenade |
The majority of the Drones you face—and you will encounter a lot of them—fall into this category, whether they be Grenadier Drones or Rifle Drones. They all have the same amount of health and behave largely the same. Swarm Drones utilize cover, are good shots, and attempt to coordinate their attacks and use flanking maneuvers, although not to the level of Hunter Drones. These humanoid enemies are susceptible to all manner of attacks.
For a frame of reference, Swarm Drones are not that different from the thousands of Locust Drones slaughtered in past installments of the franchise. That being said, there is one key behavioral difference between Swarm Drones and the counterparts from prior games. Swarm Drones, particularly those armed with a Hammerburst, occasionally charge your position as if armed with a Retro Lancer. This suicide charge can be easily defeated with a well-timed chainsaw attack, but it serves the purpose of distracting the player and may leave you vulnerable to attacks from other Swarm.
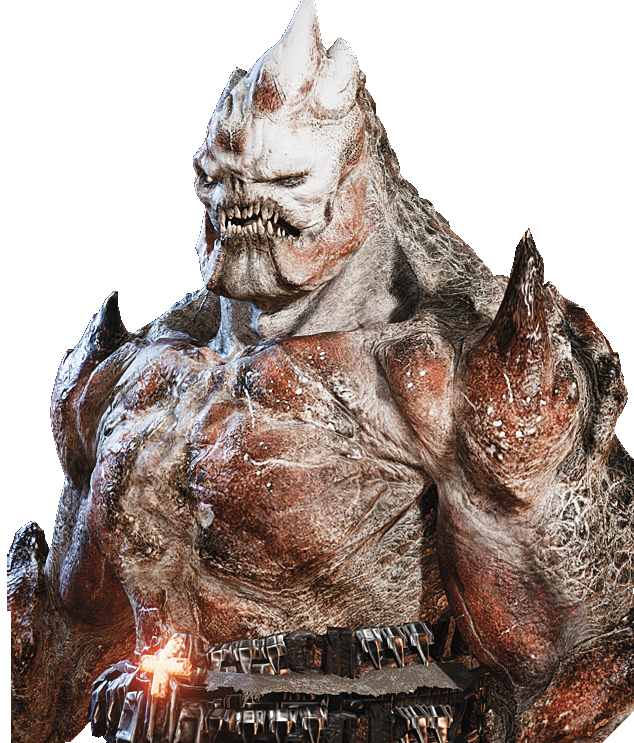
Sniper Drone
| Health | Threat | Weaponry/Attacks |
|---|---|---|
| 800 HP | High | Longshot |
Sniper Drones aren’t much different from the DeeBee Snipers you’ve faced prior to encountering these foes. Sniper Drones have much less health than their close-range counterparts, but are seldom reachable on foot. Sniper Drones prefer to stake out a covered, elevated position, out of range of JD and the squad, where they can fire their Longshots from afar.
As with DeeBee Snipers, someone in the squad—maybe JD himself—will shout to announce their presence. And if they don’t, the telltale crack of the Longshot should be all you need to know a Sniper’s present. Duck into cover and scan the distance for the glint of light reflecting off the Longshot’s scope. Shoulder your Longshot or EMBAR if you have one, otherwise reach for a Dropshot or try to cover-slip your way within range to use a Frag Grenade.
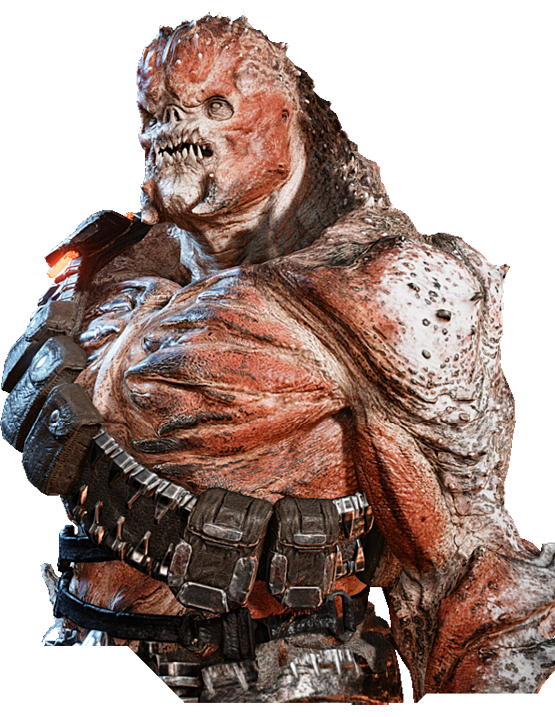
Hunter Drone
| Health | Threat | Weaponry/Attacks |
|---|---|---|
| 1400 HP | High | Torque Bow |
Hunter Drones are the most skilled of the Drone class of Swarm. Equipped with Torque Bows, Hunter Drones attack in small groups, utilize cover exceptionally well, and coordinate their attacks to flank your squad. Since Hunter Drones are more organized, they are far more difficult to deal with than their other Swarm bretheren.
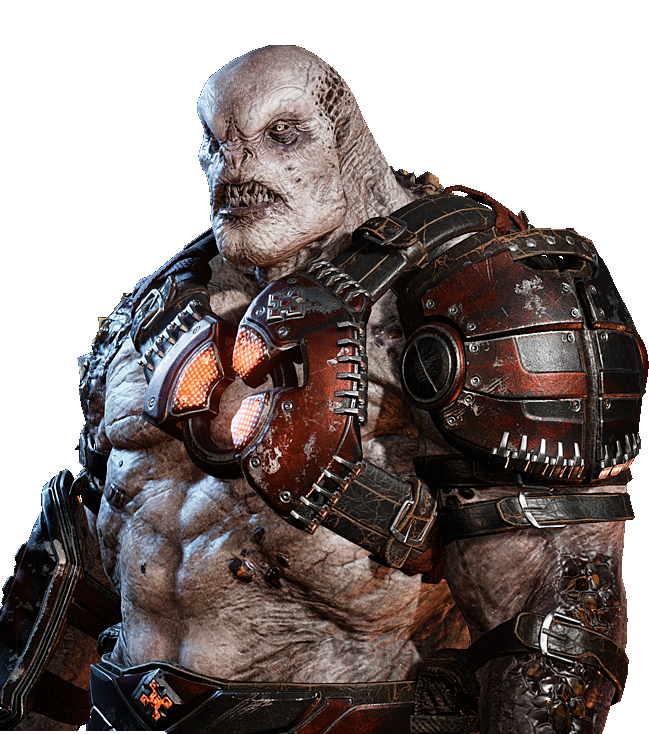
Scion
| Health | Threat | Weaponry/Attacks |
|---|---|---|
| 8200 HP | High | Dropshot, Mulcher, Buzzkill |
Scions are the deadliest of all Swarm humanoid enemies. While they do move slowly and ignore cover, these hulking beasts have two very threatening advantages. For starters, Scions are equipped with deadly weaponry. Scions are extremely accurate with the Dropshot and will quickly headshot you if you stay in one place for too long—never mount a turret in their vicinity for more than a few moments. Secondly, and perhaps more importantly, Scions possess the ability to rally the other Drones around them. Watch for the Scion to stomp its foot and slowly raise its fist in a cloud of gas. This upgrades the other Drones, increasing their attack damage and fortifying their armor. The rallying cry will also revive any DBNO drones in the area.
There are two ways to go about dealing with a Scion. One approach is to quickly kill off the other Drones in the area so that the Scion has
no allies to upgrade. This can work if you’re fast, especially if you coordinate with a Co-Op teammate. The other option is to focus all attacks on the Scion as soon as its presence is known. Ideally, you will kill it before it can upgrade the other Drones, but its rallying cry takes time and renders the Scion a large, motionless target during the process. Open fire!
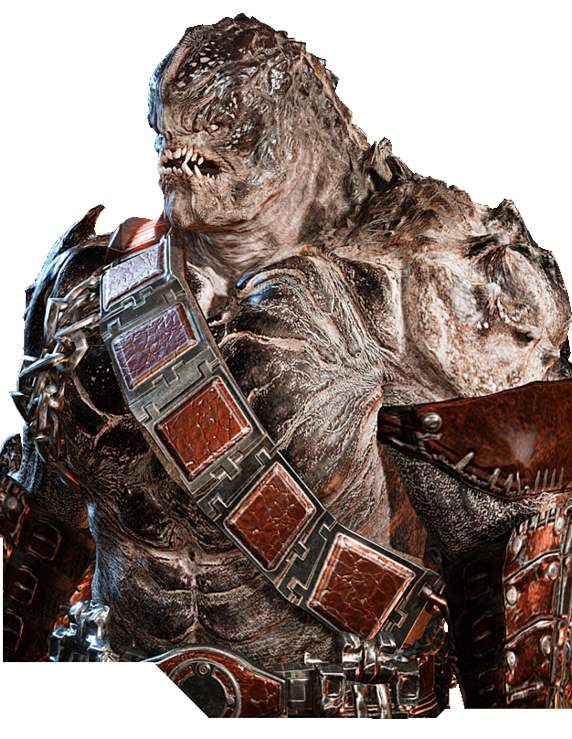
Elite Drone
| Health | Threat | Weaponry/Attacks |
|---|---|---|
| 1800 HP | High |
Lancer, Hammerburst, Gnasher, Boltok, Frag Grenades |
Elite Drones should be prioritized above all other Drones (and second only to Scions in terms of Swarm bipeds), since they are much tougher and more aggressive than standard Drone enemies. Flush Elite Drones out of cover with Frag Grenades or other heavy firepower, then unload on them with your best weapons. Prioritize these foes, since they are a large threat on any battlefield due to their health stats and guile.
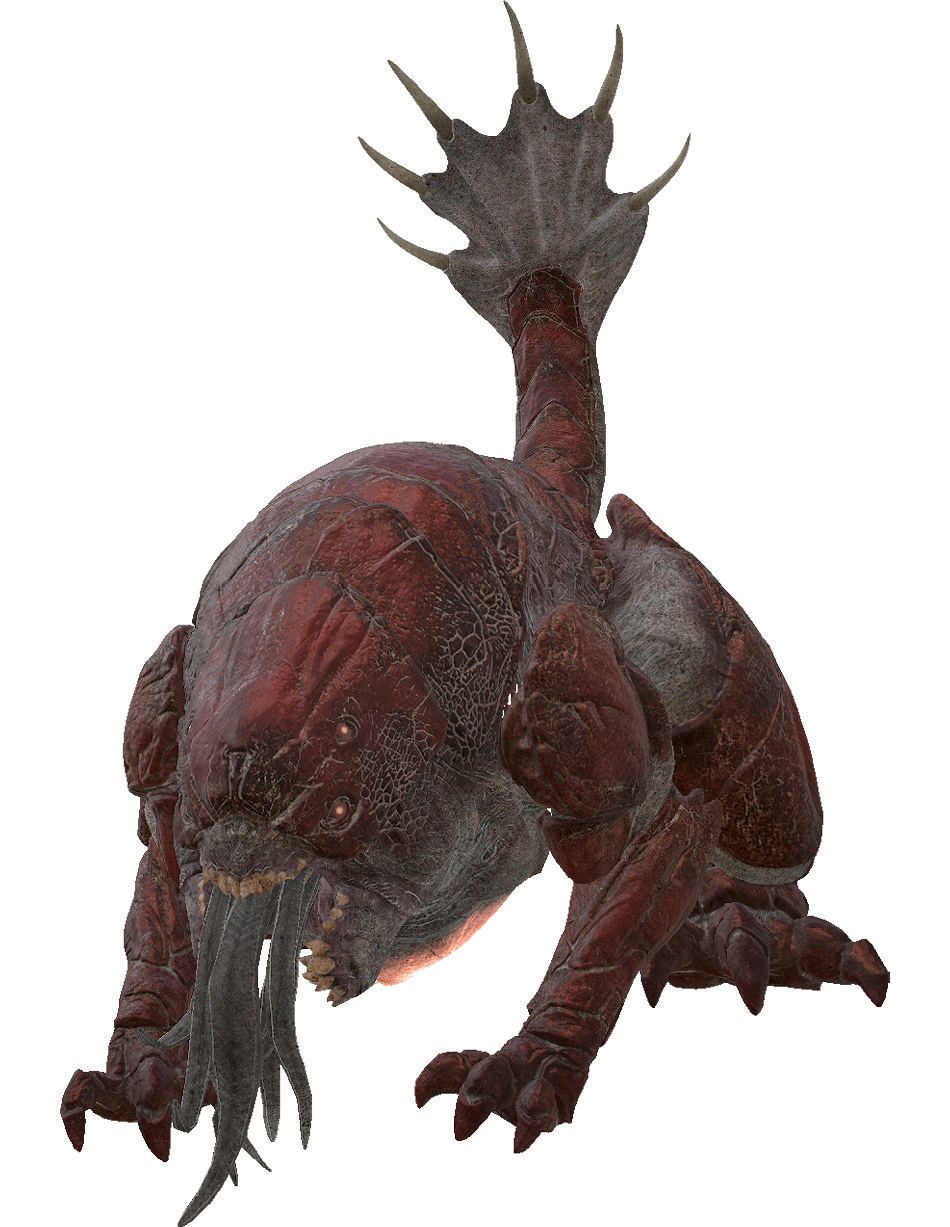
Pouncer
| Health | Threat | Weaponry/Attacks |
|---|---|---|
| 7250 HP | High | Quills (ranged), Claws (melee), Pounce |
The Pouncer is the first non-biped member of the Swarm you encounter. This four-legged creature resembles a lizard and spends much of its time leaping from one piece of cover to the next, always perching atop it. This leaves the Pouncer extremely vulnerable to attacks—you’ll be able to target it from any direction—but it also gives it enough elevation to fire its quills at you, even if you are behind nearby cover. The Pouncer flings its quills from its tail. Watch for an orange glow to rise toward the tip of the Pouncer’s tail, signaling another quill attack is imminent. The Pouncer fires its quills in the direction it’s facing.
Keep away from the Pouncer while firing at it, trying to hit the soft tissue of its (orange) belly whenever possible. The Pouncer will attempt to pounce if you’re in range and not in cover. You can be pounced upon when you’re standing up—you don’t need to be DBNO. Once you have been pounced on you have a limited time to escape before the Pouncer finishes you off. Fight back by rapidly tapping the  button. Once it’s taken a lot damage, you’ll see that its belly begins to glow and its jaws drip ooze. This means it’s injured and is now vulnerable to executions. You can chainsaw the beast or blast it out of the air with a shotgun it if attempts to pounce on you. Also, if you knock it off an ally, it will be briefly vulnerable to a chainsaw execution.
Carrier
| Health | Threat | Weaponry/Attacks |
|---|---|---|
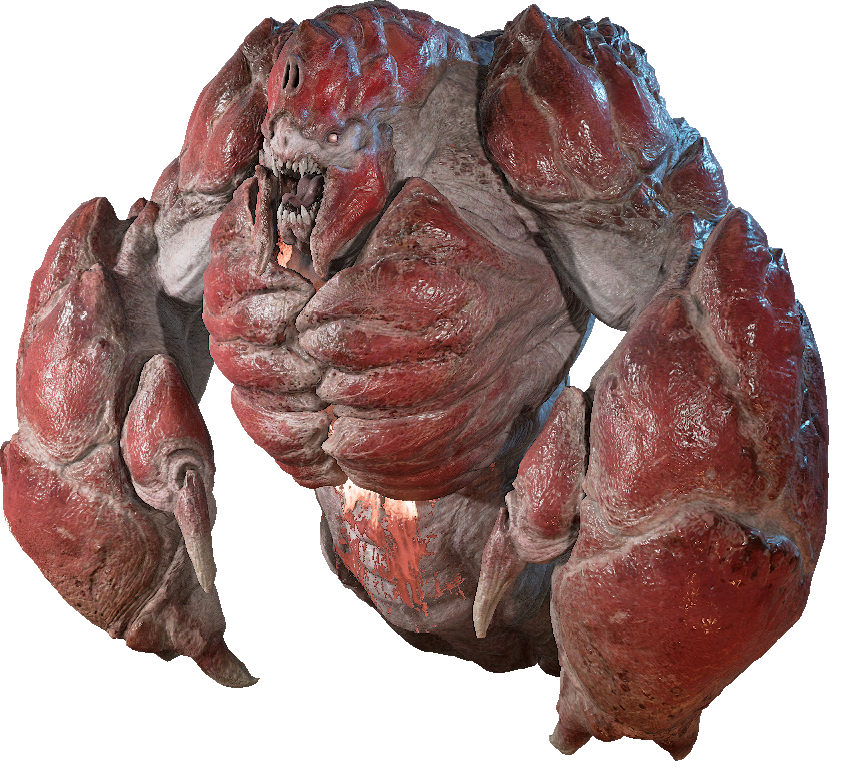
| 33,000 HP | Extreme | Cankers, Ground Pound, Melee |
The Carrier is the tank of the Swarm, a heavily armored monstrosity that launches a barrage of fiery, explosive organic projectiles from its chest. The Carrier moves slowly, but can march across the landscape, stepping over cover as it persists in its effort to squash humans under its claws. The Carrier’s exoskeleton renders it immune to nearly all attacks, forcing JD and his squadmates to wait for the Carrier to open its chest plates in effort to launch its projectile attack. Open fire on the Carrier’s chest, then shoot the twirling projectiles out of the air before they make contact.
The Carrier is a boss class of enemy, and more detailed tactics for defeating it are included in the walkthrough portion of this book. Nevertheless, the primary keys for success against the Carrier are to: 1) only shoot it when its chest plates are open, and 2) stay out of range of its ground-pound and melee strikes.
Snatcher
| Health | Threat | Weaponry/Attacks |
|---|---|---|
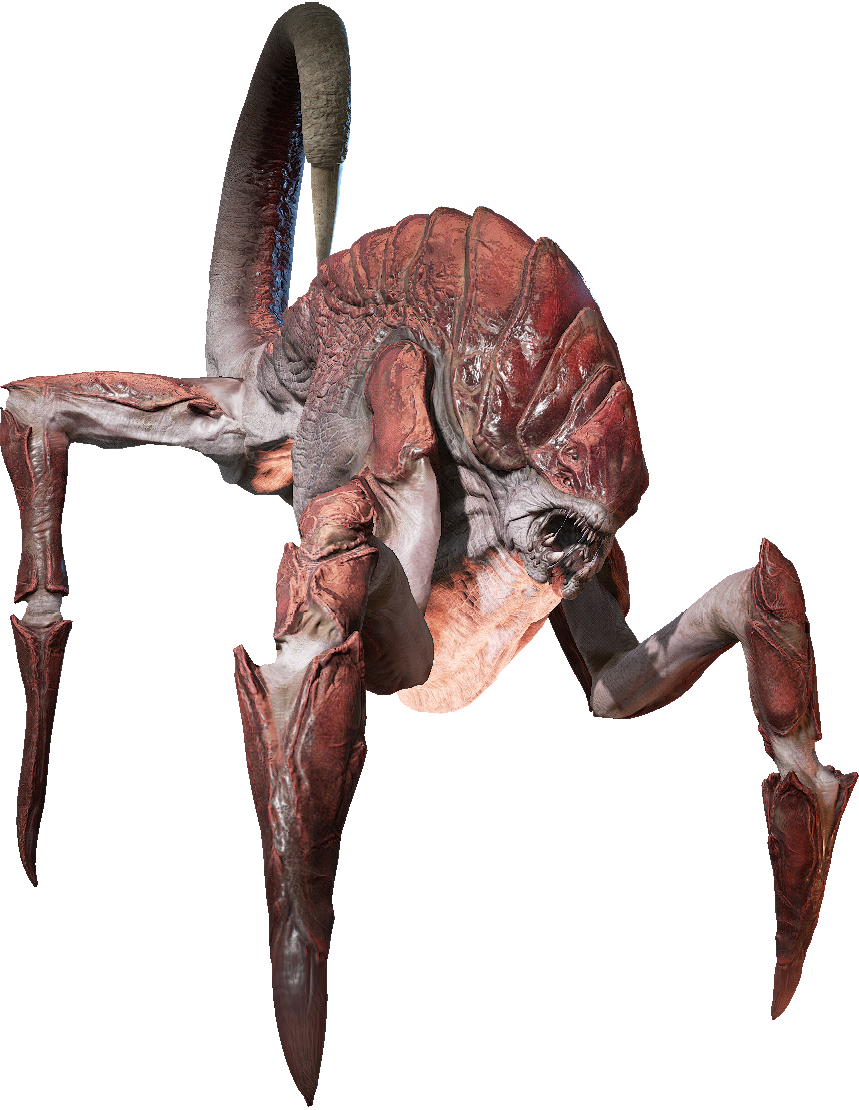
| 30,000 HP | Extreme | Quill Attack, Acid Spit, Melee, Abduction |
The scorpion-like Snatcher is similar to the Pouncer in that it fires a quill from its tail, but that is where the similarities end. This creature roams the battlefield, trying to down any humans it can via a ground-shaking claw strike, acid spit, or its instant-down tail quill. Once its prey has been downed, the Snatcher moves above it, opens its chest cavity, and uses its internal tendrils to abduct the human. The Snatcher then attempts to carry the human out of the area—it’s game over if it succeeds.
Detailed tactics for defeating the Snatcher are included within the walkthrough portion of this book. The Snatcher is a boss class of enemy that requires a lengthier discussion than appropriate here, particularly in the interest of keeping this chapter spoiler-free.
Swarmak
| Health | Threat | Weaponry/Attacks |
|---|---|---|
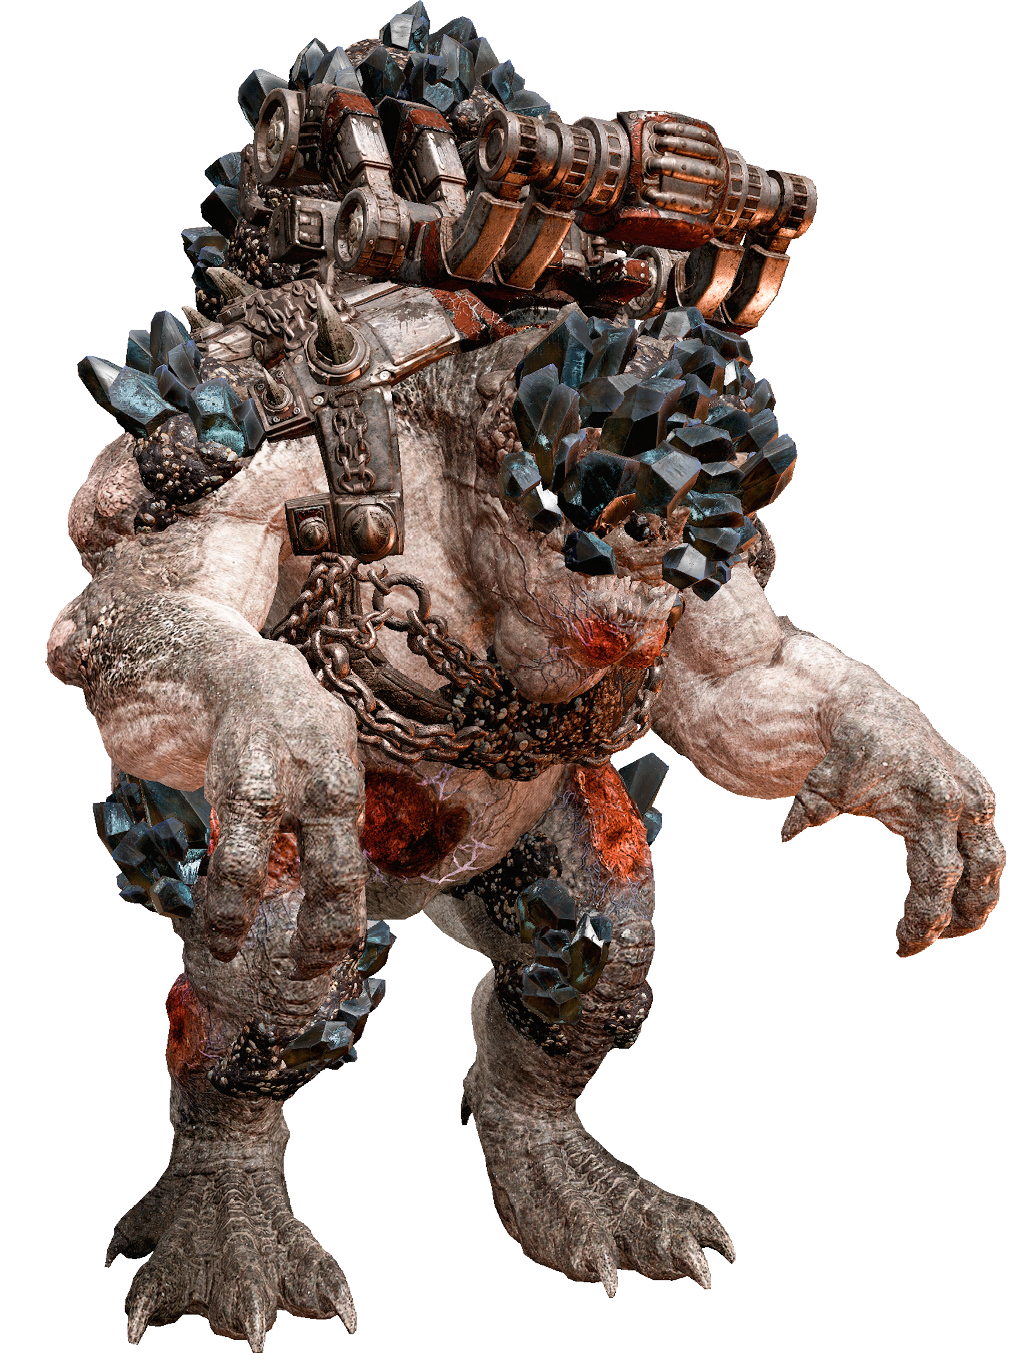
| ~175,000 HP | Extreme | Chain Guns, Rockets |
Intel is spotty on this massive creature, but rumor has it that the Swarm leadership has brought a relative of the popular Locust Brumak under their control. These reports have not been confirmed, but humans preparing to invade any Swarm hives should read the Act Four portion of this guide’s walkthrough carefully before proceeding.