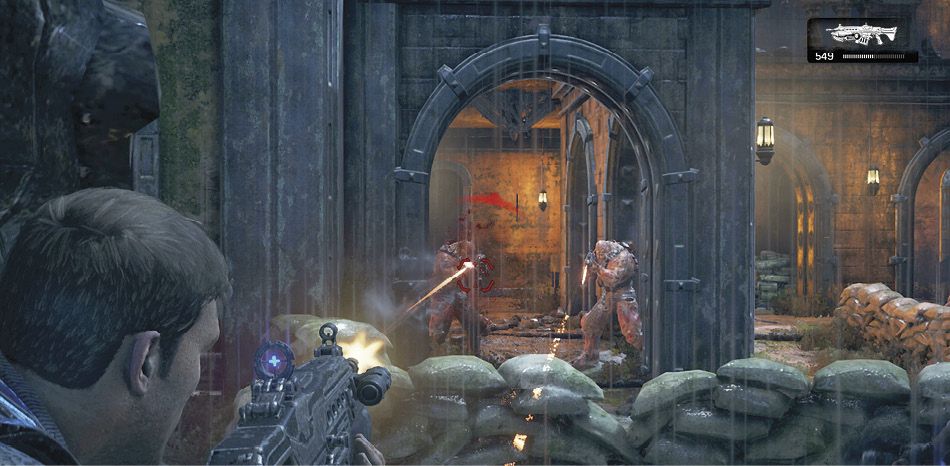
Gears of War 4 Guide Campaign Act 3
Chapter 3: At the Doorstep
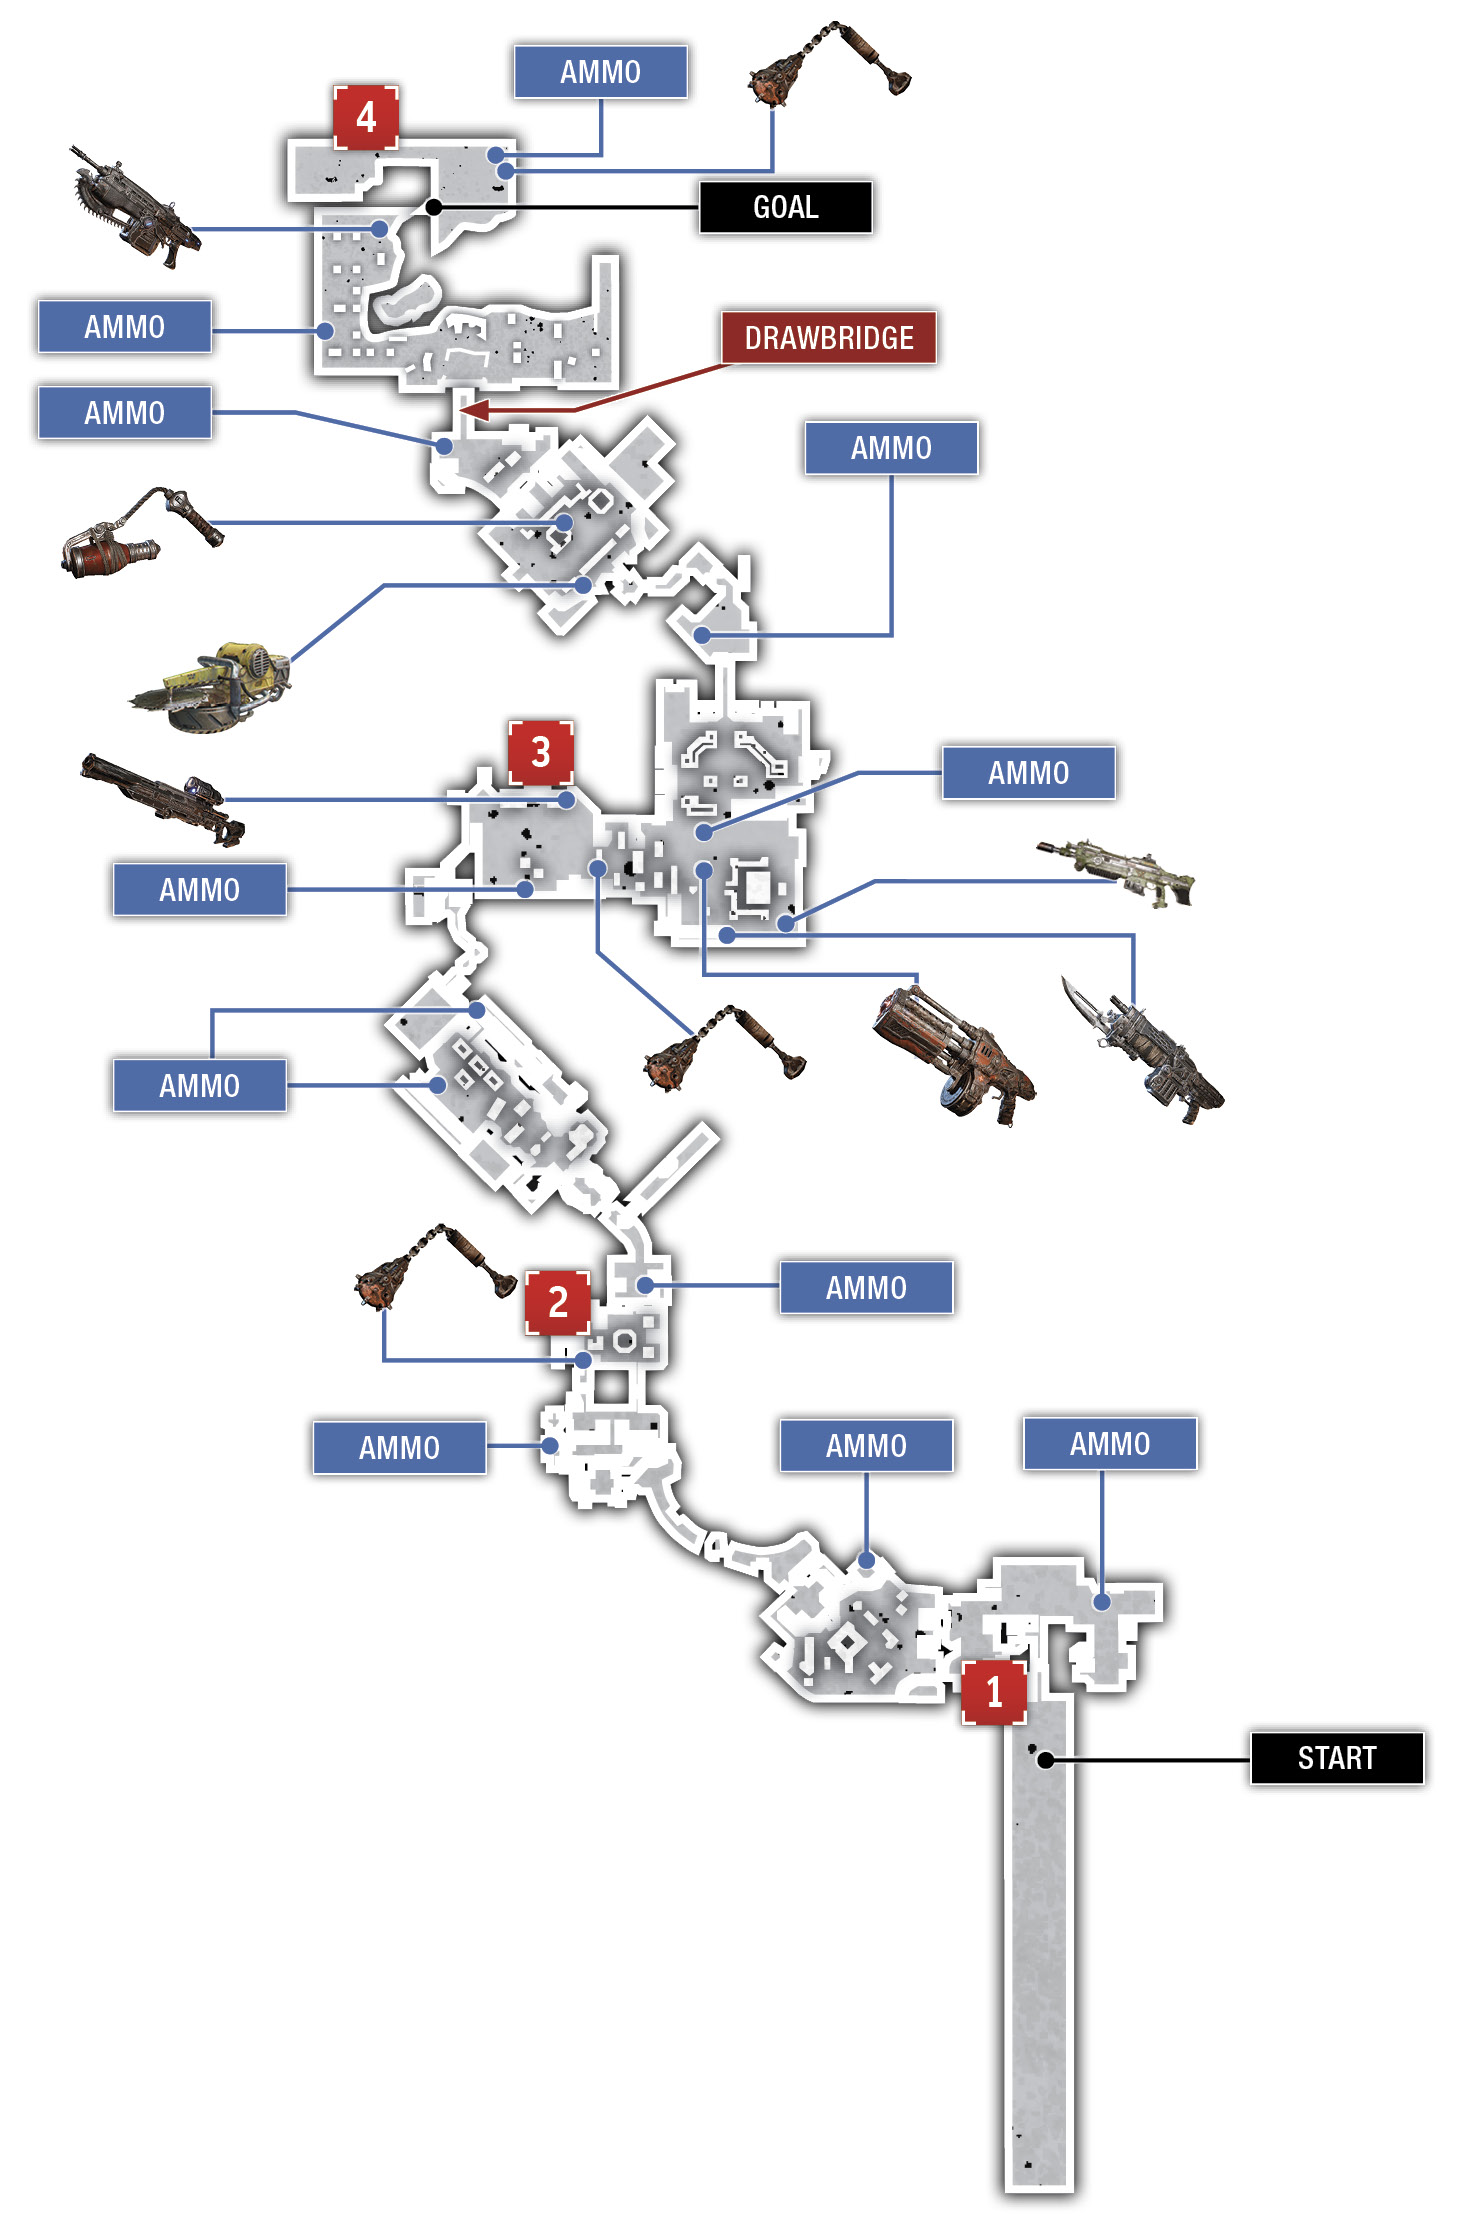
Collectibles
|
 King Figurine Souvenir
 Evacuation Procedures
 Fort Reval Military Museum Pamphlet
 COG Tag
Situation Overview
The squad has made their way through the lower grounds of Fort Reval and, thanks to a funicular ride, has quickly ascended to the upper part of the fortress. They haven’t spotted the Snatcher in some time, but the Pouncers are a sure sign that they’re getting close.
Fort Reval Museum
Objective: Find the Snatcher That Took Marcus
Exit the funicular and ascend the stairs to the right. Cut through the door snot to enter the funicular station and loop around the area in a counter-clockwise direction to find a way toward the museum.
Push open the door to head outside onto the upper courtyard of the keep. Toss a Frag Grenade at the nest that opens in the center and make your way behind cover on the left so you can have a clear shot of the Drones near the cannon and in the center area. Grenadier Drones may lob a Frag Grenade at you, so be on guard for hostile grenades.
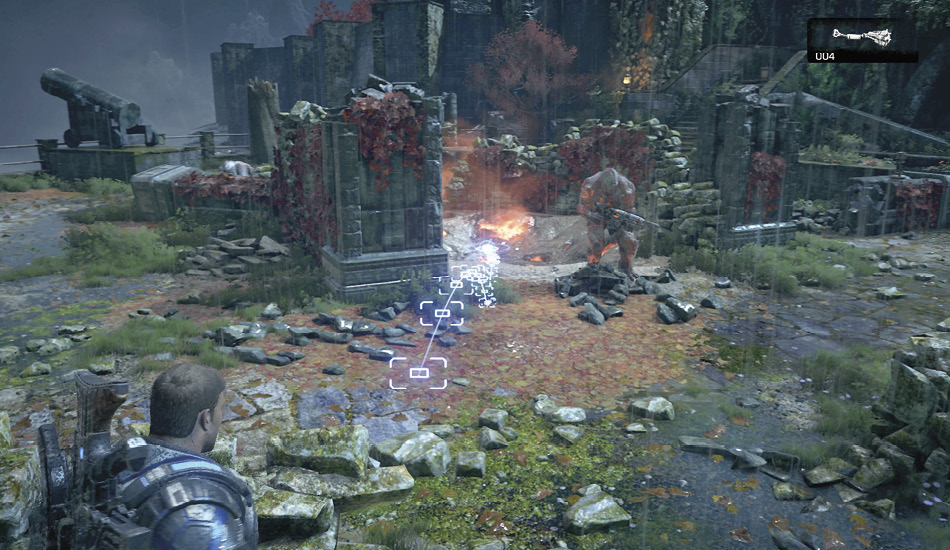
Kick open the gate atop the stairs to continue after the Snatcher. The Snatcher is spotted atop the barracks in the distance and appears to be headed to the keep atop the hill. There’s no time to worry about the mine right now; they’ve got to follow that Snatcher!
Objective: Follow the Snatcher to the Keep
Follow the walkway around to where the next wave of Juvies attacks. Blast those closest to the squad with the Gnasher, then duck into the building on the left to gain some ammo and advance without being exposed.
Take cover behind the wall outside the building and open fire on the Drones emerging from the nest near the flags. Hold this elevated position until you’ve gunned them all down, then advance along the left-hand side, grab the Frag Grenades behind the wall, and duck into the room on the left.
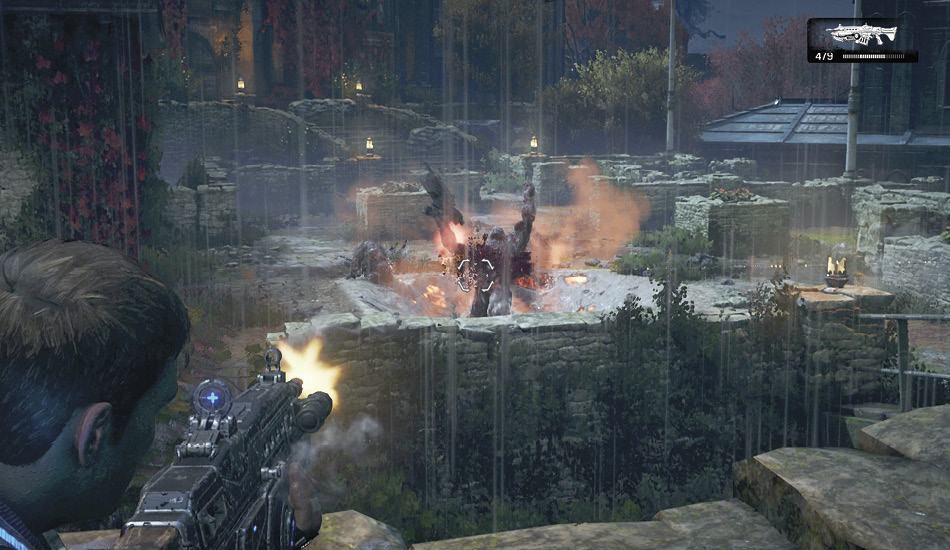
There are two Sniper Drones atop the stairs to the barracks. Toss a Frag Grenade at the door to hopefully kill them. At the least, you’ll flush them from their cover and make it easier to either shoot them with the Lancer or close on them for a Gnasher takedown.
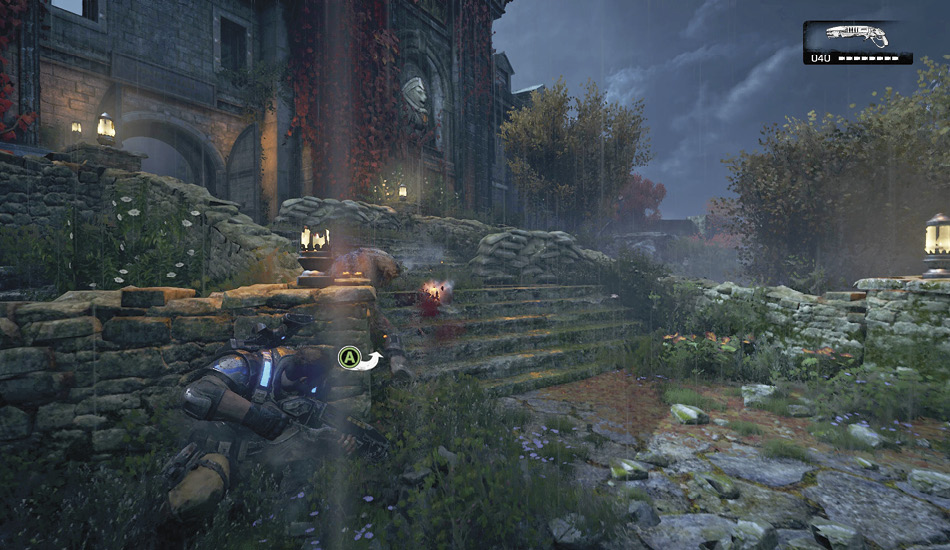
Gather up the two dropped Longshot rifles and head inside the barracks. Take cover overlooking the mess hall and set to sniping the enemies in the room below. Descend the stairs on the right to the main room and follow the elevated path on the left to the ammo crate. This puts you in perfect position to blind-fire at the Pouncers that attack. A third Pouncer enters the room once one of the first two have been killed. Stay close to the ammo crate and don’t collect it until your Lancer ammo is close to running out.
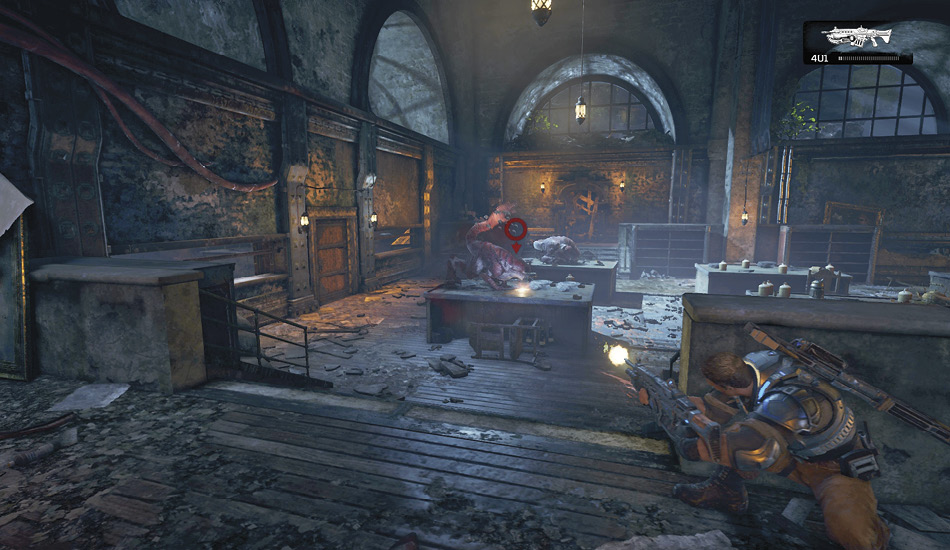
Co-Op TacticsTogether with a teammate, you can catch the Pouncers in cross-fire. Have one player use the elevated walkway on the left-hand side of the mess hall while the other player uses the right-hand walkway. Since you only need to melee the Pouncer repeatedly to free yourself if he gets on top of you, there’s not too much risk of being killed by them (unless playing on Insane difficulty). |
Additional Grenadier and Rifle Drones attack from the kitchen as soon as the final Pouncer has been defeated. Stay in cover on the left-hand side and use the Longshot to take out the Drone firing from behind the counter in the kitchen. Del and Kait help mop up the others while you continue to snipe those farther back in the kitchen.
Exit the barracks and continue up the path toward the museum until the squad spots the Snatcher again. More Swarm attack moments later. Grab the Longshot on the left and retreat up the stairs to the small room where the collectible is. This gives you a good angle from which to snipe the Drone manning the turret near the keep.
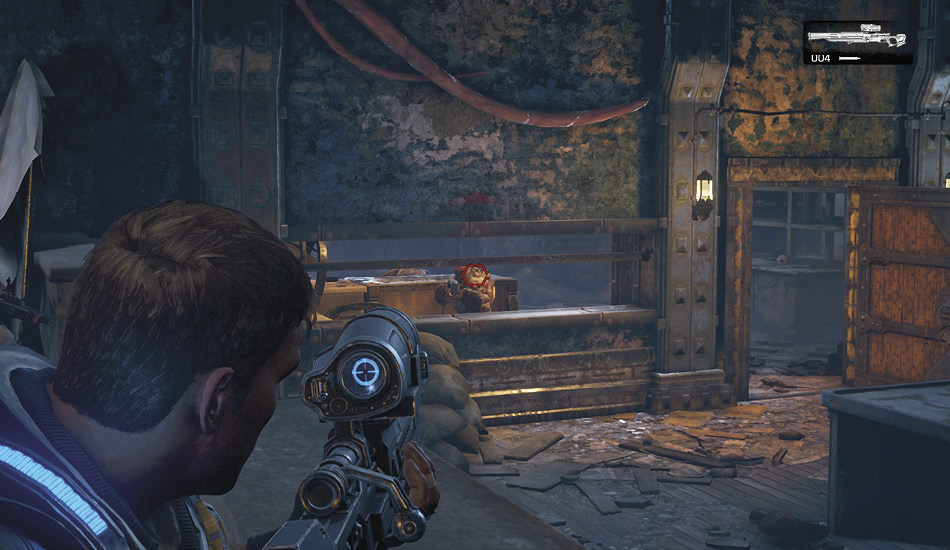
The Drone manning the turret isn’t the only Swarm on the upper landing of the museum. Snipe the Rifle Drone off to the right before taking out the one on the turret so there are no Drones to retake the turret position. Once the upstairs Drones have been killed, advance along the left side of the courtyard to find some additional Frag Grenades. Clear out the rest of the Swarm and go inside.
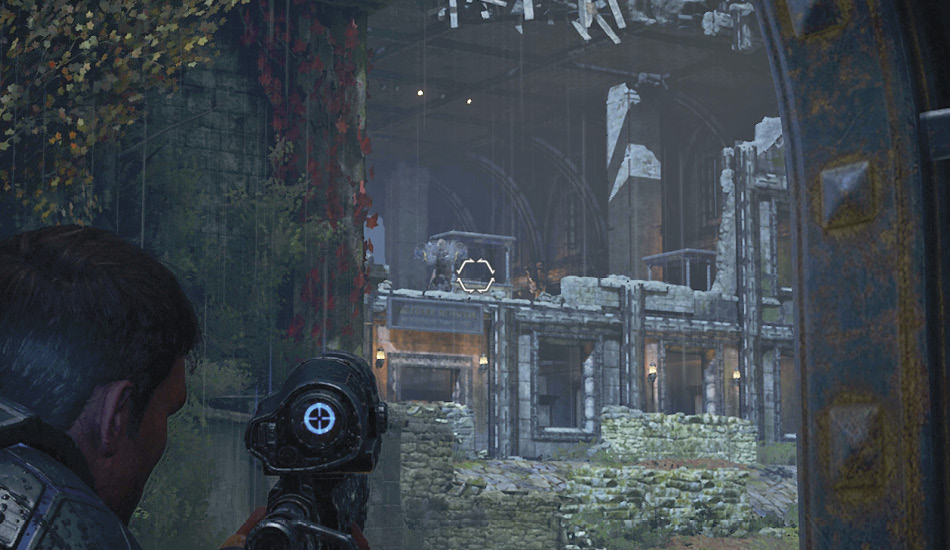
Eliminate any Juvies on the ground floor and consider swapping out the Lancer for the Retro Lancer in the display case—yes, the weapons are live. Ascend the stairs to the second floor of the museum and sweep the area clean of any remaining Drones. Take a moment to note the locations of the Markza Mk1, the Boomshot, the Gnasher, and the pile of unlimited ammo. This isn’t all here by coincidence; you’re about to need it!
Objective: Fend Off the Swarm Assault
The Swarm are staging an assault on the museum, so move to the front balcony where the turret is and be ready. The Swarm assault contains a few waves of enemies. Let Kait man the turret while you use the Lancer to pick off any Juvies that manage to bypass the turret. Several Drones are mixed in amongst the Juvies. Pick them off before they hit the larger walls in the center of the yard, else they’ll be in position to start firing back from cover. Most of the Drones emerge from the doorway on the left of the house while others approach from the path on the right.
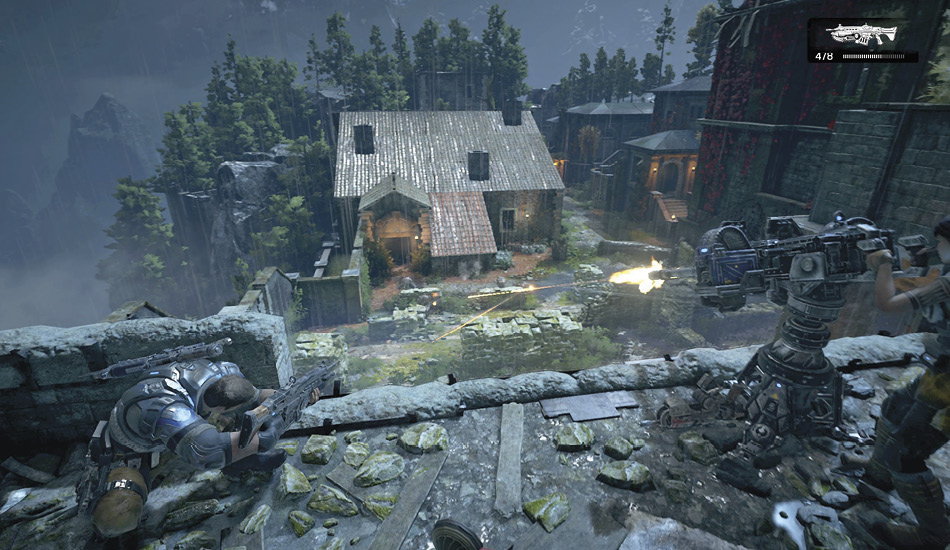
Don’t waste any Boomshot ammo on the Drones down below, as you’ll need it for when they eventually breach the museum’s interior. Equip the Retro Lancer once the Juvies scream is heard; that’s your cue that a large contingent of Juvies has made it inside.
The Retro Lancer can be used to kill Juvies in one hit (just tap  , don’t hold it), but it’s quite useful for shooting the Drones as well. The Retro Lancer packs quite a punch, so fire in short bursts. Stay close to the turret so you can keep the enemy Drones and Juvies in front of you as they ascend the stairs and make their way around the upper walkway. And most of all, stay together!
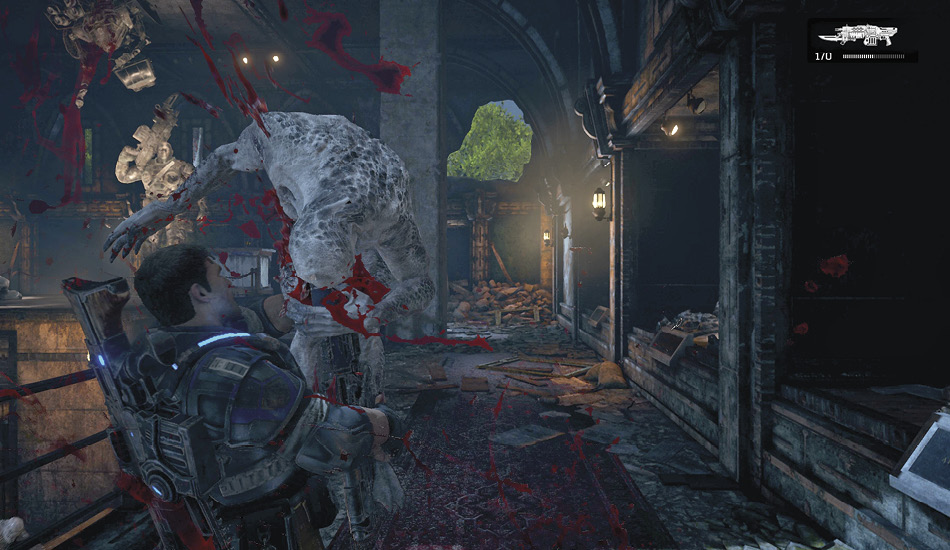
Plant Frag Grenades near the display cases once the Drones start ascending the stairs. This way they’ll be less likely to be tripped by a Juvie. Grab the Boomshot once the mass of Drones and Juvies begins to thin out and keep an eye on the door to the left (as viewed with your back to the turret). The assault ends when Drones burst through this door. Blow them up with the Boomshot to squelch the Swarm assault.
Exit the museum and cross the courtyard to the next structure. Push open the double door and pick up the Buzzkill on the left before approaching the bridge to the keep.
Objective: Get Inside the Keep
Set the Buzzkill down so you can toss a Frag Grenade at the nest opening, then pick back up the heavy weapon and start slicing the Drones that appear. The Buzzkill can be fired at a moderate, fully automatic rate, but you shouldn’t do this, as it wastes ammo. It only takes one of the Buzzkill’s blades to slice through a Drone, so fire just one at a time with single, brief pulls of the trigger.
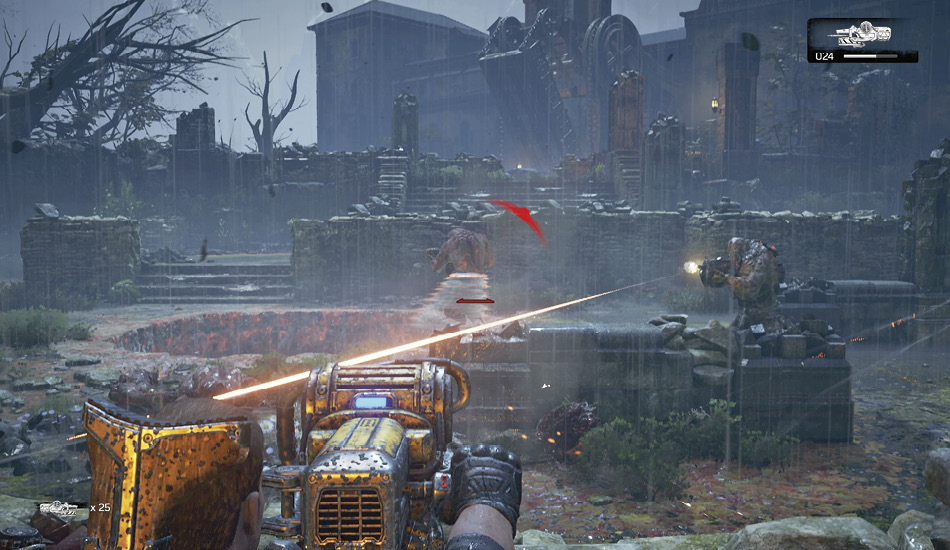
Check the nests for Frag Grenades or other weapons and carry the Buzzkill up the stairs toward the drawbridge. Toss another Frag Grenade at the nest and use the Buzzkill to mop up any remaining Drones in the area. Now it’s time to lower the bridge.
The counterweights on either side of the drawbridge are attached with orange-and-white boards. And you know what that means! Shoot the breakable boards from across the moat to lower the bridge into place.
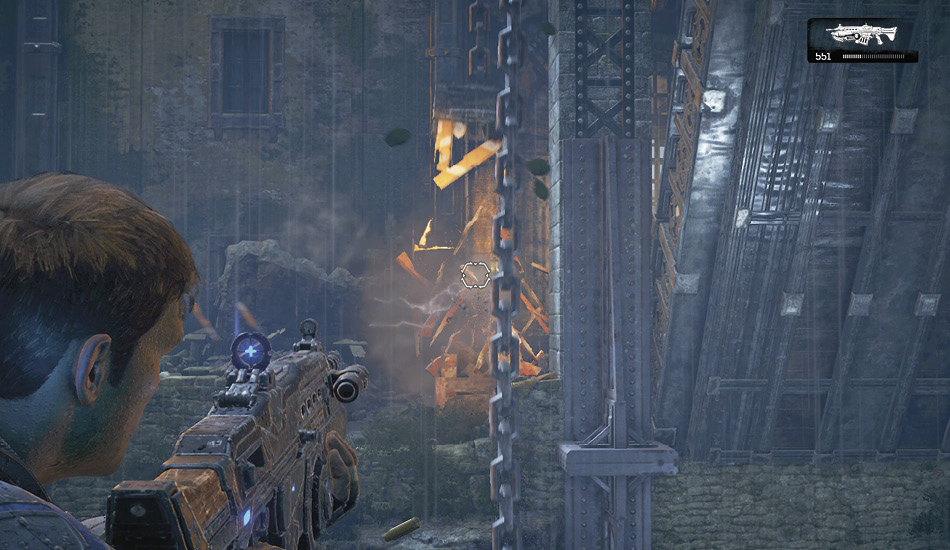
Use the Incendiary Grenade from the nest to burn up the two Snipers behind cover on the far side of the bridge. Collect their Longshots and head inside. A Grenadier will rush you at this point when the bridge drops. The Snatcher is spotted through a gate, but it can’t be reached just yet. Enjoy the calm and scour the rooms to the right for weapons and ammo. Mantle over the various pieces of furniture and crates to check the alcoves for additional items.
Objective: Follow the Snatcher into the Catacombs
Step out onto the balcony to spot the Snatcher, then duck into cover. Multiple Drones are set to mount one final defensive in an attempt to keep the squad from pursuing the Snatcher. Take out the nearest Drones first, then take aim with the Longshot on the Sniper Drone on the balcony in the distance, with the lanterns on it.
Advance from cover to cover along the left-hand side of the pit as more Drones appear. Slide into cover behind the fallen brick structure in the center and use the window within it to snipe from.
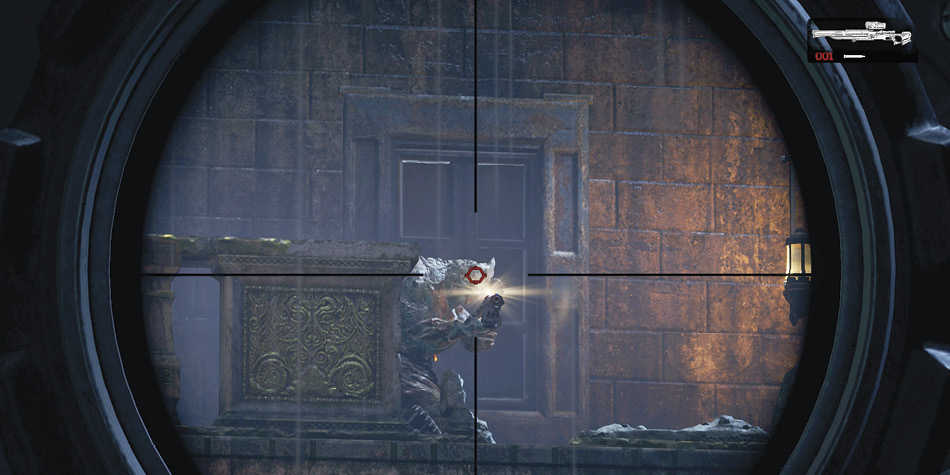
Clear the Swarm out from under the arched walkway on the left, then shoot the snot bubble in the corner to gain a Mulcher. Mount the heavy weapon on the stone wall and clear out the remaining Drones from the area. Pick up any dropped Longshots, slide into cover against the arch supports, and eliminate the Drones entrenched behind the sandbags in the distance. Cut through the door snot and step off the ledge to continue.