
Gears of War 4 Guide Multiplayer Multiplayer Basics
Getting Started
The following section will guide you on how to set up your character and choose a playlist.
Character Setup
Before beginning a match, you can adjust your COG or Swarm characters and their weapon skins in the Customization menu. These settings will act as your default choices when playing Versus games. Starting a match with a non-default weapon skin and character choice awards you the “Custom Made” achievement.
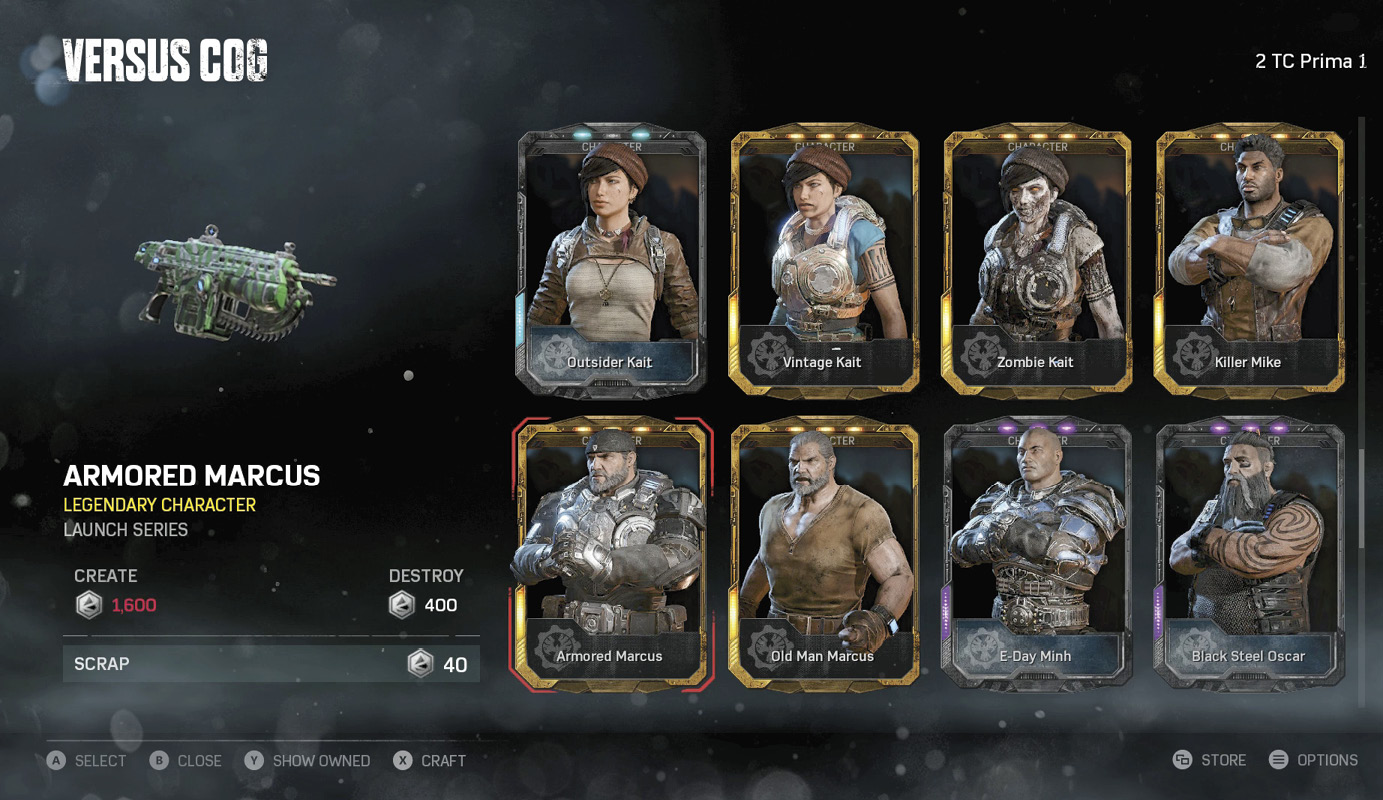
Starting/Finding A Match
You can access the Versus matchmaking options by selecting the mode from the Main Menu. You can then access and choose from the different playlist options that are available.
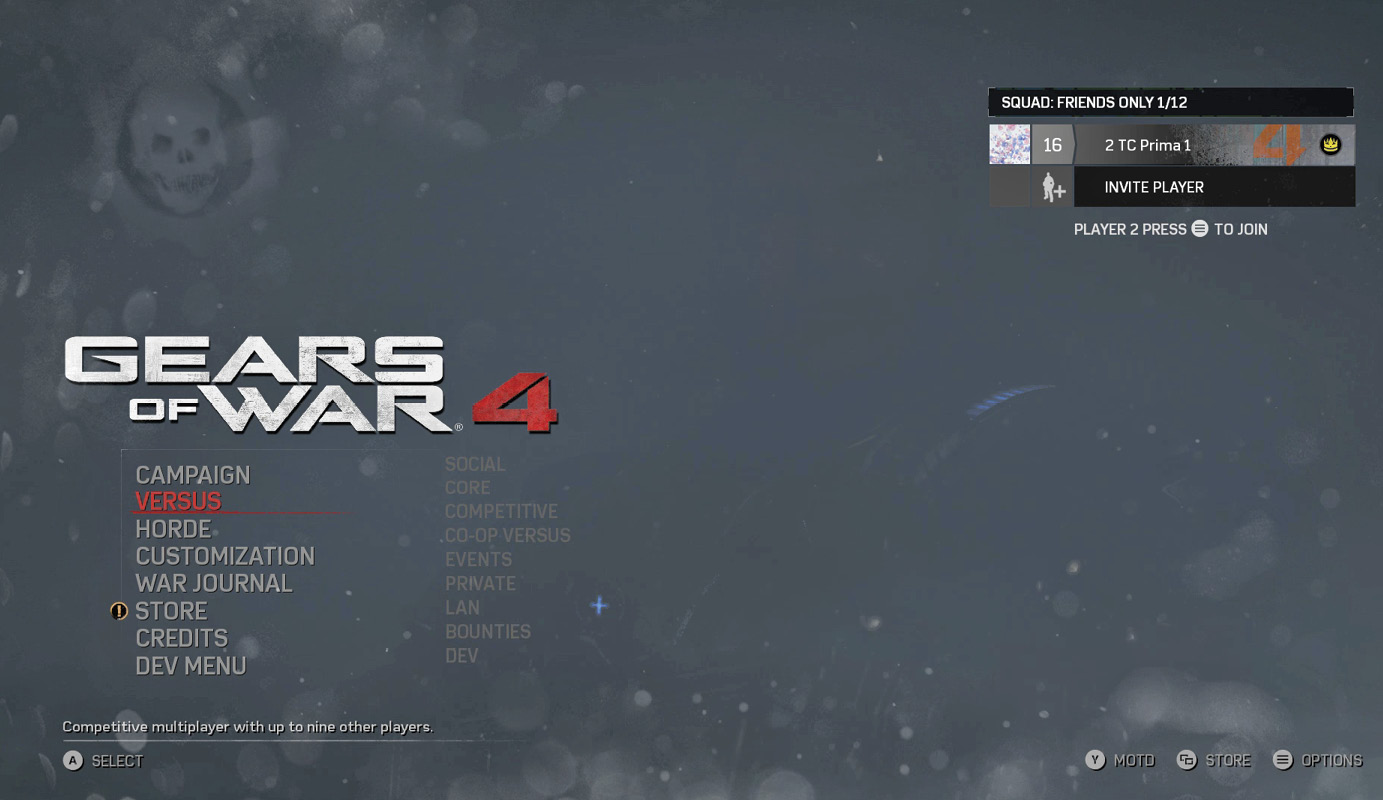
Choosing a Playlist
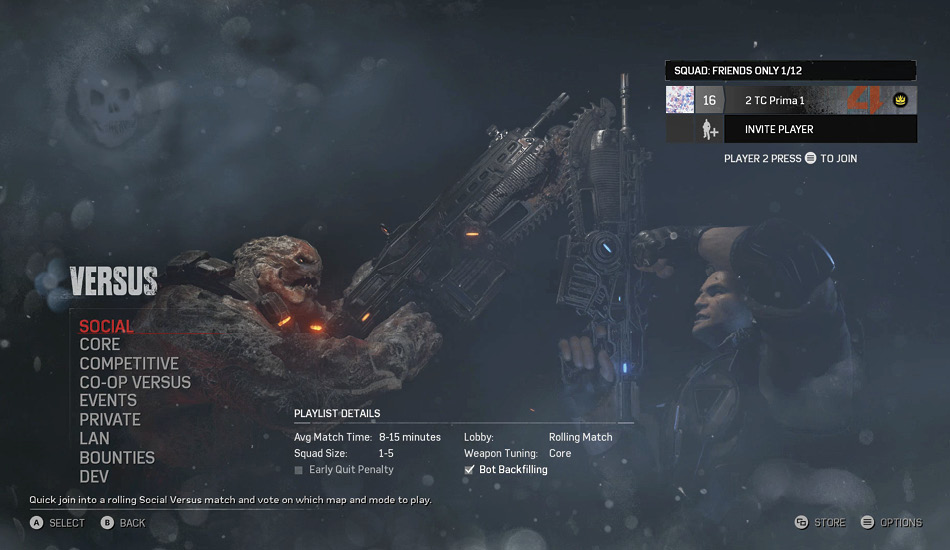
Versus mode consists of eight different game modes at launch, each appearing in the different matchmaking playlists. For a full breakdown of the modes that are available, continue on to the Multiplayer Modes chapter in this guide.
Social
You can quick join a Social Versus match and immediately vote on the map and mode that you would like to play. There are no ranks in this mode, so you can play with friends without worrying about ruining your status. Completing five consecutive Social matches awards you with an Achievement, as well as the maximum consecutive match bonus.
Core/Competitive
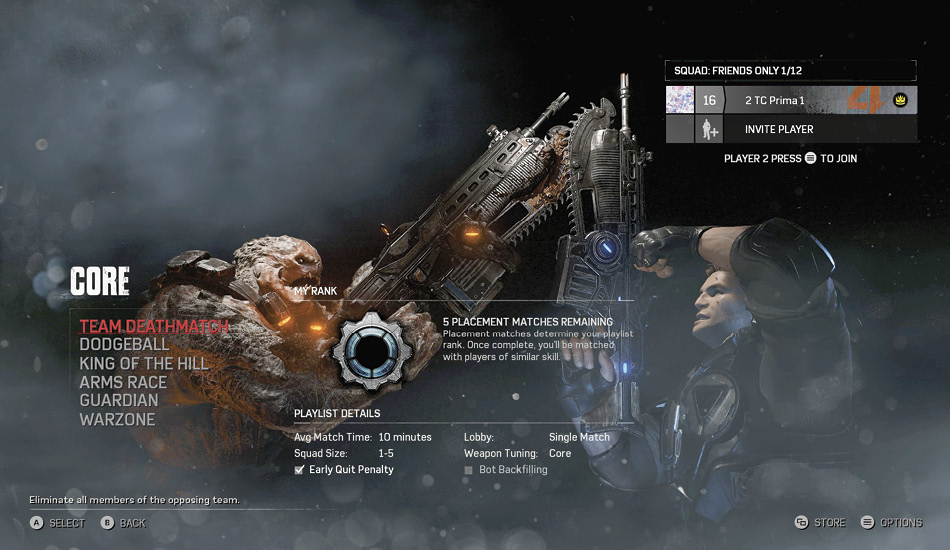
Core allows you to pick one of six ranked game modes, Team Deathmatch, Dodgeball, King of the Hill, Arms Race, Guardian and Warzone.
The Competitive option uses the Competitive Weapon tuning and only features Escalation and Execution as the available game modes.
Ranks
Each game mode in the Core and Competitive Playlists holds a separate rank. Ranks are awarded after completing five placement matches. The rank order from lowest to highest is as follows: Bronze, Silver, Gold, Onyx, and Diamond.
Co-Op Versus
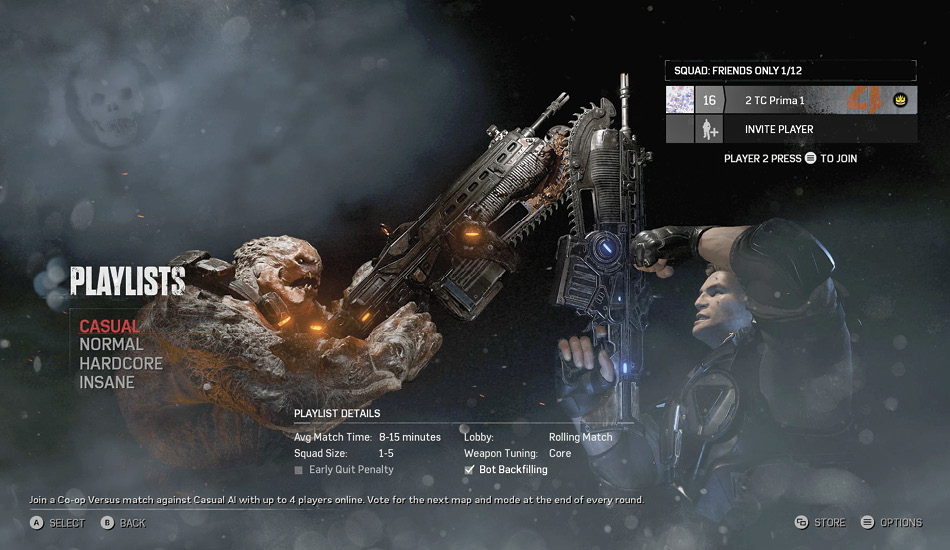
Play a Versus match against AI opponents with up to four other co-op players. This playlist is a great way to learn the maps, without worrying about getting stomped by another veteran player. There are four difficulty levels that you can set the AI to play: Casual, Normal, Hardcore, Insane. There are also four different Achievements that can be awarded in this playlist.
| Achievement | Description |
|---|---|
| How’s it Going to Work? Teamwork! | Win a Casual Co-op Versus match |
| Talent Gets Kills, Teamwork Wins Games! | Win a Hardcore Co-op Versus match |
| Teamwork Makes the Dream Work! | Win a Normal Co-op Versus match |
| To Go Fast, Go Alone. To Go Far, Go Together | Win an Insane Co-op Versus match |
Private/LAN
Private and LAN (Local Area Network) matches allow you to control every option of the match you are about to play. Available options may change depending on the mode, but you can change between Core and Competitive tuning on any Game Mode.
Private Games can be played with other players on your Friends list, while LAN matches can only be played with other players connected to the same local network.
Weapon Swap
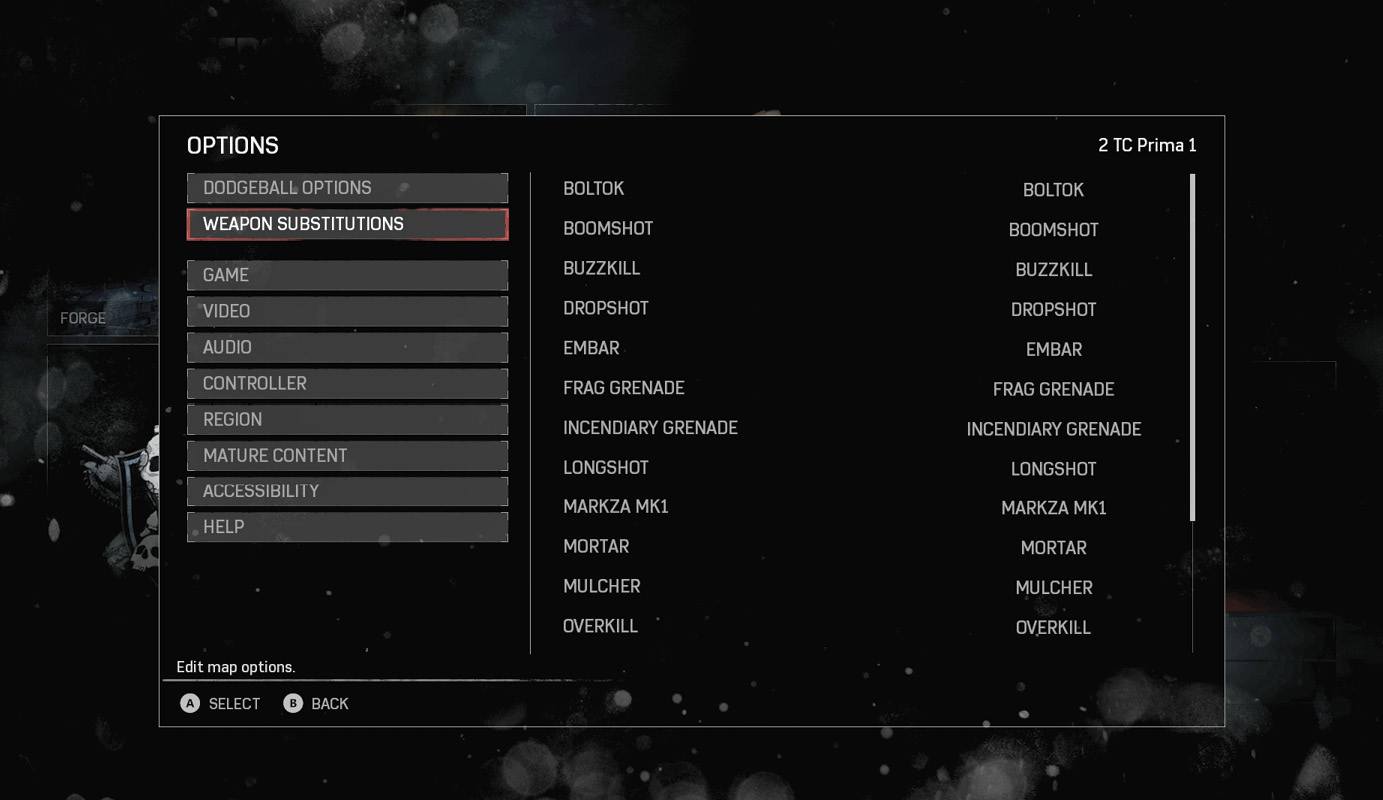
When hosting a Private Game, you are granted the option of swapping out any of the default map-based weapons with ones of your choosing. For a full list of each map, including the map-based weapon options, be sure to check out the Multiplayer Maps chapter.
Leveling Up
Getting kills, assists, and completing objectives are the main sources of experience in multiplayer. As you gain XP you’ll find yourself leveling up. While there are no level specific unlocks, players will still be able to determine your overall amount of experience based on your player level. Obviously, it is better to have a higher player level than a lower one.
Bounties
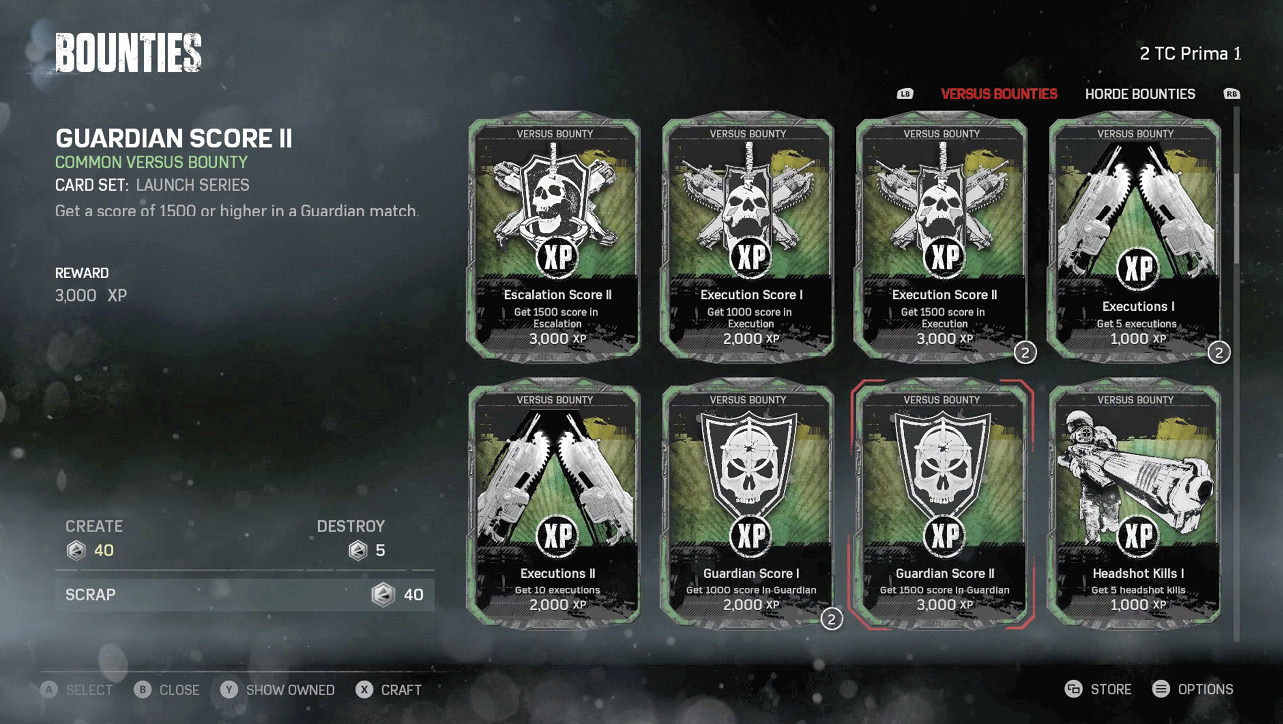
You can increase your player level more quickly by using bounties. Bounties are special Cards that require you to complete a certain challenge in a single match. Upon completing a bounty you’ll be granted a good sum of XP. Harder bounties give you more XP than easier ones and the card won’t disappear if you fail. You can continue using the card until you complete the designated bounty. To view a full list of bounties, check out the Cards chapter that is featured near the back of this guide.
RE-UP
Using the RE-UP feature allows you to keep your leveling experience fresh after hitting the max level. You can use the RE-UP feature by going to your war journal when your level is shown as a star. Simply press the  button to complete the process.
RE-UP drops your XP back to 0 and increases your rank by 1.
Game Awareness
Awareness is the key to dominating the multiplayer battlefields of Gears of War 4. Luckily for you, the game helps you out by providing you a few tools to help keep you on top of the battle every round.
Scoreboard and Map
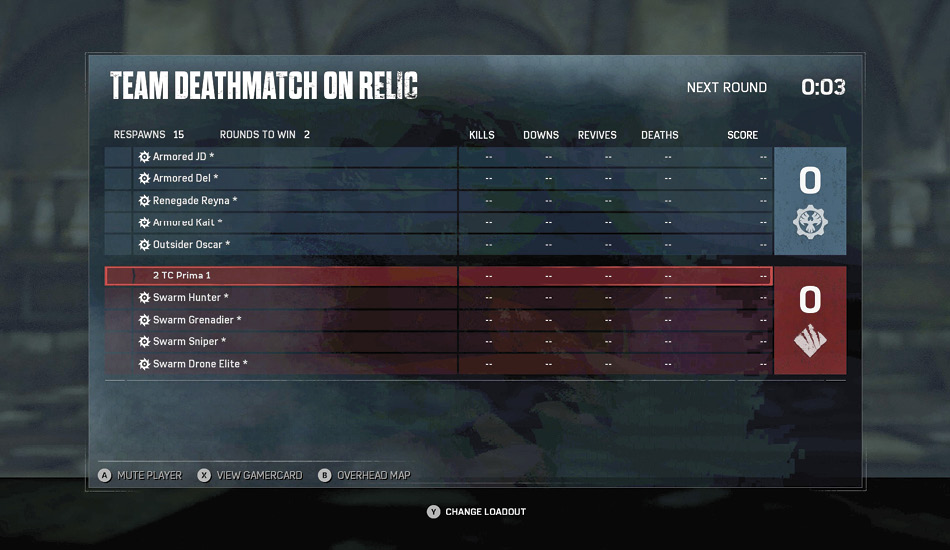
During a match, hold Back to bring up the Scoreboard. The Scoreboard will show each players current score and who is currently alive or dead. Checking the Scoreboard is best kept to a minimum, as it takes up a large amount of the screen.
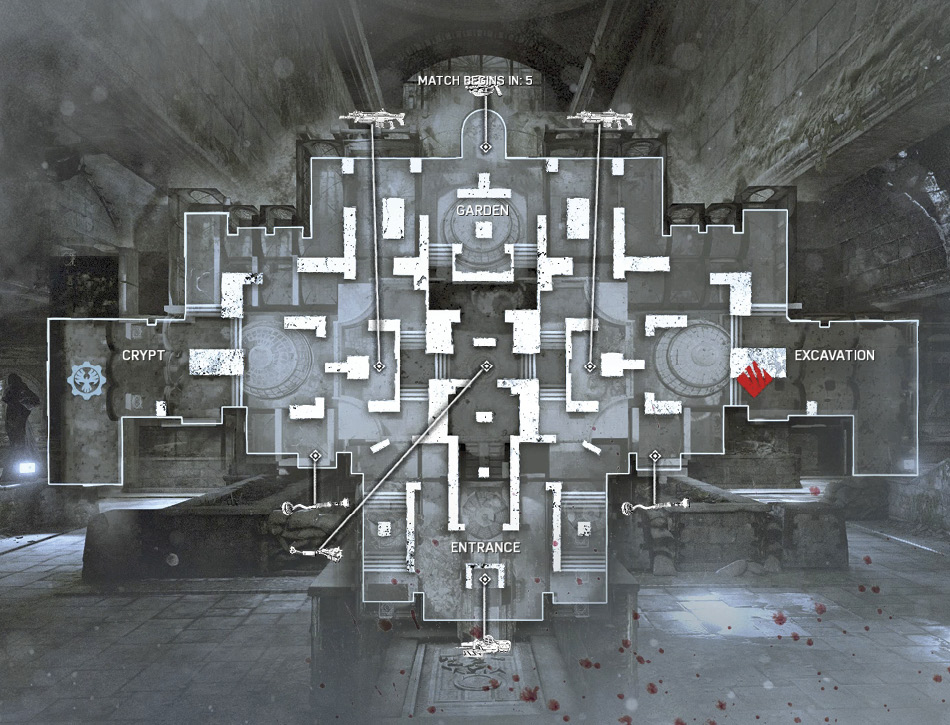
With the Scoreboard open, you can access the map by pressing  . The map gives you a quick view of available map-based weapons, the current objectives, and the position of your teammates around the map. Enemies are not placed on the map, so you’ll need to use your judgement to determine where the enemies are. Generally, if your teammates aren’t in a certain area, that’s where the enemies are. Use the map to check for holes in your team’s defenses as you move across the map.
Respawning
With the exception of Execution and Warzone, players are allowed to respawn when certain match conditions are met. All respawn conditions for each mode are listed in the Versus Modes chapter.
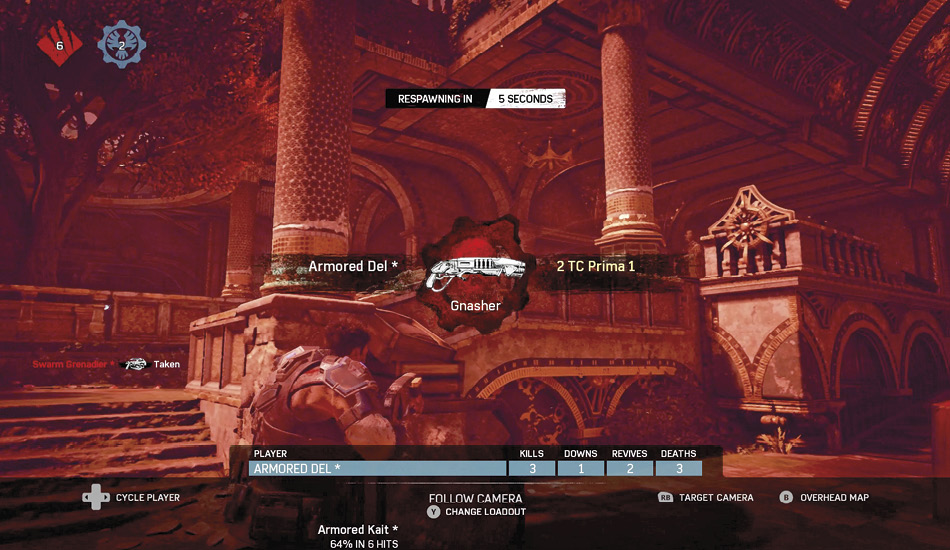
When waiting to respawn, you’ll have a varying amount of time to adjust your loadout, this can be done by pressing D-Pad Left/Right. You may only swap you two primary weapon options between the Enforcer, Lancer, Hammerburst and the Gnasher. The Snub and Smoke Grenade are always equipped at spawn and cannot be changed.
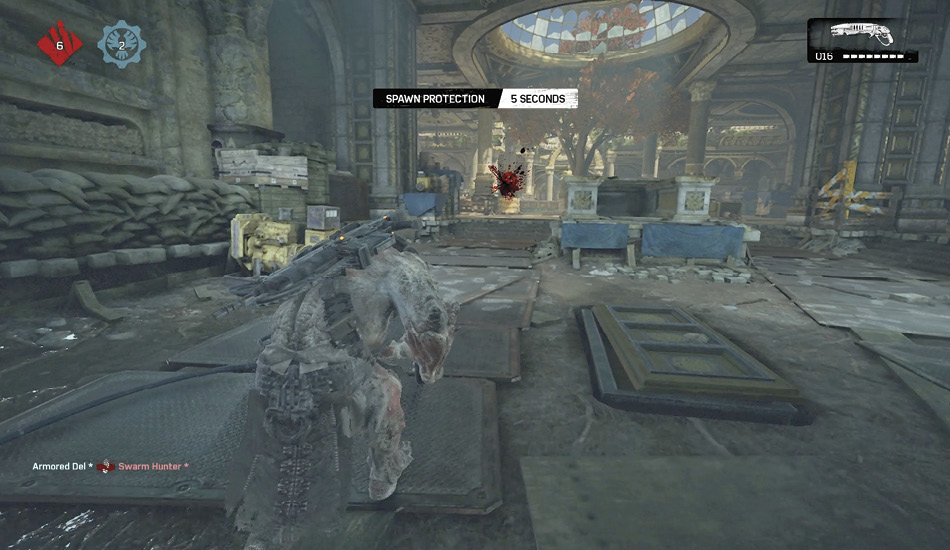
Upon spawning, you are allowed a short period of time in which you will not take damage. This time is displayed on the center of the screen as spawn protection.
Spotting An Enemy
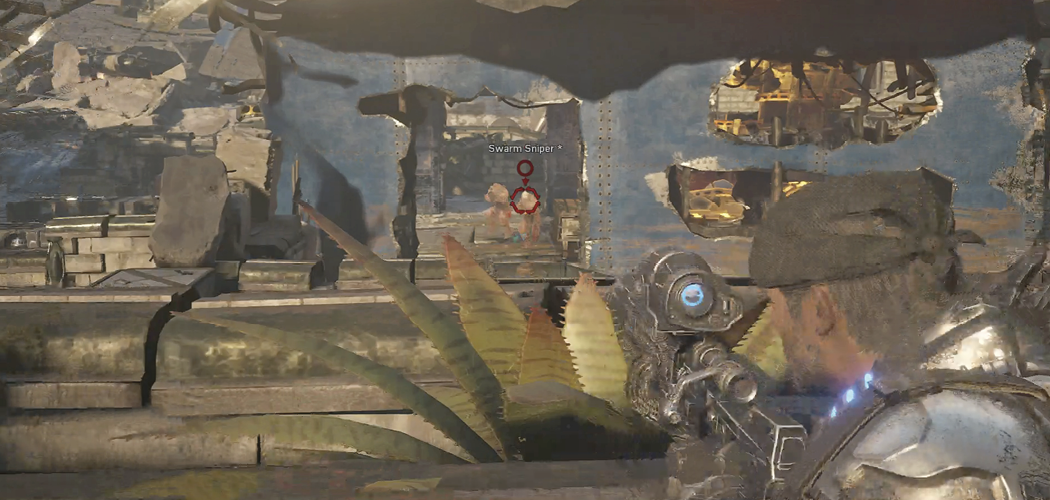
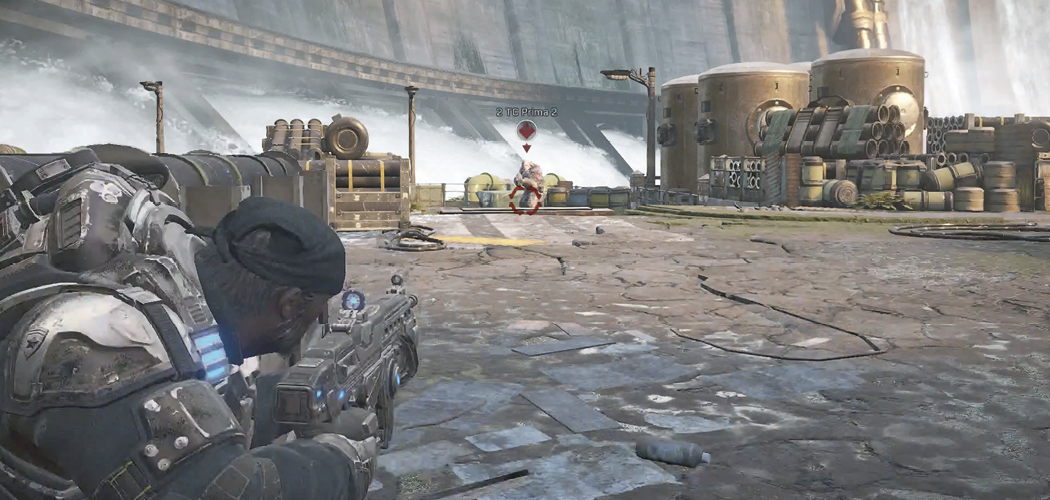
When aiming at an enemy, pressing Left Thumbstick marks your opposition for a short period of time. Players may only mark one enemy at a time, so try marking a different enemy if a teammate has already marked one to help your team even more. Marked enemies are not marked on the map. Once your opposition is marked, they are called out on your HUD. There are no indicators if you have been marked, so stay moving to keep yourself from being marked or tracked easily.
Tac-Com
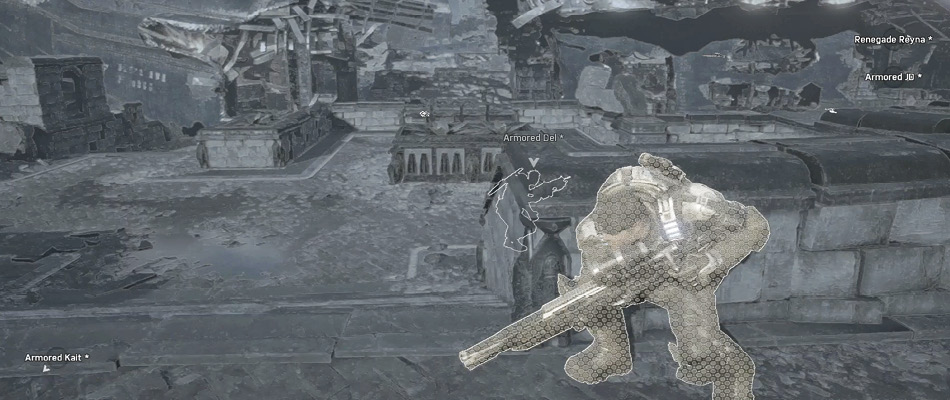
Press the Tac-Com button (Left Bumper) to toggle the Tac-Com mode. This mode enables you to quickly see the location of teammates and the map-based weapon locations. A grayed out version of the weapon appears if the weapon has been picked up. You will see a white version of the weapon if it is still available.
Weapon Pickup and Kill Notifications
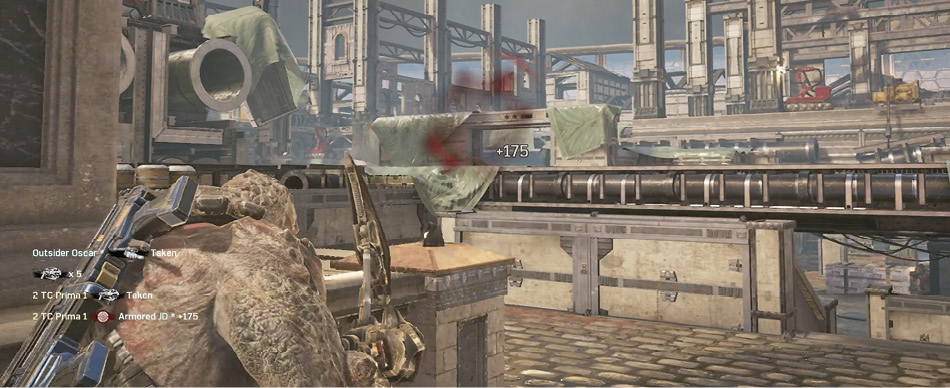
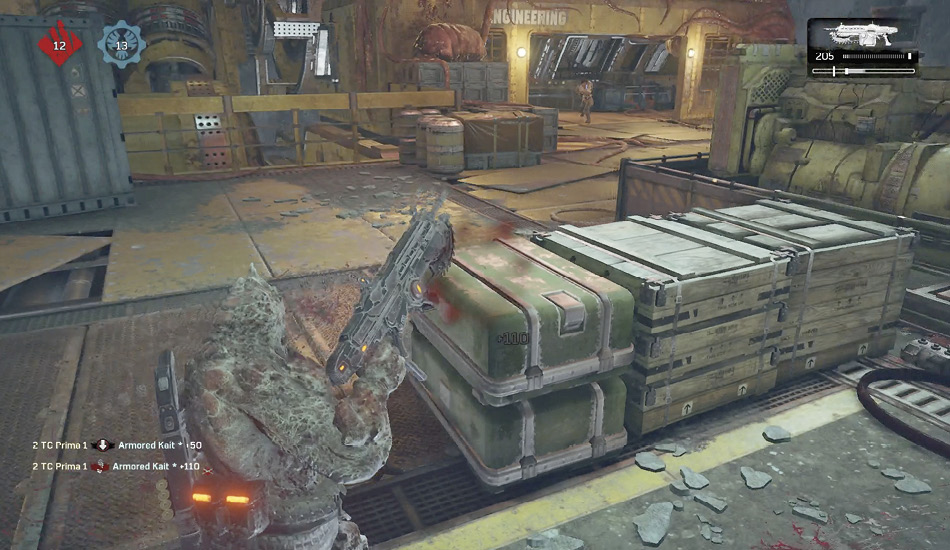
The lower-left corner of the screen is home to the Kill-Feed. In Gears of War 4 this shows not only player kills and deaths, but also when a player picks up any map-based weapon. You can use this tool to keep an eye on who has what weapon without activating Tac-Com mode.
Getting Around
Moving with speed and purpose is important if you like staying alive in multiplayer. Always have your path planned before you begin moving to limit the amount of time you’re exposed to enemy fire.
Movement
There are no changes in movement between single and multiplayer, use the Left Thumbstick to walk around the map. This style of movement is fairly slow and should only be used when actively engaging an enemy. This is the only speed of movement available when firing a weapon.
Roadie Run
Holding  causes your character to take off in the direction you are aiming in a fast crouched run. You are unable to make sharp turns or fire your weapon while performing a roadie run. Using roadie run with other advanced movements increases your chances of staying alive when in motion.
Sensitivity
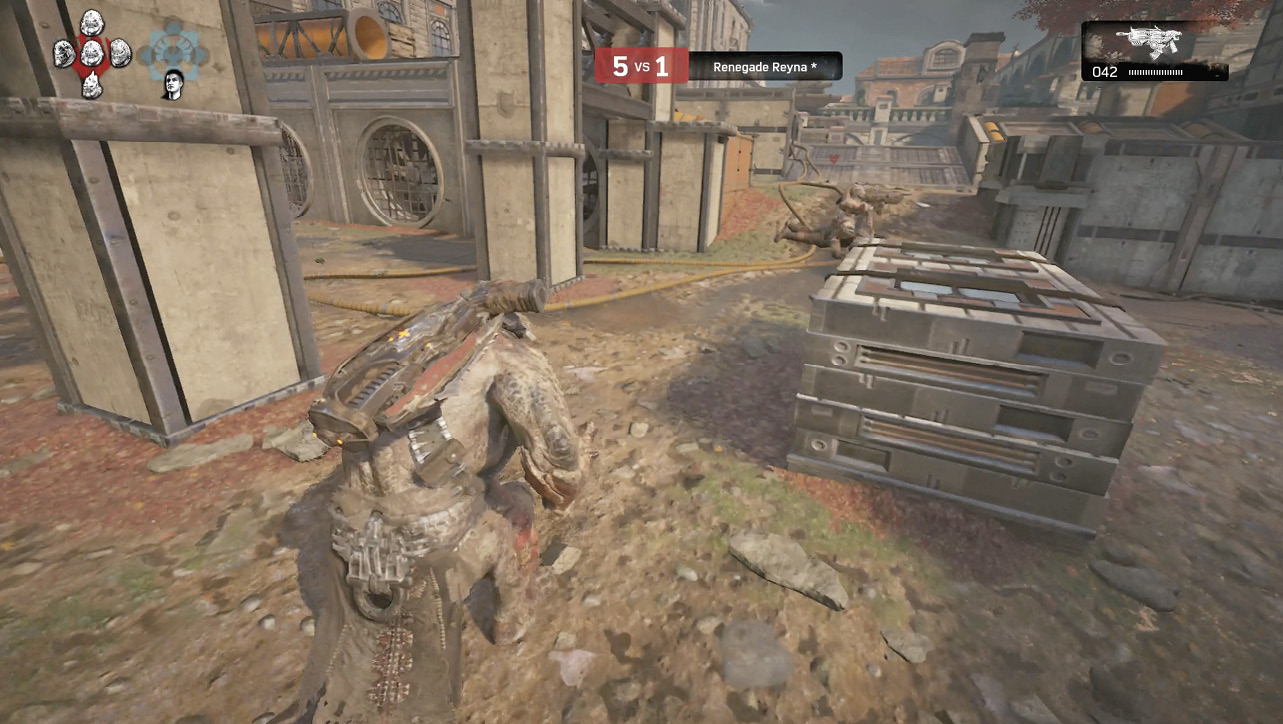
In the Options/Controller menus you are granted to option of adjusting your sensitivity. This adjusts how quickly you can change the direction you are aiming. At the maximum setting you’ll have the highest turning speed, giving you the advantage over your enemies with lower turning speed, as long as you maintain your accuracy.
Dodge
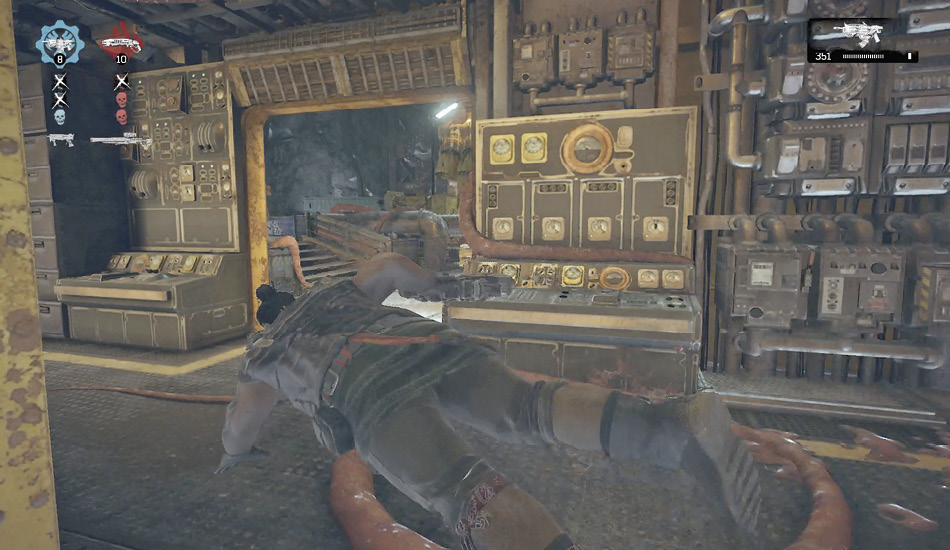
While moving any direction, tap  when not near cover, to quickly perform a combat roll in the same direction. Dodging is much more effective when your enemy is at a medium to long range. Pairing this with a roadie run by holding
  after the roll helps you get to cover or out of trouble quickly.
Omnidirectional Evade
Omnidirectional evade is an option in the Controller Menu that allows you to roll in more than the four cardinal directions (Forward, Back, Left, Right).
Cover
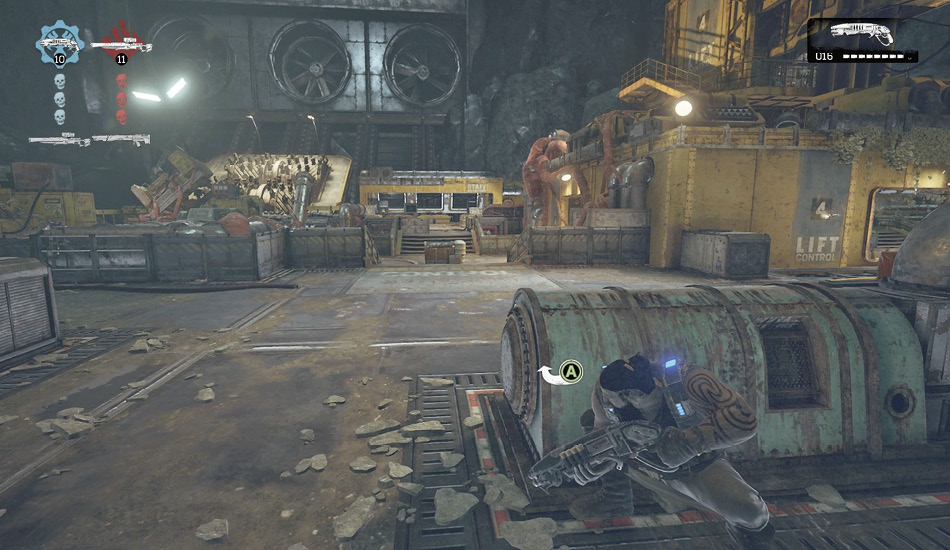
Pressing the  button when near cover will cause your character to quickly attach to the nearest cover point in that direction. While in cover you can move around using the Left Thumbstick, blindfire at enemies by aiming with the Right Thumbstick, and shoot with your equipped weapon (by pulling the Right Trigger).
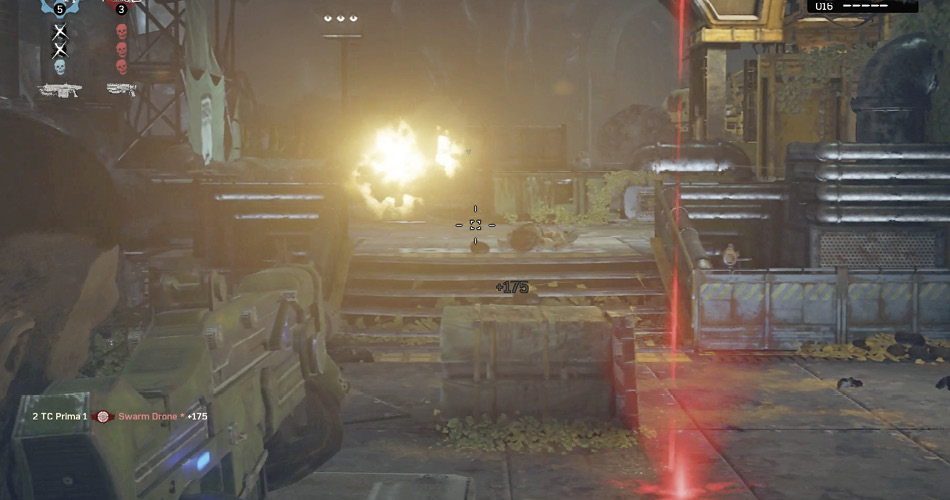
When you ADS or Aim Down Sights, you’ll slightly expose yourself from cover, use the Left Thumbstick to move around behind cover after you fire a few shots to prevent other players from getting a good shot on you.
Advanced Movement
The table below lists some basic and advanced maneuvers that help you evade any enemy and put you in an advantageous position on the battlefield.
| Command | Action |
|---|---|
| Roadie Run | Hold  |
| Right-Angle Turn | While roadie running, tap and hold  while pointing the Left Thumbstick left or right while pointing the Left Thumbstick left or right |
| 180-Degree Turn | While roadie running, tap and hold  while pointing the Left Thumbstick down while pointing the Left Thumbstick down |
| Cover Slide | Press toward a piece of cover and press  |
| Cover Slide Cancel | During cover slide, press in the opposite direction of the slide |
| Cover Slip | Press forward with Left Thumbstick while at the edge of cover and press  |
| Cover Swap | While in cover, point the Left Thumbstick toward another nearby piece of cover and press  |
| Roll Switch | Continue to hold the  button and a direction on the Left Thumbstick after performing a dodge button and a direction on the Left Thumbstick after performing a dodge |
| Strafe | Use the Left Thumbstick to move left to right while firing. |
| Roadie Strafe | Switch up your roadie run direction by releasing  then pressing then pressing  and Left Thumbstick in a different direction. and Left Thumbstick in a different direction. |
Cover Slide
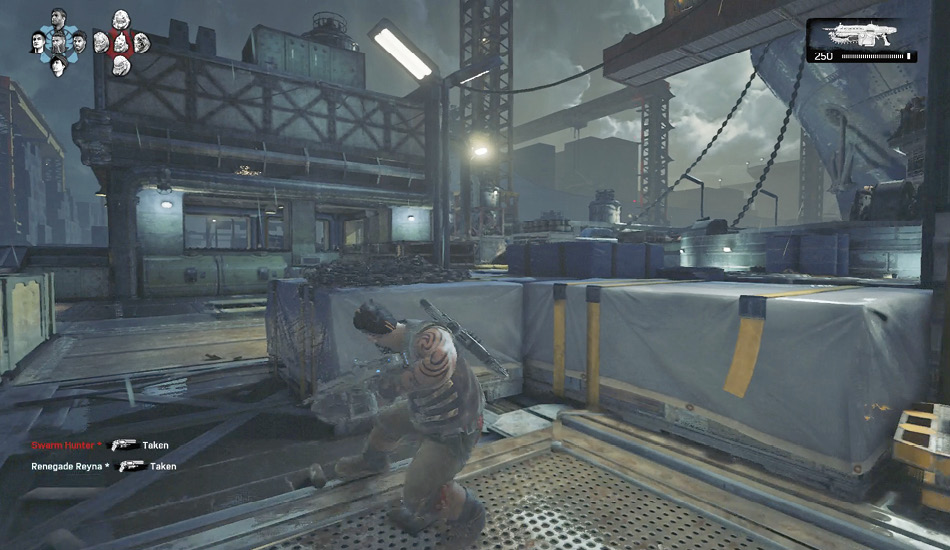
Press  as you get close to a piece of cover to perform a cover slide. This gets you to safety a bit quicker than walking or roadie running the complete distance. You can use this technique to quickly take cover at a location that you have passed. Simply aim back at that location and press
  to get into cover.
Cover Slide Cancel
Canceling a cover slide is a great technique for confusing your enemies. Quickly cancel the cover slide by pressing the Left Thumbstick in the opposite direction of the slide to stop it. This allows you to take cover, dodge, or run in another direction.
Wall Bouncing
Wall bouncing is a technique involving multiple cover slides and cancels that are chained together. This enables you to quickly move across the map while staying fairly close to cover. While using the wall bounce technique, you always have the option of stopping, sticking to a piece of cover, and shooting from your current position.
Roll Switch
As previously mentioned, continuing to press  after a dodge allows you to instantly run in a different direction. This can save your life if you find yourself rolling directly into the hands of an enemy.
Combat
This section discusses various combat techniques that you can employ to give you an edge with the weapons that you have at your disposal.
Skill Shots
Skill shots are helpful tactics and aiming styles that take your Gears of War PvP game to the next level!
Hard Aim
Holding the Left Trigger in puts you in hard aim mode. Hard aim allows the player to enter ADS (Aim Down Sights) and provides a targeting reticule that is not normally visible. Your movement speed is reduced in this aiming mode, so it is best utilized against targets that are at medium to long range. It is a good idea to remain as still as possible while aiming this way, since any movement causes the targeting reticule to bloom. Hard aim is extremely effective with marksman weapons, such as the Longshot and the Lancer, but it can also be employed with shotguns to ensure more damage with a diminished pellet spread.
Blind Fire
Pulling the Right Trigger while the character is relaxed performs a blind fire. Blind fire is the shot that every Gears of War player needs to learn. It is the bread and butter of Versus mode. Most often used with shotguns, this shot allows the user to fire at opponents without running the risk of reduced movement. The user can strafe, roadie run, and wall bounce, all while timing blind fire shots correctly. Blind fire is the foundation for more skilled shots, since it’s the quickest shot to pull off in combat.
Pop Shot
The pop shot is a method that dates back to the first Gears of War. Its purpose is to provide the player an exact spot for their shooting, similar to the hard aim, but without the complete loss in mobility. When you perform a pop shot, you briefly press Left Trigger, then Right Trigger in quick succession to pull your aim to the center of the screen. This makes the bullets fire from a more reliable stance that you can easily read—the center of the screen. What makes this shot so beneficial is it allows the user to not lose much mobility, since they will only be in the Aim Down Sights mode for a very short amount of time. Pressing the Left Trigger, then immediately pressing the Right Trigger within 0.5 seconds of pulling Left Trigger performs the pop shot.
Reaction Shot
The reaction shot is the most hardcore skill shot, and the coolest for sure! With the use of this skill, you can shoot in any direction while you are coming out of a cover slip. This shot can be used to shoot opponents on the opposite ends of cover, and even shoot backwards. The main usefulness of this shot comes from how unpredictable players can be while using it. To perform a reaction shot, begin roadie running towards an edge of cover, enter the cover, immediately use a cover slip, while cover slipping rotate the Right Analog Stick in the desired direction, and shoot.
Back 
Back  is a fan favorite shot that was made popular in the most recent Gears of War game, Ultimate Edition. This shot allows you to blind fire while in cover, all while maintaining as much mobility and protection as possible. To perform the Back
  , you quickly blind fire from cover by pulling the Right Trigger, you exit cover by pulling back on the Left Analog Stick, then you re-enter cover, and repeat the process.
Up 
Up  is one of the easier to perform skill shots. The Up
  allows you to earn kills using cover slips without losing any momentum. This is a very effective shot that can be strung together with repeated uses. To perform the Up
  , begin roadie running towards the edge of a piece of cover, enter cover, without stopping—cover slip, shoot by pulling the Right Trigger, and continue roadie running.
Lefty Flip
An extremely handy tactic, the Lefty Flip allows players to negate the right hand advantage. In all Gears of War games the characters normally have their weapon located on the right side of their body. Making cover on a right handed wall very effective. This shot gives you the opportunity to switch the side that your character has their weapon on. If you Lefty Flip and stop aiming down the sights, your weapon goes back to your character’s right side, since you can only lefty flip while holding the Left Trigger. To perform the Lefty Flip, enter left handed cover, aim down the sights by holding the Left Trigger, hold back on the left analog stick while still holding the Left Trigger, continue holding Left Trigger, and fire the weapon.
Slap Shot
One of the most underutilized shots. It allows a player to perform the pop shot while remaining hidden. While doing this, the player is free from taking damage, but can still get off an aimed round on an enemy. To perform the slap shot, enter the edge of cover, and begin aiming down the sights over the top of cover. Immediately after your character starts to aim over the top of cover, move the Left Analog Stick toward the edge of cover (as if you were going to peek out), fire the weapon, then immediately go back into cover. You can repeat this process over and over.
Close Quarters Combat
When running around the smaller areas of the multiplayer maps, you may find yourself at very close range with an enemy while you have an empty or less than ideal weapon. Luckily for you, Gears of War gives you many options to continue the fight.
Melee attack
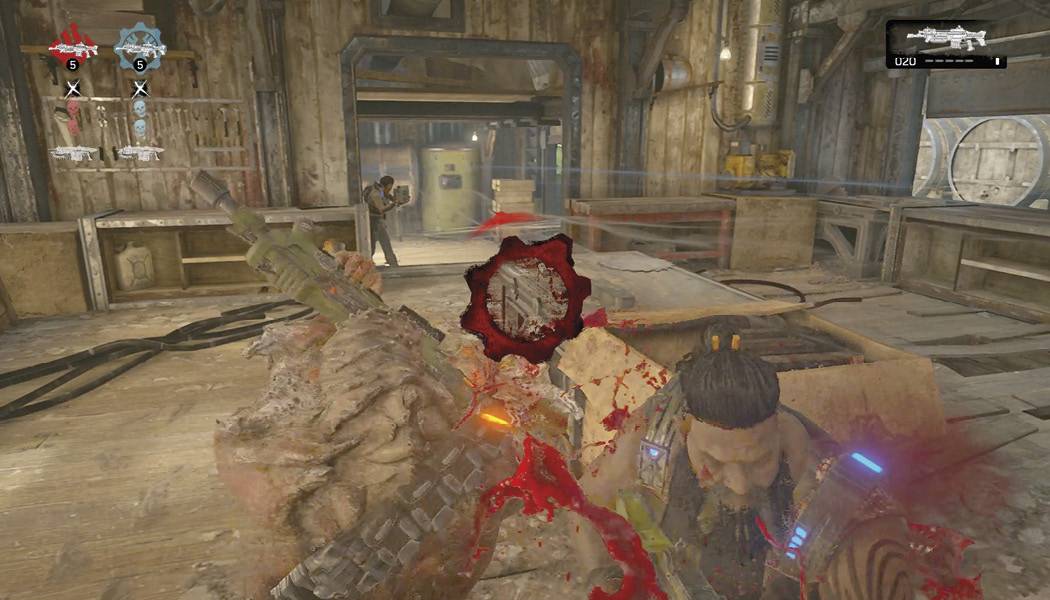
Pressing the  Button unleashes a melee attack on your enemy. This should really only be used as a last resort, or as a finishing move on a downed enemy. Standard melee attacks will not kill an opponent who has full health and allows them ample time to shoot you while you swing your weapon at them.
Executions
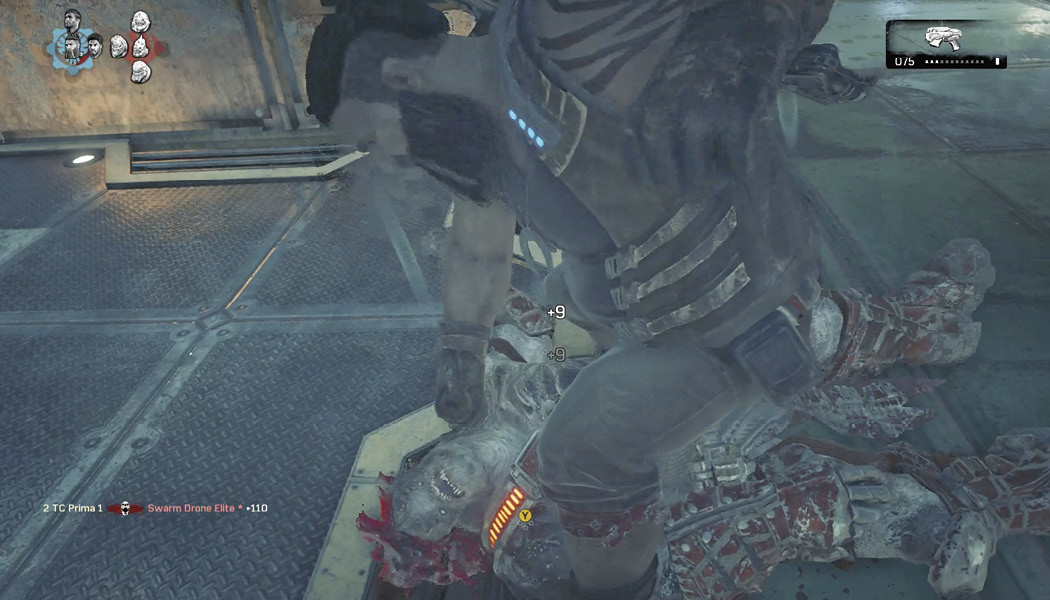
To perform an execution, the enemy must be either stunned or DBNO (Down But Not Out). Approach a stunned or DBNO enemy and hold the Execution button  . The execution animation leaves you vulnerable, so only use this attack when there are no other enemies lurking around. Different weapons perform different types of executions, each of these actions take various amounts of time.
Lancer Finishing Moves
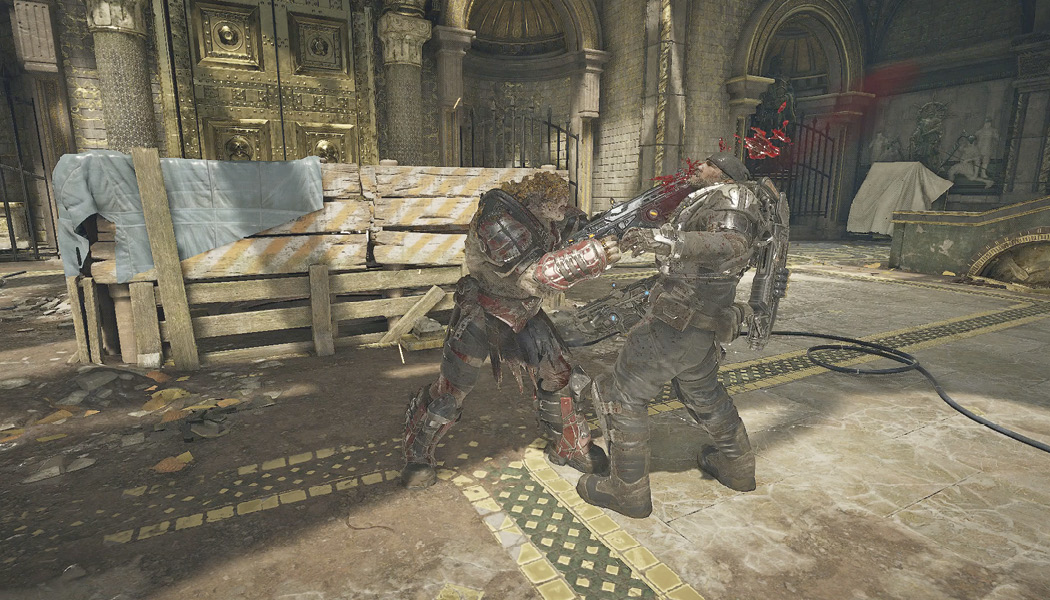
Each Lancer has its own finishing move. However, both Lancers require a short amount of time to finish their execution animation so you should make sure that you are in a one-on-one situation when you use these special attacks.
Lancer—The standard Lancer is available as a loadout weapon and it has a handy chainsaw available for more than just cutting down trees. To cut down an enemy hold down the melee attack button  and you’ll rev up the chainsaw for some bloody action. You are vulnerable while using the chainsaw on an enemy, and you cannot roadie run while your chainsaw is charged up. Make sure you use this special melee attack when you have the drop on an enemy from behind and you should make sure that they are alone because you are vulnerable while you are performing the execution.
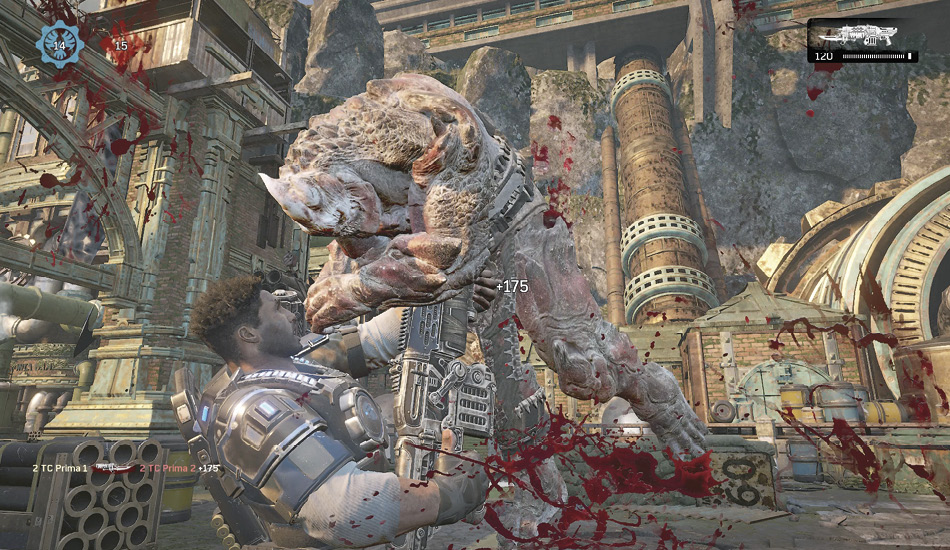
Retro Lancer—The Retro Lancer has a sharp bayonet on the business end of it. When the melee attack button  is held, you’ll begin a bayonet charge in the direction of your foe. This charge is not indefinite like the roadie run. A short bar appears below the weapon at the beginning of the charge. While the indicator is white, a hit from your charge simply hurts an enemy and stops your run. When the bar turns red, a direct hit with the charge will kill the opponent and begins a short animation where you become vulnerable. Use this move to catch enemies who are alone and out in the open while they are moving between pieces of cover.
Mantle Kick
When locked into shorter cover you will have the option to mantle it. Press the Left Thumbstick forward and  to leap over the cover knocking back any enemies on the other side.
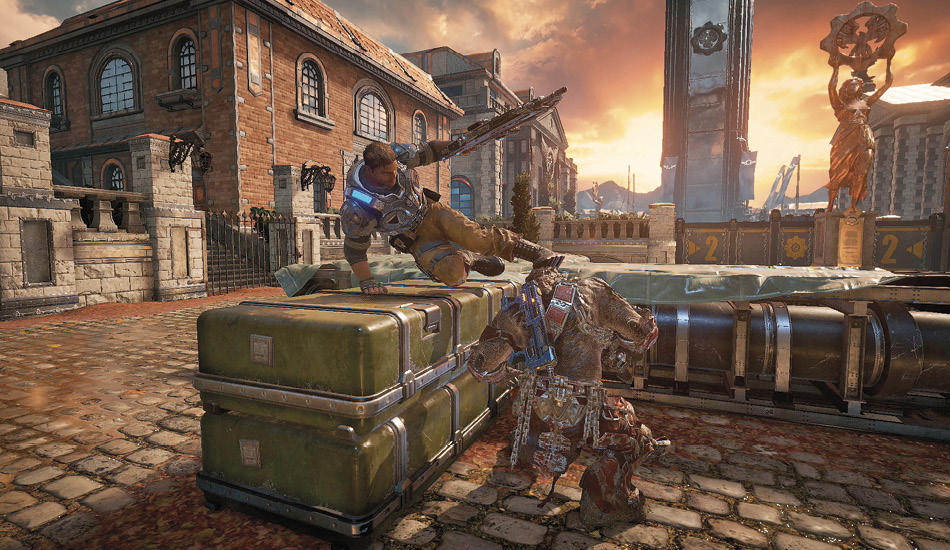
When timed correctly, you can stop an enemy charging at your piece of cover and quickly kill them with a shotgun blast or an execution move while they are stunned.
Vault-Kick
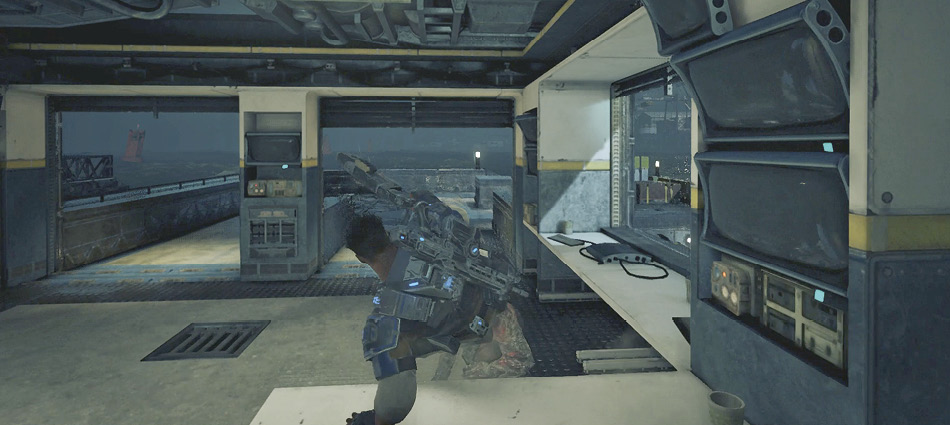
Vault-kicking is a lot like mantle-kicking, but you don’t need to take cover before leaping to kick an enemy. When you’re performing a roadie run near a piece of short cover in front of you, press  to jump over the cover and knock back any enemy that may have been seeking refuge there.
Yank
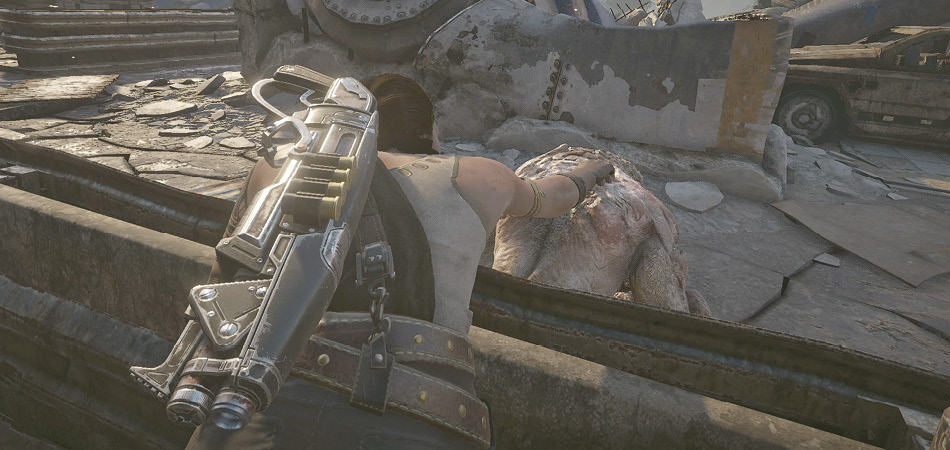
It’s a yank or be yanked world out there when it comes to the smaller pieces of cover out on the field. Remember, if you can yank an enemy, they can yank you. To perform a yank, hold the Left Thumbstick forward and press  to pull an enemy over a small piece of cover. Once you’ve pulled them, they are stunned for a short moment allowing you to perform an execution or blast them with your Gnasher.
Meatshield
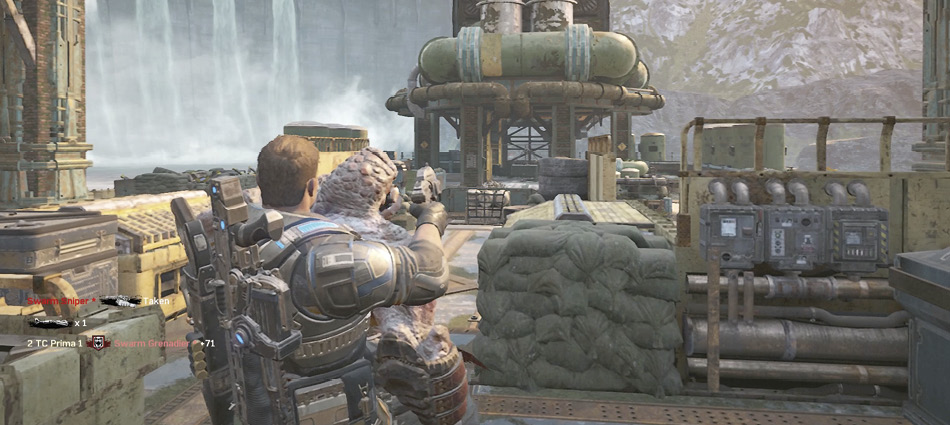
When an enemy is DBNO you can approach them and hold  to pick them up off the ground and use them as a meatshield. While you are holding a meatshield, you can only use your pistol. Picking up a meatshield instantly kills the enemy that you performed the maneuver on. This means that they can come back and kill you after they have respawned, while you are still holding their dead body as a shield. If you have a grenade handy, you can press D-pad Up to attach your grenade to the meatshield and kick them forward a few feet toward any nearby enemies. This makes a great lethal distraction that can help you get away from your opposition if you are outgunned.
Weapons
Gears of War 4 features a diverse set of weapons to tear apart your foes. There are four base types of weapons in multiplayer mode each offering varying levels of destruction.
Weapon Types
Loadout Weapons—Lancer, Gnasher, Hamerburst, Enforcer, and Snub
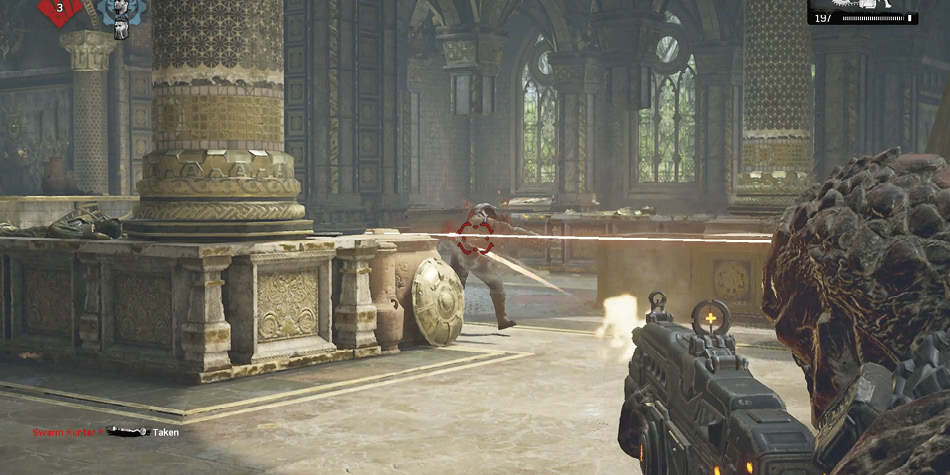
Loadout weapons are all available for selection at the beginning of any round. You can carry any combination of weapons in your primary weapons slots, but the Snub Pistol is the only option for the one-handed weapon slot.
Secondary Weapons—Markza Mk1, Retro Lancer, Overkill, Boltok, Longshot
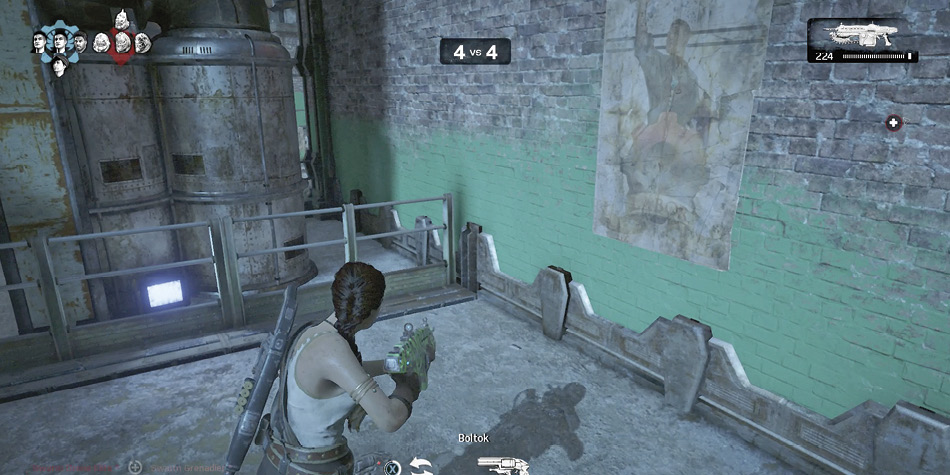
The secondary weapons are acquired from different areas of the map and are dropped upon death. With the exception of the Boltok, these weapons replace a weapon in your primary weapons slot. Secondary weapons always have mirrored spawn placements on maps. They are generally located closer to the player spawn areas. This allows two of these weapons to be used in combat at any given time.
Power Weapons—Buzzkill, EMBAR, Torque Bow, Dropshot, Boomshot, Frag Grenade, Incendiary Grenade, and Shock Grenade.
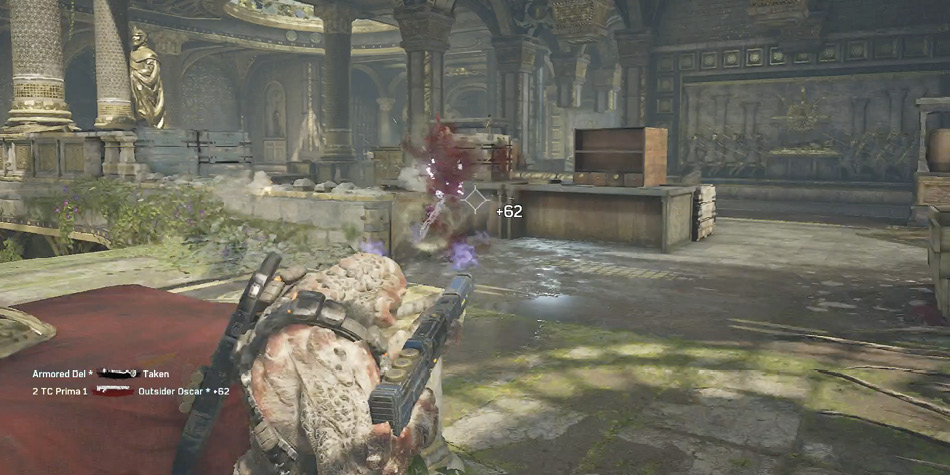
Power weapons are found closer to the middle-points of maps and can quickly change the momentum of any game. Because of this, the areas where these weapons spawn become vicious combat fronts where a good deal of action happens. While the weapons in this class act much like the others—they inhabit your primary weapon slots and they drop from you upon death—the grenades take the place of your currently equipped grenade in the grenade slot.
Heavy Weapons—Tri-Shot, RL-4 Salvo, Buzzkill, and Mulcher
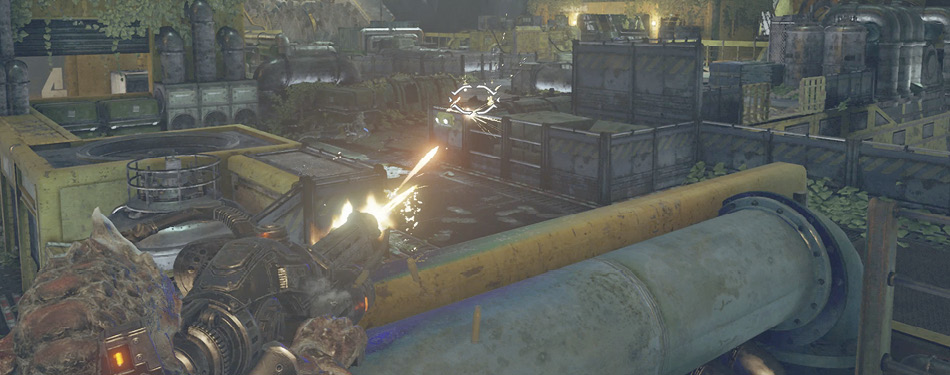
Heavy weapons are the strongest weapon class. These weapons do not occupy any loadout slot. Because of this, they are dropped to the ground when you switch to a different weapon. The weapons in this class will need to be picked back up again before they can be fired. Heavy weapons can be fired from the hip or from an aimed mode—each of these options has advantages. Firing from the hip allows you to continue moving, but prevents you from making accurate shots on targets at a distance. When aiming, your character stops moving and aims the weapon with much greater accuracy. When near cover, the character places the weapon on the cover before firing it. However, if no cover is close by, the character crouches down and uses the ground to balance the heavy weapon’s recoil.
Switching Weapons
Your loadout consists of four different slots, each restricted to certain types of weapons.
Your grenade slot (D-pad Up) can hold up to two grenades of the same type at any time.
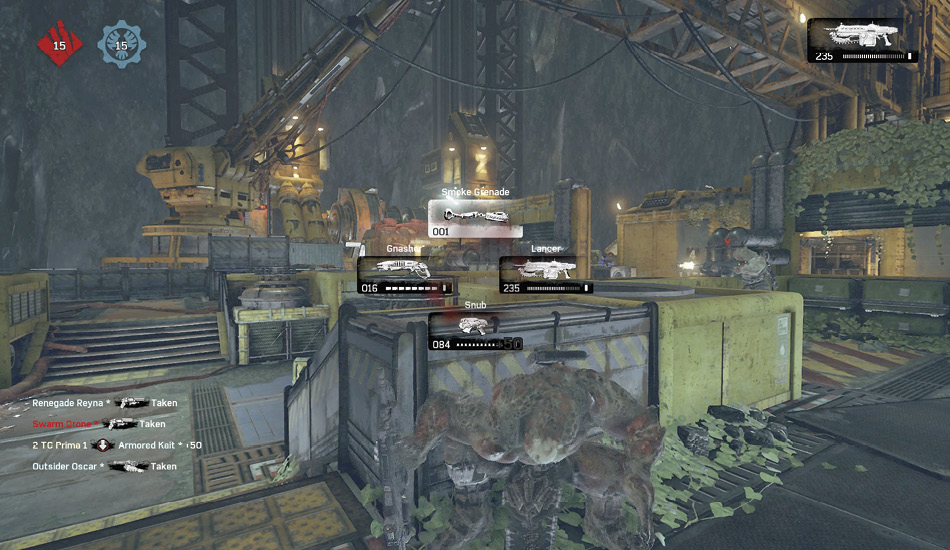
The primary weapon slots (D-pad Left or Right) can hold any loadout weapons, secondary, or power weapons with the exception of grenades and pistols. To pick up a new weapon for your primary slots, you must have a primary weapon equipped. It will be traded for the weapon on the ground.
Only two weapons can inhabit your pistol slot (D-Pad Down). The Snub is always the first weapon you will have equipped. This gun can be replaced by the Boltok, a secondary weapon, which is only found on maps while playing the game.
Competitive Active Reload
Using Active Reload properly is one of the most important factors in winning a firefight with foes. You can perform an Active Reload by tapping the reload button RB, and then tapping it again when the bar scrolls across the white areas on the black bar that appears under the weapon.
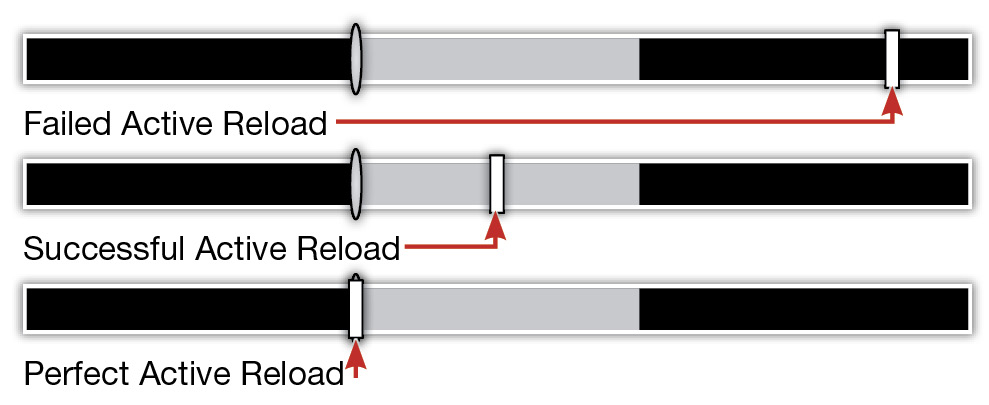
To perform a Perfect Active Reload, press the reload button RB when the bar scrolls onto the static white bar on the reload bar. While you can always perform an Active Reload, Perfect Active Reloads require a short cooldown period per gun, this can be tracked by the small column next to your ammo. When full you’ll be allowed to perform another Perfect Active Reload. A Perfect Active Reload can be used to gain a damage boost with your selected gun in multiplayer.
Competitive VS Core Tuning
New to Gears of War 4 is Competitive Tuning. This new tuning sports a few differences when matched up against the older Core Tuning. Competitive Tuning is not a replacement for Core Tuning, allowing you the option to still play Gears of War multiplayer the way you grew to love it.
The key differences in Competitive Tuning are:
� Lower damage across all weapons
� No Auto Aim, bullet magnetism still active
� Higher damage bonus for a Perfect Active Reload
� Harsher penalty for failing an Active Reload
� Longer time between Active Reloads for Power Weapons
Map-Based and Dropped Weapons
Each of the ten maps in Gears of War 4 has a specific set of weapons that appear each round. Depending on the map, these weapons switch every round, leaving certain weapons available on odd and even rounds. For the full list of each weapon and the round they appear on check out the Multiplayer Maps chapter.
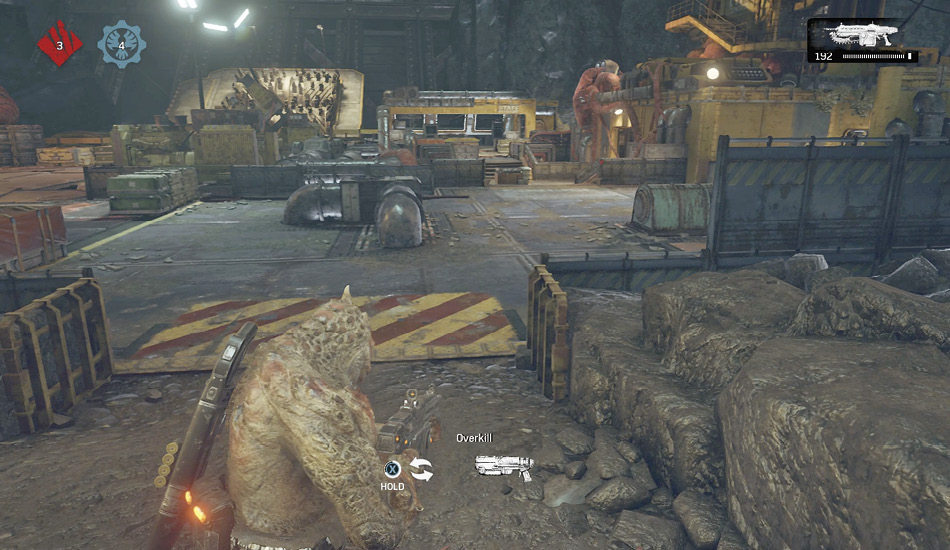
To pick up a weapon dropped by an enemy, or one placed on the map, move within a close proximity to the weapon with your primary weapon equipped and hold  . If you have the weapon in your inventory, you only pick up more ammo for that weapon. With the exception of grenades, you cannot have more than one of the same weapon equipped at any given time.
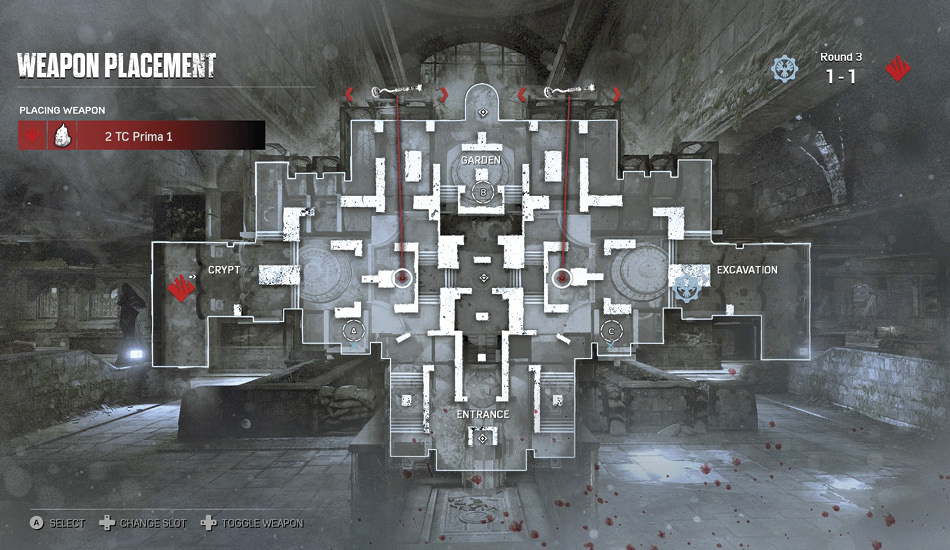
Map-based weapons do not appear in every mode, however. In Escalation, there are no map-based weapons to begin with—the weapons are simply placed every round by the Team Captain or (MVP) of the losing team each. In Arms Race, the map-based weapons are replaced by ammo pickups.
Trading Weapons
If you have your eye on another player’s weapon, or you just want to share your wealth of power weapons with the team, trading weapons is the solution.
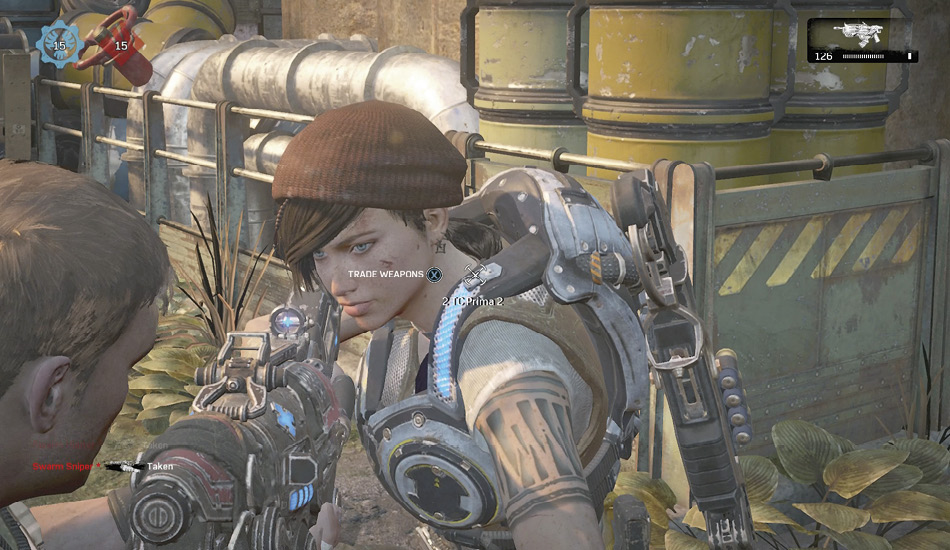
You can initiate a weapon trade while aiming down the sights of your current weapon, while in close proximity to another player. A small indicator appears behind the player and allows you to activate a trade by pressing the trade button  .
.
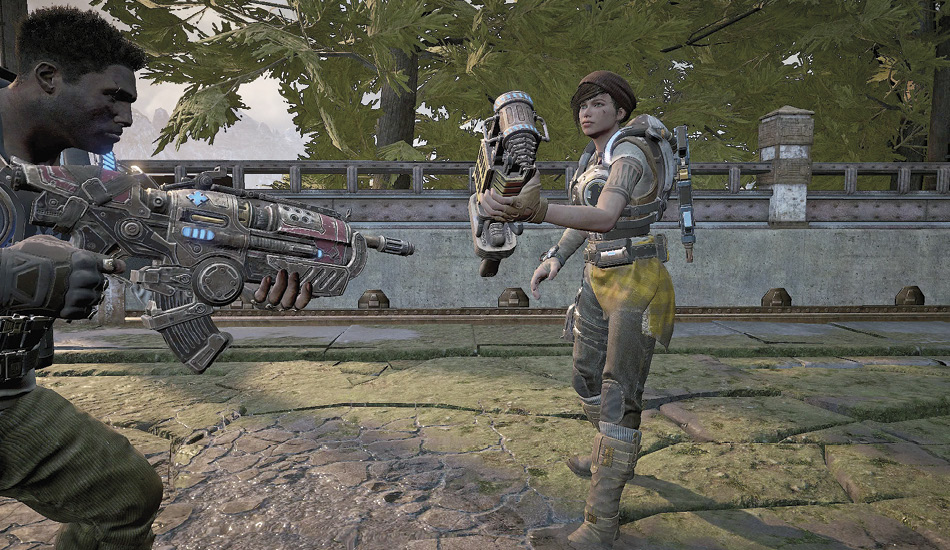
You are completely vulnerable during trades and you are unable to fire your weapon or move while offering the trade. To cancel the trade press  and you’ll be able to move and fight again. When accepting a trade, the weapon and its remaining ammo will be visible. Accepting the trade will swap your currently equipped weapon for the weapon of the other player.
Grenades and pistols cannot be traded.
Ammo Sharing
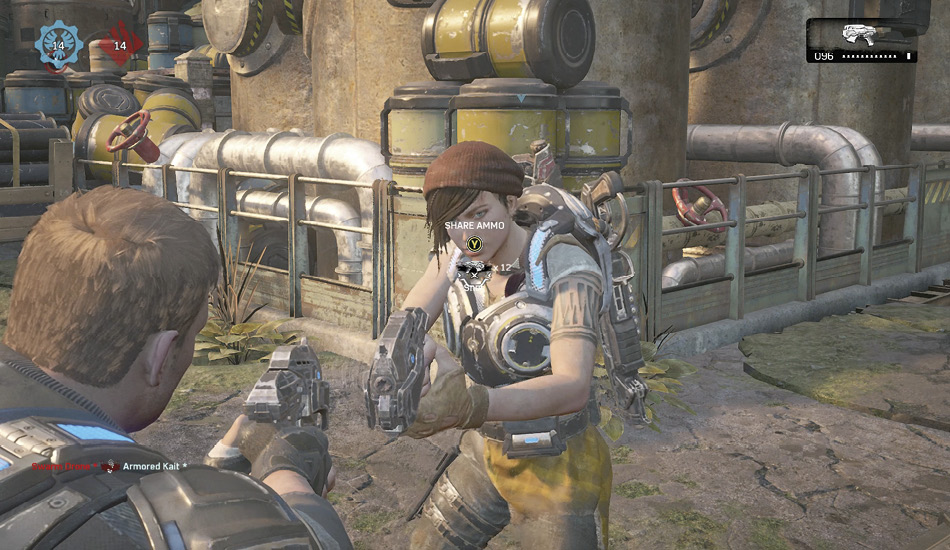
If you are carrying the same type of weapon as another player you may share ammo with them. To share ammo from your currently equipped weapon, aim down the sights at a player within melee attack range and press the ammo share button  to force your ammo into the other players inventory—this is only possible if they have the same type of weapon. The same weapon does not have to be equipped to give or receive ammo, the only requirement is having the same weapon in your inventories.