Gears of War 4 Guide Multiplayer Multiplayer Maps
Fallout
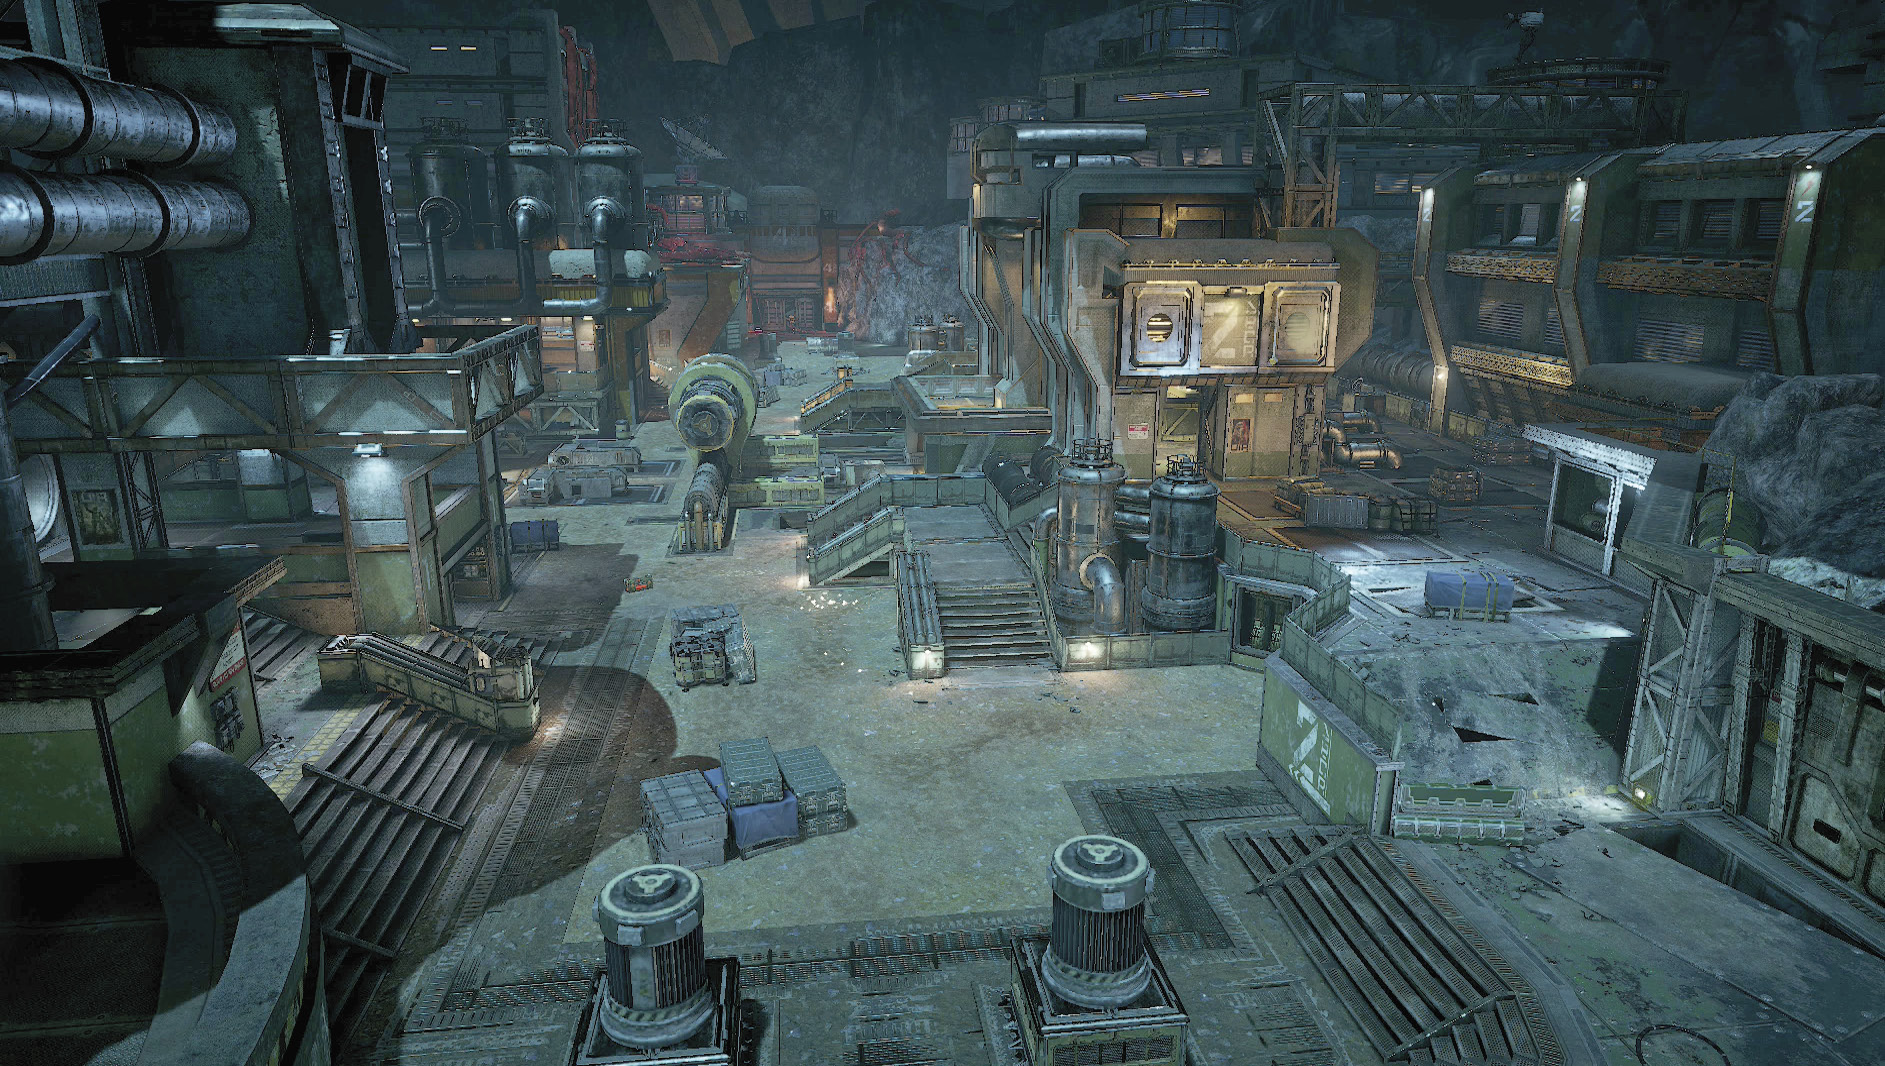
The UIR’s long forgotten missile silo lays deep within a hidden bunker. The launch control lookout offers the best visibility over the entire map while the pumping rooms provide strong defensive locations.
Points of Interest
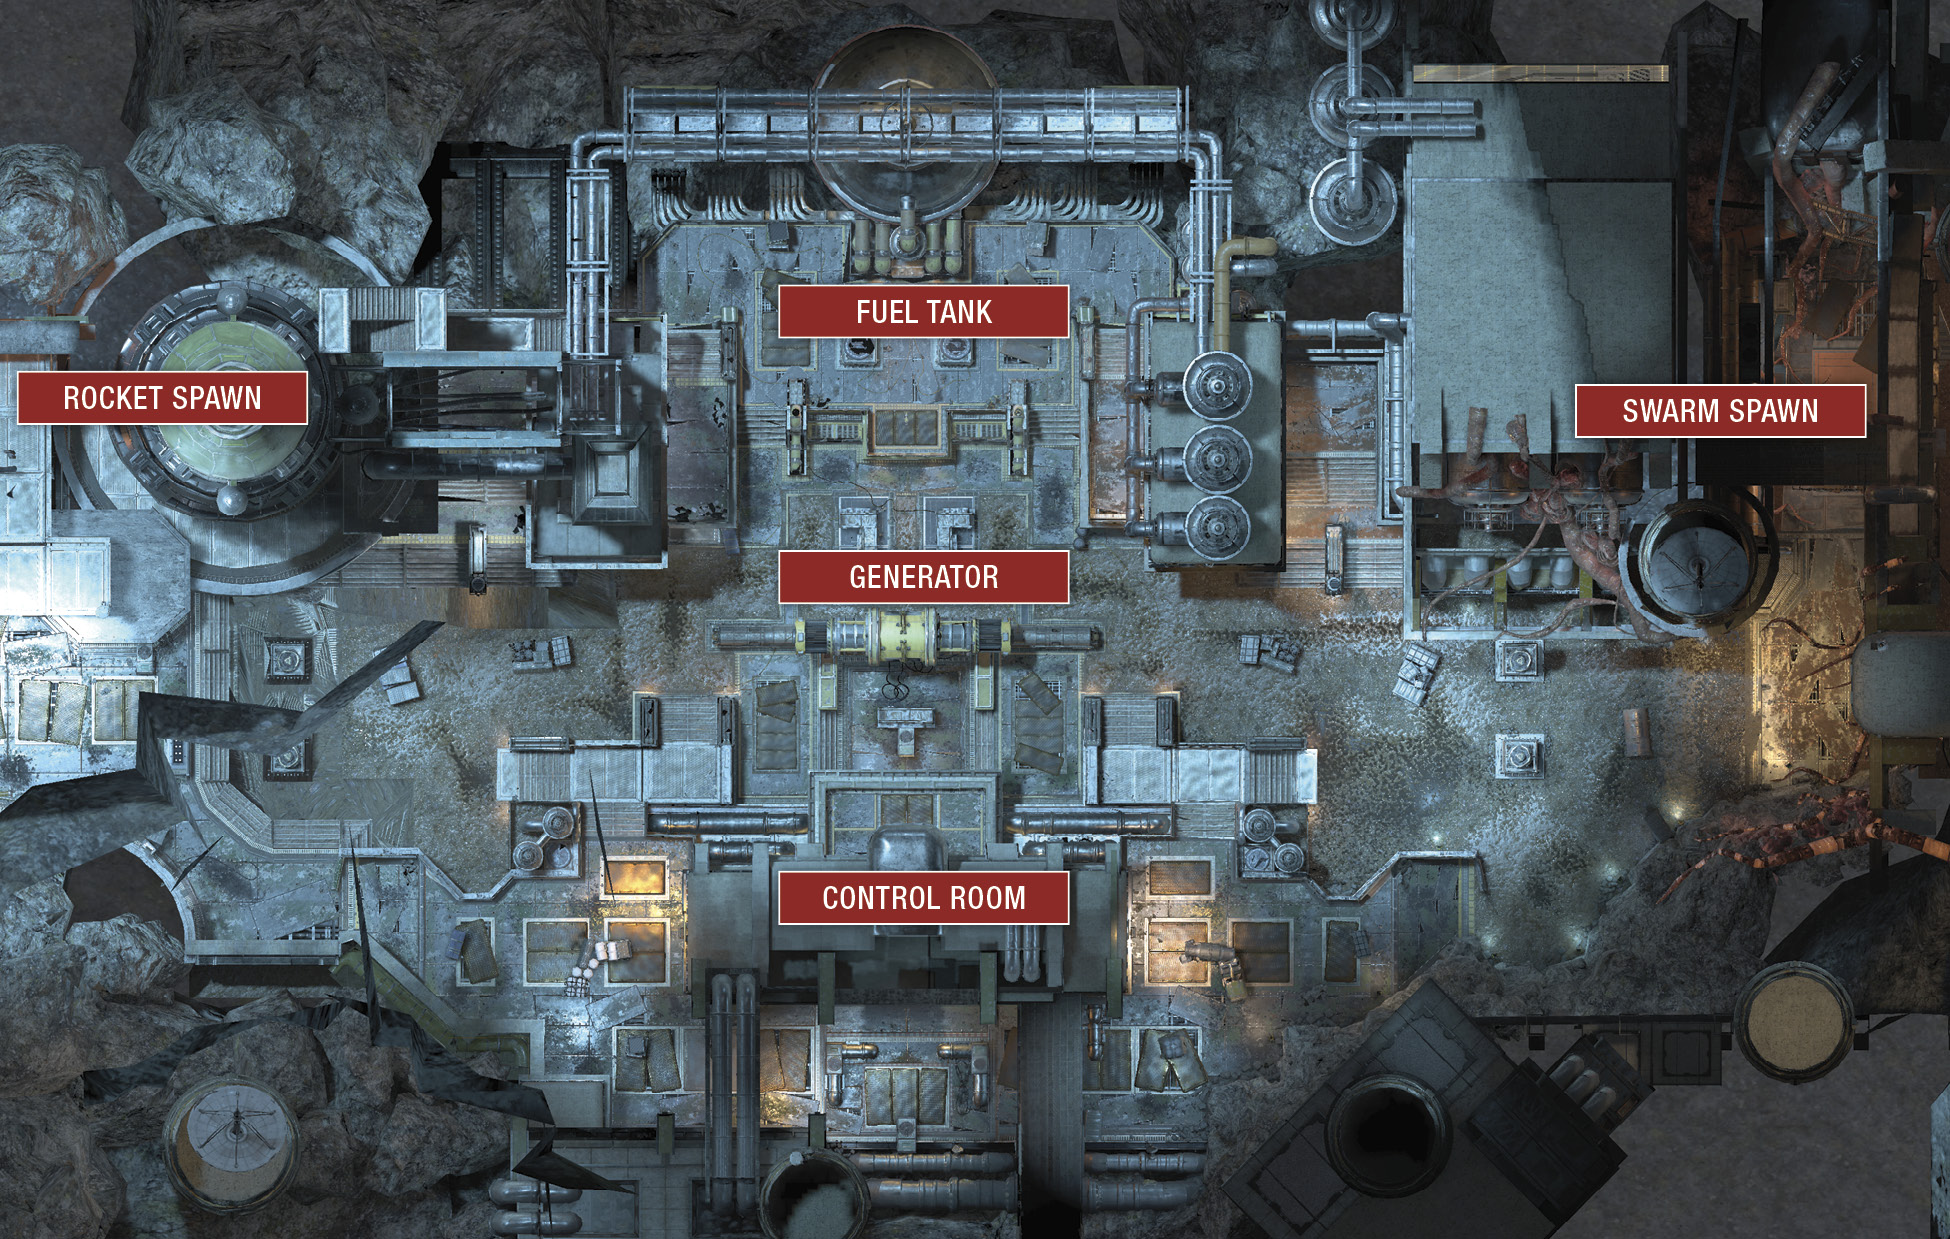
Control Room
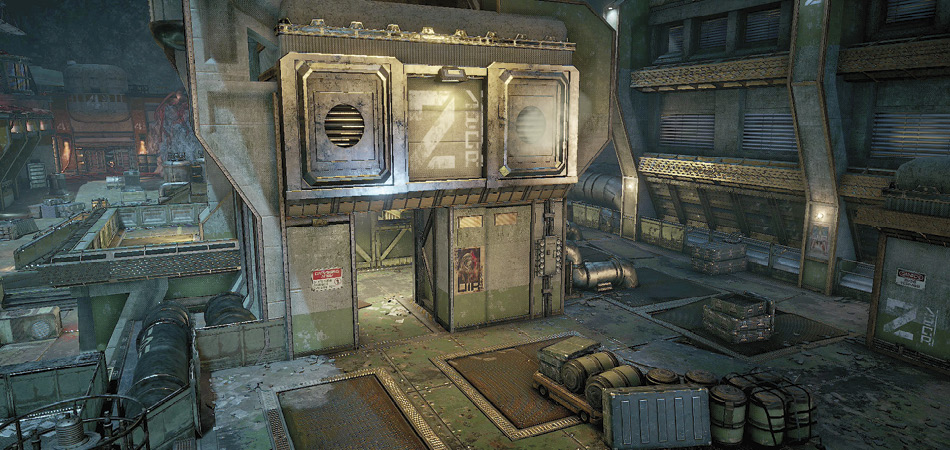
Accessible from either side, the Control Room provides the best views on the map with a balcony that overlooks the generator. Don’t spend too much time there, since explosive power weapons are available for those who wish to flush you out of your sniping post. Two connecting corridors allow opponents to raid your location unless your team can lock it down.
Fuel Tank
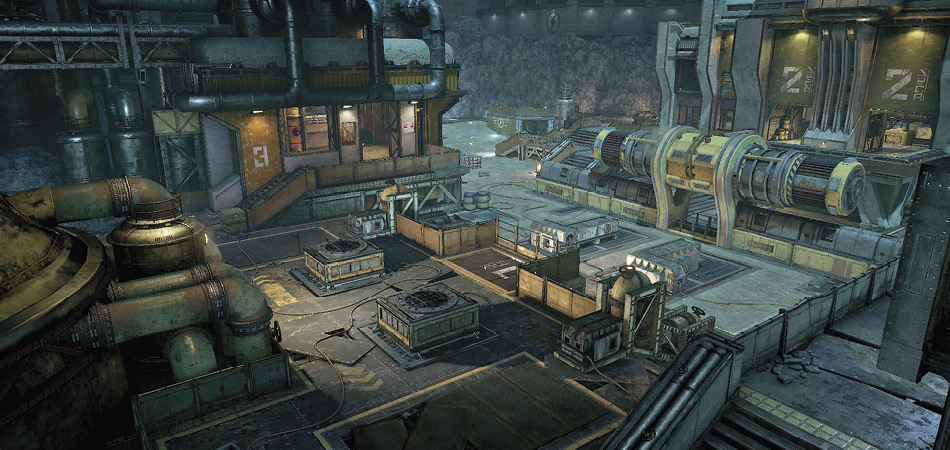
Equipment on this raised platform protects players from central attacks, but you are vulnerable to opponents who attack from the rooms and stairs on each side. Unless your team holds the two upper rooms, quickly move through this area—keeping an eye out for the power weapon that rests near the Generator.
Generator
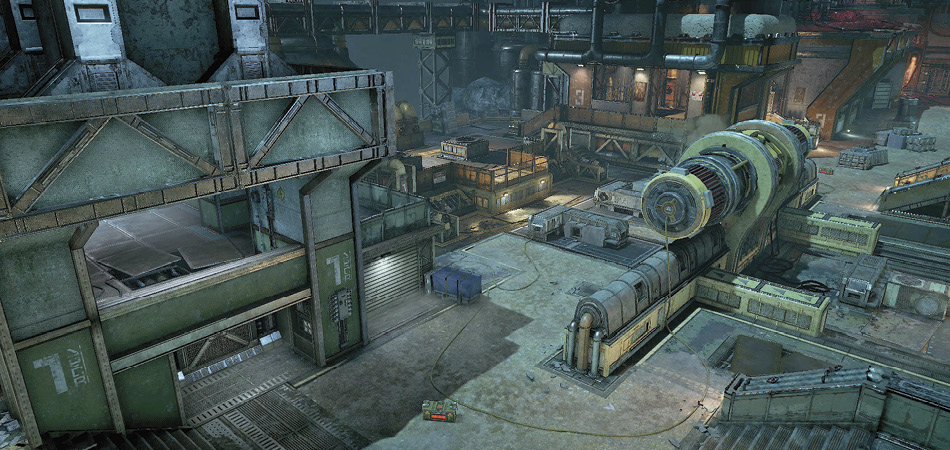
A big generator occupies the central area, blocking line of sight across the middle of the map. An opening in the middle allows for surprise attacks on unsuspecting foes. Look for clashes between the COG and Swarm, but watch out for players who set up in the raised areas along the sides.
Rocket Spawn
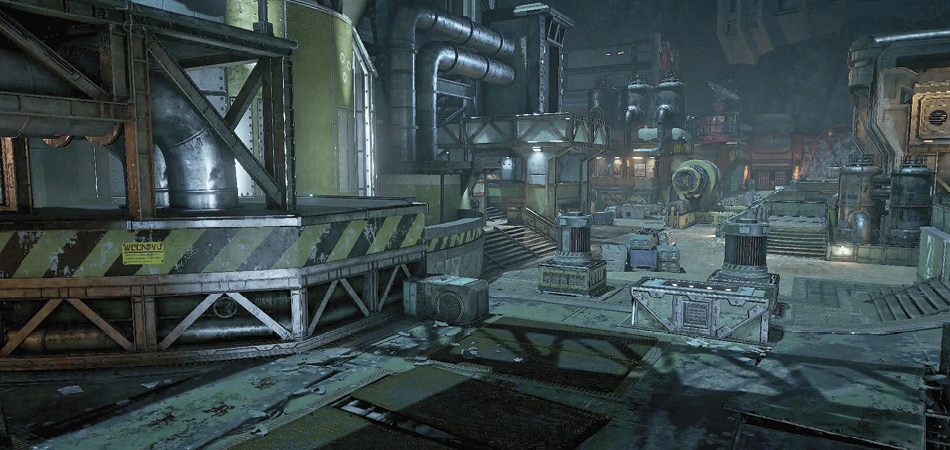
The spawn points in Fallout are located well away from the action. Quickly move into the center of the arena to find power/secondary weapons and defensible locations. Equipment scattered along the path present opportunities to take cover when under fire.
Swarm Spawn
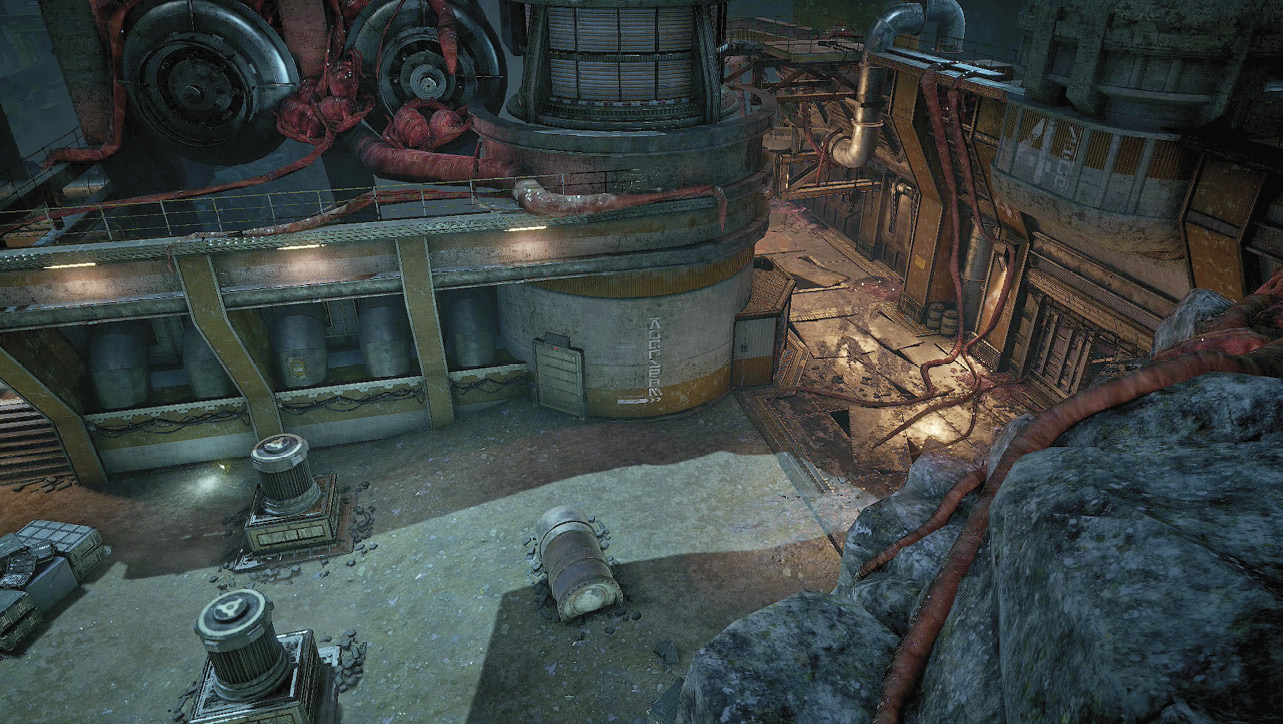
Much like the Rocket Spawn, this area is fairly open—leaving you vulnerable if not careful. Beware as you move into the central area, where raised rooms on each side offer vantage points over the central path.
Versus Callouts 1
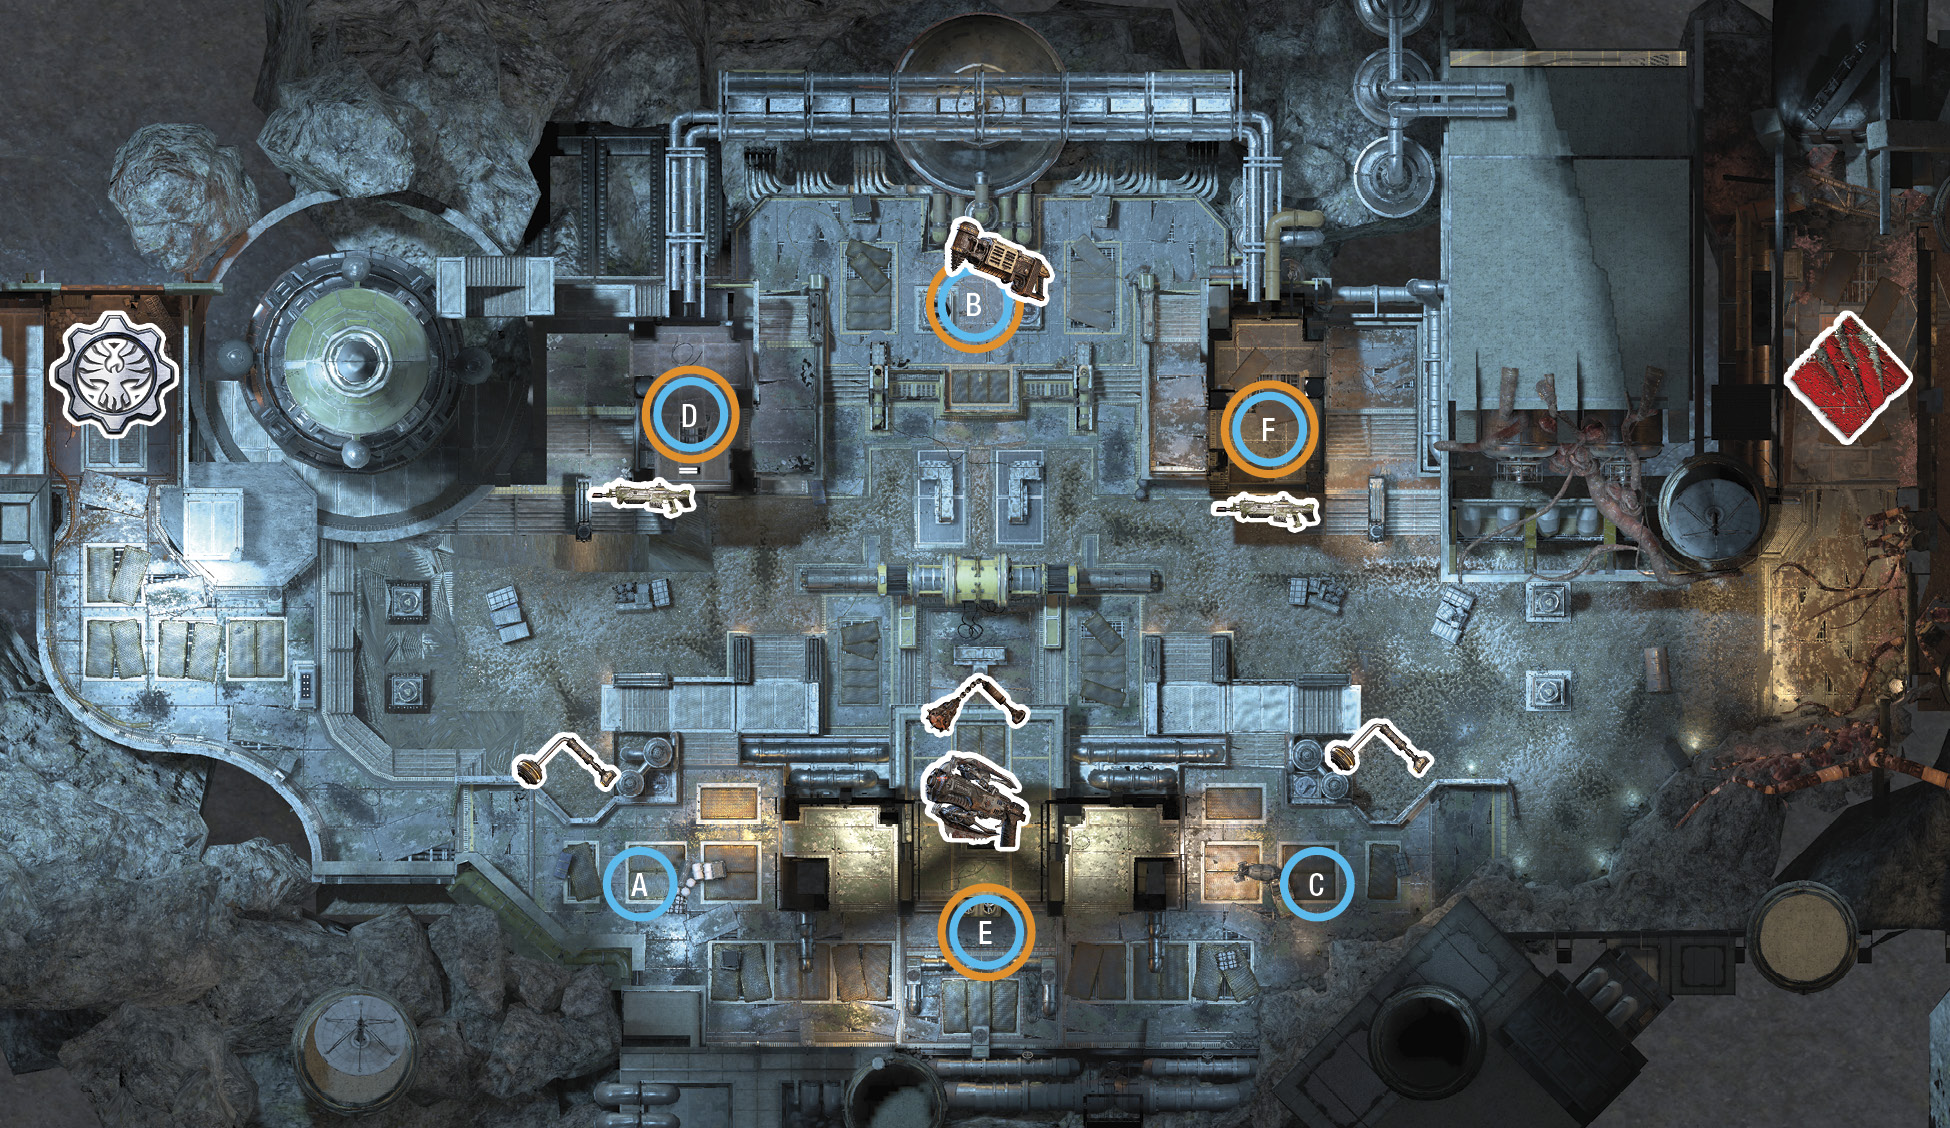
Versus Callouts 2
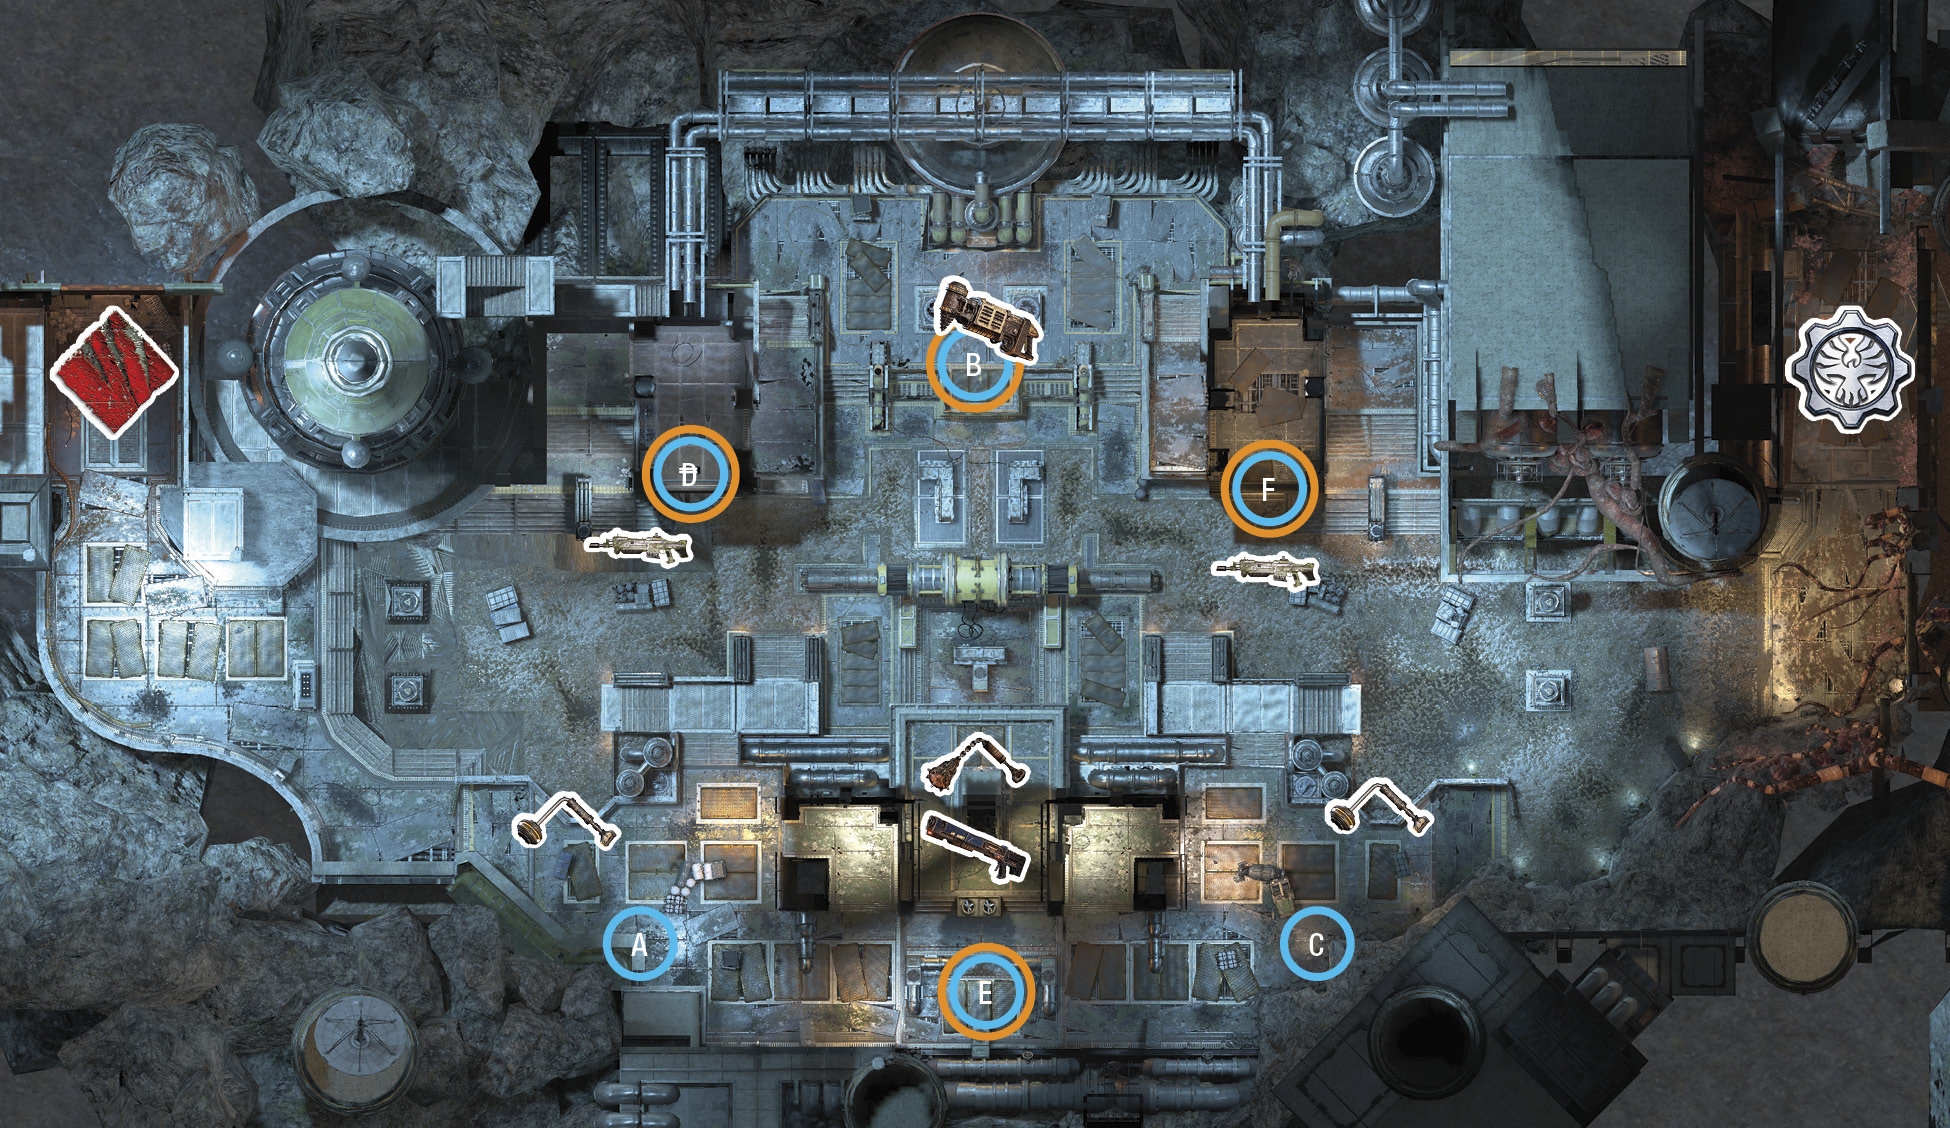
Horde Callouts
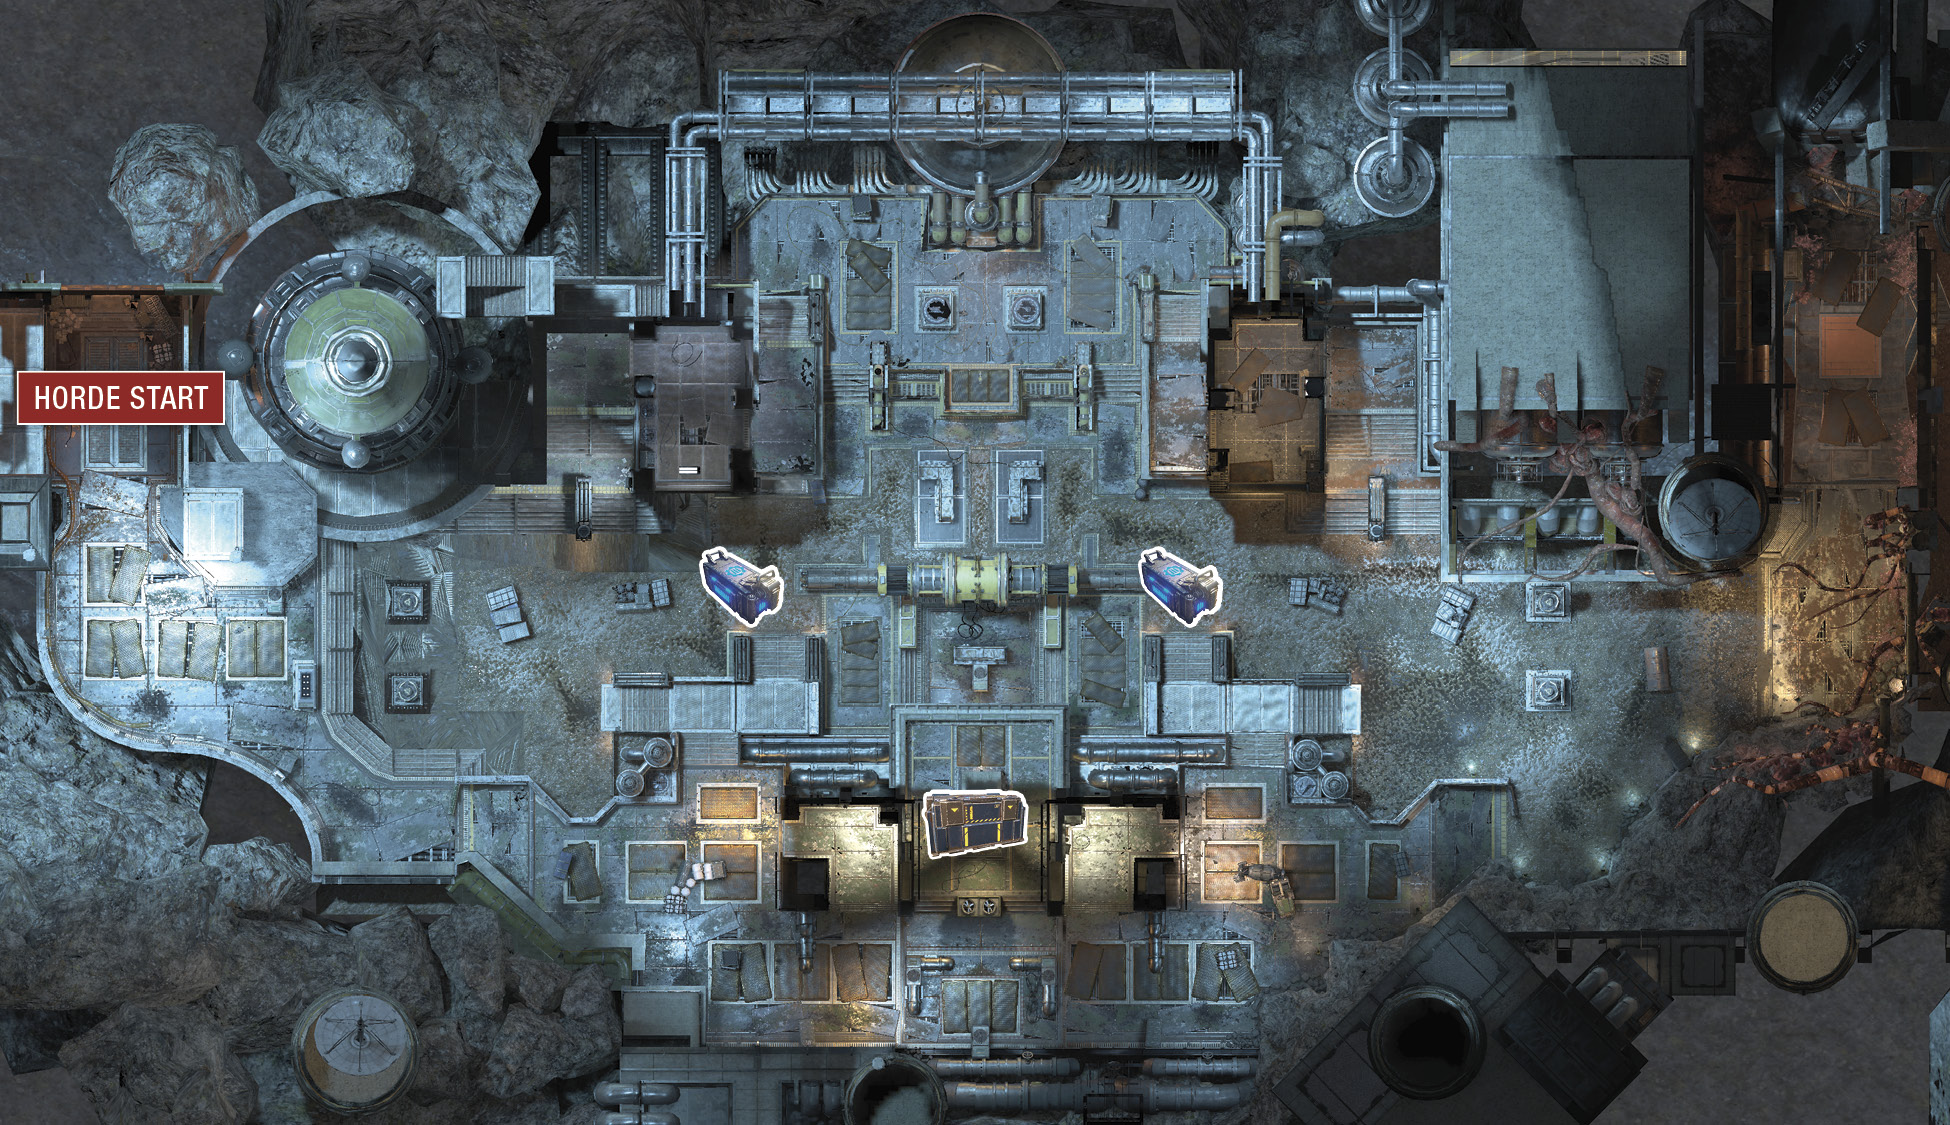
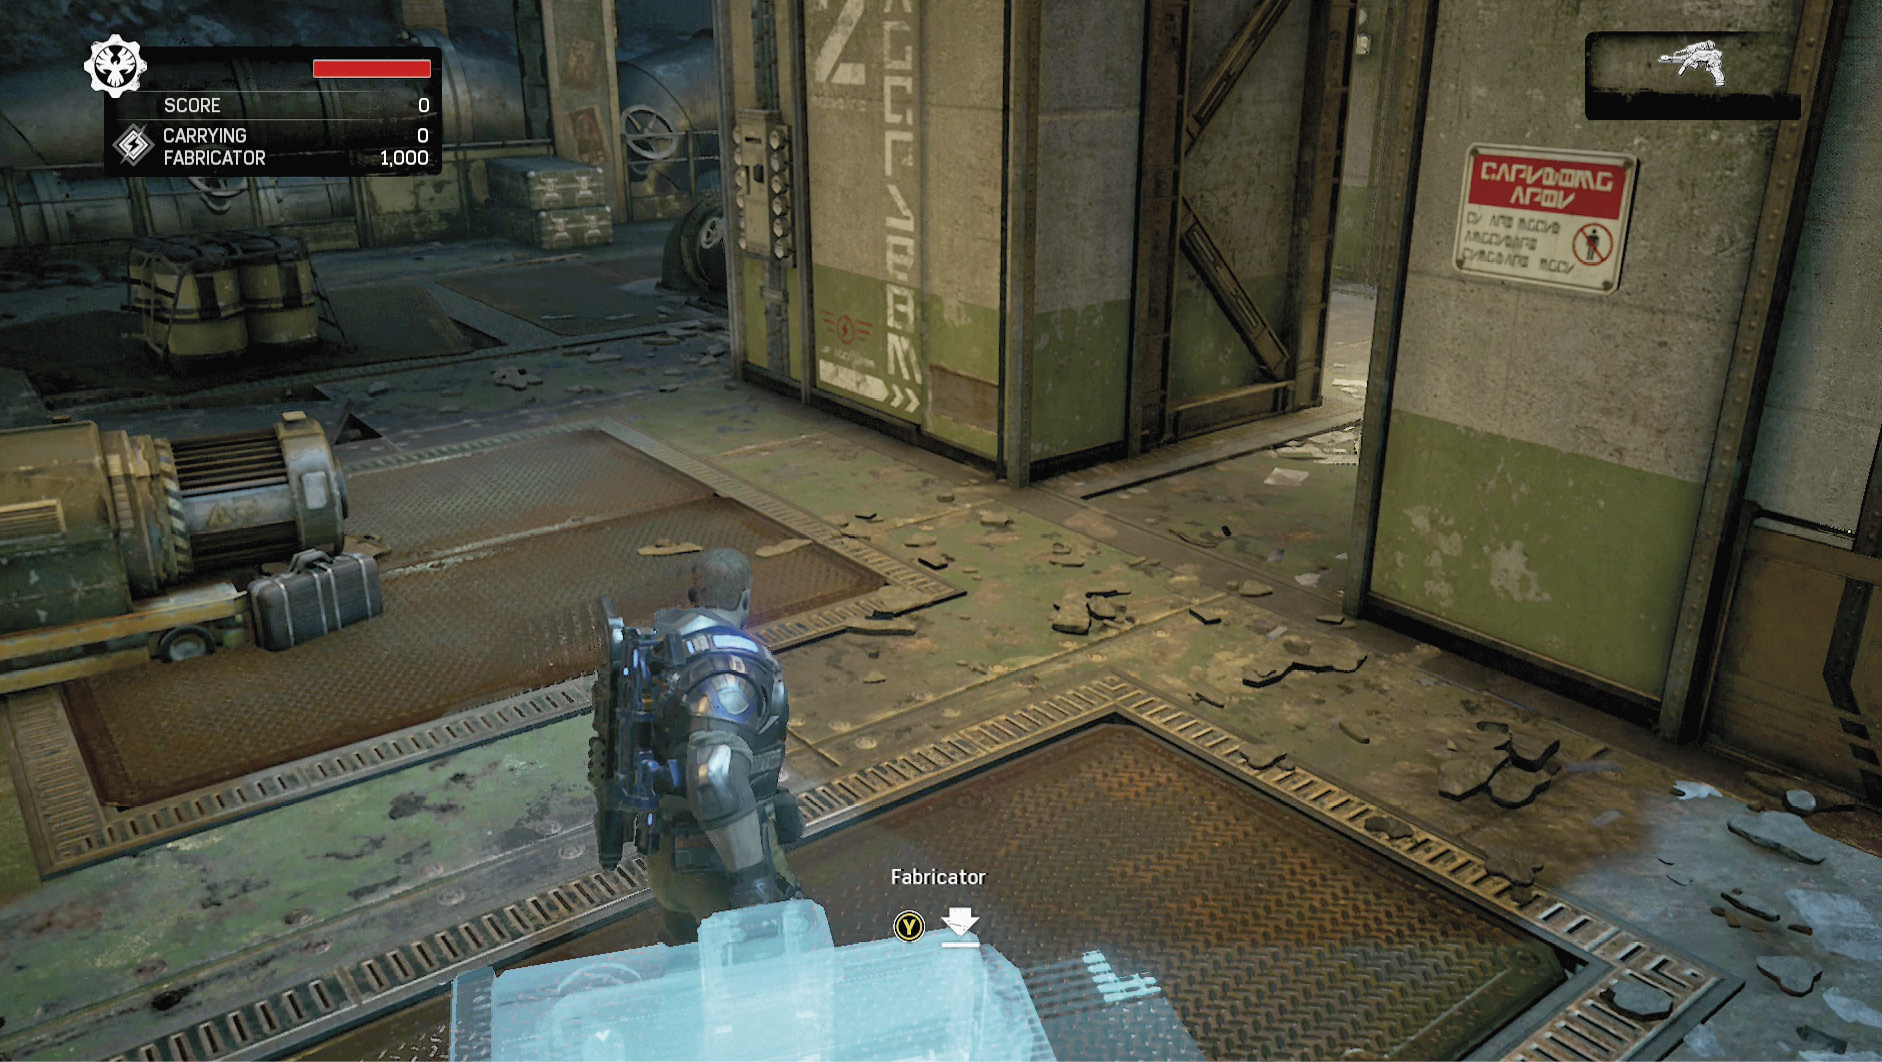
Grab the Fabricator that sits just below the Control Room balcony and pull it to a more defensible location. With enough players, the Control Room can be defended against an enemy onslaught, but watch out as they spawn at both ends of the map. Your best sniper should man the balcony, while Sentries assist the rest of the team at each entrance. The spawn points are also good spots for the Fabricator if you are unable to protect the multiple entrances into the upper room.