Gears of War 4 Guide Horde 3.0
Enemies
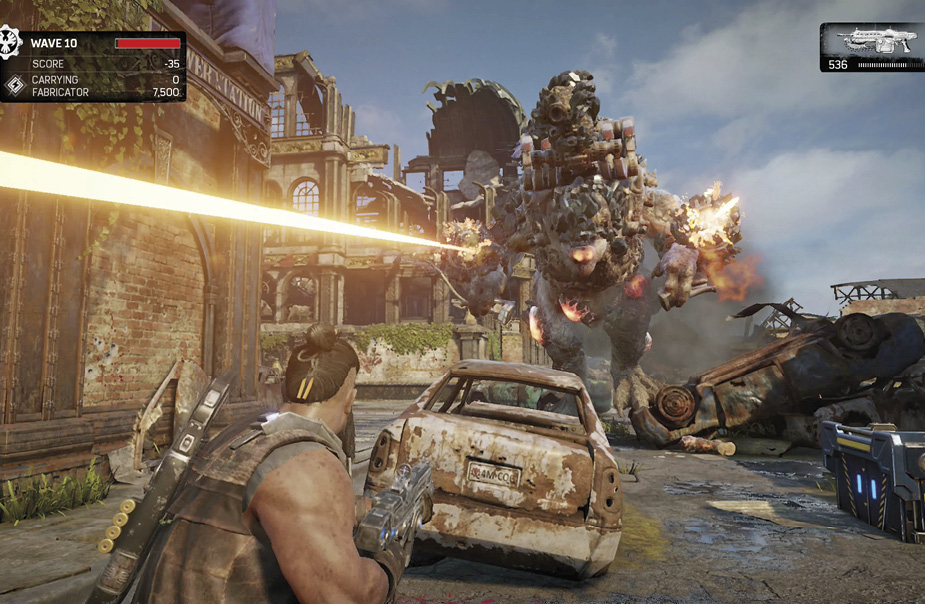
Only DeeBees spawn in at first, but after a few waves, the Swarm joins the fight. Enemies steadily get tougher as you progress through the waves, until Wave 10, where one of four bosses is introduced. With each kill, points are earned that are added to your XP. Each kill also automatically grants a small amount of power, while death drops a bigger pile of power. This must be collected before the next wave begins.
Power dropped for each kill is noted with the Scout’s earnings in parentheses. Points are also earned for killing/downing an enemy, taking a meatshield, and performing Executions. For all non-boss foes, their currently equipped weapons are dropped upon death.
DeeBees
Shock Tracker
Weapon(s): Shock Grenade
Power Dropped: 60 (120)
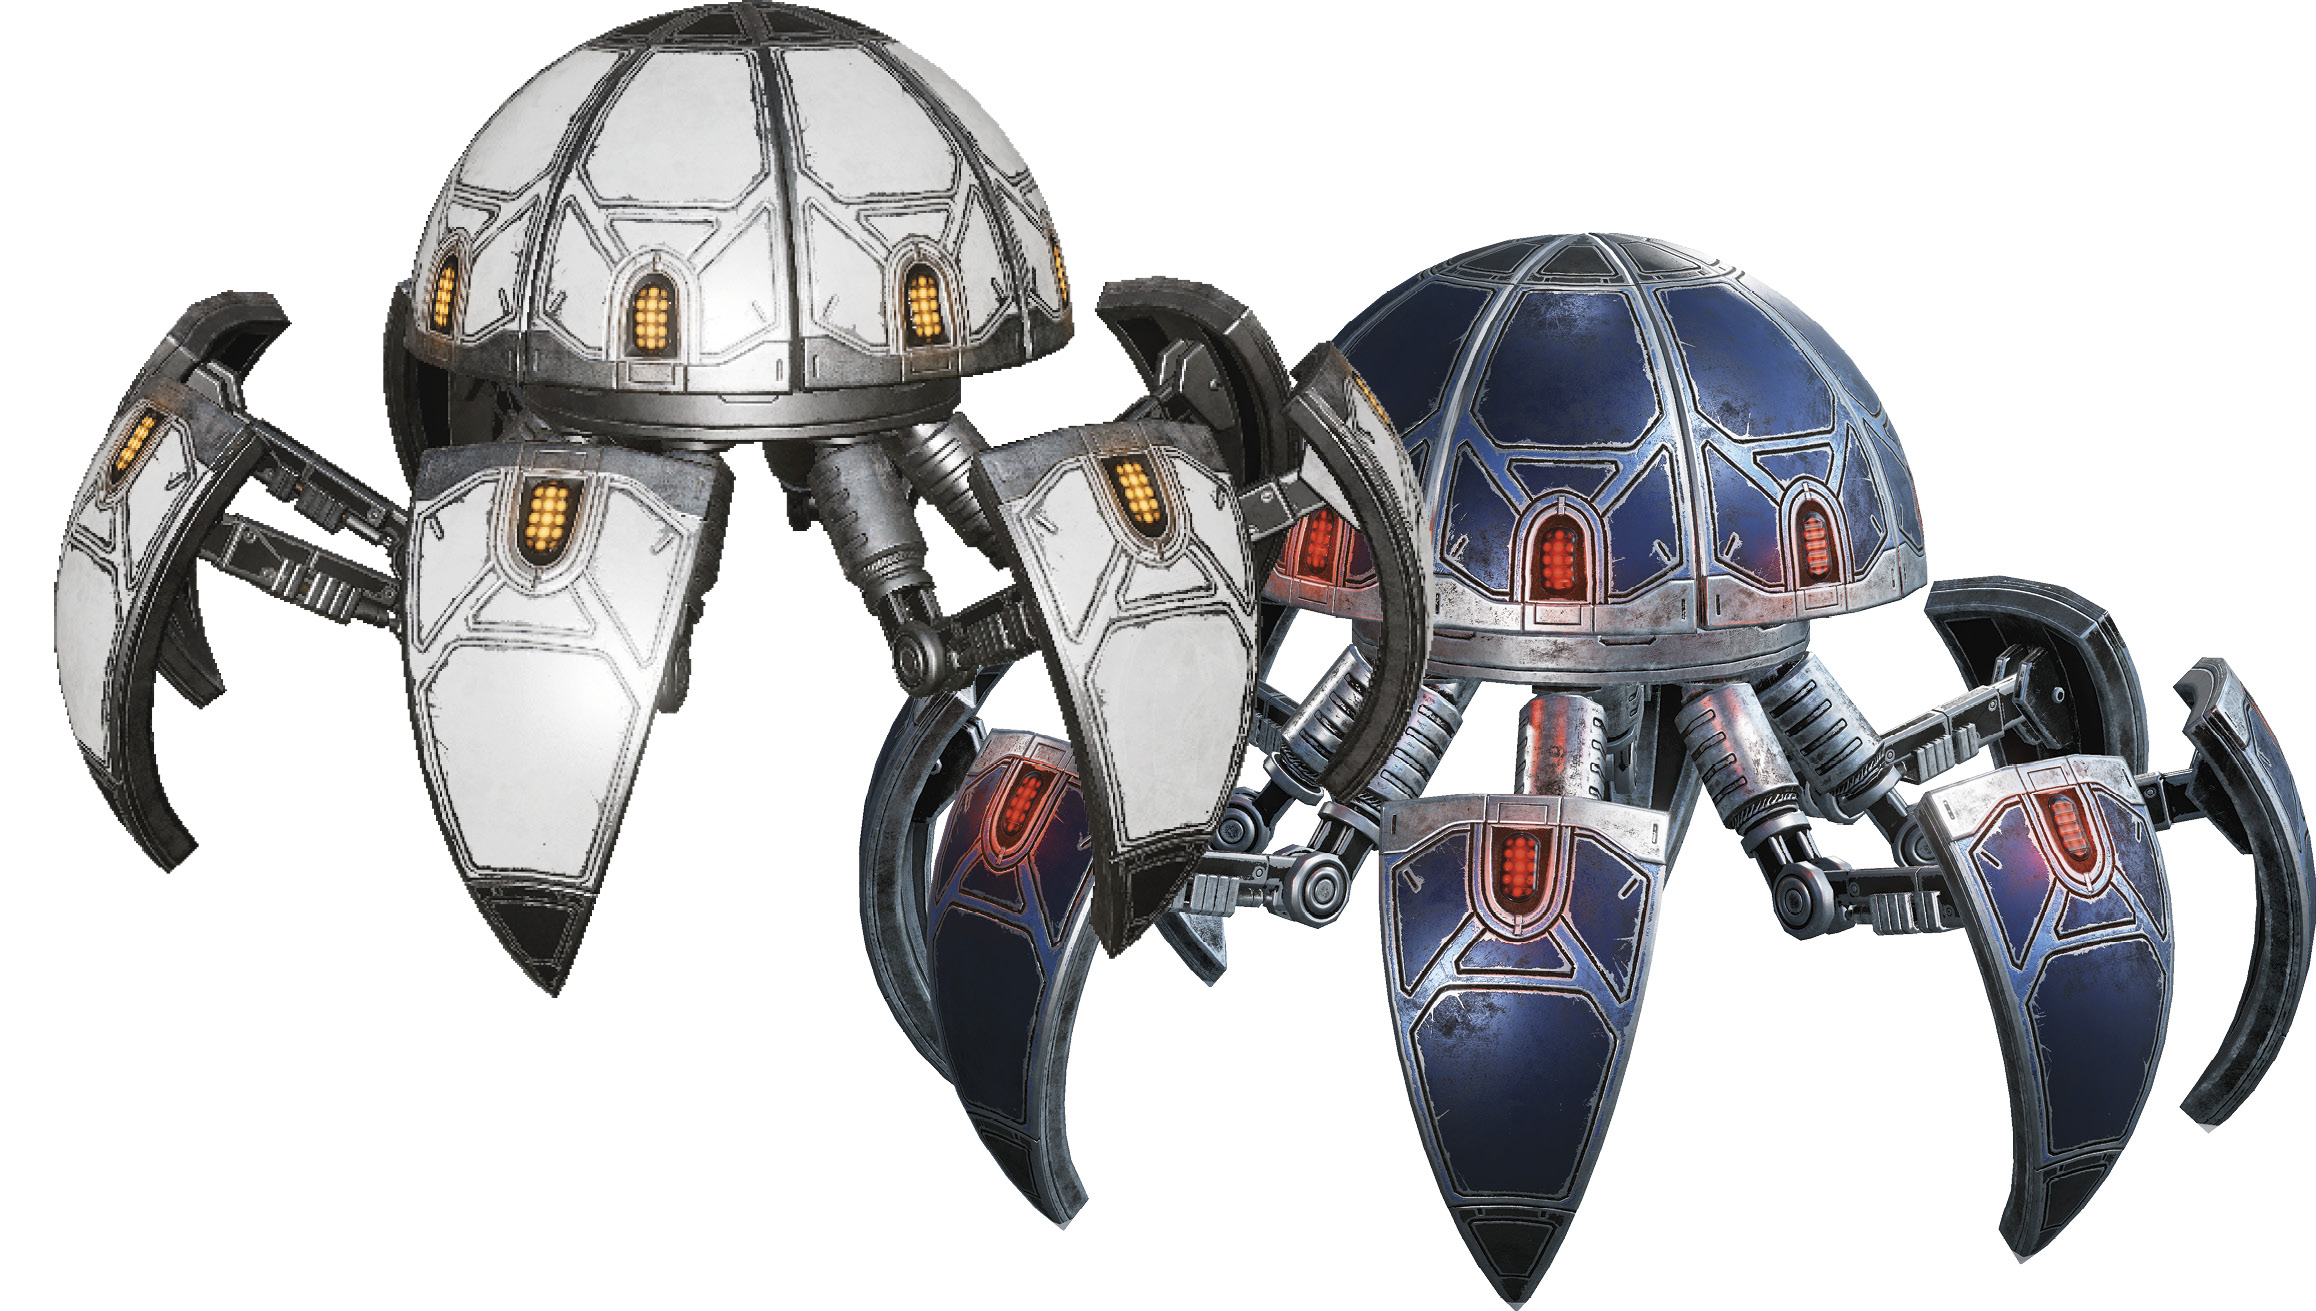
Shock Trackers are spherical robots that quickly roll toward their target. Once close, the Shock Tracker opens up and detonates—damaging and stunning any nearby foes. This attack has an area of effect, so roll well clear of these guys once you see them open up. The ground remains electrified for a short while, so watch your step.
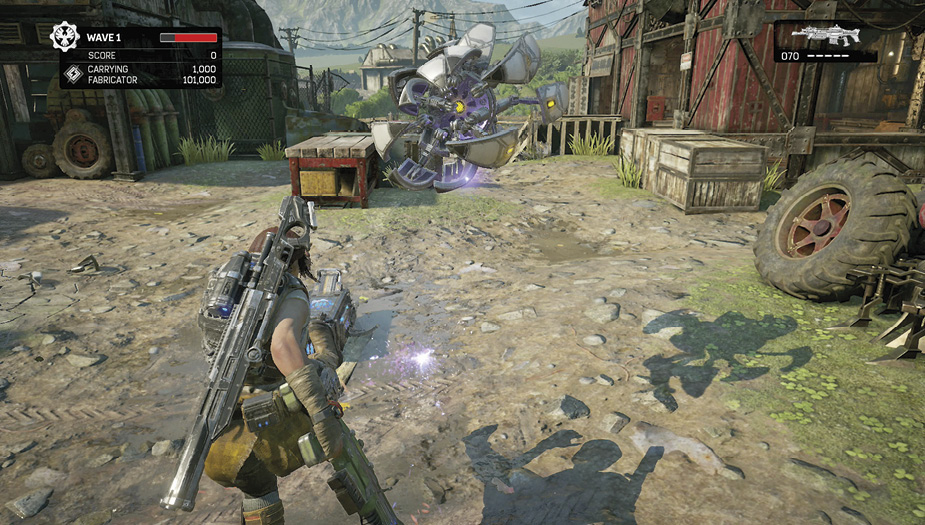
Shoot the Shock Tracker at a distance to get the XP and Energy. If it gets in close, press the Melee button to kick the little guy away. Knock it away twice, and it automatically detonates. Anytime the tracker explodes, XP and Energy are not received. At times, this guy drops a Shock Grenade, so keep an eye out. Be careful when taking these guys out near fortifications and teammates, as the explosion does damage them.
Peace Maker
Weapon(s): Enforcer, Shock Grenade
Power Dropped: 60 (120)
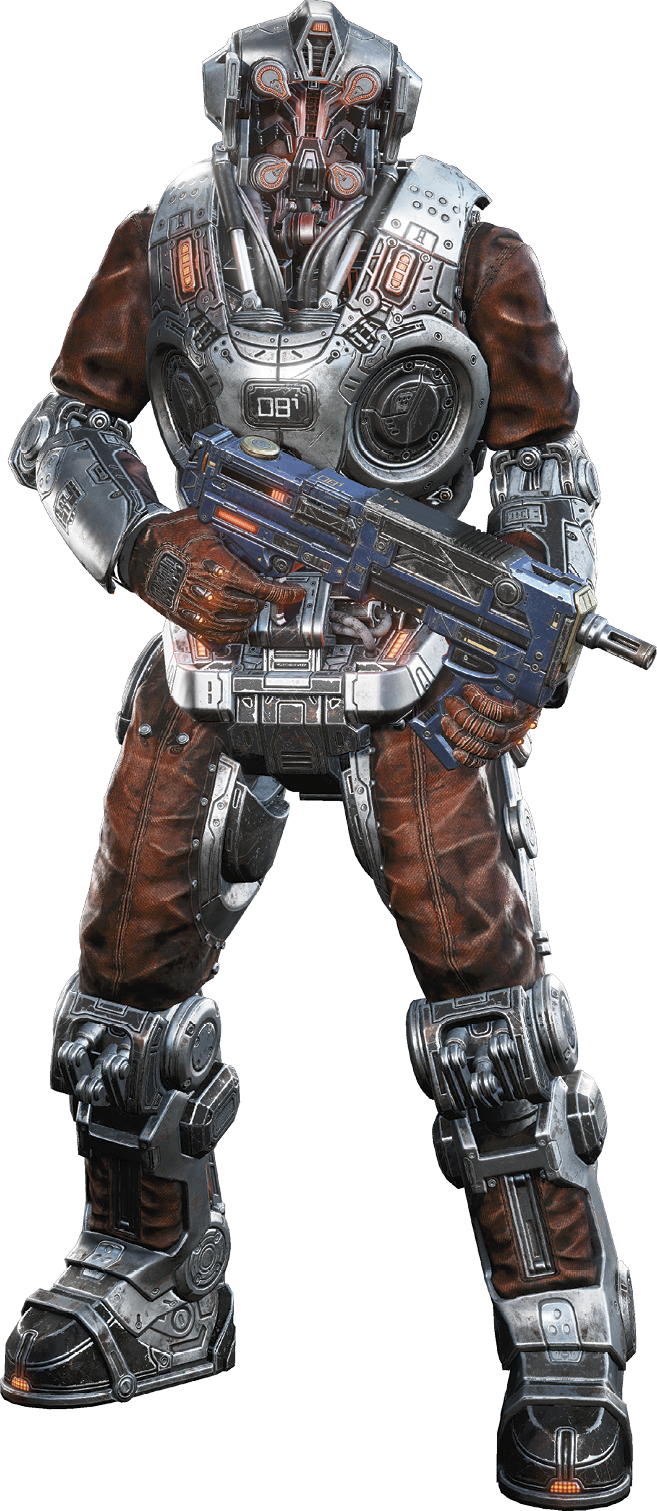
Peace Makers are the DeeBees’ standard infantry unit. Equipped with an inaccurate, close-range Enforcer, the Peace Maker moves fairly slowly straight toward their target—often taking cover once in range. The bipeds are an easy kill with one shotgun blast or a short spray from an automatic rifle. Be careful turning your back on this foe, as it possesses the ability to tag a player with its Shock Grenade.
DR-1 Protector
Weapon(s): Overkill
Power Dropped: 200 (400)
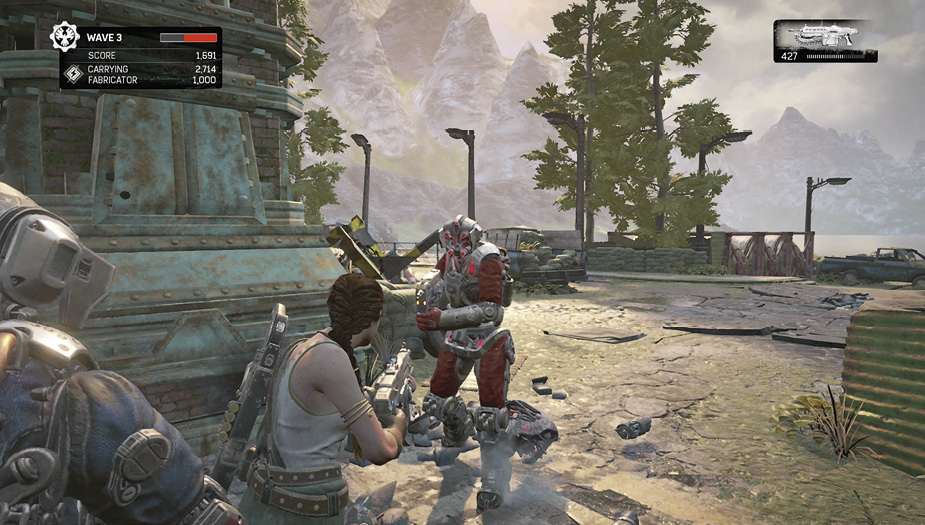
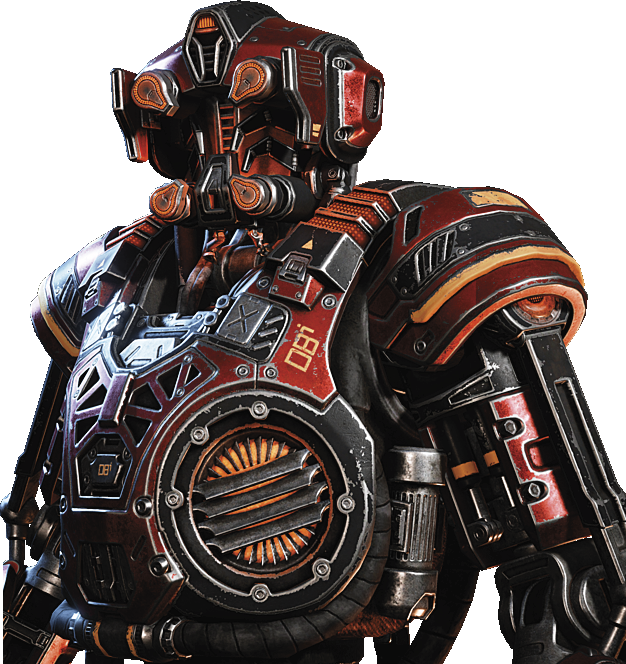
Protectors are stronger than Peace Makers, requiring much more firepower to take them down. They do not take cover as they slowly march toward their target. Be careful when taking cover near this guy, or it will broad-jump over the wall and knock you down with a vault kick. After taking a certain amount of damage, the DR-1 Protector rushes toward its target and detonates itself—hurting anyone caught nearby. Take it down quickly to keep it from exploding. Collect its dropped Overkill for a strong heavy shotgun.
Deadeye
Weapon(s): EMBAR
Power Dropped: 100 (200)
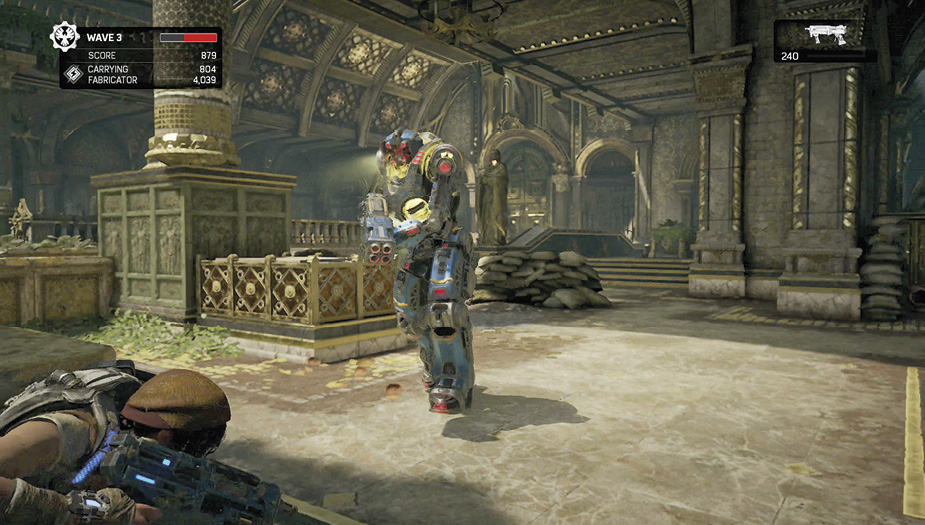
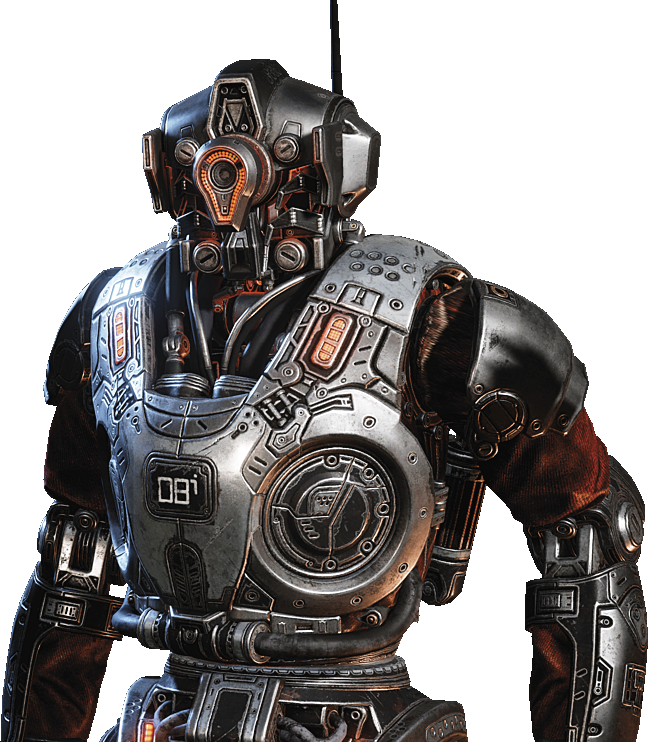
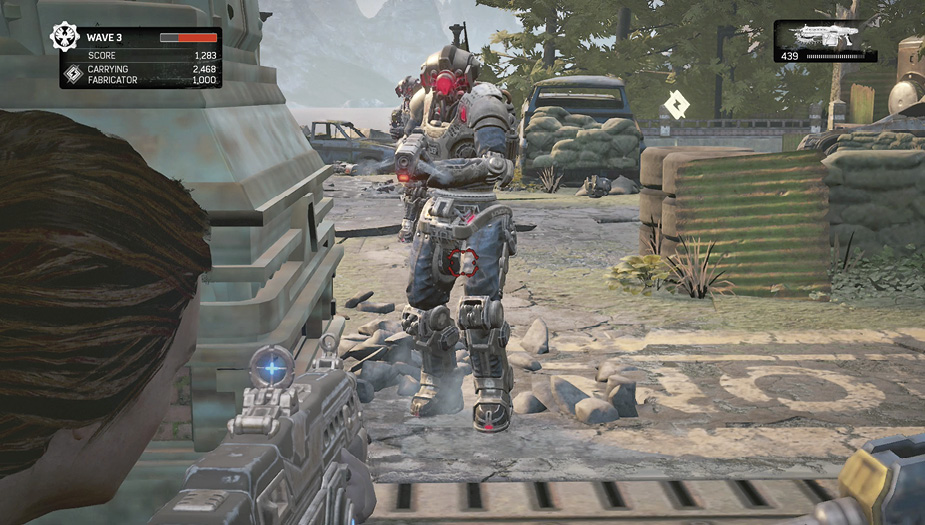
The Deadeyes are the snipers of the DeeBees. Equipped with an EMBAR railgun, the bipedal Deadeye looks identical to the Peace Maker, except for a big red light on the front of its face. These long-range fighters usually seek cover before firing on the COG. Avoid their railgun shot and move in for an easy kill, watching out for their melee strike when up close. The EMBAR limits their effectiveness at close range.
Guardian/Sentinel
Weapon(s): Tri-Shot (Guardian)/RL-4 Salvo (Sentinel)
Power Dropped: 400 (800)/300 (600)
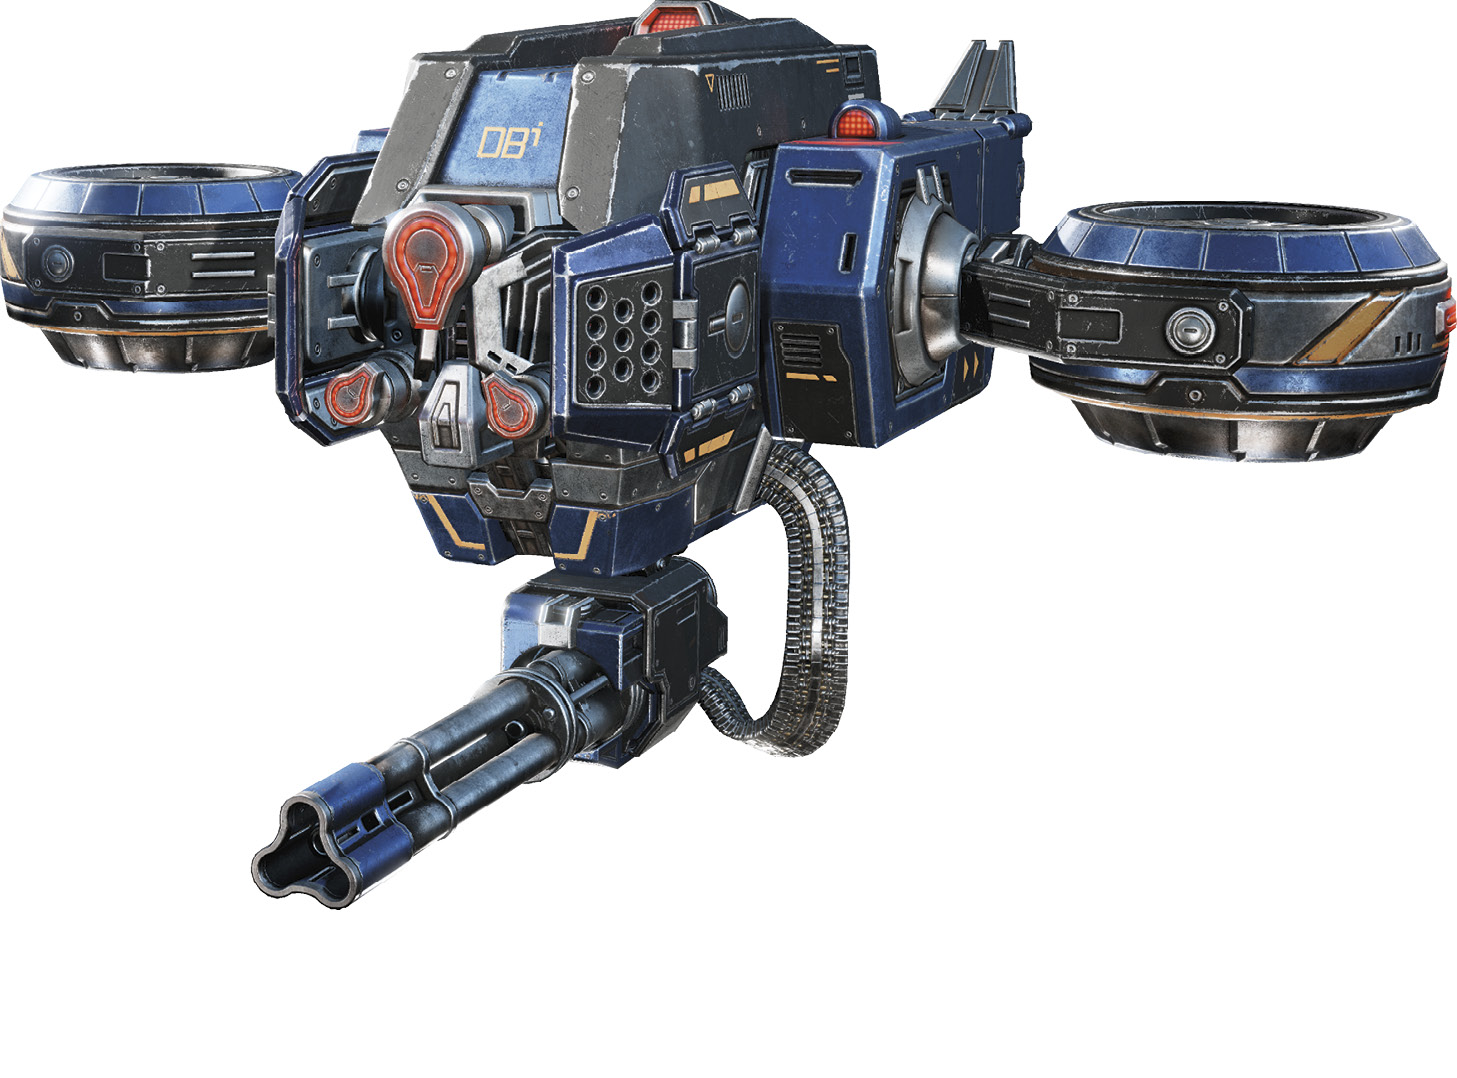
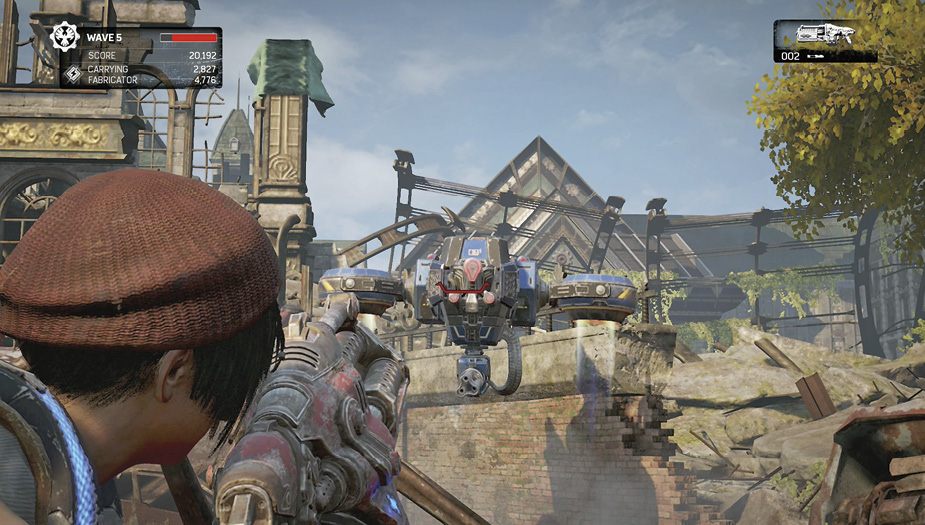
Guardians are partially shielded aerial machines that carry powerful Tri-Shot heavy machine guns. Sentinels are identical to the Guardians, except that they fire four rockets from RL-4 Salvos. For both Guardian and Sentinel, the weapon is attached to the bottom. A shield covers most of the front and part of the sides. Roll to the side when you see the gunfire. Both have the potential to kill a player with full health, especially on higher difficulties.
Once these flying DeeBees find their range, they strafe from side to side, moving behind cover when low on health. For the quickest kill, hit one from behind or in the heavy weapon. The shield regenerates quickly, so keep the pressure on until it drops. Two shots from a Boomshot take down the early fliers. A long, steady stream of bullets from an assault rifle is also effective. Before the next wave begins, grab any dropped heavy weapons for some serious firepower.
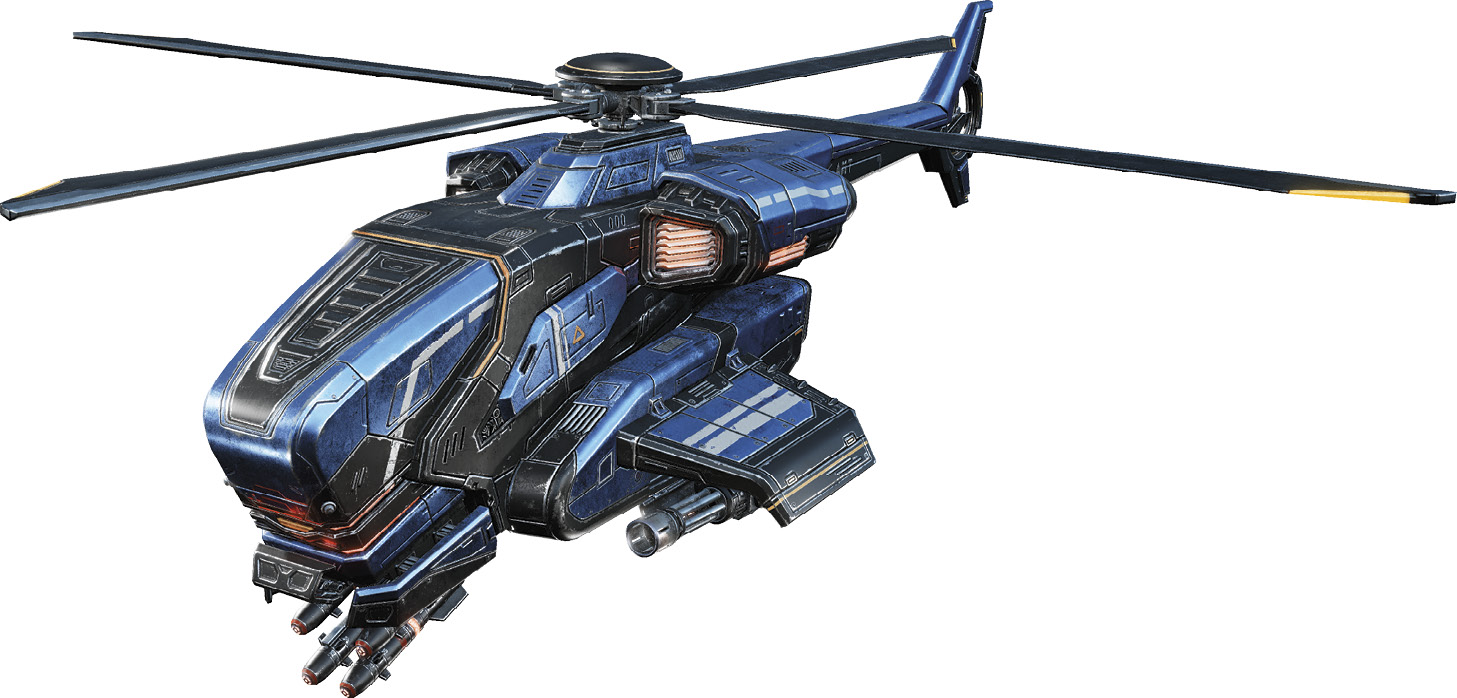
Boss—Kestrel
Weapon(s): Rocket Launcher, Dual Machine Guns
Power Dropped: 1000 (2000)
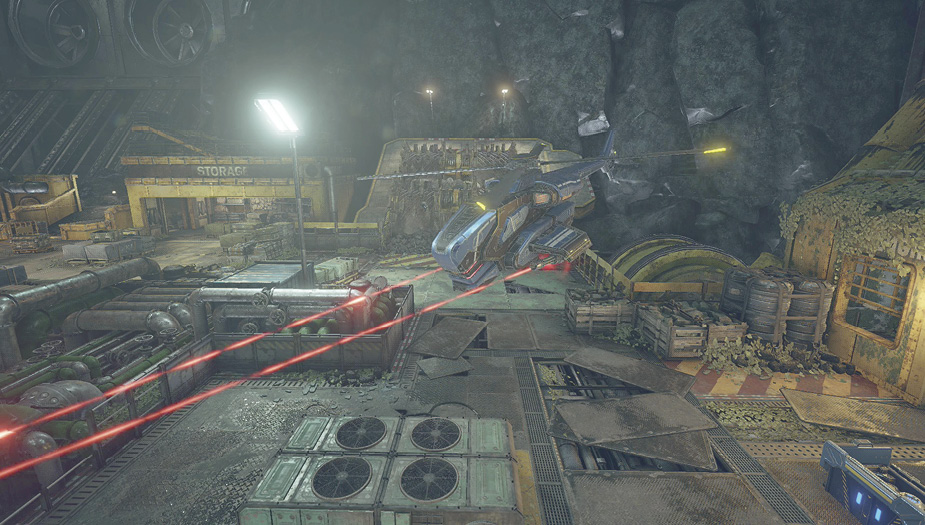
The lone DeeBee boss is a helicopter equipped with dual machine guns and a rocket launcher. Two red lasers help aim its guns, so once they become visible, start moving to cover. It takes a couple seconds to warm up the cannons. At that time, if you haven’t put something between you and the chopper, roll away from the gunfire to avoid taking too much damage.
After taking sufficient damage, a chamber on the underside of the Kestrel lowers to reveal its rockets. A flash of light can be seen when it releases one of the projectiles. If it aims your way, immediately run to safety as four rockets fly toward you. Stay on your toes and be ready to dodge if the explosives get close. There is a significant blast radius, so it is best to put as much distance as you can between you and any allies, otherwise you may get hit with the splash damage.
Aim for the glowing vents on either side of the chopper for maximum damage. Hit a cannon with enough weapon fire to disable it. The rocket launcher or a high rate-of-fire machine gun is very effective against the Kestrel. You must wait for the agile boss to stop, or anticipate its movements when shooting the RL-4 Salvo.
Note that the Kestrel rarely targets fortifications; however, it is usually too high in the air for sentries to effectively target it.
Juvie
Weapon(s): None
Power Dropped: 60 (120)
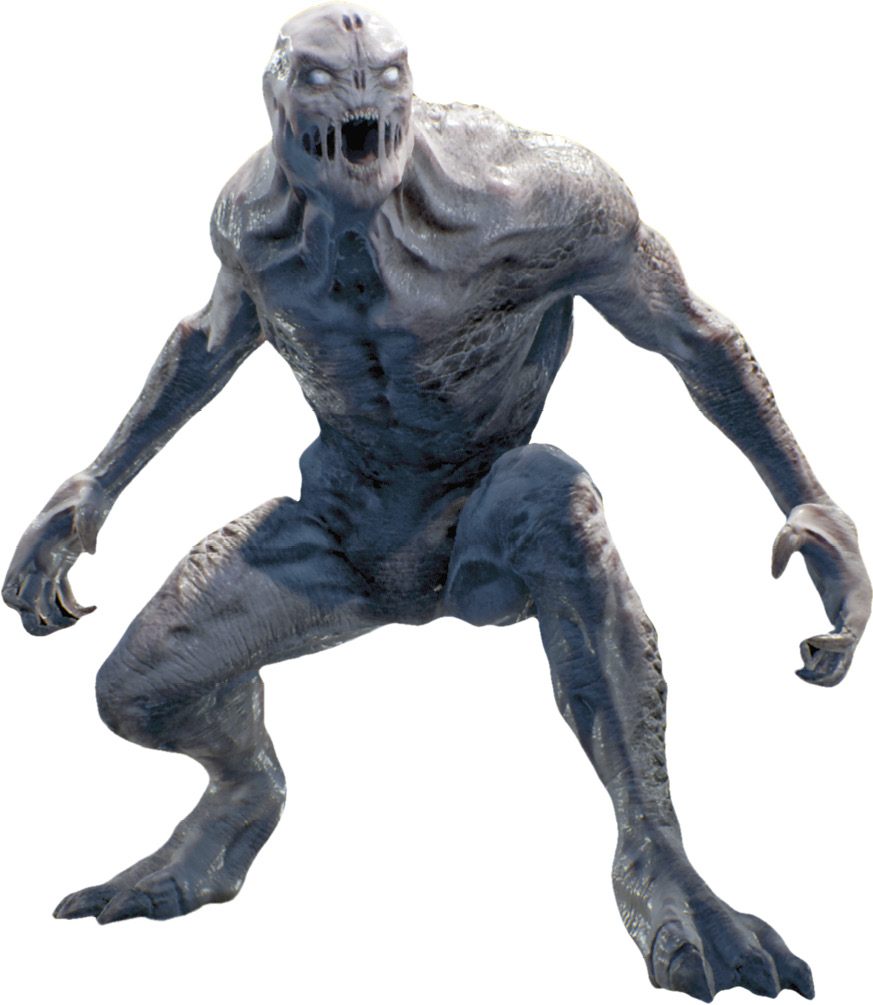
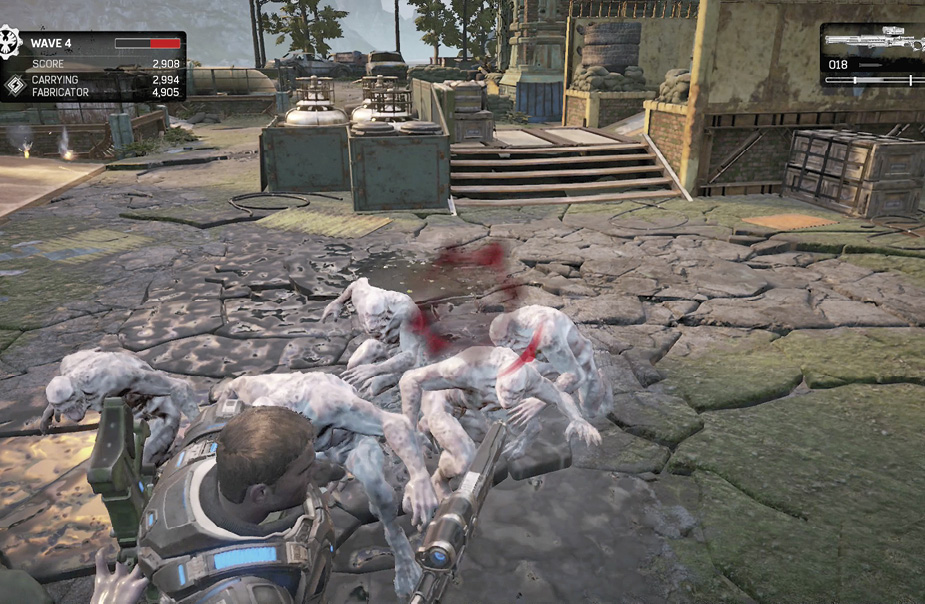
Juvies are the low Swarm on the totem pole. Small and weaponless, they are easily taken down with a melee attack. They quickly run right at their target, often teaming up with other Juvies—swiping at the player when close. They don’t deal out a whole lot of damage, but they can sneak up on you—becoming a nuisance if not taken care of quickly. Take them out from a distance or knock them out with a melee attack once in range.
Swarm Drone
Weapon(s): Hammerburst
Power Dropped: 60 (120)
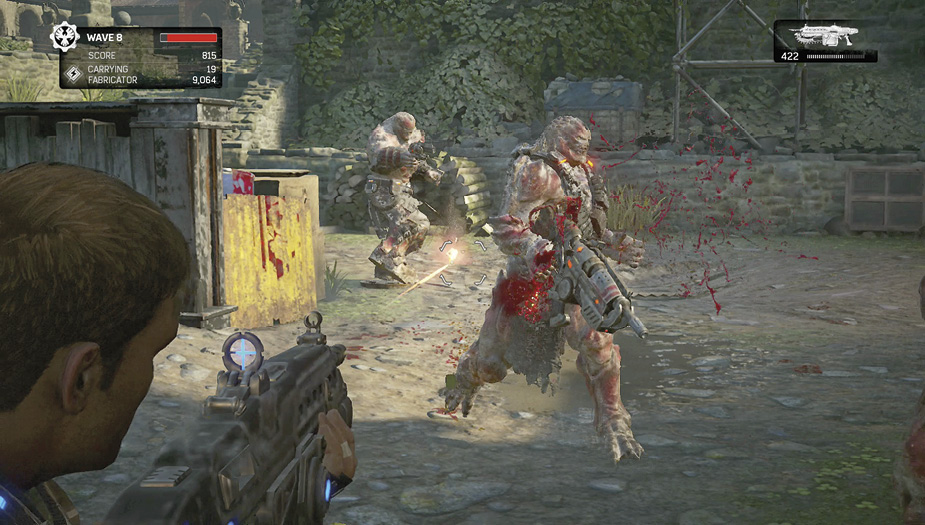
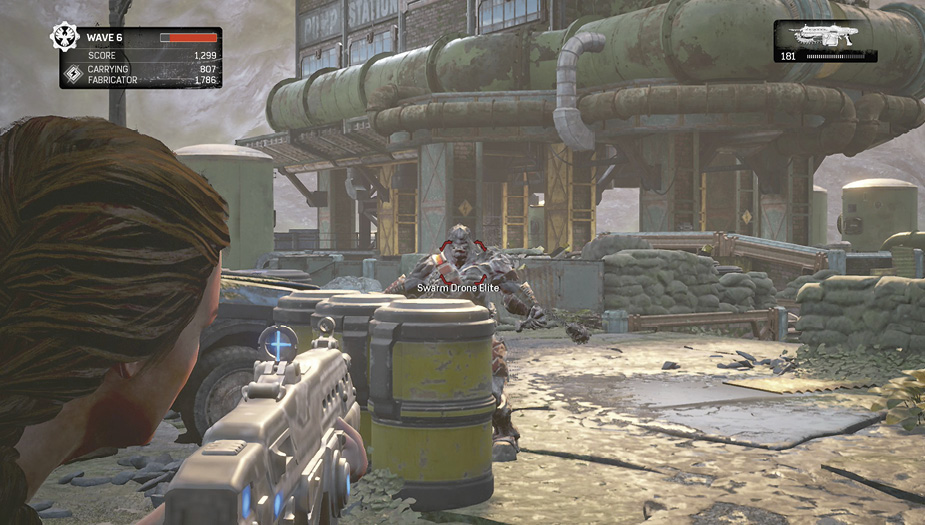
Swarm Drones are the Swarm equivalent of the Peace Makers. They only carry Hammerbursts and are relatively easy to take down. Drones help each other out when downed, so be sure to finish these guys off or you may find yourself fighting the same foe twice. The various Drones often work together in an attempt to overwhelm the COG or flank your position.
Swarm Drone Elite
Weapon(s): Lancer, Gnasher, Frag Grenade
Power Dropped: 200 (400)
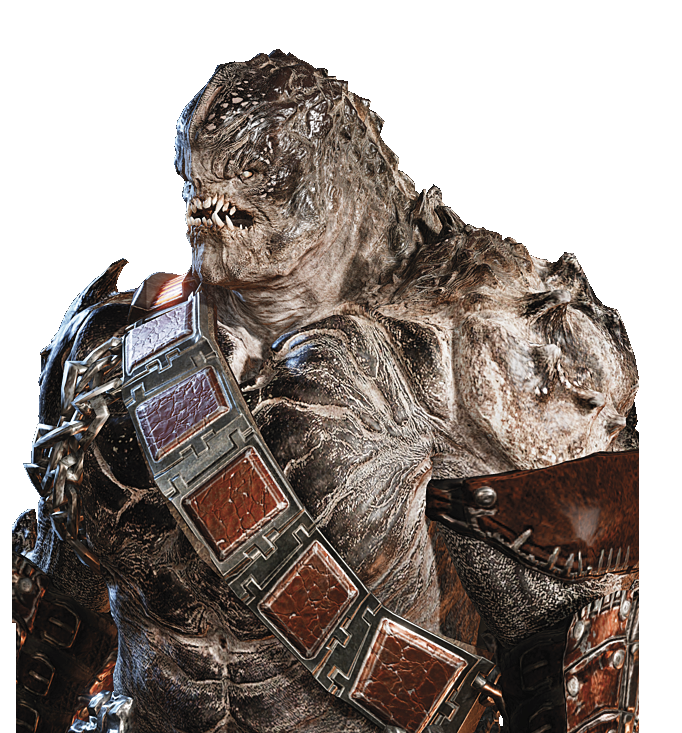
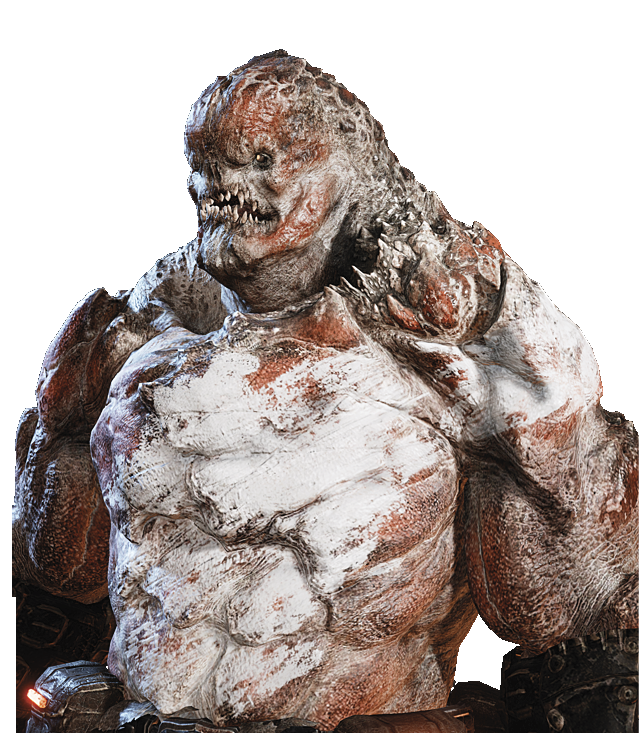
Swarm Drone Elites fight smarter than the Swarm Drones. Equipped with a Lancer automatic rifle, Gnasher shotgun, and a Frag Grenade, they possess a variety of ways to take you down. When behind cover, they usually fire the rifle, but will toss a grenade or use the Gnasher depending on the situation. When fighting in close proximity, they switch to the Gnasher—swinging the weapon if caught next to the foe. Once in trouble, they tend to flee back to cover, so finish them off quickly. Note the Swarm Drone Elite drops its currently equipped weapon upon death.
Swarm Grenadier
Weapon(s): Boltok, Gnasher, Frag Grenade
Power Dropped: 100 (200)
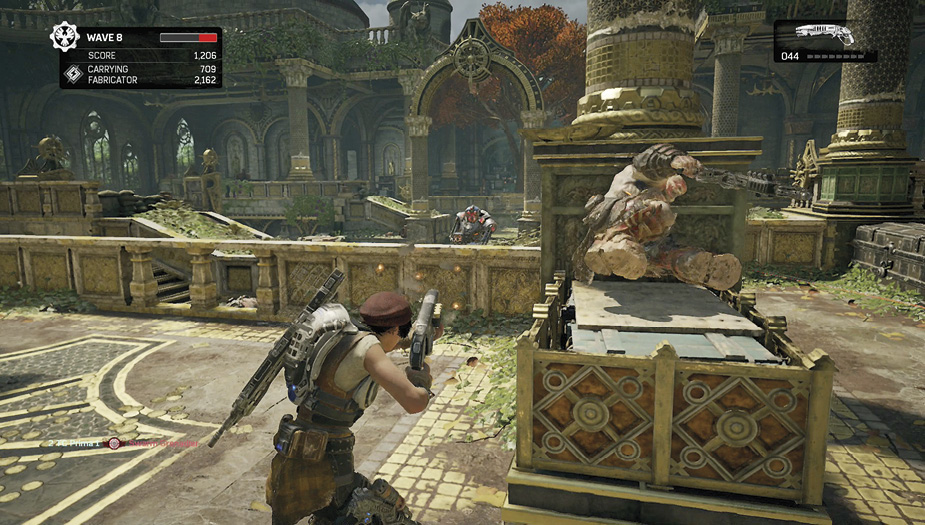
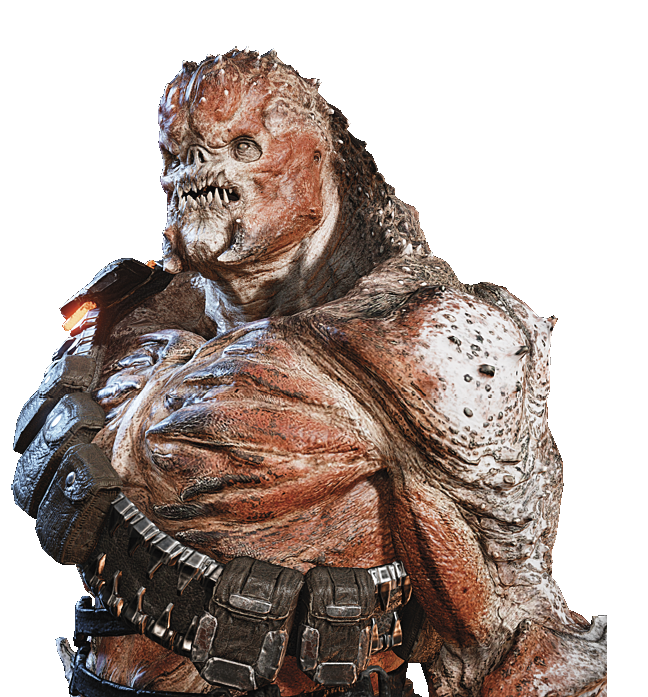
Swarm Grenadiers are equipped for big damage. They mix up their attacks as well as their movement, moving in close for quick melee swipes before scurrying back to cover. Take these guys out from behind cover to avoid losing too much health. Unless you are Heavy class or picked up a Heavy’s pistol, this is your only opportunity to get a Boltok. Wait for a Grenadier to switch to the weapon, and then take it down to grab your own.
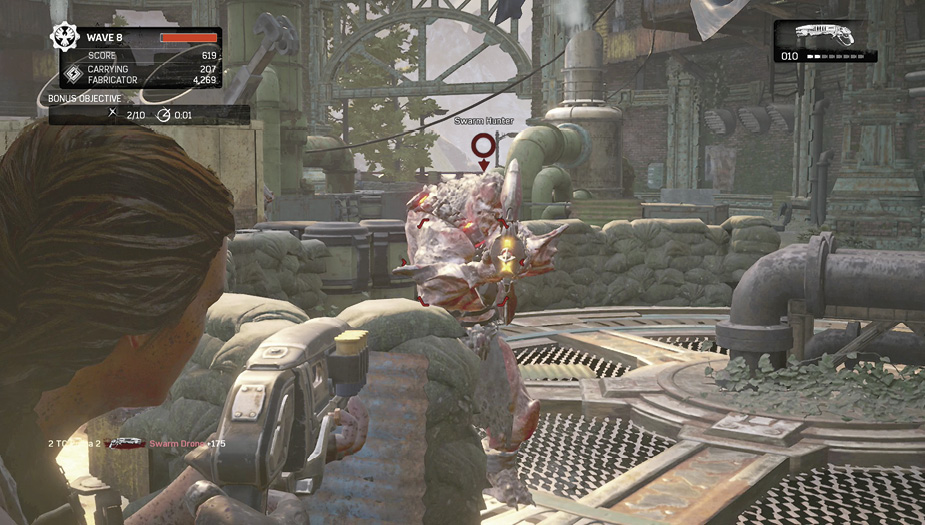
Swarm Hunter
Weapon(s): Torque Bow
Power Dropped: 100 (200)
Swarm Hunters are similar to Drones, but carry the explosive Torque Bow. Watch for a glow from the tip of the arrow and dodge out of the way once it is fired to avoid taking damage. Reloading after each shot gives you an opportunity to move in for the kill, or at least reach a closer piece of cover. If you are proficient at the Torque Bow, pick up the Hunter’s loot once it’s taken down.
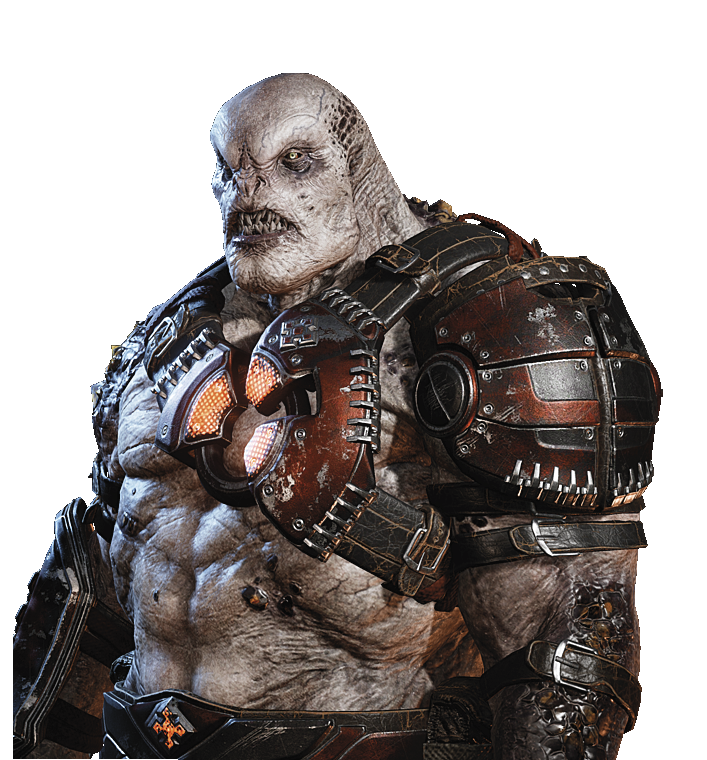
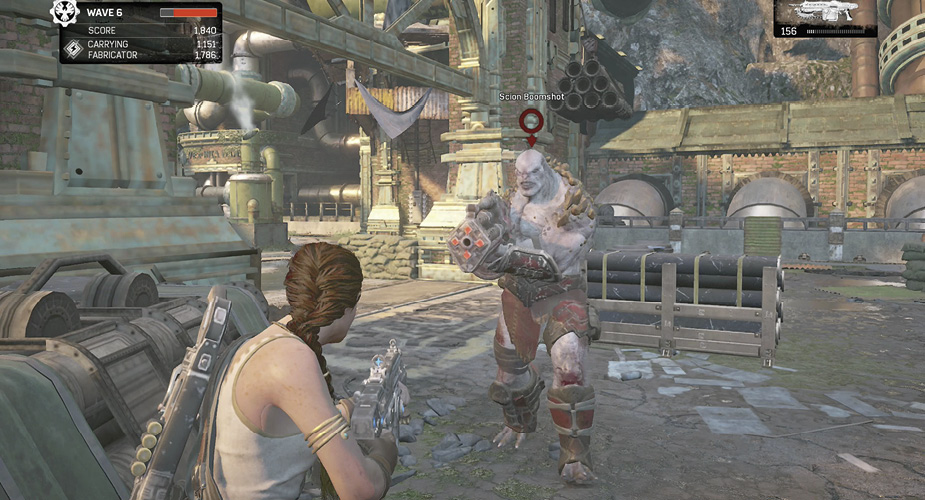
Scion
Weapon(s): Boomshot, Buzzkill, Dropshot, or Mulcher
Power Dropped: –300 (600)
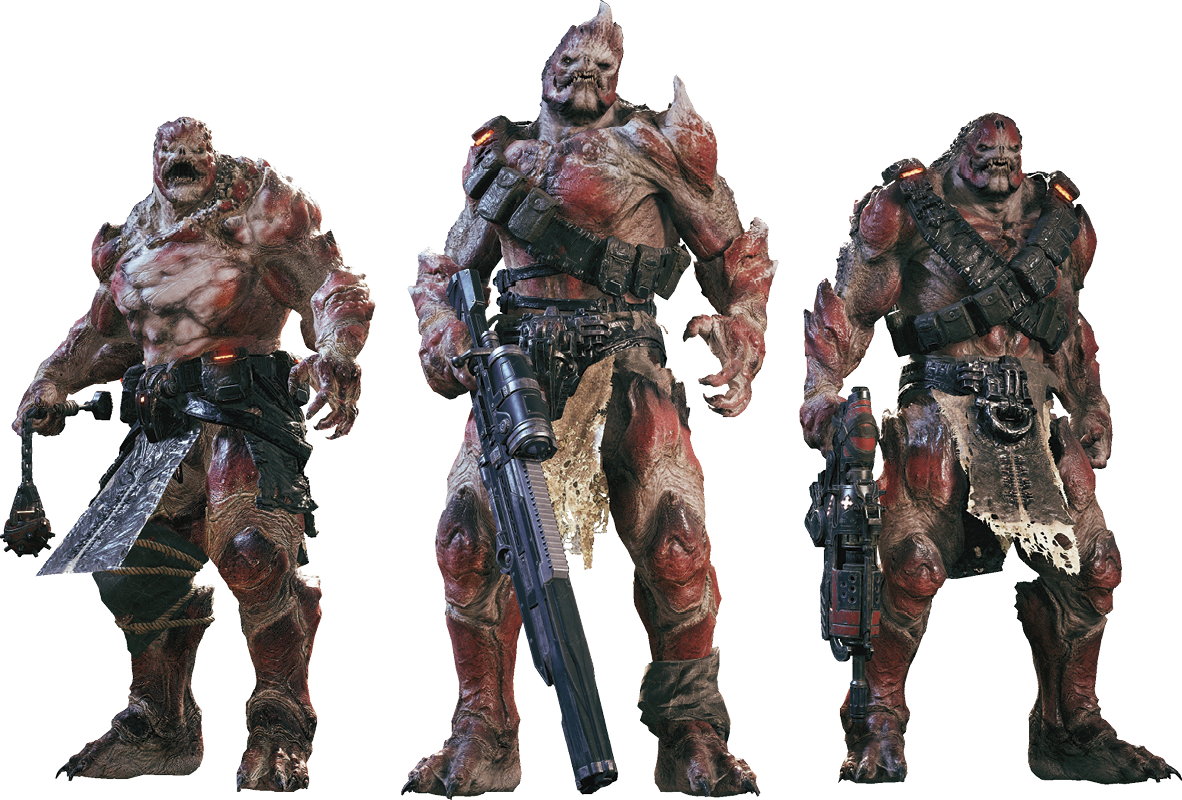
Scions come in four varieties, depending on the heavy weapon they carry: Scion Boomshot, Scion Buzzkill, Scion Dropshot, and Scion Mulcher. They all present a big danger to players with the powerful guns and greater amounts of health. Like the DR-1 Protector, the Scion refuses to hide, walking straight at its target as it shoots its firearm. Focus on its head for a quicker kill, staying behind cover whenever possible. Watch for the explosive weapons, as they damage the player when detonated in close proximity. The Scion also has a strong melee attack when nearby. Snag its dropped weapon after a kill.
Pouncer
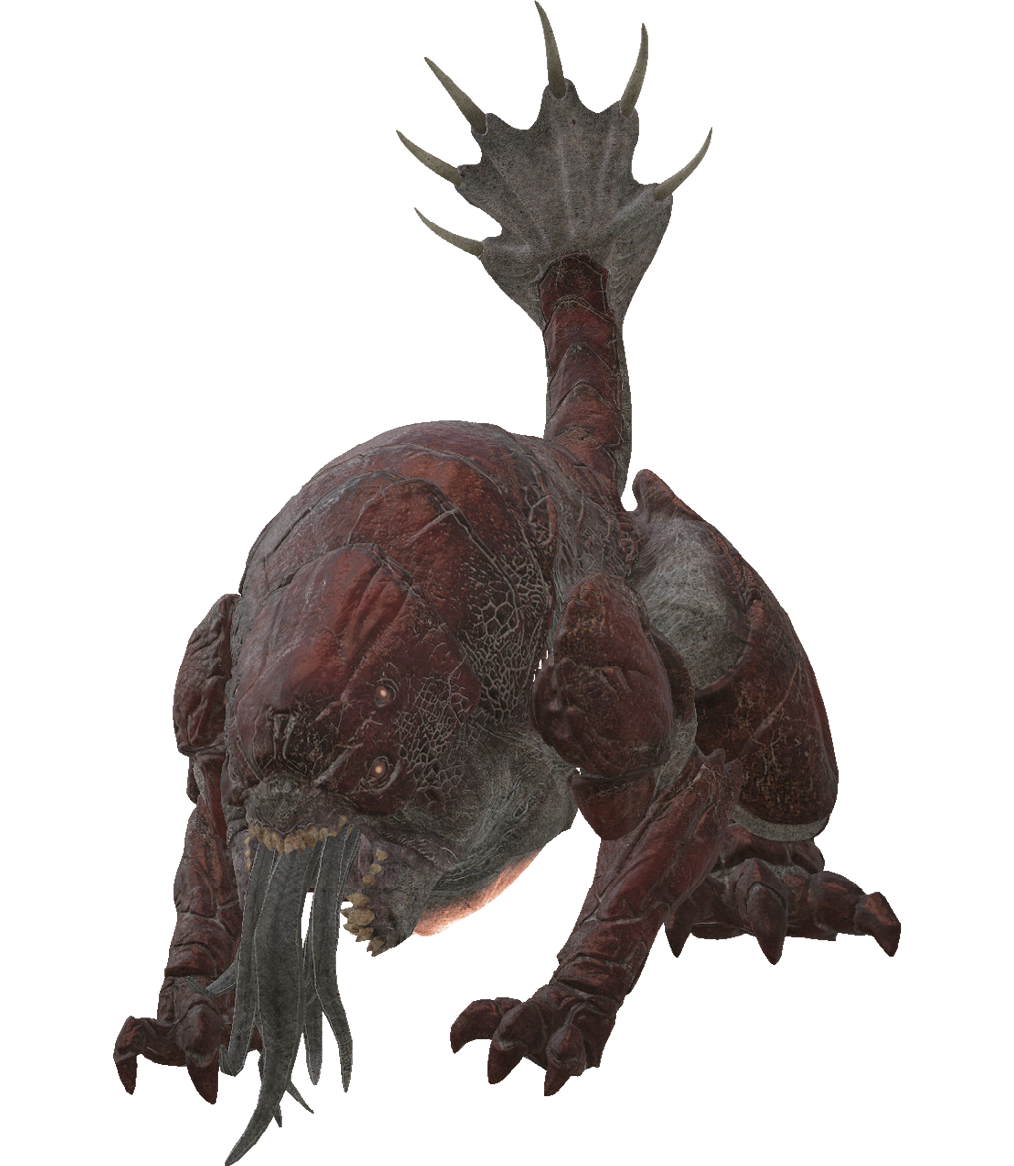
Weapon(s): None
Power Dropped: 300 (600)
Pouncers are big armored rodents that live up to their name by pouncing on their targets. If one jumps on you, rapidly press the B button to knock it off. From a distance it throws projectiles from its tail, and up close it performs a swift melee strike. Hit its weak spot, indicated by the glowing mark on the belly, for greater damage. Keep this guy in sight, because it can clear a great distance in a single hop. Once you finally find a Pouncer, catch it mid-pounce with a shotgun blast or chainsaw Execution to earn the Pounsus Interruptus Achievement.
Boss—Carrier
Weapon(s): None
Power Dropped: 1000 (2000)
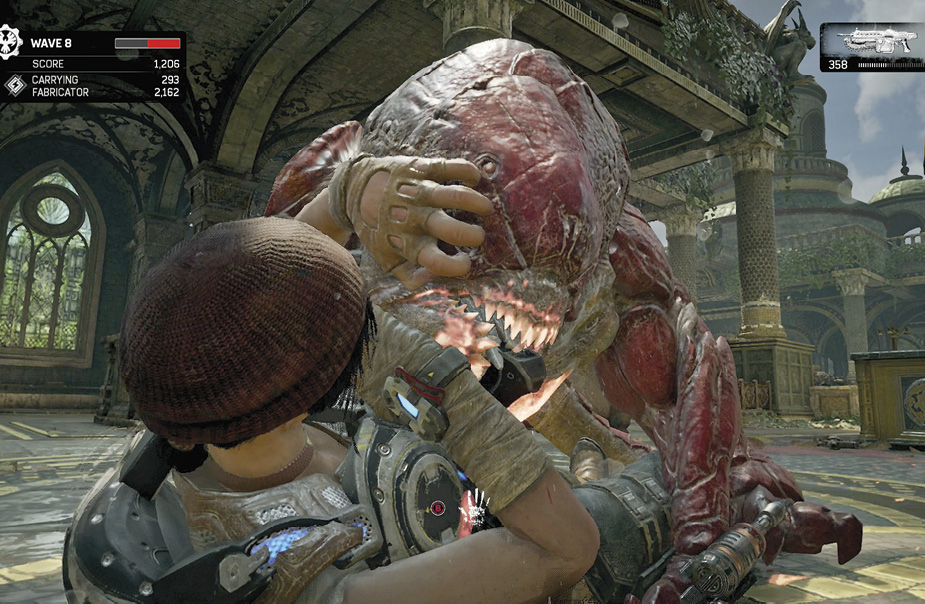
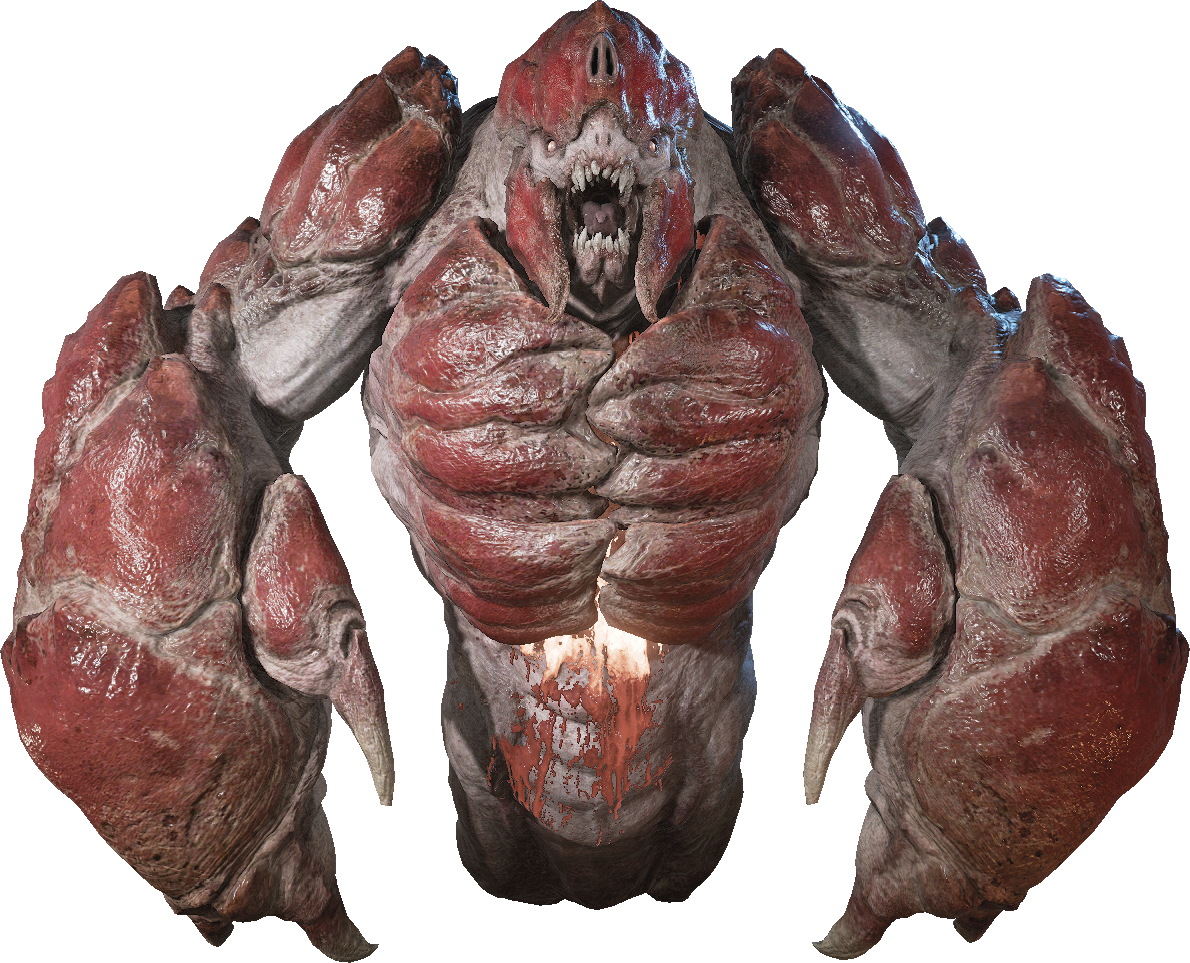
The Carrier doesn’t carry any weapons, but it does possess some devastating attacks. It opens its chest cavity when readying its projectiles. While it is exposed, hit this weak spot with your best weapons. At this point, it launches six organic missiles into the air. They track enemy movement until they expand, at which point they fire toward their targets. They are able to independently target players or fortifications and leave behind an acidic ooze on impact. This acidic hazard quickly eats away at players and fortifications. If the team is quick enough, these can be shot out of the air. To avoid the attack, run and dodge out of the way just after they open up. If possible, move fortifications out of the way of any acidic discharge.
The Carrier also has the ability to fire one or two of these projectiles straight ahead, so always stay alert. This attack doesn’t give as much warning, since the Carrier barely opens up to fire them.
If you are caught too close to the boss, it grabs and slams you to the ground, killing you on impact. It is also able to smash the ground with its heavy forearms and cause players to stumble around, as well as do big damage to any nearby fortifications.
Boss—Snatcher
Weapon(s): None
Power Dropped: 1000 (2000)
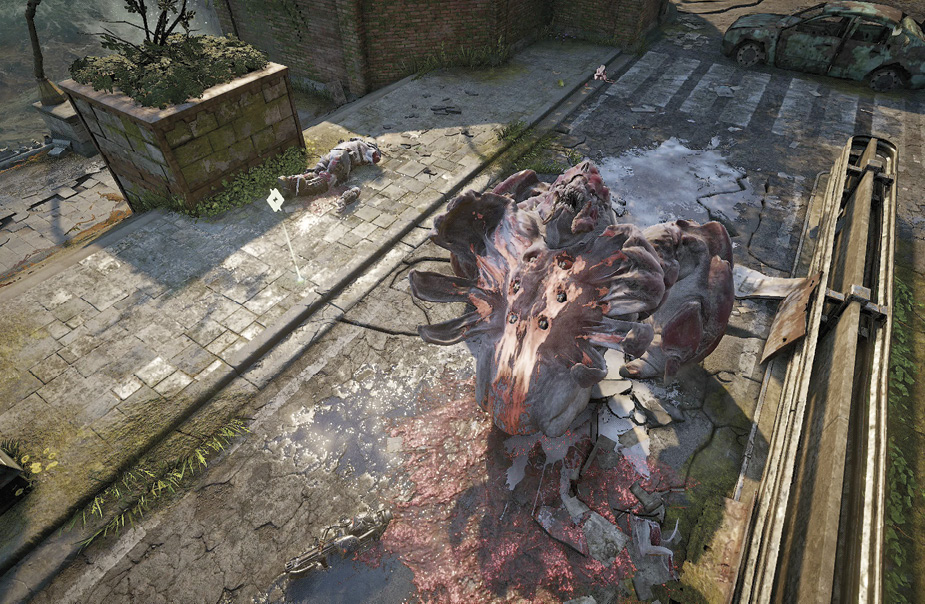
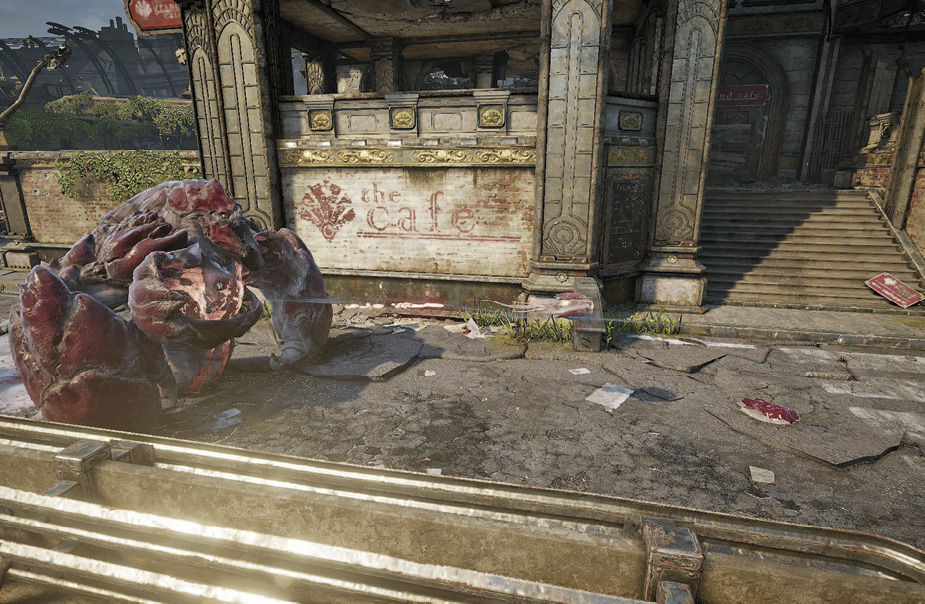
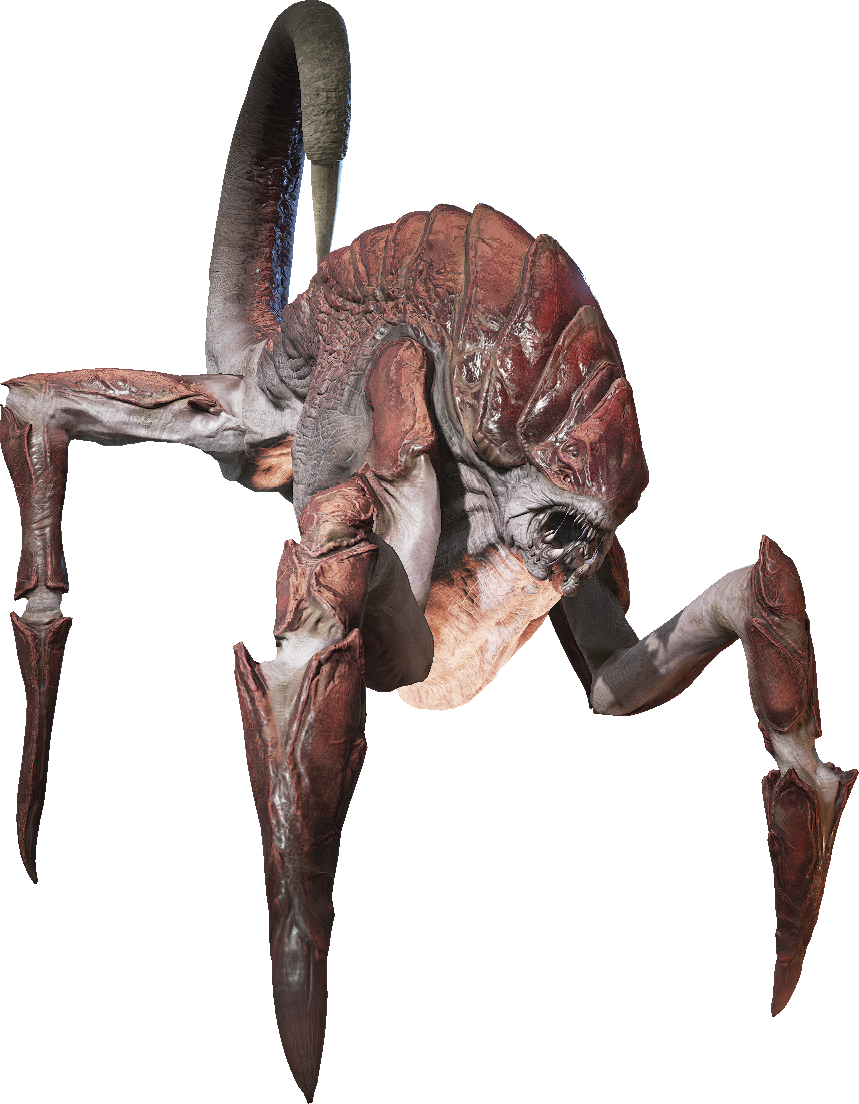
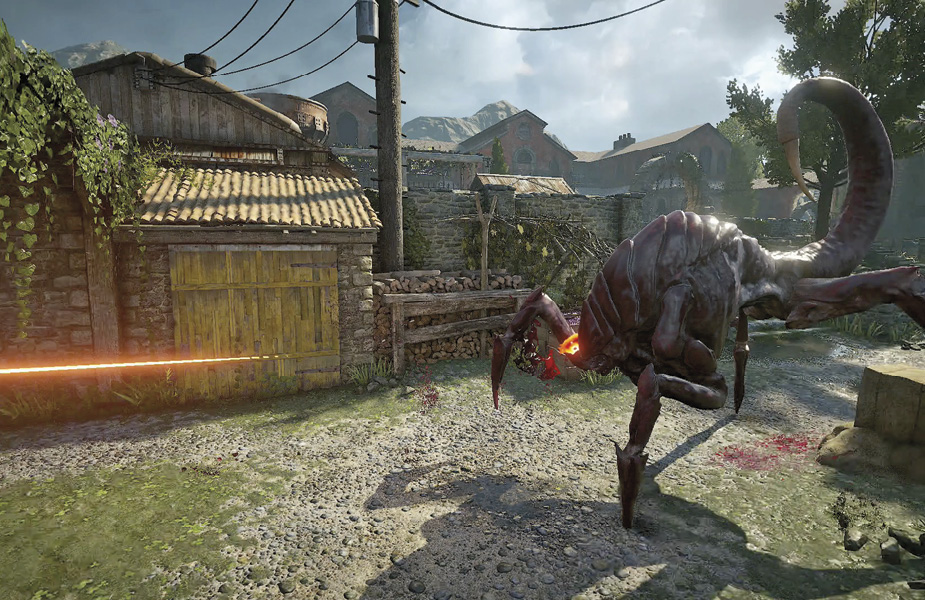
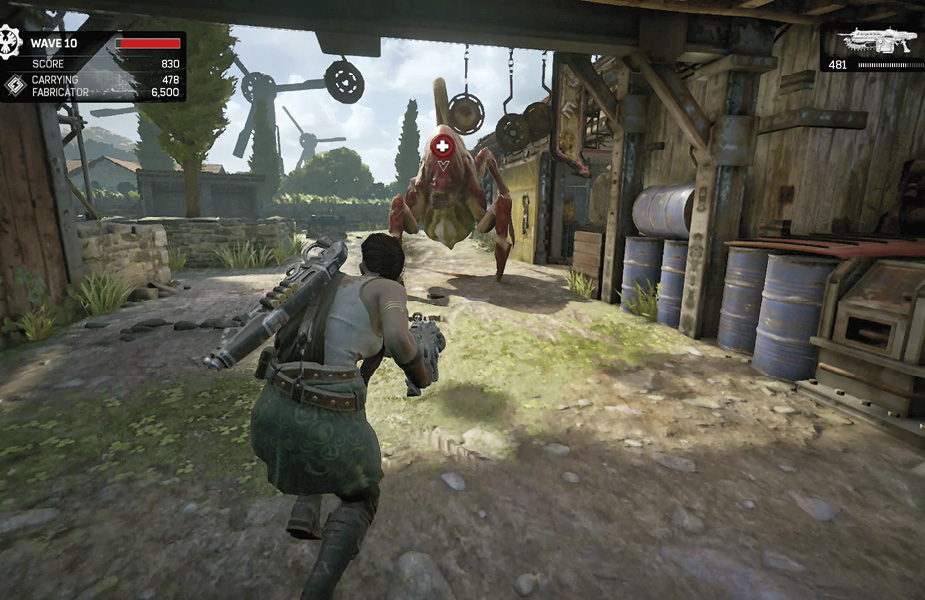
The smallest of the Swarm bosses, the Snatcher walks on four claws and possesses a sharp, powerful tail. Watch for this rear appendage to glow as it prepares an attack. Dodge to the side as it snaps forward to avoid the sharp quill. Maximize your damage by aiming for the glowing tail whenever possible.
Try to keep your distance from this foe. It can quickly stab with one or two of its front appendages. It also possesses the ability to spew out an acidic bile that damages anyone caught in the immediate area. Steer clear until the toxin is gone. Don’t take your eyes off this creature. It has some serious hops, giving it the ability to close in on its prey in a hurry.
If you are DBNO near the boss, you may soon learn how it got its name. It goes into a frenzy, rushes quickly toward the victim, and snatches the downed player—swallowing it whole. As it focuses on the downed player, take advantage of the distracted foe by lighting it up. Once the player has been snatched, the rest of the team must concentrate gunfire on the swollen stomach until the teammate is freed. Watch out, as acid is also released that does damage to anyone in the immediate area. If you fail to free the player in time, the boss eventually releases the dead player out the back.
The boss is merciless against fortifications, so do not be afraid to pick up and move any that are in the way before they are destroyed.
Boss—Swarmak
Weapon(s): Dual Machine Guns, Rocket Launcher
Power Dropped: 1600 (3200)
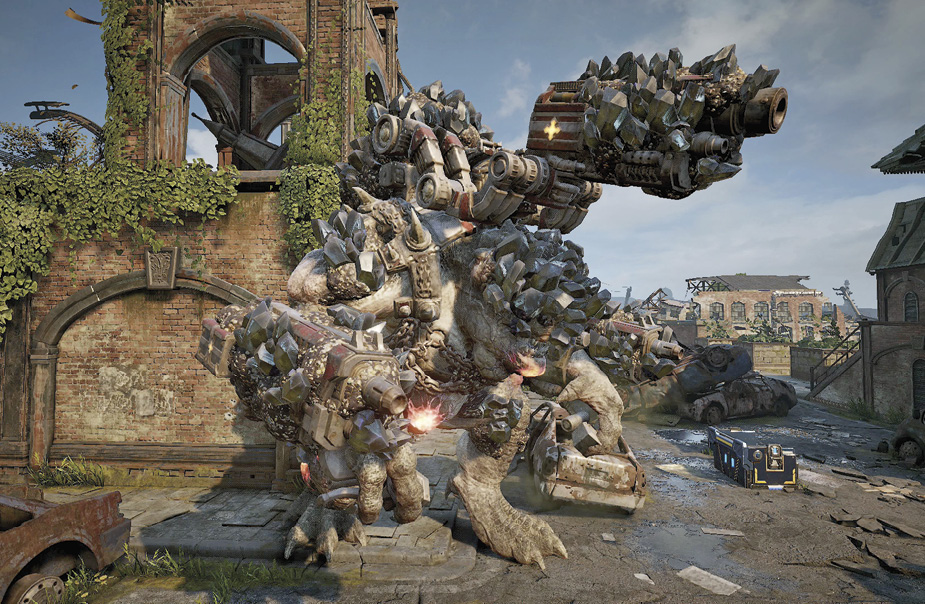
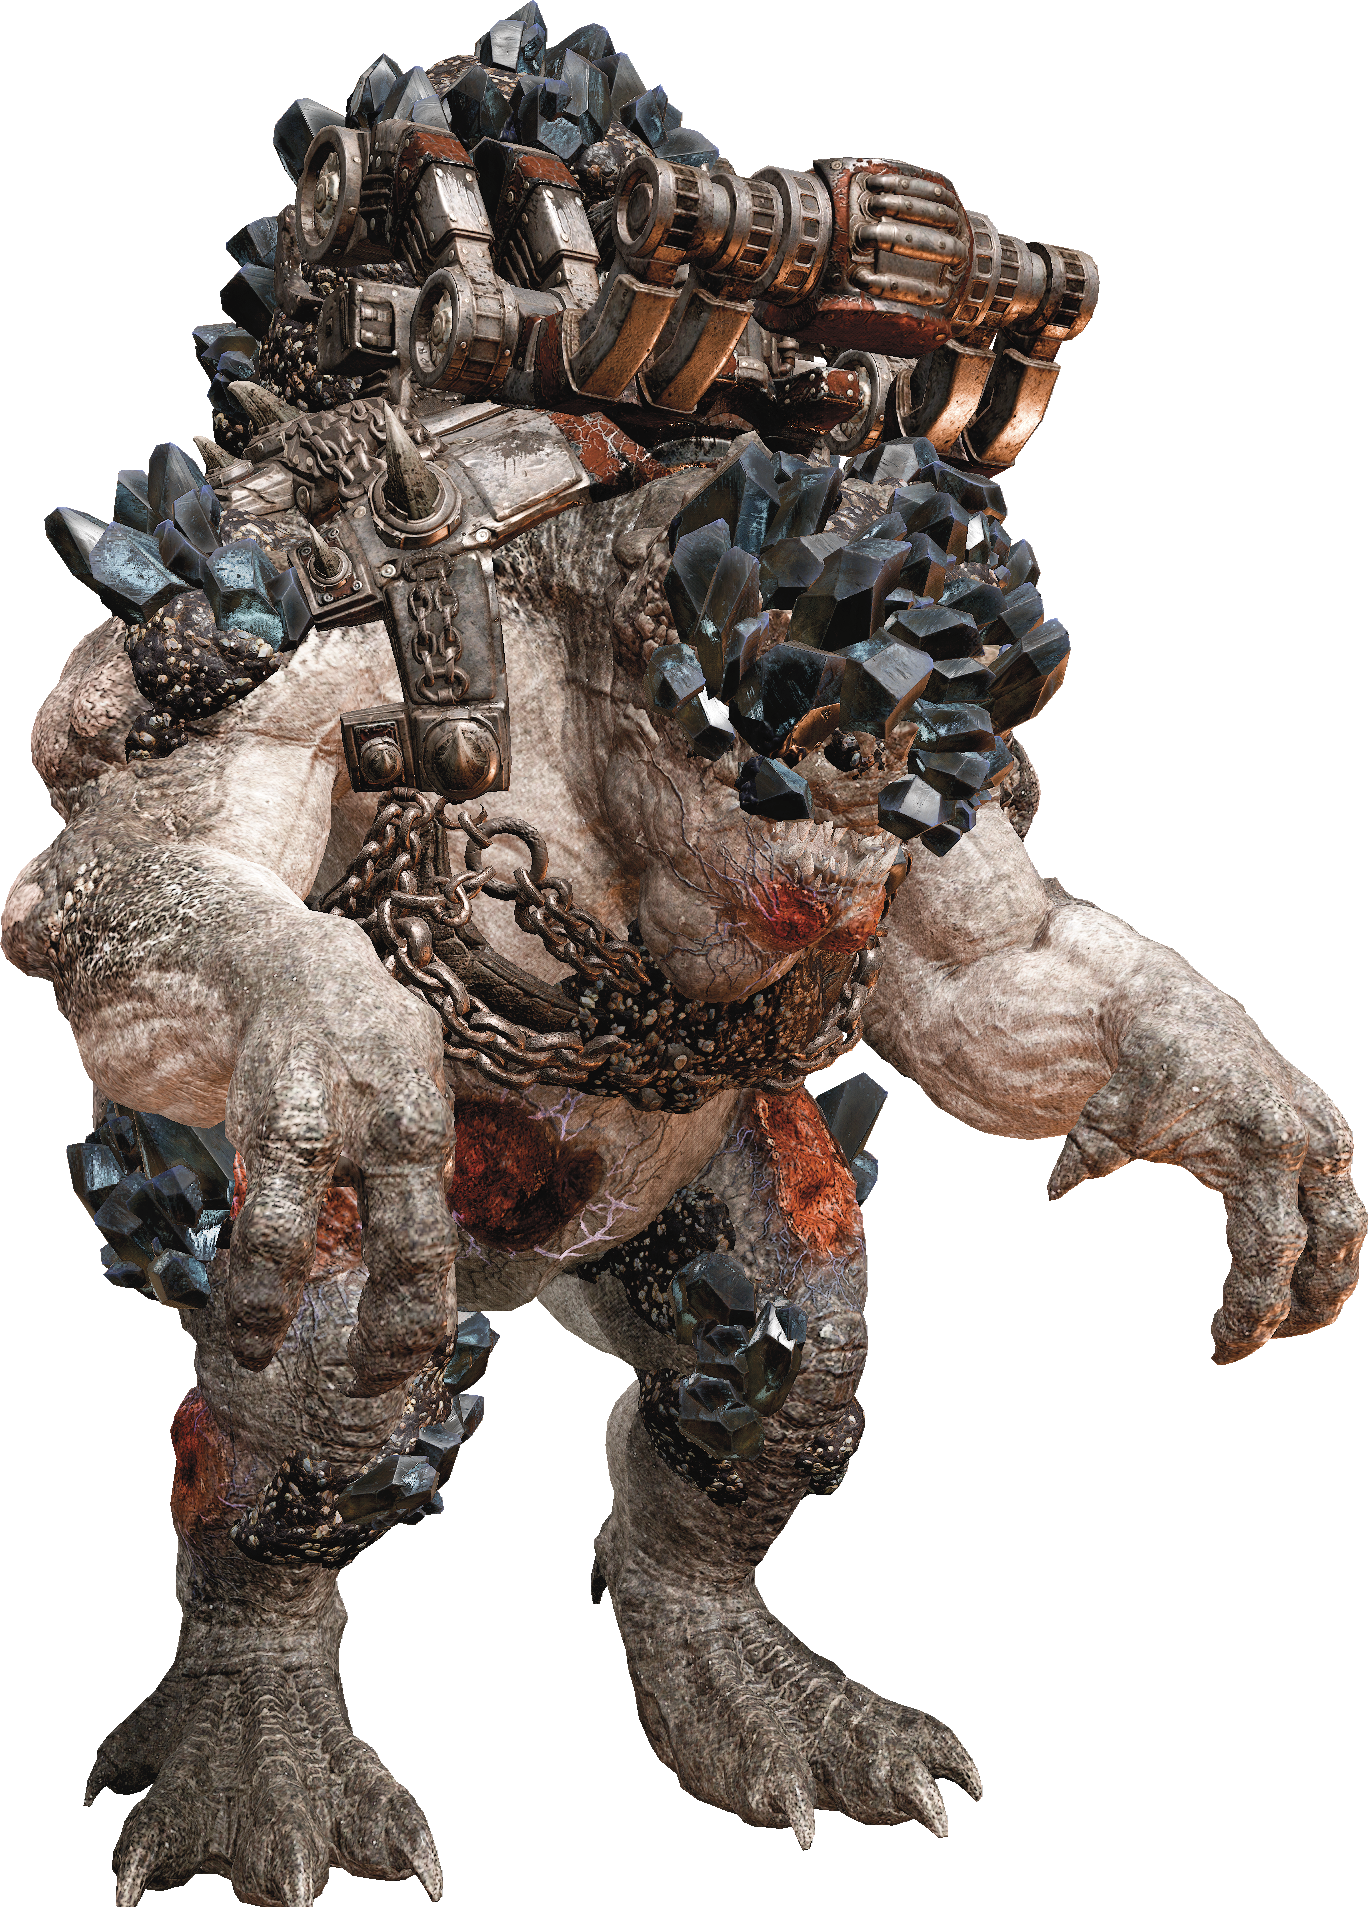
With twin cannons strapped to its arms and a rocket launcher on its head, the Swarmak is intimidating at first sight. Anytime the two arm cannons face forward, you should move for cover, because powerful gunfire comes quick. Whenever the boss faces your way, keep an eye on the rocket launcher. It does devastating damage, and you don’t want these projectiles catching you off guard. The weapons have been encased in a crystalized substance that effectively makes them invulnerable—do not try and destroy them!
Eight blisters—two on each leg, one on the belly, another on its chin, and two on its tail—are weak spots that inflict extra damage when hit. After causing enough damage to one of these blisters, it falls off. It is not necessary to remove them all, but the extra damage is vital to taking this beast down. If one player can distract the boss while avoiding its attacks, the others can focus their weapons on the side and rear blisters. Take them all out, and the Swarmak is instantly destroyed.
You are not safe behind cover against the Swarmak. Its rocket barrage causes great harm, or it simply steps over to stomp you into the ground.