
Combat
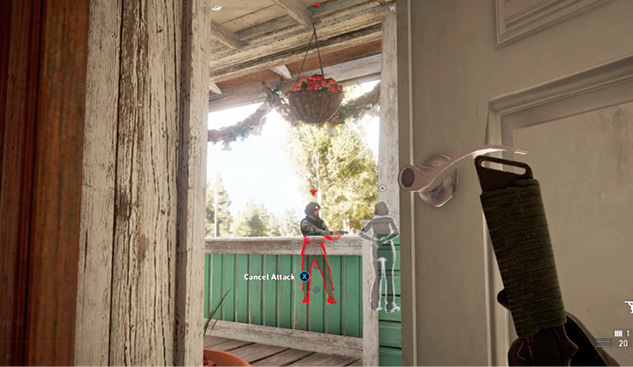
There are many different ways to engage in combat while traveling across Hope County. You deal with well-armed cultists, which you can engage with either melee weapons or firearms, and combat escalates to a degree worthy of Far Cry. The Peggies bring heavy weaponry, armored vehicles, mortars, and even bombs dropped from planes to keep you from liberating the county. As if that weren’t enough, even some of the wild animals you encounter have been trained and conditioned to fight for the cultists.
How you engage the enemy is dependent largely upon your preferred playstyle. You can go in hot and heavy, counting on superior firepower and nerve to win the day, or you can infiltrate the cultist strongholds stealthily, bringing silent death to your enemies—and several options in between.
Stealth
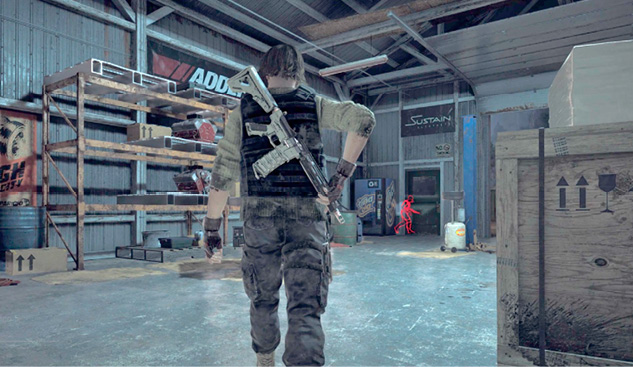
Enemies don’t know your location or even that there is a threat nearby when you first approach them. Crouch and stay out of enemy line of sight. If an enemy sees you, the Detection meter appears and will be black. As they become more suspicious of you, the meter fills up with white. The speed at which this meter fills is based on distance to the target. The closer you are, the faster it fills. Once the Detection meter fully fills to white, the target and all enemies in the surrounding area become hostile.
To avoid detection, stay out of their line of sight. This is easier to accomplish by “tagging” enemies using your binoculars or the specialist Boomer. Once enemies are tagged, if they pass out of your line of sight, they remain visible with a red outline. If you silently kill an enemy who is located in a patrol area, you should pick up the body and move it. This will help ensure that you remain undetected until you choose to attack.
Takedowns
Takedowns are one of the most powerful ways to defeat any enemy, whether armored or not. There are several ways to perform a takedown and do not require weaponry, although they can utilize melee weapons. The easiest way is to sneak up on the enemy unawares. When you are close, the onscreen indicator appears, which, if followed correctly, allows you to instantly and silently defeat the target.
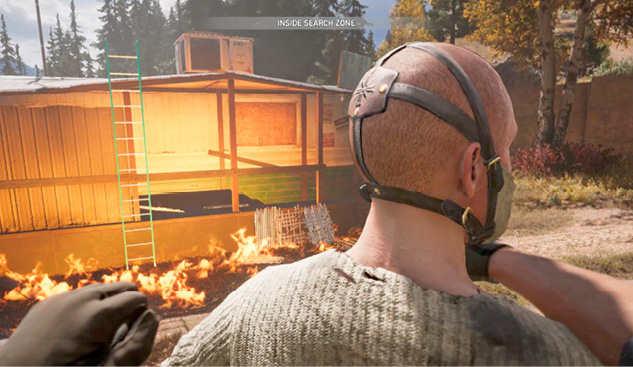
Another way to perform a basic takedown is to charge an enemy by sprinting up to them before they become alerted. As you get within range, the button to perform the takedown appears. To fully utilize this skill, purchase the Takedown Mastery perk; this unlocks the ability to perform chain takedowns and increases the distance from which you can initiate a takedown.
Melee
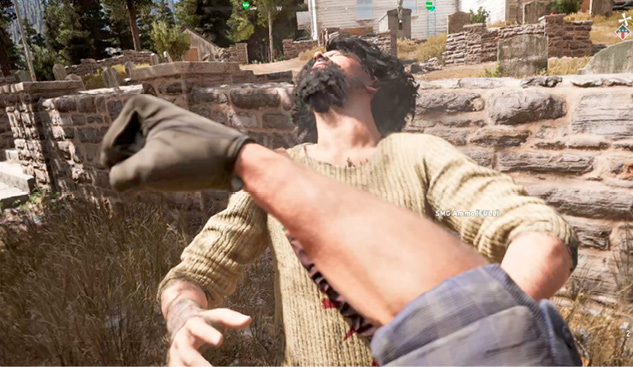
Melee is the most straightforward and dangerous way to combat enemies. The only thing you need is some combat armor for survivability and something to swing at the enemy, even if it’s your fists. If you want to have a straight-up brawl with the cultists, be prepared to dodge their knockdown attempts—if it hits, you will be vulnerable for several seconds. Avoid fighting heavily armored cultists and aim for the head!
Most melee weapons are relatively similar, as far as function and stats. However, once you unlock the spiked bat, you have a powerful melee weapon on your hands. The Close Combat Mastery perk makes your melee weapons more sturdy and efficient and is a must-have for anyone who prefers to fight up close and personal.
Firearms
There is no shortage of firearms in Hope County. They come in a wide variety, and most of the weapons you use fall under this category. Whether you prefer pistols, shotguns, rifles, or heavy weapons, there is a perk for everything. These weapon-specific perks typically increase the ammo for that weapon or decrease the reload time and it improves your aim. Before spending your points on one of these perks, test out each weapon type to see which ones you enjoy the most.
All firearms can be fired either from the hip or aimed. When you fire from the hip, your targeting reticle is less precise, but you maintain decent movement speed. When you aim, your movement speed is reduced, but your precision is increased. An optimal way to move from cover to cover is to bring up aim when you need it, fire, drop it quickly, and keep moving; staying in aim view all the time leaves you vulnerable to attacks since it reduces your field of vision.
Firearms come in many varieties, and each type has a range at which it is most effective. A rough estimate of distance is as follows: short range is 0 to 15 feet, medium range is 15 to 45 feet, long range is 45 to 100 feet, and extreme range is anything over 100 feet.
Sidearms: Short to medium range
Shotguns: Short range
Submachine guns: Short to medium range
Rifles: Medium to long range
Sniper rifles: Medium to extreme range
Machine guns: Short to medium range
Flamethrower: Short range
Bows: Medium to long range
Launchers: Short to long range
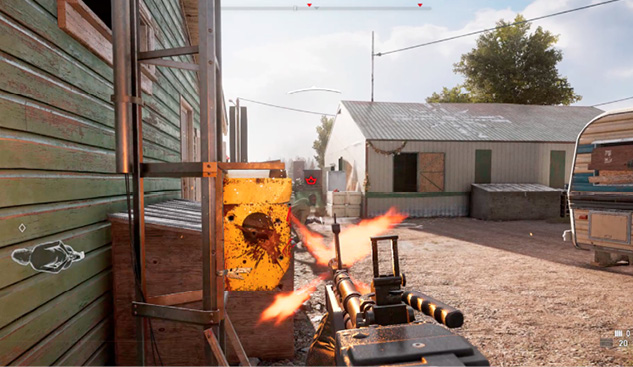
It is very important to know your weapon, because each weapon type has a wide variance in stats, such as accuracy, range, rate of fire, and reload speed. For a detailed look at the available weapons, check out the Arsenal section in the Appendices.
Throwables and Launchers
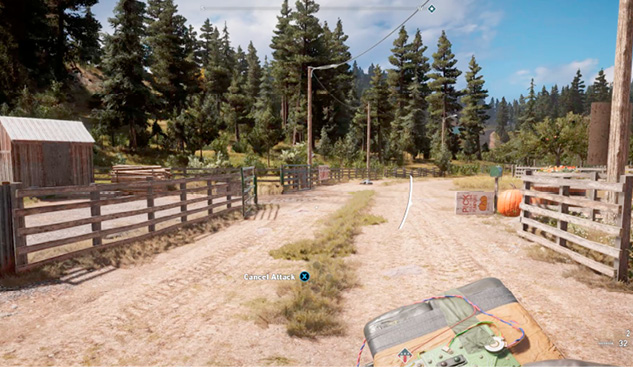
Explosives, which include the grenade launcher and the rocket launcher, come in a variety of packages. Most of the ones we discuss here are the kind you throw or place in the environment. Explosives are extremely lethal to any enemy you fight, and they can hurt you, too, if you are too close to them when they detonate.
Both remote and proximity explosives are best used for laying traps for enemies. This is an especially good tactic against heavily armored vehicle convoys. Grenades, dynamite, and pipe bombs are great for taking out armored cultists or for quickly destroying a cultist vehicle when it stops to unload its troops. Since explosives are so powerful, you have an extremely limited quantity of them, so craft up to your maximum amount before engaging in any encounters. This way you also don’t waste any crafting materials you may find if you are maxed out when looting bodies.
At some point during your trip in Hope County, you will be swarmed with aircraft trying to perform strafing or bombing runs on your position. The easiest way to destroy these aircraft is with a launcher.
Smoke grenades are great for covering your position and making it harder for enemies to target you. However, the effect doesn’t last long, so be sure to find cover or move in to eliminate your target before it dissipates.
Using bait is an interesting way to kill or distract cultists. You collect bait by hunting animals. Simply throw the bait near the cultist when a predator is nearby, and it charges the closest target, creating massive carnage.
While not as flashy as explosives, or as amusing as bait, throwing knives are extremely lethal if the enemy is not wearing an armored helmet. A headshot with one of these knives will instantly and silently take down a target, allowing you to remain undetected.
Mortars and Mounted Weapons
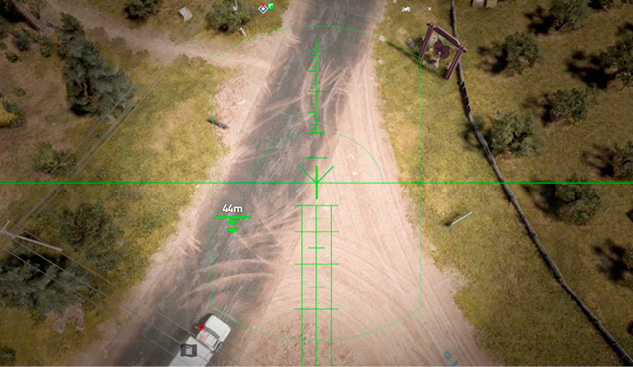
Mortars are scattered throughout Hope County, but typically near cult outposts. These are extremely dangerous weapons in the hands of the enemy. Luckily, whenever a mortar is being fired on your position, a bomb indicator flashes in the center of the screen. If you see this, you are in the blast radius and must quickly find cover. The best way to avoid mortar fire is to recon the area and quickly take out any enemies manning that position. If you move up to a mortar emplacement, you can man the position and aim the weapon in any direction you wish. Note that when firing a mortar, you must lead your target by at least a few seconds, as the round launches into the air, then drops into the targeted location. This weapon is only really effective at long range and is hard to master. However, if you are close to the target, it’s good enough to eliminate the target, as the blast radius is quite large.
Mounted weapons are fully automatic machine guns that have infinite ammo. If the cultists approach in a vehicle or watercraft with a mounted weapon, take out the gunner in the mounted weapon position first, as they are far more lethal than any other cultist.
If you are behind a mounted weapon, note that even though the ammo is infinite, the weapon can overheat if fired too long, and it requires a significant cooldown before it can sustain long periods of fire again. However, this weapon can take down any cultist quite quickly, whether they are armored or not. In fact, if you are short on launchers, this weapon type can even down aircraft.
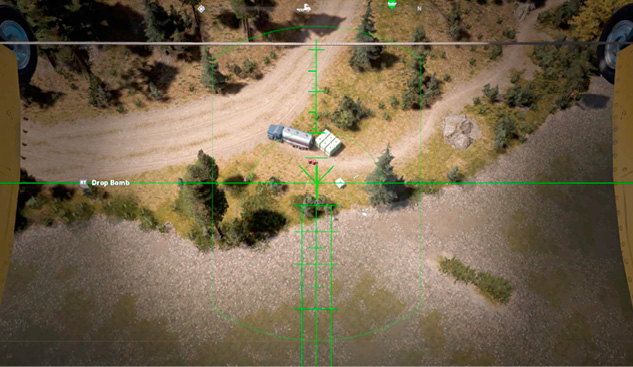
Finally, there are the weapons available to you in certain aircraft. At the very least, each weaponized aircraft has powerful automatic machine guns that can devastate any living target unfortunate enough to be caught in the line of fire. Some aircraft additionally carry either bombs or missiles, which are excellent for taking out vehicles, other aircraft, or closely packed groups of cultists. If you are piloting one of these aircraft, be on the lookout for cultists that carry launchers. Prioritize these targets as well as mounted-weapon positions, since they can take down your aircraft quickly. If you have fast enough reflexes and you see the rocket coming, strafe to the side to avoid certain death.