Far Cry 5 Guide John’s Region: Holland Valley
Story Mission: The Quality Of Mercy
- Prerequisites: Complete Story Mission: Wrath
- Rewards: $3,000
- Details: You have the key to John’s bunker. Get inside and free Deputy Hudson along with the rest of the hostages.
REACH John’s Bunker USE John Seed’s Key
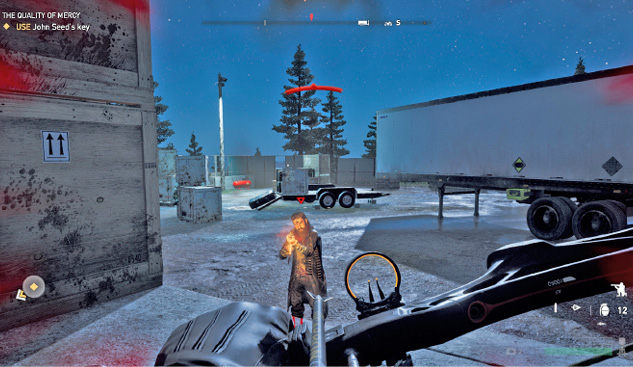
Prepare for a protracted battle, so stock up on your favored killing equipment, perks, and (for easier infiltration) a stealth weapon (such as a silenced rifle or bow) before driving up the switchbacks from the security gate to John’s Gate. Approach from the western side. This should look familiar, as it’s the location you escaped from previously.
The optimal method of entering John’s Gate is by tagging foes with your binoculars from across the missile silo grounds and sneaking around the northwestern perimeter fence to the sloping concrete buttress and mesh fence leading into the unloading yard. This allows you to gain height (scale the edge onto the roof with the mortar and the hatch with the ladder leading down into the unloading bay), and execute all six foes without raising the alarm (head down the concrete steps or slip through the gap in the fence). Make sure your weapon is silenced!
Drop the nearest foe with a headshot, then step back into cover. Line up the next foe and continue until the entire area is clear. If the foes begin to move, retreat slightly into cover and shoot them as they round a corner and their head is visible. Of course, you can simply wade in with guns blazing, though that isn’t particularly strategic.
With the exterior cleared, hit the button, open the blast door, and head inside the bunker.
ENTER John Seed’s Bunker
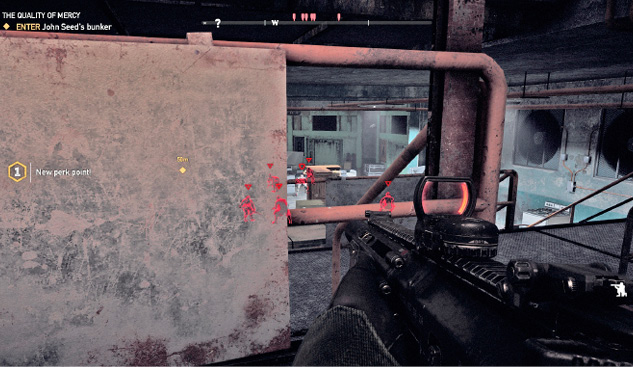
Descend the stairwell, dropping to a crouch and tagging all foes in the room of crates. Expect five foes and a heavy. Remain at the bottom of the stairwell, prior to the two sets of metal steps, and crouch behind the sheet metal barrier. Now line up a stealth headshot on each normal foe, leaving the heavy for last. He takes two full clips to the head (or more!); you may need to retreat up the stairwell to take cover, as you pepper him with bullets and lob in grenades to soften him up. Now head down through the short “Welcome” tunnel and open the blast door.
FIND Deputy Hudson
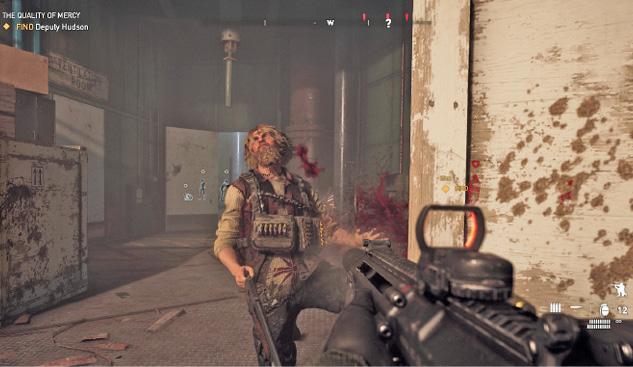
Throughout the remaining objectives, it is optimal to use silenced weaponry to kill each cluster of enemies without them fully spotting you. This way, you can complete almost all of this mission without the enemy fully grasping where you are or even firing a shot at you.
This involves crouching at all times. Think about acquiring Sneaky Sprint to help you navigate quickly, as well as Primal Mastery if all you’re carrying stealth-wise is a bow.
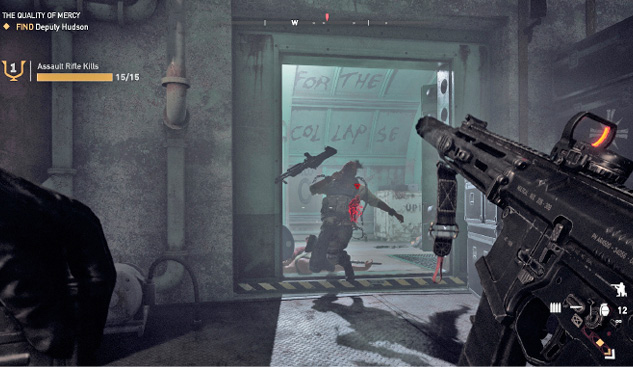
Head down the corridor and turn right into a generator room containing four foes, including a heavy. After tagging them, shoot the nearest foe, then lob a grenade through the doorway ahead to stop the heavy from charging in. Back this up with shots to his head and more projectiles. Back up to the room’s entrance and let the enemy come to you. Remove the heavy and tag the last two foes in the head with ease.
Head into Silo C, but don’t step through the T-junction, as there are six foes, split between either side (of particular interest is a Heavy on the right). Instead, back up, tag foes with your binoculars, then crouch at the doorway and let the first foe rush you. Drop him, and any others that attempt to reach you. If more than one foe rushes in, lob a grenade through the doorway. Whittle down the foes from this door; it’s the safest place to be.
Make a mental note where the first (locked) prison cell is located before heading down the right corridor (roughly north), with the large cult flag at the end. Stop before you reach the junction and tag foes with your binoculars. The second prison cell is on your right (east).
INVESTIGATE the Area
FOLLOW Deputy Hudson
RELEASE the Hostages

There are usually only two foes here. Easily dispatch them before heading down the left corridor, into an operator’s room, and down the stairs. After finding Hudson (who isn’t initially that happy to see you), follow her back to the operator’s room. While she attempts to unlock the prison cells, you need to return to the previously explored corridor and free both sets of hostages.
There’s just time to tag some foes rushing your position before cutting them down at the operator’s room exit door. Aside from these three jokers, expect five more foes at the far end (south), including a sniper. Lob a grenade down the corridor, slay a couple of regular foes, then sprint down and across (between sniper shots) to the side alcove on the right. Next, run and gun the sniper down at close range. Mop up any stragglers. With no enemies on your radar, open both prison cell doors.
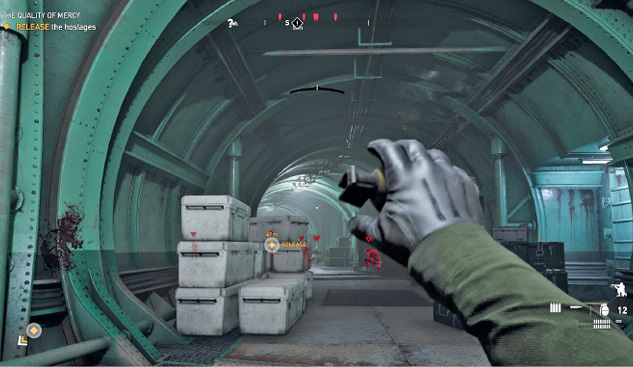
FIND the Control Room
DESTROY the Consoles
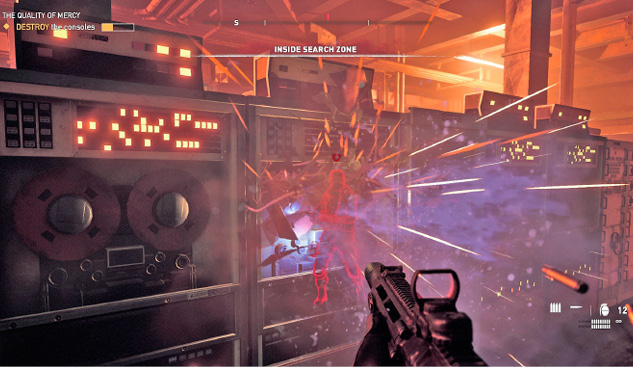
Retrace your steps to the generator room while Hudson lowers a grate, allowing access into the (thankfully) empty silo missile chute. Drop down and to the right to a lower platform, and move down the corridor to Silo D. Tag six foes in the control room (which is accessed via either side corridor), including a heavy. Before you continue, optionally drop a proximity mine at the T-junction, so reinforcements get a nasty surprise (and you know when they arrive).
Sneak along the left corridor (southeast), and start a clandestine headshot of each regular foe guarding the control room. Your plan is to remove all foes except the heavy, then saunter into the room and start lobbing grenades, shooting the heavy in the face and playing cat-and-mouse around the central console bank of reel-to-reel tape equipment. Don’t let the heavy fully see you. Feel free to destroy more than just this dude’s helmet; while you’re dropping the heavy, shoot the spooling tapes until each one explodes. These are dotted around the room, and when around eight to ten are sparking, your objective completes.
You won’t be able to fully destroy the room’s equipment before four more foes arrive from the missile chute. Tag them with binoculars, wait for them to tread on any traps you’ve prepped, then massacre them (this can still be done without anyone fully seeing you).
CLIMB the Silo
Two more foes arrive once the control room is destroyed and the siren starts. Head back to the huge vertical chute after killing them, and start your ascent. Climb up the jutting platforms in a slow clockwise direction. If platforms don’t begin to move outward, shoot the mechanism above them. When you’re almost at the top of the chute, tag two enemies behind the upper exit and lob in a grenade. Shoot the top platform so it opens, climb on it, and leap across into a mechanical room.
DESTROY the Fuel and Bliss Depot
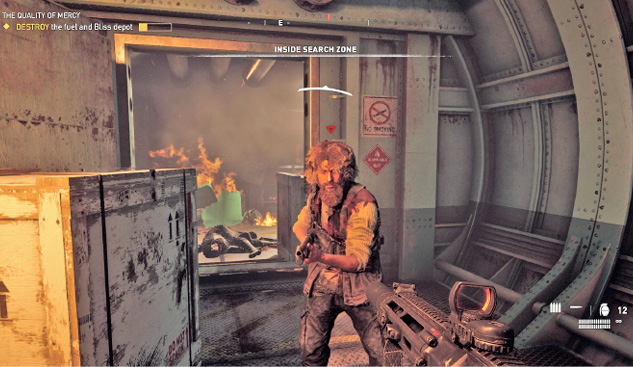
The situation is now getting much more frantic, so fast but methodical maneuvers are needed from this point: Start by tagging the three foes ahead of you in the “depot,” which is more of a tight corridor with three side rooms, all filled with Bliss crates and barrels.
These are highly explosive, so shoot them from an adjacent corridor, usually killing the foes in the vicinity. Lobbing in a grenade as you pass a small chamber is also advisable. The exit door is metal, and in the third small chamber; deal with an incoming foe as you reach a stairwell.
ESCAPE the Bunker OPEN the Silo Hatch (2)
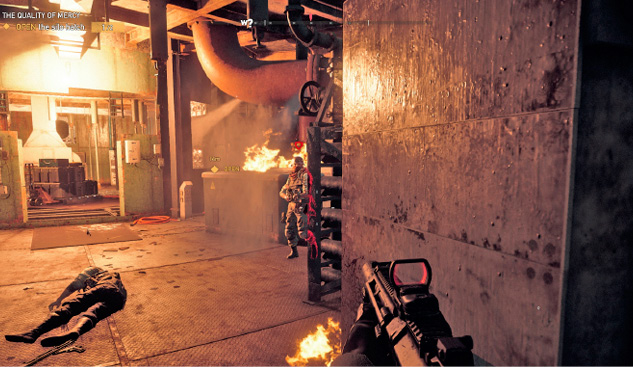
Time to go time! Sprint up the steps and around to a roughly circular chamber (it’s directly below the large concrete exterior area, and above the missile chute). You must open the giant hatch to the surface, but five foes and a heavy are here to make sure that doesn’t happen.
Though the place is starting to become an inferno, it’s worth remaining at the room entrance and attempting to shoot foes from this cover, though the building shaking can spoil your aim. Lob in a grenade or two, and venture into the room only when there’s two or fewer foes left. Kill them and quickly check the area for more foes.
Don’t pull either lever yet:
- The first lever releases a foe and a heavy—from the door you came from.
- The second lever releases a foe and a heavy—from the stairwell to your left—and the entrance doorway seals, trapping you inside this chamber.
Therefore, it’s safer to pull one lever at a time. Before you do, lay a proximity charge at the entrance you came from to thwart the first duo and lay another atop the stairs near the lever so the second duo are wounded. This helps with the ensuing escape.
As the silo hatch opens, there are at least six more foes milling around the balcony. Wait until the Resistance tells you there’s a chopper directly overhead, then run into the middle of the opening and throw your grapple so it connects with the chopper. Ignore these foes, as you’re likely to burn to death while shooting them. Instead, swing your way up and into the chopper, and John’s Gate gets closed for good.