
Far Cry 5 Guide Faith’s Region: Henbane River
Story Mission: Walk the Path
- Prerequisites: Complete Story Mission: Paradise Lost
- Rewards: D2 “Sin Eater” (Weapon), $4,000, Region Liberated (Henbane River)!
- Details: You’ve defeated Faith, but the sheriff is still captive inside Faith’s bunker stronghold. You must rescue the sheriff and destroy the building.
ENTER Faith’s Bunker
This mission begins immediately after the conclusion of Story Mission: Paradise Lost. You appear deep inside Faith’s Gate, Blissed out and with strange visions of Eden and stark, concrete architecture.
FIND the Sheriff
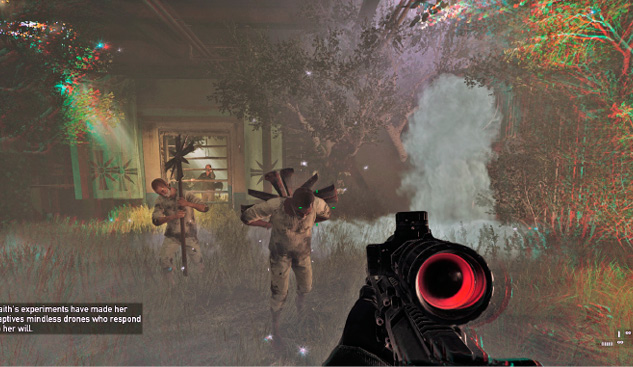
Investigate the metal staircases, passing the moose and all other illusions. Pass an altar and locate Sheriff Whitehorse, who is using all his willpower to resist the temptation to enter the next world. To save him, you must continue into this installation and shut it all down.
STOP the Bliss Production
SHUT DOWN the Central Valves (5)

Climb the stairs as Eden falls away and a valve door presents itself inside a control room. The image of Tracey Lader appears behind this valve door. Open it. In the connecting corridor beyond, tool up with your favorite killing equipment, and open a second valve door.

You can launch a massacre of the eight foes (most of them with heavy coats, meaning headshots more easily take them down) and a sniper on the balcony. But a more cunning plan is to use stealth takedowns or silenced weaponry, killing the foe near the ladder on your left as you enter; then ascend to the balcony, dropping the two foes there and then raining death down on the foes below. There’s only two ladders for enemies to use, so you’re pretty much guaranteed protection as you defeat the first wave of foes.
There are five spigots to turn in this chamber. The valves are attached to Bliss-producing machinery here. Shut each one down, which takes a second or so. After you close each valve, expect two to four enemy reinforcements to arrive from an upper corridor to the balcony you were just on, or the entrance you used to get here. With foresight, you can drop proximity explosives at these entrances (including the ladders at the balcony) to waylay these foes. There’s around nine to fight, and more arrive at the southeast exit hatch door.
It’s worth spending a few moments minimizing these threats, so the room is devoid of cultists, before continuing into an adjacent pump room; this way you won’t be outflanked.
DESTROY the Central Pumps (4)

Though you might have caused some noise in the previous chamber, there’s a chance you can revert to a stealth plan if you’re not spotted opening the valve on the second hatch door leading into a pump chamber. This room is dangerous; there’s water to your right (don’t swim, as you’re a sitting duck) and a set of pumps along a walkway, guarded by around eight enemies.
You can remain at the hatch door entrance and pick off foes, or you can storm in; however, don’t charge too far forward, as there are numerous leaking pipes that intermittently catch fire. Step through when the flame retracts, or slide under the flames. Easily destroy the central pumps using explosives of your choice, or fire at explosive canisters near each pump; this delivers explosive death to the cultists at the same time. Or stealthily take down each foe before you’re properly spotted, then return and destroy the pumps at your leisure.
ESCAPE the Bunker

For a place filled with Bliss, it’s becoming increasingly clear that escape is your only option. Race and open the door marked “Floor-04.” Watch the closest foe look away from you, and open the hatch door without him fully noticing you. Or, you can drop him and methodically clear the U-shaped parallel corridors of all foes. If a heavy-weapons foe is causing you trouble, high-caliber helmet-cracking bullets or proximity explosives help.
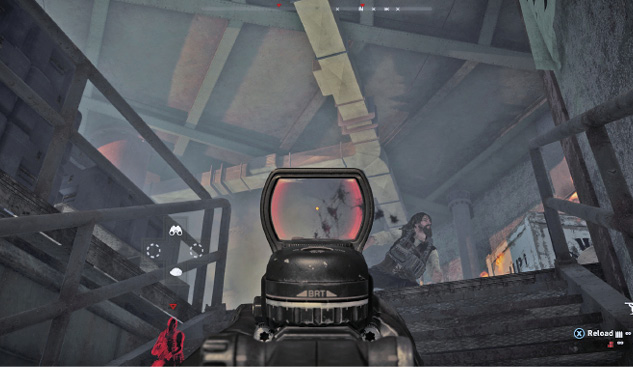
Continue to watch for spurting fire from leaking pipes as you head into a mechanical room with a service staircase on your left (east); an arrow points up to “Floor-06.” Don’t bolt up the stairs; instead, tag the two foes waiting at the top and two more hiding behind the top of the stairwell, and execute the ambush instead. The two rear foes are near a ladder, which leads to a fiery chamber, a hatch door, and an exit corridor, as Faith’s Gate goes up in flames for good.