Far Cry 5 Guide Atlas Of Hope County
Map Legend
Each location has a particular icon, value, and information assigned to it. Here’s what it all means:
Locations: Legend
 Cult Outpost: This is a large-scale cult operation, and easily spotted from the air or distance as a plume of black smoke is visible from each one. There are 21 Cult Outposts across all regions.
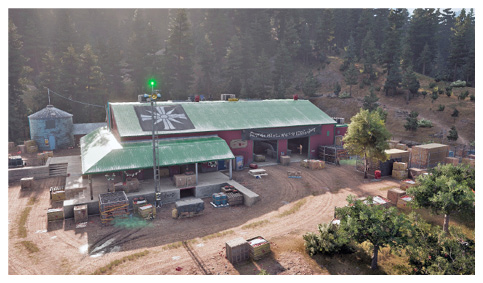
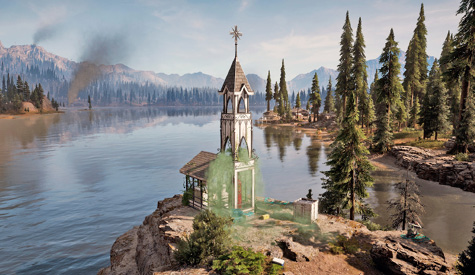
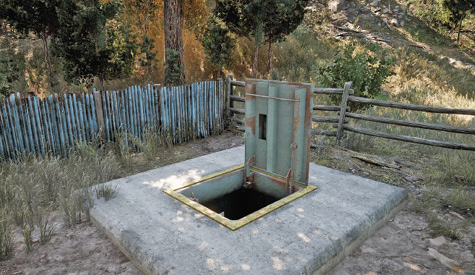
 Cult Property: These are small, lightly-guarded and destructible structures that the cult is using, and crippling them increases your resistance. There are 42 to find: Seek them out when you can; each is related to a side mission, as follows:
| Region | Cult Property Type | Number | Related Side Mission (and Character) |
|---|---|---|---|
|
Dutch’s Island |
Shrine |
2 |
None |
|
Holland Valley |
Silo |
14 |
Light ‘Em Up (Kim Rye) |
|
Whitetail Mountains |
Wolf Beacon |
10 |
Call of the Wild (Tammy Barnes) |
|
Henbane River |
Shrine |
16 |
False Idols (Tracey Lader) |
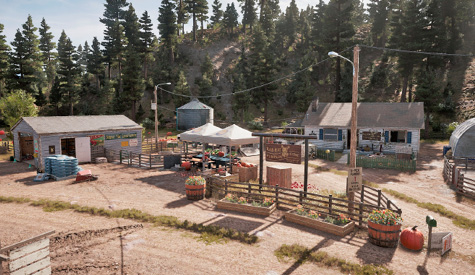
 Primary Location: These are the majority of the locations to find (and then Fast-Travel back to) across the county. They range in size from small cabins to large compounds, and all have an abundance of interesting assets to find. The guide atlas tracks all 172 of them!
 Primary Location (Dock or Helipad): Some locations, particularly large cult outposts, may have a dock or helipad that also can be fast-traveled to once they are discovered. This atlas shows you where they are; expect to purchase Boats and Helicopters at these locations.
 Secondary Location: These are not shown at any point on your in-game map; they are hidden locations; usually small, and sometimes have items of note to find (such as Perk Magazines). The guide shows you where all 144 of these are, too.
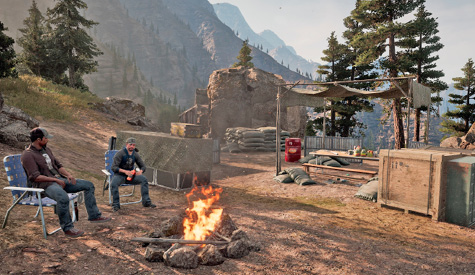
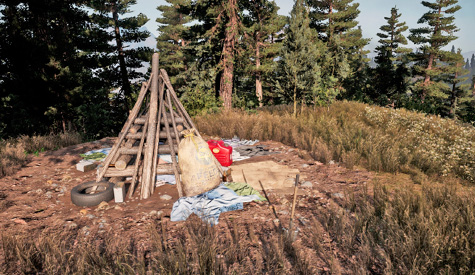
 Tertiary Location: All of the Sub-Region maps in this guide also show you Tertiary locations. This is basically a spot in the road, a trail, or in the wilderness where “something” can be looted or scavenged, or studied. Expect these tiny locations to contain an abandoned campsite, a strange cult totem, immolated bodies, a bonfire, or other areas of minor interest.
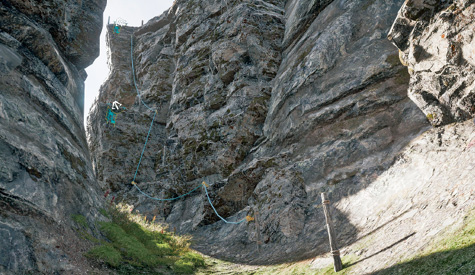
 Tertiary Location (Climbing): If you want to know where the major grapple spots are in Whitetail Mountains and Henbane River, then look for these dots; this can show you where you can grapple, thus saving you time taking longer trails.
Activities: Legend
Need to take a break from breathing in the Bliss and slapping around Peggies? Then make time to take in the country, stumbling upon clues to various activities; either by reading a road or trail sign that indicates a nearby activity, finding a magazine that reveals most (but not all) of the hunting, fishing, and foraging opportunities, or stumble into an activity as you explore. There are four main types:
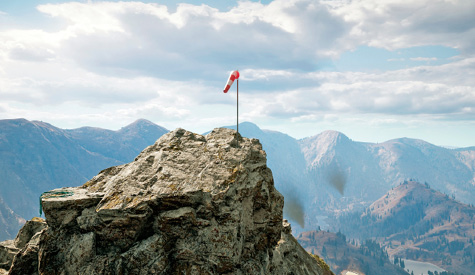
 Base Jumping: Purchase a Wing Suit (or your flying turns into more of a plummet), and then search out Base Jump locations across Hope County. Each official (marked) base jump has a wind-sock by it.
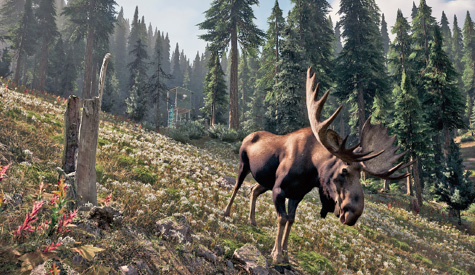
Hunting: You have a vast number of wild animals to hunt for sport, and the skins you can craft and sell. These are divided into animals and birds, and most (but not all) of an animal’s hunting grounds can be revealed by finding a magazine; there are 32 scattered across the county. However, there are hundreds of hunting locations to find. Check the World Map and Sub-Region maps for all of these.
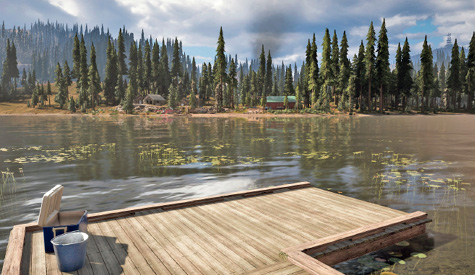
Fishing: Take a stroll or a boat down a river, or wade into a lake, and you may uncover a fishing spot. Clues to where fish are abundant are easily spotted; look for ripples in the water, and even fish jumping!
|
|
Hunting: American Black Bear |
|
|
Hunting: Bald Eagle |
|
|
Hunting: Bison |
|
|
Hunting: Caribou |
|
|
Hunting: Cougar |
|
|
Hunting: Duck |
|
|
Hunting: Elk |
|
|
Hunting: Grey Wolf |
|
|
Hunting: Grizzly Bear |
|
|
Hunting: Hare |
|
|
Hunting: Moose |
|
|
Hunting: Pronghorn |
|
|
Hunting: Ruffled Grouse |
|
|
Hunting: Turkey |
|
|
Hunting: Turkey Vulture |
|
|
Hunting: White Tailed Deer |
|
|
Hunting: Wild Boar |
|
|
Hunting: Wolverine |





Learn the ropes of fishing by speaking to Skylar Kohrs over in Whitetail Mountains. Note that any fishing location marked with an asterisk (*) indicates the fish are more difficult to catch here (and usually bigger).
|
|
Fishing: Largemouth Bass |
|
|
Fishing: Rock Bass |
|
|
Fishing: Smallmouth Bass |
|
|
Fishing: Arctic Grayling Salmon |
|
|
Fishing: Chinook Salmon |
|
|
Fishing: Kokanee Salmon |
|
|
Fishing: Paddlefish Sturgeon |
|
|
Fishing: Pallid Sturgeon |
|
|
Fishing: Bull Trout |
|
|
Fishing: Golden Trout |
|
|
Fishing: Lake Trout |
|
|
Fishing: Rainbow Trout |


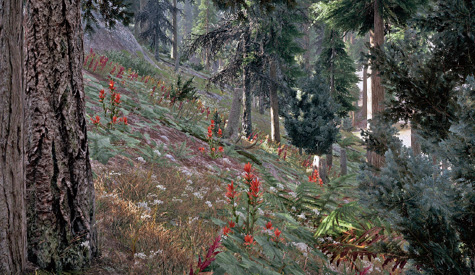
Plant Foraging: Need to add to your holistics? Then there’s a variety of wild plant life to pick. This atlas shows you the largest concentrations of these, but you can also find smaller crops or individual plants too (these are not tracked).
|
|
Plant: Blue Lupine |
|
|
Plant: Prairie Fire |
|
|
Plant: Jimson Weed |
|
|
Plant: Mustard |
|
|
Plant: Prickly Lettuce |


Elements of Interest: Legend
+RP: +Resistance Points: This location usually requires destruction or liberation, resulting in a boost to your RPs; useful if you’re attempting to overthrow the Seed family member in the region.
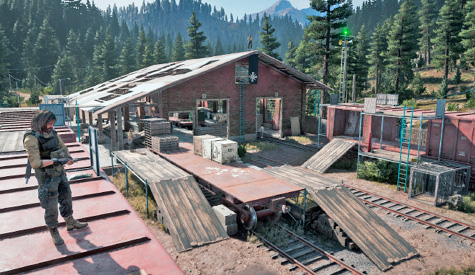
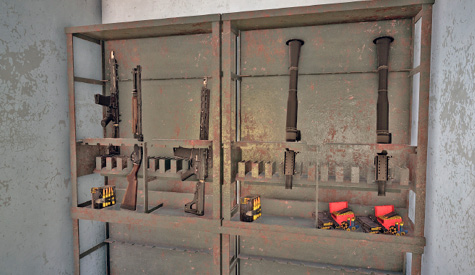
Ammo: (Few), (Plenty), (Haul!): There’s a small, medium, or large amount of weaponry (including melee weapons as well as ammunition) at this location.
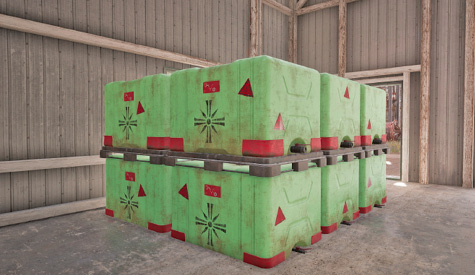
Barrels (Bliss): The enemy is storing one or more bliss barrels at this location. Expect Bliss effects and explosions if these are destroyed.
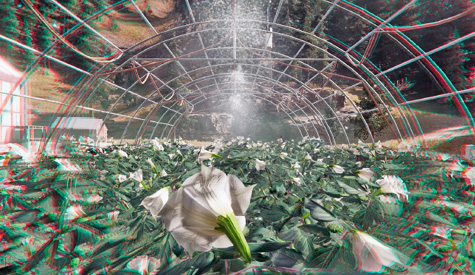
Bliss (Effect): This area may have fields, mist, or other Bliss-related effects that can cause hallucinations. This is more prevalent in the Henbane River region.

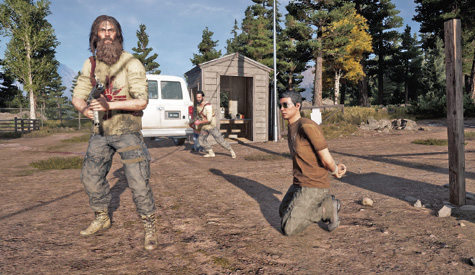
 Character of Note: This location has a named person of importance who almost always has one or more missions for you to undertake. Need to start a mission? Look for locations with these good folks.
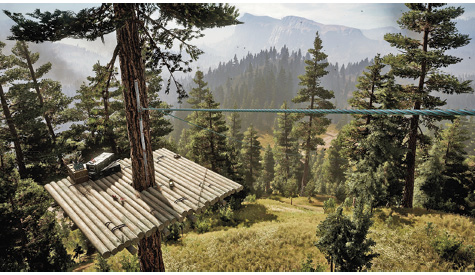
 Climbing Spots, Grapple Spots, Ziplines: If you’re wanting a workout, or a more cunning method of infiltrating an area, you can use Climbing Spots (ladders, stepped rock areas), Grapple Spots (the hooks you hoist yourself up at), or Ziplines (the blue rope lines allowing quick descents into or out of areas).
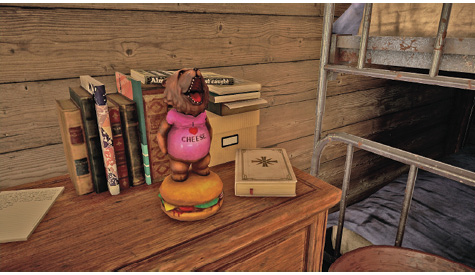
Collectible: This location has one of the six collectible items to find. These can be seen in the environment before or after you speak to the appropriate person and gather all collectibles for a particular mission. The collectibles are:
| Collectible | # | Character | Location | Mission |
|---|---|---|---|---|
|
|
10 |
Dave Fowler |
Fowler’s Retreat (Whitetail Mountains) |
|
|
|
12 |
Nadine Abercrombie |
Dodd Residence (Holland Valley) |
|
|
|
9 |
George Wilson |
Oberlin Picnic Area (Whitetail Mountains) |
|
|
|
12 |
Wendel Redler |
Redler Residence (Holland Valley) |
|
|
|
10 |
Wheaty |
Wolf’s Den (Whitetail Mountains) |
|
|
|
15 |
Sherri Woodhouse |
Can of Worms Fishing Store (Henbane River) |
 Cheeseburger Bobblehead
 Collectible Comic Book (Mars, Vietnam, Zombie)
 Cougars Collectible Baseball Cards
 Vietnam Lighters
 Vinyl Crates
 Whiskey Casks
 Enemy (Animal), (Cultist): Expect one or more dangerous animals, or well-armed cultists, to be at this location. Bring enough firepower to even the score.
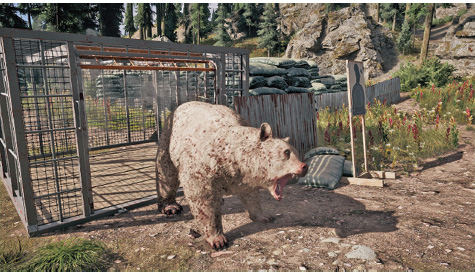
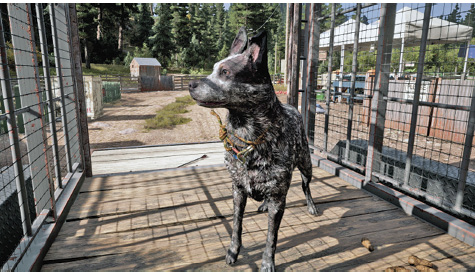
 Fangs for Hire: A trained animal is available at this location that you can add to your Roster. A dog named Boomer (Rae-Rae’s Pumpkin Farm in Holland Valley); a bear named Cheeseburger (Linero Building Supplies in Whitetail Mountain with the mission active); and a cougar named Peaches (near Peaches Taxidermy in Henbane River).

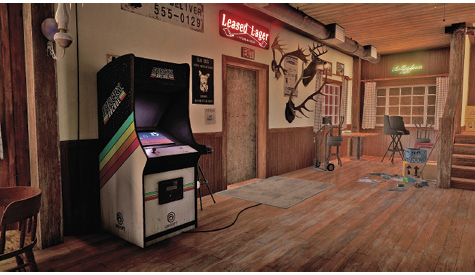
 Far Cry Arcade (Editor), (Poster): This location has access to the Far Cry Editor (if you interact with the arcade cabinet), or online activities (if you interact with the poster).
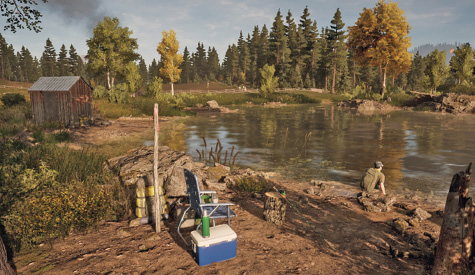
 Fishing Location: This location is by a body of water, and fish can be caught, though an actual fishing location where specific fish types are caught, is a better location to reach.
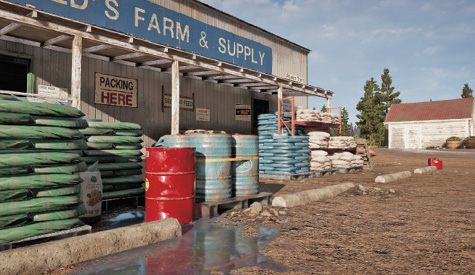
(Explosive); Barrels, Gas Canisters, Gas Canisters (Tube), Propane Tanks (Large), Propane Tanks (Small): If a location has any of these environmental hazards, expect them to explode, may noise, inflict damage on property and people, and possible start a fire. This is good for taking down foes, but bad if attempting stealth approaches, or if innocents are in the vicinity: React accordingly.
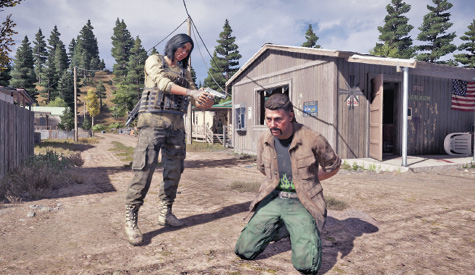
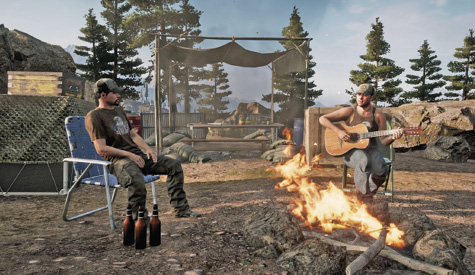
Gun for Hire: A member of the militia is usually at this location, and able to be hired to help you (usually after you liberate them, or the location itself).
|
|
Specialist: Adelaide |
|
|
Specialist: Boomer |
|
|
Specialist: Cheeseburger |
|
|
Specialist: Grace |
|
|
Specialist: Hurk |
|
|
Specialist: Jess |
|
|
Specialist: Nick |
|
|
Specialist: Peaches |
|
|
Specialist: Sharky |


 Hostage (Liberate): There is a possibility of an innocent civilian, or militia member, being held against their will at this location.
Item of Note (Documents), (Key), (Magazine: Perk), (Map): This location has an item to keep a look out for:
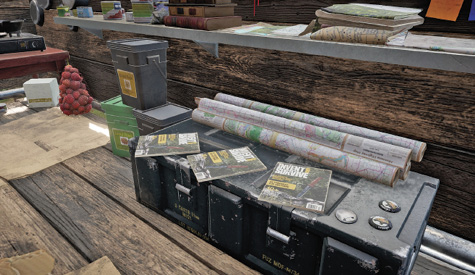
Documents: Paperwork, hints, or lore on pieces of paper, or recorded telephone messages, giving you a flavor of the ongoing horrors, and sometimes a hint at a location of a cult property or mission.
 Key: A gold key, or keycard, is available at this location, after which a locked door to items and equipment can be opened (if you don’t have the Locksmith perk).
 Magazine: Perk: A magazine that instantly grants you a Perk point is at this location. Note that every Prepper Stash has three of these. Grab them!
 Map: This location has a Sub-Region map of the area, revealing some (but not all) of the Primary Locations within the Sub-Region, on your in-game map. These are usually found at Cult Outpwsts. There are also two Clutch Nixon Stunt maps to find; each shows where all of these Side Missions begin. All the available maps are listed here:
| Region | Location | Map Available |
|---|---|---|
|
Dutch’s Island |
Map: Dutch’s Island Region |
|
|
Holland Valley |
Silver Lake Trailer Park |
Map: Gardenview Sub-Region |
|
Holland Valley |
Map: Copperhead Rail Yard Sub-Region |
|
|
Holland Valley |
US Auto |
Map: US Auto Sub-Region |
|
Holland Valley |
Green-Busch Fertilizer Co. |
Map: Green-Busch Fertilizer Co. Sub-Region |
|
Holland Valley |
Map: Sunrise Farm Sub-Region |
|
|
Holland Valley |
Lamb of God Church |
Map: Lamb of God Church Sub-Region |
|
Holland Valley |
Map: Seed Ranch Sub-Region |
|
|
Holland Valley |
Map: Kellett Cattle Co. Sub-Region |
|
|
Holland Valley |
Fall’s End |
Map: Clutch Nixon Stunts |
|
Whitetail Mountains |
Map: PIN-K0 Radar Station Sub-Region |
|
|
Whitetail Mountains |
Map: Whitetail Park Ranger Station Sub-Region |
|
|
Whitetail Mountains |
Map: F.A.N.G. Center Sub-Region |
|
|
Whitetail Mountains |
Baron Lumber Mill |
Map: Baron Lumber Mill Sub-Region |
|
Whitetail Mountains |
Map: Elk Jaw Lodge Sub-Region |
|
|
Henbane River |
Water Treatment Plant |
Map: Water Treatment Plant Sub-Region |
|
Henbane River |
Map: Drubman Marina Sub-Region |
|
|
Henbane River |
Map: Sacred Skies Youth Camp Sub-Region |
|
|
Henbane River |
Map: King’s Hot Springs Hotel Sub-Region |
|
|
Henbane River |
Moonflower Trailer Park |
Map: Clutch Nixon Stunts |
|
Henbane River |
Map: Whistling Beaver Brewery Sub-Region |
|
|
Henbane River |
Map: Lorna’s Truck Stop Sub-Region |
|
|
Henbane River |
Map: Nolan’s Fly Shop Sub-Region |
|
|
Henbane River |
Map: Jessop Conservatory Sub-Region |
(There is no map available for Joseph’s Region)
Item of Note (Magazine: Fishing, Hunting, Plants): If a location is showing one of these magazines is here, grab it! Each magazine is related to a specific type of animal you can hunt, fish you can catch, or plant you can pick: And locations to find them now appear on your World Map. Find all 32 magazines, and all foraging spots are found!
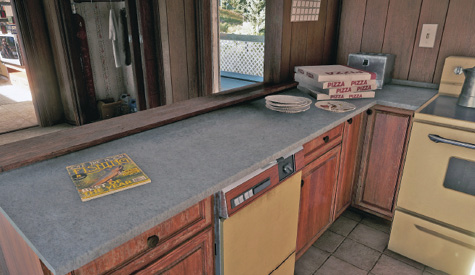
Items ($), (Few, Plenty, Haul!), (Safe): Like the Ammo note, this informs you whether the location as a small, medium, or large amount of medkits, crafting objects, or other none-weapon-based equipment to gather. “$” indicates a good amount of cash is available. “Safe” indicates a safe (unlocked using the Locksmith Perk) is at this location.
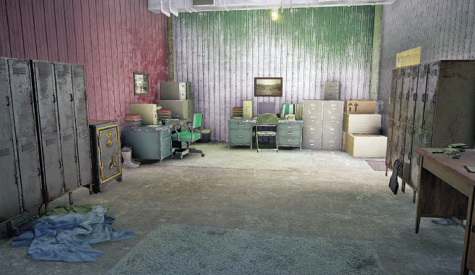
Landmark: This indicates whether the location is an imposing structure, or one you can see from a distance; useful if you’re navigating an unexplored area, or by air.
 Lock and (no) Key: This indicates if the area has a locked door, requiring either a key (always found at the same location), or a Locksmith Perk to open. Occasionally, locked doors are opened as part of a mission.
 Prepper Stash: This location has a clue to a Prepper Stash in the vicinity (usually, but not always at the location). There are 28 to find throughout Hope County.
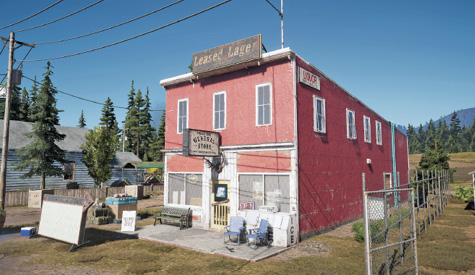
Shop (Boatshed), (Garage), (General), (Hangar), (Helicopter): If you’re wanting to sell or trade items for equipment or Boats, Cars, Planes, or Helicopters, then look for these icons or flags. Note that there are a number of wandering hunters that act as a General Shop; usually found at a Hunting location. These are not tracked on the guide map, but appear on your in-game map.
|
|
Boat Shop |
|
|
Car Shop |
|
|
General Shop |
|
|
Helicopter Shop |
|
|
Plane Shop |


Underground: The location in question has an underground component. These are usually bunkers, but extensive mining or tunnels are also found. Each Seed family member’s base also has a large-scale underground area to navigate (mission only).
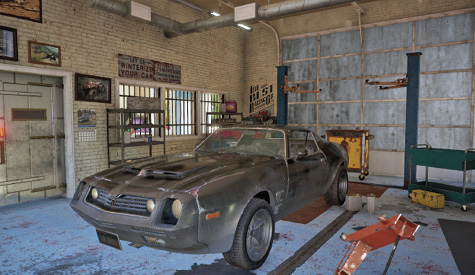
Vehicle (Boat), (Car/Truck), (Jetski), (Plane), (Tractor), (Trailer), (Quad): Expect a high possibility of one or more of the previously-listed vehicles to be at this location.
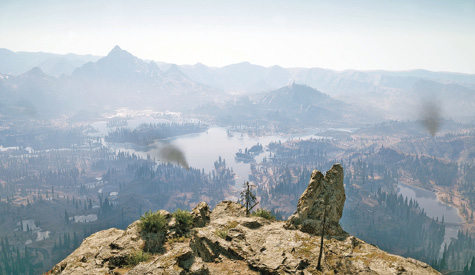
Vista: Stop a moment. Let out a few deep breaths. Look around at the majesty of the wilderness: This location is particularly breathtaking.


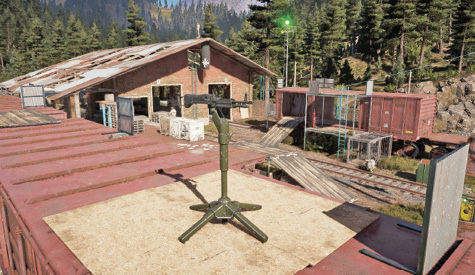
 Warning! (Alarm!), (Mortar!), (Mounted MG!): Cult defenses are active at this location; expect alarm poles (which cult members can activate to receive reinforcements at Cult Outposts); Mortars (causing havoc as projectiles drop on you over a wide area); or Mounted machine-gun nests (which can rake you with hard-hitting gunfire in seconds). Note you can destroy alarms, or commandeer mortars or nests to even the score!