
Far Cry 5 Guide Jacob’s Region: Whitetail Mountains
Story Mission: Eviction Notice
- Prerequisites: Complete Story Mission: Radio Silence
- Rewards: 900 Resistance Points (Whitetail Mountains)
- Details: Go to Eden’s Gate training grounds at Stone Ridge Chalet and eliminate the chosen there before blowing it up.
MISSION Commencement
Return to Wolf’s Den, and locate Tammy after she’s finished with her prisoner. She needs you to hike over to the Stone Ridge Chalet and remove two recently trained cultists known as “Chosen.” Other enemy casualties are optional. Then you need to place two explosive devices (automatically provided) and get out of there.
REACH the Stone Ridge Chalet
KILL the Chosen (2)
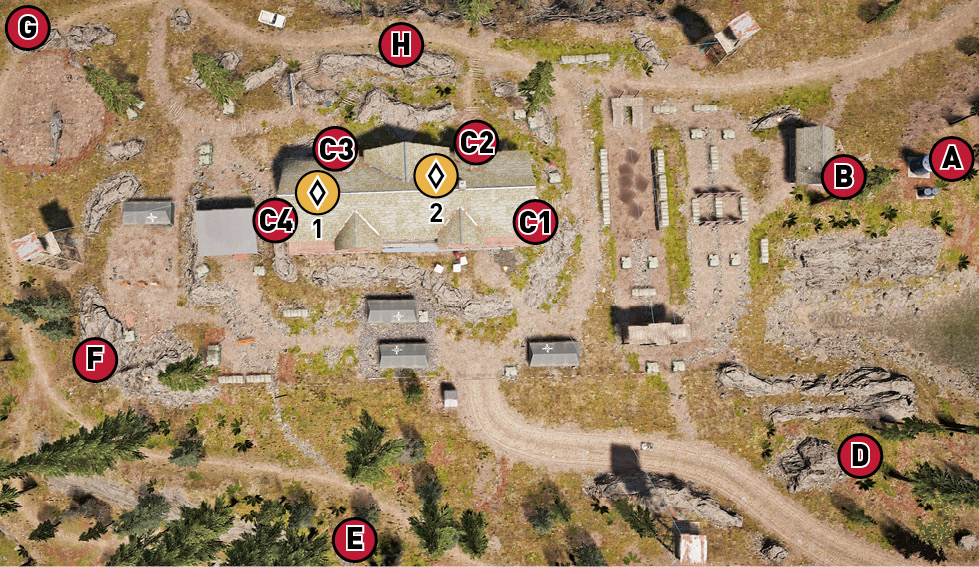
The Stone Ridge Chalet is the main base on a cult-occupied hillside, but it isn’t the only cult location here; therefore, it’s critical that you make a clandestine approach to the compound, so you can take advantage of silent killing (as this is the optimal path to success). If you don’t care about noise and proficient takedowns, simply employ one of the “Other Paths” instead.
As you arrive, it is imperative you scan the area with your binoculars. The safest place is approaching from the east and crouching at cover locations  or
or  . The majority of the foes are in the training yard between
  and
and  . Don’t overlook the sniper in the tower between
  and
and  . Note the second sniper in the tower along the western perimeter between
  and
and  . There’s a third tower northwest of
  , but it usually has no enemy.
The chalet building has four main entrances ( -
- ) and large ground-floor windows you can hop through. To the south are some tents and a low-traffic area. To the west are two more tents and a helicopter landing area around scattered rocks. Expect a few foes here as well, but enemies will move to where the action is.
Note that the two locations inside the chalet ( 1, 2) are explosive placements. Your in-game indicator easily shows where you should place the charges as part of a future objective.
There are 18 enemies on the ground, including the two snipers. The rest are the usual cultists, as well as two Chosen (with the red balaclavas) and a heavy (who starts inside the chalet). The two Chosen (priority targets) are not shown on the map, as they move dependent on your actions. They begin inside the chalet.
OPTIMAL Path
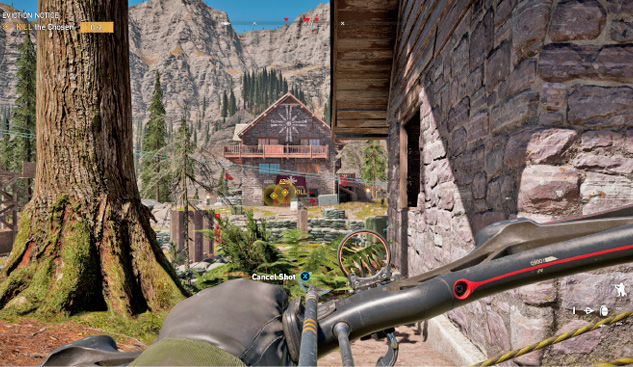
This path allows you to enter the chalet without having the enemy specifically pinpoint you, though they will hear sounds and investigate. This means quick and proficient actions, almost constant creeping, and use of silenced weaponry.
Approach from the dirt road to the northeast and drop behind the large blue water tanks  . Scan the area with your binoculars, so pretty much every enemy is tagged (save for the sniper at the western tower). Remove the closer sniper to the south of you, in the tower between
  and
and  . The enemy is now suspicious, but doesn’t see you.
Now spend the next five minutes patiently lining up enemies between the water tanks  and the stone hut
  . Remain crouched, line up headshots behind this cover, and gradually whittle the enemies down. Foes may head forward to investigate; hide along the grass slope north and near
  , creeping back and dealing with closest enemies first. Spend the next few minutes thinning out the enemy.
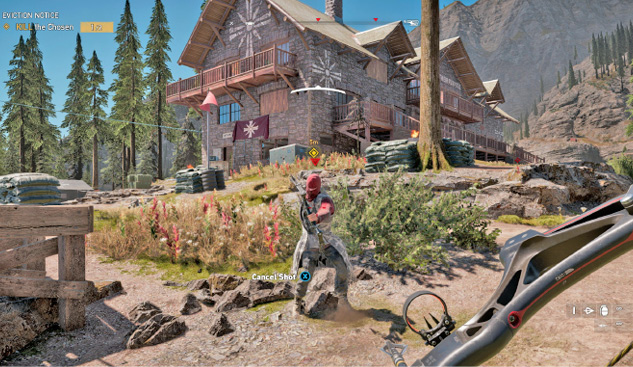
When there are six foes left (including a heavy and the two Chosen), and there are no foes inside the stone hut  , move inside the hut and begin to carefully tag the helmet of the heavy until he drops. You can reveal yourself and charge in with guns blazing and lobbing projectiles. But it’s still safer to remain in cover. Only when the two Chosen remain (and the lone sniper in the western watchtower) should you reveal yourself and slay them. You can now move quickly along the chalet’s southern exterior wall. Shoot the remaining sniper, and enter the chalet with no more foes to worry about (until the next objective).
OTHER Paths
Variations on this previous takedown theme are all possible, though the other locations are more dangerous. You could drop a sniper in the southeast tower, between  and
and  and climb up here to lay waste to the foes, using the zip line if you’re overwhelmed. You can do this at the other two sniper towers as well.
The woods to the south don’t have quite the elevation you need to tackle foes at long range, so retreat to this area. You could attack from the rock outcrop near the west sniper tower  .
.
The compound’s western side,  to
to  , features low rocks and a helicopter. The latter is a possible method of massacring foes from height, but remaining here and attacking isn’t wise as it’s an uphill struggle. You can sneak to the northwest corner of the chalet between
  and
and  and creep under the deck, though; this is a good hiding spot.
The compound’s northern edge  is too narrow to be a flexible infiltration point, though the rocks make good cover in a pinch.
Or, you could parachute in and land on the chalet roof, drop down to a balcony, and infiltrate inside, before launching a firefight.
PLANT IED on the Second Floor
PLANT IED in the Basement
The second part of this mission requires you to place an IED at two locations. The first is a basement office (1), on a post.
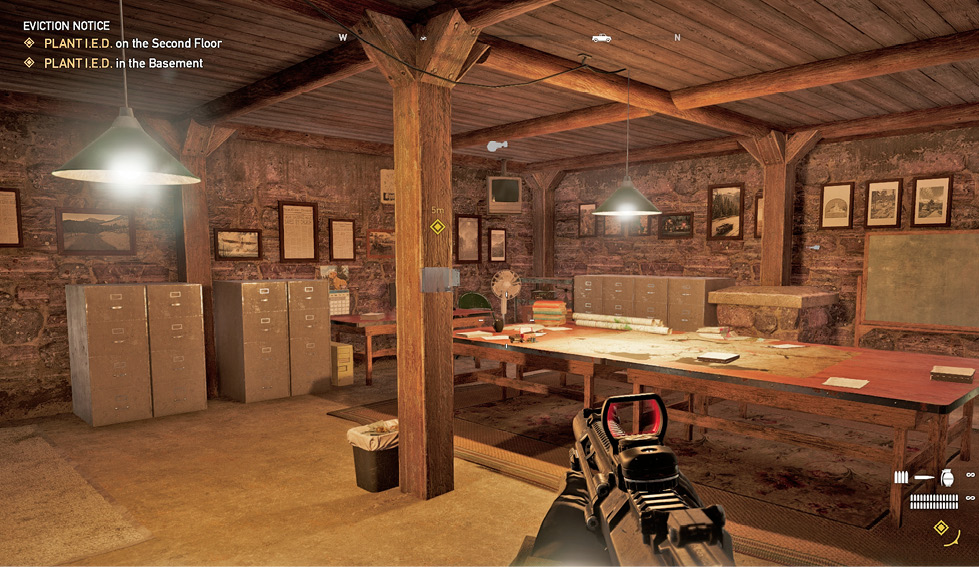
The other location is a second-floor dormitory room 202 (2), easily accessed from the interior great hall stairs.
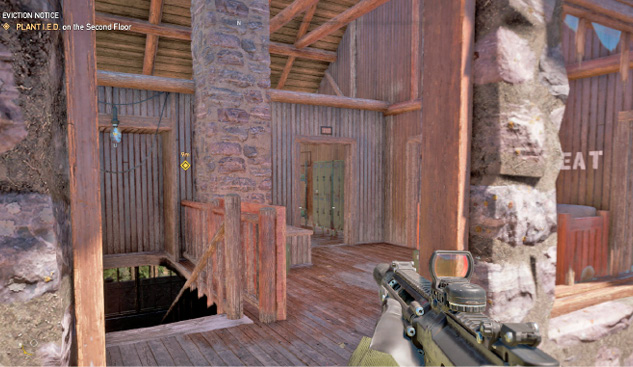
With optimal planning, you should be placing charges with no enemies around. However, the order of placement is important. A timer to detonation starts the moment you plant the second charge. As you can plant charges in any order, head to the basement office first, as it’s more difficult to flee the chalet from this room.
ESCAPE the Chalet (00:14)
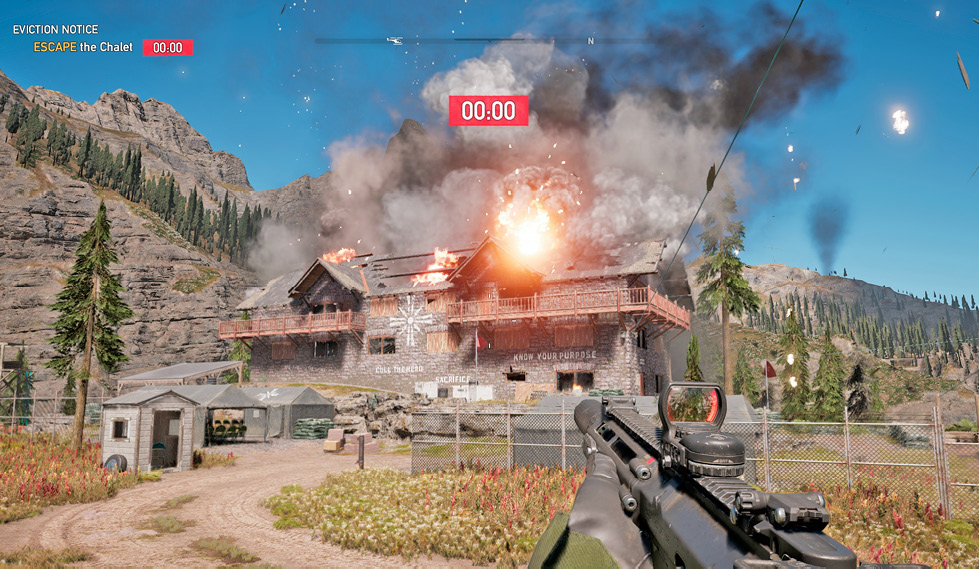
In addition, after placing one of the two charges, expect a couple of cult helicopters to appear. Head up from the basement office, step onto the south balcony (second floor), and tag the pilots from there. With no further threats, set the second charge, flee out and over the balcony, and head to the perimeter of the compound within 14 seconds of the second placement. Then watch the cult’s world burn.