Prima Games eGuides
primagames.com Browse Redeem a code Help
Just Cause 3 eGuide
Sign in My Guides

Sign in or create an account

We'll email you a link. No password needed, and if you don't have an account yet, the link makes one.

By creating an account or signing in, you agree to our Terms of Service and Privacy Policy.

Have a password?

Had an account on the old eGuides site, or a code from a printed guide? Help and troubleshooting

Sign in with a password

By signing in, you agree to our Terms of Service and Privacy Policy.

Check your email

A sign-in link is on its way. It works once and expires in 15 minutes. Open it and you're in, with an account if you didn't already have one.

Contents

  • Homecoming
    • Introduction
  • Characters
    • Our Story
  • Basics
    • HUD
    • Menus
    • Movement
    • Combat
    • The Enemy
    • Advancing the Story
    • Leaderboard
    • Collectibles
    • Rebel Drops
    • Challenges
  • Weapons
    • Two-Handed Weapons
    • Dual-Wield Weapons
    • Special Weapons
  • Vehicles
    • Motorcycles
    • Off-Road
    • Vintage Cars
    • Modern Cars
    • Sports Cars
    • Utility Vehicles
    • Military Cars
    • Tanks
    • Sea Vehicles
    • Helicopters
    • Planes
  • Enemies
    • The Militia of Medici
  • Story Missions
    • Introduction
    • Welcome Home
    • Time for an Upgrade
    • Mario's Rebel Drops
    • A Terrible Reaction
    • Friends Like These
    • Conflicting Interests
    • The Secret of Vis Electra
    • Turncoat
    • Missile Cowboy
    • Of Cows and Wine
    • Connect the Dots
    • An Act of Piracy
    • Threes Company
    • A Long and Dangerous Road
    • Abandon Ship
    • Electromagnetic Pulse
    • Tangled up In Blue
    • Rico and the Rose
    • Derailed Extraction
    • The Great Escape
    • Bavarium on a Plane
    • The Watcher on the Wall
    • Bavarium Blackout
    • The Shatterer of Worlds
    • Son of Medici
  • Liberation
    • Overview
    • Settlement Progress Tracking
    • Liberation Challenges
    • Liberation Settlements (By Region)
    • Insula Dracon
      • Province: Capite Est
        • Espia Alta
        • Guardia Capite III
        • Vico Spigola
        • Vico Thunno
        • Vinialetta
      • Province: Capite West
        • Arco Sperantia
        • Guardia Capite I
        • Guardia Capite II
        • Platteforma Capite I
        • Porto Cavo
      • Province: Cauda
        • Grotta Contrabandero
      • Province: Corda Dracon
        • Corda Dracon: Centcom
      • Province: Massos
        • Cinta
        • Guardia Massos I
        • Guardia Massos II
        • Guardia Massos III
        • Guardia Massos IV
        • Guardia Massos V
        • Soliana
      • Province: Petra
        • Espia Bassa
        • Olivo Moro
        • Platteforma Petra I
        • Puncta Sud
        • Vico Tructa
      • Province: Trio
        • Guardia Trio I
        • Platteforma Trio I
        • Ponera
        • Porto Darsena
        • Vico Gamba
        • Vico Marquerello
        • Vico Platessa
    • Insula Fonte
      • Province: Aspera
        • Cima Leon: Centcom
      • Province: Baia
        • Guardia Alpha
        • Manaea
        • Vis Electra
      • Province: Feno
        • Albeto Pero
        • Babica
        • Cima Leon: Transmitter
        • Guardia Feno I
        • Guardia Feno II
      • Province: Lacos
        • Alba
        • Cima Leon: Silo
        • Colle Salrosa
        • Fortalessa
        • Guardia Lacos I
        • Guardia Lacos II
      • Province: Lavanda
        • Guardia Lavanda I
        • Lantuina
        • Porto Le Gratia
        • Rondella
      • Province: Plagia
        • Guardia Plagia I
        • Guardia Plagia II
        • Surpicco
        • Vigilator Nord
      • Province: Sirocco Nord
        • Costa Del Porto
        • Costa Di Ravello
        • Guardia Sirocco II
        • Guardia Sirocco III
        • Le Tutor
        • Porto Vena
      • Province: Sirocco Sud
        • Cirilla
        • Guardia Sirocco I
        • Laguna Del Sol
        • Le Galera
        • Vigilator Sud
      • Province: Soros
        • Cava de Rebelles
    • Insula Striate
      • Province: Costa Sud
        • Griphon
        • Guardia Costa Sud I
        • Guardia Costa Sud II
        • Perla Est
        • Platteforma Costa Sud I
      • Province: Falco
        • Falco Maxime: Centcom
      • Province: Grande Pastura
        • Alte Potentia
        • Guardia Grande Pastura I
        • Guardia Grande Pastura II
        • Guardia Grande Pastura III
        • Platteforma Grande Pastura I
      • Province: Libeccio
        • Burgoletto
        • Celata
        • Guardia Libeccio I
        • Guardia Libeccio II
        • Nacre
        • Vista Dracon
      • Province: Litore Torto
        • Guardia Litore Torto I
        • Guardia Litore Torto II
        • Guardia Litore Torto III
        • Platteforma Litore Torto I
        • Platteforma Litore Torto II
      • Province: Maestrale
        • Guardia Maestrale I
        • Platteforma Maestrale I
        • Porto Tridente
        • Vulture Air Base
      • Province: Montana
        • Cava Montana
        • Guardia Montana I
        • Guardia Montana II
      • Province: Prima
        • Argo
        • Argo Nove
        • Bellevia
        • Vista Fonte
      • Province: Prospere
        • Cava Grande
        • Cava Grande Secunde
        • Guardia Prospere I
        • Guardia Prospere II
        • Guardia Prospere III
        • Guardia Prospere IV
      • Province: Regino
        • Citate Di Ravello
      • Province: Rocca Blau
        • Cava Geminos Est
        • Cava Geminos Nord
        • Cava Geminos Sud
        • Guardia Rocca Blau I
      • Province: Umbra
        • Refugio Umbra
      • Province: Val De Mar
        • Guardia Val De Mar I
        • Guardia Val De Mar II
        • Guardia Val De Mar III
        • Guardia Val De Mar IV
        • Guardia Val De Mar V
        • Porto Coclea
  • Challenges
    • Overview
    • Wingsuit
    • Racing
    • Scrapyard Scramble
    • Crash Bomb
    • Shooting Gallery
    • Destruction Frenzy
    • Challenges World Map
  • Collectibles
    • Collectible Types
    • Ancient Tombs
      • How to Find
      • Insula Striate
    • Daredevil Jumps
      • Insula Dracon
      • Insula Fonte
      • Insula Striate
    • Di Ravello Tapes
      • About Tapes
      • Insula Dracon
      • Insula Fonte
      • Insula Striate
    • Rebel Shrines
      • About Shrines
      • Insula Dracon
      • Insula Fonte
      • Insula Striate
    • Vintage Parts
      • About Vintage Parts
      • Insula Dracon
      • Insula Fonte
      • Insula Striate
  • Achievement & Trophy Listing
    • Achievement & Trophy Listing

Just Cause 3 Guide › Story Missions

Tangled up In Blue

Mission Reward: Unlock Thunderbird EMP FOW

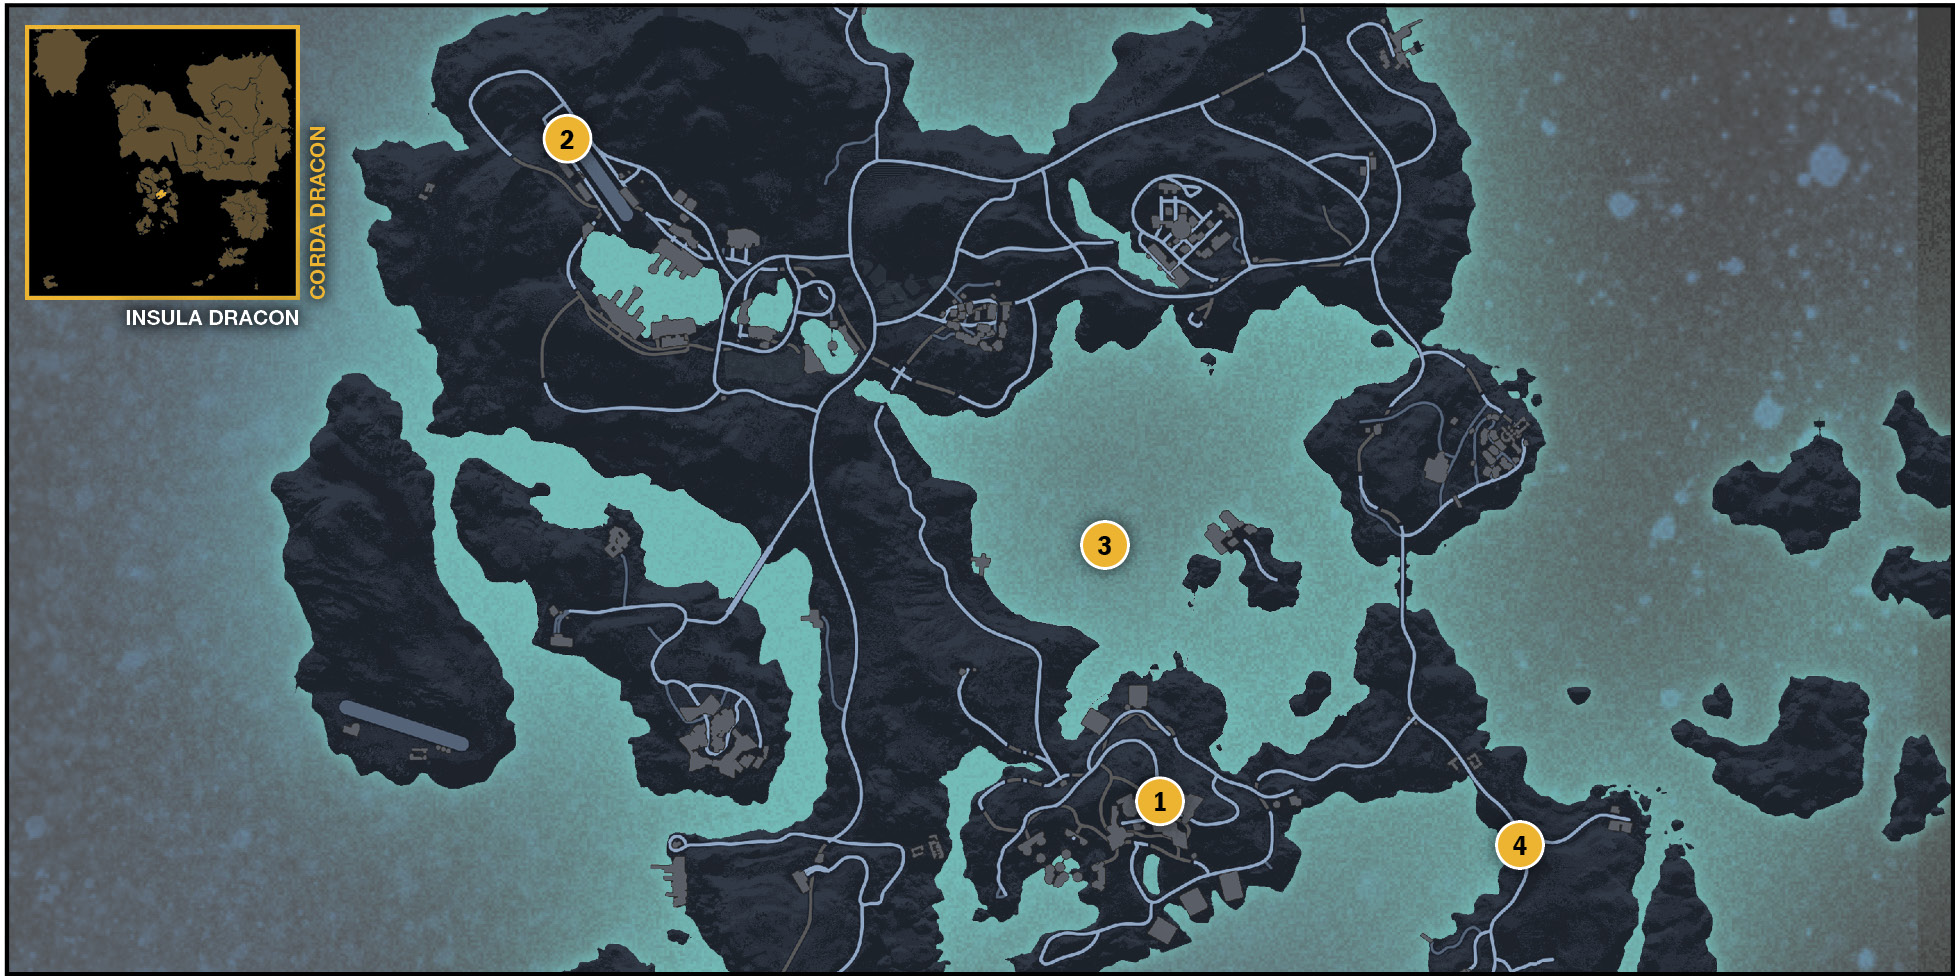
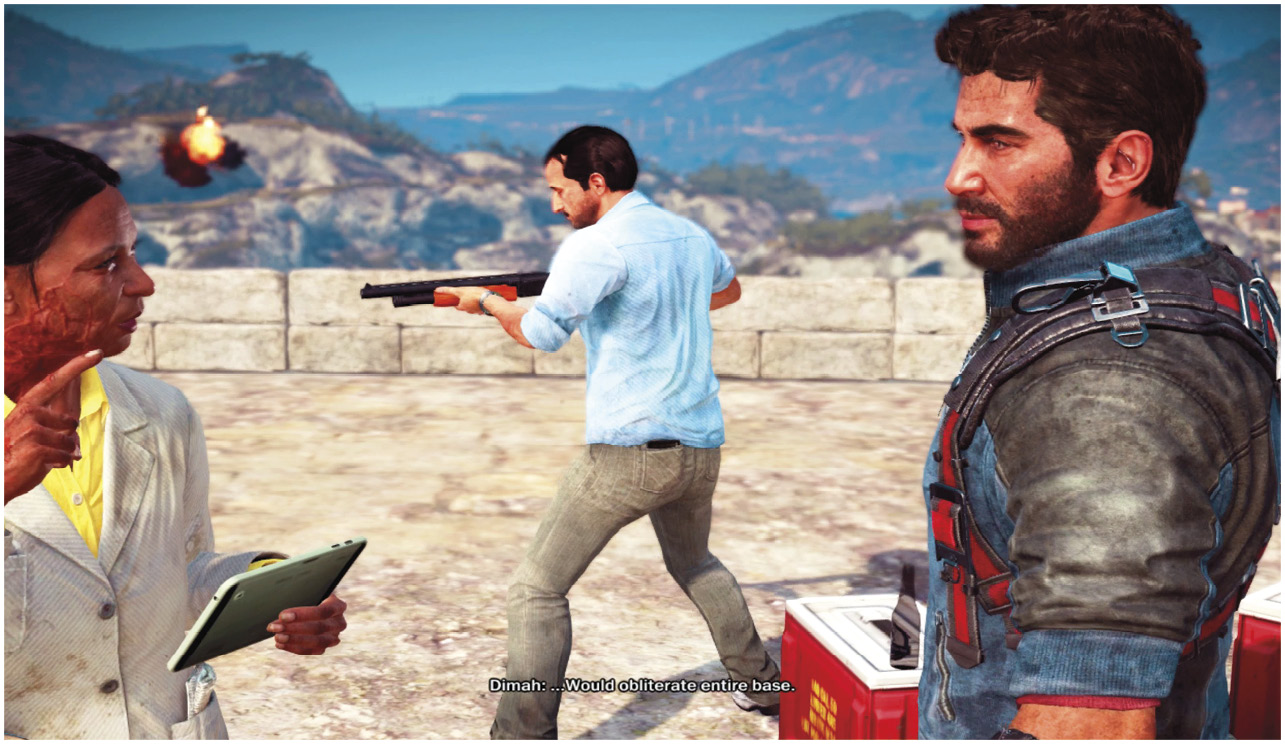
The main assault on this region’s command center is imminent. Go immediately over to Dimah’s location and talk to her. You won’t lose any momentum, and it’s a short trip. She’s by Corda Dracon, less than 1km away.

Beginning Tangled Up In Blue starts another battle scenario. The rebels and the militia are now engaged in a bitter struggle for survival. You can turn this tide by engaging and eliminating enemy troops throughout the province.

Look to the northwest, at the first marked battle site. That’s your goal right now.
Help the Rebel Aircraft Take Off

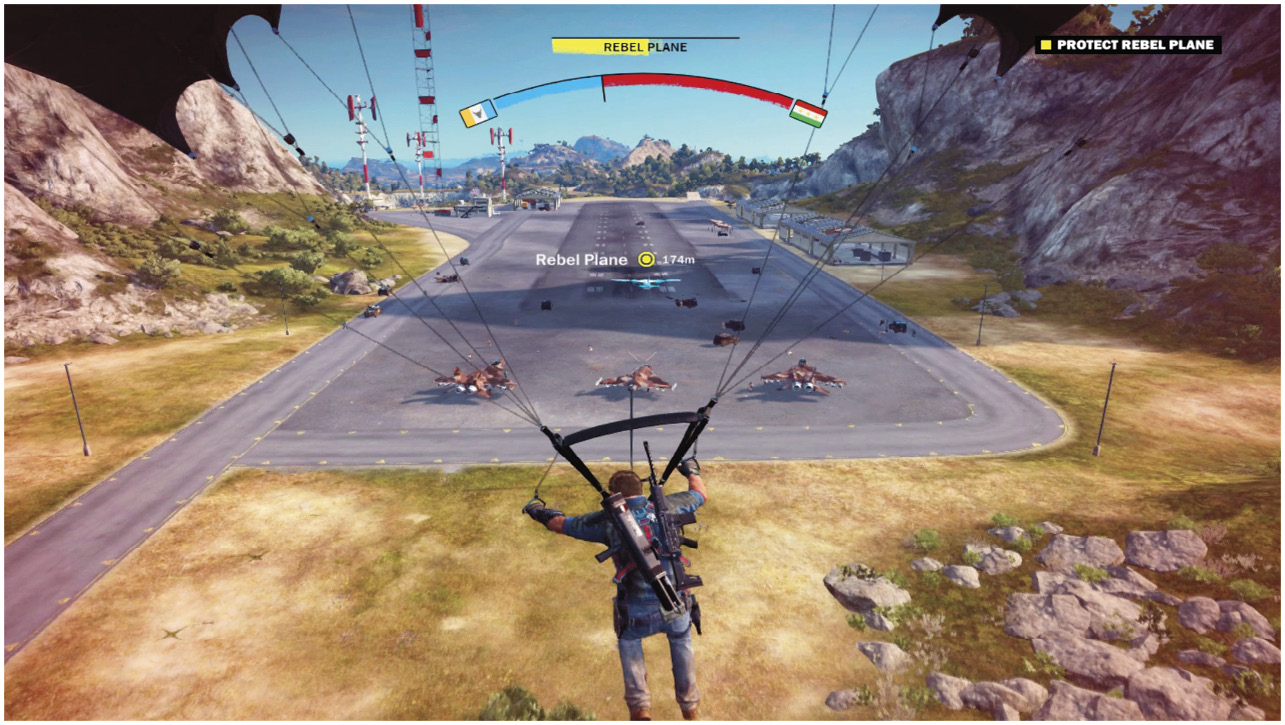
It’s a few kilometers to the airstrip where you can do the most good. Fly over there as soon as possible, and help a rebel plane take off without getting destroyed. Shoot the soldiers trying to seize the airstrip, and wait for your buddies to leave. As soon as it does, the objective changes and you’re asked to go to the next site.
Deliver a Rebel Boat

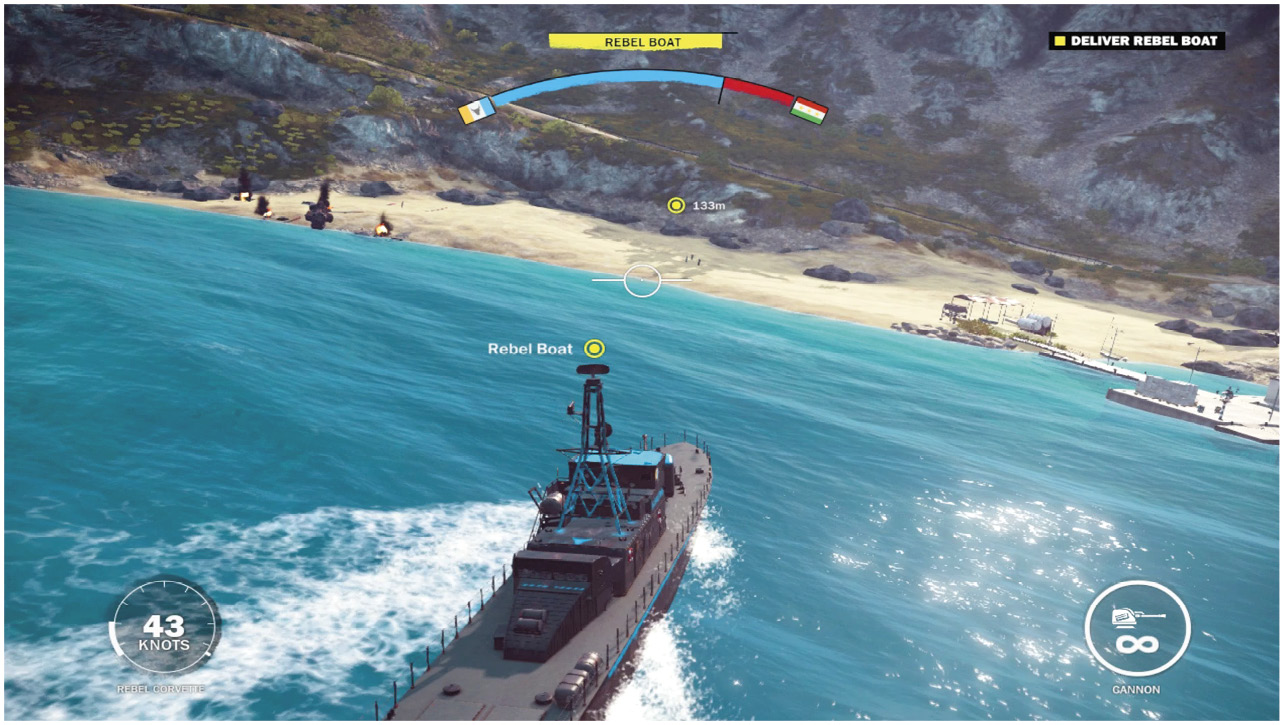
Commandeer one of the fighter jets at the airport, and then fly that to your next objective. The target is a rebel boat, out on the water already. Destroy any aircraft or boat as you approach your destination, and then take charge of the marked craft when you arrive.

Pilot that ship over to the beach and leave it there.
Bring Down a Militia Base

There’s one more battlefield to the east. The objective marker takes you to a small boat outside of a water gate. When Dimah gets the gate open, take the boat inside, then dock it and look for a cooling generator at the back of the first room. Shoot that until it blows up.

Search for a tunnel back in the water, then swim through it. You can’t make the entire swim in one go, so watch for a pocket of air just as you’re beginning to drown. Rest there for a second and then finish your swim.
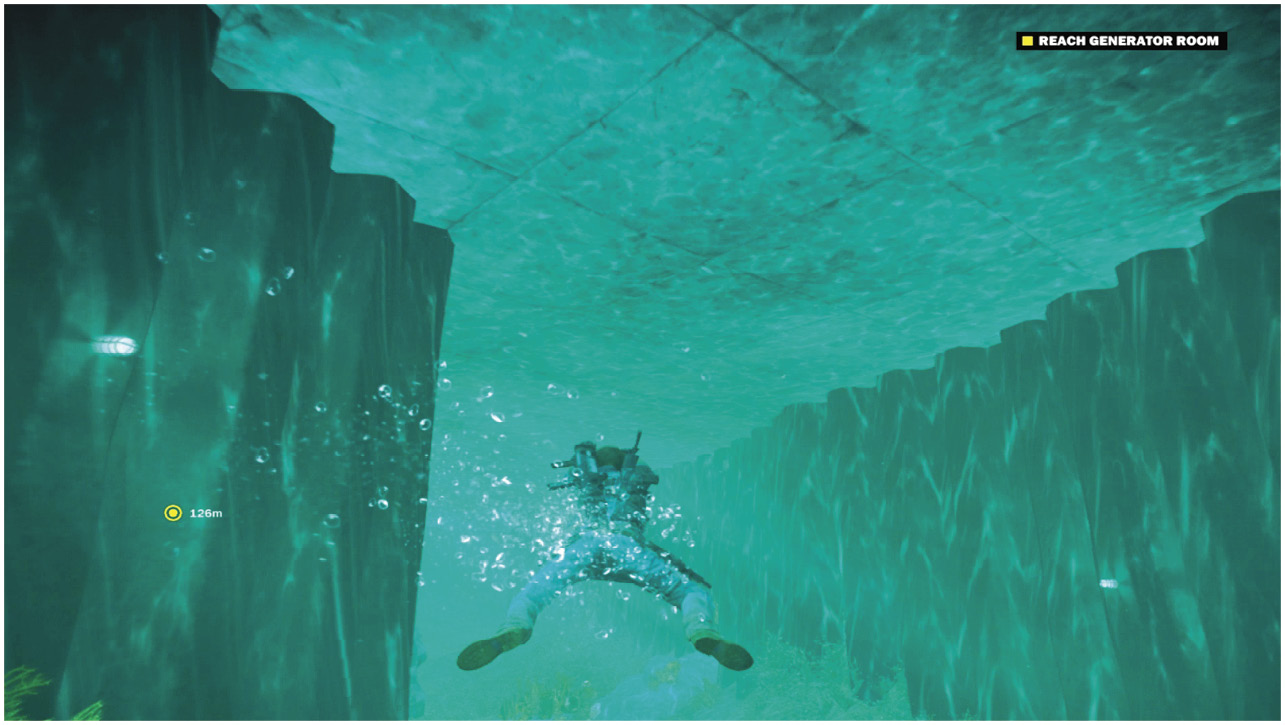
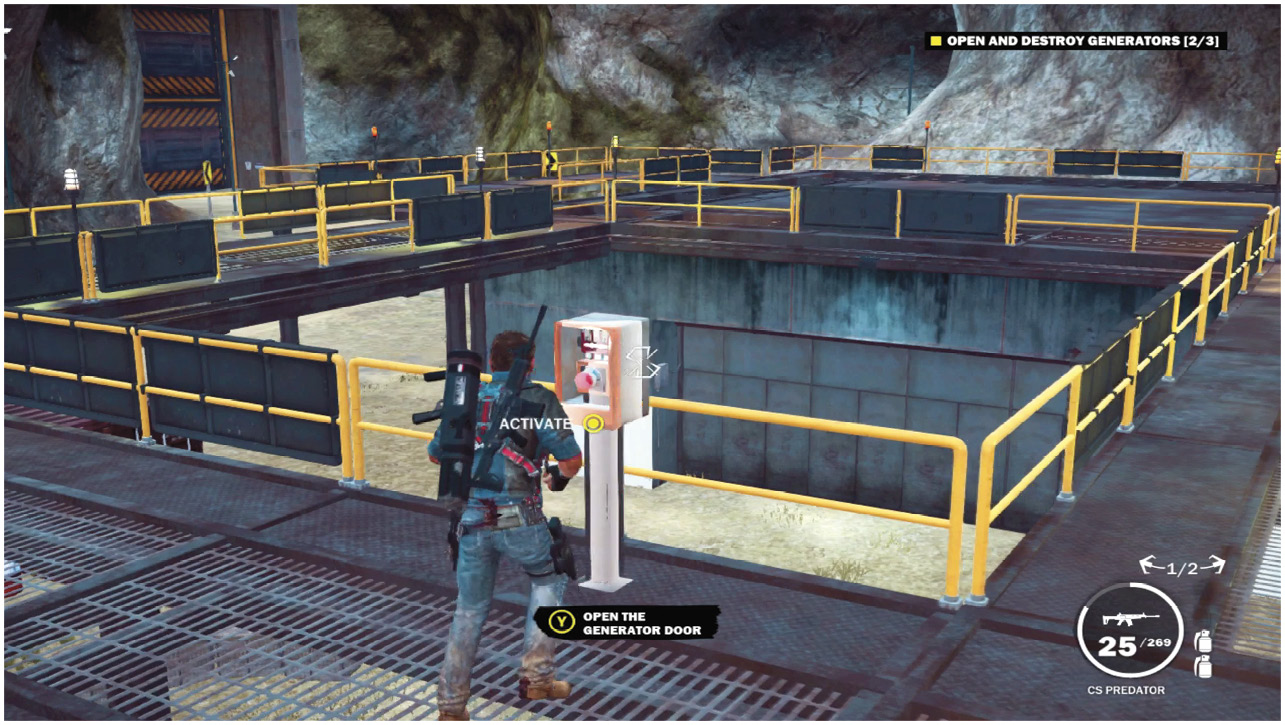
Grapple out of the water and open the heavy door into the generator room. There’s a post with a bright, red button that you have to press to get inside. Shoot the generator and kill any soldiers that investigate.

Look up to find the other two generators. They’re on higher levels inside the room. Grapple up to them and repeat this process (expose the generator and blow it up).

Evacuate the cave quickly after the third generator goes down. Things are going to explode soon, and you probably enjoy having all of your bits intact. Look for a tunnel at the top of the chamber, then grapple up through it to escape.

And with that, you’ve won again. The base is destroyed, and another bastion of Di Ravello’s power has fallen! You’ve earned some relaxation time. Go for a swim or do some fishing.
Keep reading with a free account

The first 3 sections of Just Cause 3 are open to everyone. An account opens the rest of it, and every other guide in the archive. It's free, and there's nothing to buy.

Bought guides on the old Prima Games site? Your account and every guide you own moved here, so there's nothing to buy again. Sign in.

Create a free account Or browse our free guides

PreviousElectromagnetic Pulse NextRico and the Rose