
Advancing the Story
With so much to do in Just Cause 3, you might be wondering how the story advances. How do you actually retake Medici from General Di Ravello? Let’s talk about that!
There are two major ways in which you conquer the island: Story missions and Liberations. Accomplishing challenges and grabbing collectible items can help you in this process because they have their own rewards, but neither of those is an essential part of the main story.
Story Missions
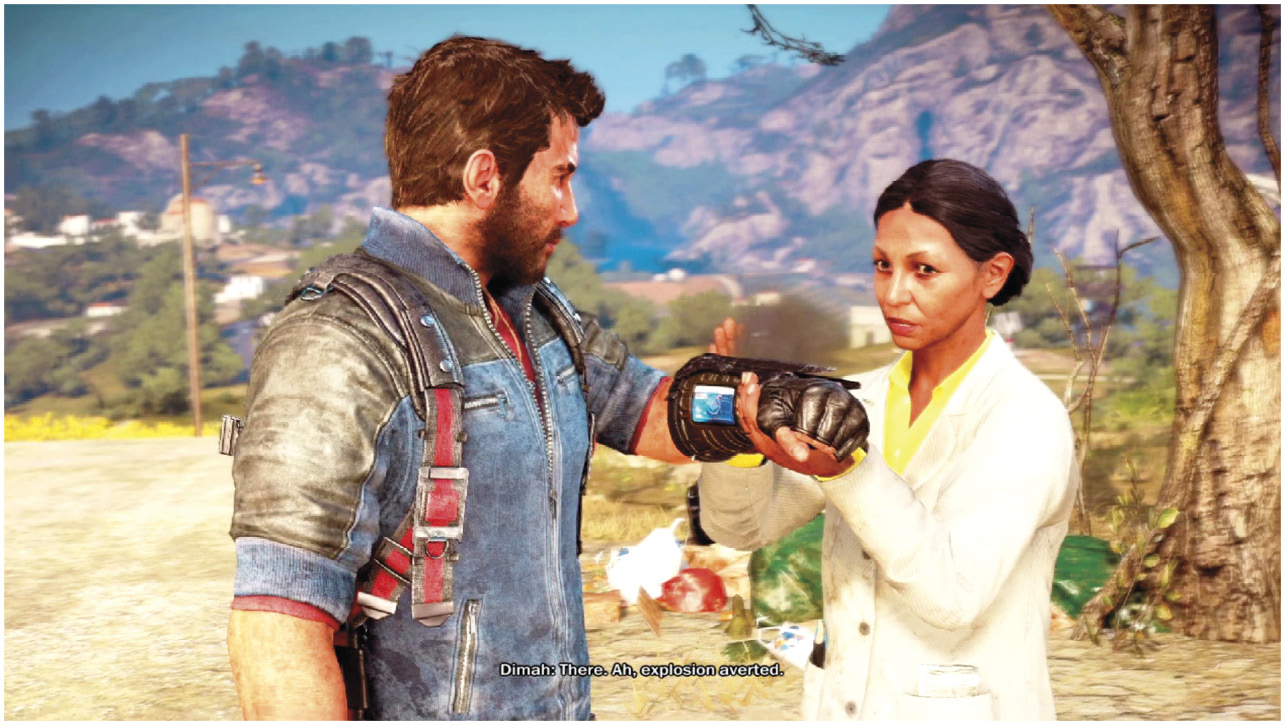
Look for a bull’s head icon on your map. That’s the sign that there’s a story mission available to you. If the icon is gray, you might need to do some preliminary work before starting the mission; your in-game map displays any requirements before you even need to take a step, so always look ahead of time to see what’s going on.
Once a Story mission is fully ready to go, it shows up in yellow. Then all you need to do is to travel there and interact with the objective marker to begin. There’s always an introductory movie, setting the stage for your action, and then you’re placed into the mission itself.
Objectives appear in the upper-right corner of the screen when you’re playing a Story mission. These identify your main goal at all times. Yellow objective markers then help you locate the targets involved in those actions (whether they’re locations, enemy targets, or allies that you need to reach/assist).

There’s a fair amount of variety in the Story missions, so you won’t have a one size fits all approach to them. Always resupply before starting your missions, and bring your favorite weapons along.
Feel free to read ahead in the Story mission walkthrough to see what type of fighting is coming up. This lets you know which weapons to request from a Rebel Drop so that you’re armed to the teeth. Close quarters fighting ahead? Get fast, high damage weapons. For long-range, go for accuracy. Tons of vehicles? Okay, make sure your explosives are at their best. You get the idea. Also request the appropriate vehicles and gear for each mission to start with everything you need.
Although you can lose during a Story mission, it’s impossible to permanently fail one of them. You always get to retry each section until you succeed. Afterward, you’re let loose on the island again and can run around doing whatever you want until starting the next Story mission. You’re never forced to run these one after the other, nor are you ever locked into a specific area. That’s nice, because it allows you to take breaks from the story whenever you want.
The one thing that stops you from advancing is a need for more territory; that’s a prerequisite for a number of missions. As such, we can’t talk about advancing the story without also looking heavily into…
Liberations!
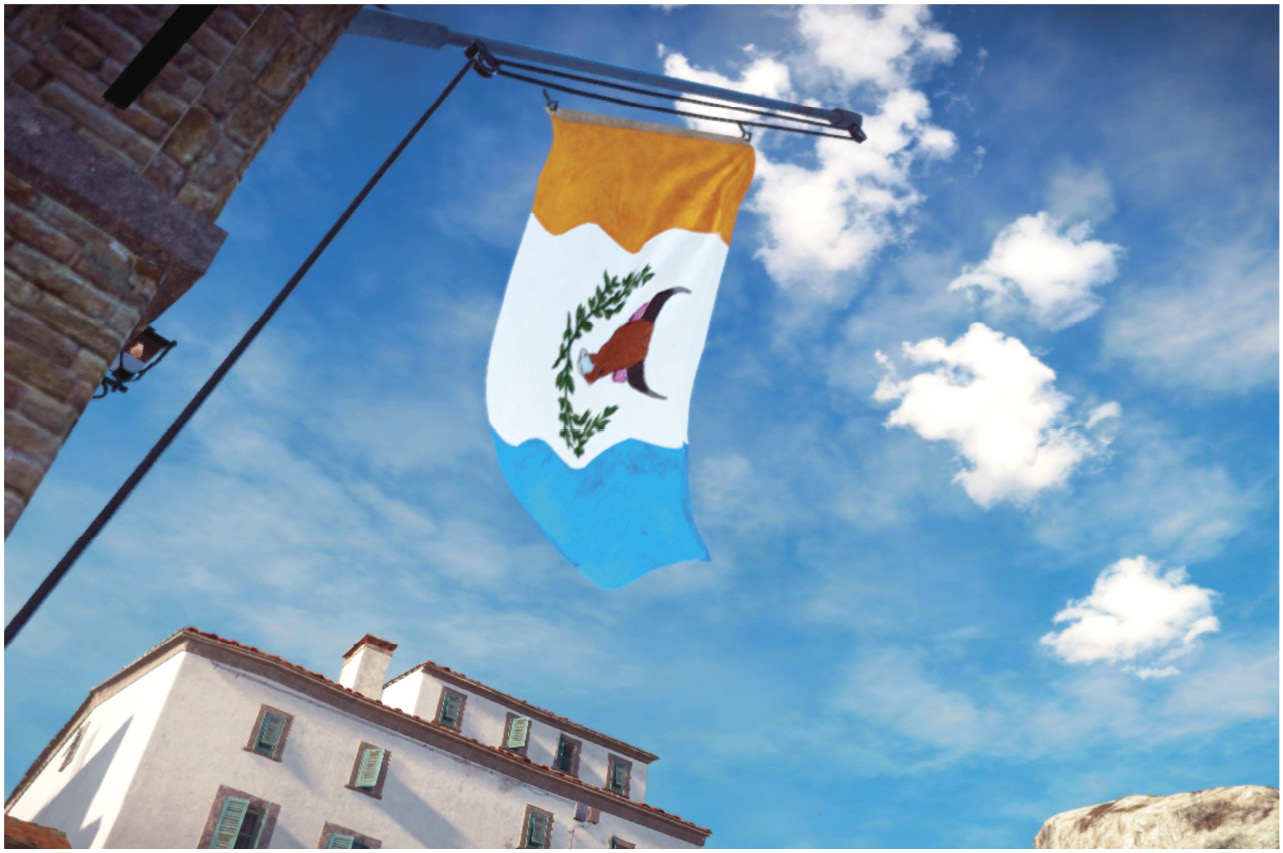
Liberations are the fuel that drives your Story missions. That’s why we talk about them together, even though they are very different activities. Liberations let you free occupied areas from militia control. It’s all about finding critical infrastructure and destroying it so that the military loses control of the area.
Story missions are done in a fairly specific order, as you see the characters develop and work toward their goals. Liberations are different because they can start at any time. Walk into a place that’s under enemy control and begin destroying everything that’s theirs. Lo and behold, you’ll soon liberate the area.
Liberations have many rewards. You reduce Di Ravello’s control over Medici, unlock Challenges, get easier access to collectible items (because the military isn’t shooting at you every moment you explore), and gain access to future Story missions.
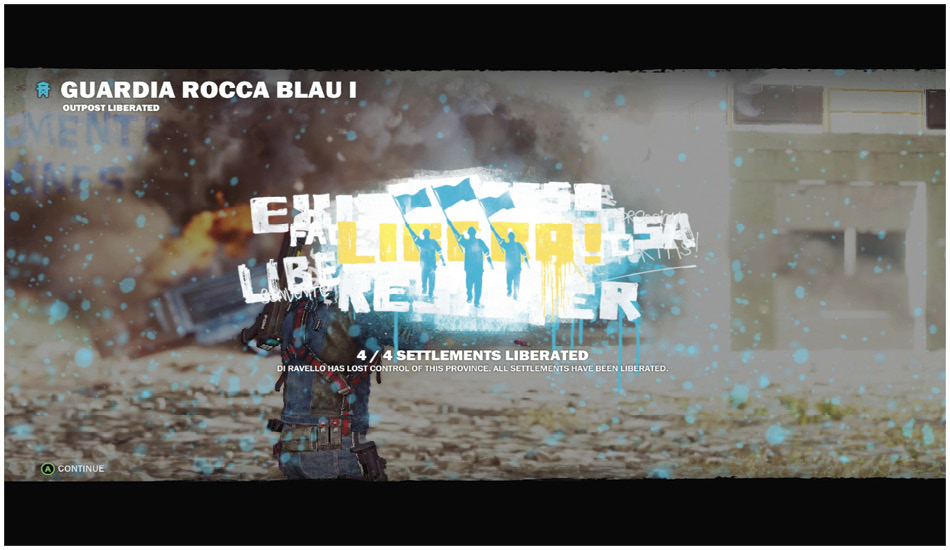
Besides all of that, Liberations are also incredibly fun! You’re getting rewarded for fighting, blowing up everything you can, and the people still love you for doing it!
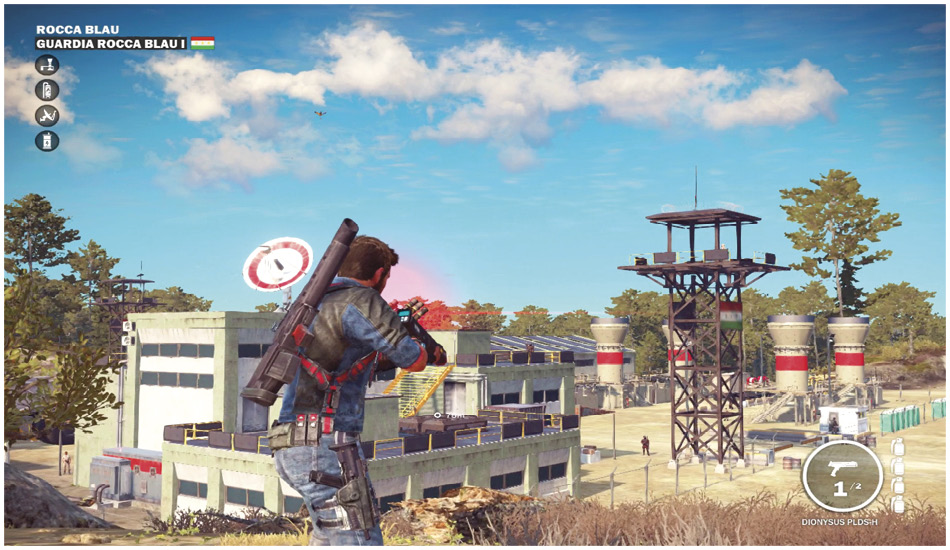
The mechanics of Liberations are somewhat involved. Look in the upper-left corner of the screen when you enter a new area. If the settlement is occupied, a number of icons pop up. These let you know what you need to complete to secure the settlement.
Pause the game and highlight an occupied area on the map. This displays a list of those icons and what they mean. You also find out which rewards Rico receives for completing the Liberation.
Go through the area, locate the required areas/targets, and do whatever needs to be done. Our Liberations chapter takes you through each of these actions so that you know how things are completed (and also, how to survive these encounters).
Gear Mods
Different mods are unlocked by earning the required amount of gears in their field. This is done by completing challenges; each one can award up to five gears, based on your performance.
Mods can be toggled on and off by pressing X/A while you have them highlighted in the Gear Mods menu.
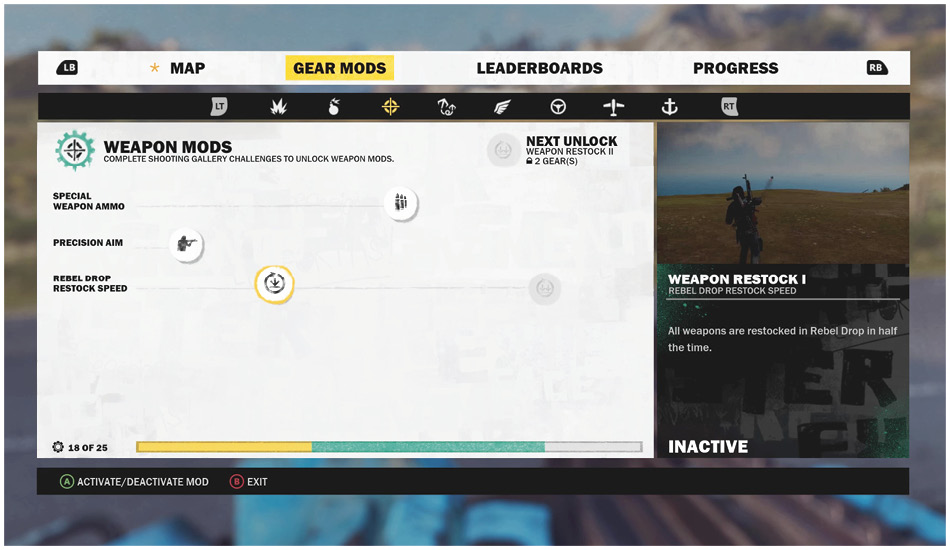
Every challenge affects a different section of Mods. A full breakdown of these is available in the Mod section.
Destruction Mods
Destruction Mods are aimed at increasing your destructive capabilities by upgrading your grenades. Gears are earned by completing destruction frenzies with a total of 100 of 125 available to gain every Mod.
Explosives Mods
Complete Crash Bomb Challenges to earn Gears for Explosives Mods. This set helps increase the effectiveness of your GE-64 Explosives. You need 45 of the 60 available gears to unlock all Mods in this section.
Weapon Mods
Weapon Mods are unlocked by completing Shooting Galleries. This increases the amount of ammo you can carry for Special weapons, as well as providing access to precision aim and faster restocking on Rebel Drops. Only 20 of the 25 available gears are needed for all upgrades.
Tether Mods
Scrapyard Scrambles provide the gears necessary for Tether Mod Upgrades. These allow you to deploy more dual tethers while also increasing their pulling strength and endurance.
Traversal Mods
Completing Wingsuit Courses unlocks gears for Traversal Mods. While the name may make you think that all of these are just for moving, a few of them actually increase the amount of damage you deal with your tether kick, and reduce the amount of damage you take from physical impacts. Only 105 of the 135 gears available are needed to unlock all of the Mods.
Land Vehicle Mods
Land Vehicle Mods are unlocked by completing Land Races. These only affect land vehicles acquired by Rebel Drops. The Vehicle Detector is also available in this skill tree; this tool helps you locate cars that you haven’t yet collected. Be warned, though; gathering the different collectibles becomes a bit harder with this enabled as the detector shows up in the same way on the HUD.
Another feature in this tree that’s important to note is the ability to increase the number of Beacons you can keep on hand. This allows you to call multiple drops without worrying about finding more Beacons.
For all of the Mods in this section, 70 of the 90 available gears are necessary.
Air Vehicle Mods
Air Race Challenges award gears for Air Vehicle Mods when completed. These have the standard Nitrous boost and restock speed increase, but also those that allow you to carry more Fast Travel Flares. This comes in handy early on when much of the map is oppressed. Only 40 of the 60 possible gears are needed to unlock all Air Vehicle Mods.
Sea Vehicle Mods
Complete Sea Races to unlock gears toward Sea Vehicle Mods, which allow your vehicle to boost forward and/or jump into the air to avoid obstructions.`