Destruction Frenzy
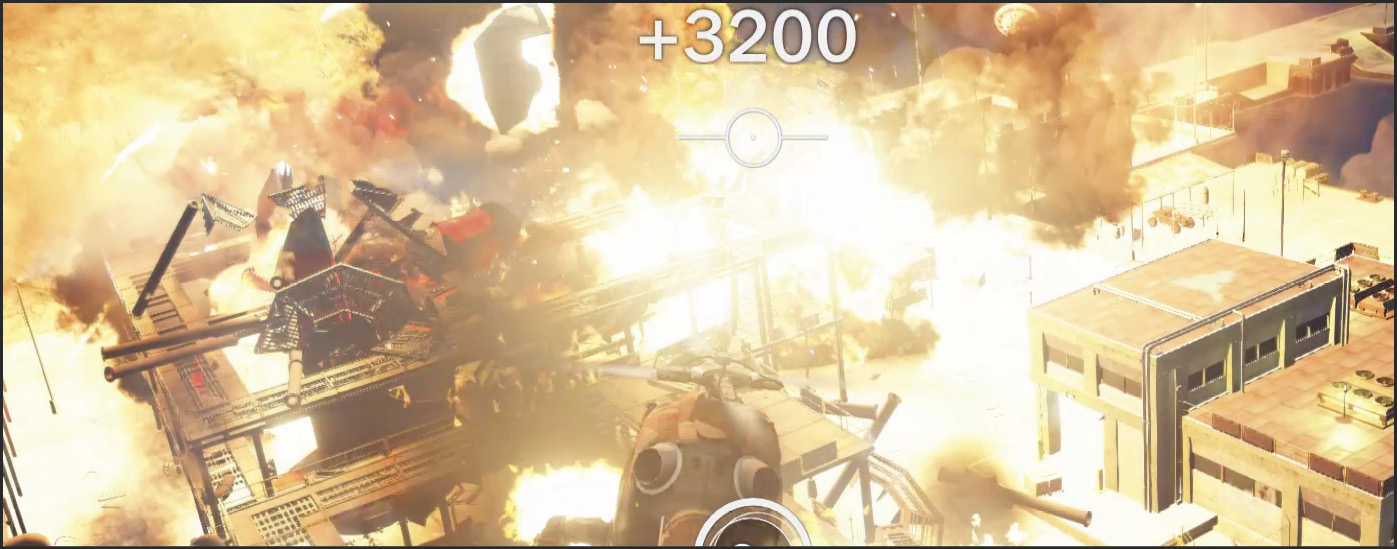
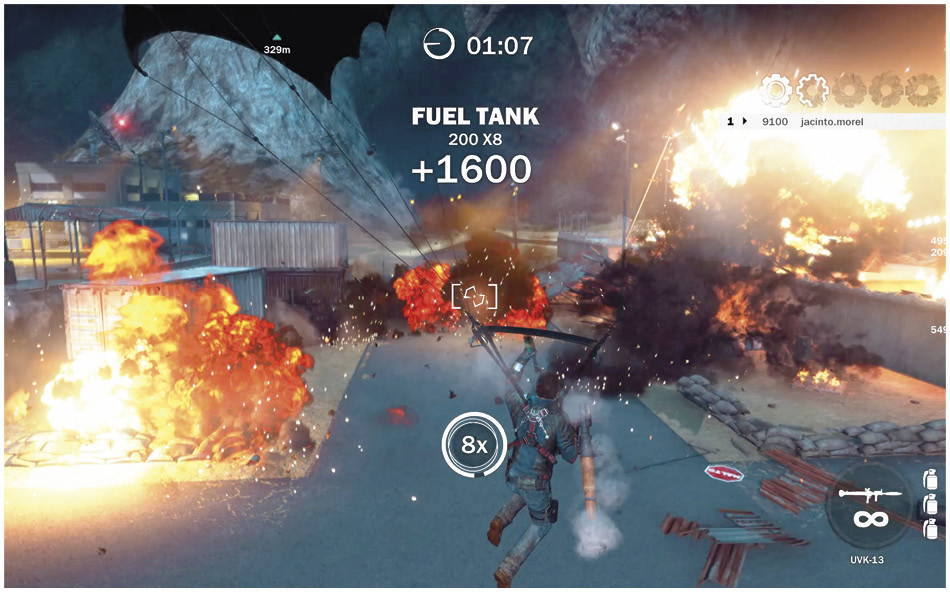
Destruction Frenzies require you to rack up points by exploding everything in sight. Explosions can be linked together to maximize the number of points given via a multiplier that can grow up to eight times. If you take too much time between explosions, your multiplier divides in half until it’s back down to x1.
The timer starts counting down once you’ve set off the first explosion, so use that to you advantage. Take some time to scout out the area, and set up a few explosions. Check out our maps of each outpost for a quick overview of all of the destructible objects in the area. Explode smaller objects first to build your combo meter, then go for the big stuff.
While your weapon selection may be restricted to just a few options in each of the Frenzies, you can use any vehicle inside the area to help you reach your goal. So if you’re struggling to complete a certain mission, grab a helicopter or tank from inside the Destruction area and go to work.
Sniper Rifle Frenzy
Spend some time dealing small amounts of damage to all of the objects in the area. This allows you to keep your multiplier much higher as you will not have to take multiple shots to blow things up once the first explosion happens. Target the weak points of objects; for example, target the panels of a transformer instead of just a plain side. Some larger objects cannot be destroyed by your sniper rifle, so ignore them. Once you’ve eliminated all other objects, use your grenades or tethers to take the remaining stuff down.
Jet Frenzy
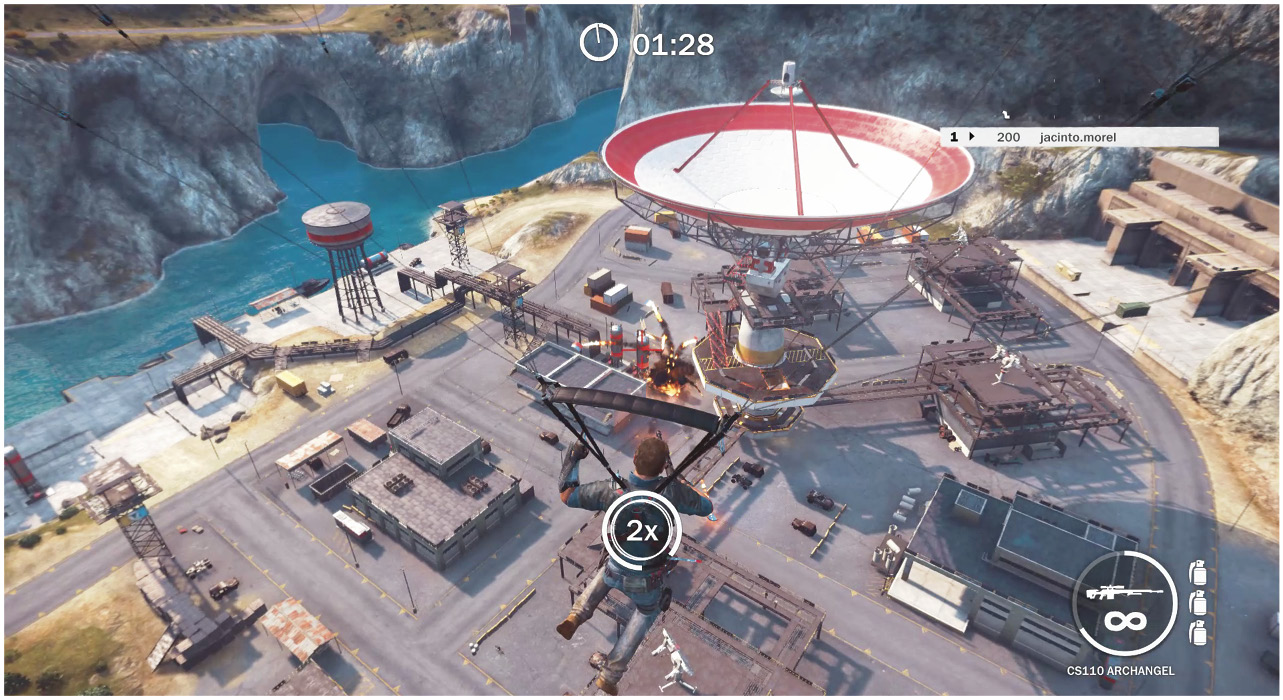
Take a look around before getting in the jet. Search for small and large groups of items. Target the small groups of items first, then turn around and bomb the larger ones. The overhead maps for each area help you precisely target each group of objects.
Helicopter Frenzy
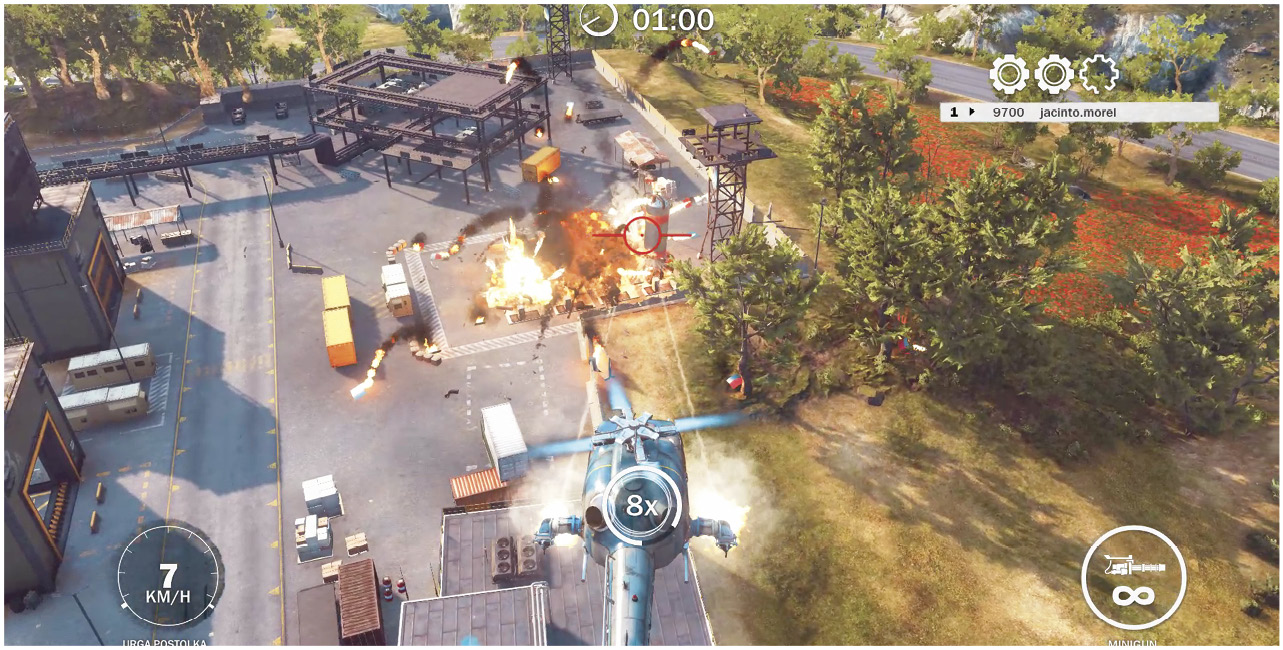
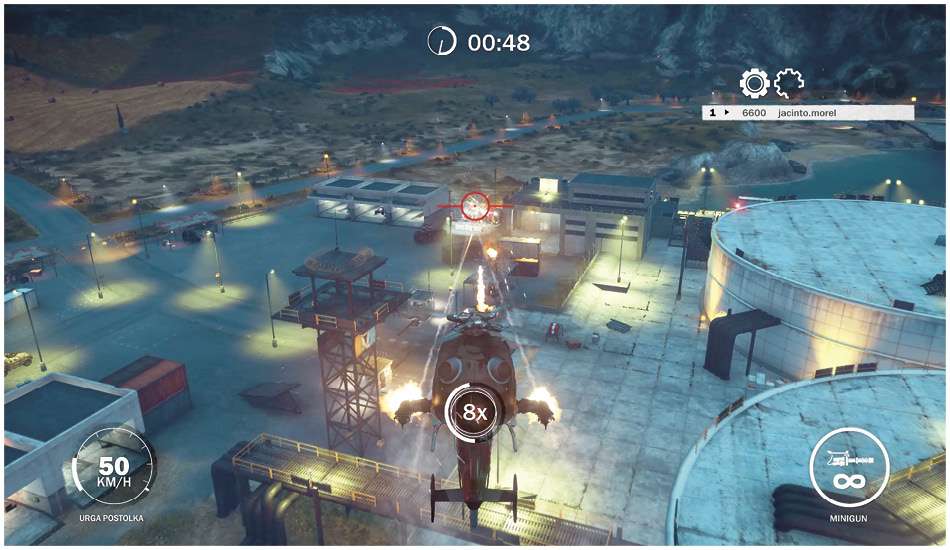
You’re the eye in the sky, with bullets and rockets. Check out our Challenges Map at the end of this chapter to plot your attack. Some targets may be hidden behind small buildings or inside large warehouses. Make a mental note of this while planning your attack.
If your helicopter only has miniguns, fire a few bursts on the larger objects, being careful not to destroy them outright. This makes keeping your multiplier up easier since you won’t spend as much time grinding away on each target.
Grapple Frenzy
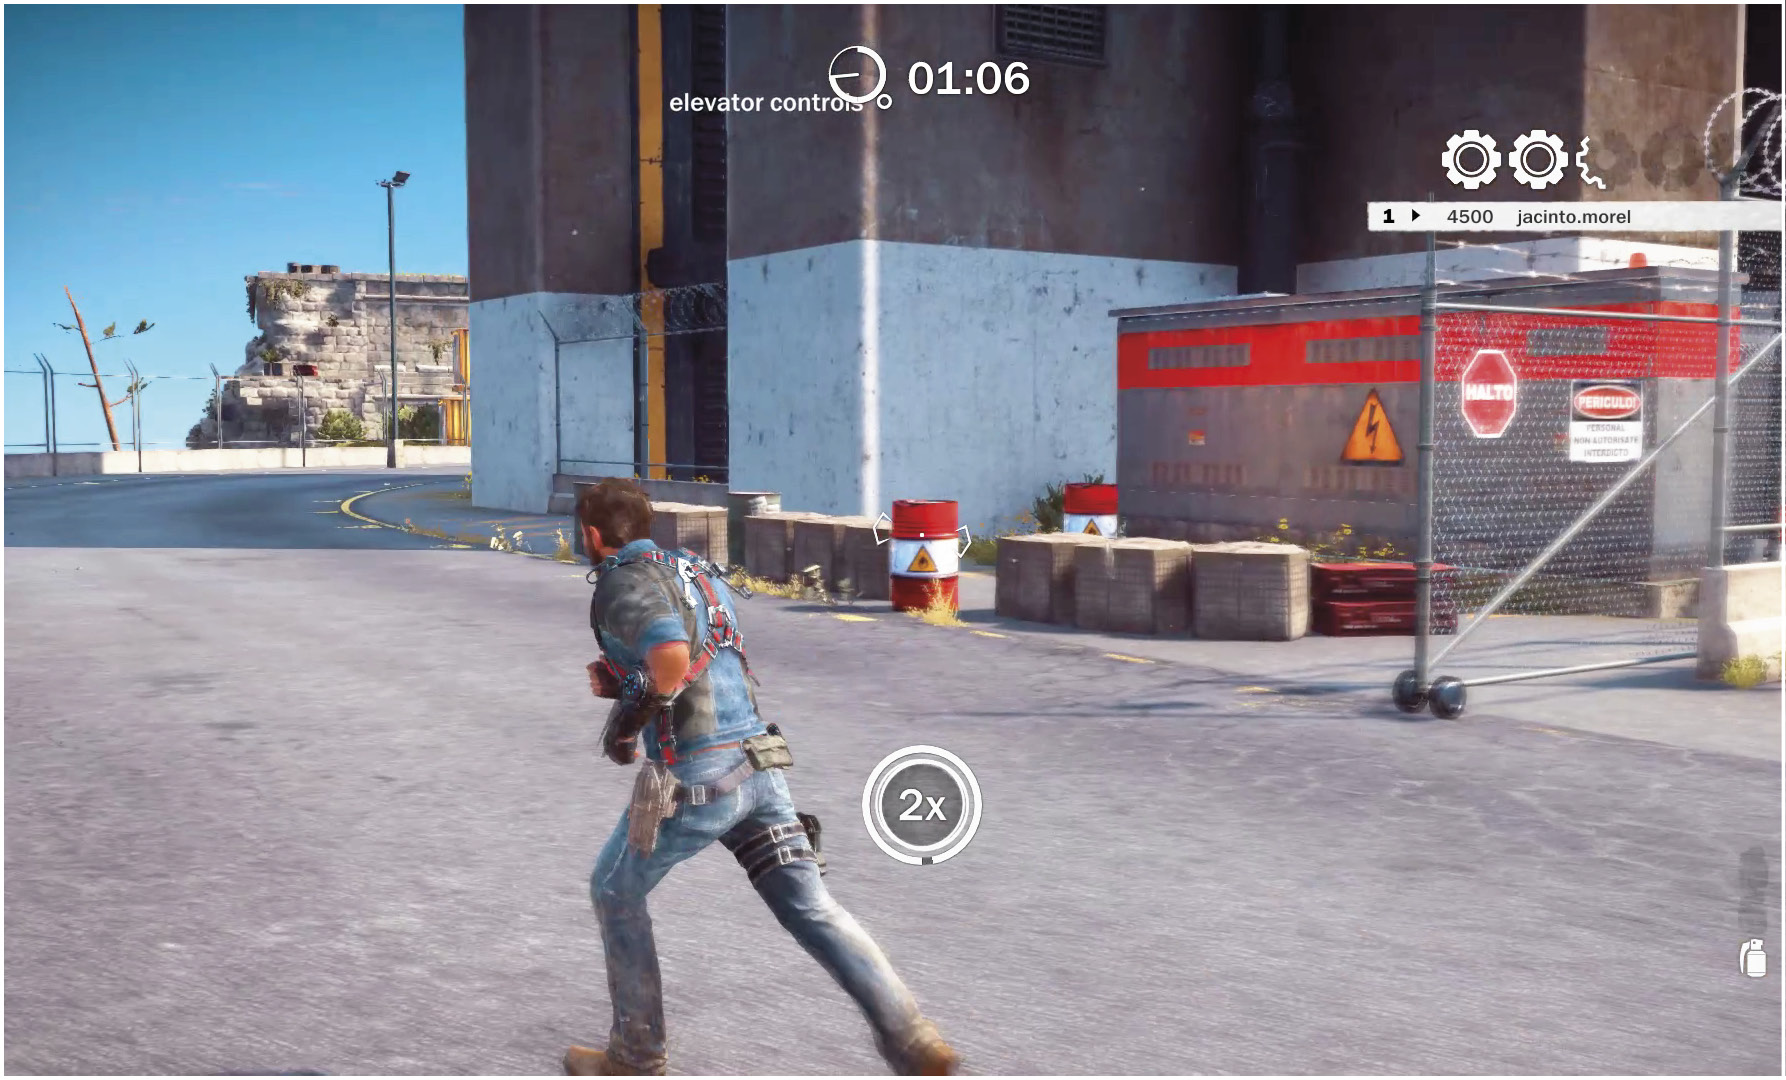
Much like other Frenzies, start out by setting up a few explosions with your tethers.
Connect explosive barrels to the power supplies around the compound, saving your grenades for the fuel tanks.
After you’ve set off you initial explosions, take down anything left in sight by either grappling the object to the ground, wall, or any explosive in the area.
If you don’t have Tether Strength upgrades, you may need to attach two tethers to an object to bring it down. This makes using other objects with some momentum in the environment, such as explosives or even a cement barricade, a much better choice than trying to take something down by grappling it to a wall.
Boat Frenzy
The boat missions are much like the Support Vehicle Frenzies. In essence, you cannot shoot and move the vehicles. However, unlike the Support Vehicle Frenzy, you are able to switch the starting vehicles to one that has the ability to shoot from the driver’s seat.
If you haven’t advanced far enough to unlock this vehicle, you can still beat this challenge. It just requires a bit more planning.
Check the map and determine where the groups of destructive items are, then set up some explosions with your grappling hook. Pull the shields off of power sources. With everything exposed and some explosions set up, get in one of the boats with a good number of targets to shoot at, then trigger your explosions.
Alternatively, you can save the tether explosions for when you want to move from boat to boat. Tethering to a different boat is much faster than attempting to drive the boat and switch back to the gunner’s seat.
RPG Frenzy
Every shot counts when using the standard RPG. You must reload every time, making it a little tricky to take down successive targets.
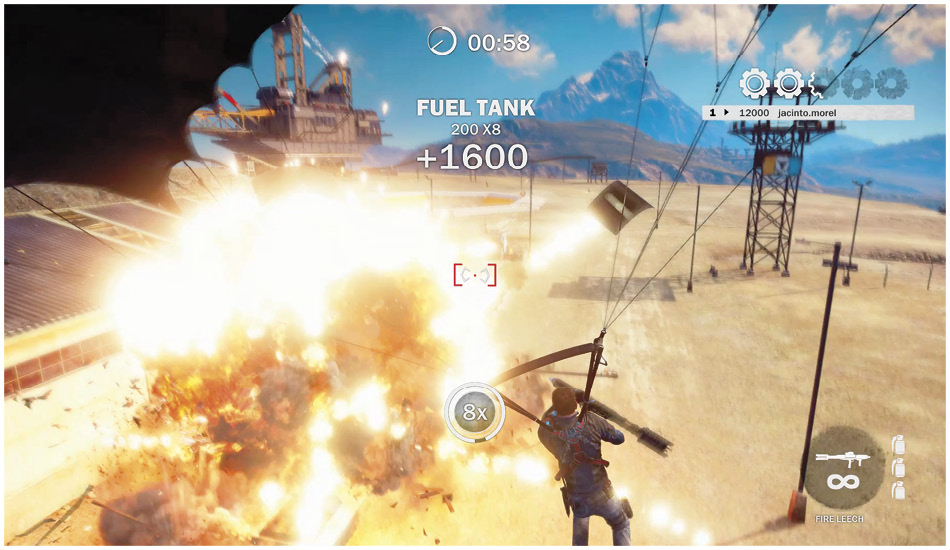
The Hydra is the best option, hands down. Why fire one rocket when you can fire three, right? This allows you to fire and forget at targets, knowing that it will blow up whether you’ve hit its weak point or not.
Some non-explosive chaos objects may require more than one rocket to disable. To avoid losing your multiplier, fire a shot at the harder target, aim for an explosive object, like a gas tank or transformer, to keep your score up, then fire the second shot at the tougher object.
Tank Frenzy
Elevated objects are a tank’s worst enemy. Look for weak points or support beams of a different chaos object. For example, a tank cannot hit the top of the water tower, but it has no problem destroying the lower support beams.
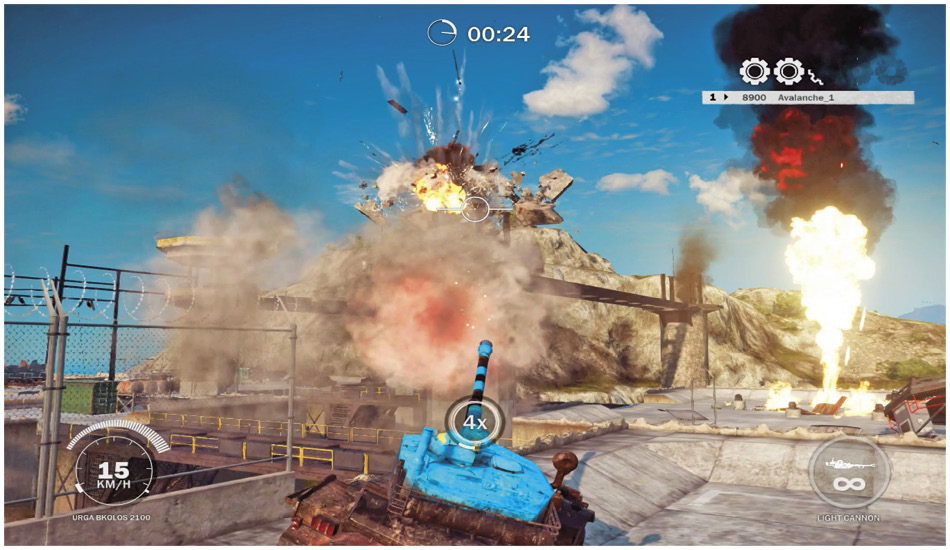
Plan out your driving route before you start destroying all the chaos objects in sight. This helps you to keep your multiplier up and also prepares you for any tougher shots you may have to make when facing taller objects.
FOW Frenzy
If you love destruction, you’ll really love the FOW Frenzy. Use your FOW weapon of choice to take down a base as quickly as possible. Getting yourself into the sky before starting is a great idea, unless you’re using the Dionysus PLDS-H.
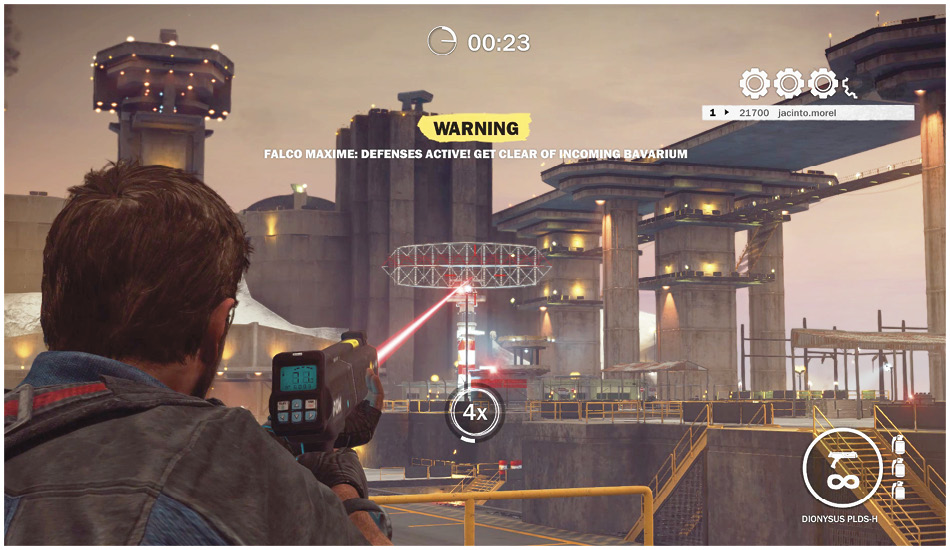
When using the PLDS-H, acquiring targets from the air is inconsistent, and for the most part they will be out of range. So grabbing a vehicle inside the base to drive you quickly around may be your best bet at quickly destroying all chaos objects in the area.
Mortar Frenzy
Learning how to aim the mortar is the most challenging part of the Mortar Frenzy.
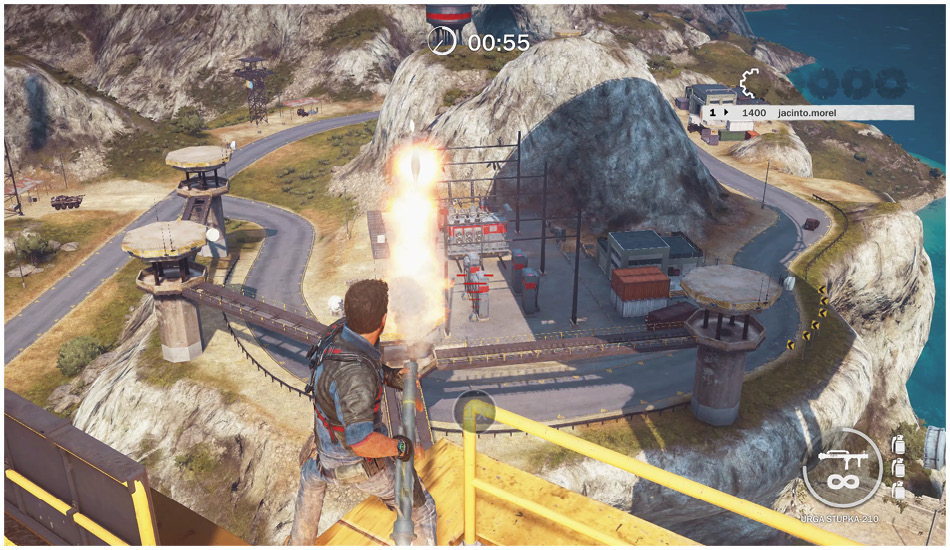
If you don’t want to spend the time learning how to aim the mortar, just position yourself close to the objects that need to be taken down. The mortar generally destroys the target on the way up into the sky, instead of on the way down. This also decreases the amount of time between effective hits, which help keep your multiplier up.
Support Vehicle Frenzy
Support vehicles do not allow you to drive and shoot at the same time. That said, you must arrange for a few things to be destroyed before starting this mission. It makes the task much easier. Use the tethers to attach explosive barrels to a few objectives, then start on either side of the set of three cars that the game has spawned for you.
Start destroying objects from the first car’s gun. Once you’ve hit everything you can, launch yourself to the middle car on the high ground.
While you’re transferring to the second vehicle, tighten your tethers, triggering explosions you have already set up. This keeps your multiplier up.
If you’ve accomplished the sets of targets available from the first two cars quickly enough, you have plenty for all five gears.
Continue to the third car, eliminating the few remaining targets. Toss grenades if necessary while you transfer to the final shooting position.
Grenade Launcher Frenzy
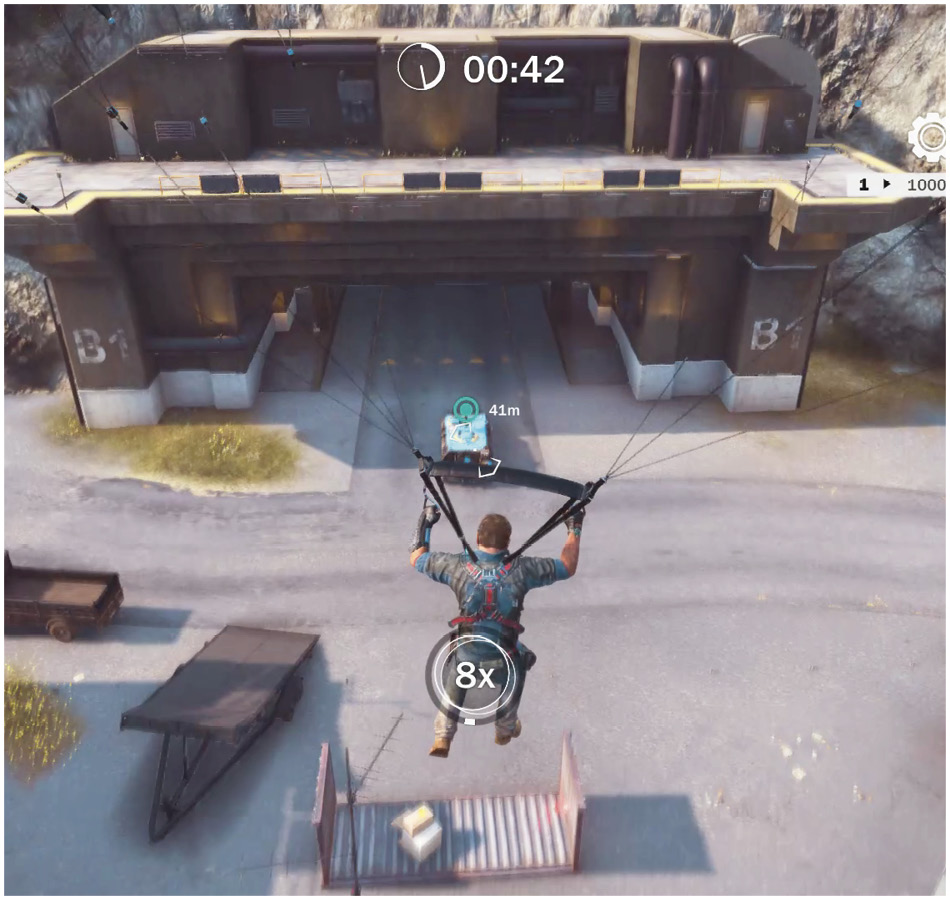
Grenade Launcher Frenzies are pretty manageable. Just stay high in the sky and rain down grenades from above. Once you’ve cleared out an area, activate your wingsuit to fly to the next area, using your tether for a boost of speed.
Aiming for critical points is helpful, but not necessary, when using explosives, so there’s no reason to slow down. When searching for targets, look for small vehicles. The light vehicles can be blown up with just one hit, granting you a few extra points while you work toward other objectives.
Machine Gun Frenzy
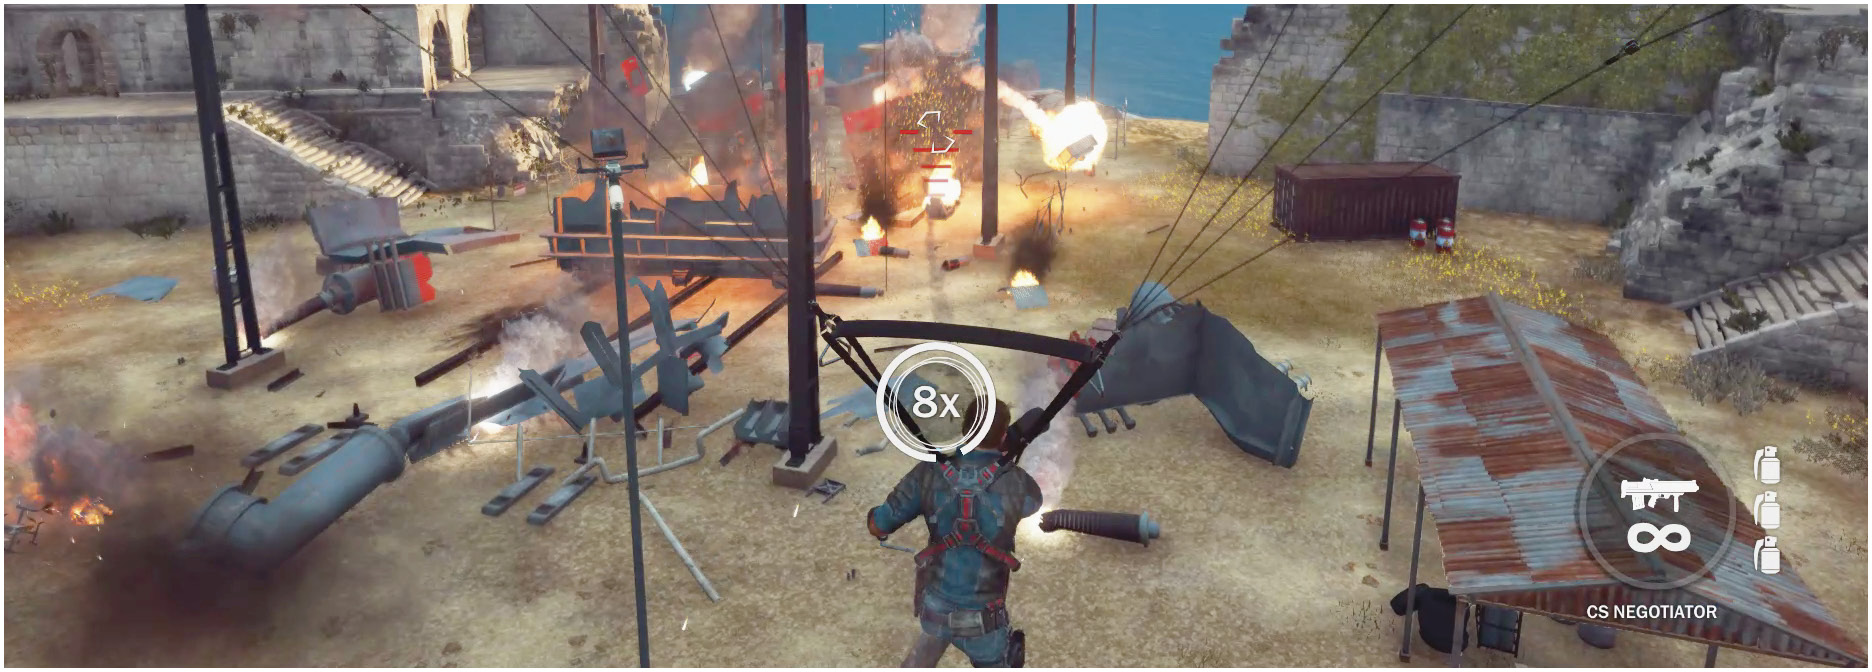
While it’s possible to accomplish this challenge with a machine gun, there’s a much easier way without even firing a shot from your provided weapon. There’s a helicopter armed with dual miniguns right in front of the challenge’s starting position. Hop in and take out everything in the area around it!
Once you’ve eliminated all the targets, follow the road around to the other side of the base, taking out any of the possible targets (like electrical boxes).
You eventually discover the larger area with more items to explode. If you’ve kept your multiplier up, you’ll land all five gears!
Shotgun Frenzy
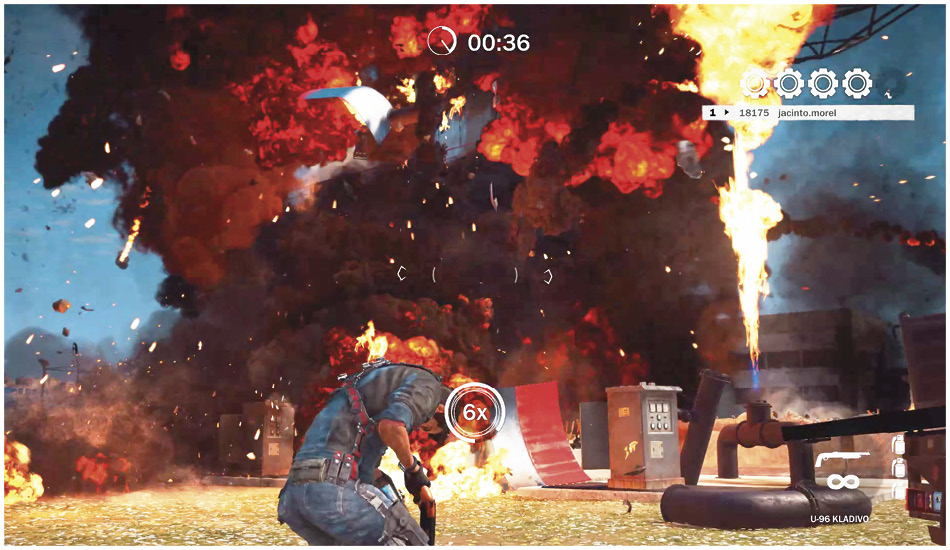
Shotguns are a bit tricky to use. They allow you to get in close to destroy things easily, but also knock you around a bit.
Keep a little bit of distance; missing isn’t an entirely bad thing, especially if there are other targets around.
Remember that you still have your tethers and grenades. Use grenades on bigger targets as shooting them with the shotgun does not help.
Always aim for the weak points of objects and use the explosives in the environment to help speed up the destruction of all the targets around you.
Stunt Hang Frenzy
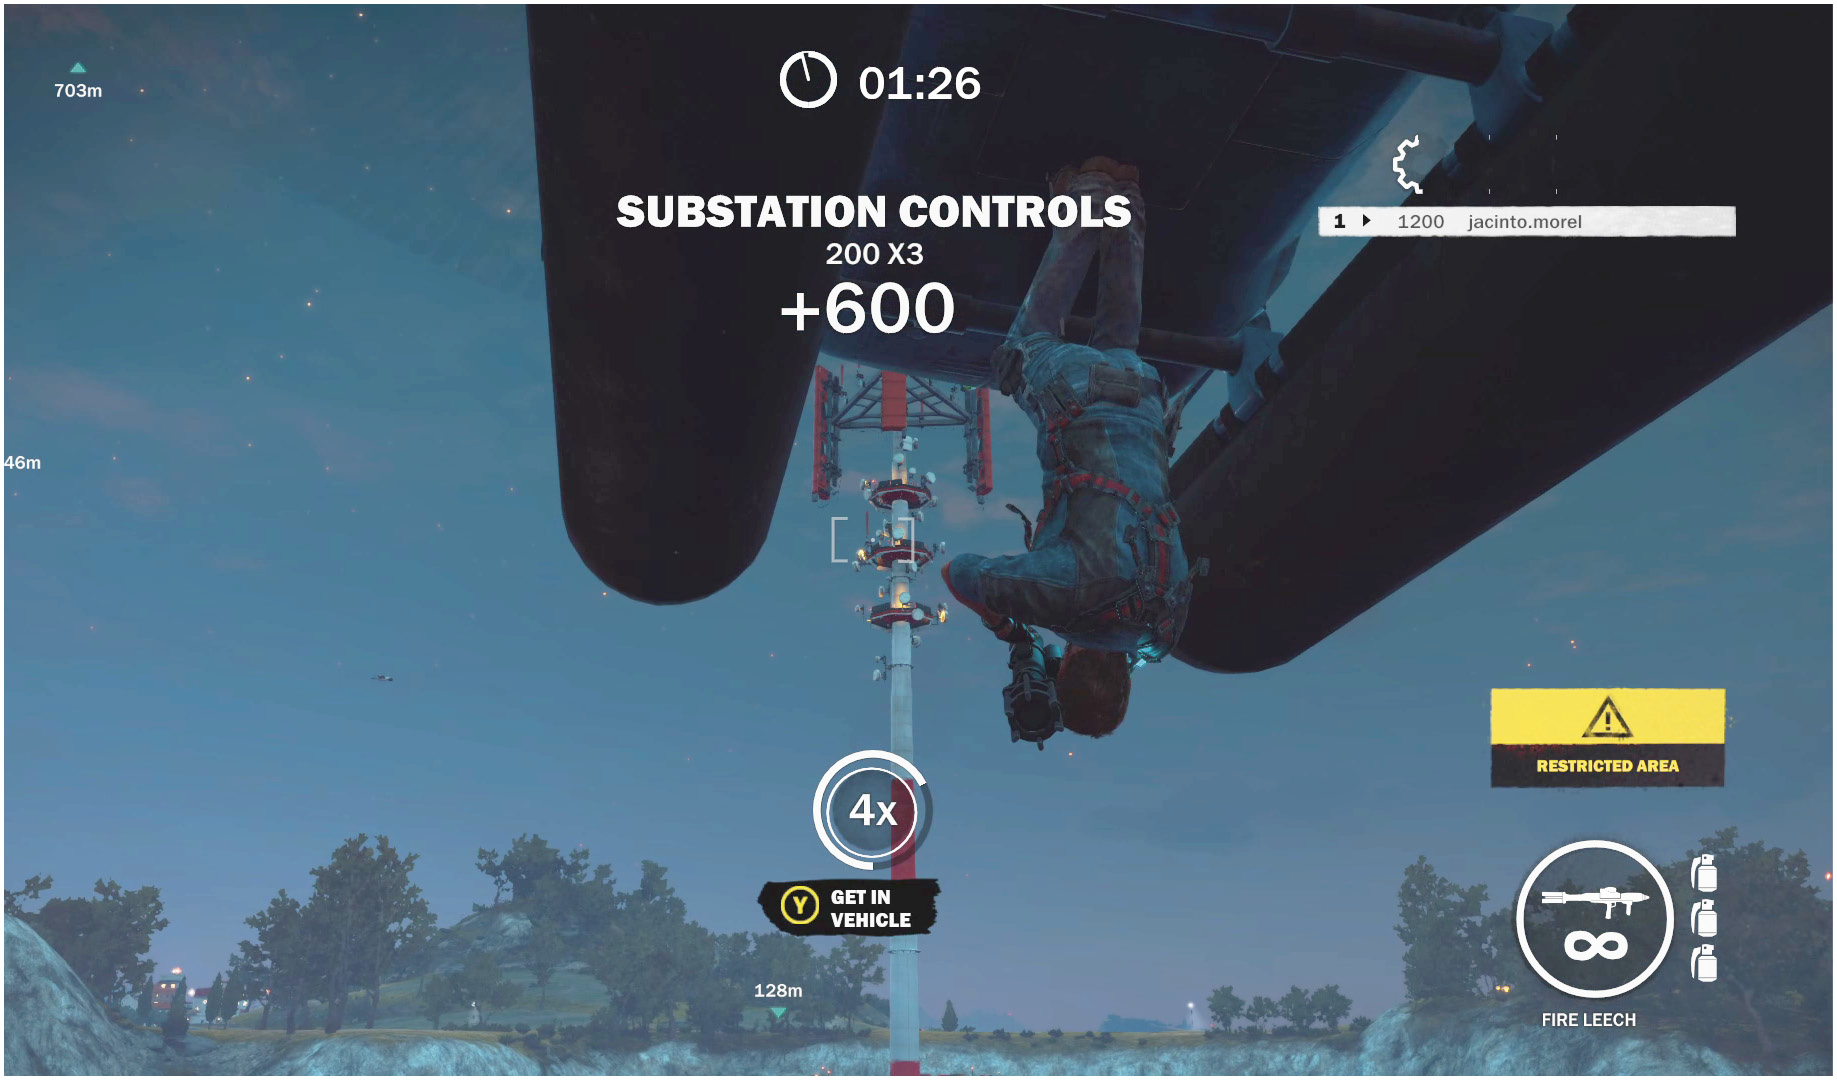
Helicopters patrol the area, so tether onto one and let it take you to the end of its patrol before opening fire on the area below. If you don’t wait for it to start returning to the center before opening fire, you end up losing your multiplier while you work your way back to the other areas of the map.
Use your wingsuit to quickly travel between areas and onto other choppers. Take out all of the base that resides above ground before cleaning up the area below. Moving from the top side of the base to the bottom is much easier than trying to tether and parachute your way into position to grab a higher helicopter, so stay on top until you’ve cleared the whole area.