Just Cause 3 Guide Story Missions
Abandon Ship
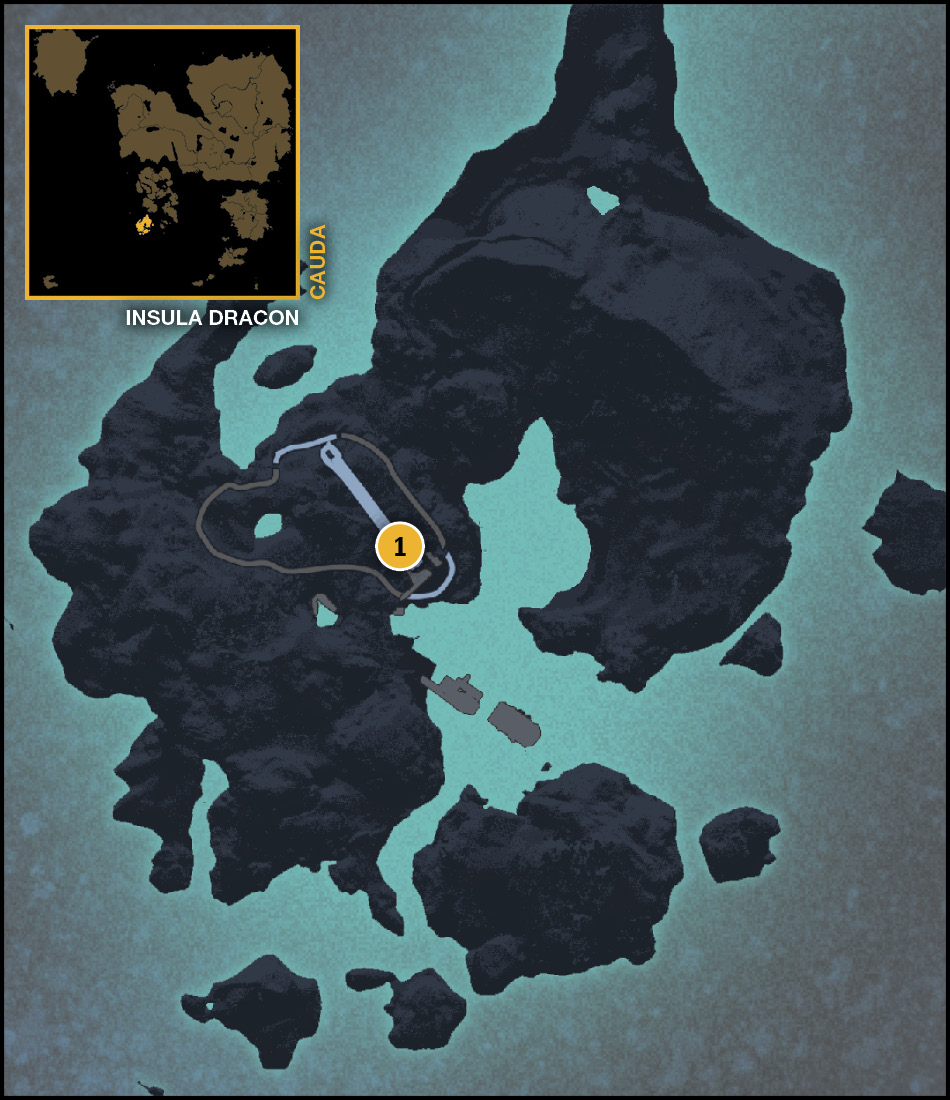
Your next task begins in the southwest, by Cauda. Return to Contrabandero to speak with Sheldon about everything that has happened. After hearing his warning, you need to get everyone ready to go—quickly!
It’s really nice to have a Fire Leech for this mission, so make sure that you get that if you use any Rebel Drops.
Protect Mario and the EMP
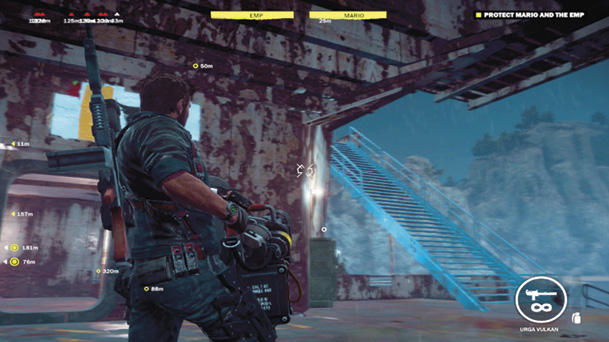
Combat is joined as soon as the cutscene ends. Militia forces are heading in. You have to kill them while protecting Mario and EMP.
Plow through the soldiers in front of the rebel base, and push out toward a mounted gun that gets marked early in the fighting. Use that to defend the area. Another tactic is to commandeer one of the enemy vehicles and use the machine guns on that to help thin the enemies while avoiding some of the damage coming at you.
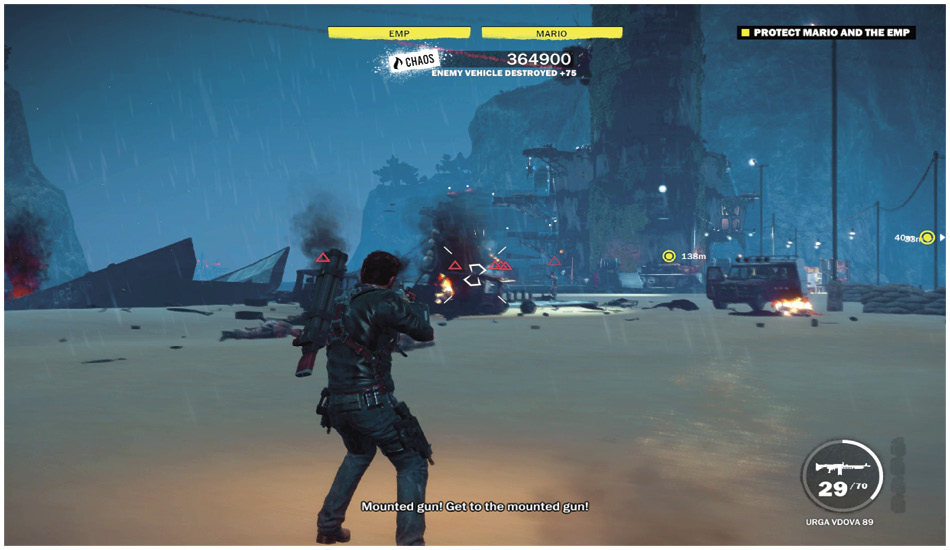
Whatever heavy gun you want to use, it’s essential that you keep the pressure on the enemies throughout these waves. The first group is primarily infantry, but more landing vessels come in, and waves of ground transports arrive, as well (coming from deeper in the cave complex).
You get word after these encounters that helicopters are inbound. Grapple up to them to take out the pilots quickly, or zip over to an AA Gun on the other side of the river. Both of these methods allow you to bring down the gunships quickly.
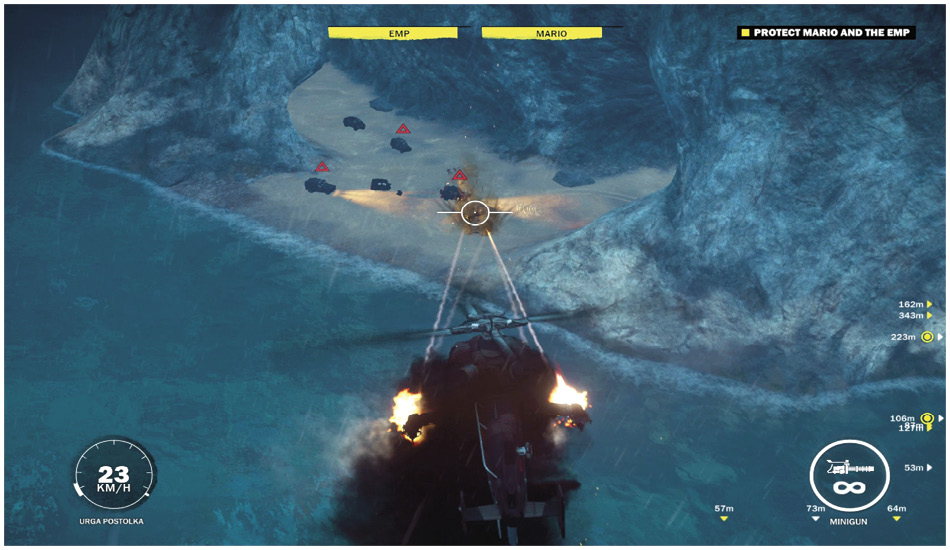
As the EMP finishes charging, keep your eyes on the skies. Paratroopers drop into the cavern, and another wave of vehicles drives in at the same time. Hold them off as best you can, and start moving back toward the EMP device. It finishes its charge, and you can take out the remaining vehicles by activating it.
Do this and quickly restock your supplies while there’s a lull in the action. Get into a vehicle when you’re done, or take a minigun from a weapon emplacement so that you can strike hard when the paratroopers return.
Shoot as many of the paratroopers as you can before they land and get to better cover, then steel yourself for a huge rush of helicopters and battleships. They bombard you from range, so stay mobile to avoid their heavy (but slow) attacks. Look for red circles on the ground and make sure to stay out of them by grappling to reposition if you’re being targeted.
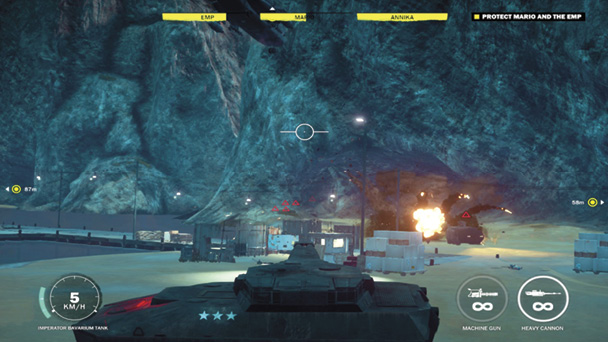
Get back to the EMP and use it a second time. This takes out all of the remaining vehicles. Clear any final stragglers. A tank might be able to survive the blast if it’s at the end of the cavern, so track down any red markers. Commandeer the tank, if it’s available, and use that as your primary weapon in the next wave.
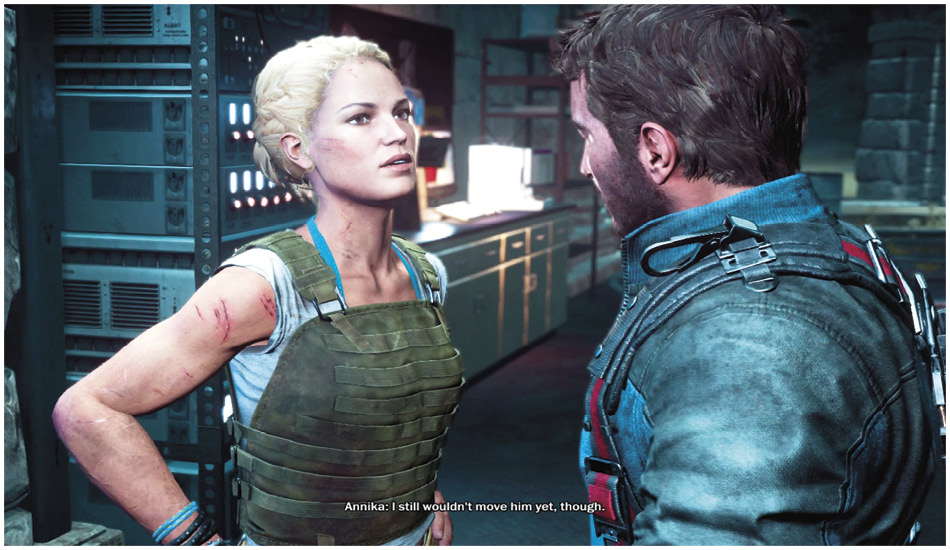
Teo and Annika return for this portion of the fight, so it’s mostly cleanup. Finish this, and end the mission.