
The Elder Scrolls Online: Summerset Guide The Psijic Order
The Psijic Order Quest Line
Before you start completing quests, know that these quests are lengthy and involve a great deal of travel—they are not meant to be completed back-to-back. Obviously play in whatever manner you find comfortable, but our suggestion is to space these out and complete them between other quests on Summerset.
The Psijics’ Calling
- Location: Artaeum, Ceporah Tower
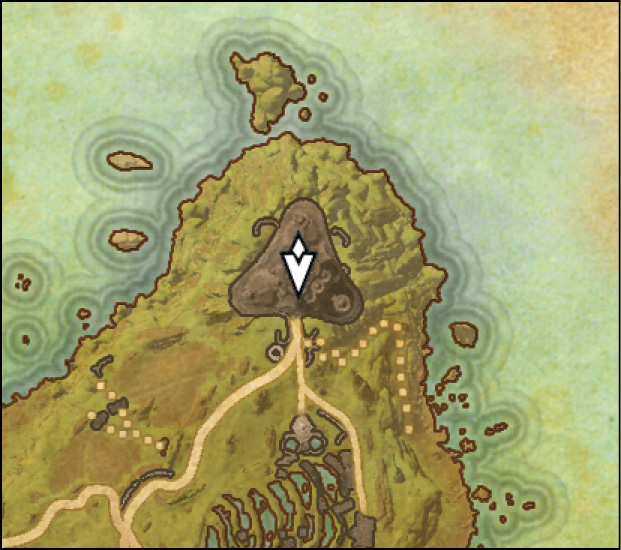
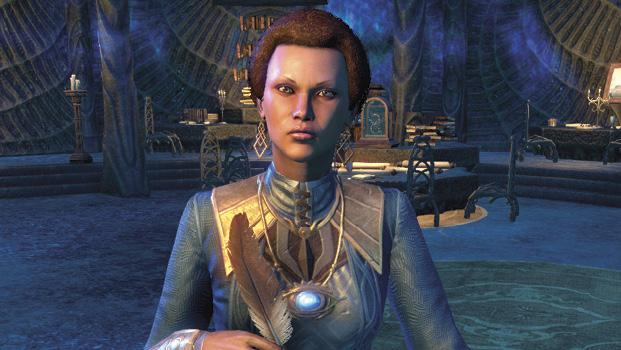
- Quest-giver: Loremaster Celarus

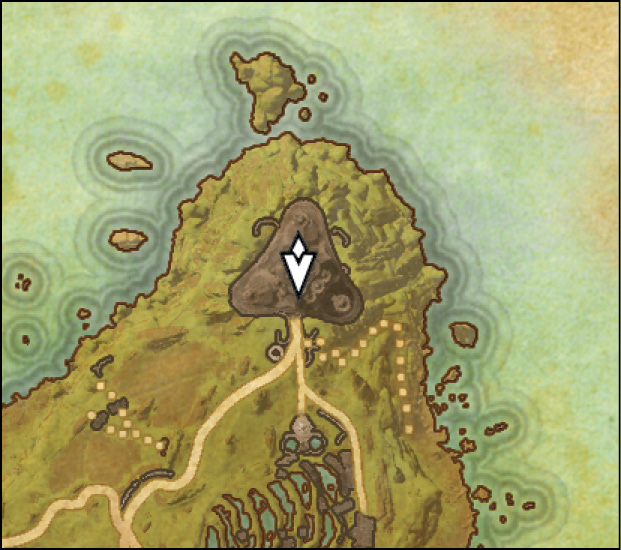

Description: Loremaster Celarus offers you an opportunity to join the Psijic Order, but this honor does not come without a price. In order to become a full-fledged member of the order, you must help Celarus by closing breaches in time scattered around Summerset.
Find the Augur of the Obscure
After speaking with Loremaster Celarus, talk to Josajeh. You’ll need to head to Wasten Coraldale to find the Augur of the Obscure—grab the Psijic Map of Summerset off the table on the room’s south side before you go.
Wasten Coraldale is on the west coast of Summerset, north of Alinor.
Wasten Coraldale
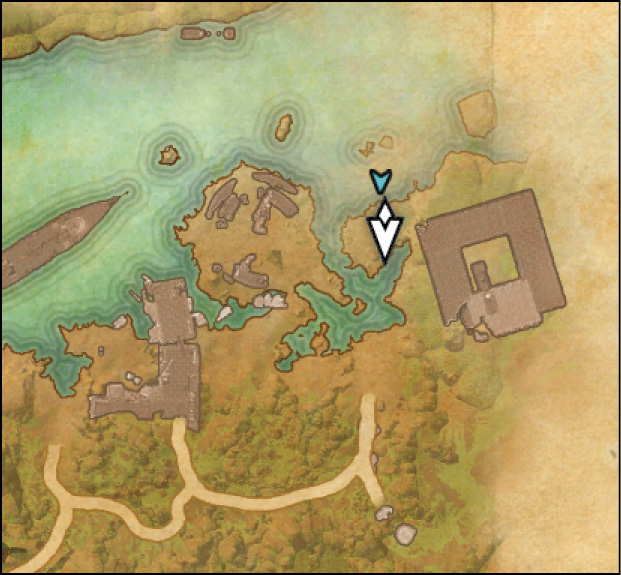
The Augur of the Obscure is in a chest near the northeastern tip of Wasten Coraldale. Once it’s in your possession, push the button listed onscreen to use it or grab it from your inventory under the Quest Items tab.

A map of Summerset will appear with a slew of red crosses scattered along Summerset’s coasts. These are the breaches in time Loremaster Celarus was speaking about. You’ll need to visit each one and close it to complete the quest.
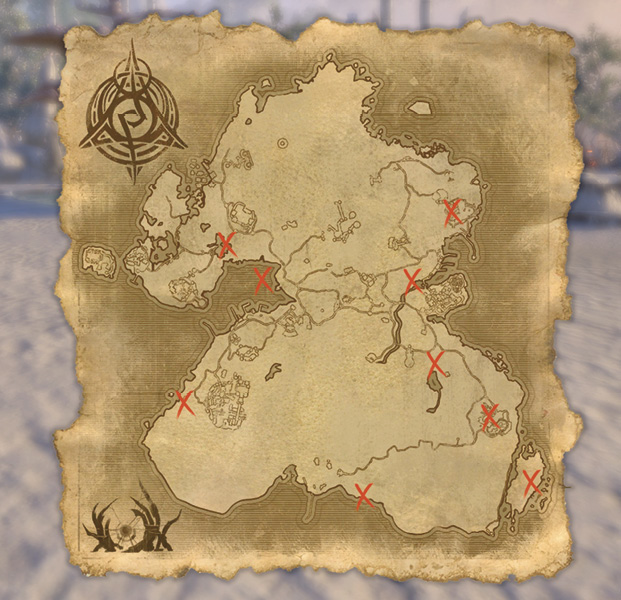
The Psijic Map of Summerset doesn’t pinpoint the locations of each breach with its crosses, instead giving a general area where you can find the breach. When you’re near one, the Augur of the Obscure will begin talking and give a small hint as to where to specifically look in your general area.
To activate the Augur, press the onscreen button prompt to see the breach. Your head will be glowing gold and blue if the Augur is active. If you step too far away from the breach, the Augur will deactivate and the glow around your head will disappear. This will help keep you on the right path, so pay close attention to that glow.

We’ll start with the northernmost breach on the west side of Summerset, but tackle these in any order you like.
Breach 1
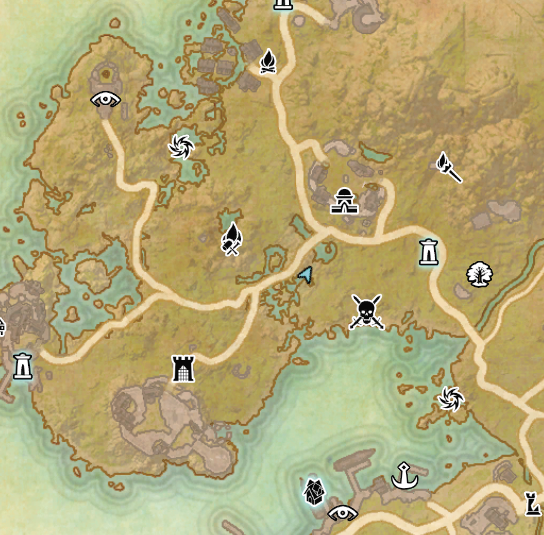
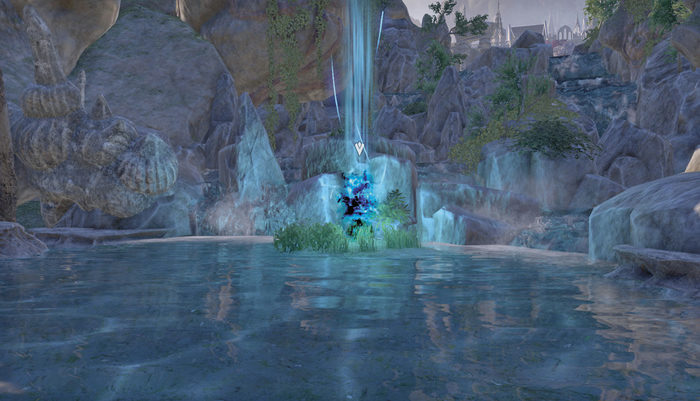
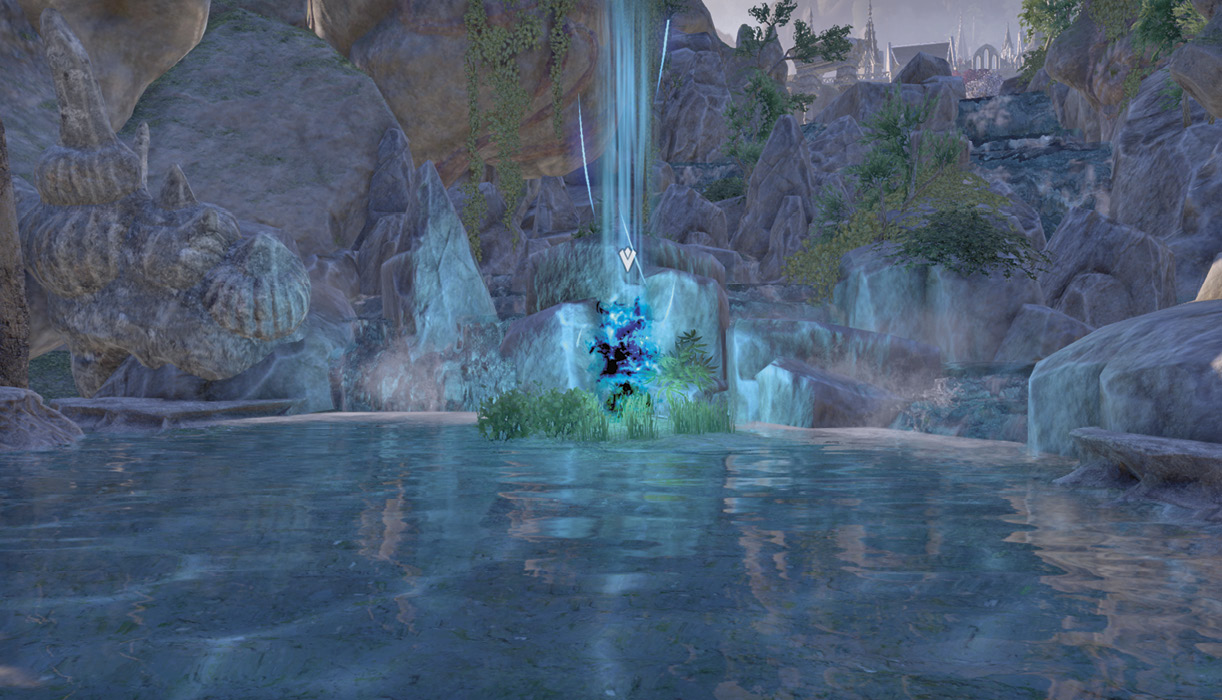
- Location: In the shallow waters southwest of the Illumination Academy.

Breach 2
- Location: On a small island west of the Abyssal Geyser Rellenthil.


Breach 3
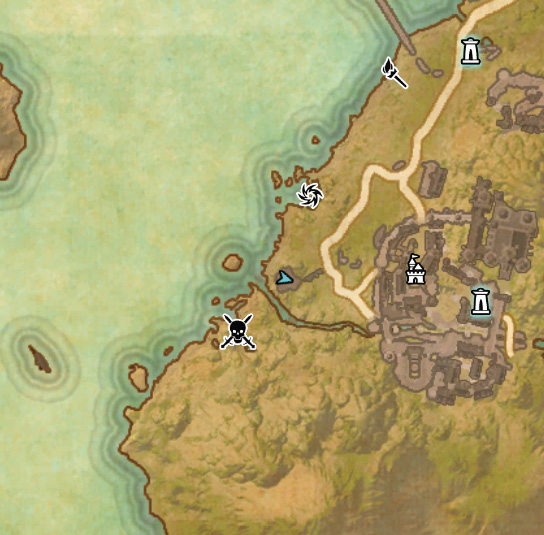
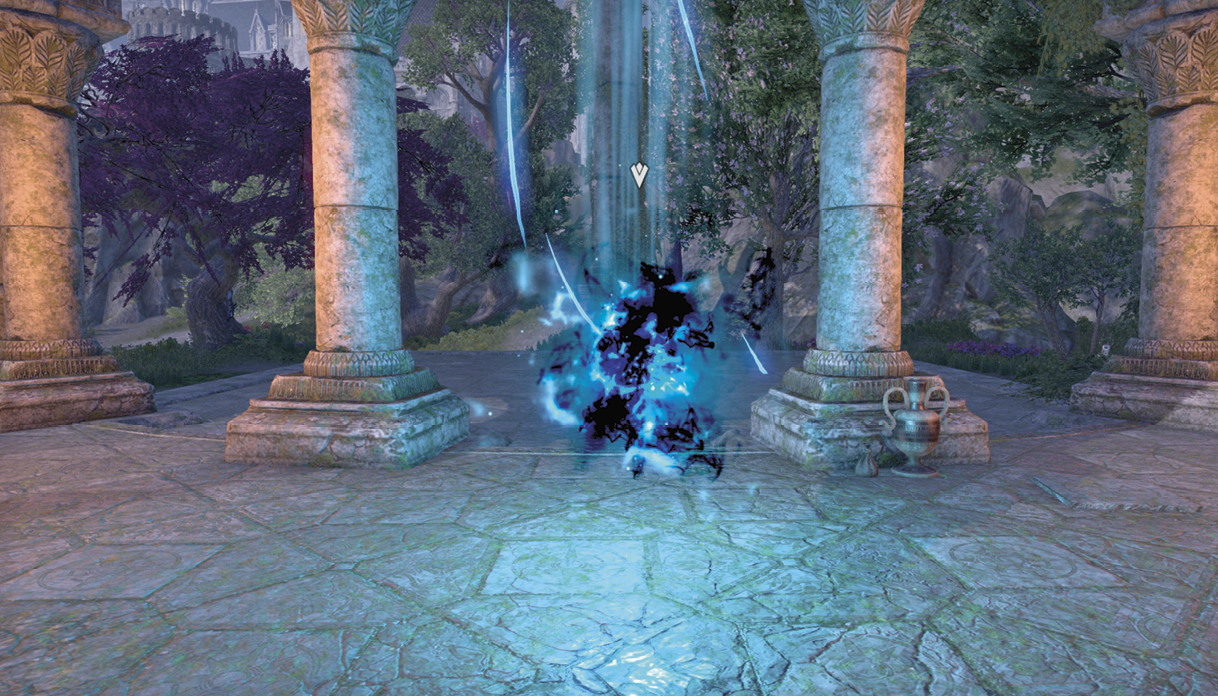
- Location: In the temple ruins west of Alinor.

Breach 4
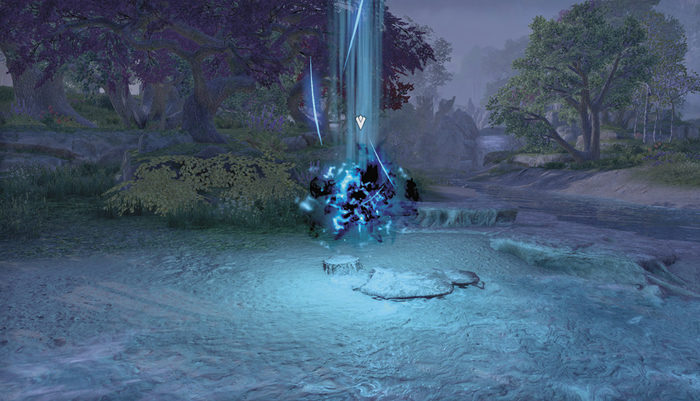
- Location: On the beach immediately south of the Sunhold Wayshrine.


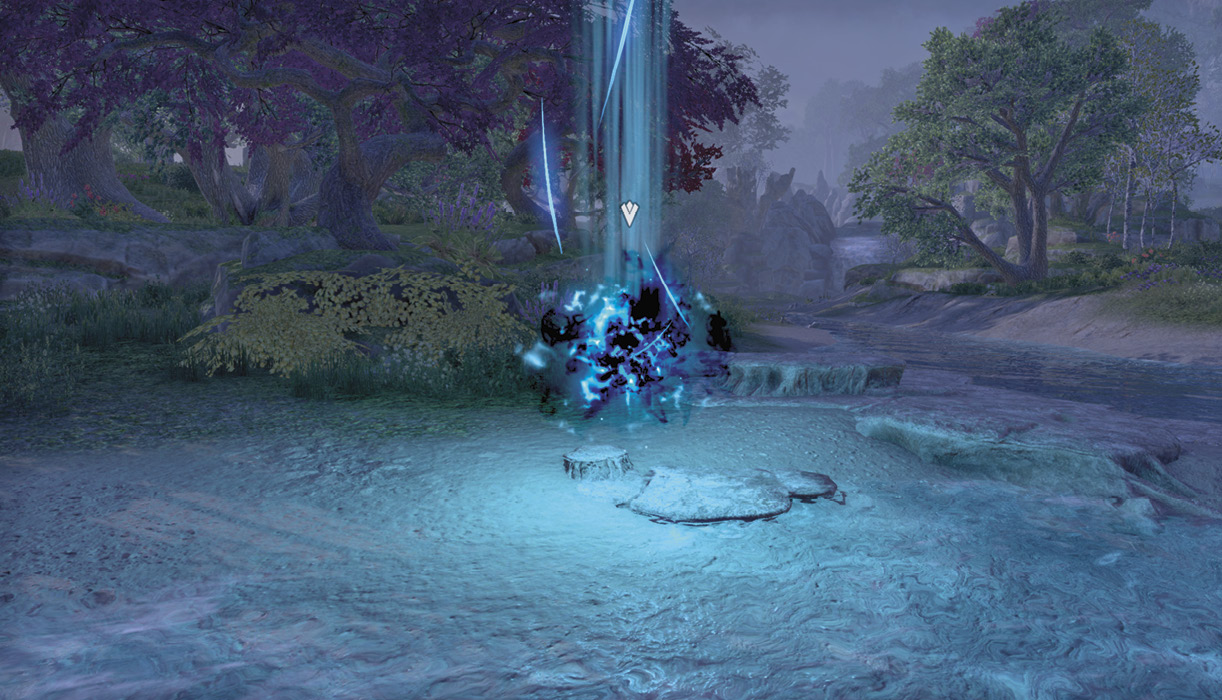
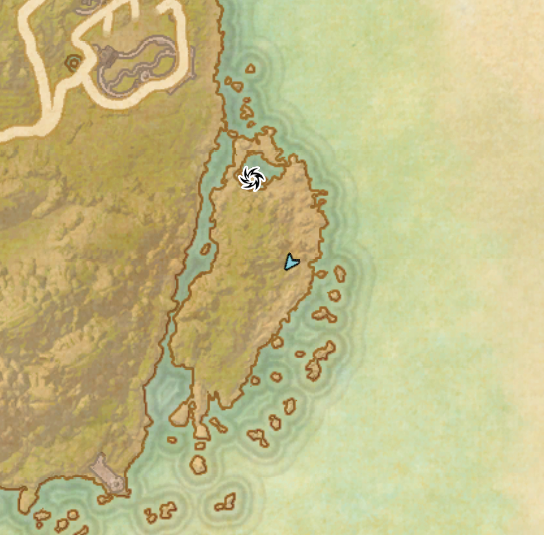
Breach 5
- Location: On the island’s east side, near the southeast corner of Summerset.



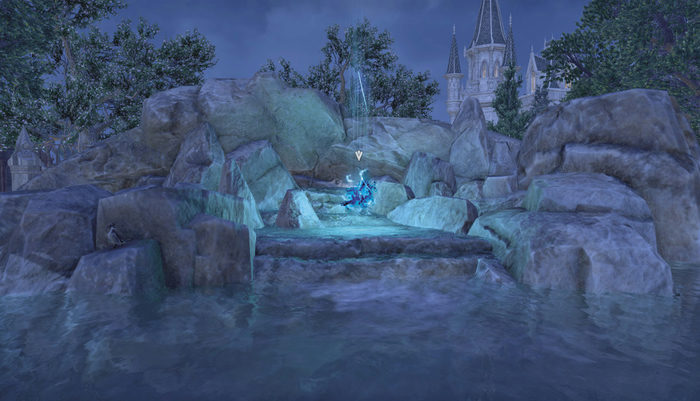
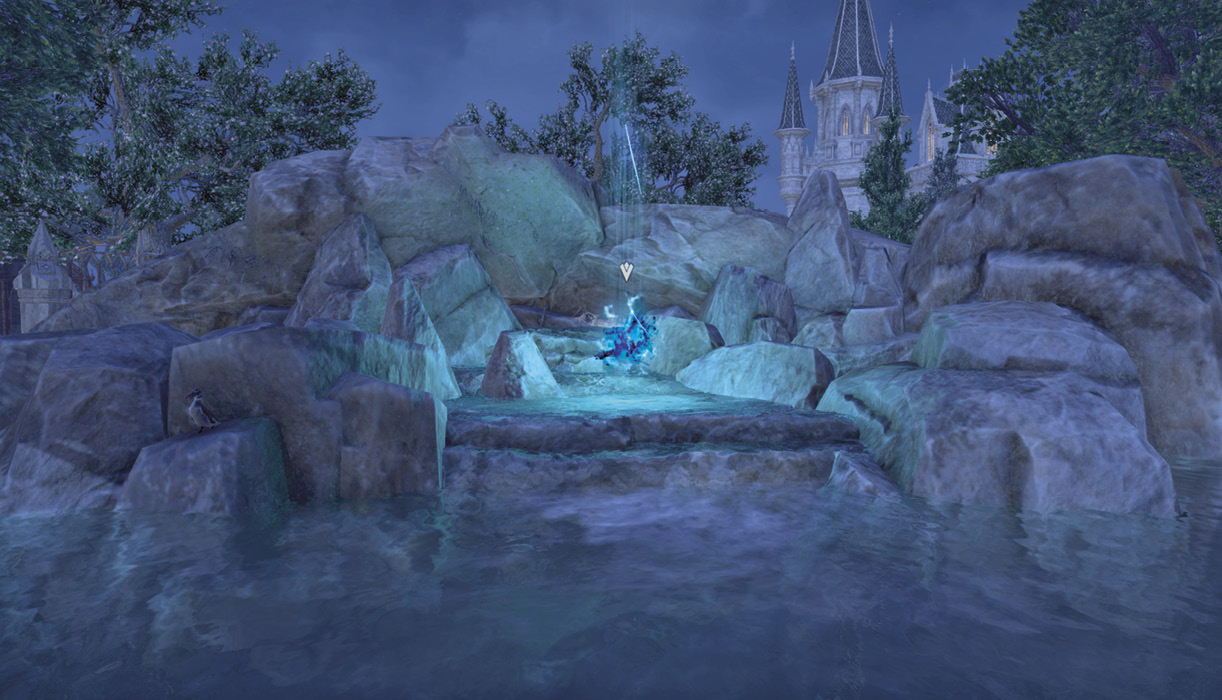
Breach 6
- Location: On the rock fountain near the center of the Sil-Var-Woad.
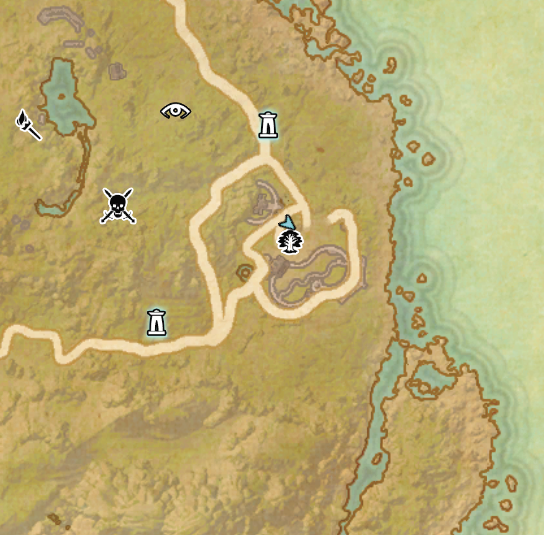

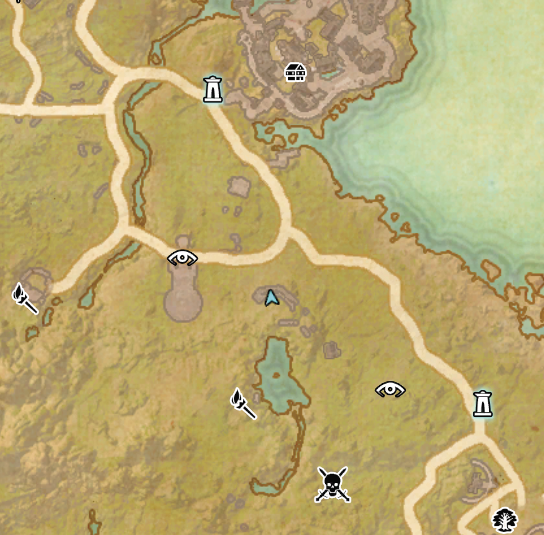
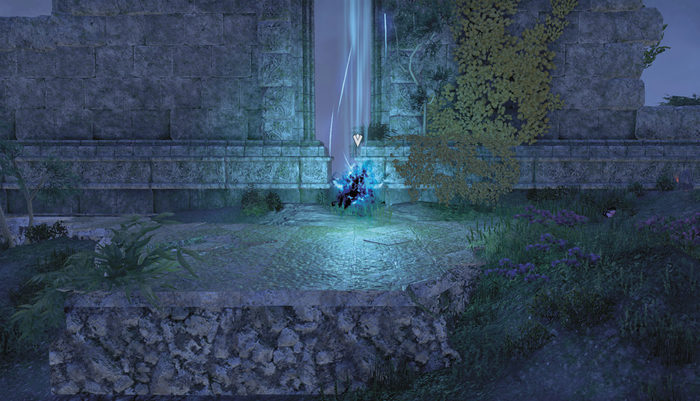
Breach 7
- Location: On the south side of the ruins east of the Keep of the Eleven Forces.


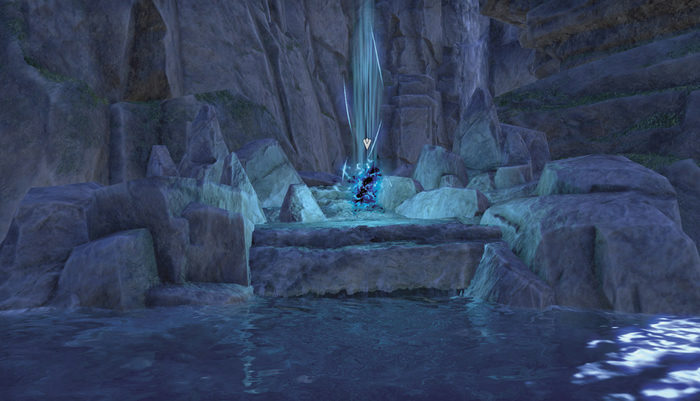
Breach 8
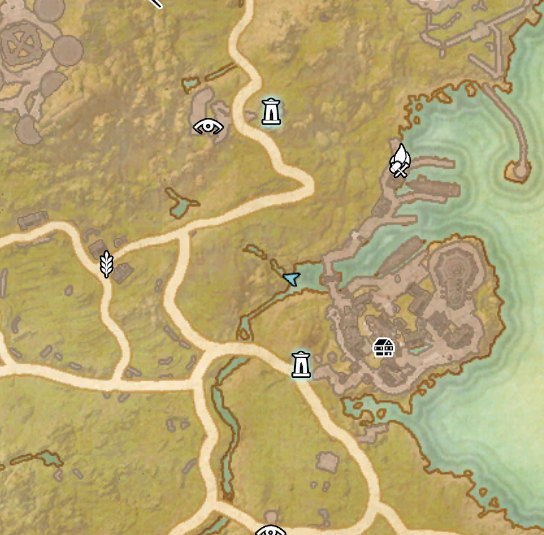
- Location: In the river running alongside the north side of Shimmerene.


Breach 9
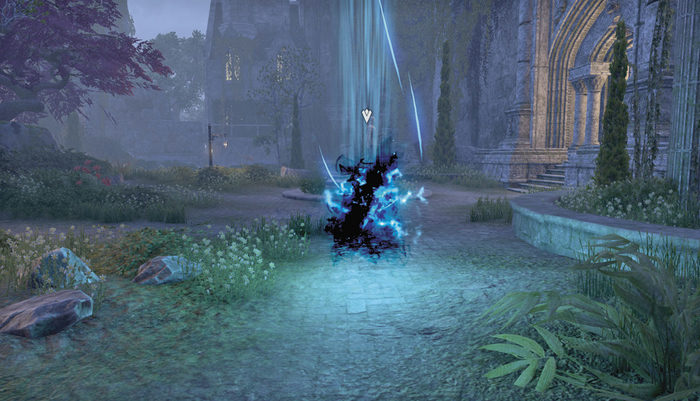
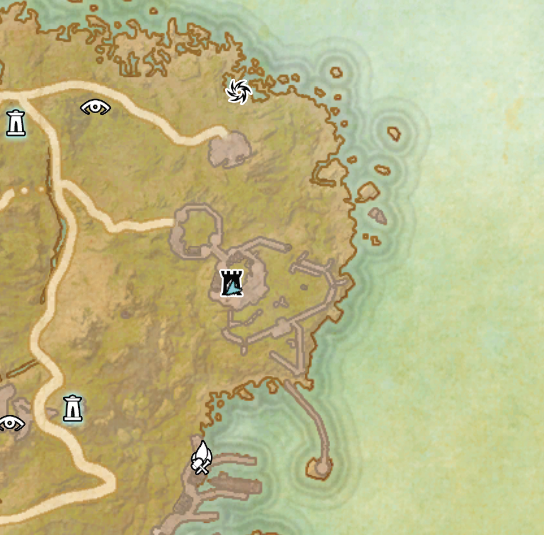
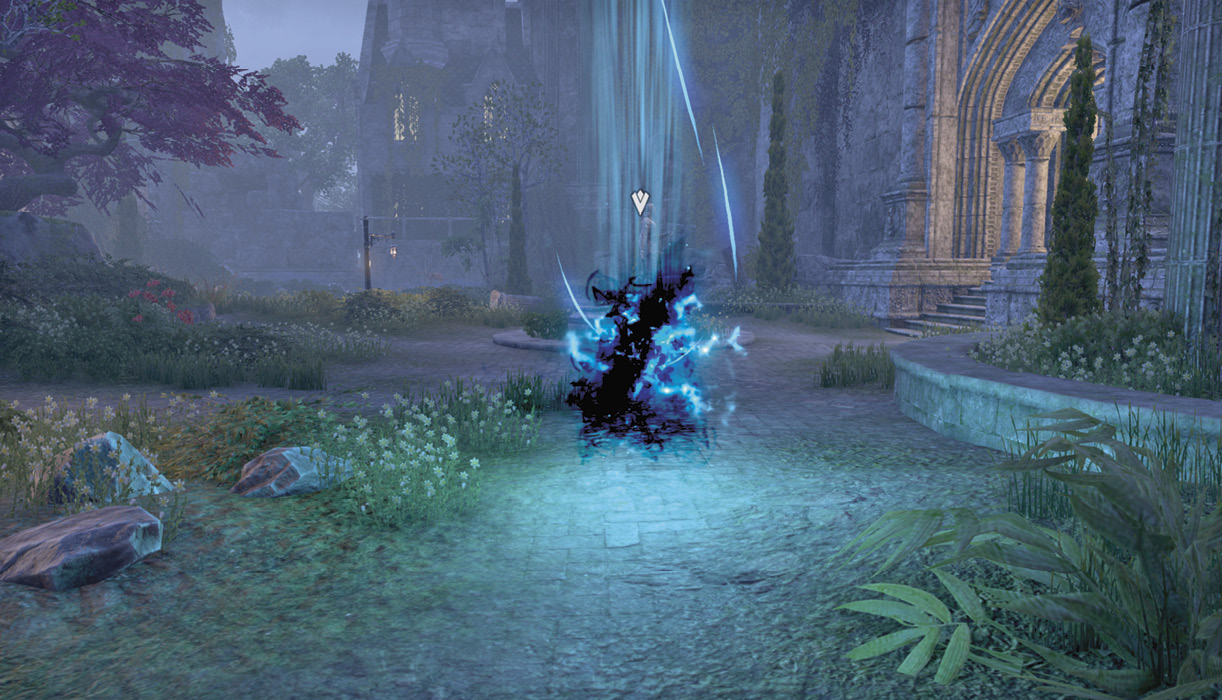
- Location: On the upper exterior of the Direnni Acropolis.

Return to Loremaster Celarus
Once you’ve sealed all nine breaches, head back to Ceporah Tower and speak with Loremaster Celarus. He’ll instruct you to speak with Josajeh as well. Speaking with Josajeh will conclude the quest and earn you an Unidentified Summerset Head Armor box and the Psijic Order skill line.
Breaches on the Bay
- Location: Artaeum, Ceporah Tower
- Quest-giver: Josajeh
Description: There are more time breaches to close, but these ones will require you to do a lot of region traveling outside of Summerset. Get ready to travel through three different regions to complete this quest—four if you haven’t explored the western regions of Tamriel yet.
You have to use the docks in Wayrest in Stormhaven to reach Alik’r.
Examine the Psijic Map
After speaking with Josajeh, examine your Psijic Map. It has changed and now has locations across Iliac Bay, which covers three different regions in Tamriel: Glenumbra, Stormhaven, and Alik’r.
To reach Alik’r, you’ll need to use the docks of Wayrest in Stormhaven. Keep it in the back of your mind as you progress through these breaches.
Breach 1
- Region: Glenumbra

- Location: Just north of Daenia Dolmen on the southeastern side of the region.


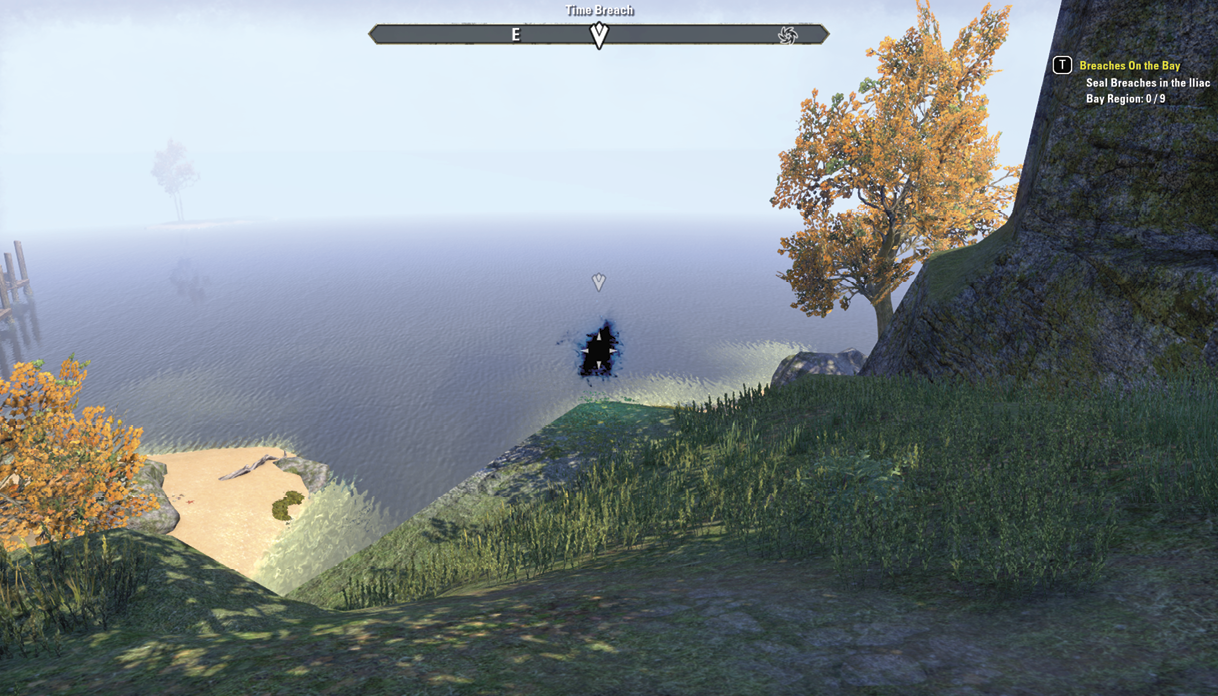
Breach 2
- Region: Glenumbra

- Location: On the north side of the Beldama Wyrd Tree on the region’s west side.
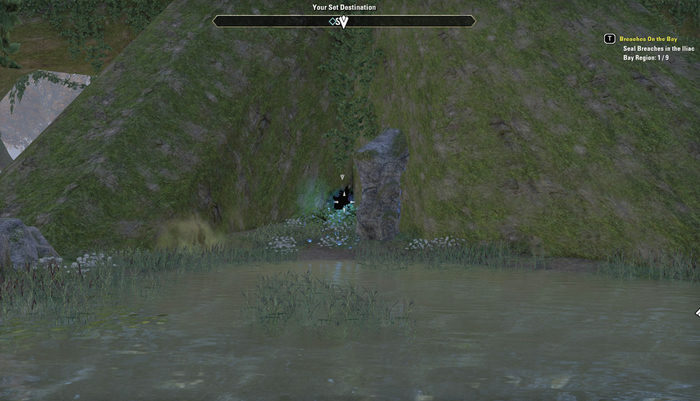
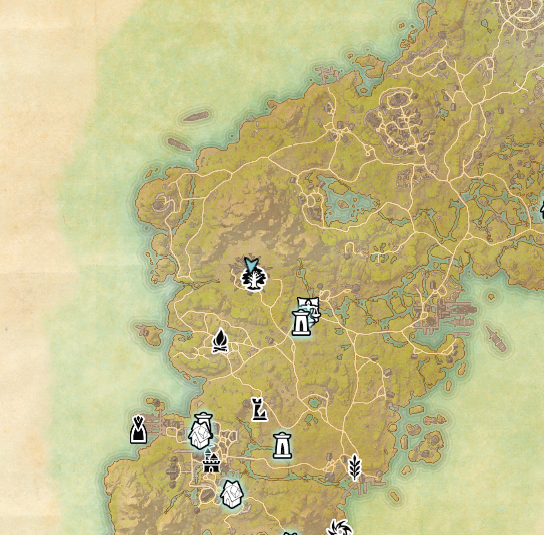
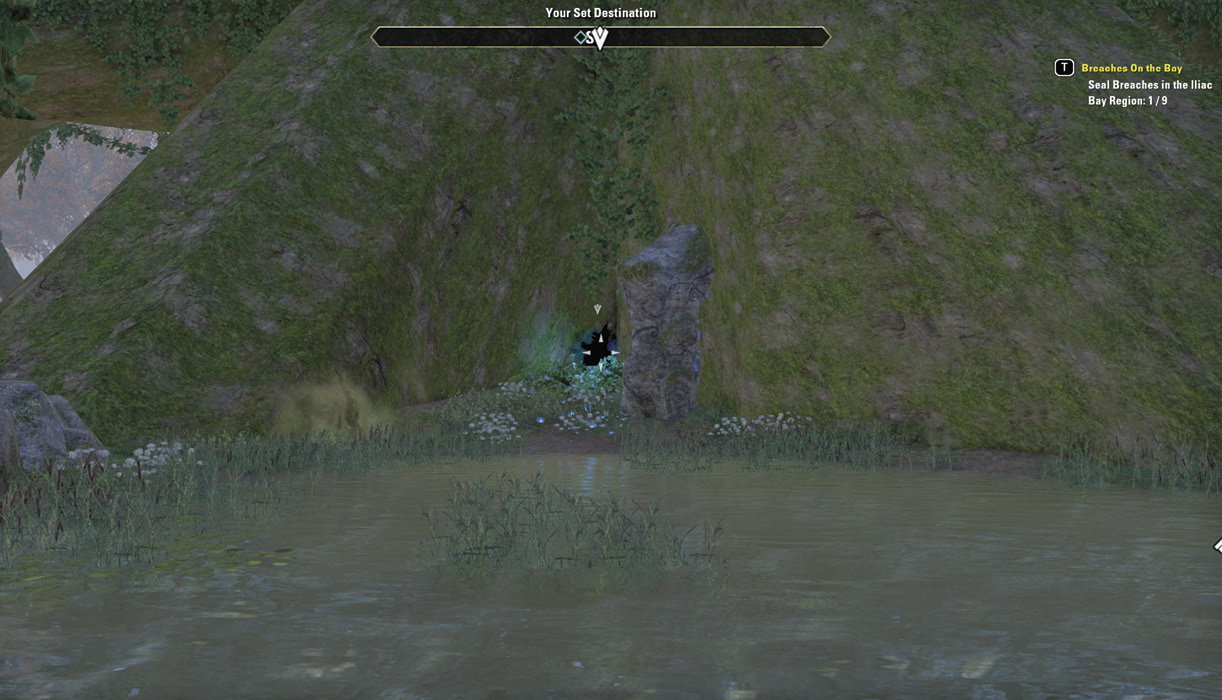
Breach 3
- Region: Glenumbra

- Location: Atop a hill slightly northwest of the Burial Mounds near the region’s northern tip.
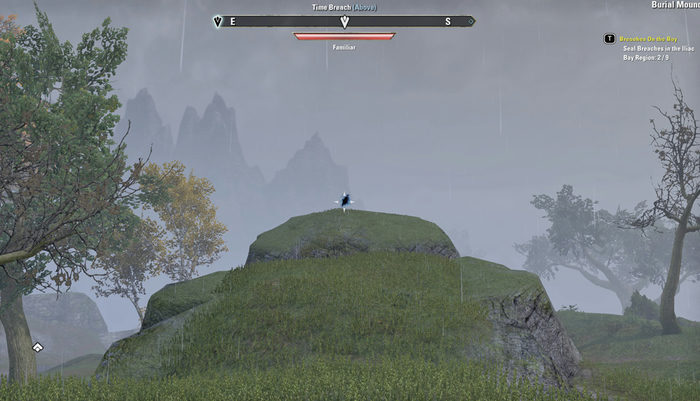


Breach 4
- Region: Stormhaven

- Location: Inside the shipwreck on the middle island, home to Koeglin Lighthouse, on the region’s west end.
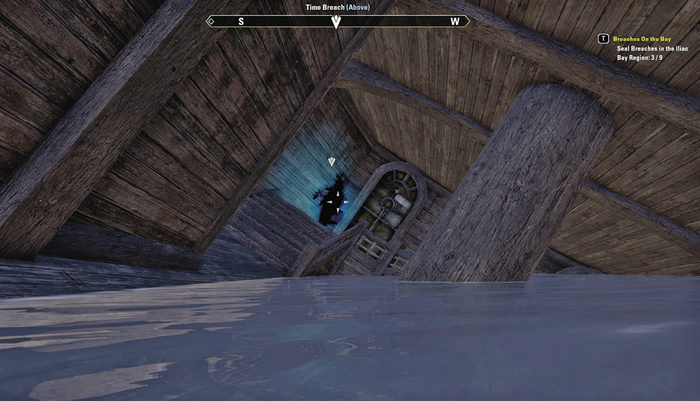


Breach 5
- Region: Stormhaven
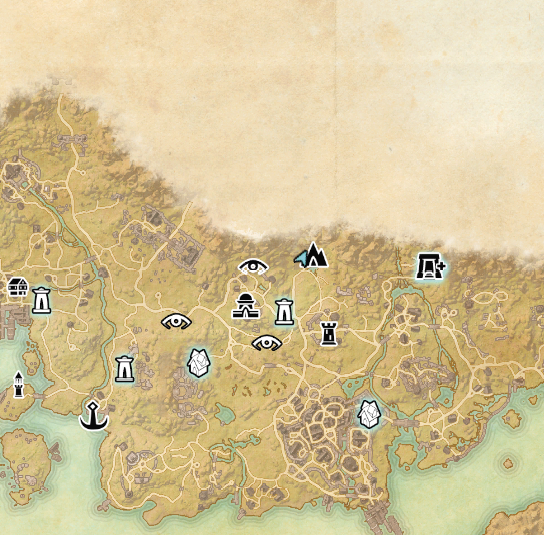
- Location: Slightly west of Moonlit Maw, which is north of the region’s center.
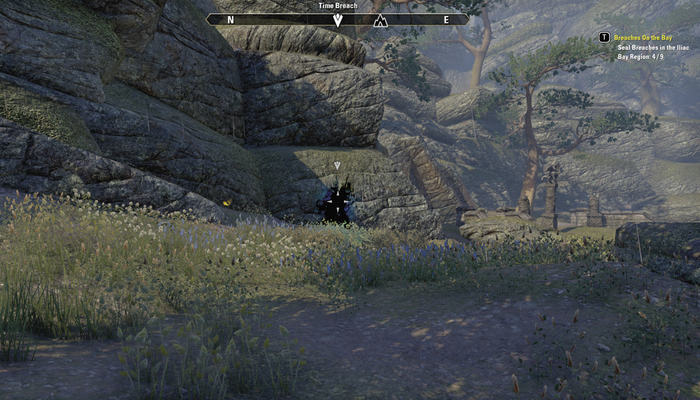

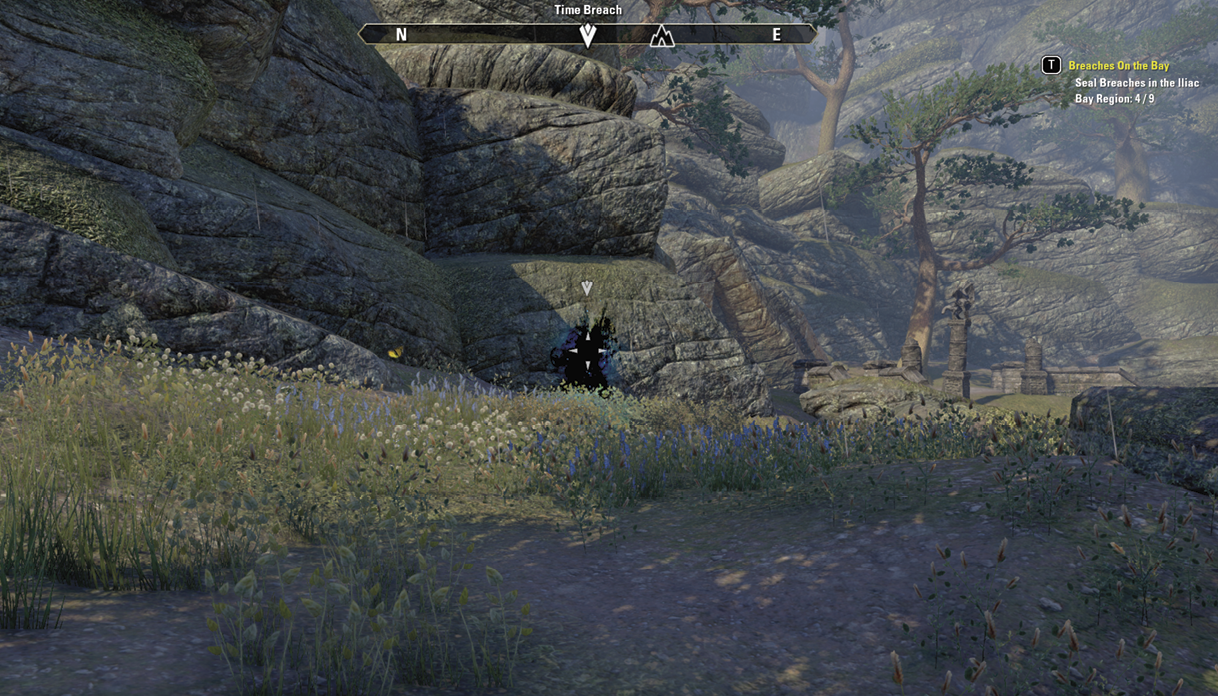
Breach 6
- Region: Stormhaven

- Location: Atop Cumberland Falls, to the west of the Scalecaller Peak dungeon.

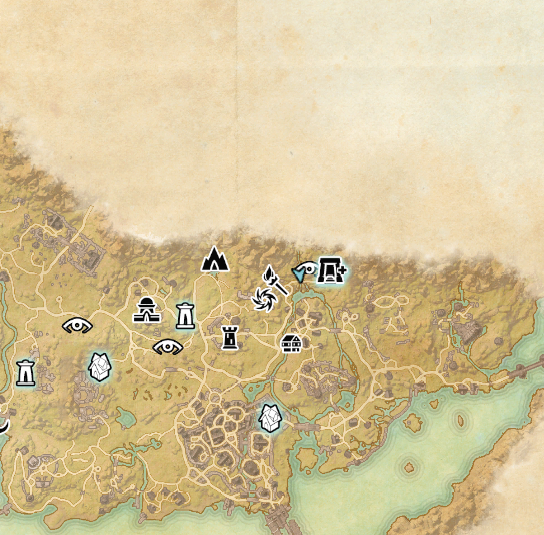

Breach 7
- Region: Alik’r

- Location: On the cliff directly north of Salas En in the southwest corner of Alik’r.

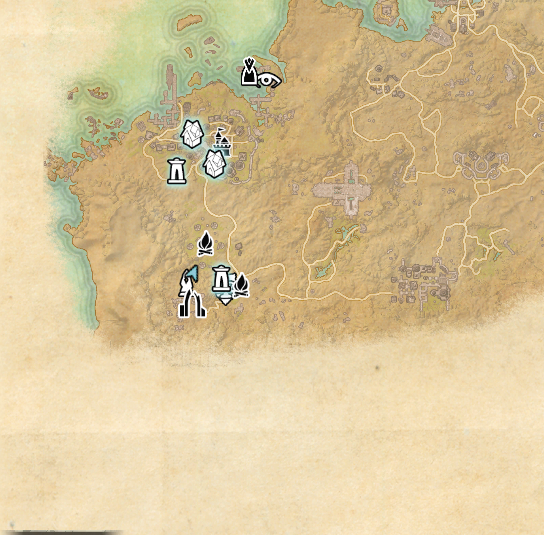

Breach 8
- Region: Alik’r

- Location: At the Easterly Aerie near the center of Alik’r.
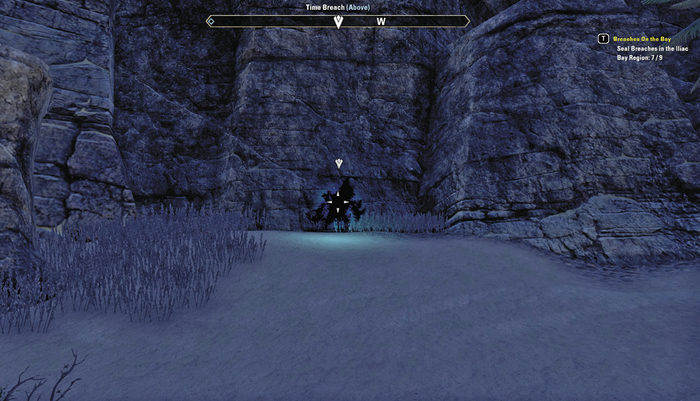


Breach 9
- Region: Alik’r
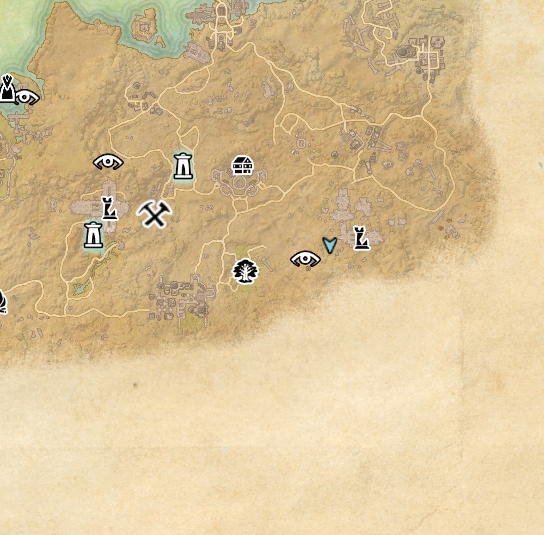
- Location: Between HoonDing’s Watch and Ragnathar. It’s technically in HoonDing’s Watch, but your position on the map is going to be almost directly in the middle of the two locations.


Talk to Josajeh
After finding your last breach, return to Josajeh and speak with her to complete the quest.
Breaches of Frost and Fire
- Location: Artaeum, Ceporah Tower
- Quest-giver: Josajeh
Description: You’ll have more breaches to close, and this time you’ll be heading to Morrowind and Skyrim. Use the wayshrine in Stonefalls to get started; you can warp there without having visited it first.
Before you go, note that this quest takes you through the Rift, which requires a long journey to reach if you’re a newer player. For those wanting to make the trip, start from an unlocked Wayshrine in Davon’s Watch and walk west, then north, into the Rift.
Breach 1
- Region: Stonefalls

- Location: West of the Senie wayshrine in the horseshoe-shaped portion of the lava river.


Breach 2
- Region: Stonefalls
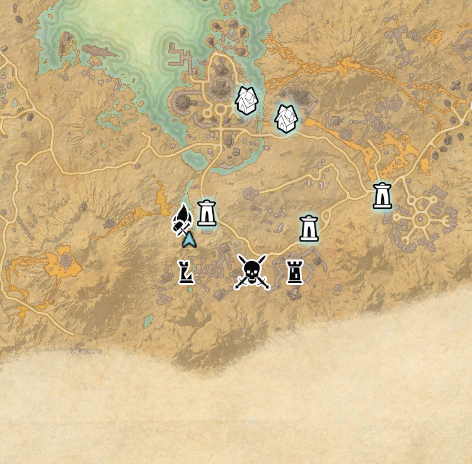
- Location: Slightly southwest of the Brothers of Strife wayshrine near the dead center of the map.


Breach 3
- Region: Stonefalls
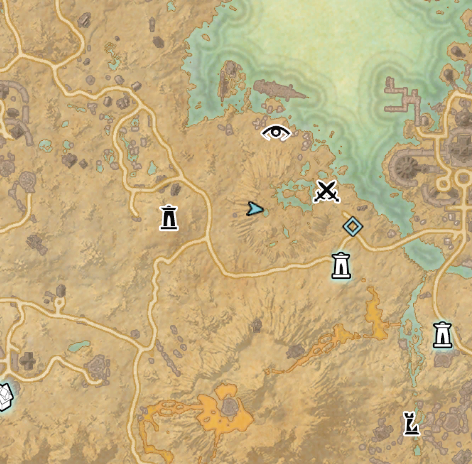
- Location: East of the Sulfur Pools wayshrine atop the dome-shaped rocks surrounding Vivec’s Antlers.

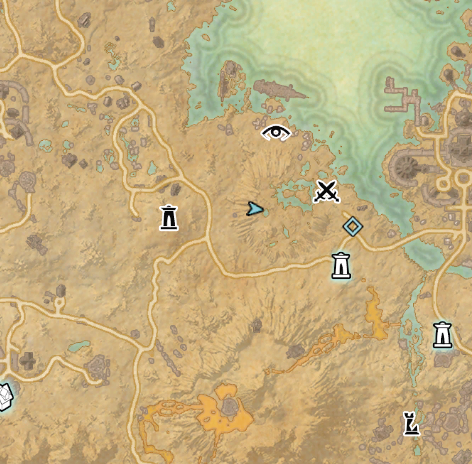

Breach 4
- Region: The Rift
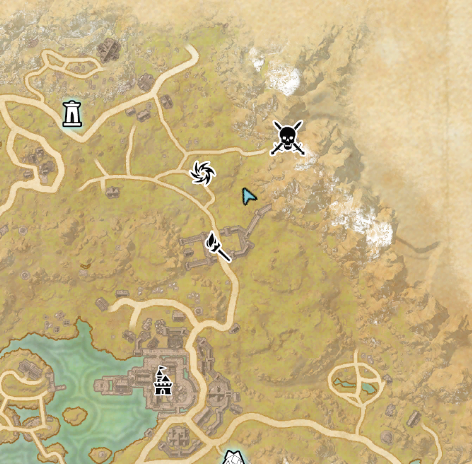
- Location: Northeast of Fort Greenwall. You’ll have to go through the Fort Greenwall delve to reach it. Watch out for the nearby giant once you’re there.


Breach 5
- Region: The Rift
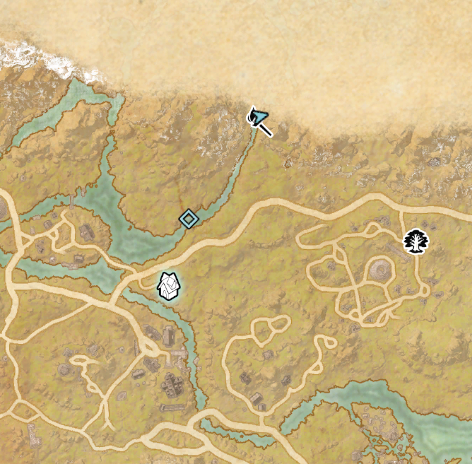
- Location: To the left of the Snapleg Cave delve entrance on the northwestern edge of the map.


Breach 6
- Region: The Rift

- Location: West of Pinepeak Cavern, up the troll-covered trail to the start of the snowy mountains in the northwest corner of the Rift.


Breach 7
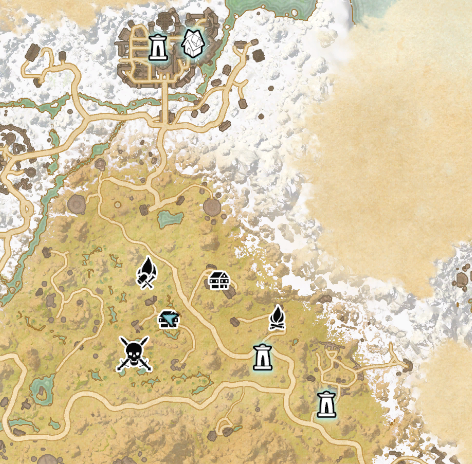
- Region: Eastmarch
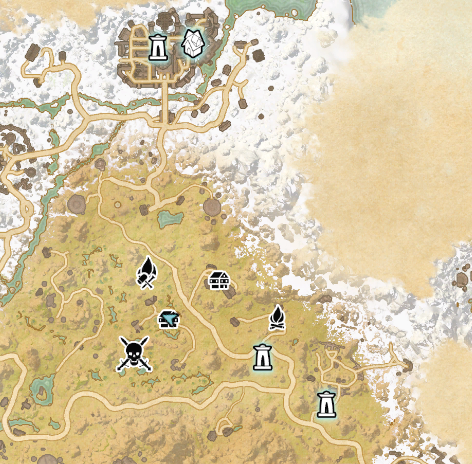
- Location: In the center of Wittestadr in the center of the region.
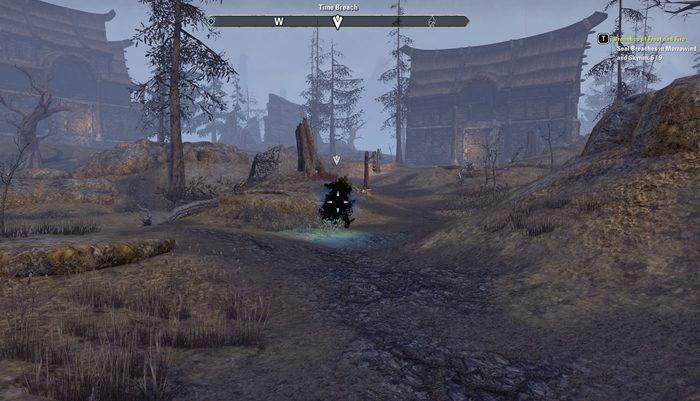

Breach 8
- Region: Eastmarch
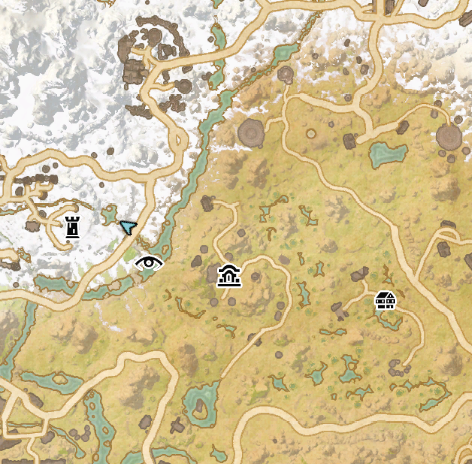
- Location: East of Cradlecrush on the region’s west side. In the brook next to the bridge.

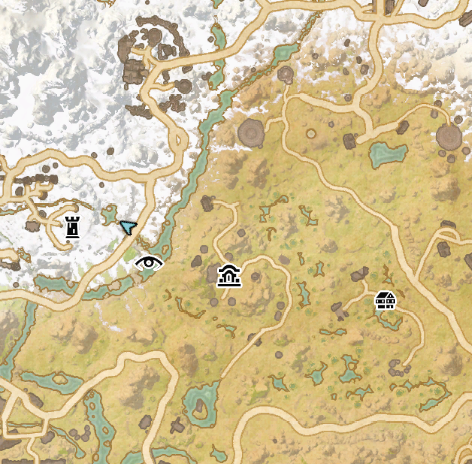

Breach 9
- Region: Eastmarch
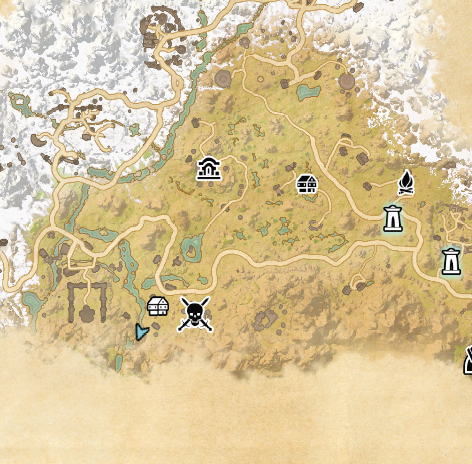
- Location: Follow the river that is west of Darkwater Crossing south until it ends.


Return to Loremaster Celarus
After you seal all of the breaches, return to the Loremaster to complete the quest.
The Shattered Staff
- Location: Artaeum, Ceporah Tower
- Quest-giver: Loremaster Celarus
Description: You’ve sealed enough breaches for the time being. Word is fragments from the Staff of Towers have been found. The staff is incredibly powerful and cannot fall into the wrong hands. Travel from region to region collecting pieces of the Staff of Towers.
Speak with Josajeh
After speaking with Loremaster Celarus, talk with Josajeh. She doesn’t like the idea of grabbing the pieces of such a powerful relic, only to lock it away in the Psijic Relic Vaults. She’ll ask if you agree with her. Feel free to answer honestly; your answer won’t change the course of the quest.
Find the Fragment Near Pelin Graveyard

The fragment near Pelin Graveyard is in Bangkorai. Use the Eastern Evermore wayshrine east of Evermore to get there fast.

When you arrive, follow the direction of the light beams emitted from the clouds until you reach a patch of dense earth.

Find the Fragment Near Leki’s Blade

The fragment near Leki’s Blade is in Alik’r Desert, east of the Kulati Mines wayshrine near the center of the region.
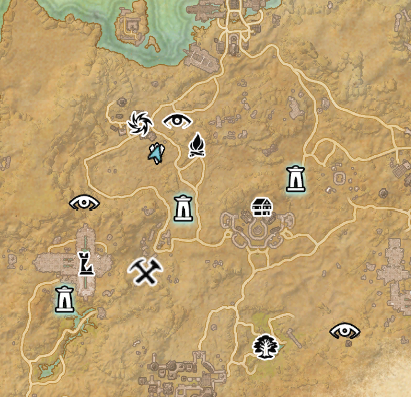
Once you reach the fragment’s mark on the map, follow the direction of the light beams emitted from the clouds until you reach a patch of dense earth.

Find the Fragment Near the Hist Tree

In Deshaan. You can use a wayshrine to enter Stonefalls, then head south to reach this region. Follow the main road through Deshaan, then follow the smaller road southeast to reach the fragment with ease.

Follow the direction of the light beams emitted from the clouds until you reach a patch of dense earth.

Find the Fragment Near Fang Spires

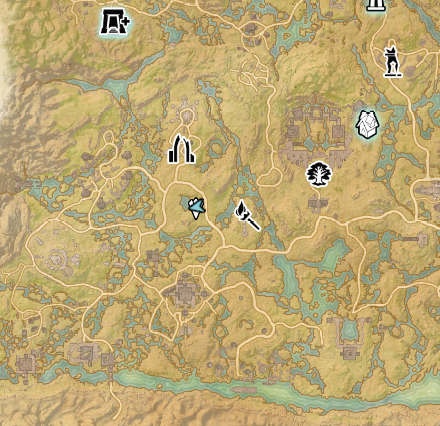
Head south from Deshaan to reach Shadowfen, which is where you’ll find your next fragment. The trip there is simple. Just head toward the waypoint and you should have little trouble reaching it.

Talk to Loremaster Celarus
When all four fragments are in your possession, head back to Loremaster Celarus to complete the quest.
A Breach Amidst the Trees
- Location: Artaeum, Ceporah Tower
- Quest-giver: Loremaster Celarus
Description: Josajeh is none too pleased about having the staff’s fragments taken and stored by the Loremaster, but there are still breaches in need of closing and you’re the only one crazy enough to do it. This time you’ll be heading to Malabal Tor, Greenshade, and Grahtwood. Back to work!
Seal Nine Breaches in Valenwood
Look at your Psijic Map to start the quest. This time the marks and map show the area of Valenwood as your next destination. It’s best to begin your journey from the Malabal Tor, Greenshade, or Grahtwood wayshrines. If you have access to it (via the Thieves Guild DLC), you can warp to the Anvil wayshrine in Gold Coast, then take the boat in Anvil’s docks to Vulkhel Guard. From there, speak to Selandilwen (in the center of the docks). Ask her to take you somewhere within the Aldmeri Dominion and she’ll give you the option to go to Grahtwood.
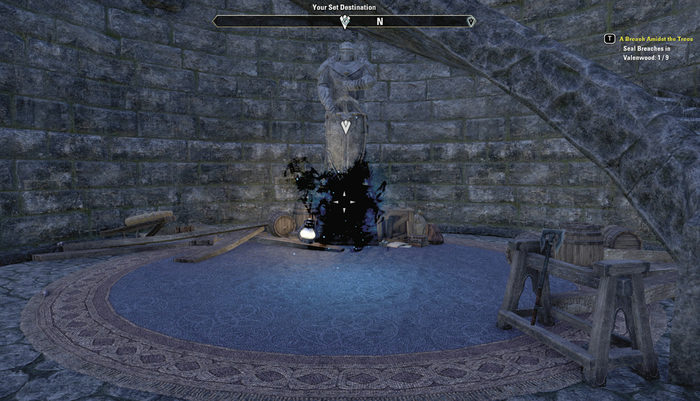
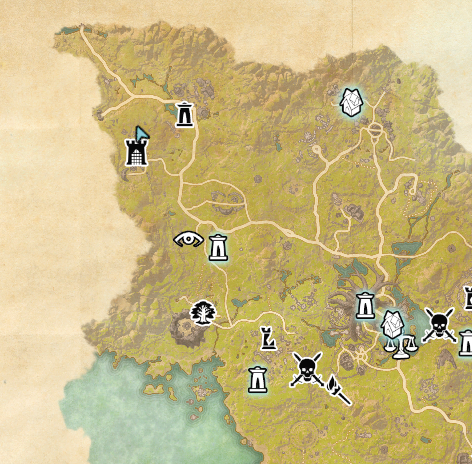
Breach 1
- Region: Grahtwood
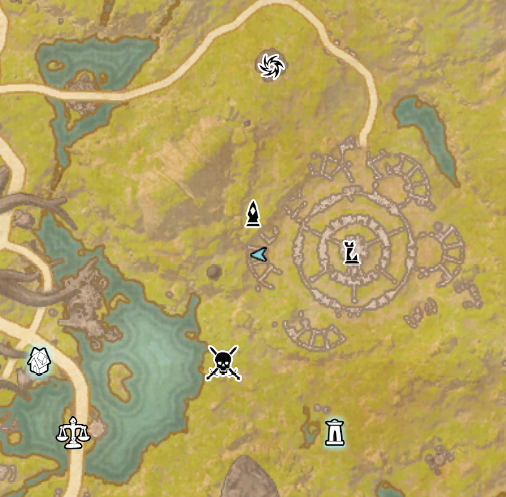
- Location: East of Elden Root and west of Ossuary of Telacar
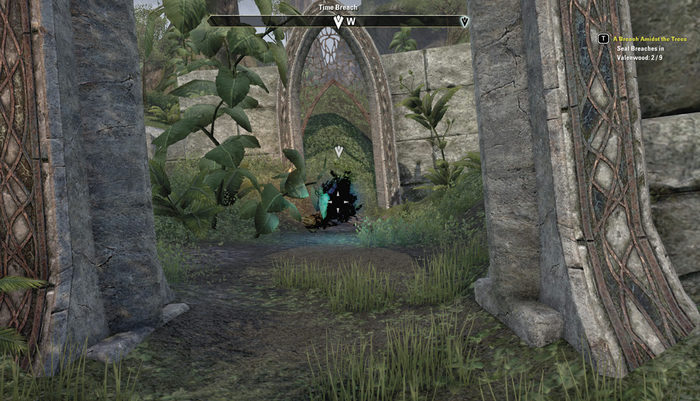


Breach 2
- Region: Grahtwood
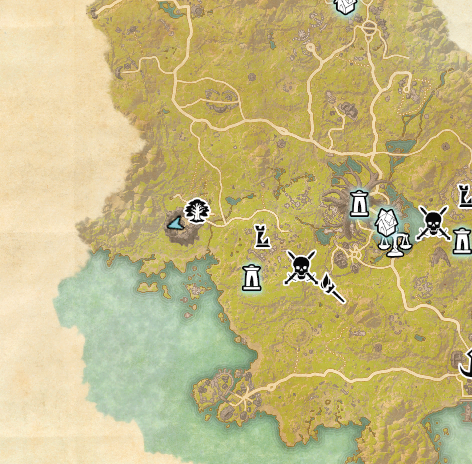
- Location: West of Eldin Root, inside Gil-Var-Delle
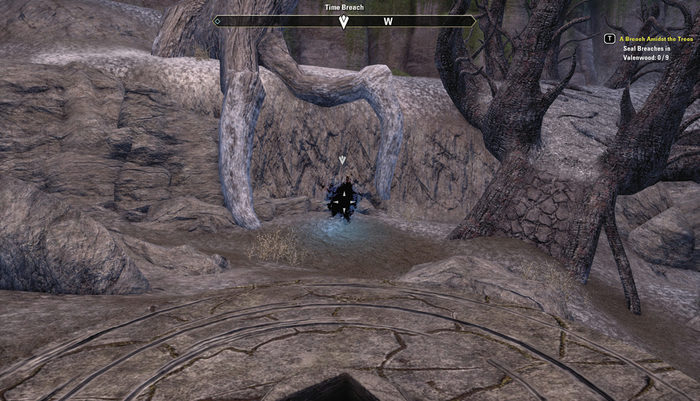
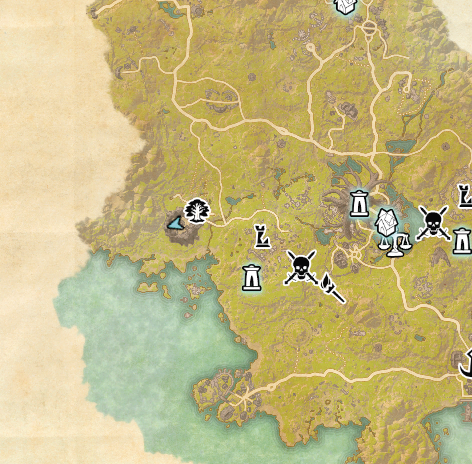
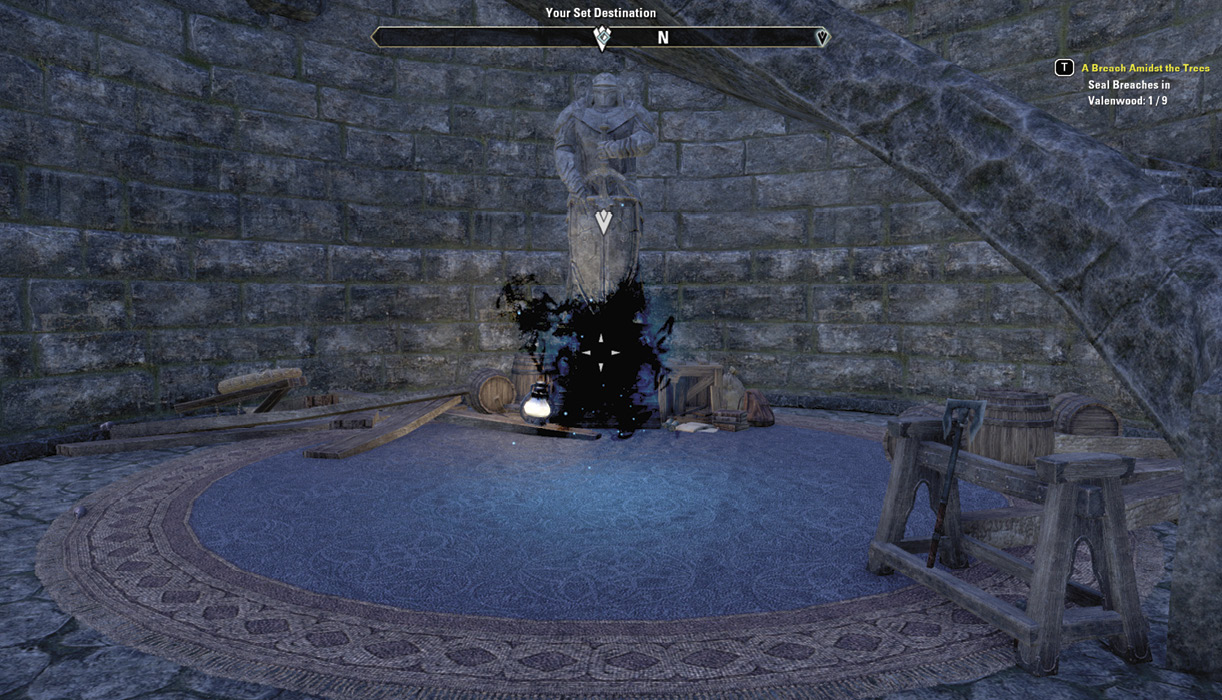
Breach 3
- Region: Grahtwood
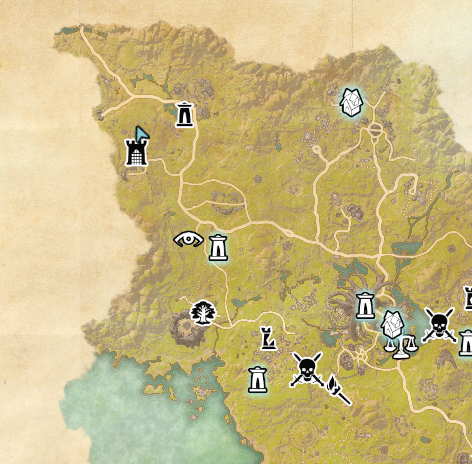
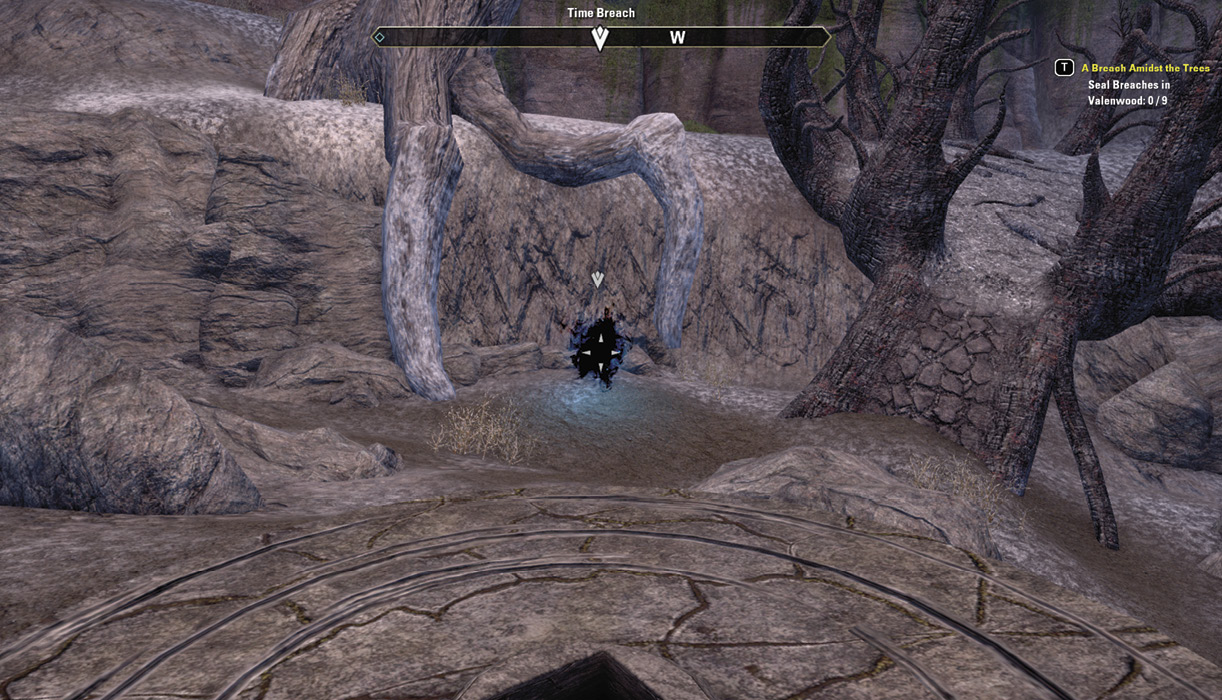
- Location: Northwest of Eldin Root, in the Ruined Tower north of Reman’s Bluff
Head northwest to continue on to either Greenshade or Malabal Tor.
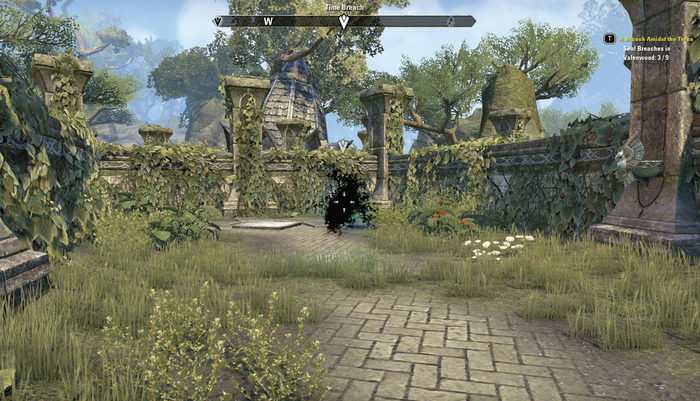
Breach 4
- Region: Greenshade

- Location: Southwest of Marbruk inside Labyrinth


Breach 5
- Region: Greenshade

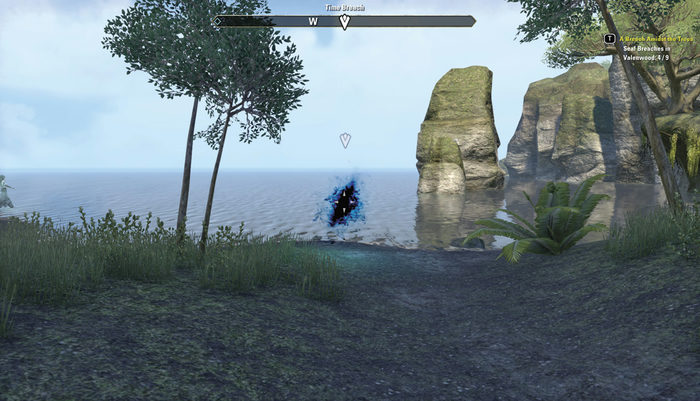
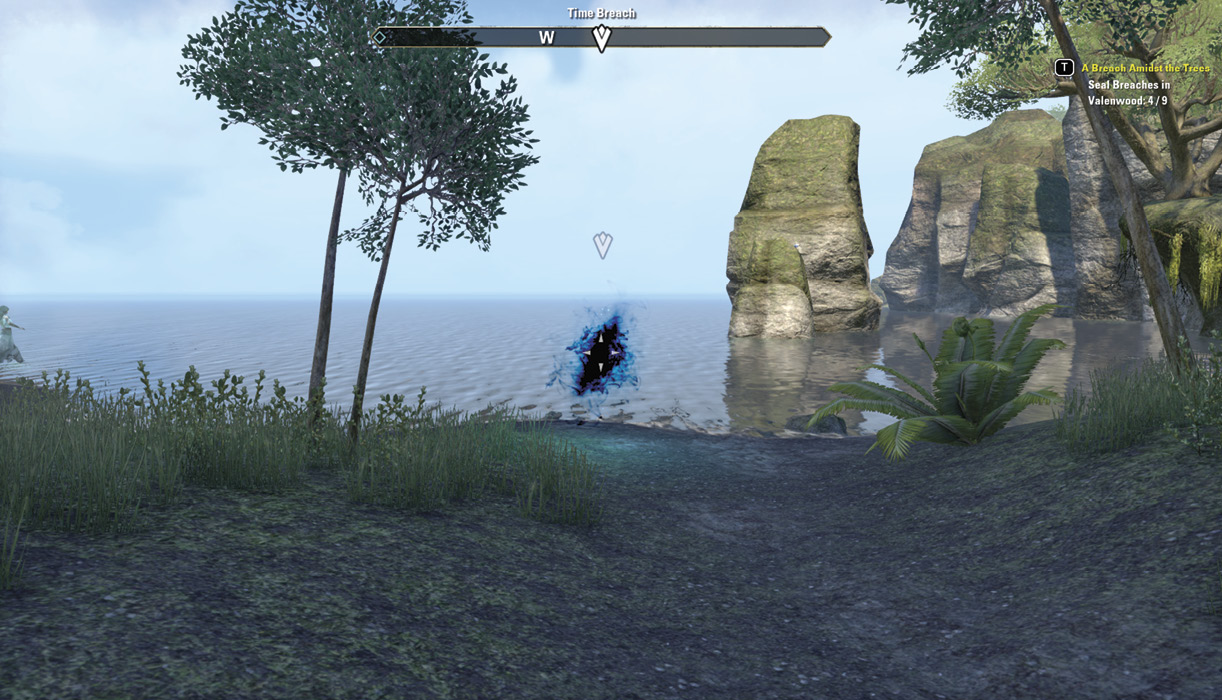
- Location: On the far west side of Greenshade in Fisherman’s Rest. Once you’ve sealed the breach, teleport to the nearest wayshrine and continue your quest.

Breach 6
- Region: Greenshade
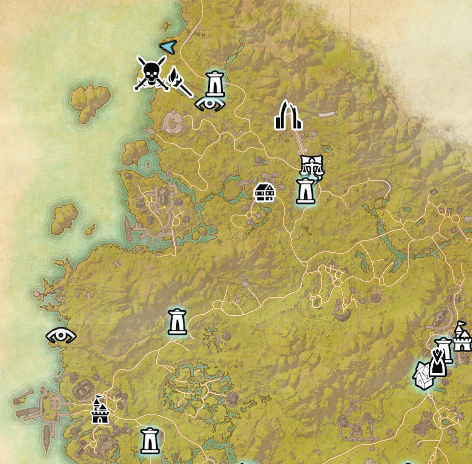
- Location: In the far northwest corner of Greenshade


Breach 7
- Region: Malabal Tor
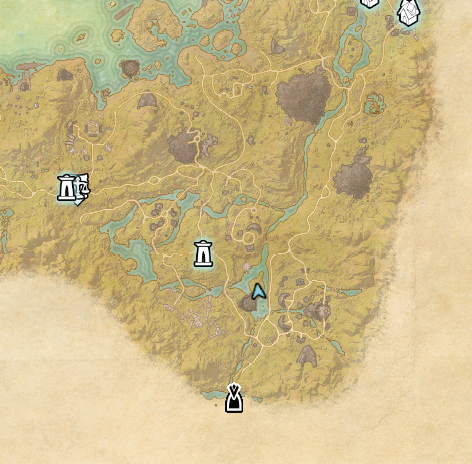
- Location: North of the Xylo River Basin Dolmen on the south side of Malabal Tor; it’s at the base of a giant tree in the middle of the Xylo River.
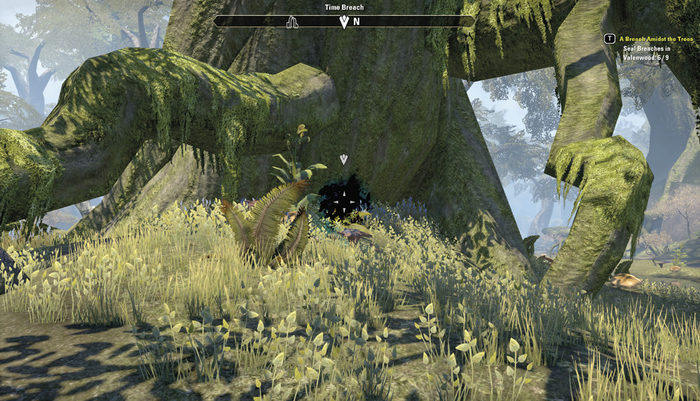
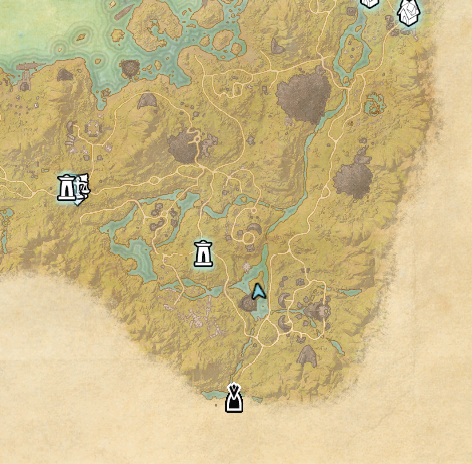

Breach 8
- Region: Malabal Tor
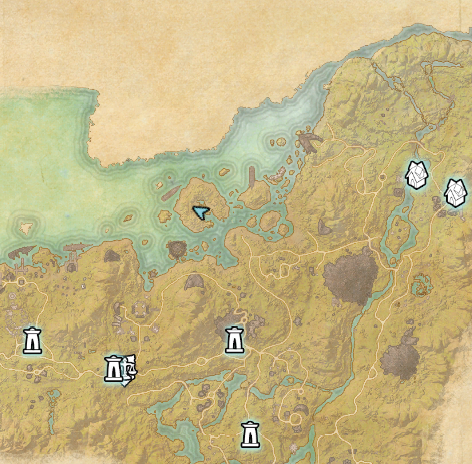
- Location: In the center of Horseshoe Island on the northern side of Malabal Tor.


Breach 9
- Region: Malabal Tor
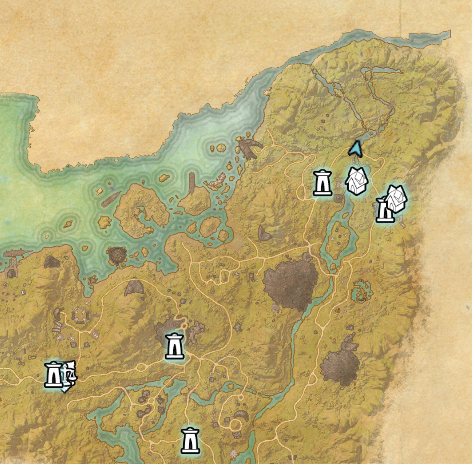
- Location: On the northeast corner of Malabal Tor, just north of the Black Vine Ruins Delve.


Talk to Josajeh
After sealing all nine breaches, return to Josajeh. She’ll apologize for being so difficult. A dialogue choice appears; select either option without fear of changing the reward for the quest.
Speaking of which, once you finish the conversation, the quest closes.
A Time for Mud and Mushrooms
- Location: Artaeum, Ceporah Tower
- Quest-giver: Josajeh
Description: The scryers have nearly found the other half of the staff, but they’re going to need more Psijic Seals placed on breaches before they can find the exact location. This time you’ll be searching the swampy marshes of Shadowfen and Deshaan, so strap on some high boots and get going!
Talk to Loremaster Celarus
Examine the Psijic Map.
Seal Nine Breaches North of Black Marsh
You visited Shadowfen and Deshaan while searching for the first four shards of the staff, so getting there should be as easy as teleporting to a wayshrine. We’ll start in Deshaan and work our way down, but feel free to follow in whatever order you choose.
Breach 1
- Region: Deshaan
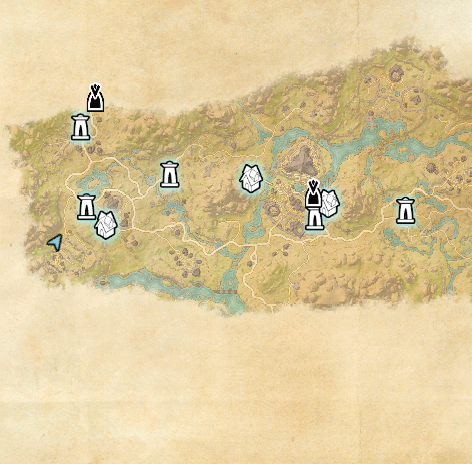
- Location: On the east side of Malak’s Maw in the southwest corner of Deshaan. Follow the path encircling Malak’s Maw clockwise to get behind the front gate and reach the breach.


Breach 2
- Region: Deshaan
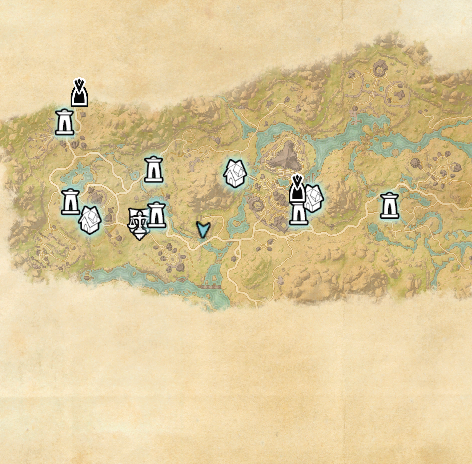
- Location: South of Bthanual just west of the center of Deshaan.


Breach 3
- Region: Deshaan
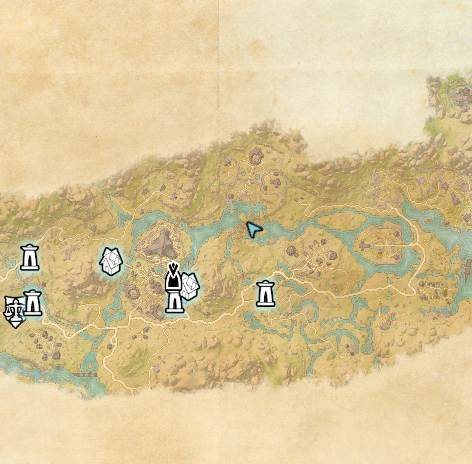
- Location: Northeast of the center of Deshaan just north of the Dire Bramblepatch.

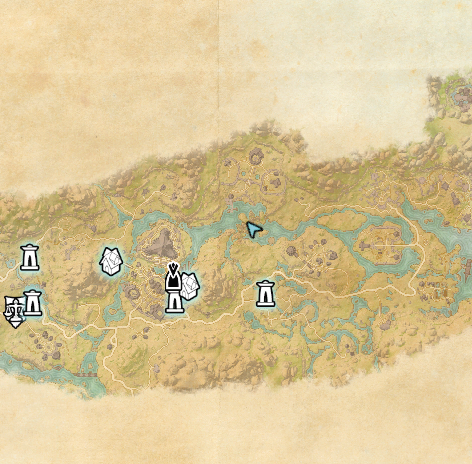

Breach 4
- Region: Deshaan
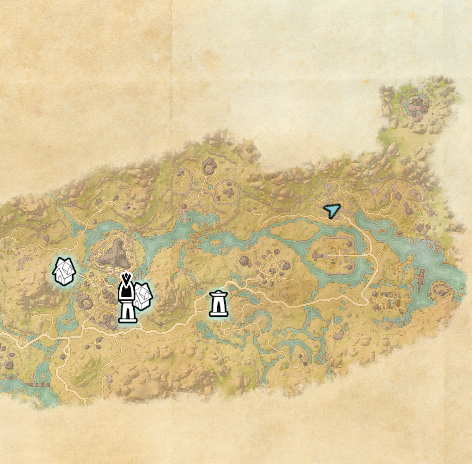
- Location: On the west side of the Shrine of Saint Veloth near the northeast corner of the map.


Breach 5
- Region: Deshaan
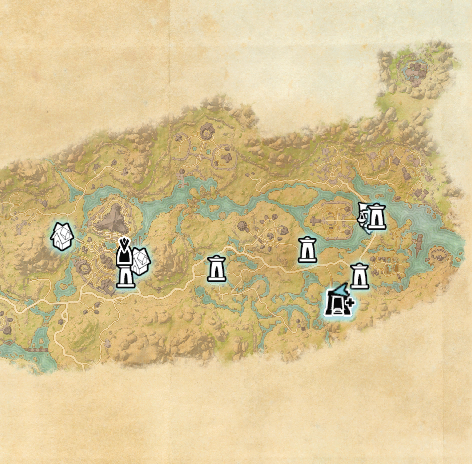
- Location: In the southeast corner of Deshaan slightly northeast of the Darkshade Caverns I Dungeon.


Breach 6
- Region: Shadowfen
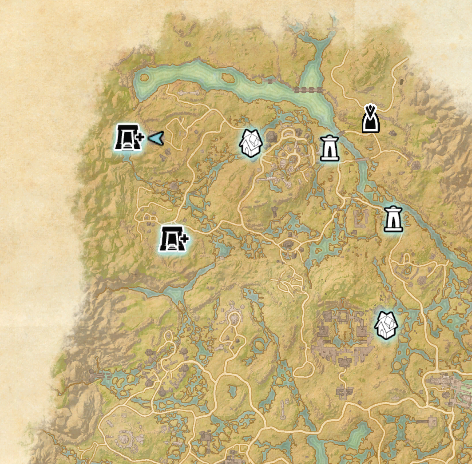
- Location: In the northwest corner of Shadowfen just east of Ruins of Mazzatun Dungeon.

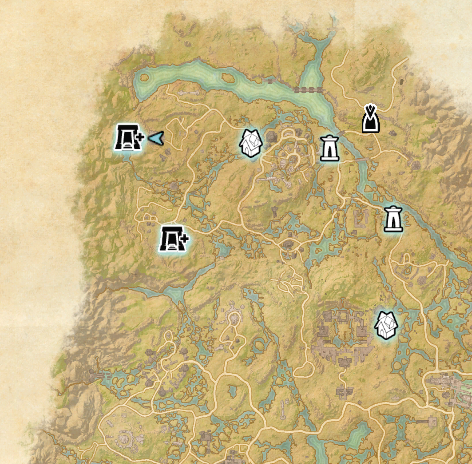

Breach 7
- Region: Shadowfen
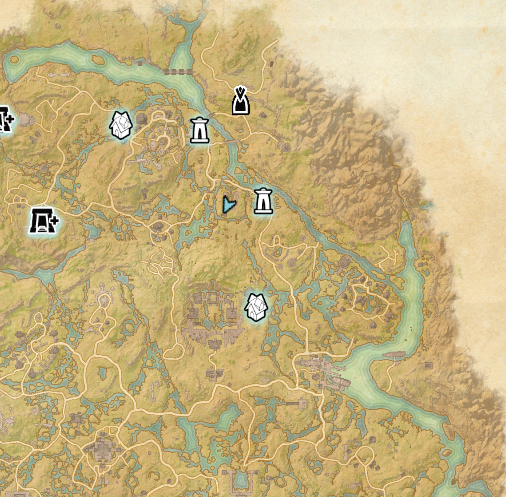
- Location: Under a tree’s roots in the southwest corner of Bogmother, north of Shadowfen’s center.


Breach 8
- Region: Shadowfen
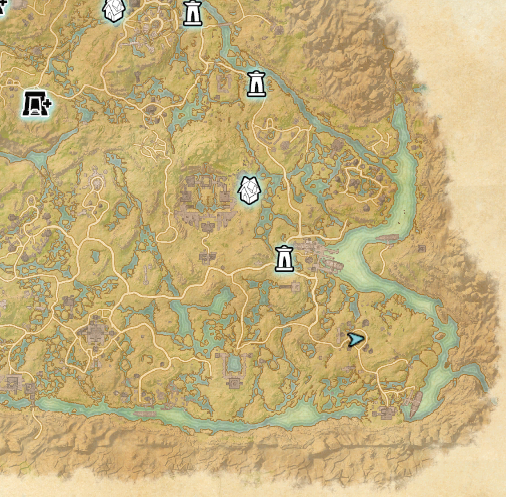
- Location: In the southeast corner of Shadowfen in the Percolating Mire.


Breach 9
- Region: Shadowfen
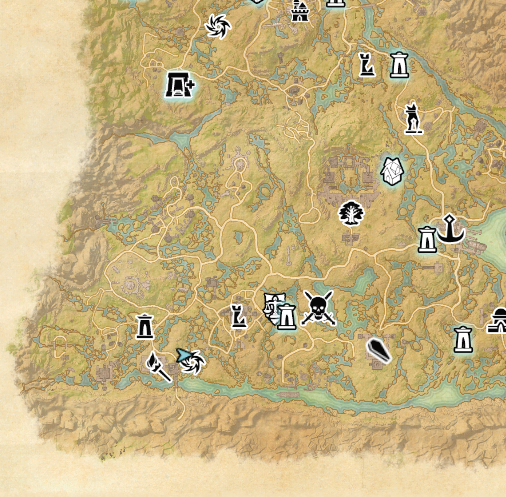
- Location: On the northwest side of the Venomous Fens Dolmen on the southwest corner of Shadowfen.


Talk to Josajeh
With all nine breaches good and sealed, head back to Artaeum. Speak with Josajeh, then talk to Loremaster Celarus to conclude the quest.
The Towers’ Remains
- Location: Artaeum, Ceporah Tower
- Quest-giver: Loremaster Celarus
Description: All your hard work and breach hunting has paid off! The final staff shards have been found and are ready to be collected. You’ll be heading to Stonefalls, Stormhaven, Greenshade, and Craglorn to find each piece. You’ve already been to all of these locations at this point—except for Craglorn, which is easily accessible from Bangkorai—so grabbing these shards will be quick and easy.
Find the Fragment Near Brothers of Strife in Stonefalls
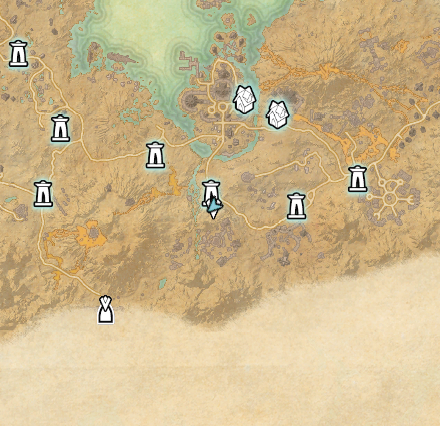
You’ll find the Stonefalls Mundus Tear almost dead center of Stonefalls. You can use the Brothers of Strife wayshrine to reach it almost immediately.

Once you approach the Mundus Tear, follow the clouds’ light beams to find the staff fragment.

Find the Fragment Near Weeping Giant in Stormhaven
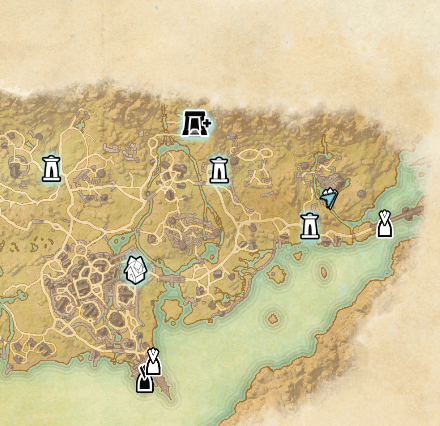
Stormhaven’s Mundus Tear is just about as easy to reach as Stonefalls’. It’s positioned on the eastern edge of Stormhaven and is nearly instantly reachable from the Weeping Giant wayshrine.
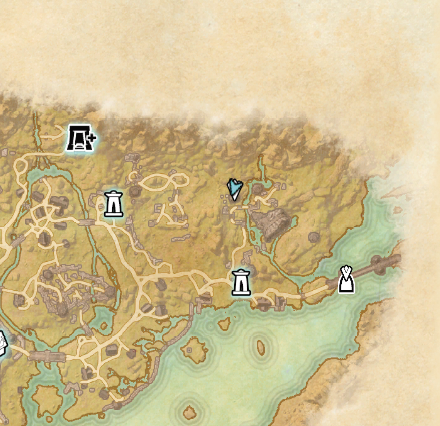
Interact with the Mundus Tear and follow the clouds as they guide you to your third staff fragment.

Find the Fragment Near Greenheart in Greenshade

The staff fragment in Greenshade is on the region’s south side. If you have access to the Labyrinth wayshrine, you can teleport there and head southwest to reach it with ease.
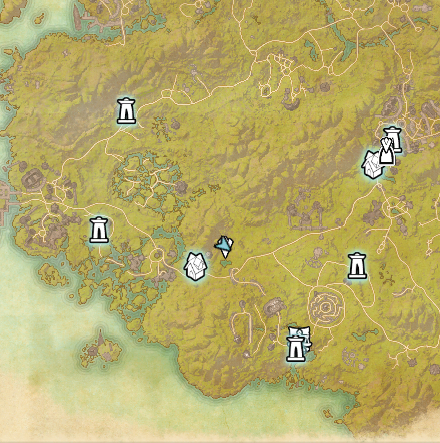
Follow the clouds and their pointing beams until they lead you to a patch of dense earth. Dig up the earth and the fragment will be yours for the taking.

Find the Fragment Near Spellscar in Craglorn
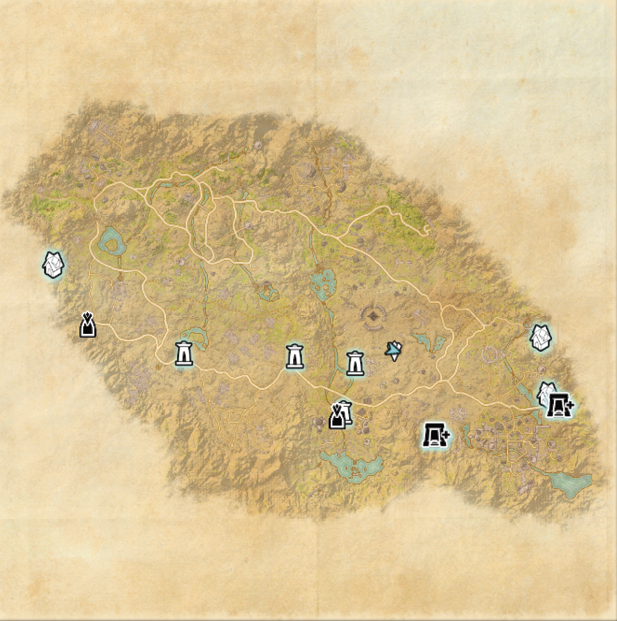
Getting through Bangkorai can be a bit of a bear if you try to reach Craglorn in the most obvious way—heading south from the nearest wayshrine. Teleport to a wayshrine on the region’s west side and go east. If you try to come through from the north, the Bangkorai Garrison and the nearby mountain range will block you.
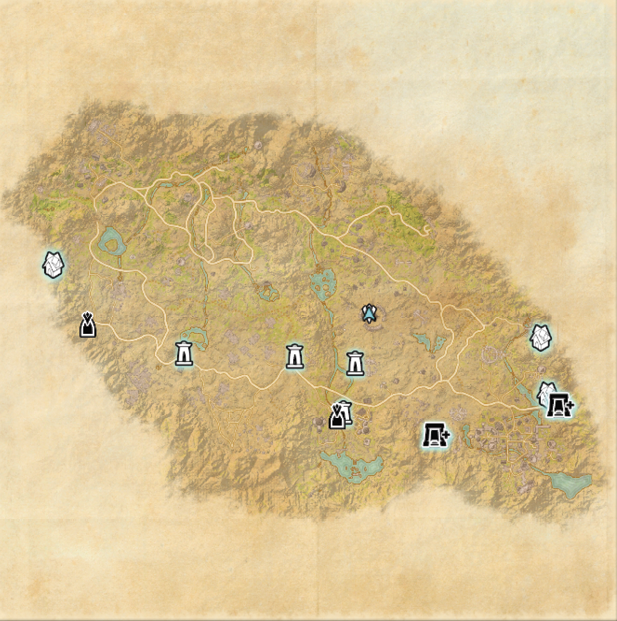
You’ll find the Mundus Tear northeast of the Belkarth Wayshrine, which is slightly southeast of the center of the Craglorn.
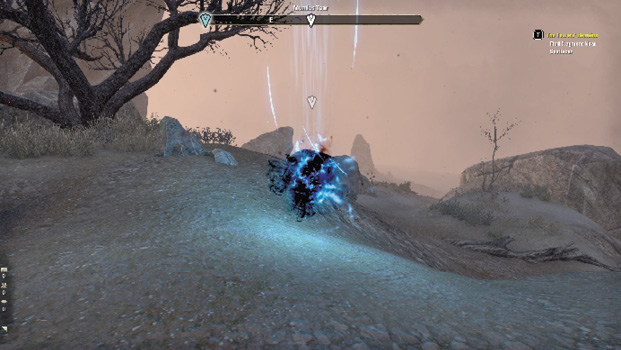
Once you reach the marked location, follow the light beam clouds to find the dirt pile concealing the fragment.
Talk to Loremaster Celarus
After sealing your last breach, head back to Loremaster Celarus to finish the quest.
Time in Doomcrag’s Shadow
- Location: Artaeum, Ceporah Tower
- Quest-giver: Loremaster Celarus
Description: The staff shards have all been rounded up, but breaches are still opening up around Tamriel. Close these breaches while the scryers, the Loremaster, and Josajeh try to find a way to stop them from opening for good.
Talk to Josajeh
Examine the Psijic Map.
Seal Nine Breaches in Rivenspire
This time we’re going to Rivenspire, which is in the northwestern corner of Tamriel, just above Glenumbra and Stormhaven, two regions you’ve already visited on your quest to close the breaches. Use a wayshrine in Stormhaven and go north to reach Rivenspire.
Breach 1
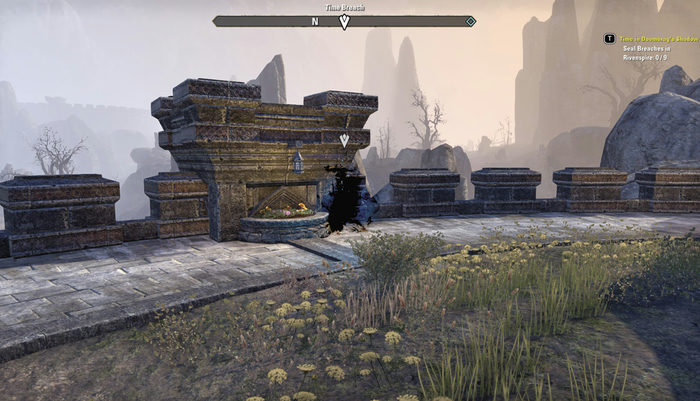
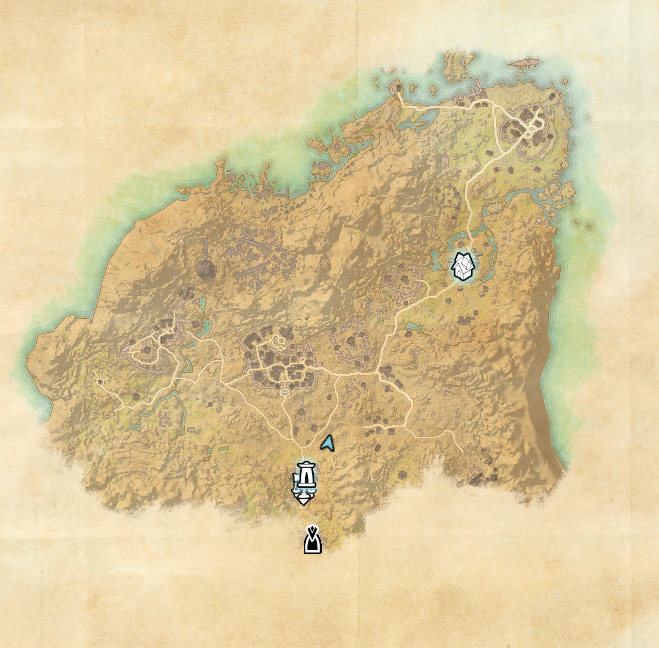
- Region: Rivenspire

- Location: Just northeast of the Oldgate wayshrine on the south side of Rivenspire.

Breach 2
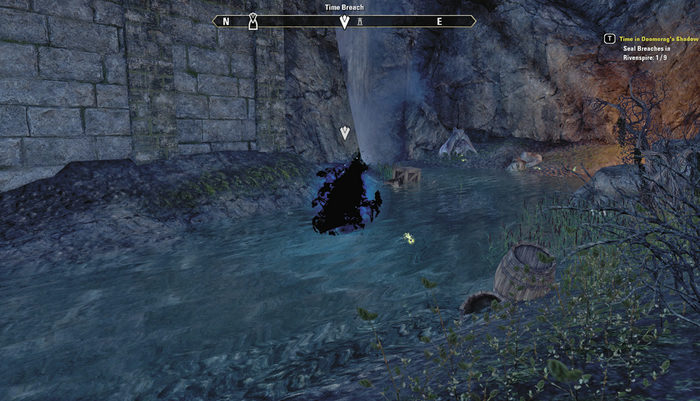
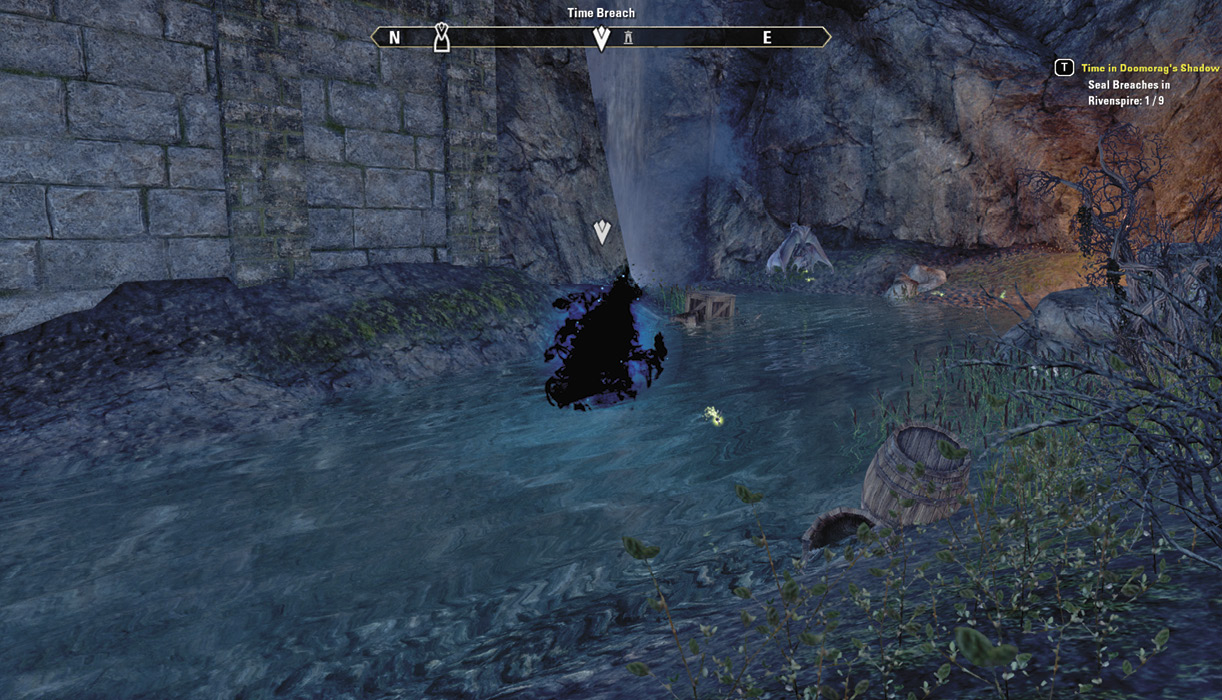
- Region: Rivenspire

- Location: Inside Shadowfate Cavern in the southwest corner of the map.

Breach 3
- Region: Rivenspire

- Location: West of the Tamrith Camp wayshrine, right next to Aesar’s Web.
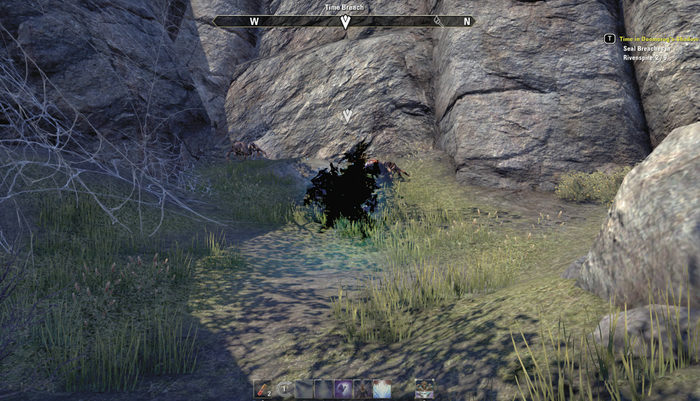


Breach 4
- Region: Rivenspire

- Location: On the western border of Rivenspire, slightly west of Crestshade.
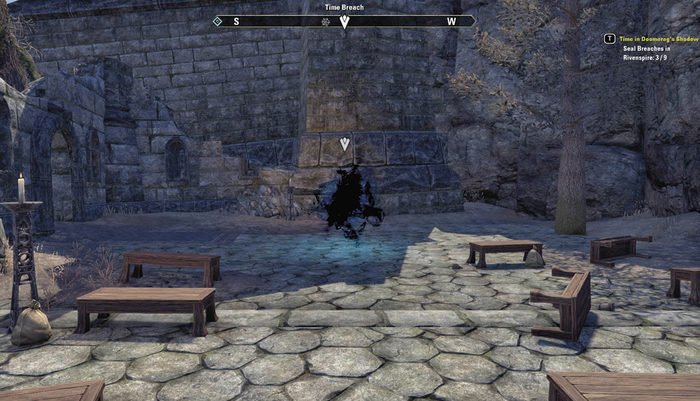


Breach 5
- Region: Rivenspire

- Location: On the southeast corner of Rivenspire, north of the Sanguine Barrows wayshrine.
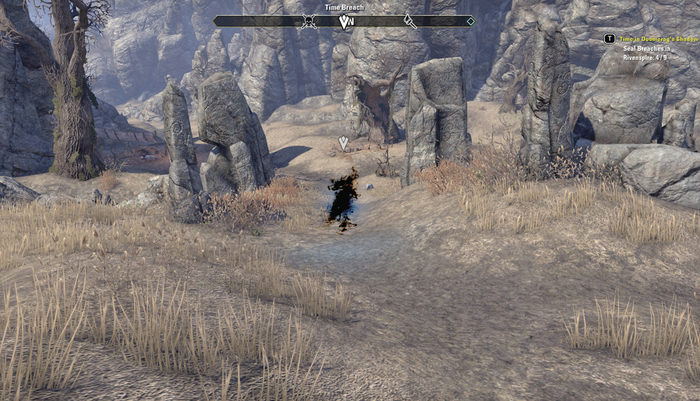
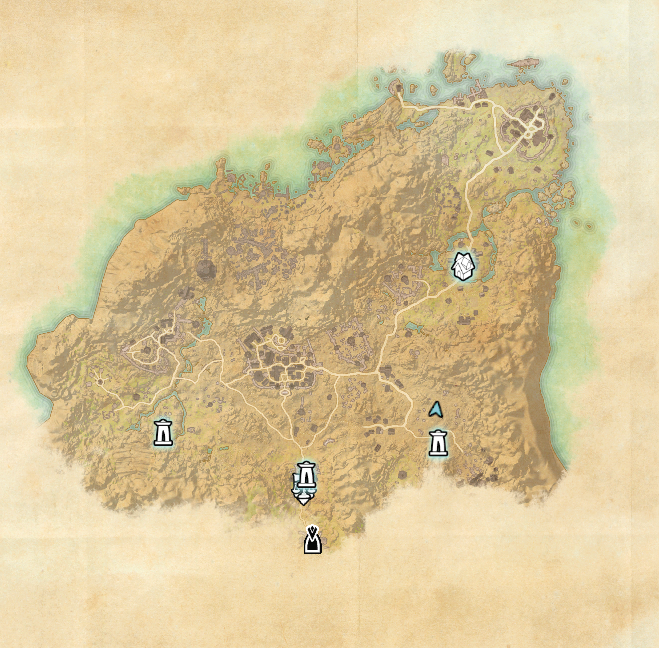

Breach 6
- Region: Rivenspire

- Location: On the eastern border of Rivenspire on the north end of the Edrald Estate.

Breach 7
- Region: Rivenspire

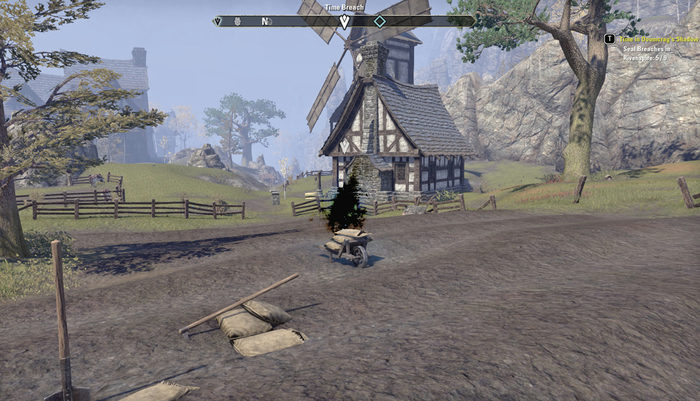
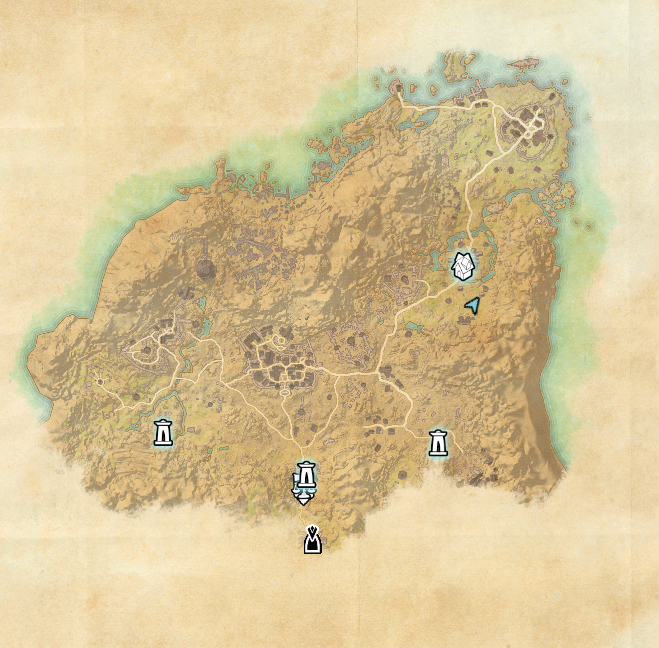
- Location: West of Fell’s Run wayshrine on the northside of Lorkrata Hills.
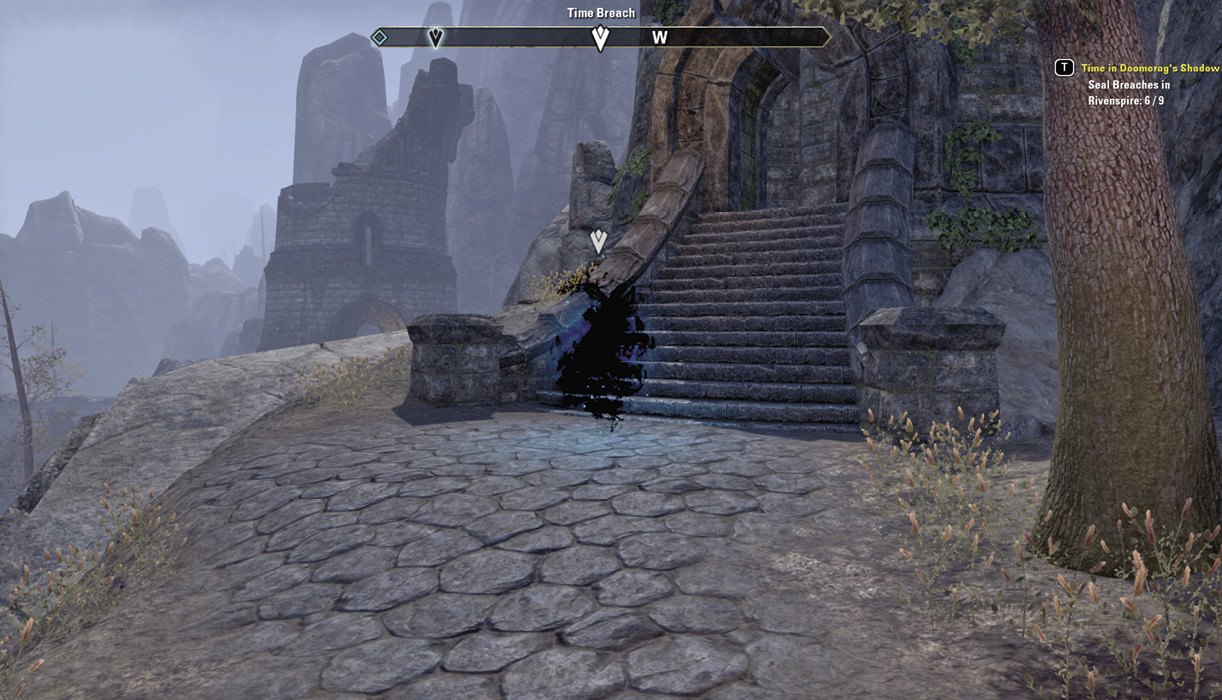
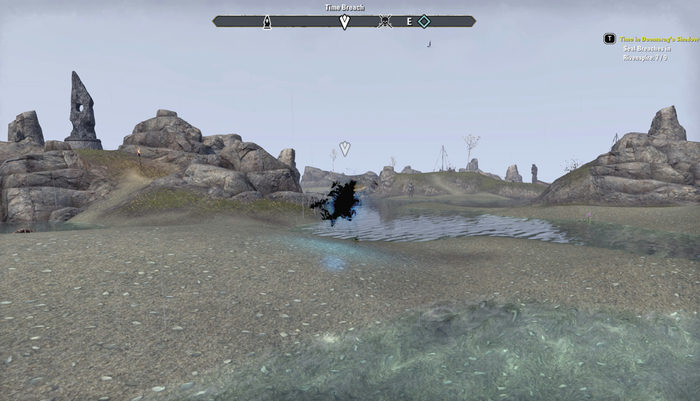
Breach 8
- Region: Rivenspire

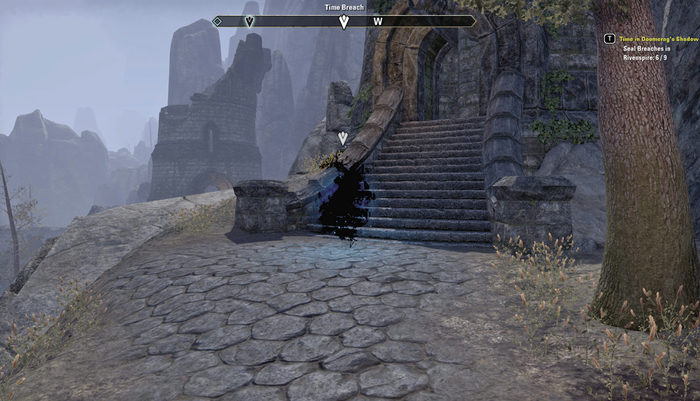
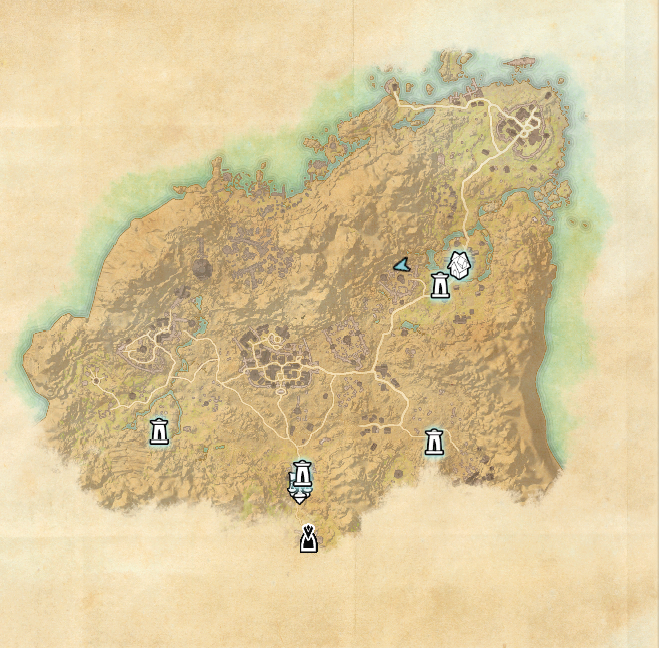
- Location: In the northeast side of Rivenspire just east of the Boralis wayshrine.


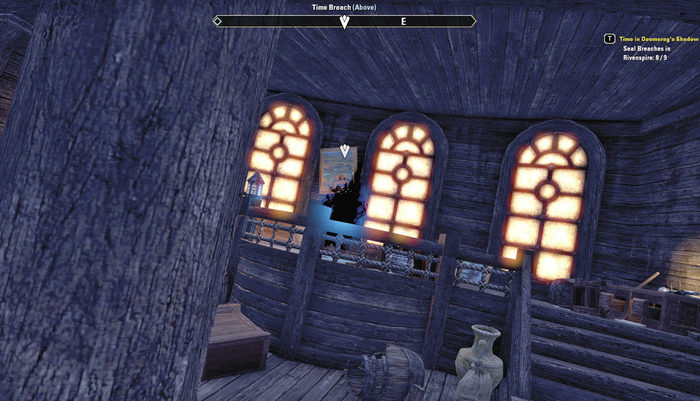
Breach 9
- Region: Rivenspire

- Location: In the northeast corner of Rivenspire on the east end of the Lagra’s Pearl shipwreck.


Talk to Loremaster Celarus
With nine more breaches under your belt, head back to Celarus and tell him the good news. The quest will conclude after you finish letting him know the good deeds you’ve done.
A Breach Beyond the Crags
- Location: Artaeum, Ceporah Tower
- Quest-giver: Loremaster Celarus
Description: One last breach-hunting trip. This time it’s off to the desolate Craglorn, which you’ve already visited for the second staff shard quest.
Talk to Josajeh
Josajeh will give you a couple of dialogue options to choose from during this conversation. Again, choose the option you like the most. You won’t be locked out of content with whatever you choose.
Once you’re done, open your Psijic Map to find Craglorn as your next destination.
Seal Six Breaches in Craglorn
Teleport to the wayshrine nearest the west side of the region and we’ll work our way from left to right. Note: A lot of Craglorn is geared toward grouped play, so many locations will have enemies that can easily knock you out in mere moments. If you see a plus-sign icon on the map or compass, try navigating around it instead of cutting straight through and avoid activating any Celestial Rifts.
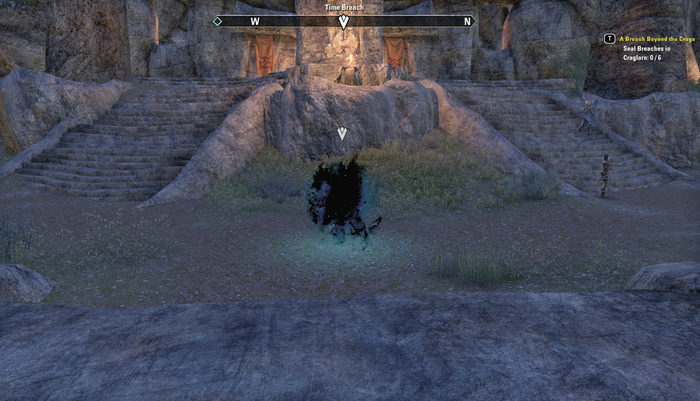
Breach 1
- Region: Craglorn

- Location: On the northwestern tip of Craglorn in front of the Dragonstar Arena.


Breach 2
- Region: Craglorn

- Location: East of the Skyreach wayshrine, on the bridge leading into Skyreach Hold’s western entrance. The easiest way to reach this breach is by teleporting to a wayshrine near the northwestern side of the region, then following the main road toward the location marked in the Psijic Map. A mountain range and lots of group-related areas separate most of the northern and southern halves of the map, making it impossible to reach the breach without a significant headache and wandering.
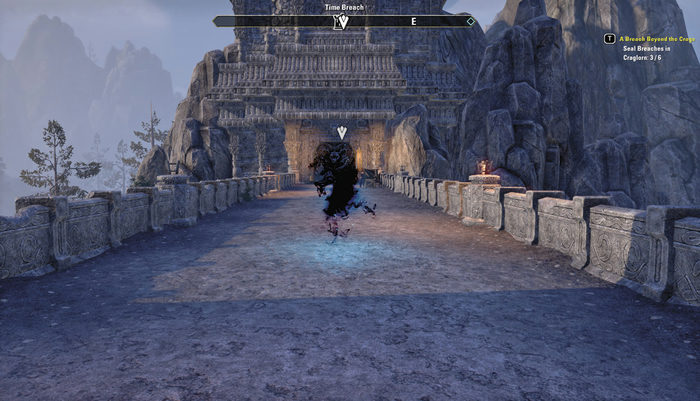


Breach 3
- Region: Craglorn

- Location: Near the southwestern corner of Craglorn, west of the Sandy Path wayshrine.
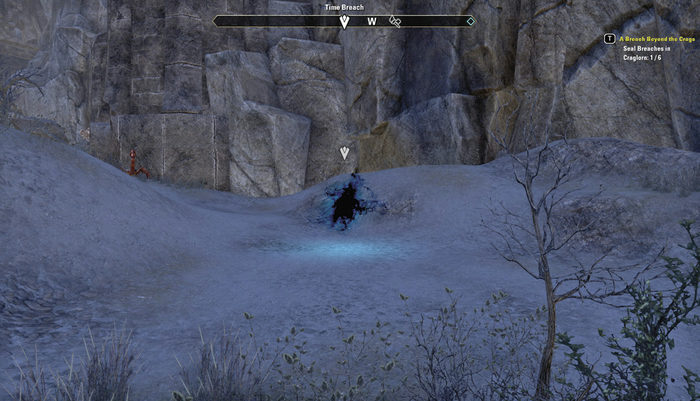


Breach 4
- Region: Craglorn

- Location: In the southern tip of Craglorn just south of the Scorpion Ravine.


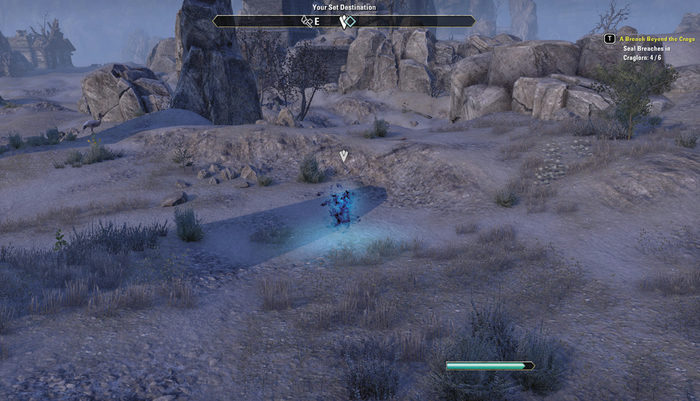
Breach 5
- Region: Craglorn

- Location: On the eastern half of the region, just past the Adamant Anomaly.


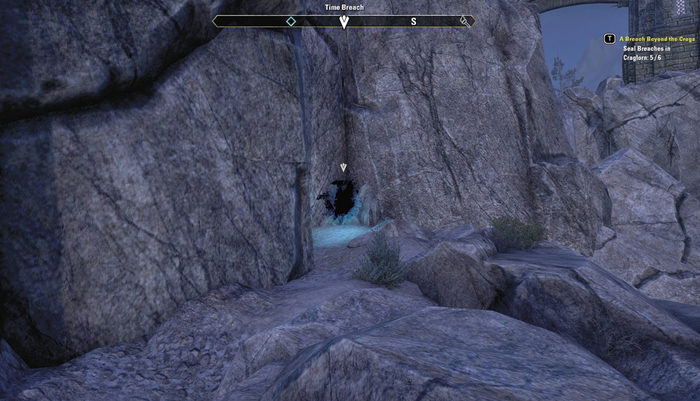
Breach 6
- Region: Craglorn

- Location: Near the southeastern corner of Craglorn just southeast of the Conflagrant Anomaly.

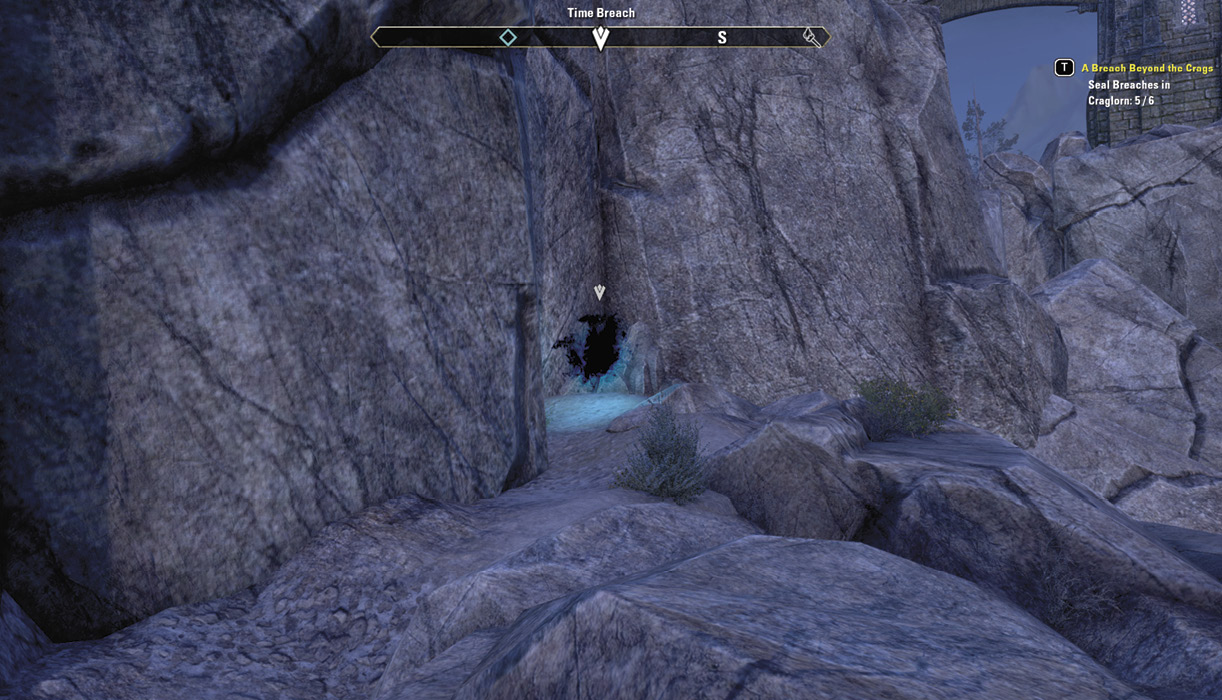
Talk to Loremaster Celarus
Six breaches down and no more to follow. Pat yourself on the back, because the breaches are closed for good. Go talk to Celarus to conclude your breach hunt once and for all.
The Towers’ Fall
Find the Time Breach
Start by heading to Divad’s Chagrin Mine in Alik’r Desert—you can use the Goat’s Head Oasis wayshrine in the center of Alik’r Desert to teleport right next to the Delve.
Divad’s Chagrin
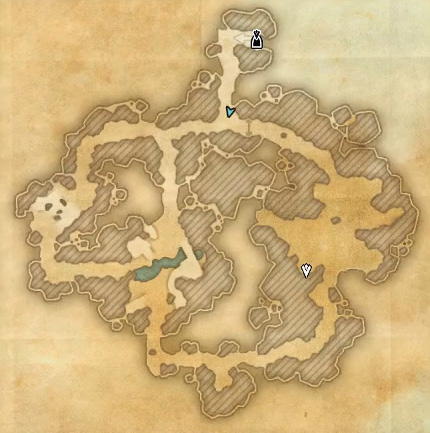
The time breach is on the delve’s east side, but you’ll need to make your way down the path on the western half of the map, then wrap around the bottom to gain access to it.
Nokhailaedhaz, the delve boss for Divad’s Chagrin Mine, will be in your path to the breach; either challenge it directly or sneak around it.

Find the breach by making a sharp left turn after entering Nohailaedhaz’s chamber. Enter the breach and you’ll be taken into a chamber where Josajeh awaits. Stop her from doing any real damage to Tamriel or to time itself.
Talk to Josajeh
After defeating Josajeh, speak with her, then return to Artaeum via the breach in the center of the room. Enter Ceporah Tower and head toward the objective marker to reach the Athenaeum.
Place the Augur in the Athenaeum
After placing the Augur, speak with it, then head over to Celarus. He’ll ask you to choose what to do with the Augur—a choice that is entirely up to you. After speaking with Celarus, talk with Josajeh, then Relicmaster Glenadir. Speak with Josajeh once again, then head over to Loremaster Celarus. Speak with Loremaster Celarus one last time to complete the quest and be rewarded with the Exemplary Protective Necklace.
- Location: Artaeum, Ceporah Tower
- Quest-giver: Loremaster Celarus
Description: The Staff of Towers has disappeared and there’s only one person who could’ve taken it. Head to the Alik’r Desert to catch them before this breach mess gets any worse.