
The Elder Scrolls Online: Summerset Guide Quests Story Quests
The Dreaming Cave
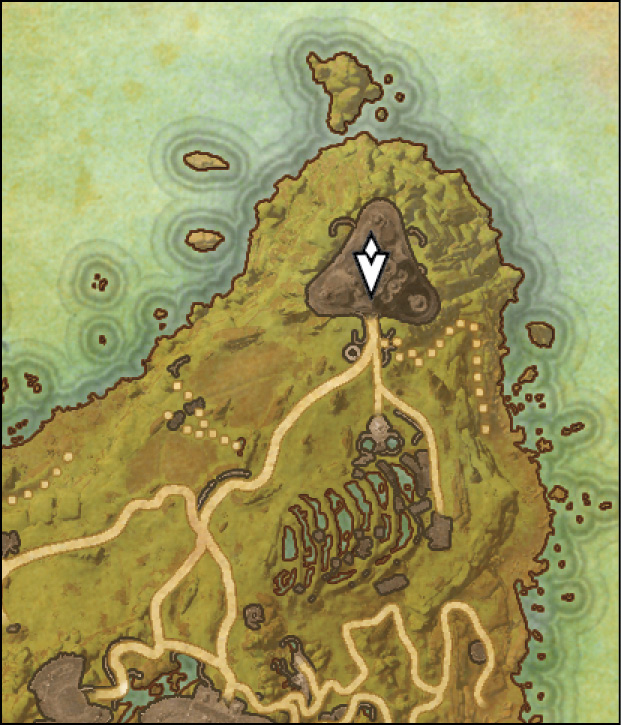
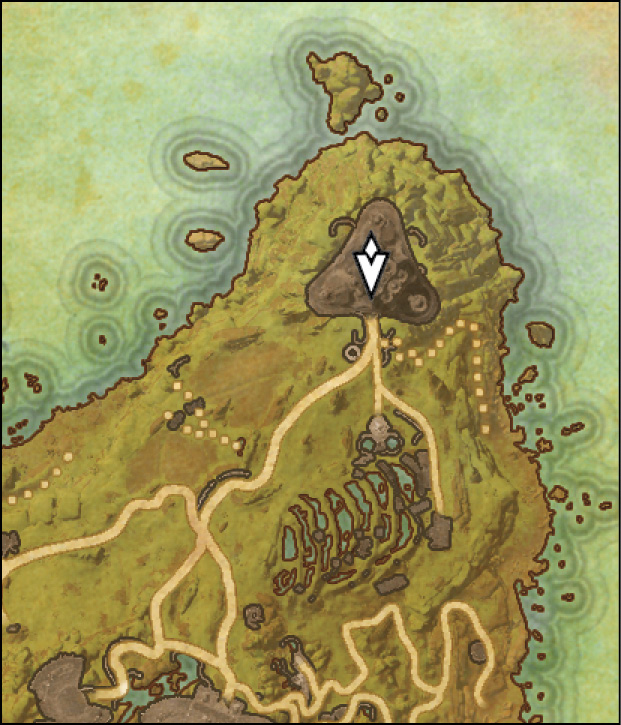
- Location: Artaeum, Ceporah Tower
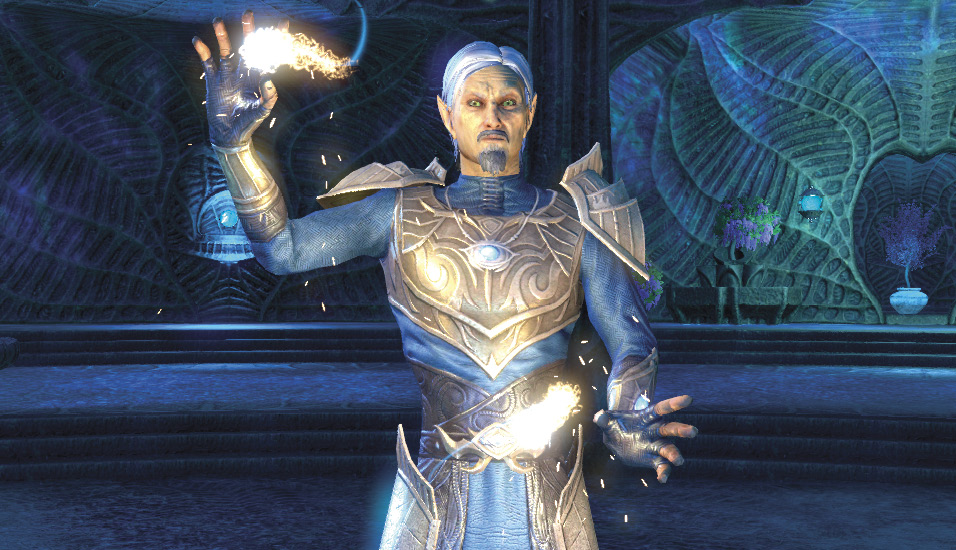
- Quest-giver: Ritemaster Iachesis (Oriandra will appear in Alinor, Shimmerene, Lillandril, and Artaeum to offer you the quest if you don’t grab it from the Ritemaster.)

Description: Ritemaster Iachesis’s memory is still fractured, but in his time of reflection he’s seen splintered images of the Heart of Transparent Law in the Dreaming Cave below Ceporah Tower. Accompany him and see where these broken memories lead.
Meet the Ritemaster in the Dreaming Cave
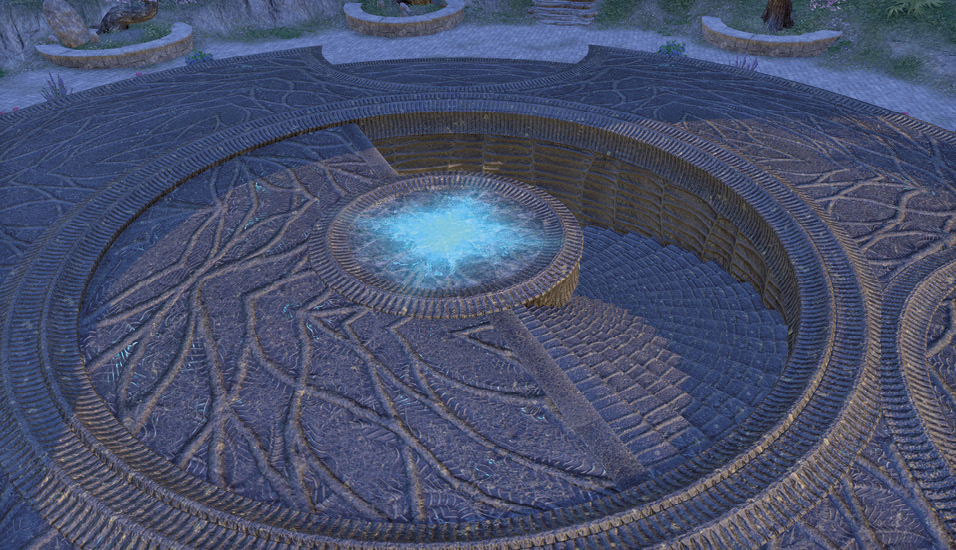
To begin, exit Ceporah Tower. There’s a staircase below the tower’s portal outside. Follow it into the Dreaming Cave, where you’ll find Ritemaster Iachesis. Speak with him and he’ll attempt to open a portal. Use the Dawnstar Gem you obtained from Sapiarch Emidril in the last quest to help him. The gem isn’t enough to get the job done; you need help. Exit the Dreaming Cave and locate Earl Leythen and Valsirenn, who are to the west of Ceporah Tower.
Find Razum-dar in Shimmerene
After speaking with Valsirenn and Earl Leythen, head to Shimmerene to try finding Razum-dar. Upon reaching the objective marker, you’ll find Bailiff Roland complaining about red scrawling on the walls in Shimmerene that look suspiciously like a skeever. Talk to the bailiff and you receive three dialogue options. These choices affect how helpful the bailiff will be in helping you locate Razum-dar, but the destination will be the same regardless.
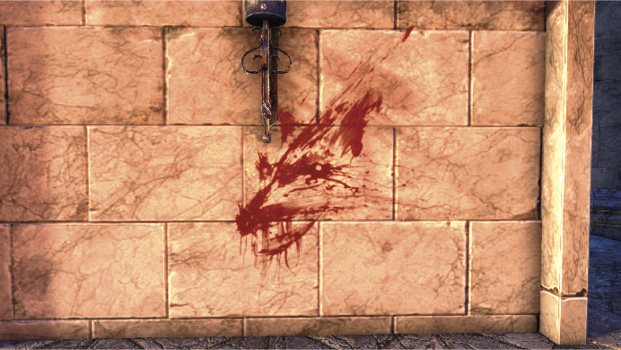
To find Razum-dar, you must follow where the noses on the skeever drawings point. If you want a quick solution, see the “Razum-dar’s Location” note.
Meet Razum-dar at Eton Nir Grotto
Leave Shimmerene and head northwest toward Eton Nir Grotto. Once you arrive, you’ll find Razum-dar with a contact of his named Sadara-do. Speak with her, then head into Eton Nir Grotto.
Eton Nir Grotto Delve
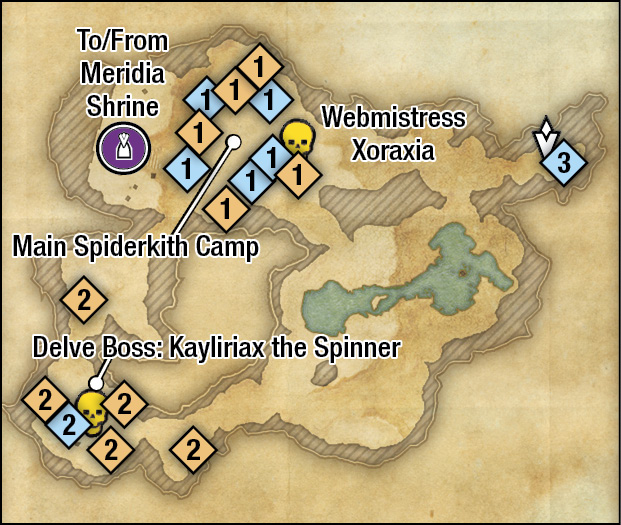
You’ll need to search the Delve for the Meridia Shrine, which is in the northwest corner of the map. Unlike King’s Haven Pass, you can avoid most encounters here, which is particularly helpful, because an elite enemy stands between you and the Meridia Shrine. You can choose to engage her or simply sneak past her—the choice is yours.

Looting the Light: Tokens of Meridia |
|

Snuffing out the Light: Scriptures of Meridia |
|

Snuffing out the Light: Cocoons |
Investigate the Shrine
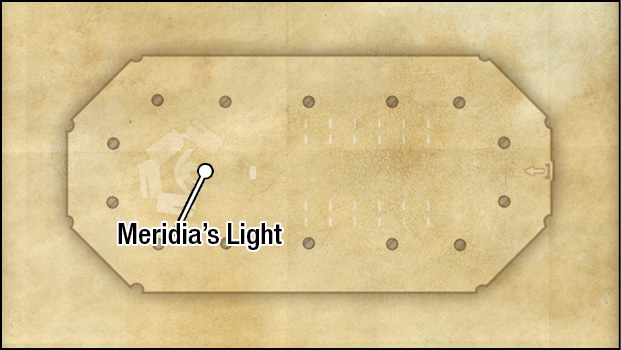
Once you reach the shrine, head inside and follow Razum-dar and Sadara-do to the statue of Meridia. Speak with the statue, then return to Artaeum to tell the Ritemaster what you’ve learned. Before you go, you can speak with Razum-dar to get his feelings on all the recent events.
Use the Dreaming Cave
Once you’re back in Artaeum, you can find the Ritemaster in the Dreaming Cave below Ceporah Tower. After speaking with him, he’ll be ready to open a portal. Whenever you’re ready, enter the portal to be taken to the Spiral Skein.
The Spiral Skein
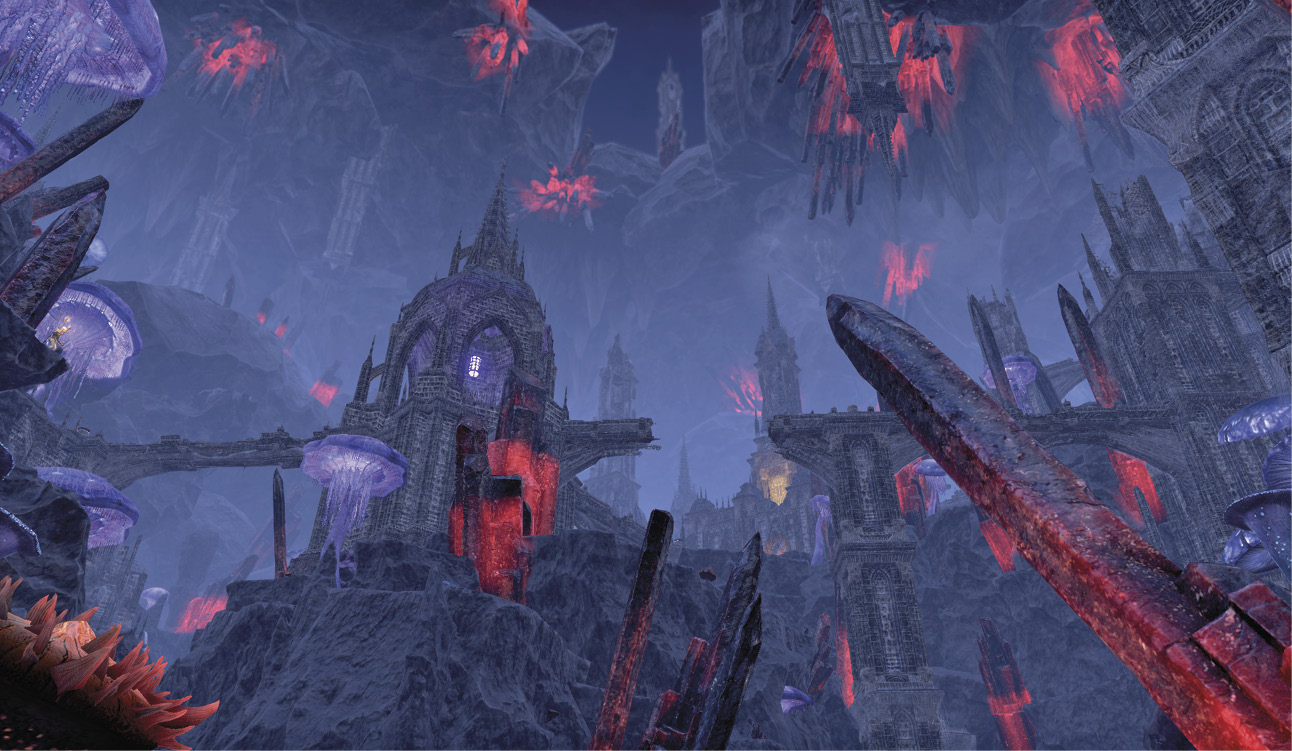
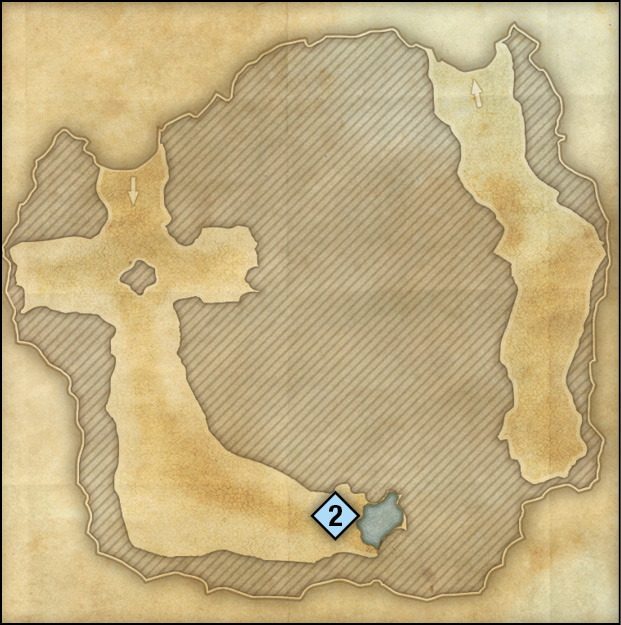
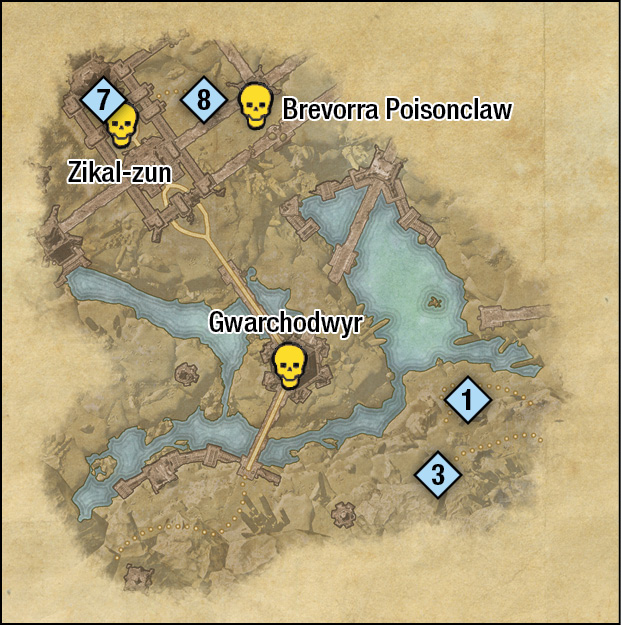
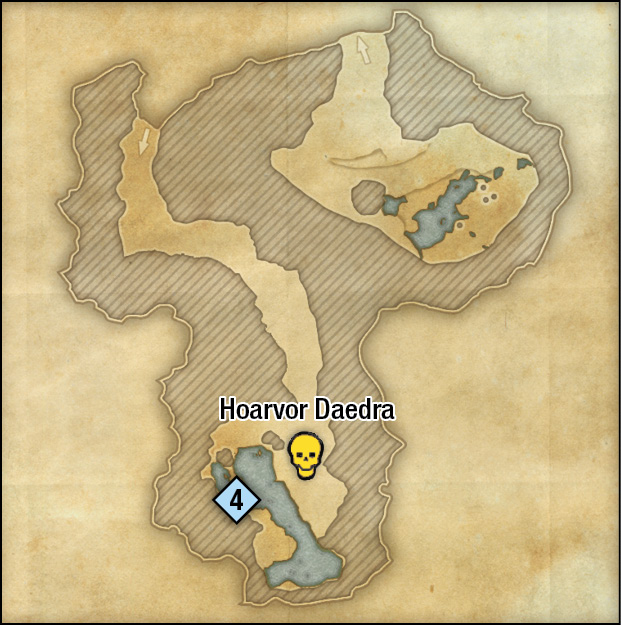
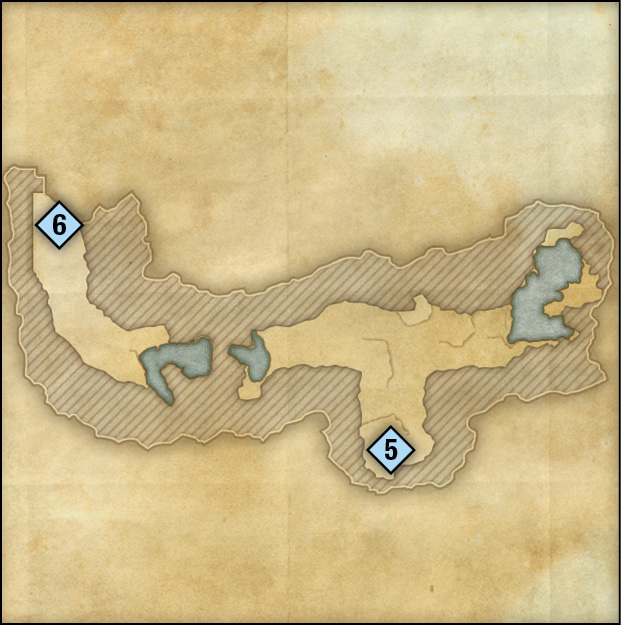
Dim and surrounded by rocks as unassailable as the rest of the terrain, the Spiral Skein is a web-coated, arachnid-filled gorge that is as oppressive and dangerous as it is beautiful and mysterious. So much within its walls screams death while the plantlife and crystal formations demand attention and admiration, calling like a siren’s song and luring like deadly nightshade. No matter the beauty, this is daedra territory and you’d be unwise to stay here long.
Find Valsirenn
The first order of business is to reach Valsirenn within the Spiral Skein. You’ll see her as soon as you step into the main chamber, but she’s on an upper level. You must make your way around if you want to reach her.
Follow the path until you reach a dead end; you must burn down a wall of webbing to reach it. Once there, use the Dawnstar Gem to create a portal in the water ahead. Enter the portal and you’ll be taken to the next floor. Continue on ahead, fighting through the insect daedra obstructing your path.
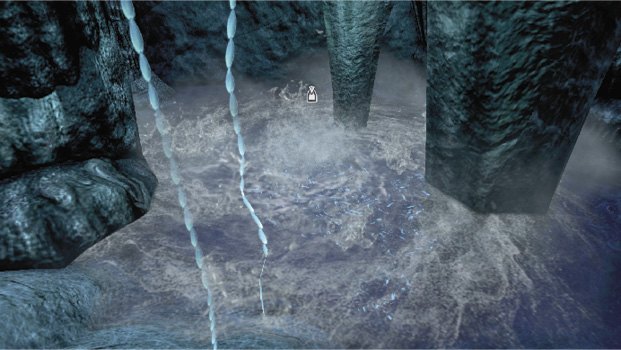
After you defeat it, make your way past it and you’ll run into another dead end. Use the Dawnstar Gem once again to create another portal in the water.
Valsirenn is just up ahead, but she’s been cocooned in a web. Free her from the cocoon, then speak with her. She’ll assist in combat from here on, using her time-manipulating Psijic magic to attack enemies. With Valsirenn with you, head up the path and use the Dawnstar Gem once more to reveal another portal.
After defeating Gwarchodwyr, burn the web wall behind him and head across the bridge toward the keep ahead. The Golden Knight is inside the keep waiting to be rescued.
After clearing the room of enemies, cut the Golden Knight out of the web he’s tangled up in and speak with him. Then exit the room and speak with Valsirenn, who can open a portal back to Artaeum, but she needs time to complete the ritual. With the Golden Knight wounded and Valsirenn focused on the portal, it’s up to you to run defense. Valsirenn’s portal summoning will draw the attention of daedra in the area, forcing you to fight wave after wave of attacking enemies. It’s not as difficult as it might sound, but it does end with a fight against an elite that can test your mettle.
Talk to Ritemaster Iachesis
Once you defeat Bravorra, enter the portal and return back to Artaeum. Speak with Ritemaster Iachesis to complete the quest and earn yourself a pair of Ritemaster’s Gifted Gardbraces.