
The Elder Scrolls Online: Summerset Guide Quests Story Quests
The Tower Sentinels
- Location: Artaeum, Ceporah Tower
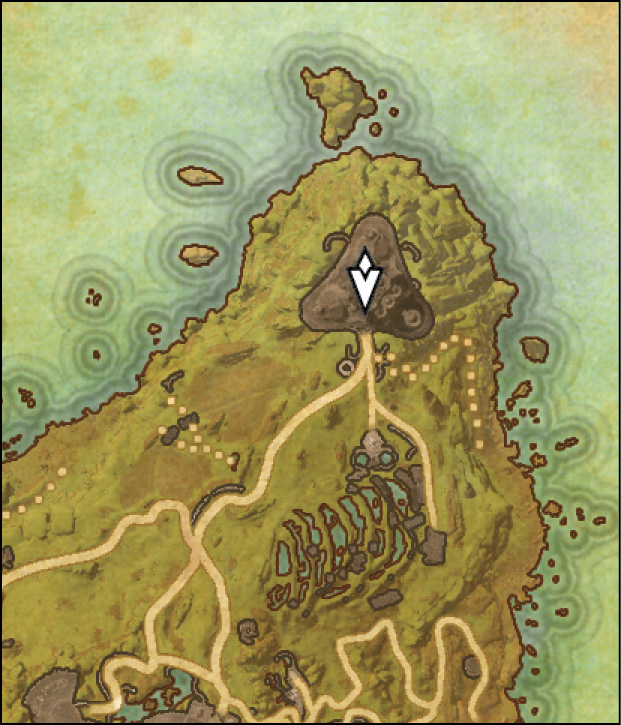
- Quest-giver: Ritemaster Iachesis (Valsirenn will appear in Shimmerene, Alinor, Lillandril, and Artaeum to offer you the quest if you don’t take it from Ritemaster Iachesis.)

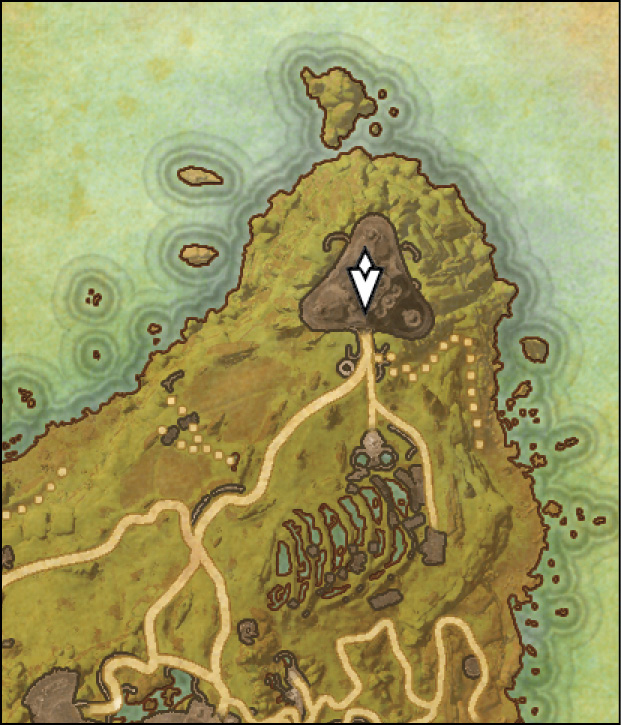
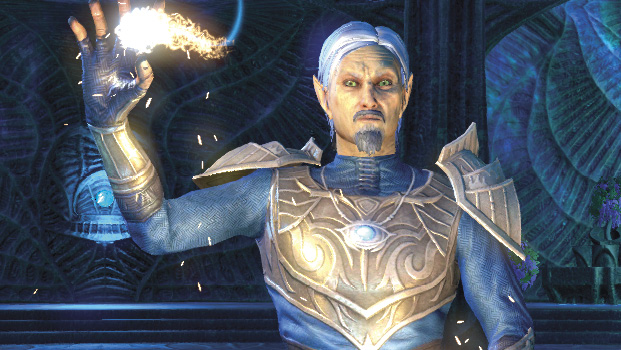
Description: Ritemaster Iachesis hid a powerful artifact to keep it out of enemy hands, but his recent memory issues have made it impossible for him to remember where he left it. You’ll need to seek the aid of the Proxy Queen to gain access to the Sapiarchs—the Summerset’s greatest scholars, who currently reside in the Sapiarch College in Lillandril. The Ritemaster believes they may be able to help him with his memories.
Go to Alinor’s Royal Palace
You must head to Summerset’s capital, Alinor, on the island’s southwest side for this next objective. Alinor’s Royal Palace is in the northeast corner of the city, but you need to reach the city’s southeast corner, then head north up and over the bridge.
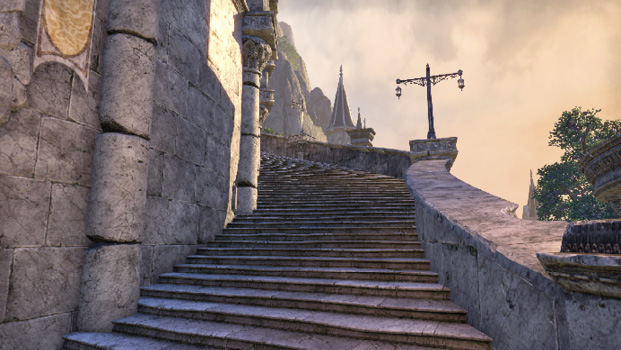
Once inside the palace, speak with Proxy Queen Alwinarwe and you’ll be granted access to Lillandril’s Sapiarch College. Leave Alinor and head to the western tip of Summerset to find Lillandril. Once inside, locate and speak with the portal master to be granted access to the Sapiarch College.
Before entering the portal, speak with Valsirenn to learn a bit more about her and her family. It’s worth listening to if you’re not in a hurry. Head through the portal and speak with Sapiarch Ellimil just up ahead. Once you’re done speaking to him, enter the College of Sapiarchs’ labyrinth. Speak with Valsirenn before continuing on.
College of the Sapiarchs’ Labyrinth
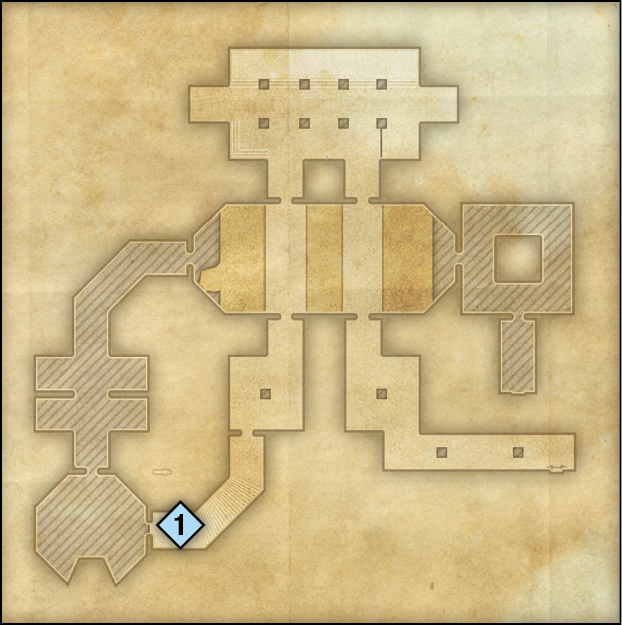
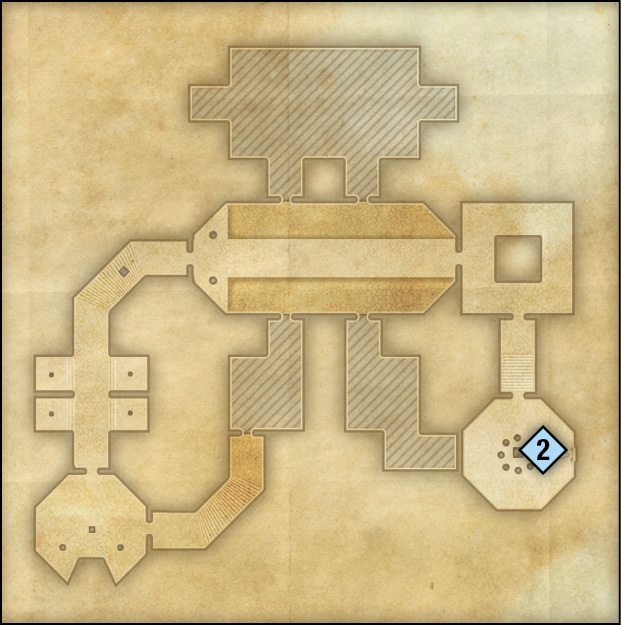
The Sapiarchs’ labyrinth doesn’t contain any twists and turns to slow you down, but it is packed to its edges with Ogrim and Flesh Atronach. Both are enemies that take hits with ease and hit harder in return. The Ogrim attack with AoE fire spells and move fairly fast for their size, while the Flesh Atronachs are aggressive and melee focused. Use defensive buffs to mitigate damage and focus on attacking a singular enemy when they are grouped. To avoid getting killed, you must lower their total damage output as quickly as possible.
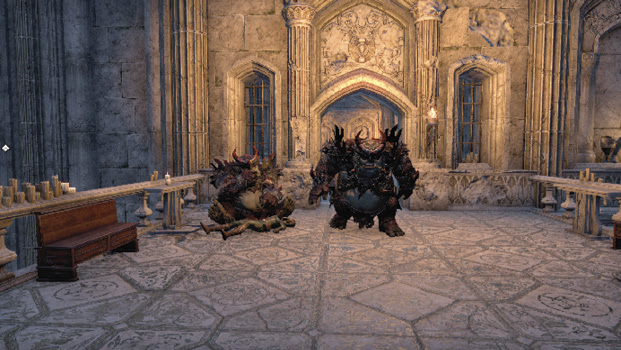
College of Sapiarchs
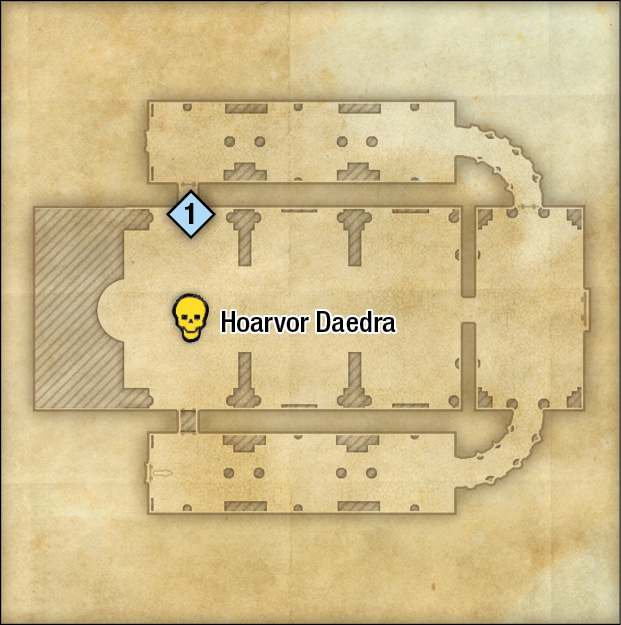
Follow the objective marker to the College of Sapiarchs proper. The portion of the college consists of two narrow, enemy-filled hallways and a large entry hall and chapel. You’ll have quite a fight on your hands as soon as you enter the area. The narrow hallways make it impossible to get through without alerting enemies, unlike the previous area.
Once you defeat the Hoarvor Daedra, head into the next room and speak with Sapiarch Larnatille. Afterward, talk with both Valsirenn and Earl Leythen, then leave the building through the east door in the entry hall.
Go to the Illumination Academy
Your next destination is the Illumination Academy, which is slightly northwest of the center of Summerset. Head into the Illumination Academy’s courtyard and speak with Razum-dar. Enter the Academy guest wing to inspect Hannayel’s room. Read the letter on the desk to finish the inspection. Hannayel lists several books she’s been reading. It may seem like useless information, but the books she lists are actually the key to completing the next objective.
Find Hannayel’s Quiet Room
You can speak with Razum-dar for further tips on how to locate Hannayel. From here, return to the Illumination Academy’s main courtyard and enter the Hall of Illumination on the compound’s northeast end. Follow the objective markers to gather the books, then take them upstairs and place them on the podiums in the marked room, starting from left to right. The correct combination is Further Notes on the Sload; The Maormer of Pyandonea; Sages of the Crystal Tower; and The Year 2920, vol. 4. Once the quiet room is revealed, speak with Sapiarch Hannayel. When you’re done, head back outside, then go to King’s Haven Pass, which is just east of the Illumination College.
King’s Haven Pass Ruins
Once in King’s Haven Pass, you must track down Sapiarch Imedril. There’s nothing particularly tricky about locating him, but you will have quite a few enemies to contend with, especially when you get into the tunnels.
After defeating Keetas, head through the door ahead. You’ll find Sapiarch Emidril tangled in webs, about to be pulled into certain doom. Approach the Sapiarch and burn the webs off him to save him. Pick up the Dawnstar Gem next to the Sapiarch, then speak with him before leaving the ruins. Head back to Artaeum and report your findings to Ritemaster Iachesis to finish the quest. You’ll earn a Tower Sentinel Brigandine as a show of thanks.