
The Elder Scrolls Online: Summerset Guide Quests Story Quests
Lost in Translation
- Location: Artaeum, the Dreaming Cave
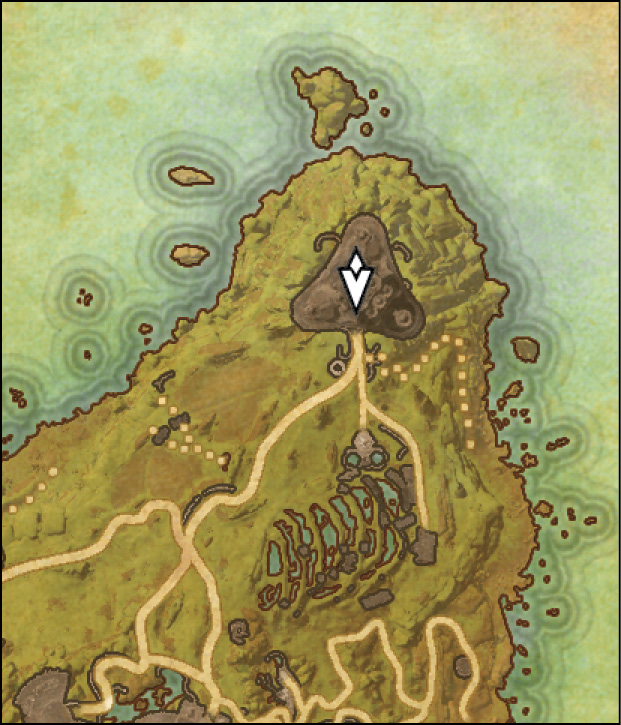
- Quest-giver: Ritemaster Iachesis (Valsirenn will appear in Shimmerene, Artaeum, Lillandril, and Alinor to offer you the quest if you don’t take it from the Ritemaster.)

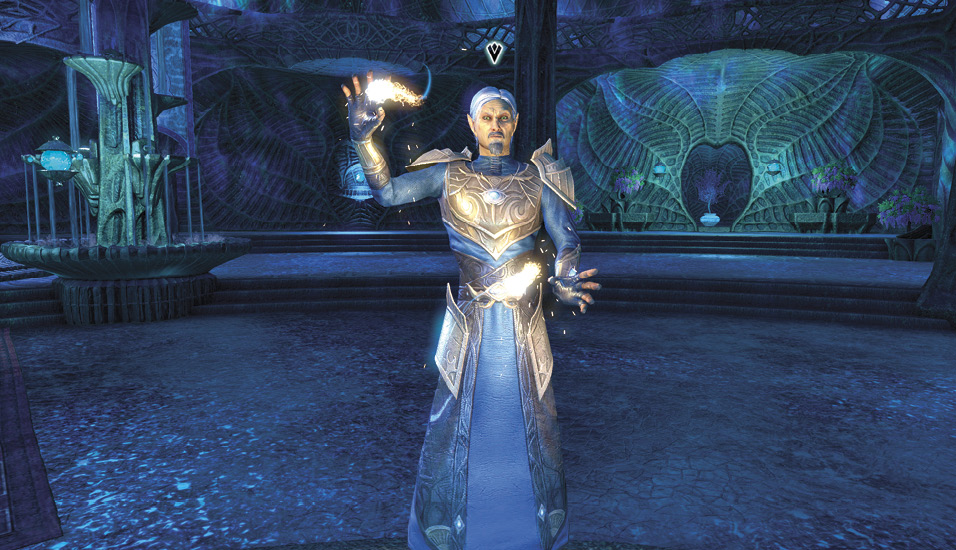
Description: The Ritemaster remembered some more of his fractured memory: a woman speaking an alien language, repeating the same words to him over and over. He’s convinced that this has something to do with the location of the hidden Heart of Transparent Law. But before you can even attempt to utilize these memories, you’ll need to figure out what language the woman in the Ritemaster’s memories was saying. Find a language expert to help you to that end.
Talk to Oriandra in the Ritemaster’s Study
After speaking to the Ritemaster, exit the Dreaming Cave and enter Ceporah Tower once more. Head into the Ritemaster’s study and speak with Oriandra. Take Oriandra’s notes off the table, then head to Valsirenn’s study and speak with Earl Leythen. If you have the Persuasive Will passive skill from the Mages Guild skill line, you’ll be able to persuade Leythen to divulge more information about his relation to Valsirenn and his past.
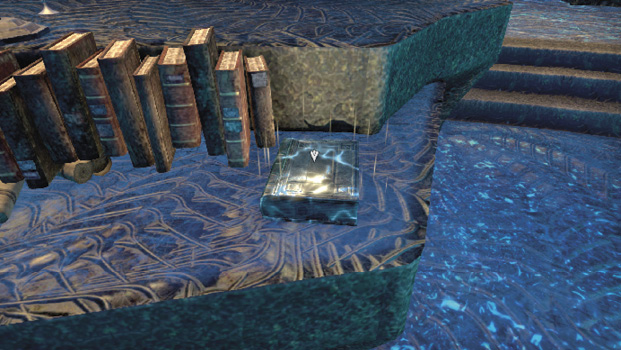
Navigate the Ebon Stadmont Forest
After speaking with Leythen, head to Ebon Stadmont near the center of Summerset. Go to the objective marker and use Leythen’s Rune to summon a spectral version of him to the area. Speak with him, then head toward the portal in Ebon Stadmont Forest.
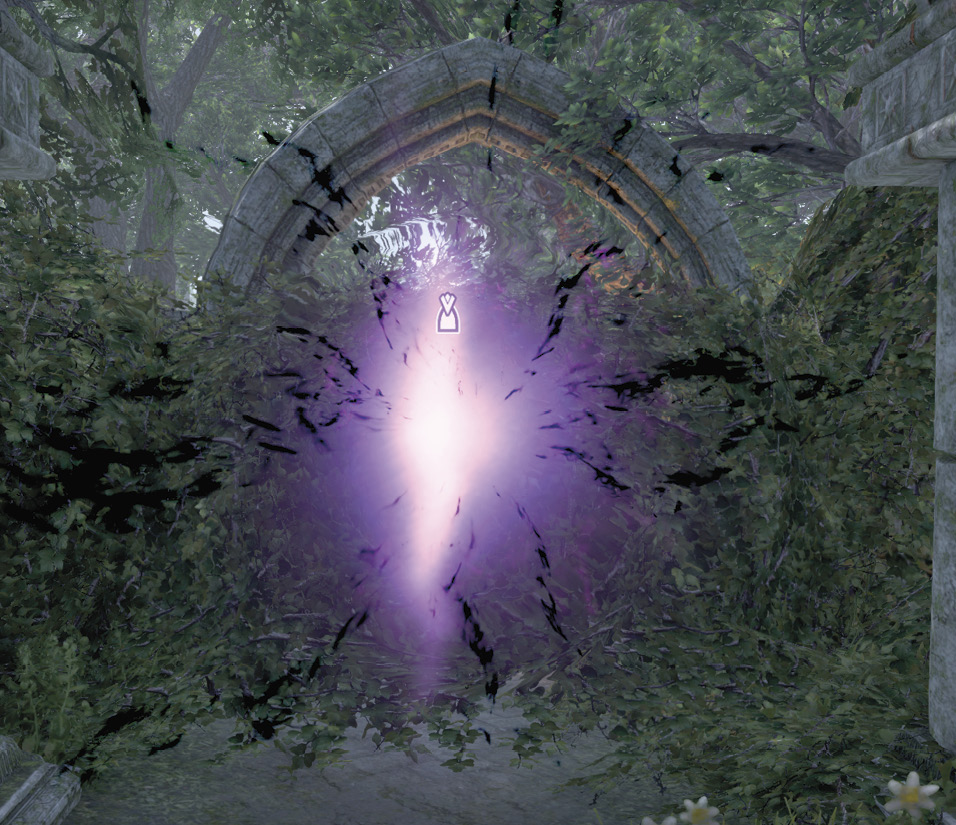
Navigating this area is tricky if you don’t know the secret to it. Every area in the forest is full of portals, but the only way to progress is to use the right portals in the correct order. You can read The Grand Maestro’s Research under your Quest Items tab in the Items menu for a hint on what to do. If you’d rather figure this one out yourself, don’t read any further and avoid looking at the screenshots ahead.
The hint from The Grand Maestro’s Research reads:“A pair of crows to begin your search,Then a lone crow up a perch,But it’s not one or two that open the way,The crows will have their say.”
Relating this text to the portals is simple enough once you’ve had a good look at them. The trick to finding the correct path is to look at the number of crows etched into each portal’s frame. Following the clue from the book, the correct answer is:
- Portal 1

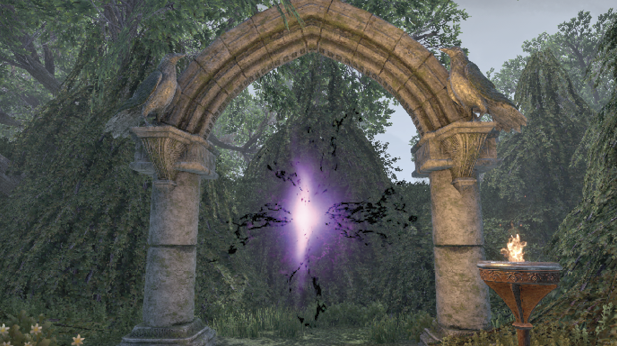
- Portal 2

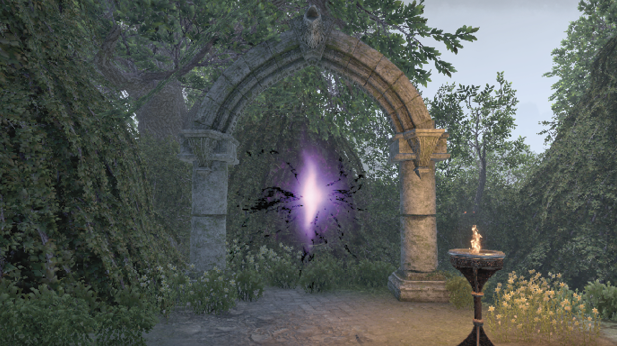
- Portal 3

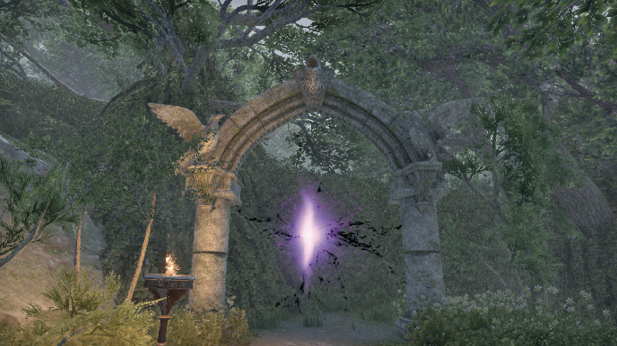
Ebon Sanctum
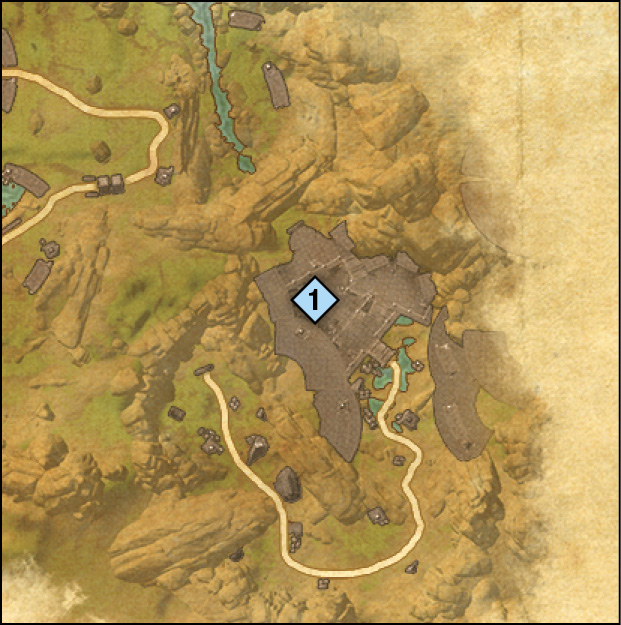
As soon as you enter the Ebon Sanctum, activate Leythen’s Rune. Your job is to locate the Inscribed Stone, which will require a fair bit of fighting to reach it. Follow the path and defeat or avoid any Gloam Wolves you encounter. Before you can reach the stone, you’ll encounter a Wispmother standing directly in your path forward.
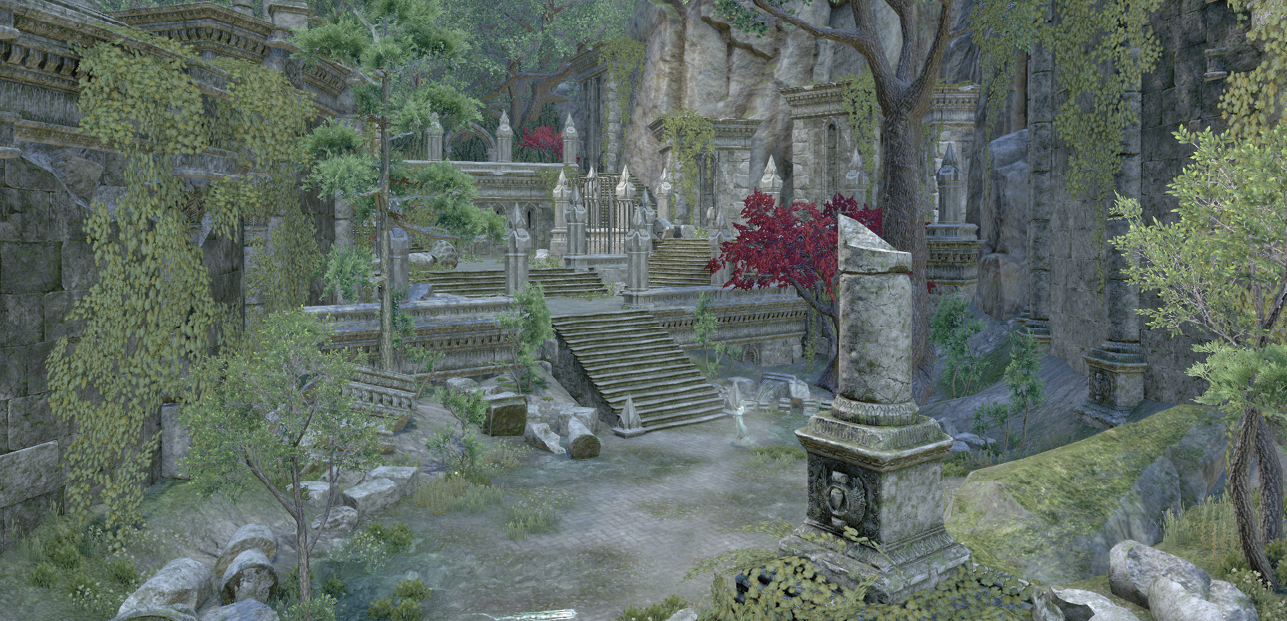
Locate the Inscribed Stone
After defeating the Wispmother, head up the stairs behind her and up to the statue on the left. Use Leythen’s Rune to summon him again and a daedric earl will appear. Speak with the earl, then speak with Earl Leythen after he materializes once again. After speaking with Leythen, use the portal at the top of the stairs to return to Summerset. From here, teleport back to Artaeum and speak with Ritemaster Iachesis.
Return to Artaeum
While talking to the Ritemaster, you’ll have a chance to select one of two dialogue options. You can choose either option based off of which one resonates with you more without fear of changing the course of the quest.
Once you’re finished speaking with the Ritemaster, exit Ceporah Tower and head southeast a little ways to find the Golden Knight. After speaking with him, head to the Dreaming Cave under Ceporah Tower’s portal. Speak with the Ritemaster and he’ll open a portal.
Evergloam
The Evergloam: a realm of permanent twilight and gloom, ruled by the Night Mistress. It could be considered a sombre, yet peaceful place were it not for the ever-present horde of creatures of night and shadow that stalk its paths and dark corners.
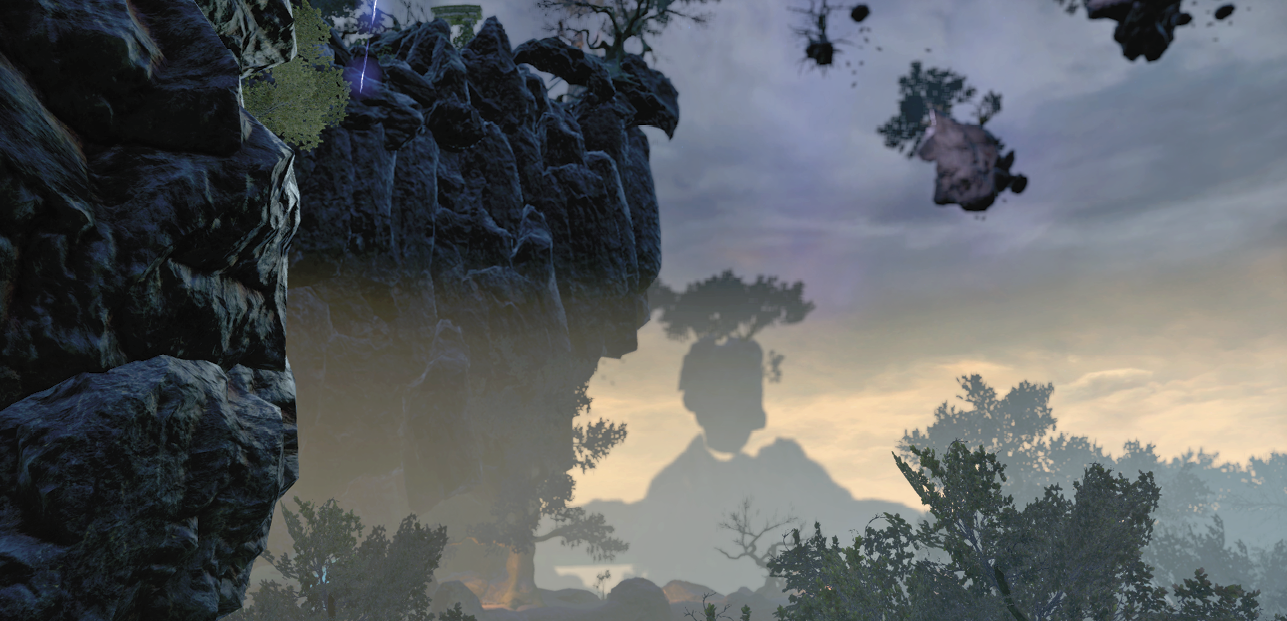
After entering the Evergloam, speak with Ritemaster Iachesis. He’s a bit worse for wear, leaving you and the Golden Knight to push up and explore the area by yourselves, which isn’t actually a bad thing, as just having the Golden Knight by your side is more than enough to challenge any enemies you might encounter during this trip.
A little ways farther up the path, Ritemaster Iachesis will reappear. Speak with him, then continue onward. You will continue this pattern until you reach the end of the road, the Ritemaster telling you about what little he remembers of the area as you go deeper and deeper into the Evergloam. When you reach the top of the path, the Ritemaster will appear and open a portal to the Mountain Top Ruin. Enter it and make your way up to the arena ahead.
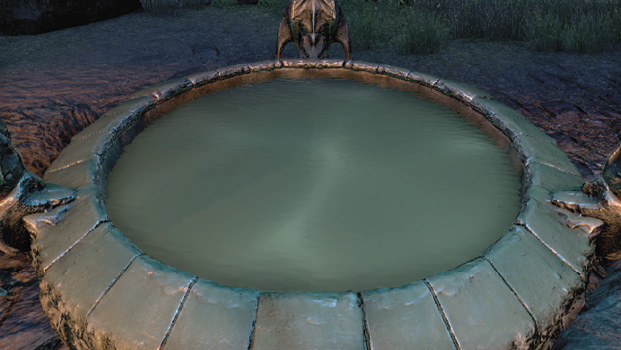
Defend Against the Daedric Attack
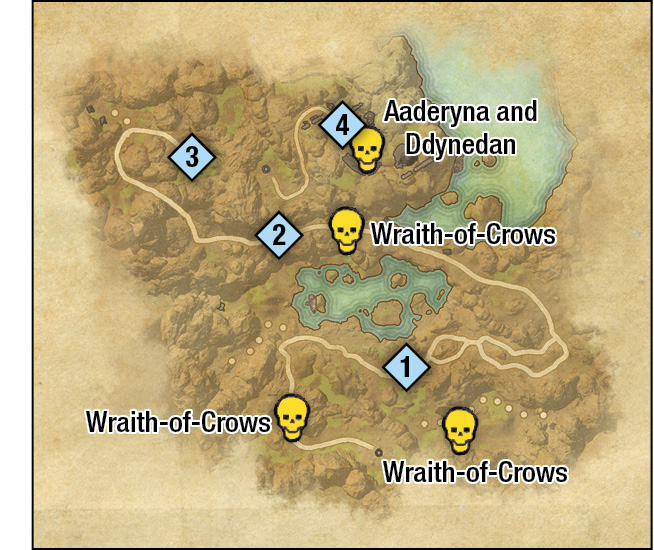
Once you’ve entered the arena, you’ll have to fend off wave after wave of daedric enemies. You’ll have the Golden Knight and Valsirenn’s assistance, so surviving won’t be an issue, at least until the end of the fight. There isn’t anything particularly tricky here beyond fighting, so you don’t have to worry about being blindsided, but you should still stay on your toes. Focus on one enemy at a time; the less damage potential a group of enemies has, the better your chances are for survival. After fighting off a few dozen enemies, two elites will join the fight to wrap things up.
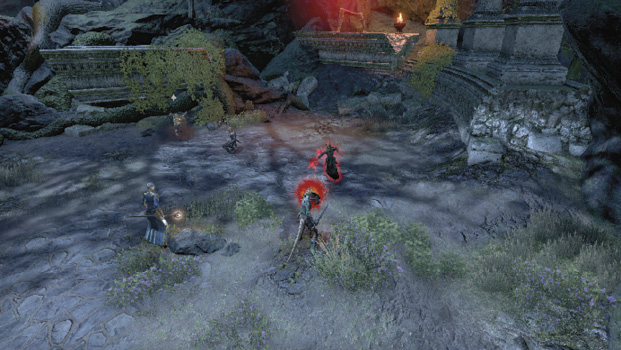
After you defeat Ddynedan and Aaderyna, Valsirenn will automatically transport you back to the Dreaming Cave. Speak to Oriandra once you arrive to complete the quest. You’ll earn a Ritemaster’s Memorial Battlesword, the Psijic Warden Gauntlets Outfit Style, and a Skill Point.