
The Elder Scrolls Online: Summerset Guide Quests Story Quests
The Queen’s Decree
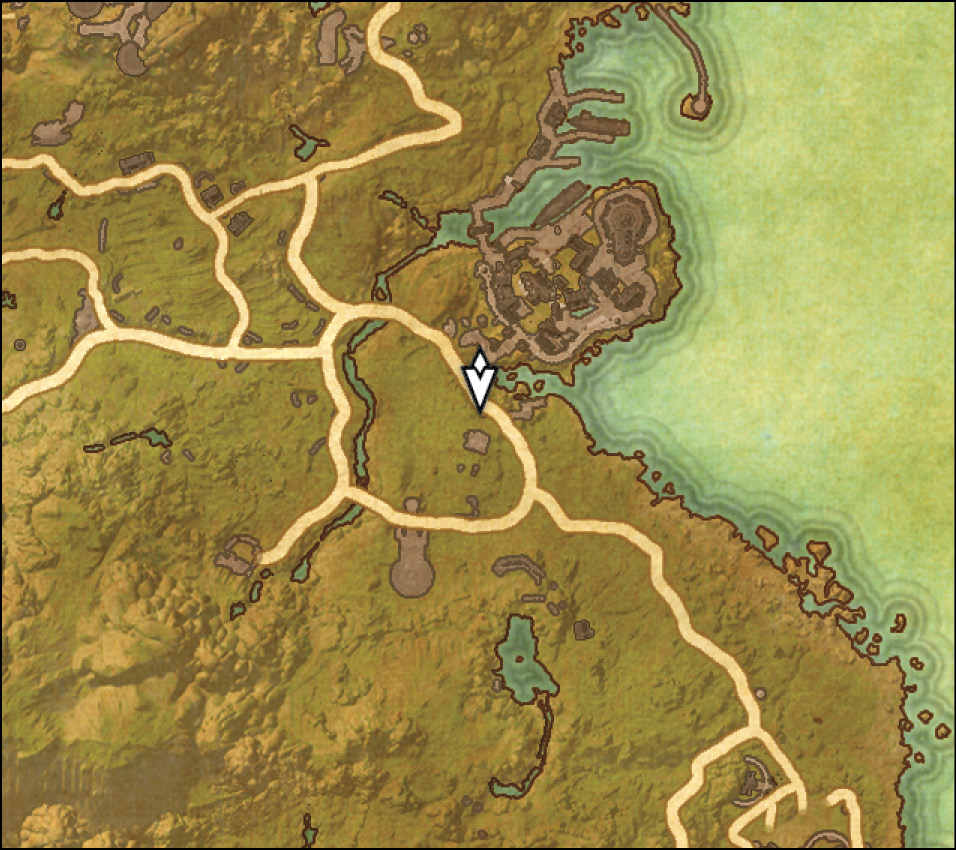
- Location: On the road to Shimmerene or after escaping the Mind Trap
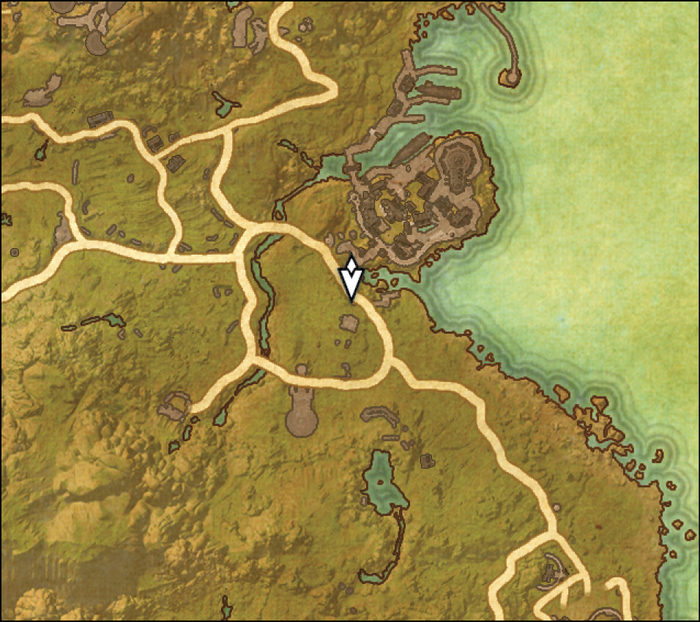
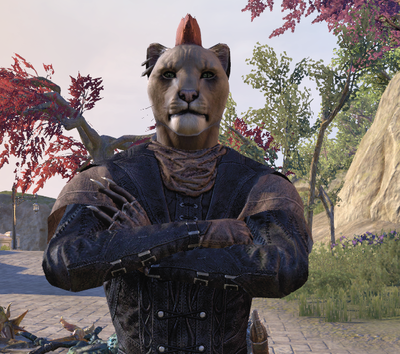
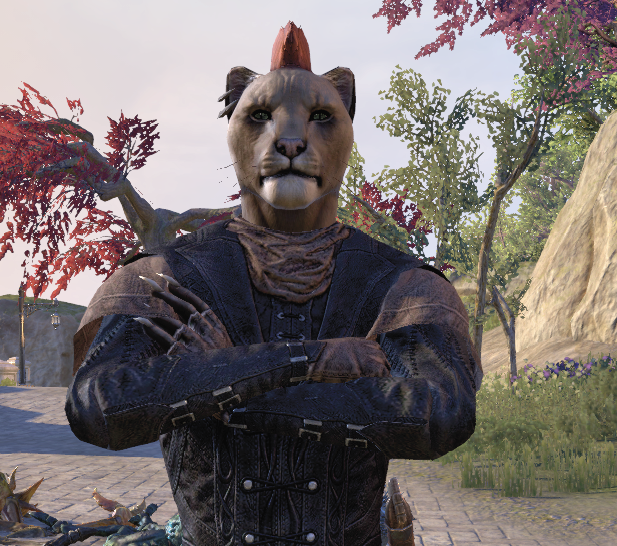
- Quest-giver: Calibar or Razum-dar
Description: Upon landing on Summerset, you’ll quickly realize that something’s not right in the home of the Altmer. Aquatic, insectlike creatures have started appearing out of nowhere, and no-one has any clue as to where they’ve come from. Add to these concerns the Queen’s plans to open up Summerset, a notoriously xenophobic country, and you’ve got a recipe for certain conflict.
There’s not much that can be done without answers, and Razum-dar, our favorite Khajiit, is likely the best chance you have at finding them. Help him and see if he can help you in turn.
Travel to Summerset
On the road to Shimmerene, you’ll encounter a group of insectoid creatures known as Yaghra attacking a group of locals and a red-Mohawked Khajiit named Razum-dar. Even if your inclination is to help, Razum-dar will make quick work of the creatures. Speak with him and he’ll set you on a quest to locate three people near Shimmerene: Olnewil, Rhanul, and Tsoxolza.
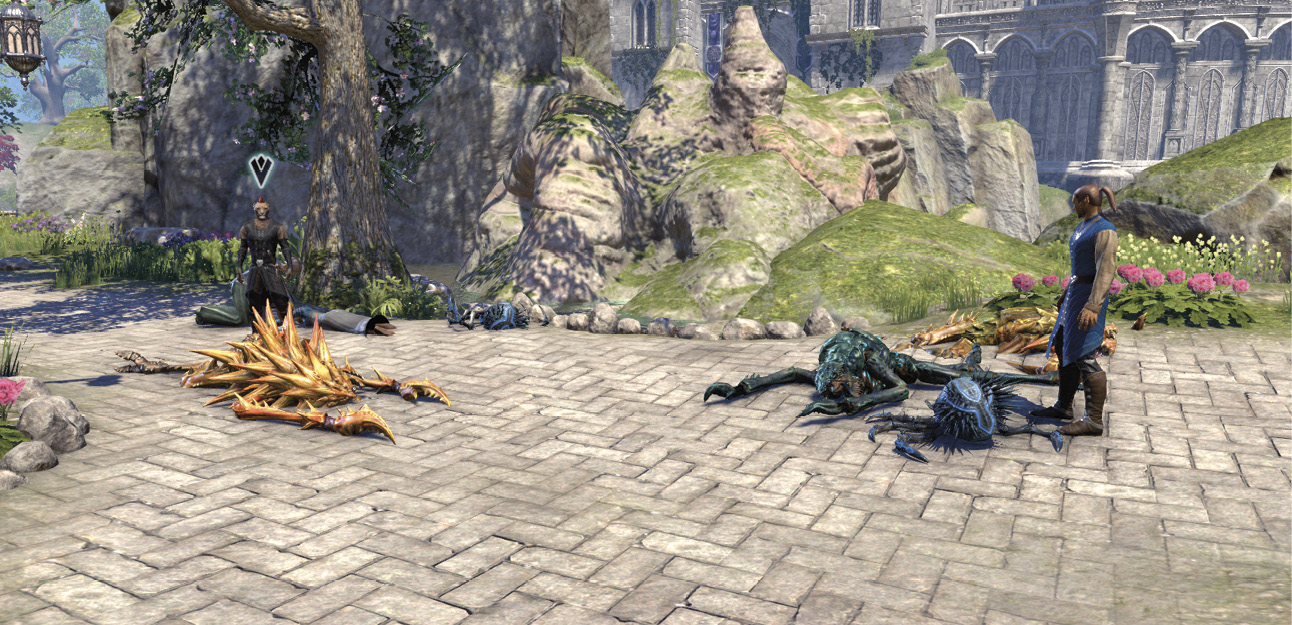
Olnewil

Olnewil can be found south of Shimmerene, on the beach.
Rhanul
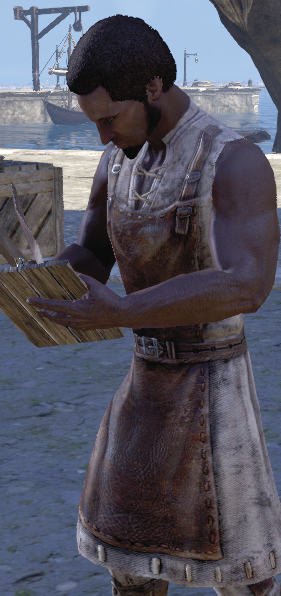
You can find Rhanul north of Shimmerene, in the boatyard.
Tsoxolza
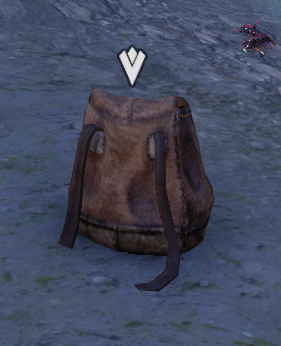
Tsoxolza is west of Shimmerene. You’ll need to fight off a salamander, then loot a nearby backpack to complete this objective.
Return to Razum-dar
Once you’ve located all three people on Razum-dar’s list, head to Shimmerene and speak to the Khajiit about your discoveries.
Razum-dar will ask you to investigate Shimmerene’s Monastery of Serene Harmony to find evidence of monks misbehaving. To reach it, follow the eastern road up to the northeast side of Shimmerene. On your way up, you’ll encounter a golden knight that will appear in a flash of light, then disappear via the same method. A strange sight, to be sure, but one that doesn’t demand our immediate attention. Continue up the stairs and you’ll find the monastery entrance. Razum-dar will distract the guard so you can get in.
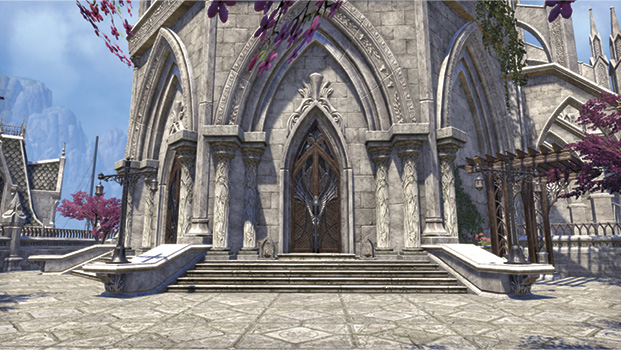
Monastery of Serene Harmony
Investigate the Monastery
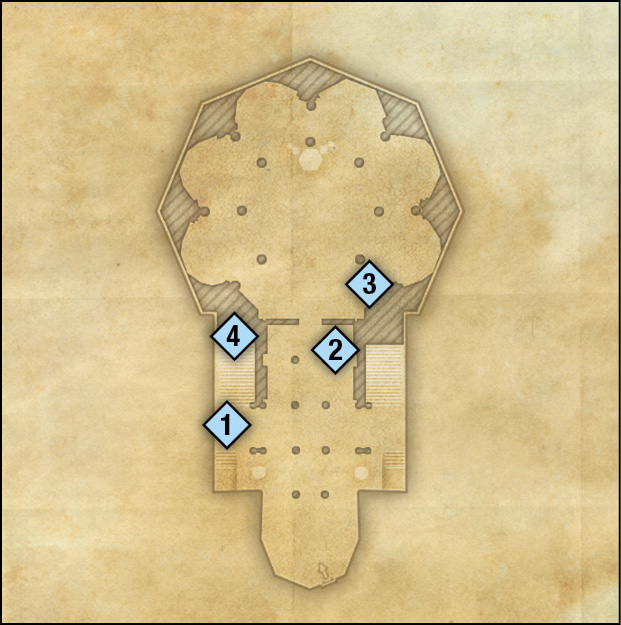
If the guard presence makes you nervous, you can keep a low profile once inside. While none of the guards will attack you if you’re seen, it’s easy to avoid being detected in here. Aside from a single guard who is waiting in front of you after entering the building, most of the guards are upstairs or on the far side of the monastery.
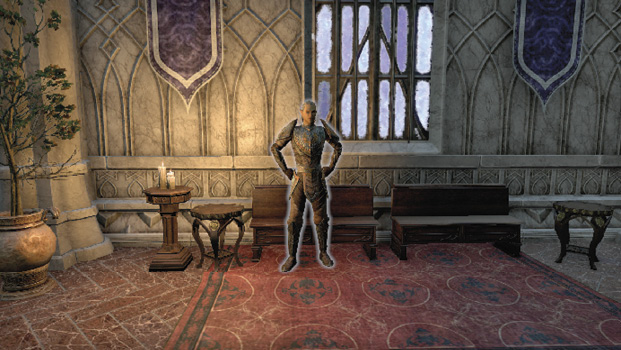
Speaking of that particular guard, as soon as you enter through the monastery’s front door, come to an immediate halt. He’ll be standing and staring in your direction upon entering, but he won’t detect you if you keep your distance. Wait for him to head off to a bench on the right side of this opening corridor; there he will remain for the rest of your visit. Avoid his attention if you enjoy stealth for stealth’s sake.
Find Items
The items needed for your investigation are pretty easy to locate. The first one is in front of the left set of stairs leading to the second floor and the undercroft below.
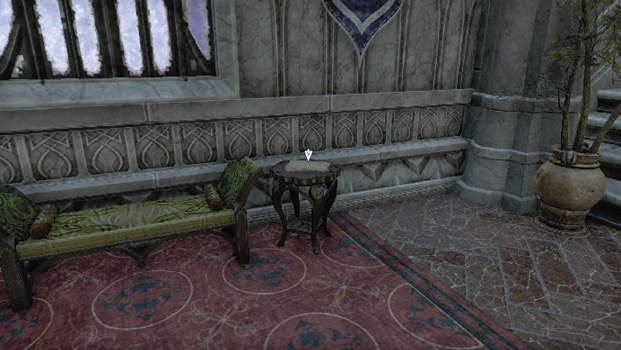
The second item is near the center of the monastery, just before entering the main chapel.
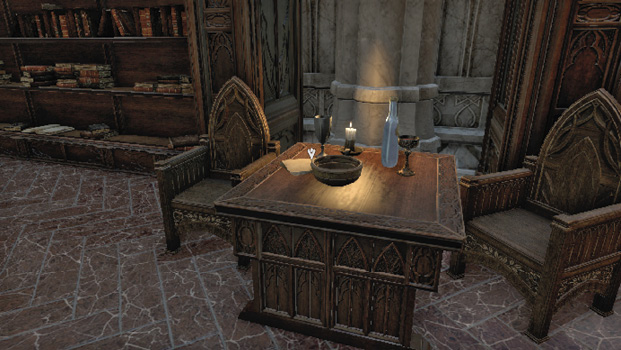
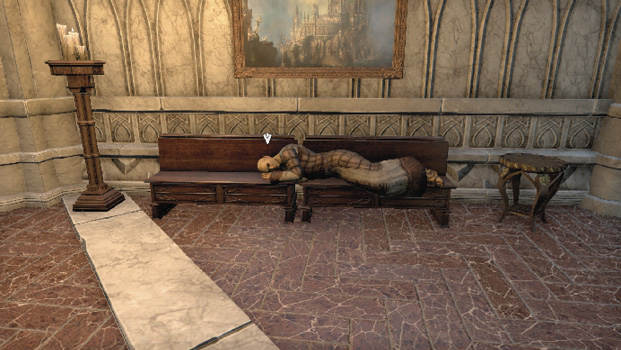
The third item is to the right once in the monastery proper—you’ll need to speak with the ever-sleepy Monastic Nuleros in order to obtain it.
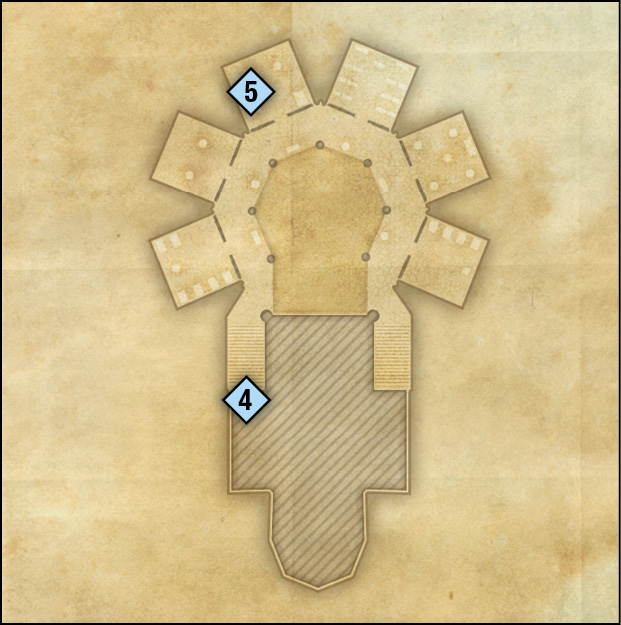
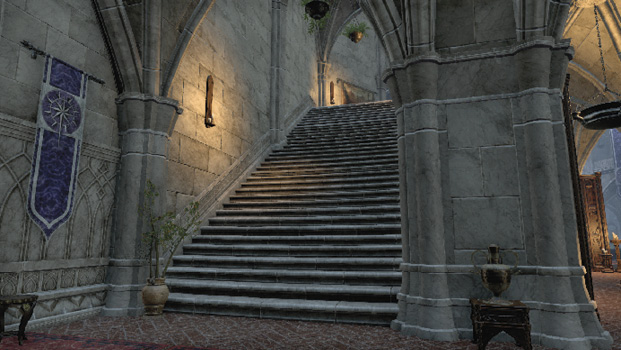
After finding all three clues, head to the second floor and enter the room to the left on the monastery’s north end—use the left set of stairs to reach the second floor without grabbing the first guard’s attention. While heading to the north end, you can investigate the rooms along the way if you want some small baubles and are feeling bold; the baubles are in the first room on the east row and the first room on the west row. There’s also a note that might be worth investigating in the first room on the east row. Aside from that, the rest of the rooms are pretty much empty.
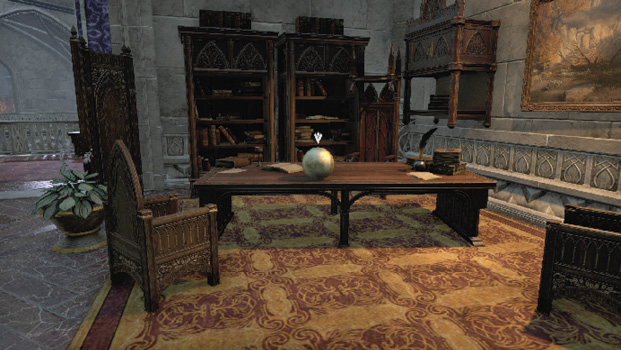
Once you’ve reached the northern room, you’ll find a strange orb sitting on the desk inside. You’ll also be spotted and questioned by an elderly Altmer named Valsirenn. She’ll ask you to investigate the monastery’s undercroft with her. To reach it, you’ll need to pass the guard sitting on the bench on the first floor, but if you jump over the railing down onto the stairs below, he should be none the wiser.
The Undercroft
Cages fill the undercroft, and unfortunately they contain innocent citizens. Free the prisoner indicated by your objective marker, then speak with Valsirenn again. She’ll exit the room through a door on the undercroft’s opposite end. Follow her and get ready for a fight.
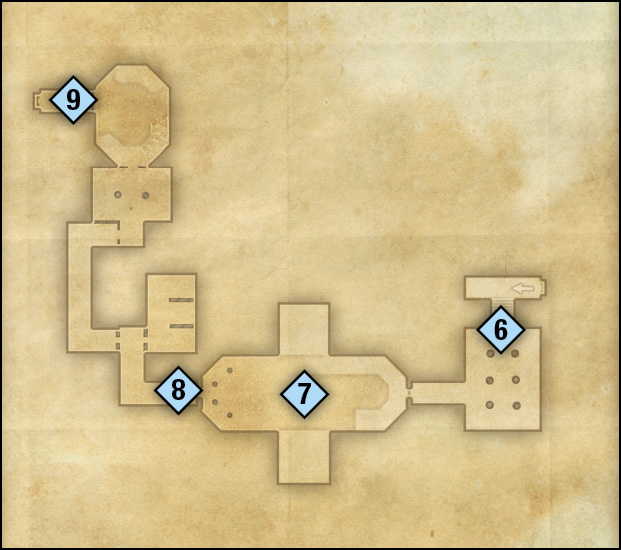
Defend Valsirenn
Valsirenn will move to the lower level of this next room. Defend her from attack while she teleports the pearl out of the Undercoft for later examination. None of the enemies here are a particular challenge. Just manage your Magicka or Stamina well and you’ll be fine. Once Valsirenn finishes her task, follow her out of the room and speak with her again.
Escape the Undercroft
From here you’ll have to fight your way out of the enemy-filled latter half of the undercroft. Getting through here is a bit tougher than your earlier Valsirenn defense, so tread carefully. You’ll be fine if you don’t draw the attention of several groups of enemies at once. Take out each cluster of enemies one at a time.
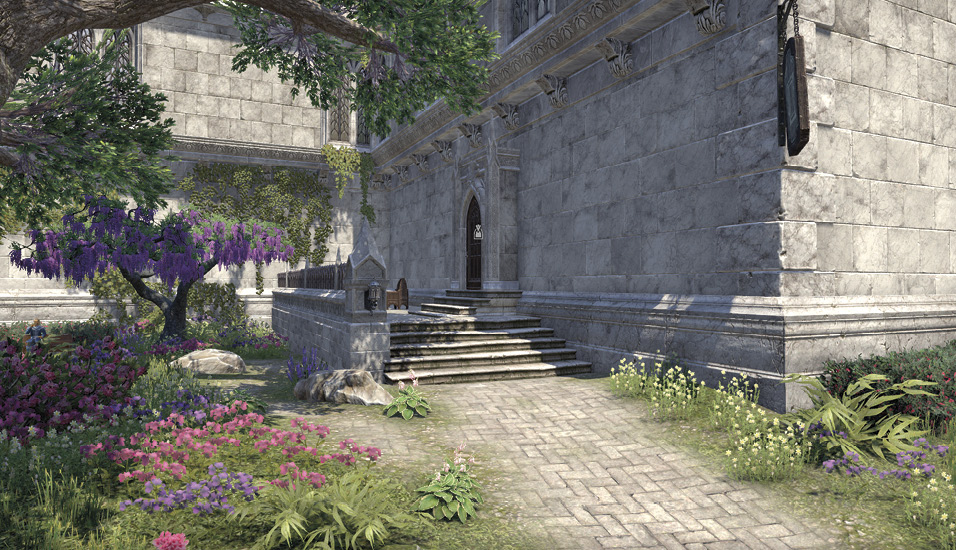
Once back outside, head to the Anchor’s Aweigh Inn and talk to Razum-dar on the second floor. He asks you to attend Kinlady Avinisse’s meeting to dig up some new clues, but you’ll need to dress for the occasion. A button prompt will appear when the time comes. In the meantime, head to the Kinlady’s manor on the east side of Shimmerene, taking the same path you traveled to reach the monastery.
Talk to Kinlady Avinisse
Once you’ve arrived, speak with Galmelor to gain entry to the meeting. The Kinlady will give a quick speech, then scurry back into the house. You can speak with the party guests to get a better sense of everyone’s attitude regarding the Kinlady and her speech, especially Aldarch Tilcalar. Once you’re done elbow-rubbing, head inside and up to the second floor to find Kinlady Avinisse. Speak with her, then exit the manor and speak with Razum-dar.
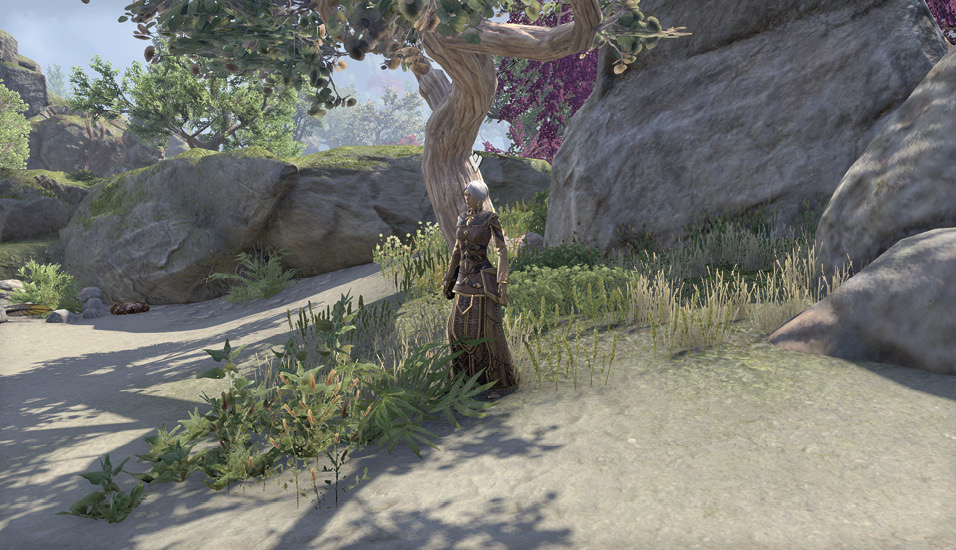
Your next task is to meet Valsirenn at the Coral Forest southeast of Shimmerene.
Search the Coral Forest for Aldarch Tilcalar
You’ll need to search the Coral Forest for Aldarch Tilcalar, but be careful. There is an elite Yaghra Strider and Yaghra Spewer ahead. If you don’t want trouble, do your best to avoid them, which isn’t a terribly difficult feat so long as you’re not racing through the Coral Forest.
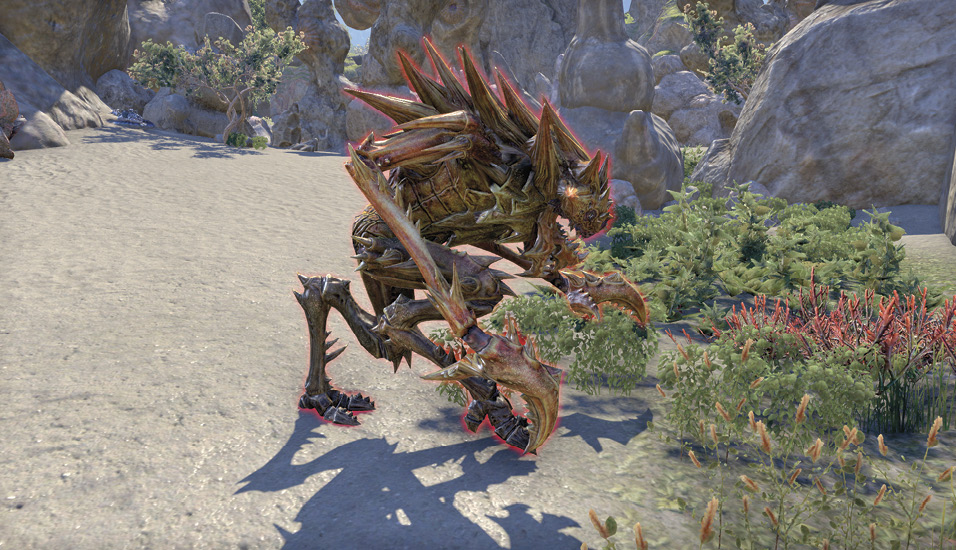
Once you find the Aldarch, you must face off with the Earl of Clavicus Vile.
Once you defeat the Earl, destroy the pearl, then speak with Valsirenn. She suggests that you speak with Ritemaster Iachesis in the Psijic island of Artaeum. Before you head there, speak with Razum-dar. After speaking with our Khajiit friend, you can question the Kinlady to get a better understanding of her part in all of this. When you’re ready, head west to the Keep of the Eleven Forces to find the portal to Artaeum.
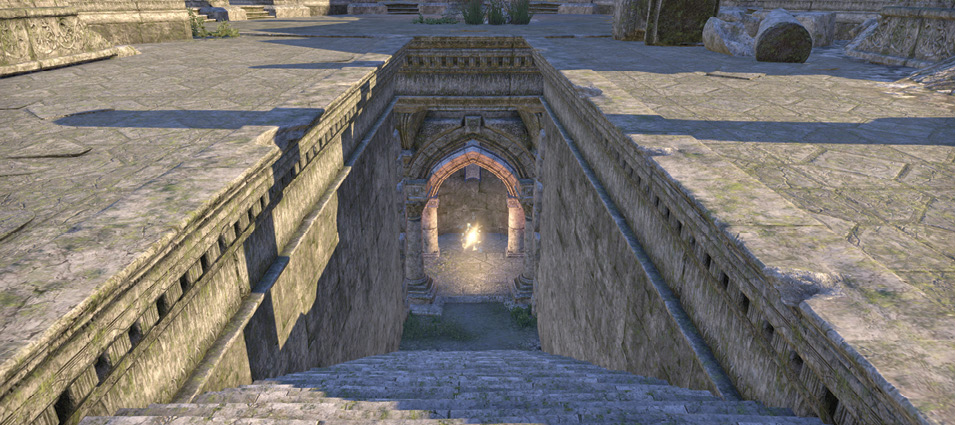
The portal to Artaeum is in the keep’s lower level, down the stairs near the middle of the ruins.
Artaeum
The island of the Summerset Isles that disappeared out of thin air, Artaeum is the home to the Psijic Order, masters of time and space manipulation and guardians of all things arcane across all realms. While small, it is a lush paradise full of wildlife and a scholar’s dream, with libraries packed with the most rare and obscure books in all existence. It is said that it vanished suddenly more than 500 years ago, but where it is and how it got there is forbidden knowledge to all but those who perpetrated the disappearing act.
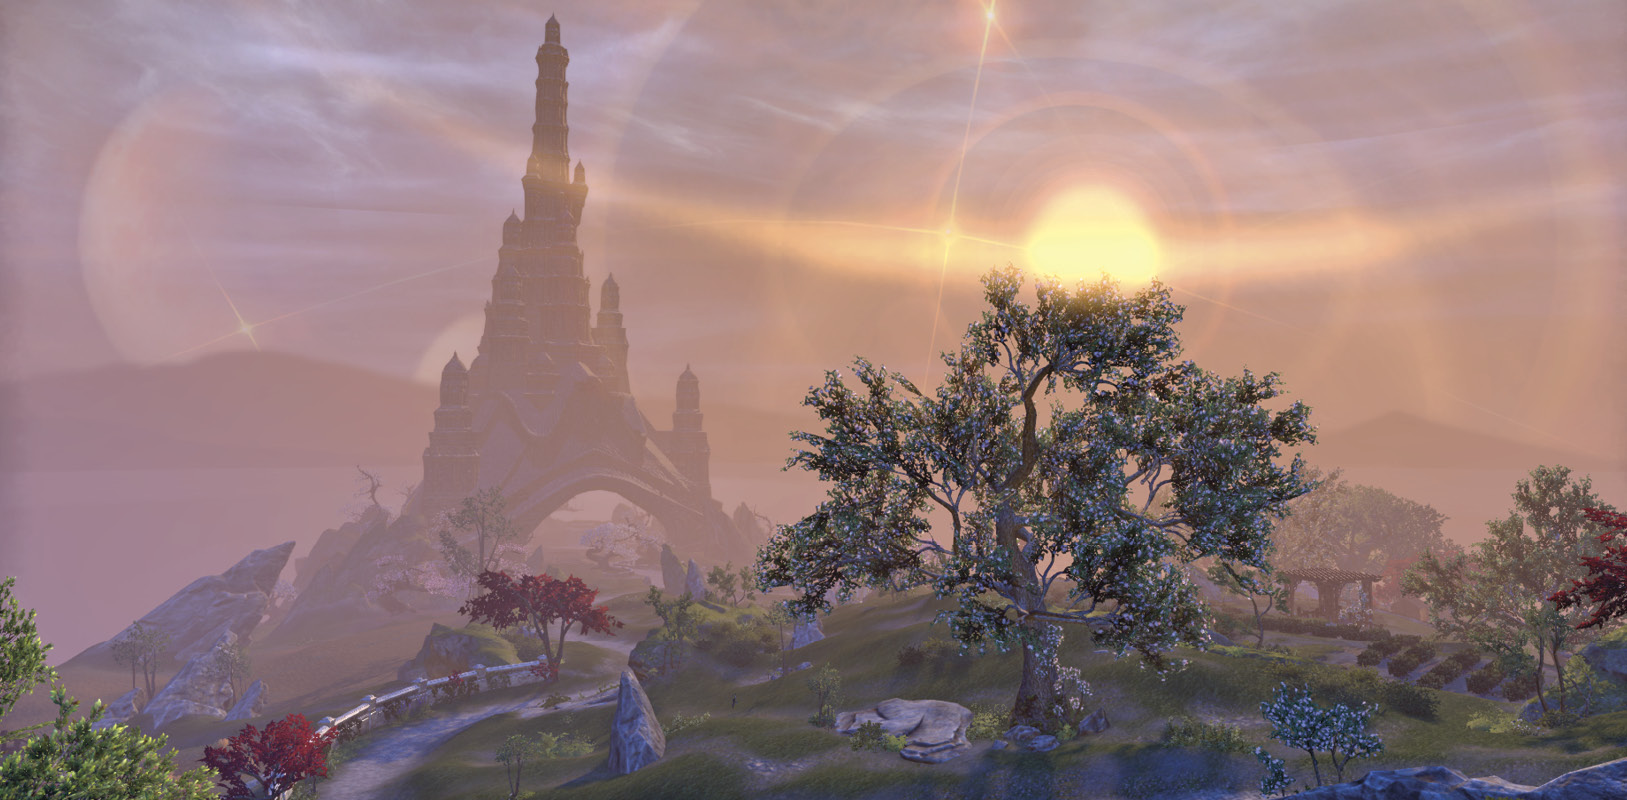
Once on Artaeum, explore and get your bearings. It’s a small location, but it’s packed with Heavy Sacks that you can take if you can find them. Once you’ve finished exploring the island, head to Ceporah Tower in Artaeum’s northeast corner to find Ritemaster Iachesis. Speak with him to finish the quest and earn a Sash of the Psijic Order.