
The Elder Scrolls Online: Summerset Guide Dungeons and Trials
Cloudrest (Trial)
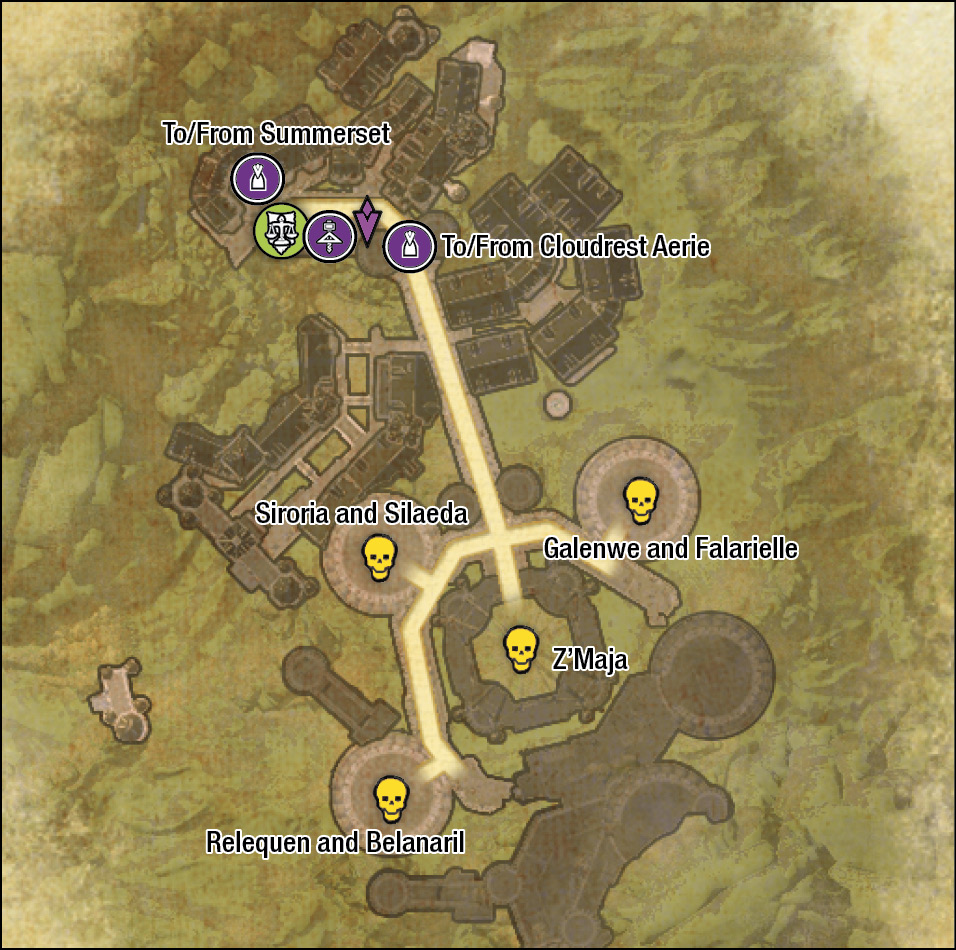

|
|
|
|
Quest Trial |
|
|
Enemy (Difficult) |

|
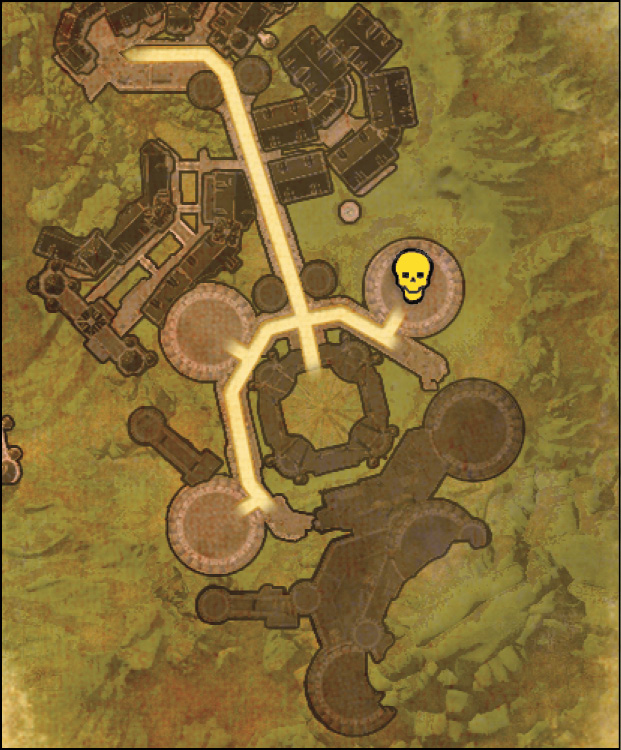
Plaza |

|
Building or Threshold |


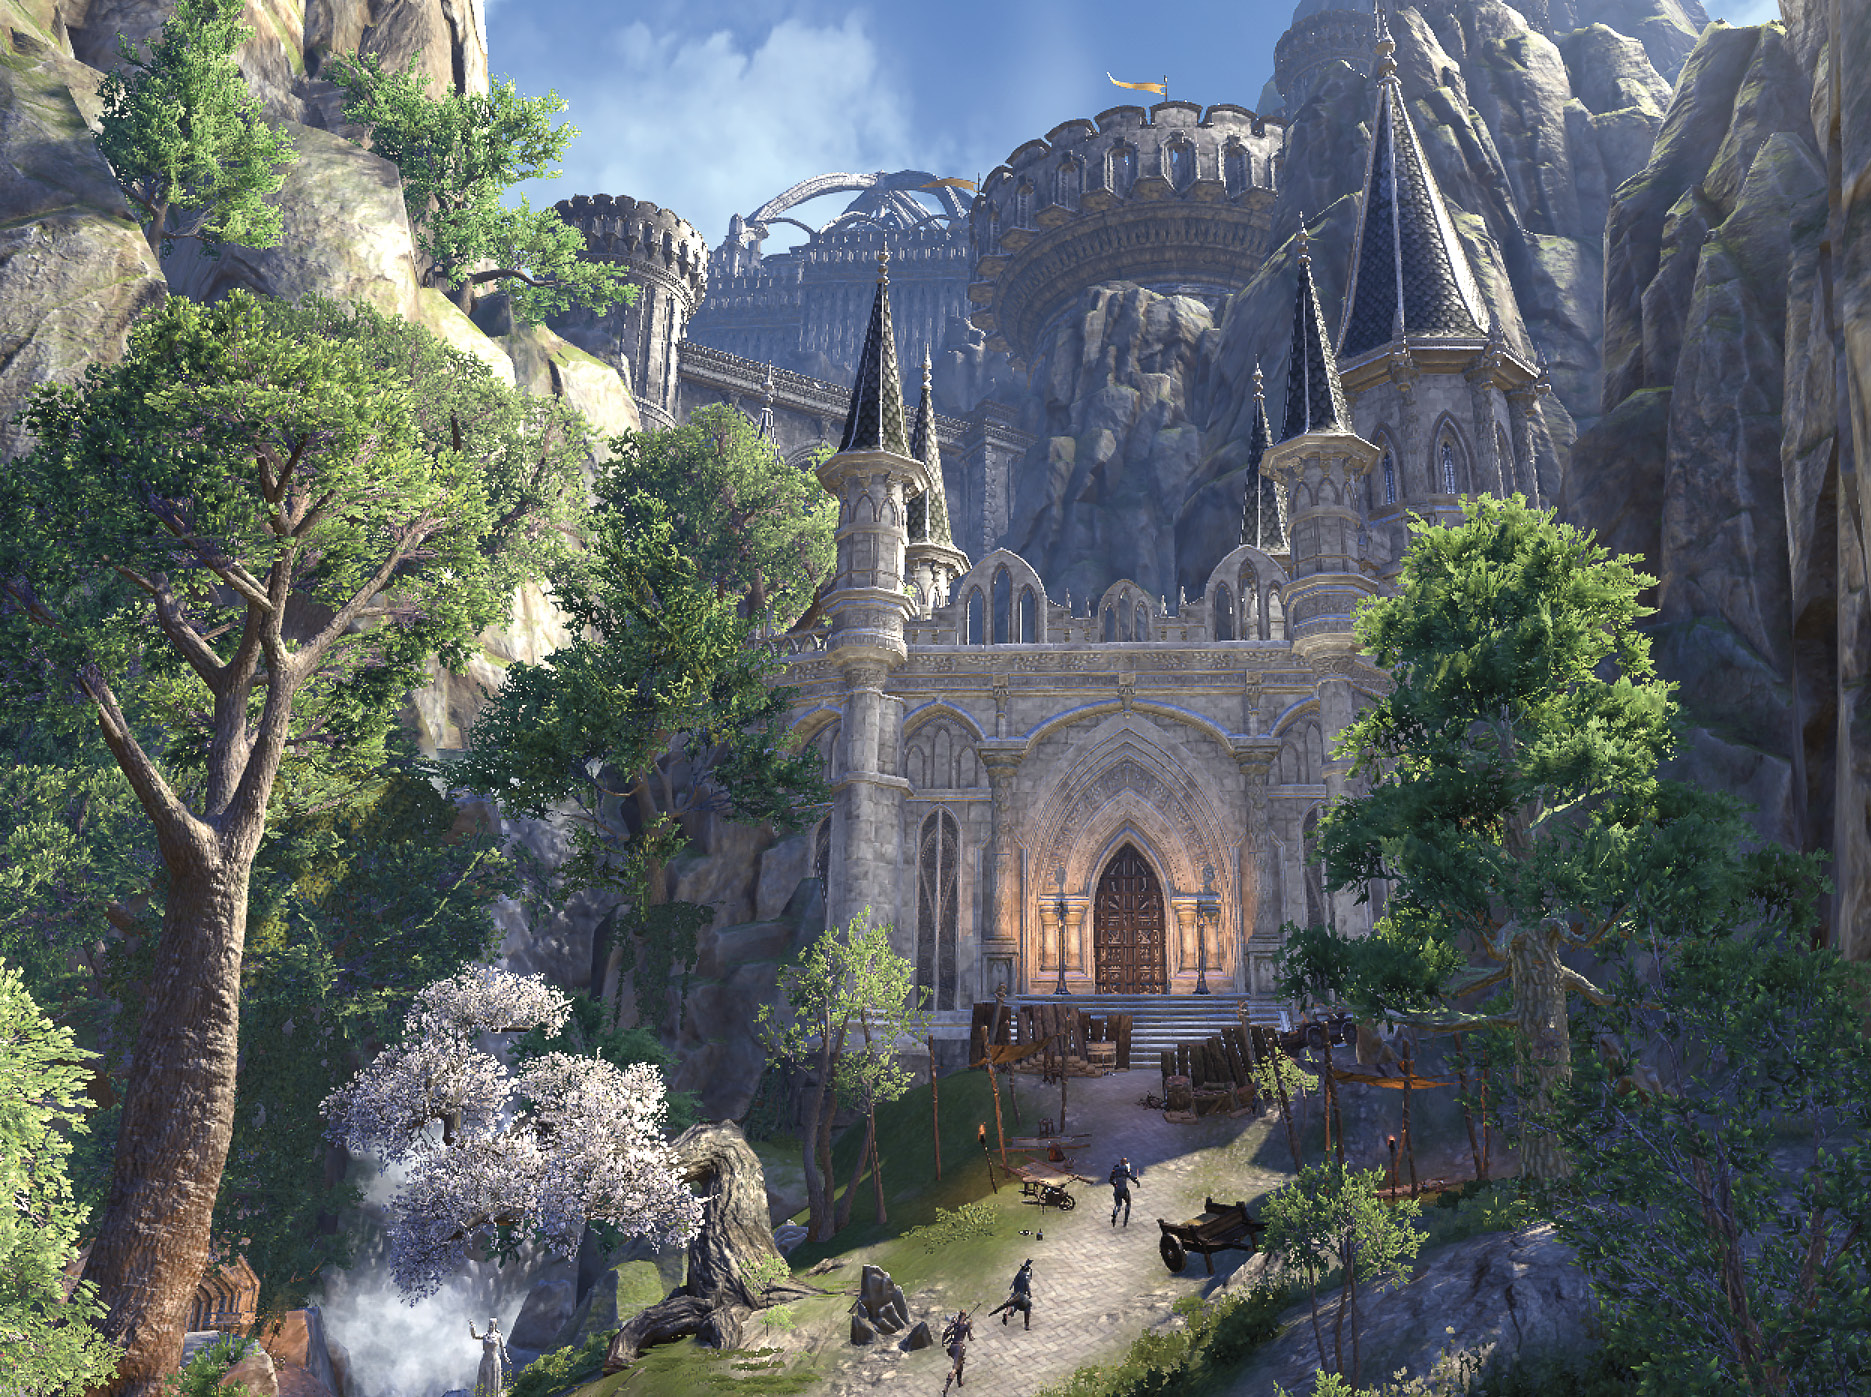
Cloudrest is one of the most brutal trials in all of Elder Scrolls Online. While it is a much smaller trial than most, the enemies you face will test you and your team far beyond your limits.
While we can offer you tips and information about completing this trial, ultimately it is up to you, your team, and your group strategies to get through this. Even with a full roster of experienced players, you’ll still struggle. We’ll help you know what to expect, but nothing will prepare you like experience.
Checking on Cloudrest
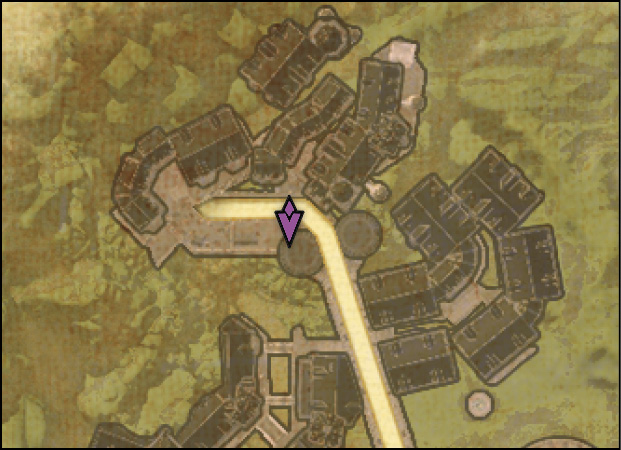
- Location: In front of the Riverside Market near the south end of Alinor
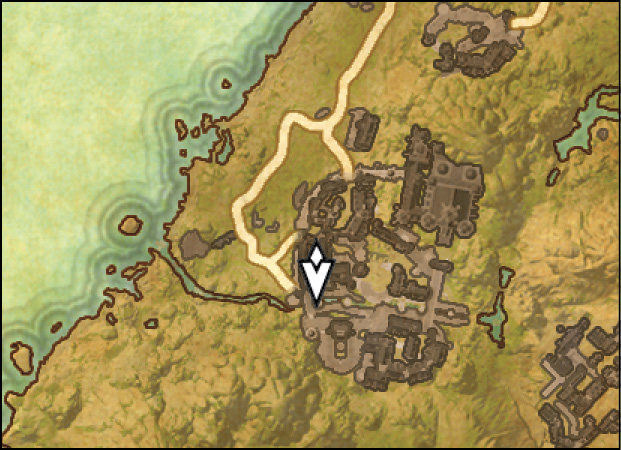
- Quest-giver: Vandoril
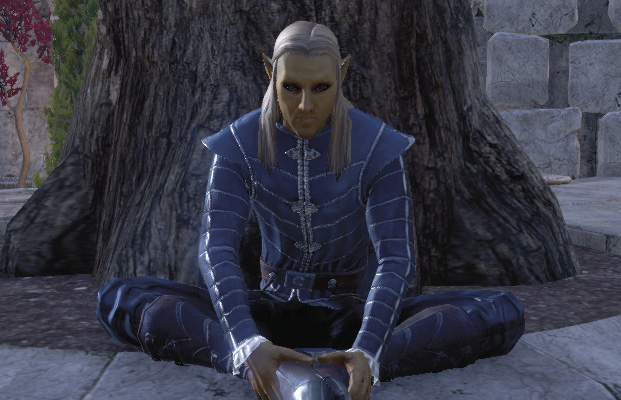
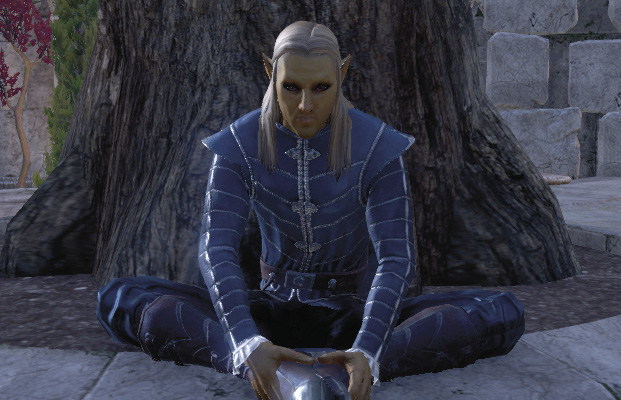
Description: Vandoril has been having terrible dreams of a Sload attacking his mother’s home of Cloudrest. He knows they are just dreams, but he wants to make sure that he’s safe nonetheless. Head to Cloudrest and confirm whether his dreams are premonitions or simply dreams.
Woe of the Welkynars (Repeatable)
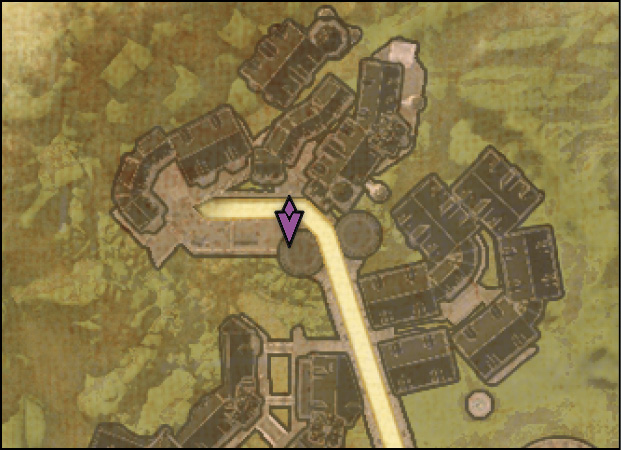
- Location: Inside Cloudrest
- Quest-giver: Olorime
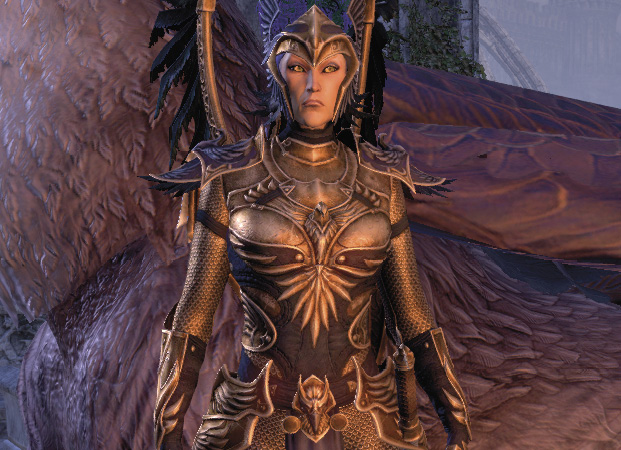
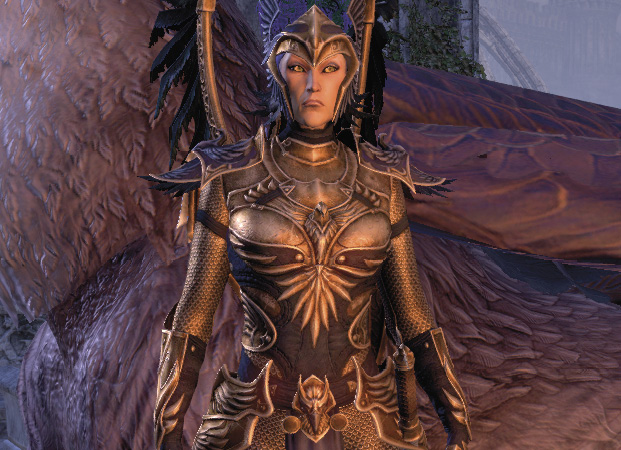
Description: The grand meeting hall of the Welkynar has been seized by the Sea Sload Shadowcaster Z’Maja. With the aid of Nocturnal’s immensely powerful amulet, Z’Maja was able to subdue three of the four Welkynar. Z’Maja then used their bodies as vessels to summon forth shadow replicas of the Welkynar and their gryphons. Each of the three Shadow Welkynar stand ready at their personal landing zones along with their shadow gryphons. The Shadow Welkynar harness various elemental magic combined with potent shadow magic, while their gryphons provide strong physical backup. At the center of the meeting hall, Z’Maja awaits with an arsenal of deadly shadow magic that will force players to step into the darkness in order to stop Z’Maja from ravaging all of Summerset.
Woe of the Welkynars encompasses the entire Cloudrest experience. You’ll have one task: Defeat Z’Maja. Accomplishing that goal almost demands that you defeat her imprisoned Welkynars and their gryphons. You are free to go straight to Z’Maja with your group, but doing so will force you to deal with the Welkynars’ attacks during your fight with Z’Maja, which is brutal enough by itself. We suggest you take on each of the Welkynar, then Z’Maja on your first time through. After that, you can up the ante and challenge her directly if you’re trying to gain a high score on the trial leaderboards.
You’ll earn a Welkynar Soaring Coffer (only once per week) for completing this quest. Defeating Z’Maja also gives you the Z’Maja Trophy and the chance to earn set equipment items from any of the four possible trial armor sets.
Olorime the Last Welkynar of Eton Nir and Darremalatu
Olorime is the last Welkynar not swept up in Z’Maja’s shadow magic and she’s not content to sit back and let you do all the work. She, and her gryphon Darremalatu, will assist you throughout the fight.
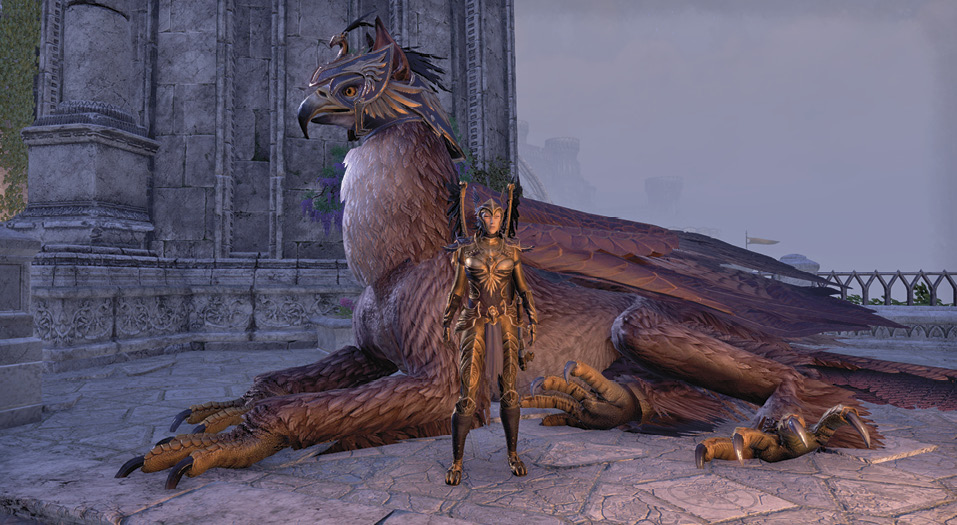
While she and Darremalatu won’t attack any of your foes directly, they will help you survive and escape Z’Maja’s Shadow World.
The Welkynars
Each of the Welkynars fights alongside their own gryphon during the fight, and while Welkynar might be synonymous with power in Summerset, the Welkynar themselves are not necessarily the ones to fear. Their movesets are all limited to a basic attack, an interruptible attack, a heavy attack, and a unique special attack. Beyond those moves, they aren’t particularly complex.
Each fight requires a tank and an offtank to survive the encounter. One tank should focus on redirecting the Welkynar’s attacks, while the other should focus on taking damage from the gryphon; swap targets when either tank takes too much damage. Any less than two tanks and you’ll find it just about impossible to win any fight here.
Once you’re in a Welkynar’s arena, each one will cast a spell that will wrap around the arena’s entrance, preventing anyone from escaping until you are all dead or until you win.
The enemies you really have to look out for are the gryphons. They all share similar movesets between each other, but those moves are all quite devastating. On top of that, each one has its own superpowered attack that is distinct from the other gryphons’ and requires a completely different strategy for each one.
If you ignore the Welkynars and their gryphons and go straight to Z’Maja, they will jump in to assist Z’Maja about halfway through the fight. One Welkynar left alive will join the fight at 50% strength; with two Welkynar left alive, one will join at 65% and the other at 35% strength; with three left alive, they will join at 75%, 50%, and 25% strength. When this happens, the gryphons will also use their special attacks and will continue to do so until the fight is over, even if you defeat the Welkynar who are assisting Z’Maja. Leaving any alive during this fight will cause the Welkynar to enrage when the final Shadow Z’Maja emerges.
You can ignore the Welkynar if you’re looking for an added challenge, but beyond that, leaving them is begging for death.
The Shadow World
Each fight in Cloudrest will require a part of your group to enter portals to the Shadow World, where Shadow Yaghra, who are invulnerable while in the Shadow World, slowly march toward the portal to the real world. While there, players will need to destroy Tenebrous Vessels and grab the Malevolent Cores before any of the Shadow Yaghra can reach the portal. Every Yaghra that makes it through will end up back in the real world, making the fight significantly harder. If enough Yaghra escape into the real world, it will become just about impossible to win the fight, so your team will need to act as quickly as possible in the Shadow World to destroy the Tenebrous Vessels and grab the Malevolent Cores.
Olorime will throw three spears into the arena after all Malevolent Cores have been revealed. Members of the group in the real world will need to approach the spears and activate them to make them appear in the Shadow World. Players inside the Shadow World must then gather the three Malevolent Cores and individually stand on each of the three spear locations. Doing this will shatter the Malevolent Cores and close the portal to the Shadow World, keeping the Yaghra from reaching the real world.
Players in the Shadow World should use crowd control on the Yaghra to keep them from reaching the portal.
Malevolent Core
Players need to pick up three Malevolent Cores, which are hidden in Tenebrous Vessels on the arena’s outer edge. When Olorime throws her spears, players in the real world need to activate them, which will make them appear in the Shadow World. When a Malevolent Core has been revealed after the destruction of a Tenebrous Vessel, Olorime will toss a spear containing the Welkynar’s Light into the air. When all three spears have appeared in the Shadow World, the players holding the Malevolent Cores will need to bring each of them to the spears to destroy them. Each player can hold only one Core at a time.
A Malevolent Core will rotate around the player holding it and deal ramping damage over time. They also feed off shields and will strip them away from a player with each tick of damage. Once a player picks up a Malevolent Core, they can’t get rid of it on their own. If a player dies with a Core in hand, it will fall to the ground, allowing another player to acquire it.
We suggest waiting until all three Malevolent Cores have been found before picking any of them up. Once you have them, you can’t shake them and they deal progressive damage.
Once all three Malevolent Cores have been destroyed, the portal to the Shadow World is shut and players in the Shadow World are pushed back to the real world.
Veteran Difficulty Differences: Hollowing Torment
Each time players enter the Shadow World, they are debuffed and are incapable of jumping into the next Shadow World portal. Any player who tries to enter a portal after having entered the prior portal will be killed instantly.
When a Malevolent Core is revealed in Veteran difficulty, it will start shooting projectiles at players within the Shadow World until it is picked up.
A single Yaghra Monstrosity will spawn as a result of the Shadow World gateway being destroyed.
Talk to Belarin
You can teleport directly to Cloudrest like you would any other wayshrine. You’ll find it seated firmly in the center of Summerset. You’ll find Belarin just beyond the door to Cloudrest. Speak with her to complete the quest.
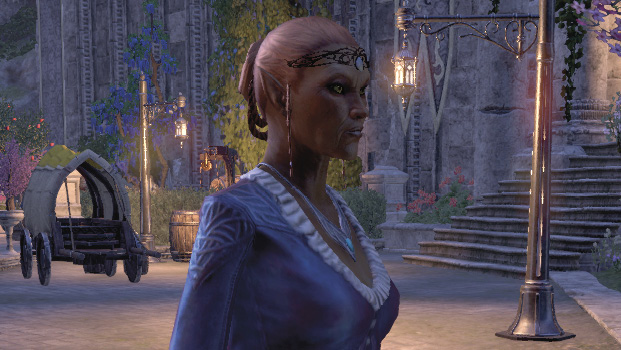
Siroria the Welkynar of Flame and Silaeda the Gryphon
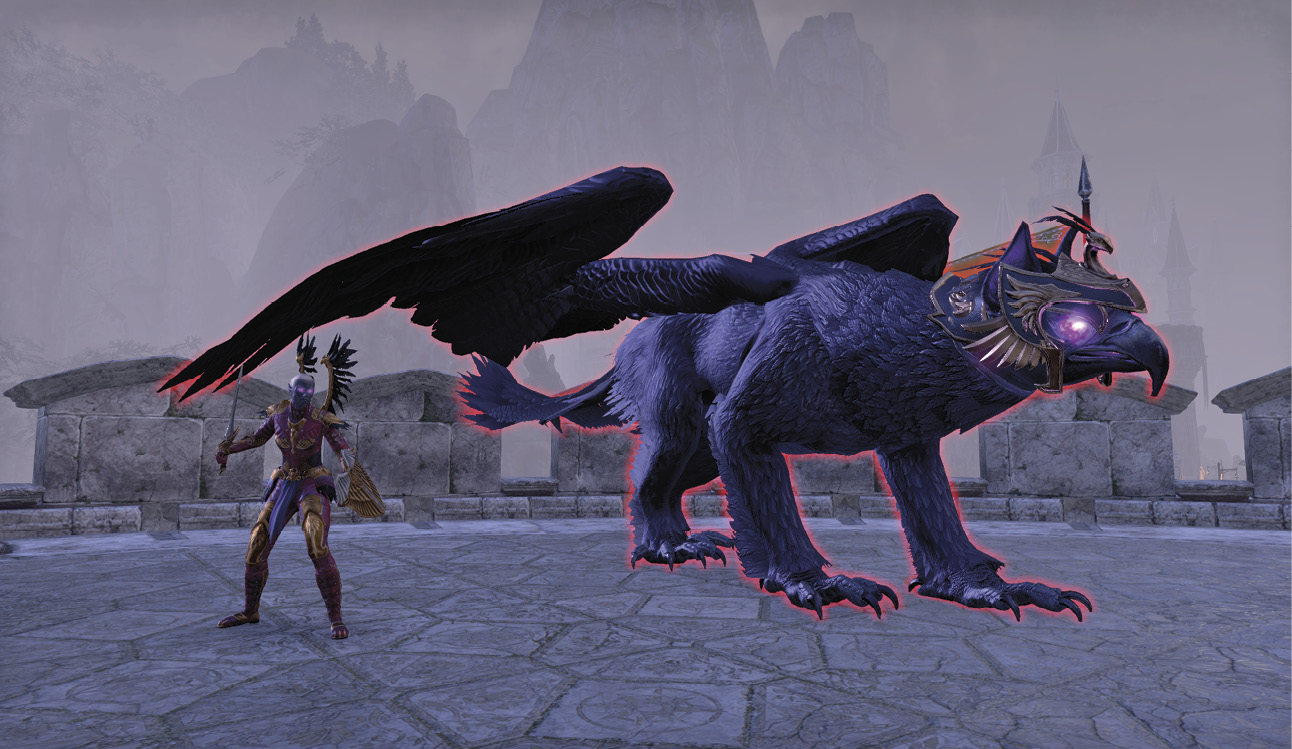
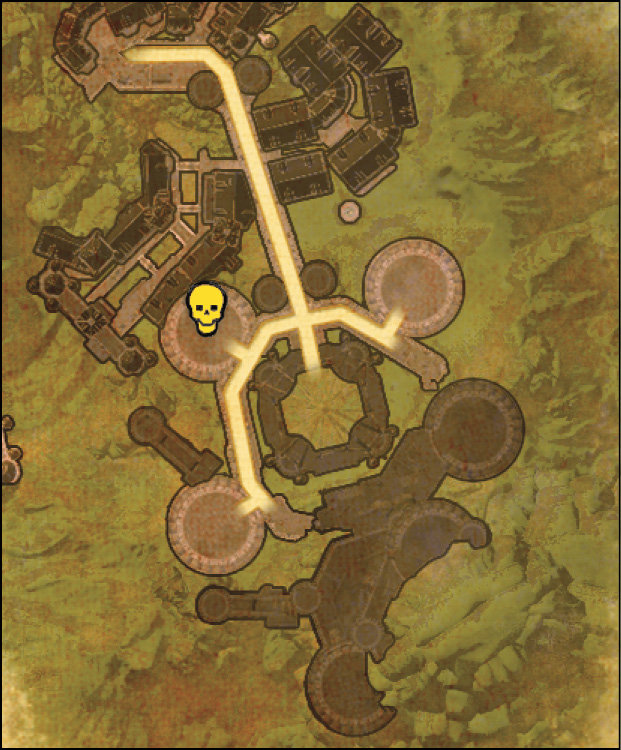
Silaeda’s Abilities
Roaring Flare
Aside from a slew of abilities shared by all of the gryphon fights in Cloudrest, each one has their own unique superability. Silaeda’s is called Roaring Flare, which is a single-target debuff that places a medium-sized AoE around the targeted player.
The damage is overwhelming for a single player and will kill any player who absorbs the entire AoE by themselves; splitting the damage among multiple players is the only way for the targeted player to survive, so other players must join the targeted player inside the AoE when the damage goes off. The color around the affected player changes from red to orange to yellow when enough players have stacked up.
Relequen the Welkynar of Storm and Belanaril the Gryphon
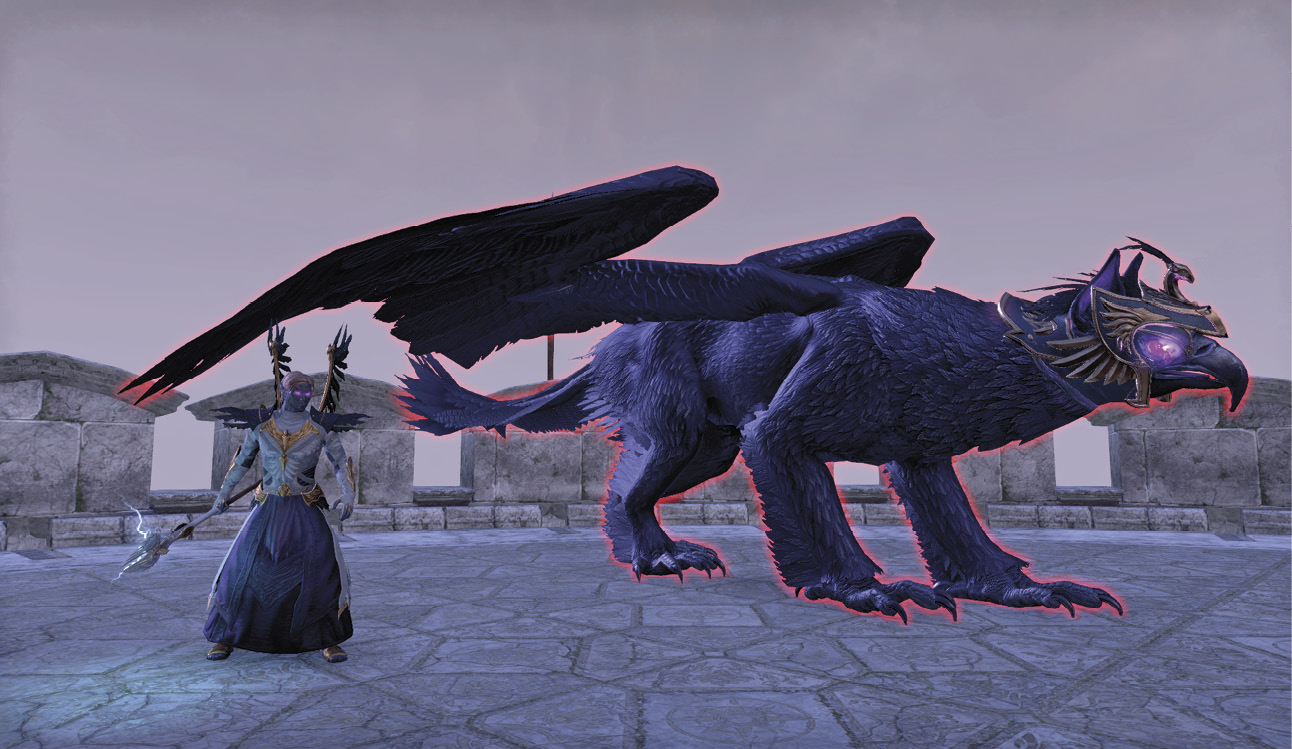
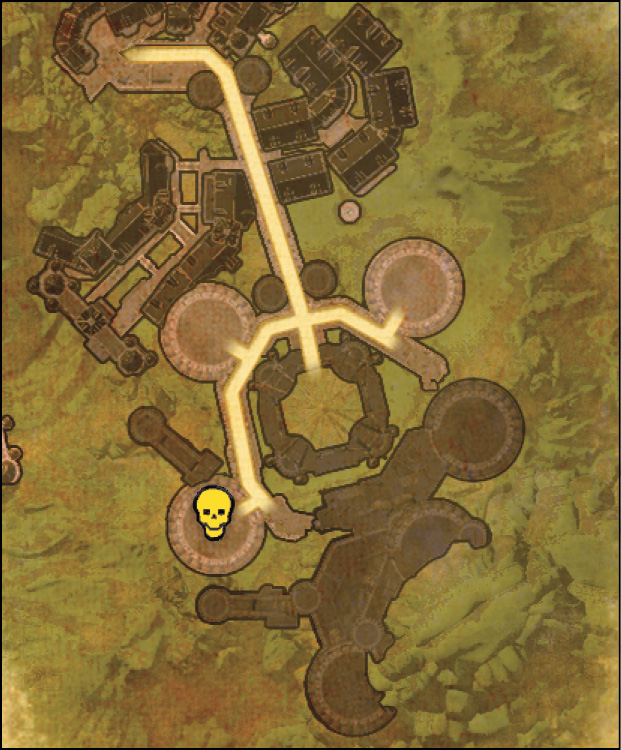
Gryphon Belanaril’s Abilities
Voltaic Current
Voltaic Current is a debuff to the targeted player’s weapon. When it hits a player, their primary weapon becomes cursed and begins firing lightning bolts. These bolts will hit other players, including the one with the debuff. The damage these bolts cause is immense, so immediately swap out your weapon and wait out the debuff before equipping that weapon again.
Voltaic Current doesn’t last for a particularly long time, but it’s more than enough time to hurt or kill you and your teammates if you continue using that weapon.
If the debuffed player has this weapon active when the debuff expires, a burst of shock energy will activate on the debuffed player; this will fire out chains to nearby players, which will then debuff their active weapons of those players as well, continuing the cycle.
Galenwe the Welkynar of Frost and Falarielle the Gryphon
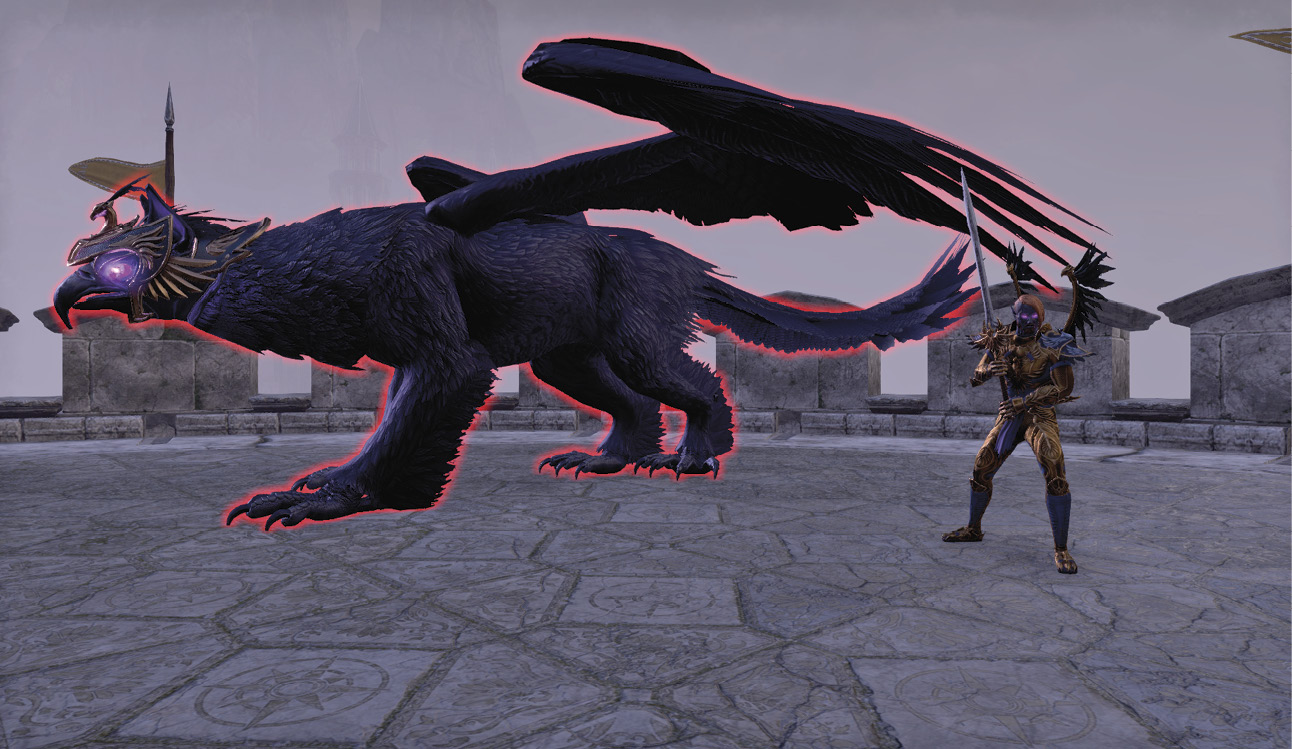
Falarielle’s Abilities
Hoarfrost
Falarielle casts a debuff that is placed directly on a random player and slowly freezes them. After a short time, the player holding the Hoarfrost will receive an option to drop it on the ground. Dropping it creates a burst of AoE damage and a small tornado, which will grow and begin shooting ice shards around the arena. Each ice shard will deal massive damage and slow the players it hits. Players can pick up the Hoarfrost, which will begin to slowly freeze them until they put it down themselves or until it kills them.
The goal here is to trade off the Hoarfrost between players, not allowing players to die from the AoE and tick damage of holding the Hoarfrost and not allowing the Hoarfrost to grow and shoot shards at players when left unattended.
Z’Maja the Sea Sload Shadowcaster
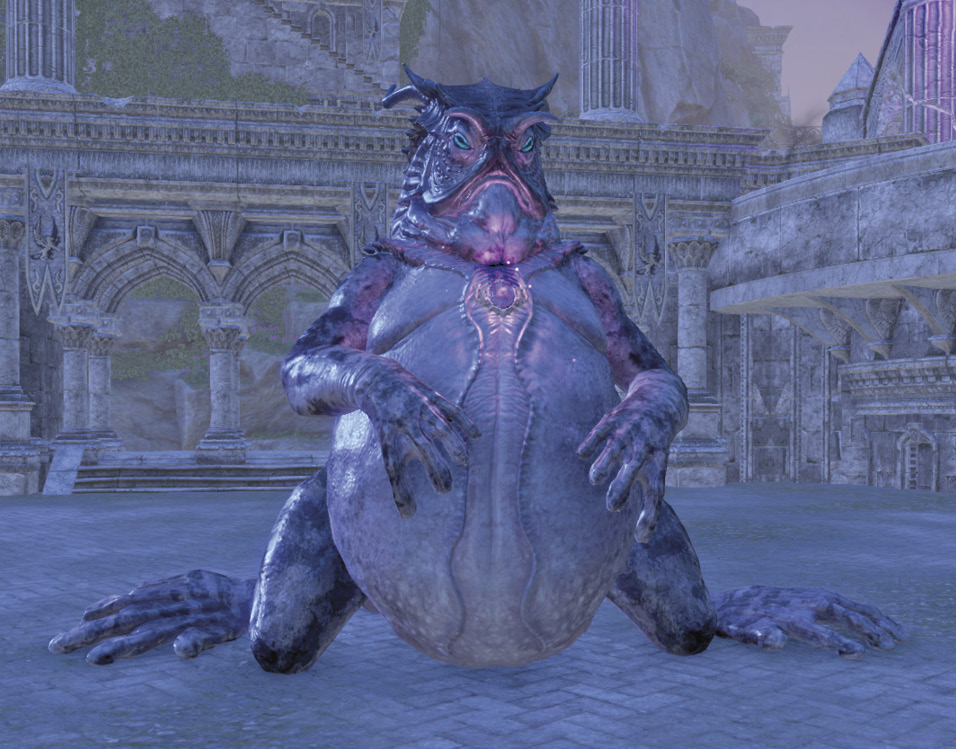
Z’Maja is a three-phase fight that will be easier or harder, depending on whether or not you defeated all three Welkynar beforehand. She will remain stationary for the entire fight, but does teleport randomly between multiple predetermined locations.
Like all the other fights, this battle will take place on both the surface world and the Shadow World, where Z’Maja’s shadow clone, the Shade of Z’Maja, exists.
One tank must draw Z’Maja’s attacks, while the other draws Shade of Z’Maja’s attacks in the Shadow World. Shade of Z’Maja can escape the Shadow World, before phase 3 of the fight, which will lead to a party wipe.
If you left any Welkynar alive, they will join the fight at fixed intervals. When this happens, their respective gryphons will fire their special attacks into the arena, which will stay in the fight until Z’Maja and Shade of Z’Maja are dead.
The first Welkynar jumps into the fight when a specific health percentage remains on Z’Maja. The Welkynars join the battle in this order: Siroria, then Relequen, and finally Galenwe. The health percentages at which this occurs depends on how many Welkynar you left alive. The number of remaining Welkynars also determines the strength at which they enter the fight.
Once you defeat a Welkynar, it’ll be out for the rest of the fight, but its gryphon’s special attack will still persist.
Phases
- Phase 1: Z’Maja just uses her base attacks. The portal to the Shadow World will appear based on a timer, but that timer’s duration will change depending on how many Welkynar still live before you started the fight with Z’Maja.
- Phase 2: Z’Maja will begin casting Crushing Darkness, which summons Nocturnal Creepers, and the Shadow World will begin breaking through to the real world.
- Phase 3: Once Z’Maja is close to being defeated, she unleashes the full power of her amulet by cracking it open. This pours enough energy into the center of the room to force her shadow clone into the real world.
Z’Maja’s Phase 1 Abilities
Mind Blast
A telekinetic projectile that targets a single player. Every fourth time Mind Blast hits a player, they’ll suffer an 8-second damage over time called Leeching Shadow.
While Z’Maja specifically targets a single player with Mind Blast, it also creates a cone in front of her that will damage players in it for slightly less than Mind Blast’s base damage.
Leeching Shadow
An 8-second DoT applied to any target that is the victim of four Mind Blast attacks within 15 seconds. Damage from this debuff increases with each tick.
Nocturnal’s Favor
This a blockable but undodgeable projectile. Z’Maja will conjure up a powerful batch of shadow energy in front of herself and thrust it outward toward her chosen target, dealing massive damage if it lands.
Shadow Splash
Z’Maja will begin waving her hands to channel a spell. After a couple seconds she will settle into a rhythmic motion, at which point players will get sucked into a vortex of shadow. Any players unlucky enough to enter the vortex will be taken to a random spot in the air and dropped to the ground, suffering fall damage.
This attack is interruptible, so do what you can to stop her. If she’s allowed to continue casting the spell, she’ll drag more players into the vortex and drop them as well.
Veteran Difficulty Differences
The teleportation height is raised, which causes greater amounts of fall damage upon impact.
Dark Canal
Creates a teleportation pool at her current location and a second pool at a random location that she’ll pop out of.
Malicious Sphere
She summons Malicious Spheres in random locations around the arena, which will then wander randomly around the room. If a Sphere comes in contact with a player, that player is stunned temporarily and multiple Sinister Beads fly out in all directions along the ground from the Sphere’s explosion. The Spheres can be targeted by attacks and destroyed, so make a point to remove them whenever they appear. When Spheres are destroyed, they will target a random player and fire a number of projectiles based on how many Welkynar are left alive. For 0 to 2 Welkynars, the number of projectiles matches the number of Welkynars; with 3 Welkynars alive, a destroyed Sphere will fire 4 projectiles.
Sinister Bead
A Sinister Bead is a small shadow orb that travels in a straight line outward from an exploded Malicious Sphere. Multiple Beads will spawn from a single, exploded Malicious Sphere, flying out in random directions. They deal damage to any players they roll through and can cause other Malicious Spheres to explode, generating more Sinister Beads, and so on.
Veteran Difficulty Differences
In Veteran mode, players hit by a Sinister Bead or a Malicious Sphere are stunned. This stun goes through block and CC immunity.
Shade of Z’Maja
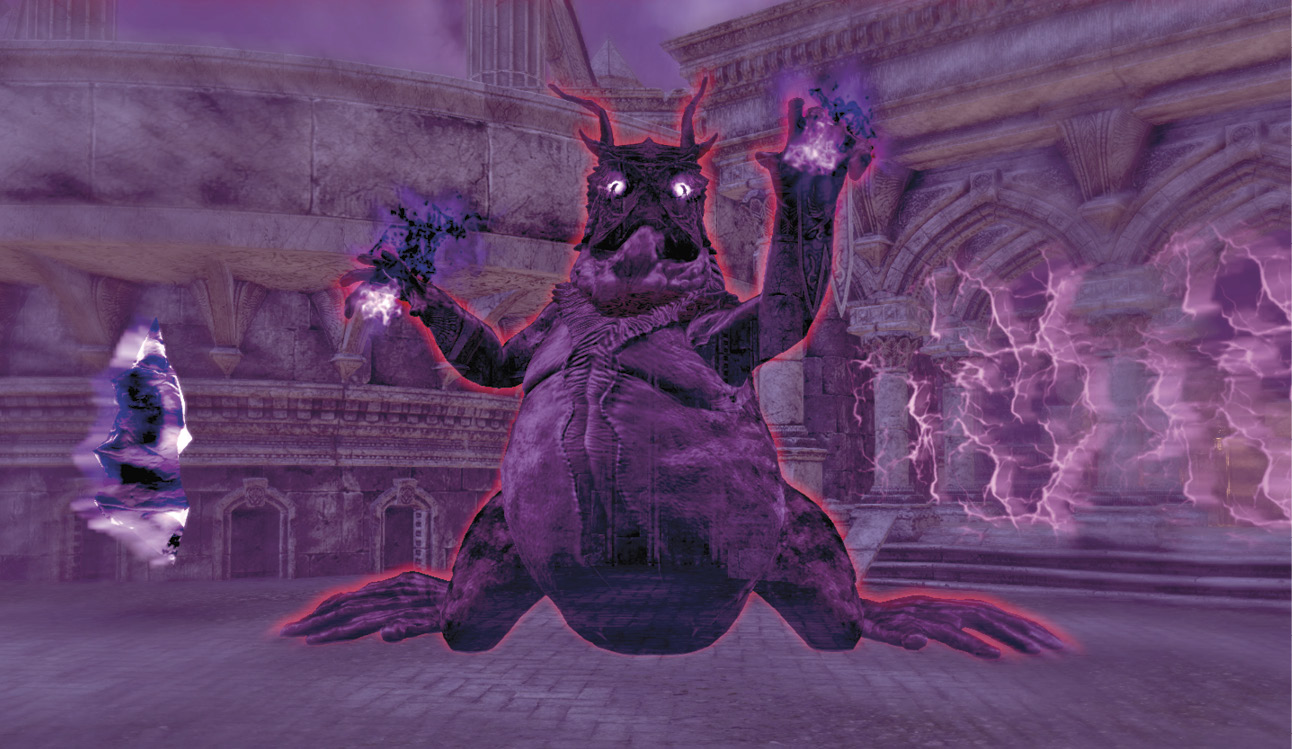
The Shade of Z’Maja appears in the Shadow World of the Z’Maja fight. You’ll need a tank to distract her while the other players work to shut down the Shadow World. You won’t have to worry about Yaghra during this fight, but failing to destroy the portal in time will allow Shade of Z’Maja to enter the real world prematurely.
If Shade of Z’Maja reaches the real world, she’ll disable all players and Olorime and Darremalatu. She’ll then conjure up a Dark Detonation, which is an AoE that fills the entire arena and can only be avoided with the help of Darremalatu’s Wind of the Whisper. With every ally stunned, you’ll have no way of escaping the explosion, meaning everyone will die.
Shade of Z’Maja Abilities
Shade of Z’Maja shares Mind Blast, Leeching Shadow, Nocturnal’s Favor, Shadow Splash, and Dark Canal with Z’Maja, which means they all function in exactly the same way as they do with Z’Maja herself.
Dark Detonation
As we mentioned earlier, Shade of Z’Maja will summon up a large concentration of shadow energy, which will engulf the entire arena. When it eventually explodes, it will deal damage to all players on the room’s lower level.
This ability is used twice per shadow world and is on a fixed timer. Each time the detonation goes off, the gateway is powered up. After the second detonation, the gateway is large enough to allow the clone through to the real world, so use these Dark Detonations to gauge how much time you have left before Shade of Z’Maja can break into the real world.
In order to avoid this damage, players must run to the corners of the arena and use Darremalatu’s Wind of the Welkynar AoEs to boost themselves up to platforms on the arena’s upper level. You’ll be able to identify these AoEs as bright, glowing geysers.
As soon as Dark Detonation resolves, jump off the upper-level platforms back into the arena below. Four smaller Dark Detonations will explode on the upper platforms, severely damaging anyone who remains up there for too long.
Veteran Difficulty Difference: Shadow of the Fallen
When a player dies, a shadow will erupt from their corpse using the likeness of the deceased player. The shade will run around and causes all sorts of trouble for the living, casting point-blank AoEs, throwing projectiles at random players, and being untankable and untauntable.
If a living player attempts to resurrect a player who still has a surviving shadow copy running loose, the player attempting to resurrect will take damage during the resurrection. Once a player’s shadow has been defeated, the shadow energy returns to the player’s body, indicating the player is viable for resurrection.
If a player dies in the Shadow World, the player and their shadow are both moved back into the real world.
Z’Maja’s Phase 2 Abilities
Crushing Darkness
Z’Maja will charge a powerful amount of shadow energy above its head and unleash up to three giant beams that all generate their own large AoE at the base of each beam. These AoEs follow the current target, in addition to two other players chosen at random.
Summon Tentacles
Z’Maja will call forth shadow tentacles, which perform Razorthorn: an attack that picks a random player and fires tunneling roots at them. When the roots reach the target, they explode, doing AoE damage and rooting the target player in place. The rooted player then takes ramping damage over time as long as they remain in the root effect, on top of being silenced for multiple seconds.
Z’Maja’s Phase 3 Ability
Shifting Shadows
While the portal to the Shadow World is open, cone-shaped AoEs emerge from the portal and expand toward random players, firing off a wave of shadow energy. When a wave contacts a player, it causes them to swap between the real world and the Shadow World, or vice versa.
This attack can appear in either the real world or the Shadow World. Any player hit by Shifting Shadows will be instantly stunned, on top of being teleported to the realm they are not currently inhabiting.