
The Elder Scrolls Online: Summerset Guide Delves
Traitor’s Vault
 |
Struck From Memory |
 |
Half-Formed Understandings |
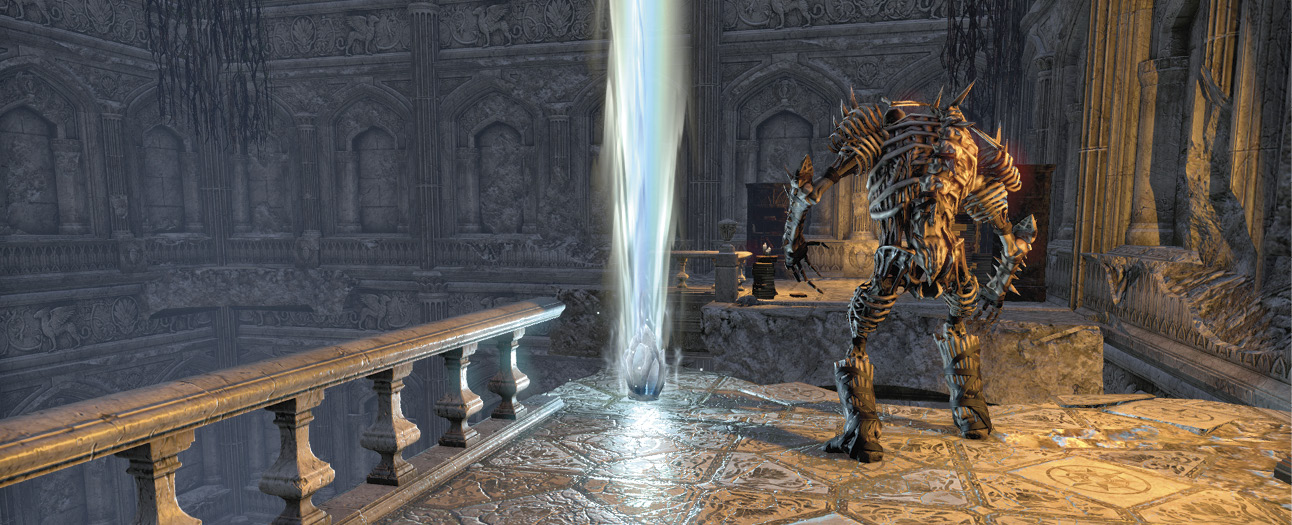
Delve Boss: The First Flesh Colossus
Skyshard
Struck from Memory (Daily)
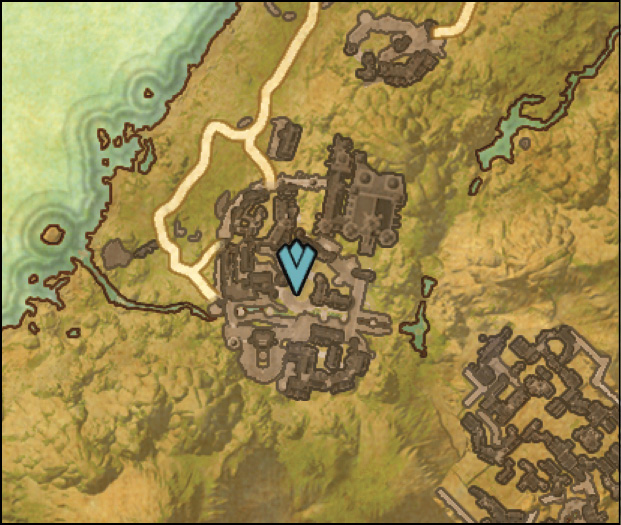
- Location: In the center of Alinor
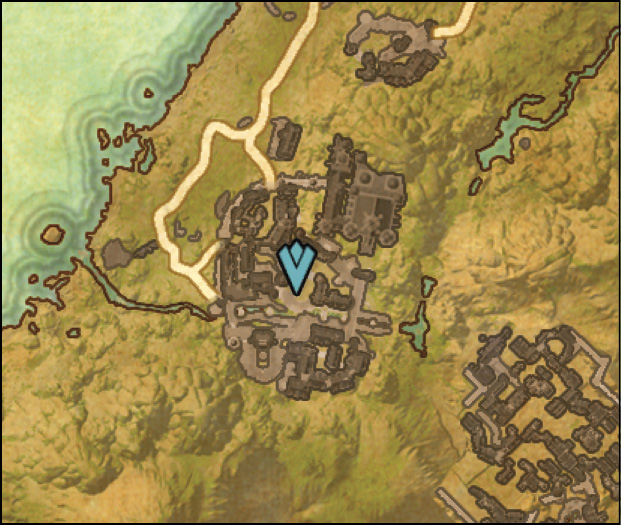
- Quest-giver: Justiciar Tanorian

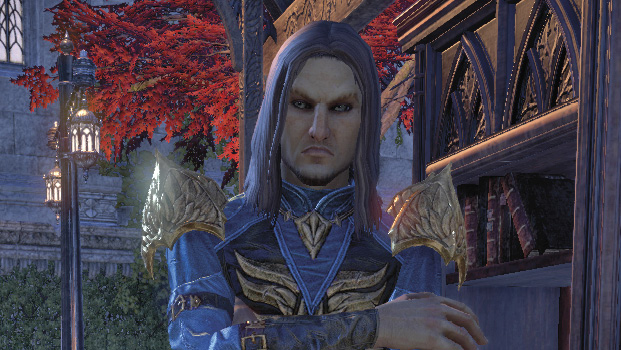
Description: Justiciar Tanorian has reports about the rise of sales of Worm Cult tomes. He wants you to help a colleague of his dispose of them.
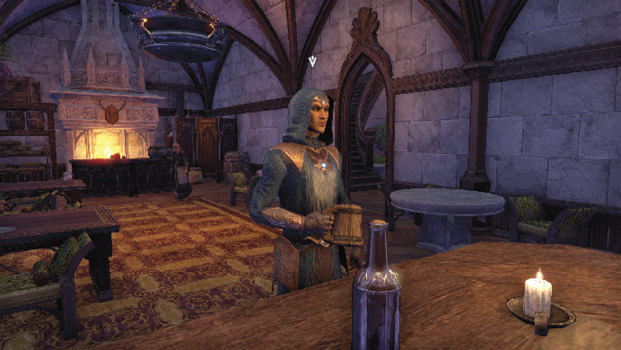
Talk to Esulo
Head to the Golden Gryphon near Alinor’s northwestern gate and speak with Esulo at the bar. Esulo will hand you the books with instructions on how to seal them. Teleport to Artaeum and head into the Traitor’s Vault.
Seal Away the Forbidden Tomes
You’ll need to use the Worm King’s Chests around the Traitor’s Vault to seal the tomes.
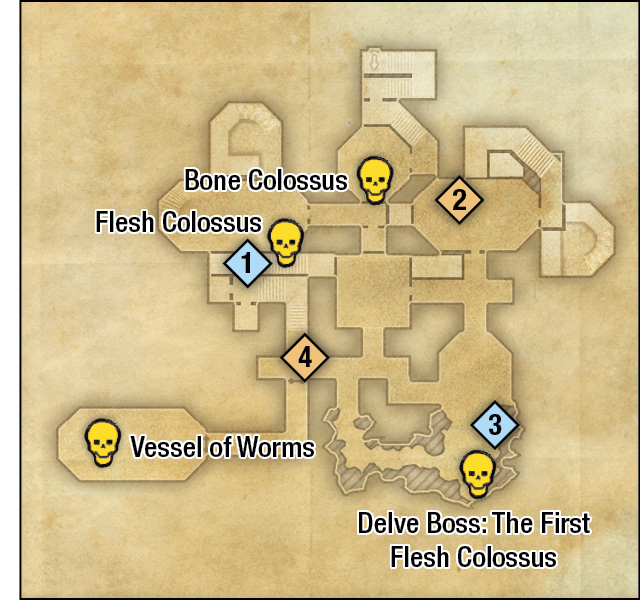
The first chest is located in the same room as the Flesh Colossus. Sneak into the room and work your way around its north side to prevent the enemy from detecting you. Once you reach the chest, stop as soon as you’re given the option to interact with it. If you go any farther, the Flesh Colossus will detect you. This isn’t a huge problem, however, since you can use the chest and get out before the Flesh Colossus actually becomes hostile, but you’ll need to be very fast.
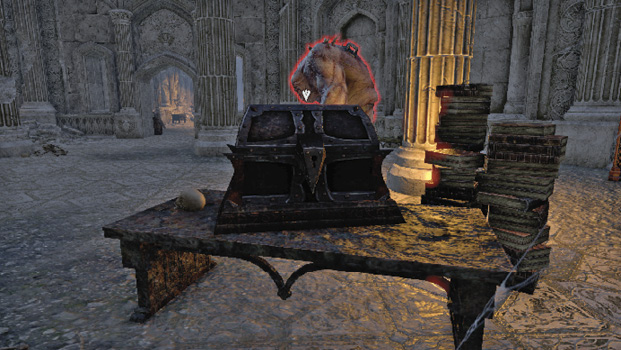
If the Flesh Colossus does become hostile, you can stand your ground or flee through the door you came in. It will give up the chase after you put a little bit of distance between you and it.
You’ll find the second chest on the east side of the second floor. Reach this location by backtracking to the entrance of the Traitor’s Vault, then crossing the bridge directly south of it. From here you can easily follow your map to make it to the next chest.
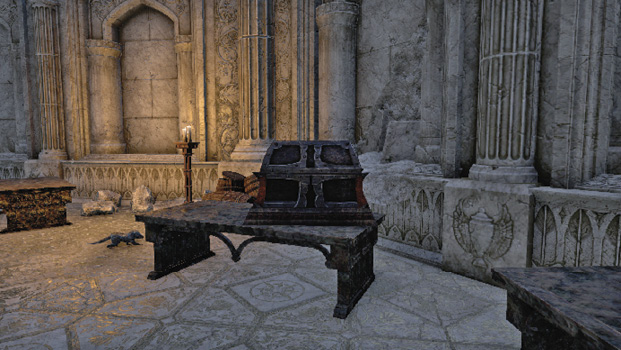
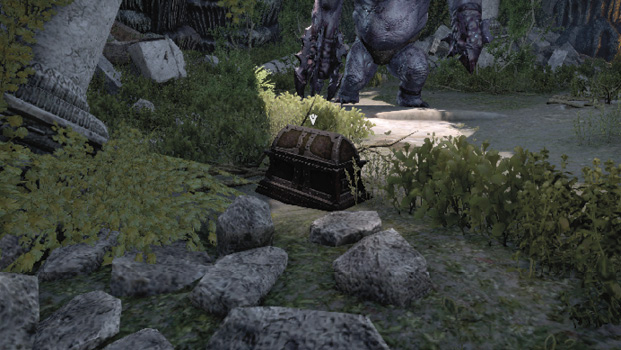
From here, you can jump off the balcony in the room to the east and make your way south to reach the final chest. This chest is positioned directly in front of the delve’s boss. There’s no avoiding drawing attention from it. As soon as you go to activate the chest, it will become hostile. Again, you can fight it, or you can bolt out the door you came. This boss has a very short leash and won’t follow you if you exit the room.
Return to Justiciar Tanorian
From here, you can just teleport back to Summerset. With all three tomes sealed, you need only speak with Tanorian to complete the quest.
Half-Formed Understandings
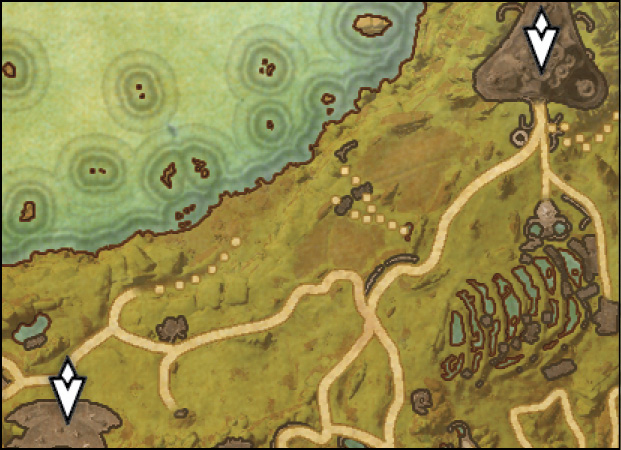
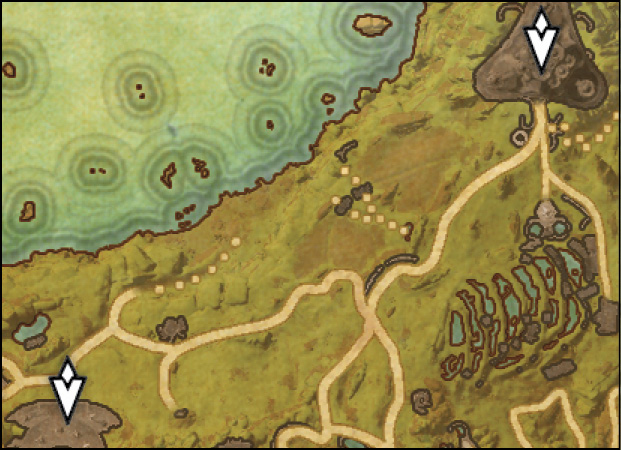
- Location: In front of the Traitor’s Vault or in the southwest corner of Ceporah Tower
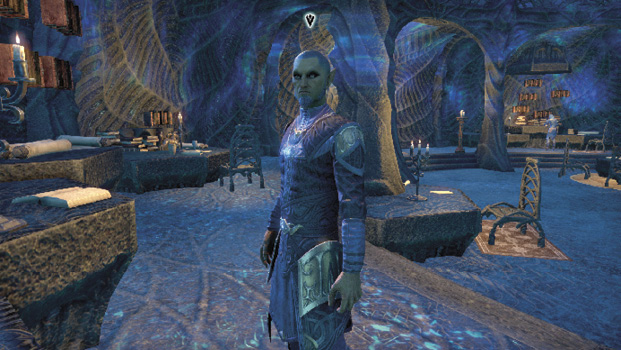
- Quest-giver: Ulliceta gra-Kogg or Cinucil

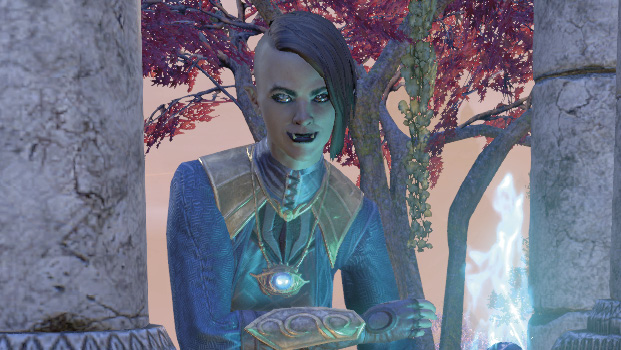
Description: Ulliceta is curious—maybe too curious. The Traitor’s Vault was closed very suddenly and without explanation and Ulliceta wants to know why. She has an item called the Eye of Remembrance, which she hopes will reveal secrets long thought locked away. Help her search the delve and report any secrets you find back to her.
Find the First Library Pedestal
Part of Ulliceta’s quest to unlock the Vault’s mysteries requires someone to find and activate several pedestals inside the ruins. That someone just so happens to be you.
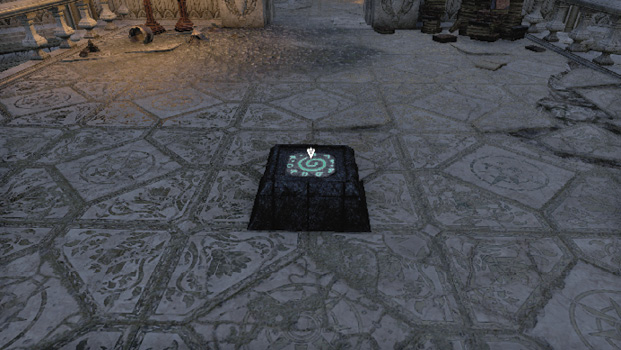
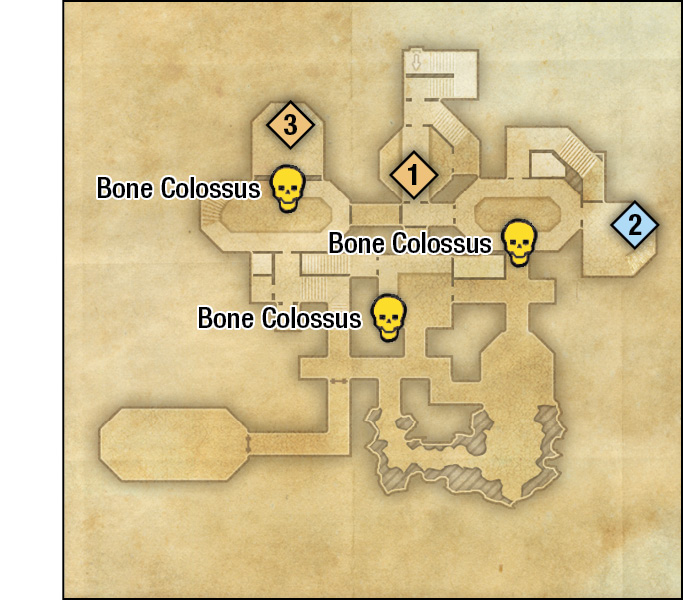
You’ll find the first pedestal on a bridge on the second floor. It’s a short distance from the entrance to the delve, so it’s hard to miss. Once you reach it, use the Eye of Remembrance on it.
Find the Second Pedestal
The next pedestal isn’t far from the first one, but it can be tough to reach. Head through the door ahead of the first pedestal and through the hall until you reach a walkway surrounding a lower floor. You can jump off this walkway into the room below to reach the pedestal quickly, but be extremely careful. This place is loaded with Bone Colossus and one of them happens to be patrolling the very walkway you’re trying to jump from. Make sure to peek to the right before entering the walkway. Once the coast is clear, make your jump.
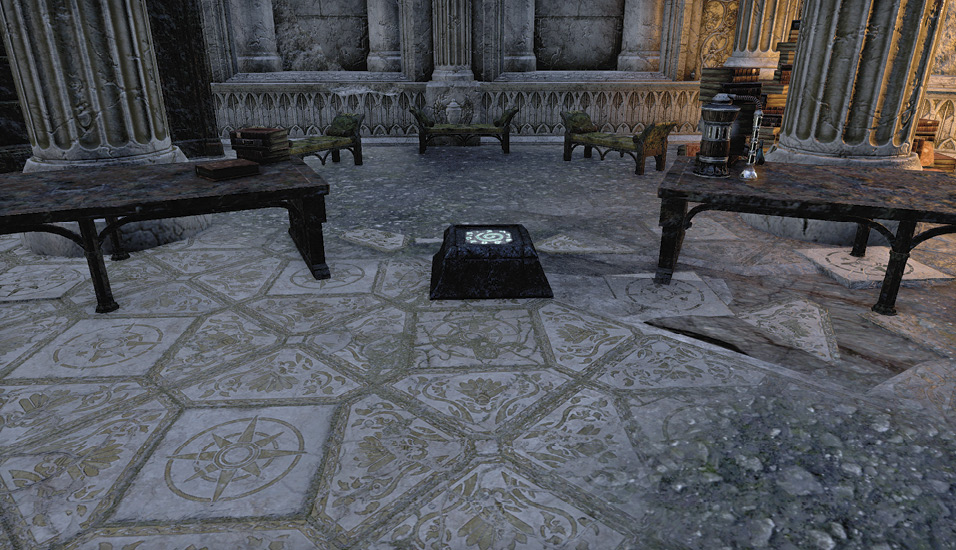
Find the Next Pedestal
This next pedestal can be a real pain to reach. The Traitor’s Vault is packed with elite enemies, and we don’t just mean Bone Colossi. If you decide to wing it, you’re at a real risk of running into not only a Bone Colossi or two, but also other horrors that lay hidden in this near-crypt. We’ve made a path that will give you the least resistance, but ultimately it’s up to you to follow it.
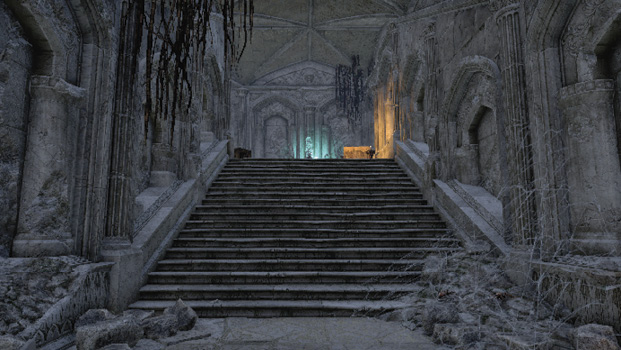
Head through the door on the room’s south side, then take the next right. Turn left, followed by a right, then another right and head up the stairs. Turn right at the top of the stairs, and follow the walkway counterclockwise. The pedestal is ahead, but you’ll have to either fight or sneak past the Bone Colossus to reach it. We suggest sneaking, as it’s pretty easy to get away with.
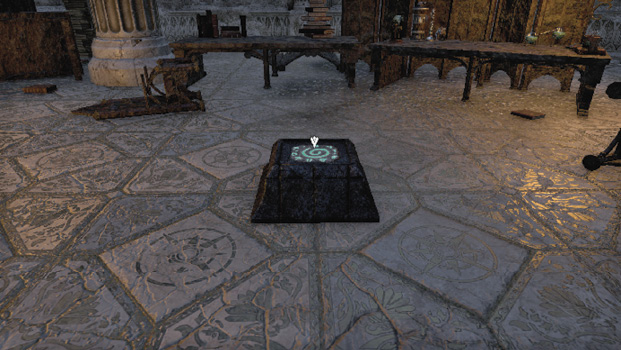
Find the Pedestal on the First Floor
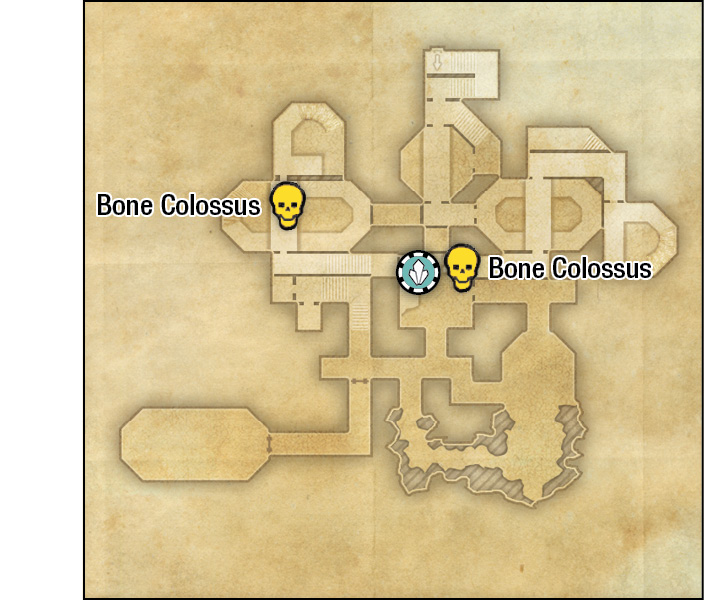
Thankfully, this pedestal is actually rather close and easy to reach. Just backtrack around the walkway, taking care to sneak past the Bone Colossus just outside the room. Once you’re in the room on the walkway’s other side, make your first left and head down the stairs to find the next pedestal.
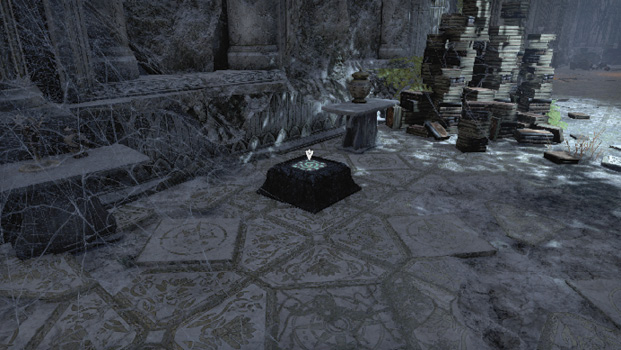
Enter Mannimarco’s Secret Chamber
After watching the scene play out, enter the sealed hall door next to the pedestal. Head to the west side of the secret chamber. The Vessel of Worms, a particularly mean Bone Colossus, attacks you.
Talk to Ulliceta
Once you defeat the Vessel of Worms, leave the Traitor’s Vault and speak with Ulliceta at its entrance. We highly suggest you teleport to Artaeum’s singular wayshrine and just walk back on foot. The Vessel of Worms may be dead, but the Traitor’s Vault is still packed with dangerous enemies.
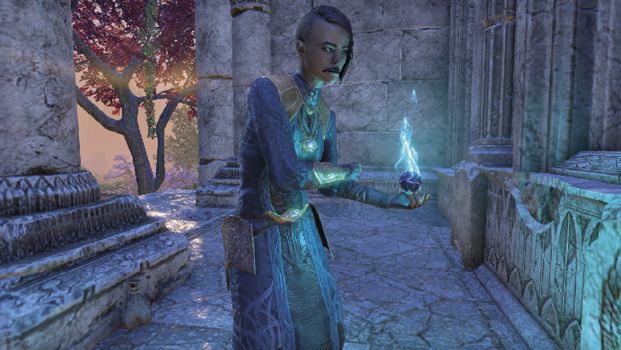
The quest will wrap up after you speak with Ulliceta.