The Elder Scrolls Online: Summerset Guide The Atlas of Summerset Isle
Summerset Isle: Region 3 (Northeast)
Veyond Wyte, King’s Haven Pass, Eldbur Ruins
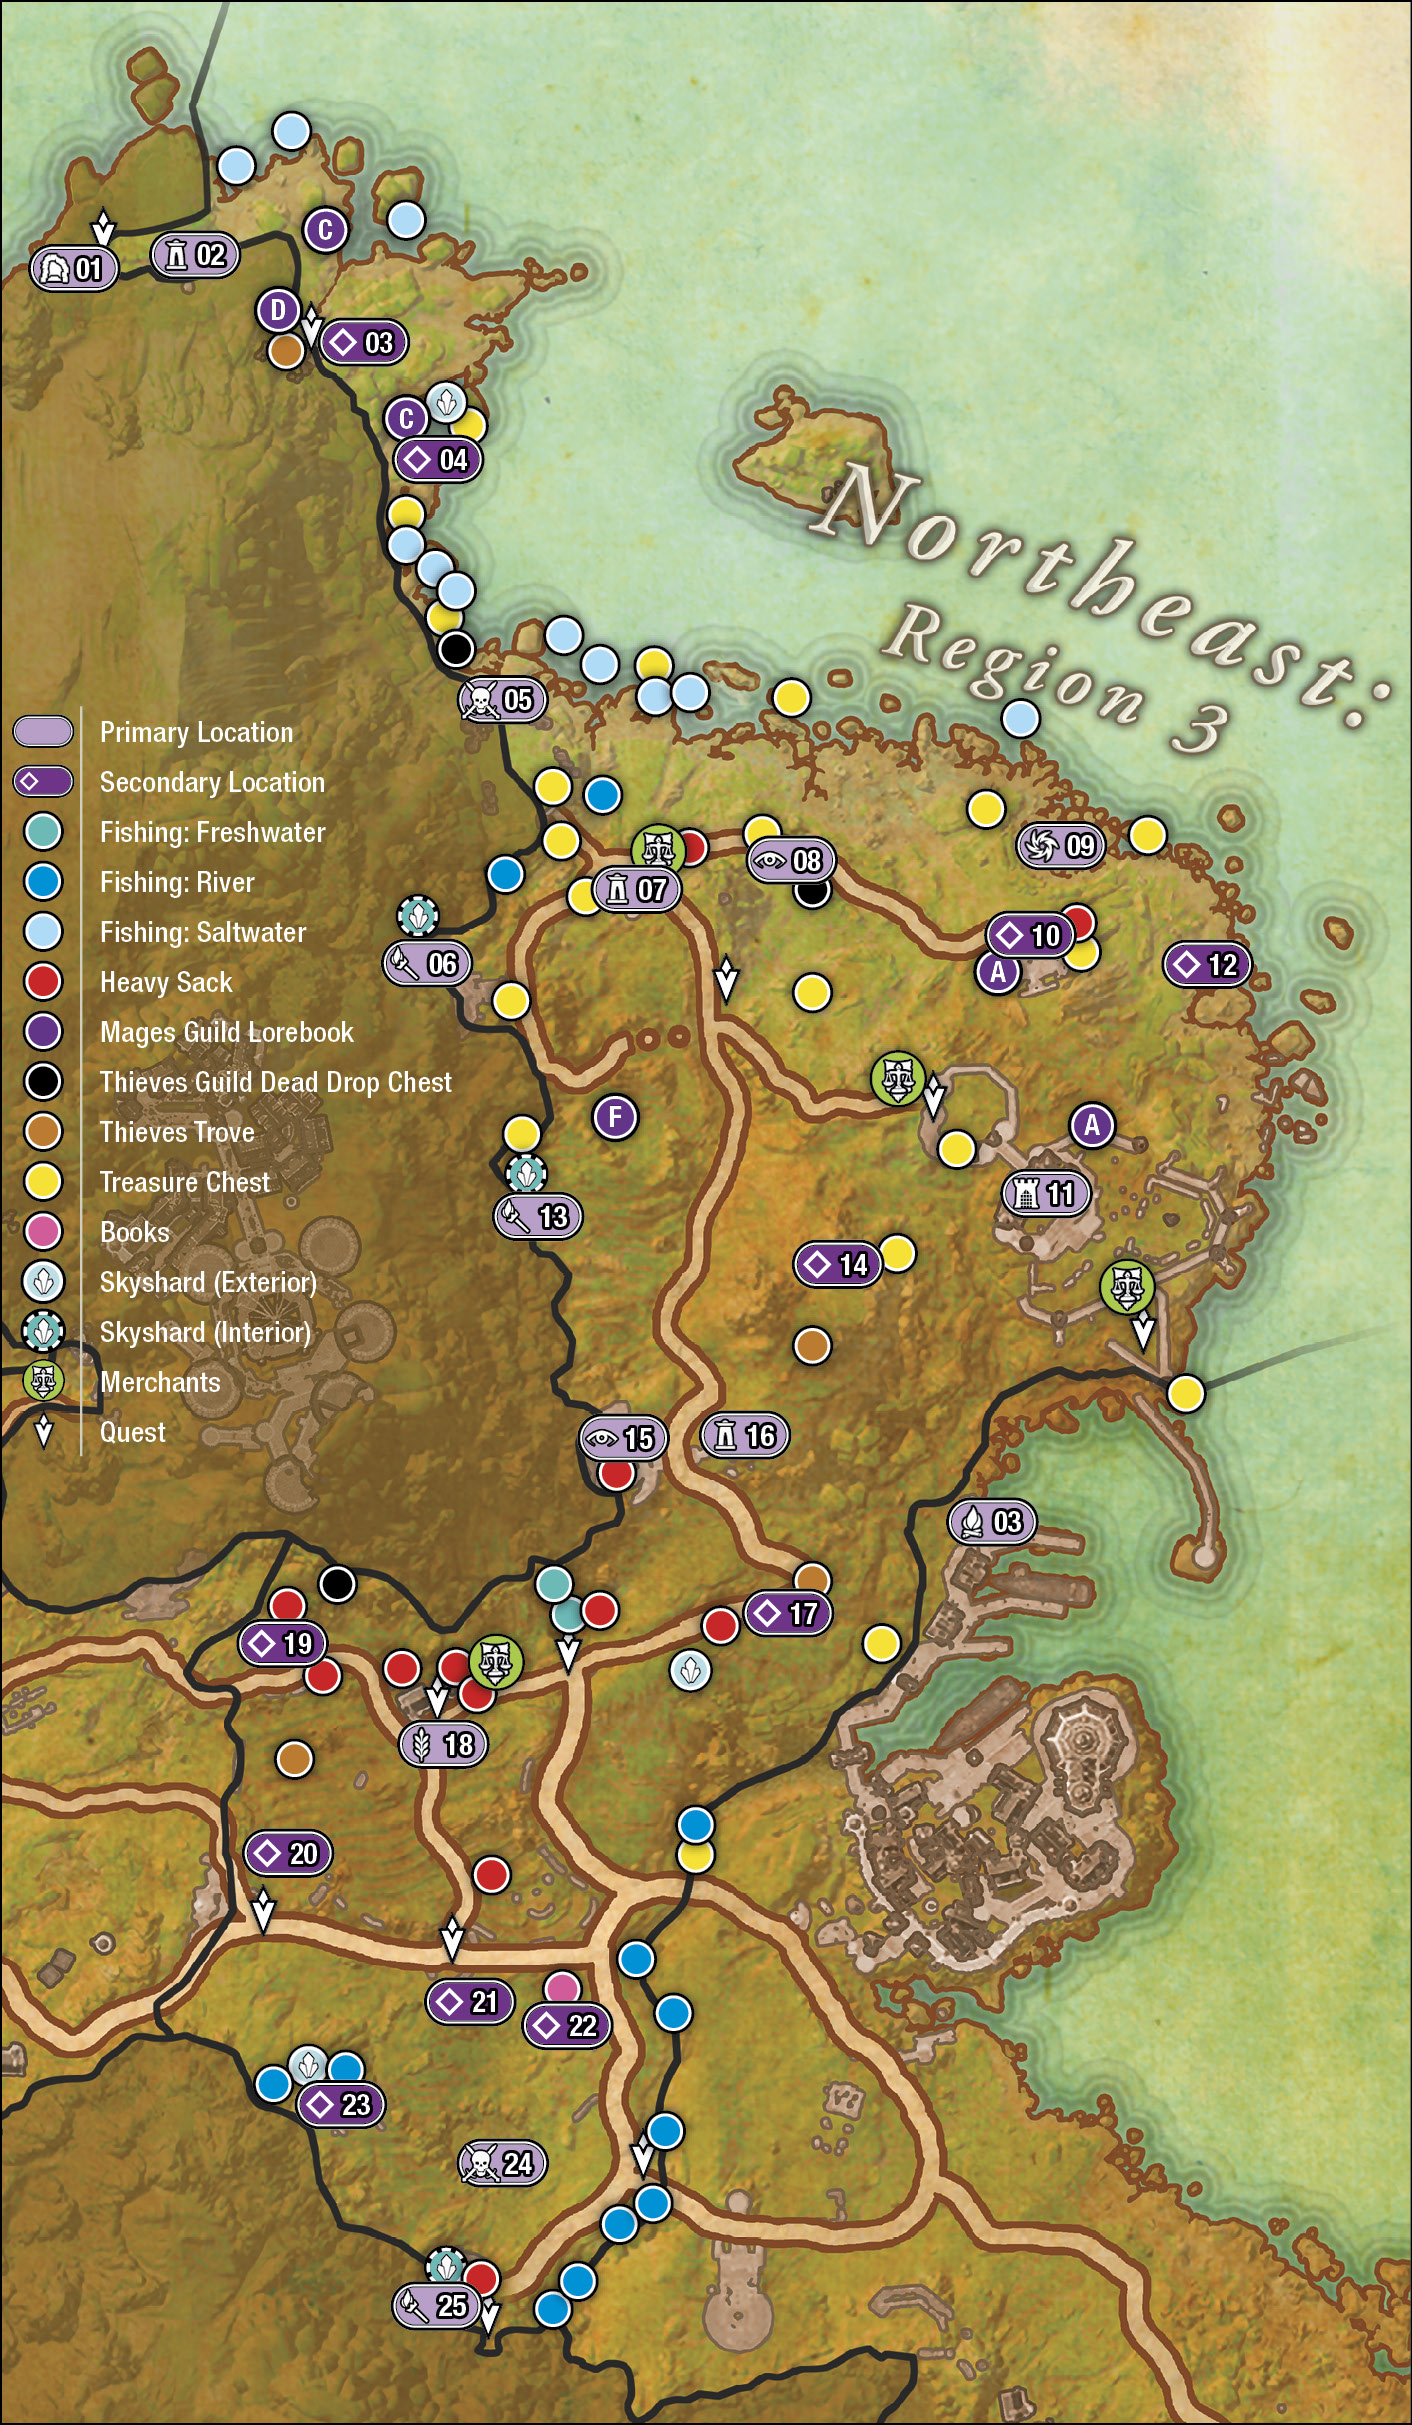
The lesser populated lands north of Shimmerene, farther from the relative safety of the Eldbur Ruins and townsfolk, is more wild in its beauty. The coral coast runs all the way to a sliver of sand at the very north, where the Veyond Wyte wayshrine enables folks to quickly visit the other entrance to the vast Karnwasten dungeon. The western mountain has two delve entrances, while the rolling grassland punctuated by rock outcrops is home to many beasts, not least a large flock of gryphons. But perhaps the most ominous landmark to visit is the Direnni Acropolis, said to be the lair of many a tormented specter.
Locations

Primary Secondary

| # | Name |
|---|---|
| # | Name |
 |
Karnwasten (East Entrance) |
 |
Veyond Wyte Wayshrine |
 |
Coral-Splitter Camp and Waterfall |
 |
Cliff Camp |
 |
Gryphon Run |
 |
King’s Haven Pass (East Entrance) |
 |
King’s Haven Pass Wayshrine |
 |
Gryphon Aerie |
 |
Direnni Abyssal Geyser |
 |
Direnni Outer Ruins |
 |
Direnni Acropolis |
 |
Smuggler’s Boat |
 |
|
 |
Gryphon Overlook |
 |
Eldbur Ruins |
 |
Eldbur Ruins Wayshrine |
 |
Makeshift Camp |
 |
Russafeld |
 |
Tarnamir’s Manor |
 |
Halmorion’s Villa |
 |
Red Temple Catacombs |
 |
Rethelmir’s House |
 |
The Mossy Archer |
 |
Indrik Frolic |
 |

Public Dungeon: Karnwasten (East Entrance)
- Information: Interior; Primary Location; Public Dungeon
- Entities of Note: Renzir
- Nearby Quests: An Unexpected Betrayal
Should you wish to find an alternate entrance (or exit) into Karnwasten, there is a cave in the remote northern part of this region. Consult the “Karnwasten (West Entrance)” Atlas entry in Region 1 for all interior maps and information regarding this public dungeon.


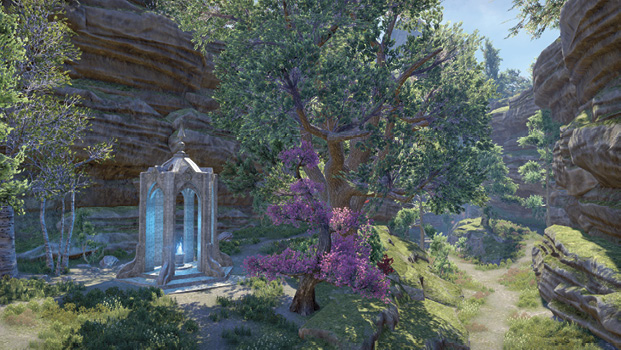
Wayshrine: Veyond Wyte
- Information: Fishing Hole; Mages Guild Lorebook; Plant: Corn Flower, Stinkhorn, White Cap; Primary Location; Thieves Trove; Wayshrine
Though you may utilize this wayshrine to easily fast-travel away from the area after completing the Karnwasten public dungeon, consider staying awhile for the fishing and plant-picking.

Coral-Splitter Camp and Waterfall
- Information: Mages Guild Lorebook; Plant: Stinkhorn; Wormwood; Secondary Location
- Enemies: Coral-Splitter
- Nearby Quests: His Final Gift
A group of unpleasant goblins is gathered around a cooking fire, in an area above a small shack built near a waterfall. At the shack, you can read the last words from Nafarion and begin his quest. Note the lorebook in the vicinity.


Cliff Camp
- Information: Fishing Hole; Mages Guild Lorebook; Plant: Blue Entoloma, Stinkhorn, Wormwood; Secondary Location; Skyshard; Treasure Chest
- Enemies: Coral-Splitter
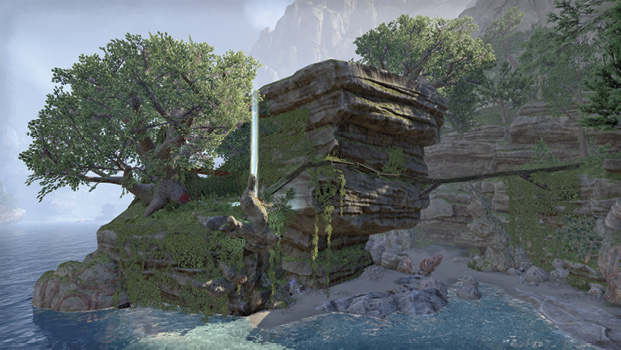
Access this camp built into an oceanside rock formation via a wooden timber pole and a looping path to the north. Beware of goblins. Come here for the Skyshard.

Gryphon Run
- Information: Group Boss; Primary Location
- Enemies: Gryphon
- Boss: Haeliata
This clifftop arena is littered with carcasses and numerous gryphon nests. Access it via a rope bridge to the south (near King’s Haven Wayshrine). There are few places to hide from the mighty Haeliata and her flock.


Delve: King’s Haven Pass (East Entrance)
 |
Quest |
 |
Enemy (Difficult) |
 |
Building or Threshold |
- Information: Delve; Interior; Plant: Jute; Primary Location; Skyshard (Interior)
- Entities of Note: Mehdze, Naliara
- Enemies: Coral-Splitter (Goblin); Reef Viper, Skein Spider, Welwa
- Boss: Avuuma the Whirlwind (Gryphon)
- Boss: Keetas the Weaver (Skein Spider)
- Nearby Quests: Savage Truths
Some say goblins originated in Summerset, and some say the High Elves brought them here to serve as menials and slaves. Having been freed or having escaped, goblins no longer perform those functions, but their tribes still thrive in the island’s loneliest corners.

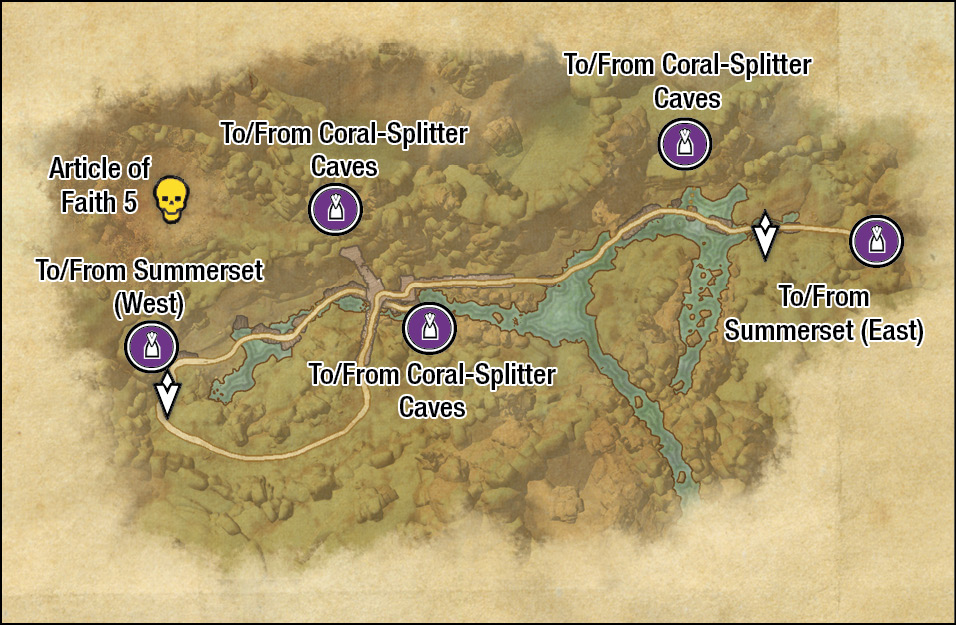
The eastern stone ruins, leading to a cave opening in the mountain, belies the roaming entities and hidden exterior location within this delve. Note there is a western entrance in Region 1, just north of the Ebon Stadmont Wayshrine.

An impressively large exterior mountain pass offers access to and from the west and east parts of the isle. Pass Mehdze and his quest to find the place is teeming with goblins (along with Welwa and Reef Vipers). You must navigate across a precarious bridge section with lower platforms beneath. A powerful gryphon resides in her eyrie to the northwest, and there’ a looping path down (past Naliara who offers the same quest), to the western exit to Summerset.
 |
Skyshard (Interior) |
|
Enemy (Difficult) |
 |
Building or Threshold |
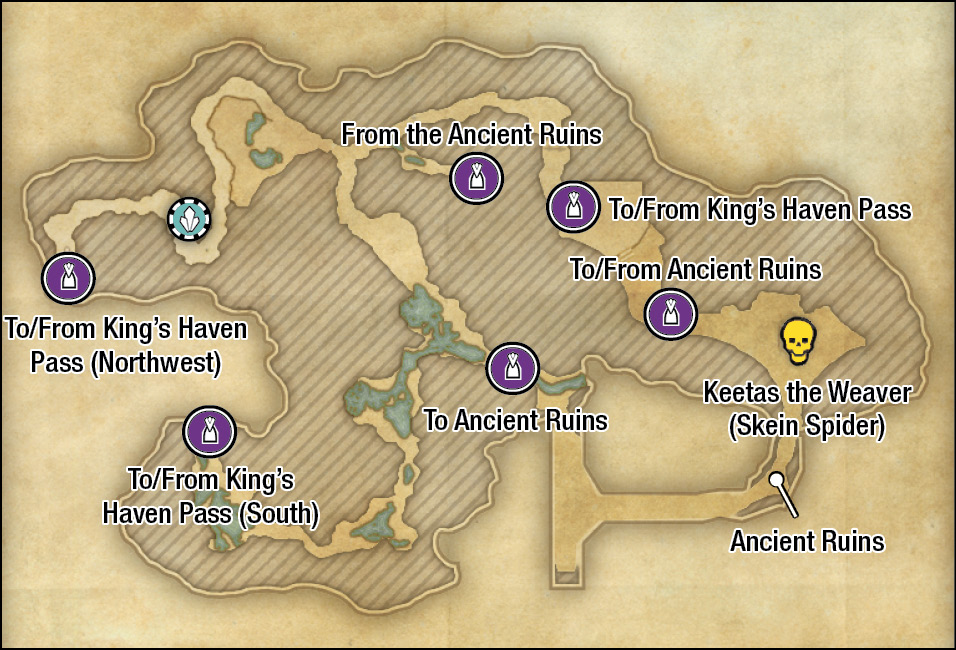
There are three ways into the caves under King’s Haven Pass (two entrances to the north and one at the lower waterfall to the south). Inside, expect a series of narrow tunnels to a couple of goblin camps. Of reasonable interest is a Skyshard, within a broken barrel at one of the upper camps. Of considerable interest is an entrance to the south, leading to Ancient Ruins, where you must defeat several revolting Skein Spiders until you face the mother: Keetas the Weaver.


Wayshrine: King’s Haven Pass
- Information: Merchant; Primary Location; Treasure Chest; Wayshrine
- Entities of Note: Anglalas (Merchant); Miranrel
- Enemies: Gryphon
- Nearby Quests: Gryphon Grievance
This wayshrine offers quick access to a variety of large, feathered fiends, as well as a quest (to the south) involving gryphon. Use this wayshrine to reach a merchant or the nearby delve with an identical name.

Interesting Locale: Gryphon Aerie
- Information: Interesting Locale, Primary Location, Thieves Guild Dead Drop Chest, Treasure Chest, Wood: Maple
- Entities of Note: Miranrel
- Enemies: Butterfly, Gryphon, Springbok, Torchbug
- Nearby Quests: Gryphon Grievance
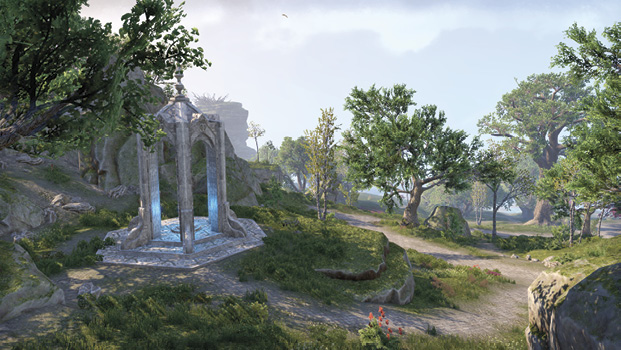
This hilltop aerie offers numerous gryphons to cull, as well as a High Elf in need of assistance along the main road just southwest of the main nesting cave.


Abyssal Geyser: Direnni
- Information: Abyssal Geyser; Primary Location; Treasure Chest
- Entities of Note: Acolyte of Bedlam
- Enemies: Varies
- Boss (Varies): Ruella Many-Claws; Churug of the Abyss; Sheefar of the Depths; Girawell the Erratic; Muustikar Wave-Eater; Reefhammer; Darkstorm the Alluring; Eejoba the Radiant; Tidewrack; Vsskalvor; Yaghra Monstrosity
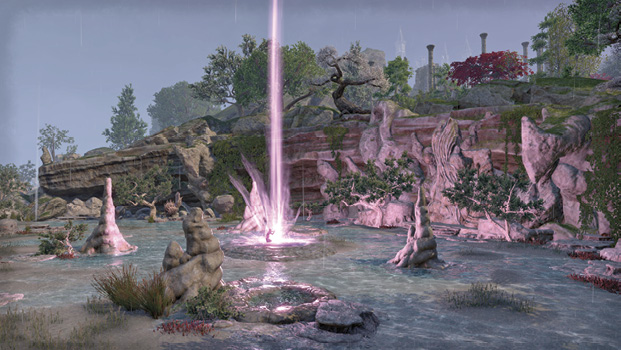
Approach the Acolyte of Bedlam at the center of this coastal cove, and expect waves of incoming foes. Bring your cohorts to fend off this invasion. Once the final wave is over, expect to face one of the previously listed bosses, after which a clamshell treasure chest becomes accessible, containing some impressive loot. Return here to repeat this (randomized) challenge.
Direnni Outer Ruins

- Information: Heavy Sack; Mages Guild Lorebook, Secondary Location, Treasure Chest
- Enemies: Imp, Indrik, Nixad
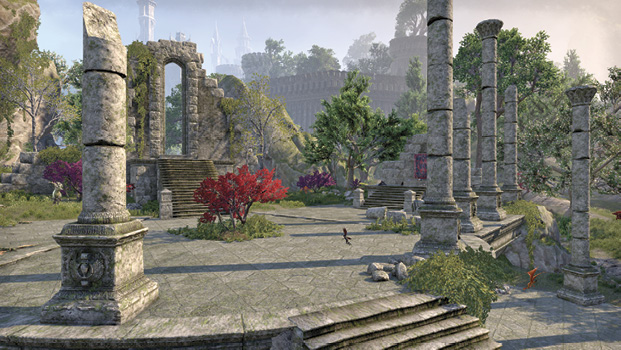
A stone platform and various steps make up this ruin along the northern edge of the Direnni Acropolis. Locate the road heading south to the main part of this sprawling ruin.

Artifact Gate/Temple: Direnni Acropolis
 |
Building or Threshold |
- Information: Artifact Gate/Temple; Interior; Mages Guild Lorebook; Merchant; Plant: Violet Coprinus; Primary Location; Treasure Chest
- Entities of Note: Bailiff Erator, Quartermaster Linguvale (Merchant), Quentin Rouillac (Wandering Merchant), Lauriel
- Enemies: Ghost, Nixad, Spider, Skeleton
- Nearby Quests: Lauriel’s Lament
- Boss: Lady Adreana
Long, long ago, for reasons most have forgotten, Clan Direnni left Summerset and relocated to Balfiera Isle in the Iliac Bay. Ownership of the clan’s abandoned real estate above the Diren valley has been locked in Elvish litigation ever since.
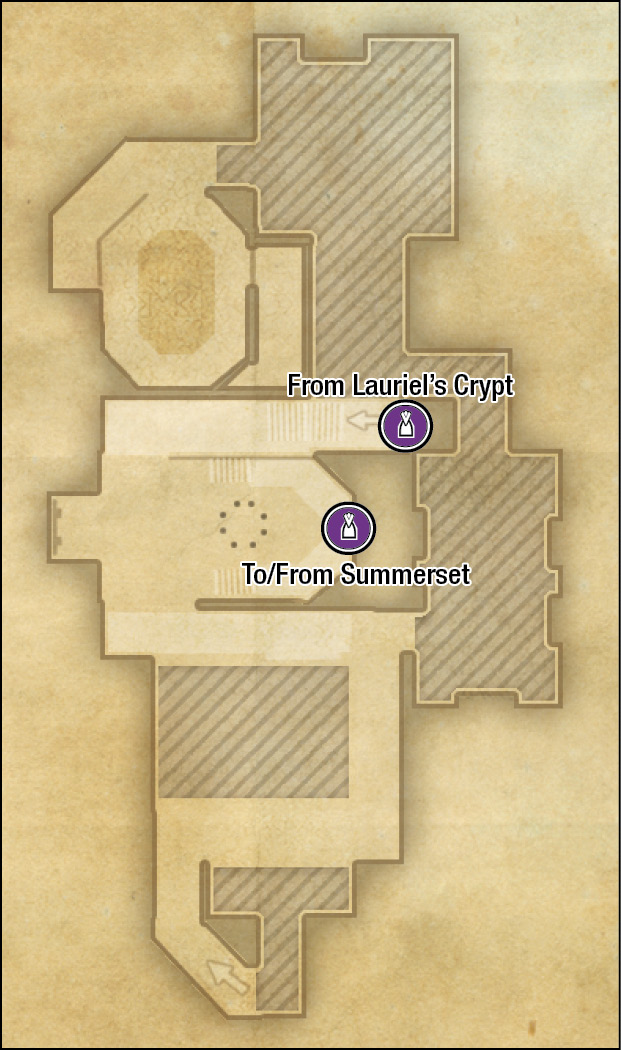
Dominating the northeastern coastline of Summerset Isle is this ancient acropolis ruin, built atop the massive rock stacks to the north of Shimmerene. A morose layer of gloom pervades even the exterior battlements and gardens. Speak with Bailiff Erator (at either the north or south perimeter) to begin the quest involving the interior exploration of this place. The exterior grounds have numerous scuttling spiders to dispatch, as well as the ancient, bony dead. Search the battlements for two doors, one into the Keeper’s Manor and the other to reach the infamous catacombs.
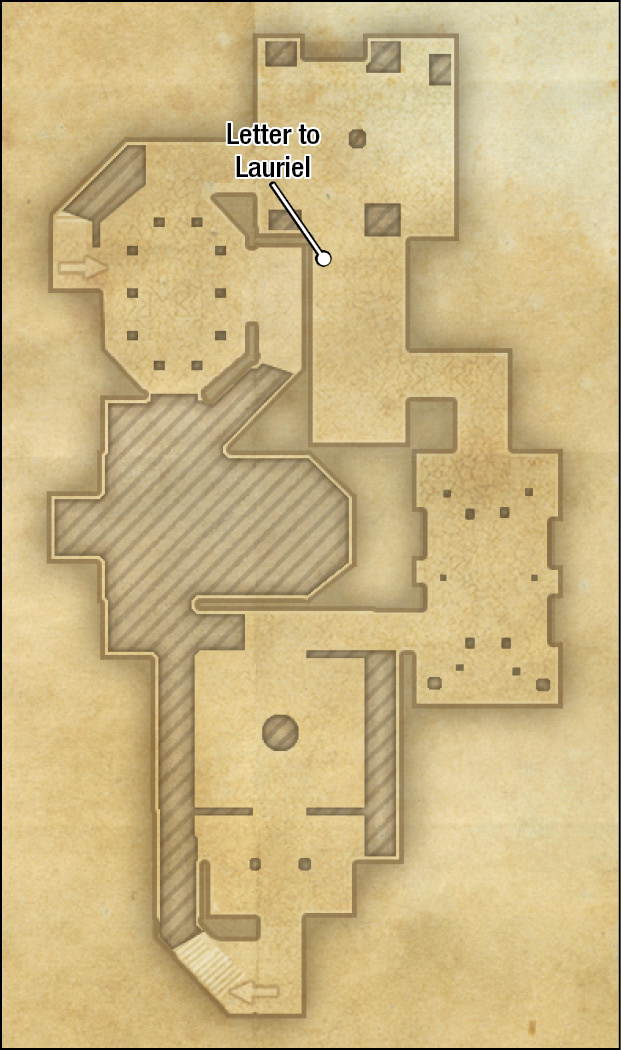
The Keeper’s Manor is a three-story dwelling devoid of entities but filled with broken furniture and webs. At the top is the skeleton of the keeper along with his letter and key, allowing access into the catacombs.

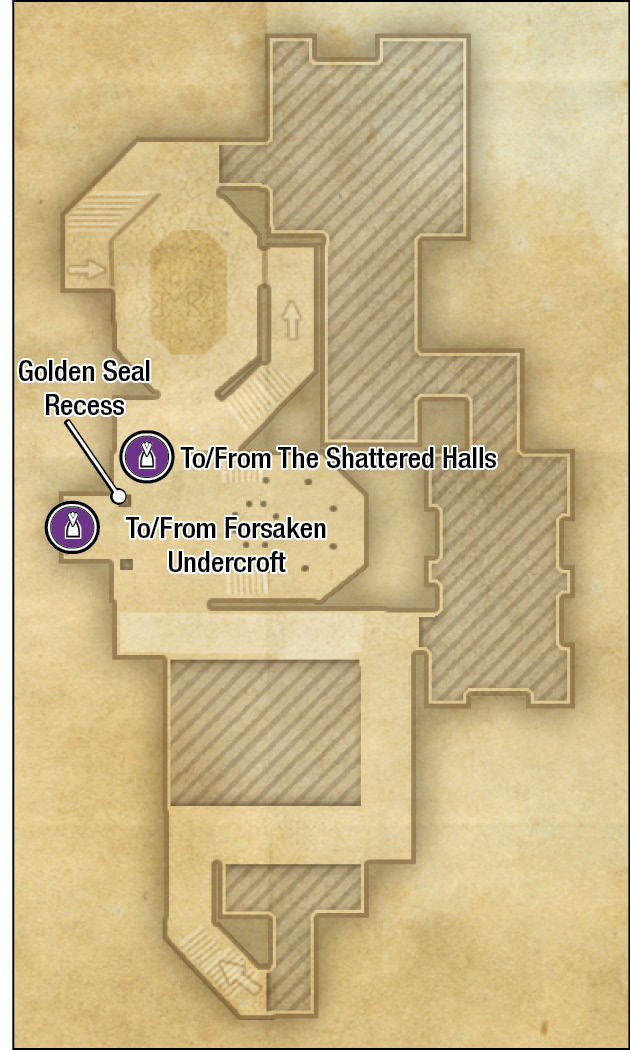
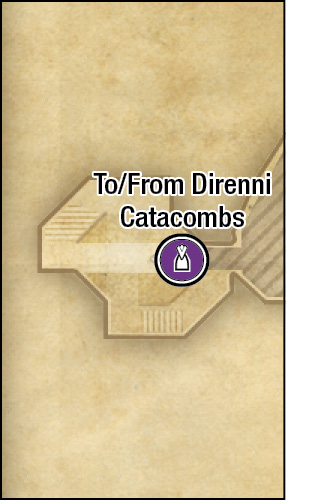
The catacombs feature three floors of terror as you navigate your way through ruined balconies, fighting ghosts and skeletal forces, into the Shattered Halls (the northern part of the catacombs) and the plant-covered southern ruins where the remains of another keeper can be found. With the crimson seal placed, you can enter the Forsaken Undercroft.
|
Enemy (Difficult) |
 |
Building or Threshold |
 |
Books |
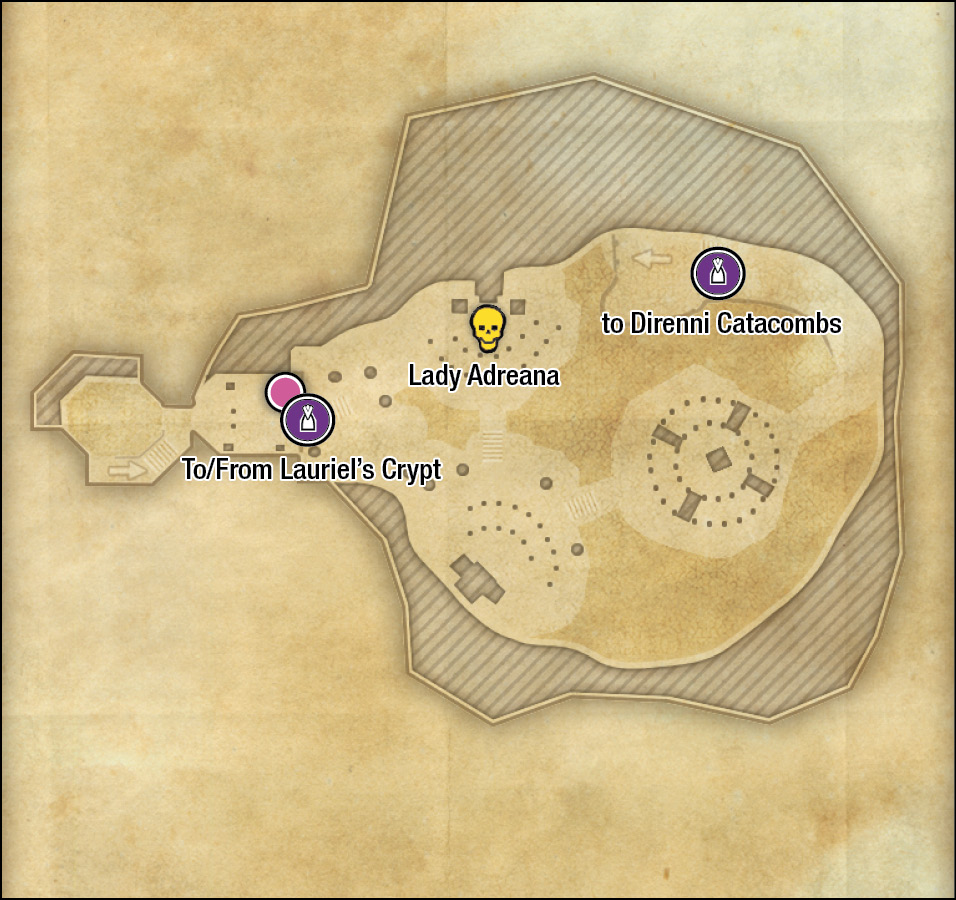
Though crypt entrances can be seen above and below, there are only three accessible levels in this skeleton-filled undercroft. The majority of the undercroft is Lauriel’s Crypt, a series of bridges in a vast acropolis cavern, where the spectral presence of Lady Adreana waylays you. When you reach the Keeper’s Flame, your choice concludes the quest. Look for a rock bridge and tunnel to the east, behind the Keeper’s Flame, for a quick exit.

Smuggler’s Boat

- Information: Secondary Location; Thieves Trove
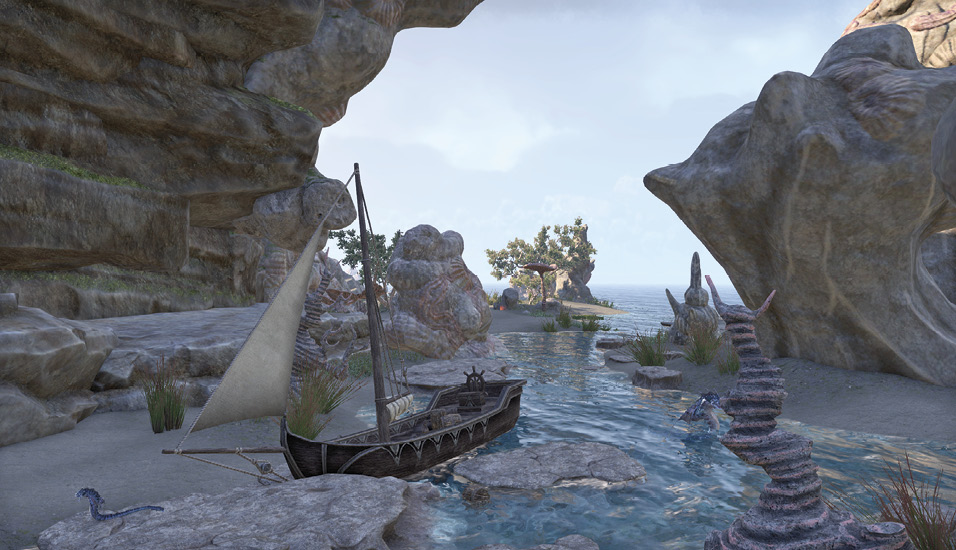
Just north of the waterlogged ruins of the lower acropolis is a small beach cove with a moored boat, which sometimes contains a Thieves Trove.

Delve: Eton Nir Grotto
 |
Treasure Chest |
 |
Skyshard (Interior) |
|
Quest |
|
Enemy (Difficult) |
 |
Building or Threshold |
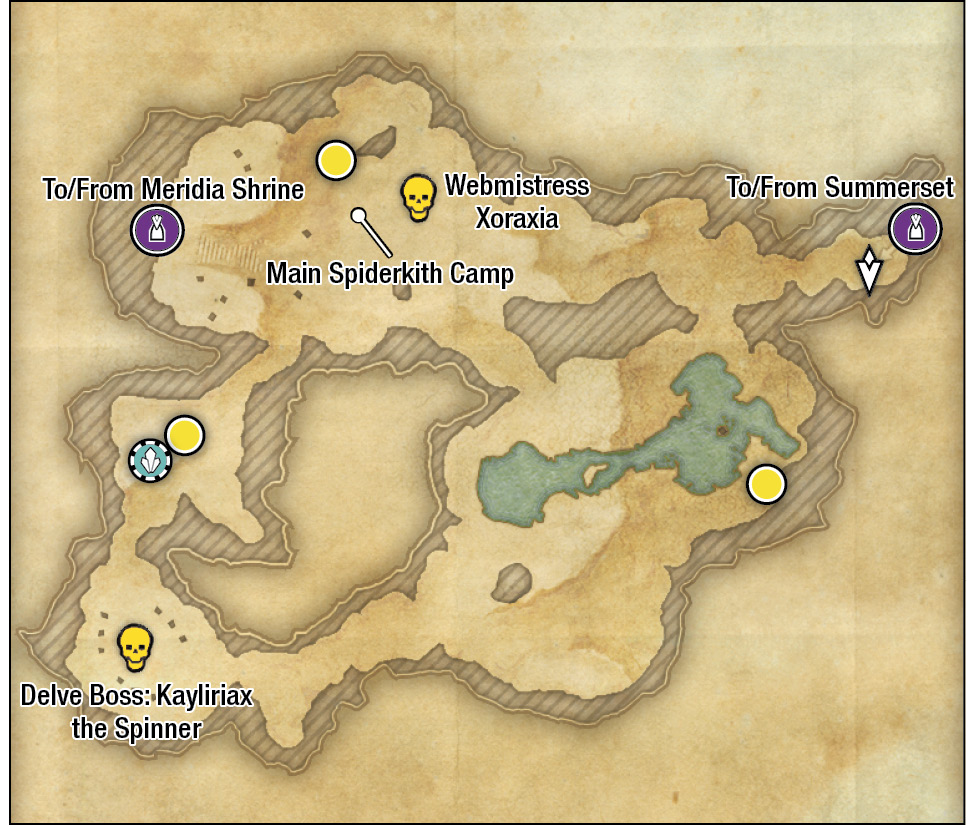
- Information: Delve, Interior; Plant: Stinkhorn, Primary Location
- Entities of Note: Seeks-the-Dark
- Enemies: Centipede, Fellrunner, Imp, Nereid, Necrotic Hoarvor, Salamander, Spiderkith, Spiderling
- Boss: Webmistress Xoraxia
- Boss: Kayliriax the Spinner
- Nearby Quests: Looting the Light, The Dreaming Cave
The gleaming city of Cloudrest crowns the Eton Nir massif, the greatest mountain on Summerset Isle. But dark rumors say the mountain’s greatest treasures lie hidden in the caves beneath its stony foundations. Cut into the mountainside due east of the acropolis is a narrow cave entrance. There’s little to indicate the series of caverns you can explore within.


Inside, whether you speak to Seeks-the-Dark to activate the quest or not, it appears the influence of the daedric lord Meridia is at work here. Face these Spiderkith and their centaurlike atrocity of a leader known as Kayliriax the Spinner. There are numerous other beasts to tackle, too.
 |
Building or Threshold |
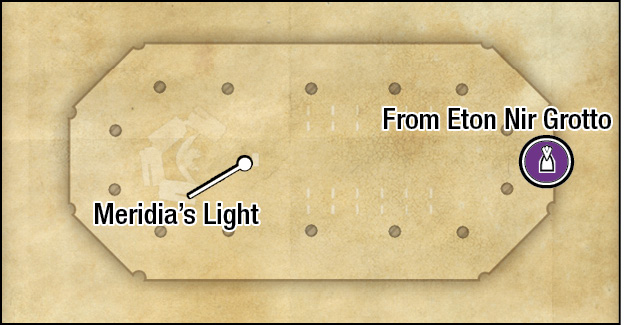
This area is only accessible during Quest: The Dreaming Cave. It is here you receive guidance from the daedric prince Meridia.


Gryphon Overlook
- Information: Ore: Iron Ore; Plant: Blue Entoloma; Secondary Location; Thieves Trove; Treasure Chest
- Enemies: Gryphon, Fellrunner, Imp, Nixad, Torchbug
The relatively flat plateau of a hill due west of the acropolis is home to a smaller contingent of gryphons.

Interesting Locale: Eldbur Ruins
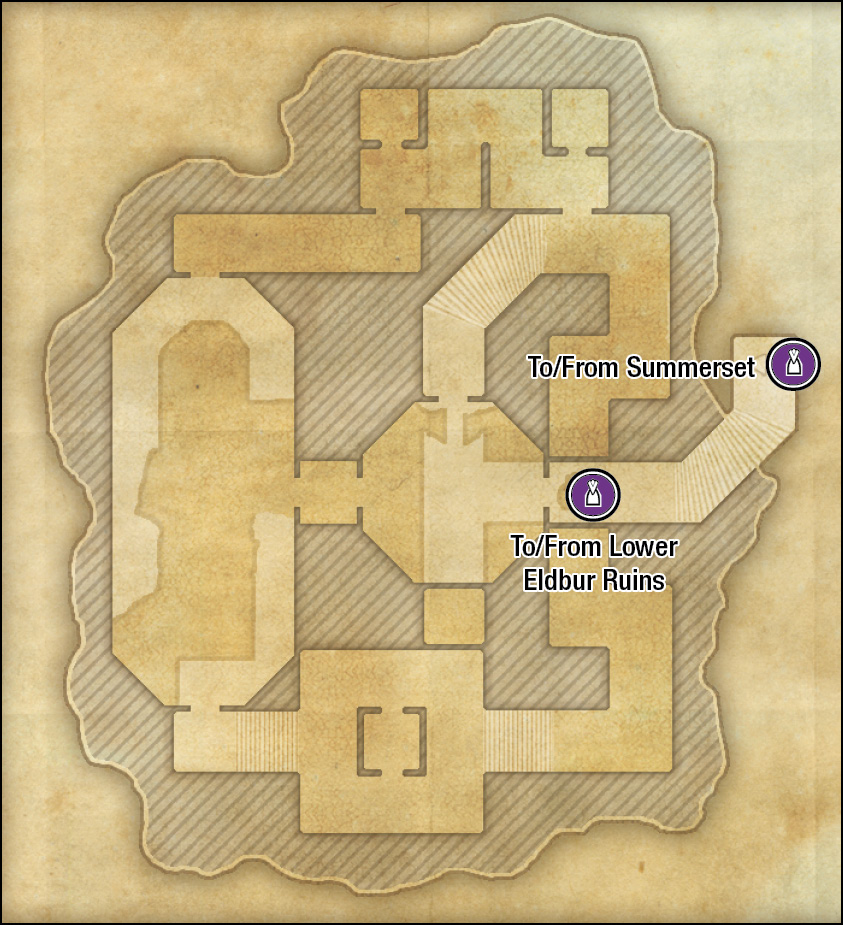
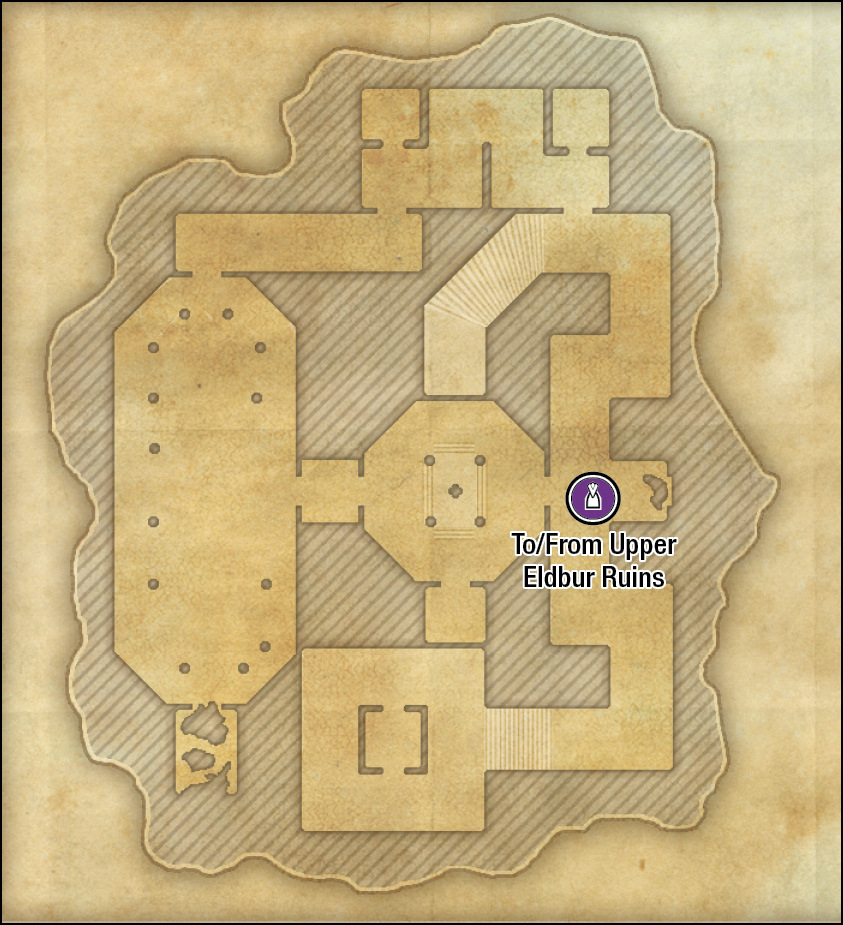
 |
Building or Threshold |
- Information: Cooking Fire; Heavy Sack; Interesting Locale; Interior; Primary Location
- Entities: Oriandra, Cainar, Grog
- Enemies: Mind-Trapped Fighter; Yaghra
- Boss: Oriandra’s Anger
- Nearby Quests: Whispers from the Deep
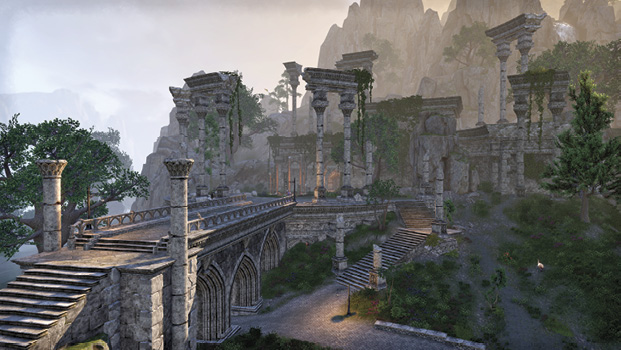
These forsaken and echoing halls once housed the Eldbur Monastery for Mystic Inquiry, which thrived until the Hyperagonal Collapse of 1E 1306 converted 27 Psijic monks into thin films of glistening liminal particles. Aside from a campfire and some scattered camping items, the entrance to this stone edifice is quiet.
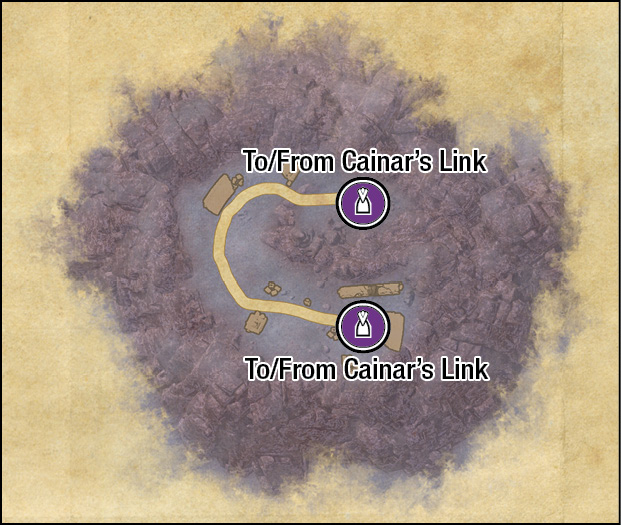
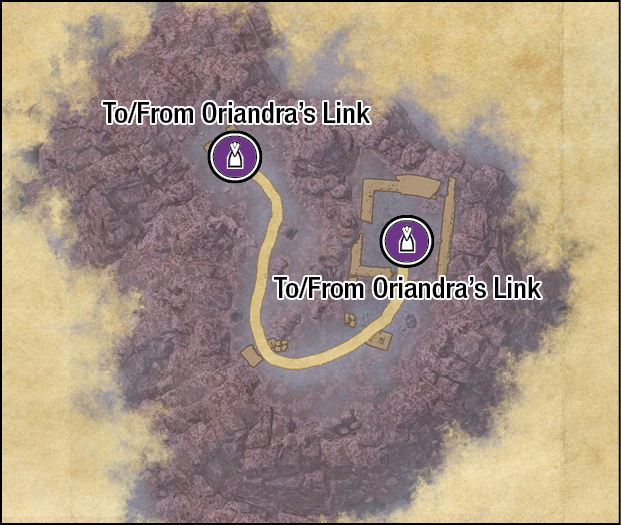
The inside of this relatively small stone labyrinth is littered with fallen masonry and the agonized shambling of mind-trapped fighters and brain-addling Yaghra Spewers. If the quest is active, Oriandra creates a link to the following locations:

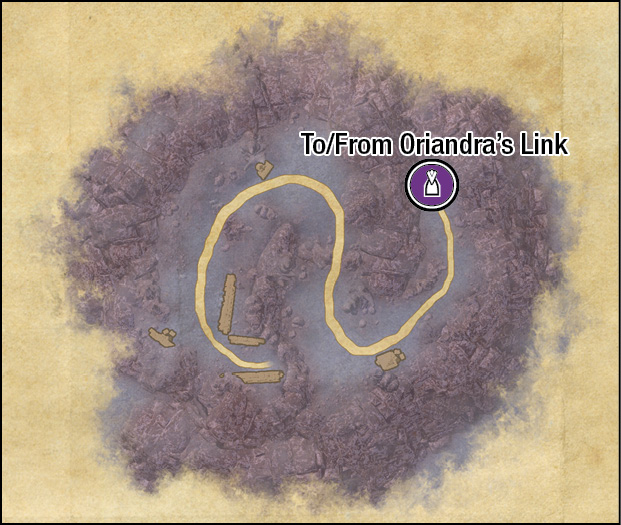
 |
Building or Threshold |
With the Quest: Whispers from the Deep active, and a psychic link from Oriandra, you can journey to the more mind-warped parts of these ruins and interact with Cainar within the construct of the ruins. The Yaghra are active here.


Wayshrine: Eldbur Ruins
- Information: Ore: Iron Ore; Primary Location; Wayshrine
- Enemies: Fellrunner, Imp, Gryphon, Torchbug, Welwa
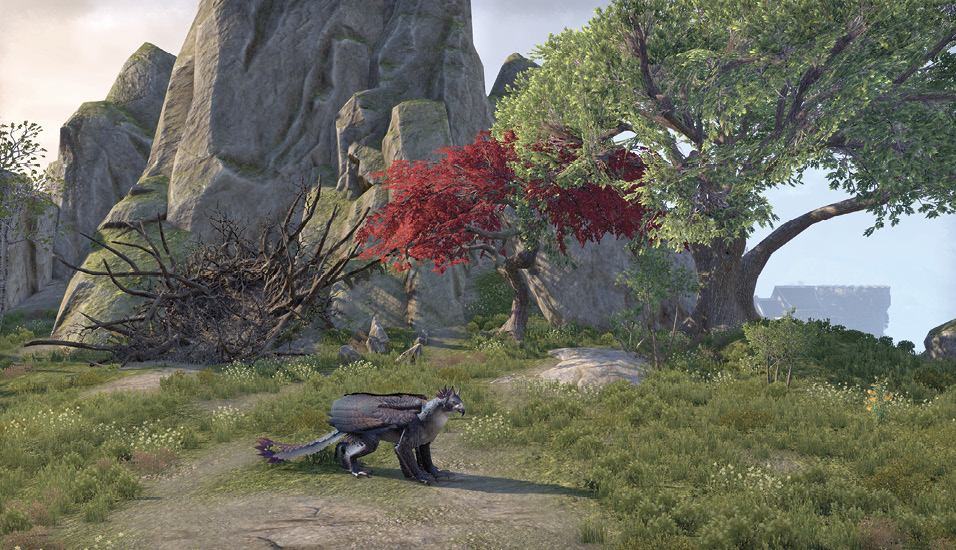
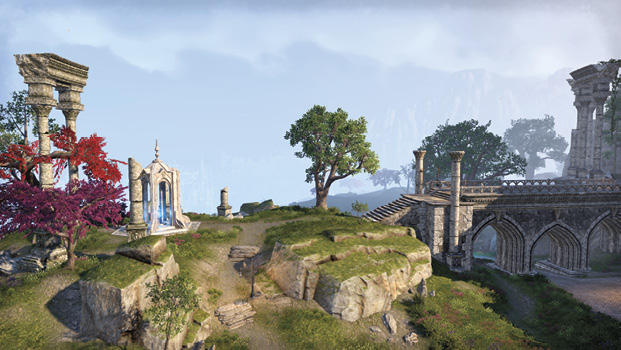
Use this when you need to fast-travel or seek resurrection. This offers easy access to the ruins of the same name, as well as the nearby Direnni Acropolis to the northeast and the Eton Nir Grotto Delve to the northwest. Expect the plaintive bleating of Fellrunners and a nearby gryphon to provide a slight distraction.

Makeshift Camp
- Information: Secondary Location, Thieves Trove
In the remains of this small camp is a slumped skeleton of an unwary thief. Gather a light smattering of items here, mainly taken from rich folk.

Farm: Russafeld
- Information: Farm; Heavy Sack; Interior; Primary Location; Thieves Guild Dead Drop Chest; Thieves Trove
- Entities of Note: Alamar, Linwenvar, Quentin Rouillac (Merchant), Tarnamir; Warning: Restricted Area (Trespass)
- Enemies: Butterfly, Dominion Guard, Justiciar, Springbok
- Nearby Quests: Lost Libations, Old Wounds
Though the nearest wayshrine is near Rellenthil (to the southwest, at Russafeld Heights in Region 2), the large winery of Russafeld is nestled in the farmland to the northeast, offering a variety of toiling employment to its workers. Visit any of the aforementioned folks to begin either of the quests here. Across on the northwest and southwest corners of this farm are the secondary locations Tarnamir’s Manor and Halmorion’s Villa. However, the main cluster of farm structures is farther east, at the road junction and circular fountain. The strange and foreboding Red Temple is also close by, hewn into the mountains to the northwest. Note that there are two bosses to battle within the Red Temple Catacombs (one available at any time, the other part of the quest). We discuss these in the appropriate secondary location.
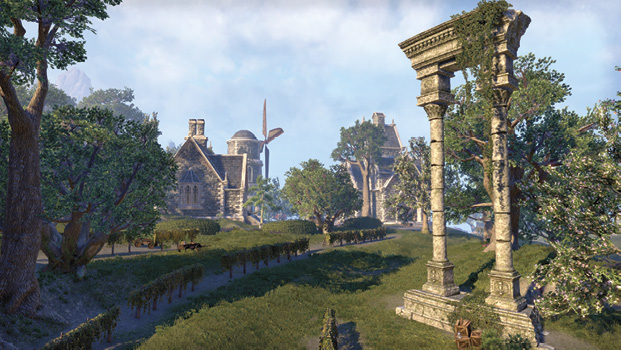
At the cluster of main farm structures, you’ll find the barn where the grapes are crushed and fermented and fruit is stored, a large windmill you can use as a landmark, and the winery offices (Locked: Advanced), which you can trespass in if you’re looking for some minor items in the buffet dining area and ornate office.

Tarnamir’s Manor
- Information: Secondary Location; Thieves Guild Dead Drop Chest
- Nearby Quests: Old Wounds
Part of the Russafeld estate, this imposing manor sits atop the hill, at the foot of the mountains. It features views as impressive as the armor on the bailiffs that stand guard here. Inside, the manor is elegant and features a few boxes to steal from. Check the rocky high ground behind the structure for the dead drop.
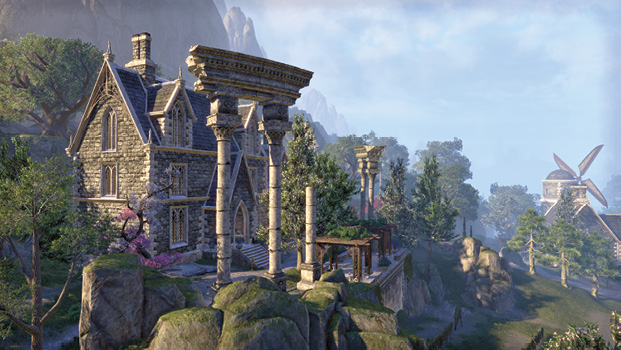

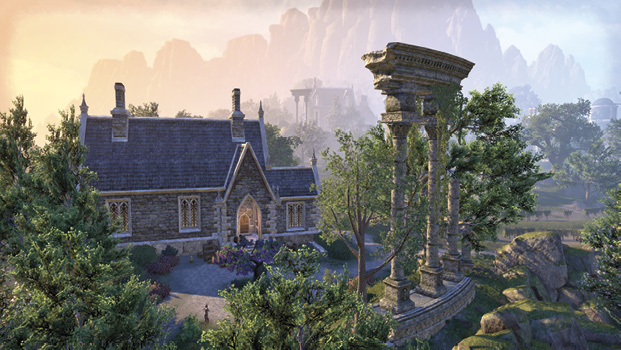
Halmorion’s Villa
- Information: Secondary Location
- Entities of Note: Linwenvar
- Enemies: Butterfly, Bright Moons Lunar Moth
- Nearby Quests: Old Wounds
The southwestern edge of the Russafeld vineyard has a villa belonging to a High Elf named Halmorion. It’s close to the crossroads and Rellenthil wayshrine. Peek inside for a quick tour of the premises; there isn’t much to steal here.

Red Temple Catacombs
|
Enemy (Difficult) |
 |
Building or Threshold |
- Information: Interior; Secondary Location
- Entities of Note: Alamar
- Enemies: Centipede, Bright Moons Lunar Moth, Indrik, Spider
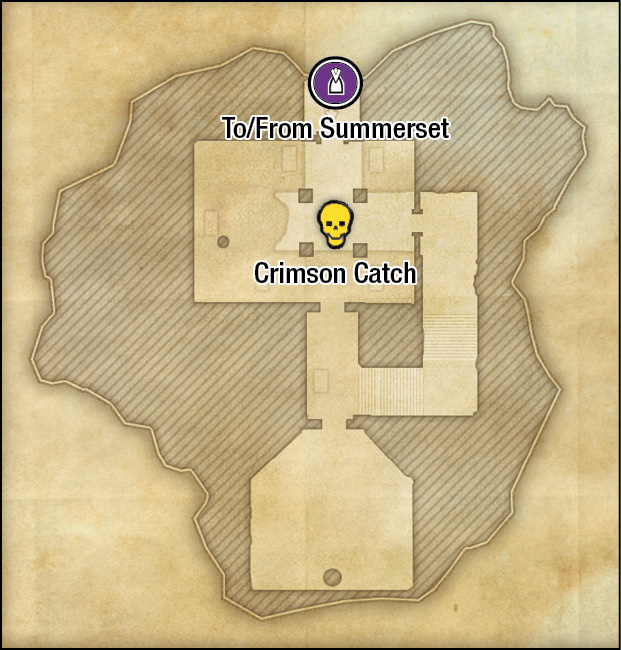
- Boss: Crimson Catch (Crab)
- Nearby Quests: Old Wounds
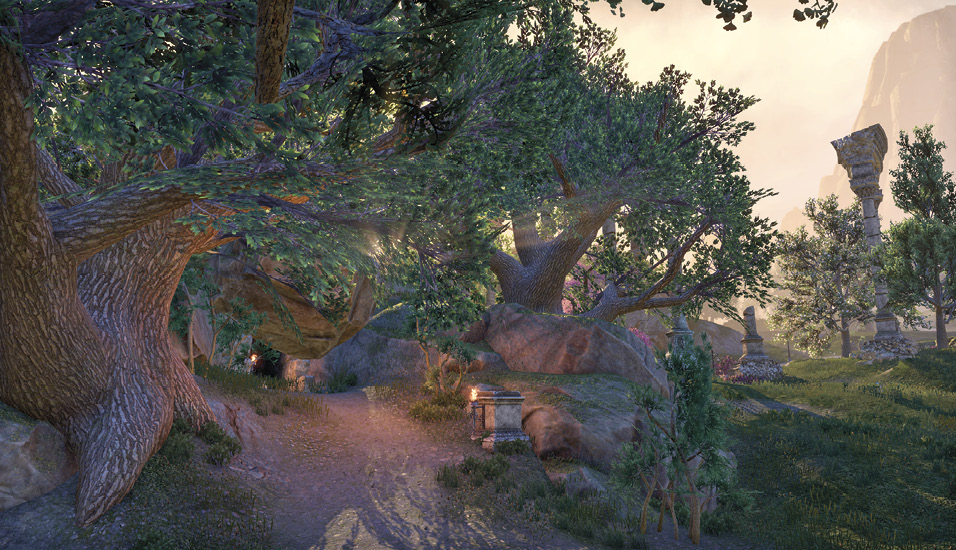
Russafeld means “scarlet shrine” in some dialects of Aldmeris, which may explain where the Red Temple gets its curious name. But the most commonly held opinion states that it’s a shortening or corruption of “Dread Temple.” Close to a road junction where Alamar sits (granting you an unrelated quest) is an easily overlooked cave. Enter it to venture into a second (and separate) part of the Red Temple Catacombs. The main chambers of the temple (and the culmination of Quest: Old Wounds) are located in Region 2, in the northwestern edge of Russafeld.
Venture into this small series of chambers and you’ll discover an arachnid presence. The lowest chamber has the most fearsome entity of the catacombs to face.

Rethelmir’s House
- Information: Secondary Location
- Enemies: Bright Moons Lunar Moth, Torchbug
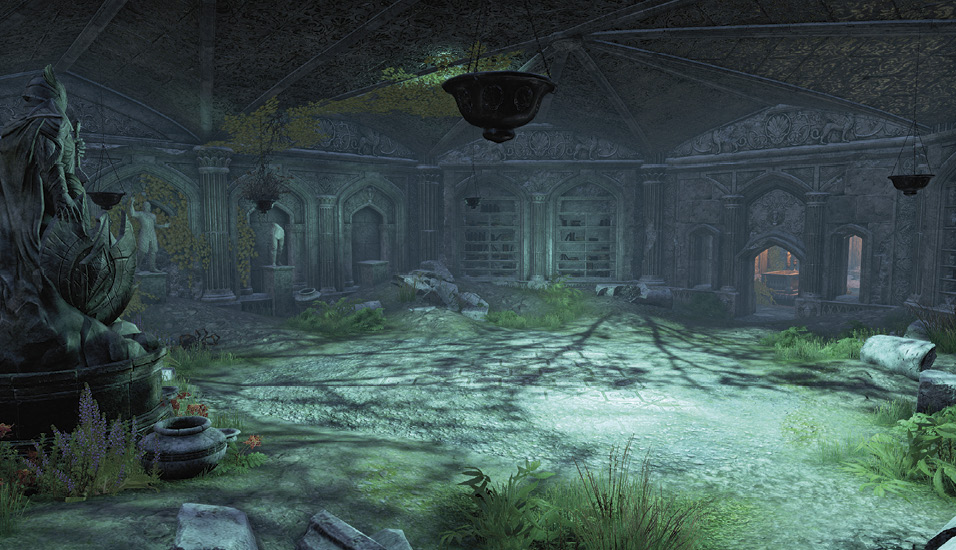
Northeast of the group boss, on the corner of the main thoroughfare, is an impressive stone dwelling. Head inside for the usual housewares to grab, as well as an interesting book in the upper bedroom, The Ghost of the Green.

The Mossy Archer
- Information: Fishing Spot; Plant: Water Hyacinth; Secondary Location; Skyshard
- Enemies: Butterfly, Imp, Nixad, Springbok; Welwa
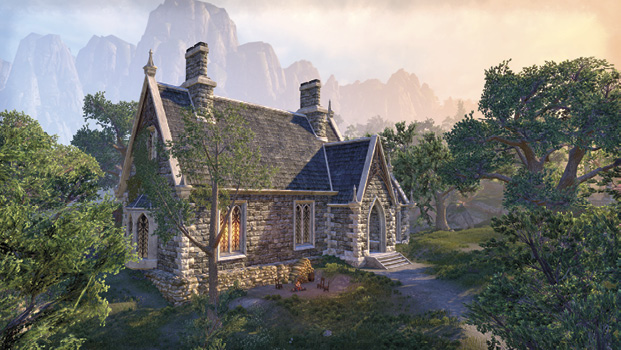
Just southeast of the Russafeld Heights Wayshrine are the remains of a small ruin and a crystal-clear pond where quality fishing is available. There’s an old statue of an archer here, partially covered in moss, with his arrow pointing to a Skyshard on the rocks across the pond, by a rushing waterfall.

Indrik Frolic
- Information: Group Boss; Primary Location
- Boss: Caanerin (Indrik)
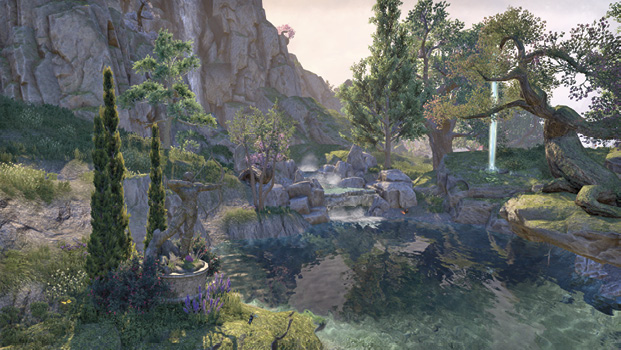
What would normally be considered a serene glade is a place of savage battle, as you face off against the king of all Indriks!


Delve: Tor-Hame-Khard
 |
Treasure Chest |
|
Enemy (Difficult) |
 |
Building or Threshold |
- Information: Delve; Interior; Ore: Iron Ore; Primary Location; Skyshard
- Entities of Note: Captain Telomure
- Enemies: Bright Moons Lunar Moth, Nixad, Sagacian, Yaghra
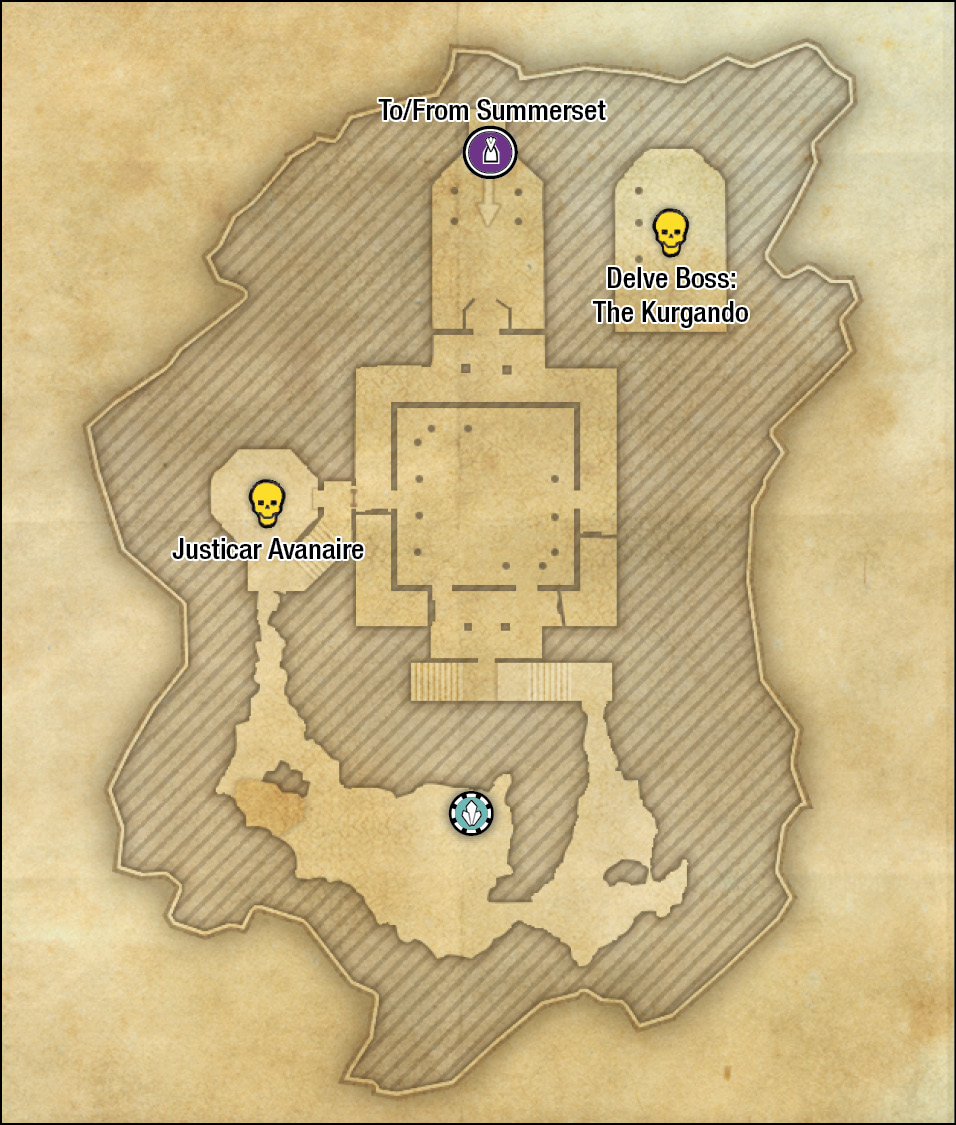
- Boss: Justiciar Avanaire
- Boss: The Kurgando
- Nearby Quests: Pearls Before Traitors
In Aldmeric, the name means “warlord’s mountain lair,” as these vast halls were originally built in the early First Era for the legendary Prime Battlereeve Fiirfarya. One morning the estate’s populace was found slaughtered, and thereafter the site was abandoned.
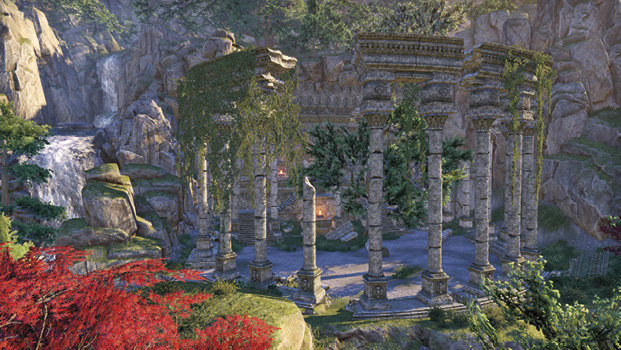
Now this decaying set of stone ruins has little but the slumped form of Captain Telomure to visit; he requests you help him.
Inside, a mixture of interior ruins and more natural tunnel bisections (where Yaghra roam) are to be explored and the Sagacians inside defeated, before you face the dreaded Justiciar Avanaire. If you wish to test your mettle against a boss Yaghra, find the Kurgando in the lower floor of the northeast library area.