
The Elder Scrolls Online: Summerset Guide Dungeons and Trials
Karnwasten
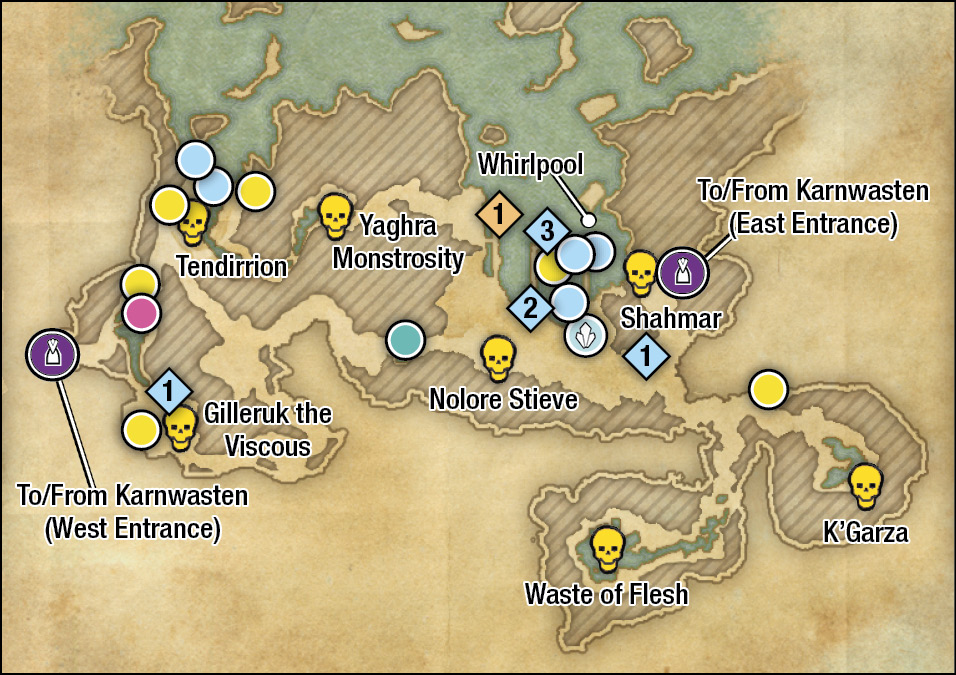

|
Fishing: Freshwater |

|
Fishing: Saltwater |

|
Treasure Chest |

|
Books |

|
Skyshard (Exterior) |

|
Enemy (Difficult) |

|
Building or Threshold |

|
An Unexpected Betrayal |

|
The Abyssal Cabal |
Karnwasten is a cave by the sea that is often used by foreign traders to “import” their “goods” onto the island. Altmer pride themselves in chasing perfection in all things and are also not particularly fond of foreigners, so having a junker captained by a Khajiit is a sight few residents of Summerset can stomach. Karnwasten’s location on the unpopulated, northern tip of the island makes it perfect for bringing goods without aggravating the native population. Though, in truth, its secluded nature makes it much more of a smuggler’s haven than a place for some gray-market dealings.
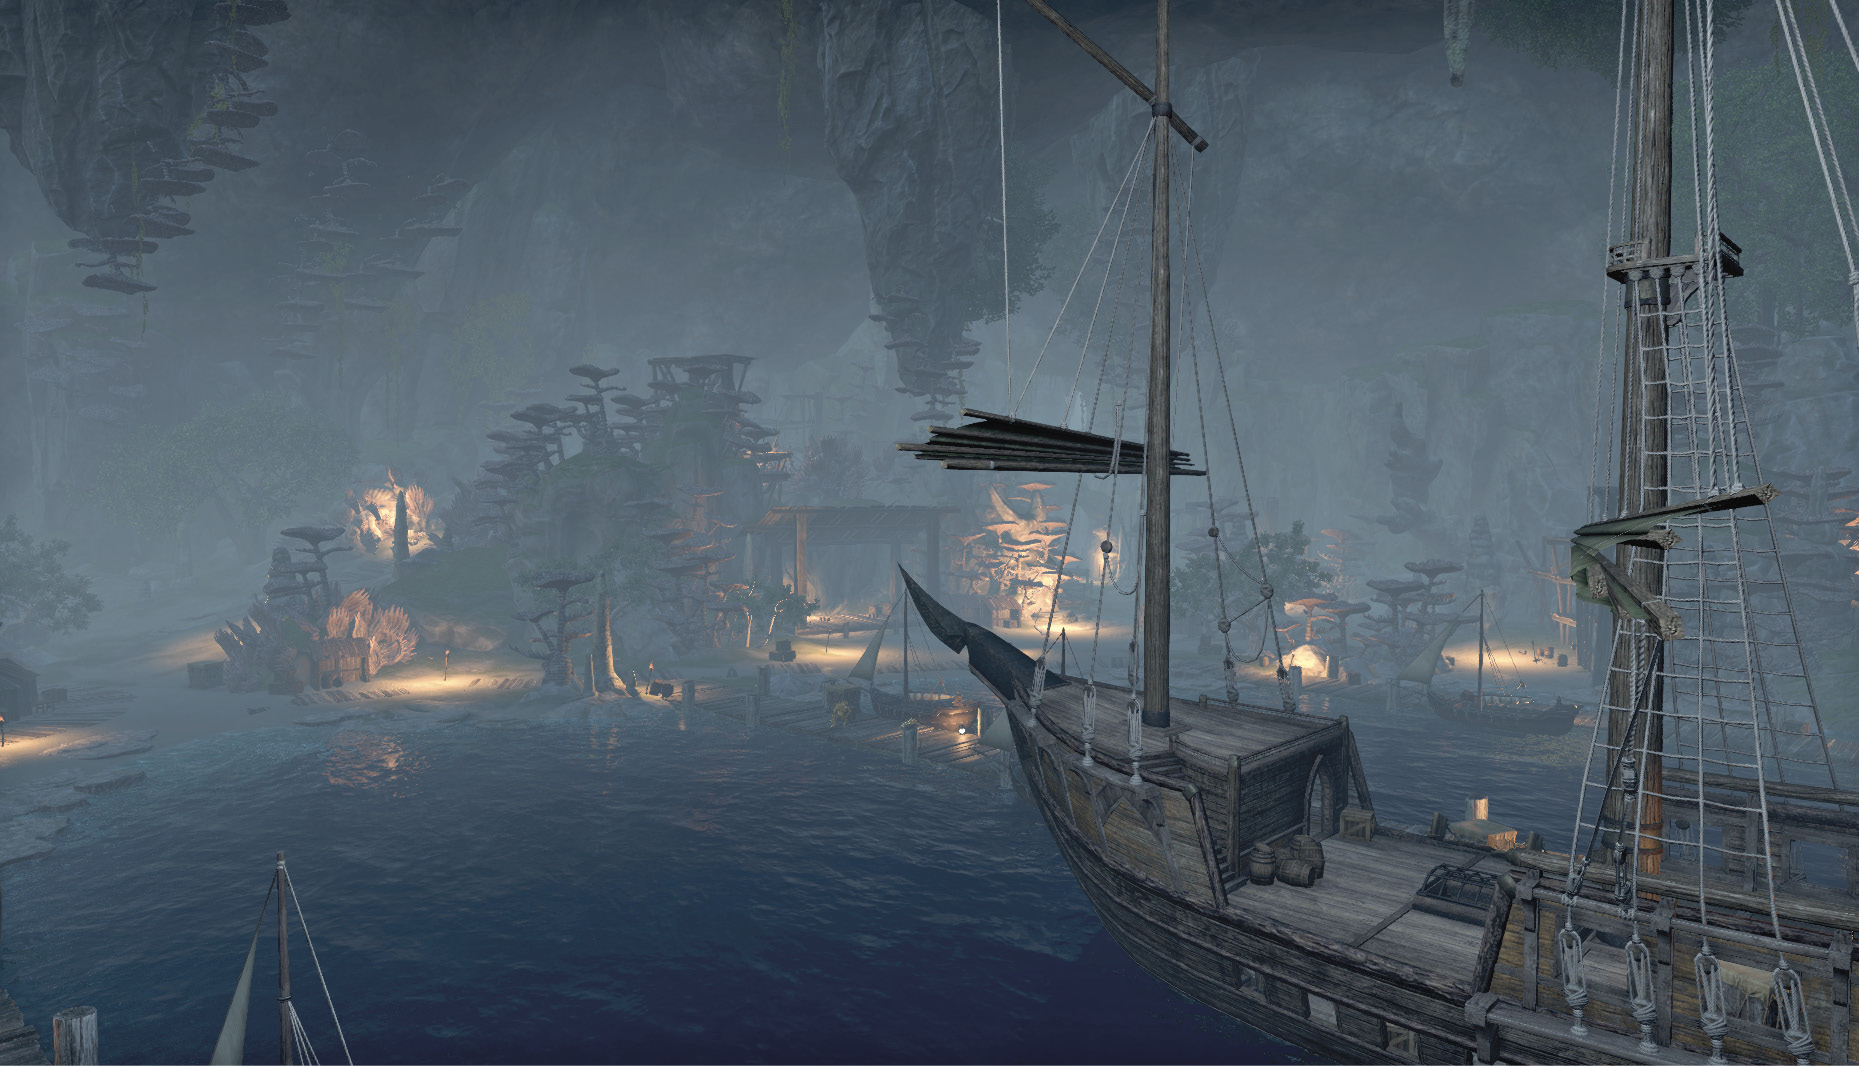
It is possible for experienced players to play through Karnwasten’s quests alone, but it’s a real feat that will take quality healing and buff abilities and excellent crafting and stealth. You’ll find larger, more diverse groups of enemies that require a bit of forethought and some careful pulling if you don’t want to get overwhelmed. Take your time, look around before moving, and always try to pull one enemy at a time whenever possible. If you see a path that is covered with a group of enemies you feel unequipped to deal with, try to find another way around. It will make your time here a lot easier than simply running around like you’re in Summerset proper.
Dungeon Bosses
While wandering around Karnwasten is doable solo, facing off with the dungeon’s bosses is geared exclusively toward group play. The bosses will summon large groups of enemies, overwhelm the battlefield with AoE attacks, or deal significantly more damage than you can handle for more than a few hits. If a boss isn’t part of one of the quests, you’d be wise to stay away without friends.
K’Garza
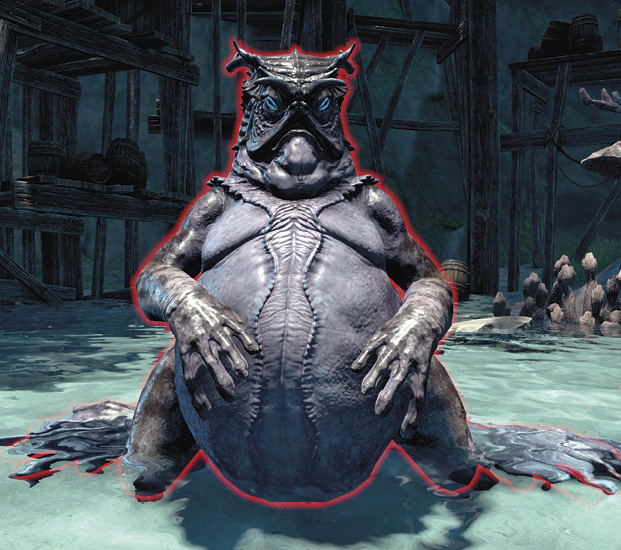
K’Garza is easily the trickiest fight in Karnwasten. From the beginning, K’Garza will cover the area in alchemical globules that deal continuous damage if you approach them. While you’re trying to avoid the globules, K’Garza will continuously fire a concentrated, though blockable, laser beam at you and your allies. If you try to destroy the globules at this point in the fight, they’ll just respawn, so avoid them for now.
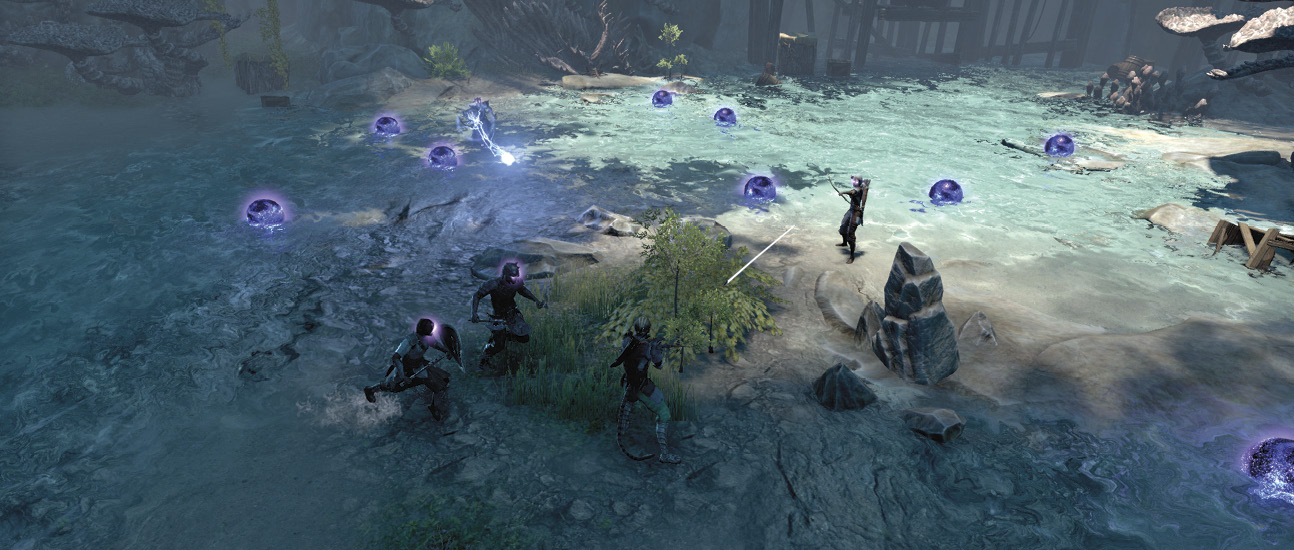
After dealing enough damage to K’Garza, she will revive the bodies of Holdala Reni, Maelrisse, Sakjhera, and Yargonk to do her bidding while she hides. There isn’t a trick to fighting them, so work together with your team and dispatch them quickly. However, you need to destroy all of the remaining alchemical globules during these reanimated attacker phases. Any globules that remain when K’Garza reappears will explode and shoot energy.
Killing K’Garza for the first time will net you an additional Skill Point.
Shahmar
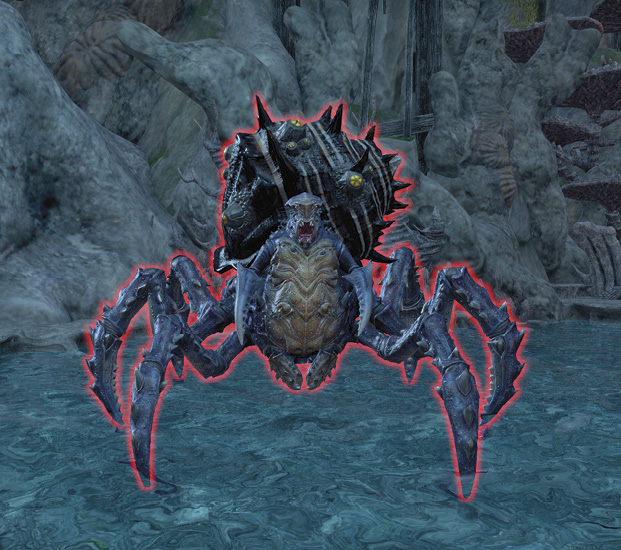
Shahmar isn’t a complicated fight: It focuses almost exclusively on producing Yaghra Larva and slow-moving, poison AoEs around the area. Every attack is clearly telegraphed (save for one, but more on that in a moment). The biggest challenge is going to be avoiding the AoEs and clearing out its Larva to fight it unimpeded.
The only truly tricky move Shahmar performs is summoning a couple of Larva to the outer edges of the area. They rapidly charge you and explode on impact. If you can see them, you can pretty easily avoid them, but it can be really hard to catch their locations before they’ve already started racing toward you. Thankfully, it doesn’t perform this move often, but you’ll still need to keep an eye out for it regardless.
Waste of Flesh
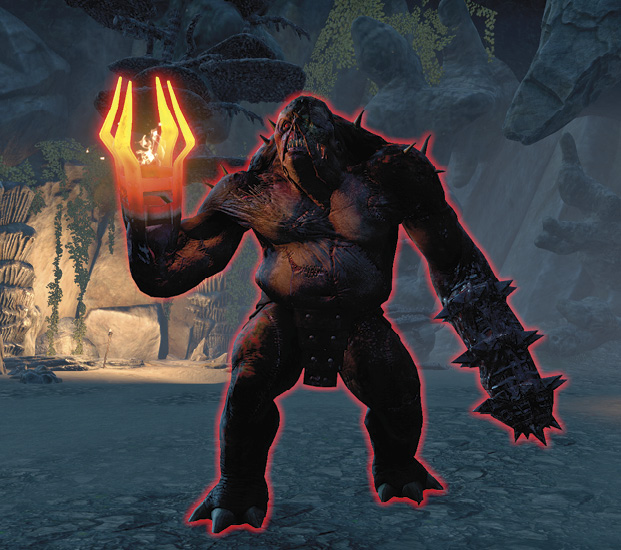
Waste of Flesh is a frightening boss. It’s not fast, but it has attacks for just about any possibility and they pepper most of the arena, making most of them dangerous no matter who Waste is targeting. The only ones you don’t need to completely fear are its basic attack and its charged heavy attack, the latter of which will pound you to the ground and stun you; the good news is, it is completely blockable.
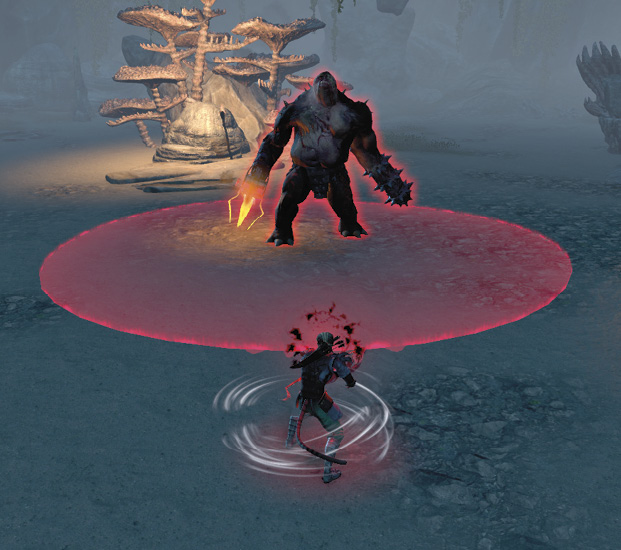
Waste of Flesh can perform a fear attack that draws all nearby players into its ever-expanding AoE. If you’re in the AoE by the time it reaches its full size, Waste’s mace arm will smack you. Break out of this attack like you would any other crowd control attack, but if you’re not fast enough, you can still take a hit.
Likely the most devastating move in Waste’s moveset is its mortar strike. It will raise its glowing orange arm into the air and begin showering fire balls down all over the arena. You won’t have much trouble avoiding each fireball if you watch the AoEs that appear on the floor, but it’s extremely disruptive to the fight and can cause a lot of chaos within your group.
Nolore Stieve
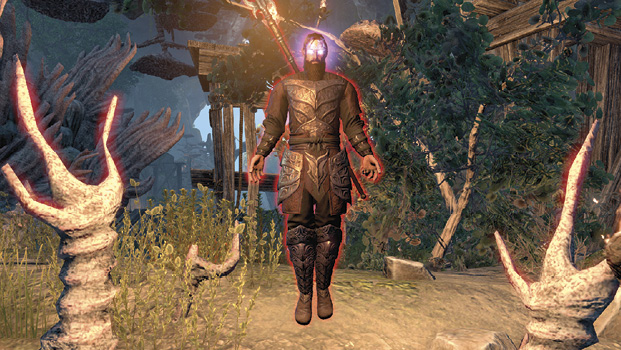
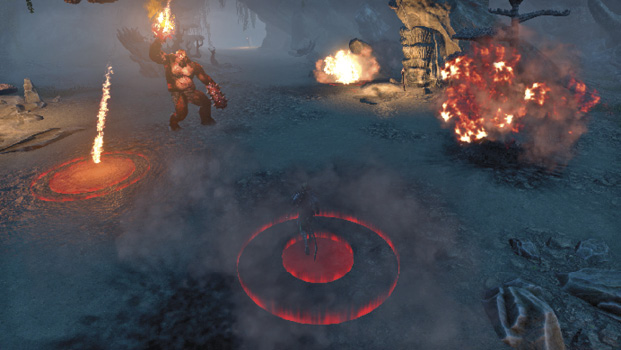
Nolore Stieve is exclusively a ranged fighter. He’ll pepper you with fireballs and other fire-based projectiles the entire fight.
Approaching Nolore Stieve will usually prompt him to escape to another side of the area. When he does this, he’ll burst into flames, rocket across the room, and leave a large fire geyser behind him. Your best bet while facing him is to hit him with projectiles. There is a grace period after he makes an escape, so attack him at close range immediately after he moves to the other side of the area.
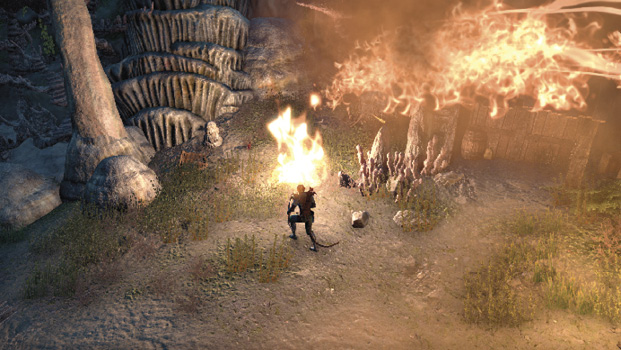
Nolore’s heavy attack isn’t particularly complicated, but it can bowl you over if you forget to block. He’ll charge up his attack like normal before unleashing a lightning-fast fireball in your direction. If it lands, you’ll be knocked to the ground. If you block, it’ll sputter out like nothing ever happened.
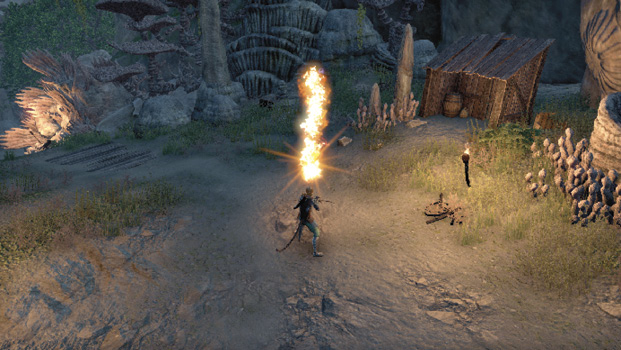
His interruptible attack functions like a slower-moving version of his heavy attack. He’ll charge up, then unleash a slow-moving trail of fire that continues to travel forward until it hits something. The trail only moves straight, so if you get out of the way, you’ll be completely unharmed.
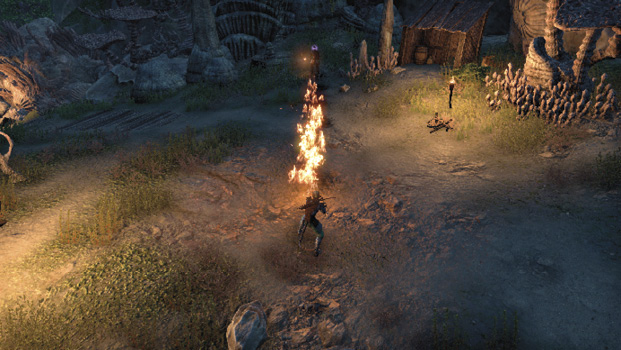
His most devastating move has him lifting his staff into the air and creating a stream of fire, which he slowly spins around him overhead. It’s best to just wait this one out. If you feel like you can attack him without touching the fire, go for it. But waiting for him to wrap this attack up can spare you a decent amount of Hit Points.
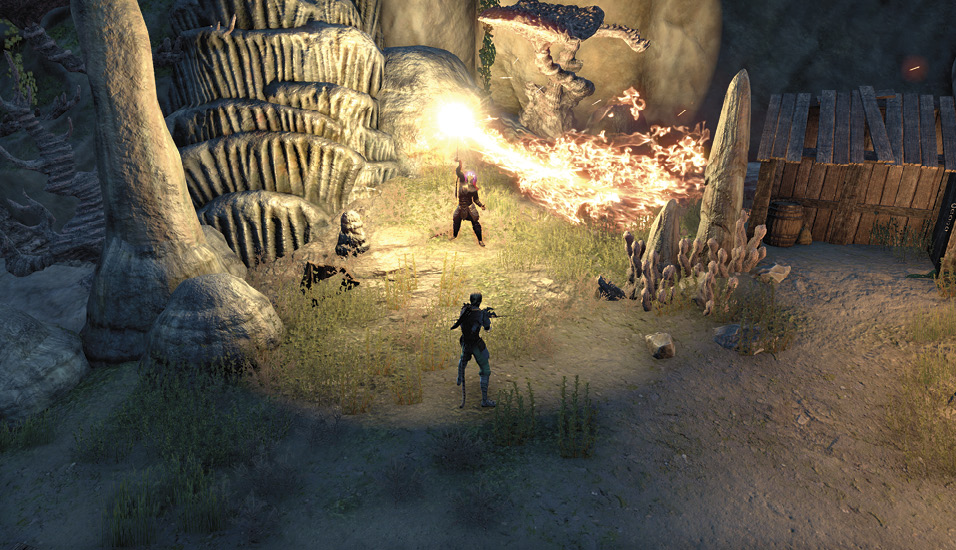
Tendirrion
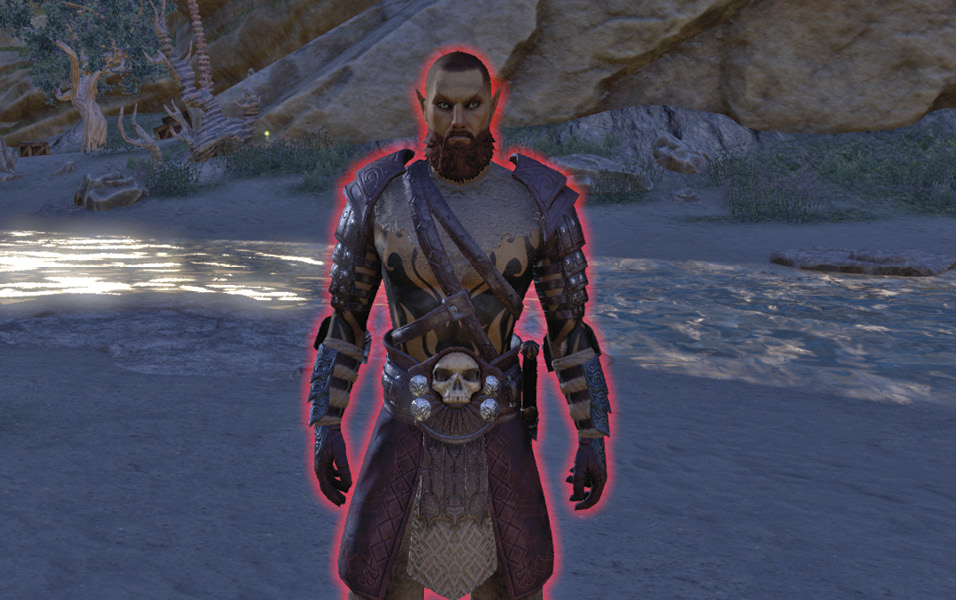
Tendirrion is a fast and ferocious fighter with quick attacks and large AoEs. Keep moving while fighting him if you want to stay alive. Aside from basic melee attacks, Tendirrion can pull you with a fire chain, instantly closing any distance you’ve put between you.
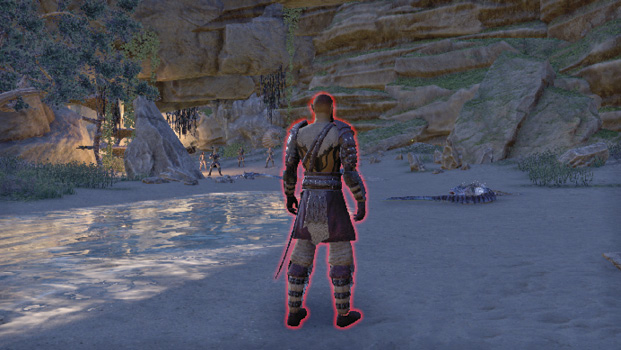
Tendirrion will pause occasionally and create a conal AoE in front of him. A second or two later he’ll cover that entire AoE with fire. This is likely the easiest move to avoid in his arsenal, as you’ll have plenty of time to move out of the way before he unleashes it. When you see a cone-shaped AoE, just move and you’ll be all right.
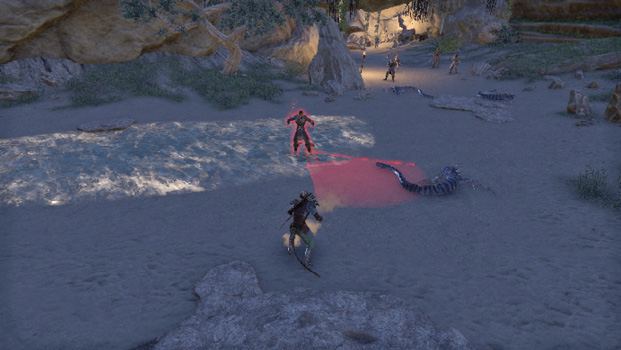
Things get a lot more dangerous when Tendirrion performs his heavy attack. Like all heavy attacks, it’s blockable, but if you fail to do so, you’ll take a huge blow from a teleporting sword slam. Tendirrion’s attack will also leave a giant, fire-charged AoE where he attacked, potentially hurting your allies as well.
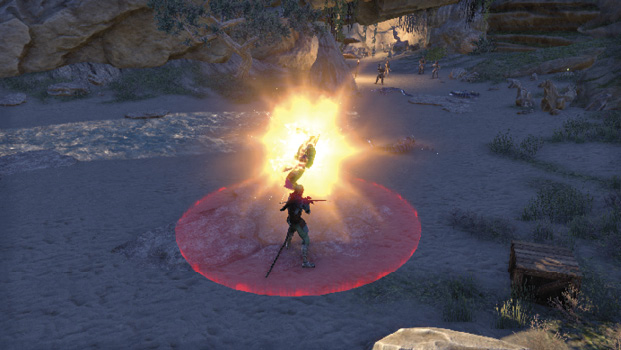
If you see the ground tremor beneath Tendirrion, expect him to put a root on you shortly after. Rolling will break you free, so escape quickly to avoid letting him have any opportunity to get a hard hit in on you.
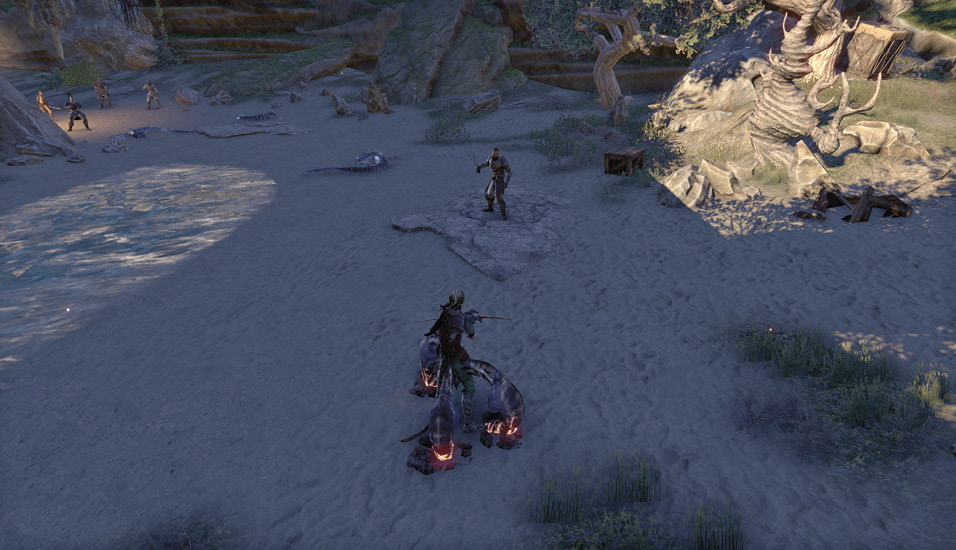
Gilleruk the Viscous
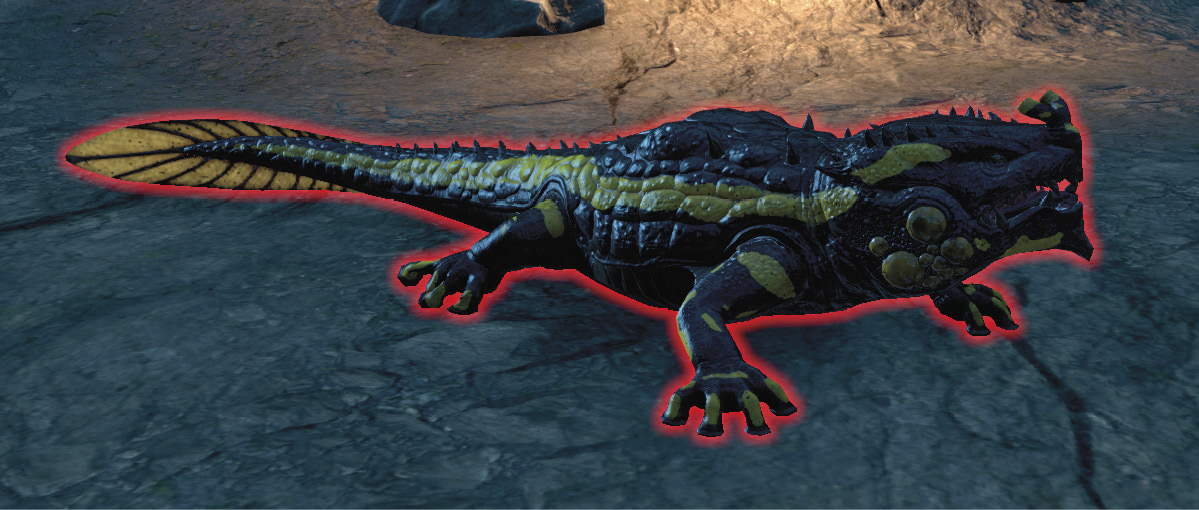
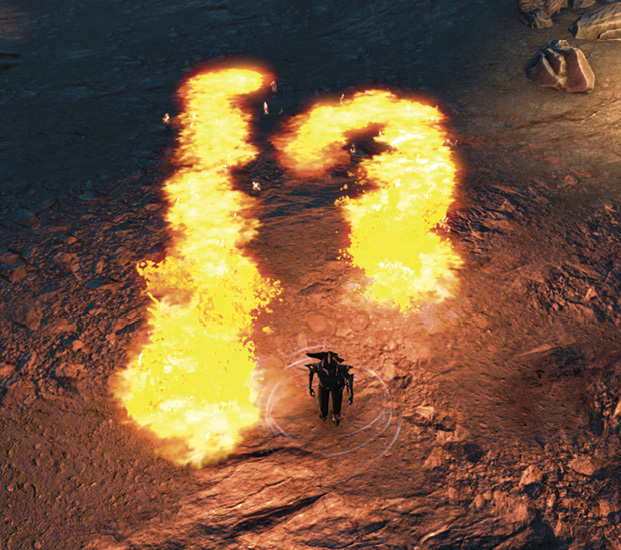
Gilleruk is not a particularly fearsome fighter, but that doesn’t necessarily mean it’s an easy fight. While Gilleruk itself doesn’t do much more than bite and lash with its tongue, two trails of fire will slowly travel around the area, making it difficult to move in on Gilleruk whenever you choose. At low health, the salamander gains the “Frozen Ring” ability that surrounds it with frost. Try to keep the fight within the circle of frost; leaving it deals heavy damage.
An Unexpected Betrayal
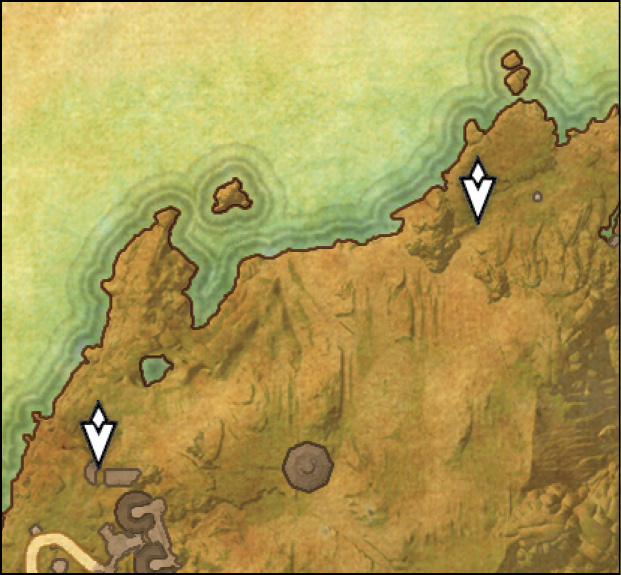
- Location: In front of Karnwasten
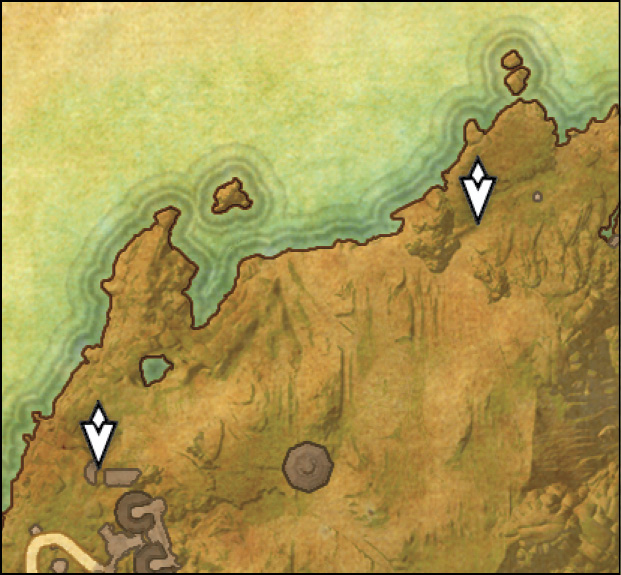
- Quest-giver: Renzir

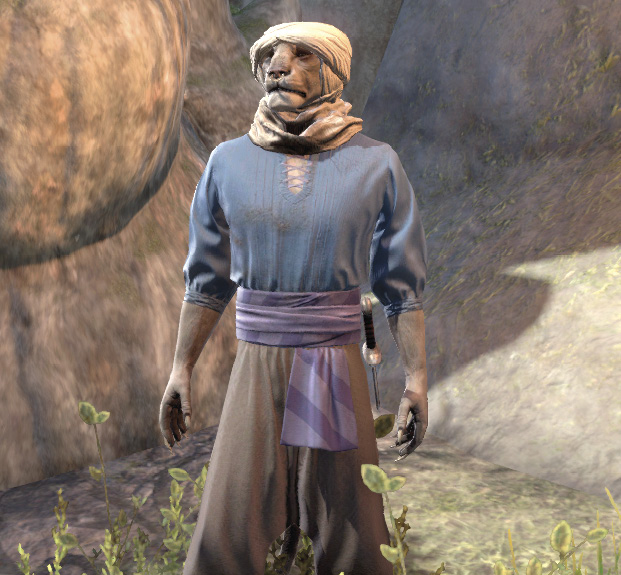
Description: Karnwasten has been taken over by Renzir’s first mate, Madja. His life course has been irrevocably altered. All he wants is three shipments and his wife, Nubani, to set off on his new path on the right foot—or so he says. Help him get his supplies and revenge, but keep an eye on this tricky Khajiit.
Recover Trade Shipments
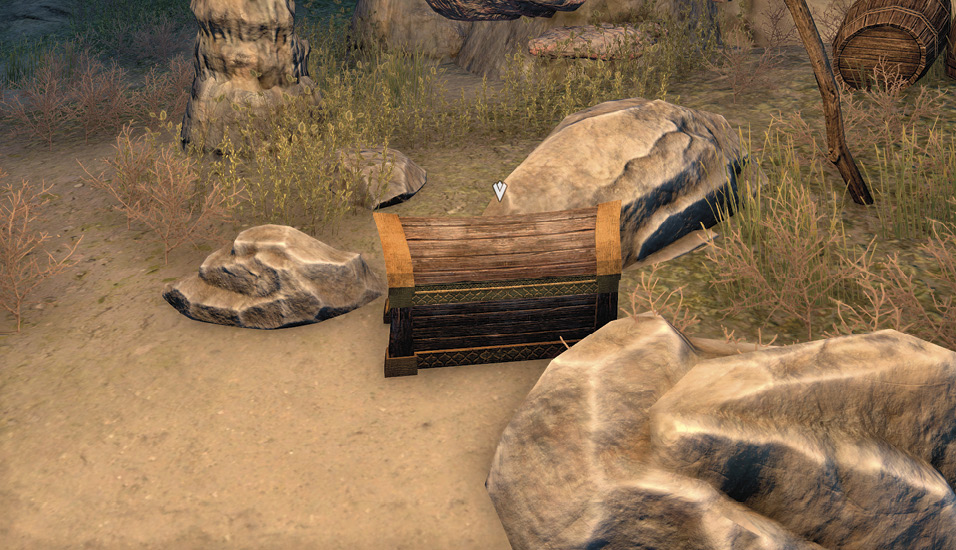
You must recover three trade shipments. The first shipment is near the dungeon’s east entrance, while the second and third shipments are on the dungeon’s west side.
Kill Madja
Madja isn’t a particularly complicated combatant. She’ll mostly rush up to you and try to attack you with her dual blades. Occasionally she’ll begin charging up an interruptible attack, which will shoot out a cone of poison in front of her if you don’t interrupt her in time. Even if you don’t make it, the length of the attack is much shorter than the width. If you step away from her or get behind her, you’ll be completely safe.
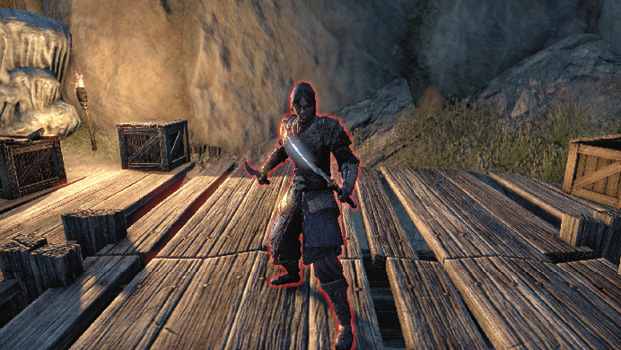
Find Nubani
You’ll find Nubani on the ship in the middle of Karnwasten, but don’t expect to get there without a fight. The only way onto the ship is via the docks, which have several enemies, including a group of five Yaghra. You can get through them, but you’ll need to make sure you have healing on hand if you hope to survive the encounter.
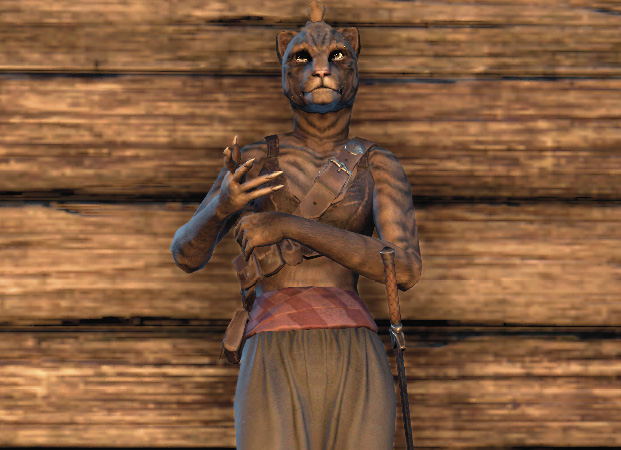
Once you defeat the Yaghra, board the ship. Nubani is leaning against the outer north wall. She’ll ask if you want to help her or continue what you were doing for Renzir.
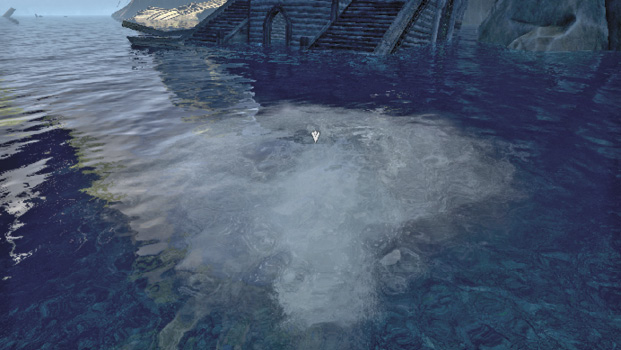
If you decide to help her, you’ll need to dump Renzir’s shipments into the whirlpool on the docks to the ship’s east. Regardless of what you choose, you’ll need to speak with Renzir outside Karnwasten’s western entrance. If you didn’t trash his shipments, you’ll have the chance to persuade him to give up the smuggling trade.
However you wrap up the quest, you’ll earn Renzir’s Smuggled Smasher and a Sea Sload Dorsal Fin Memento as a reward.
The Abyssal Cabal
- Location: Just past the northwestern entrance of Alinor
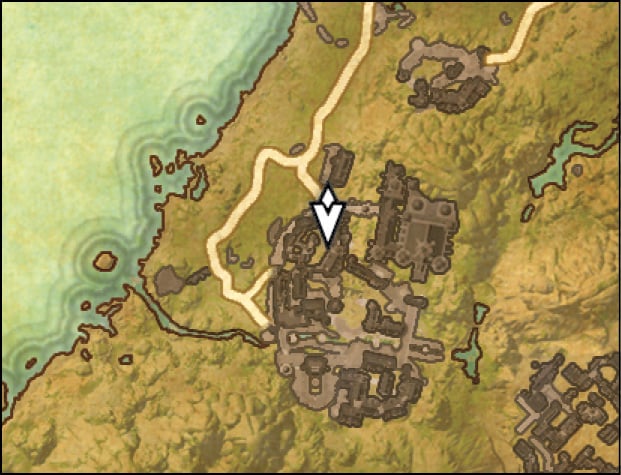
- Quest-giver: Squire Bayenor
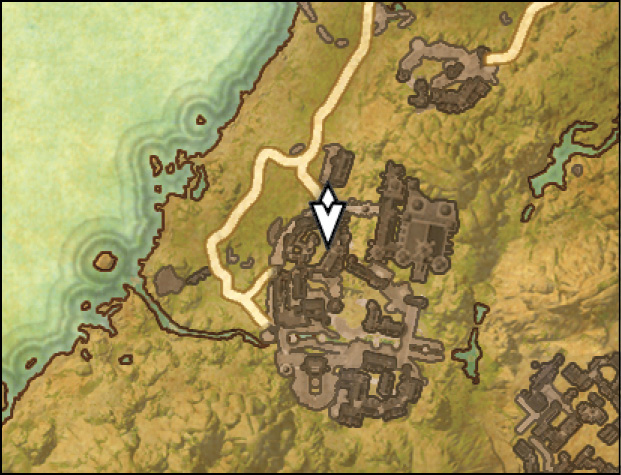
Description: The Battlereeve Tanerline of Alinor is looking for the now infamous Sload-slaying adventurer—you. Rumor has it that Sload have popped up in Karnwasten and Welenkin and all attempts to confirm the rumors have been met with a lot of soldiers not coming home. Speak with the Battlereeve and see if you can help.
Talk to Battlereeve Tanerline
Head to the front of Alinor Royal Palace in the northeast corner of Alinor to find Tanerline. Speak with her and she’ll explain the situation as it stands.
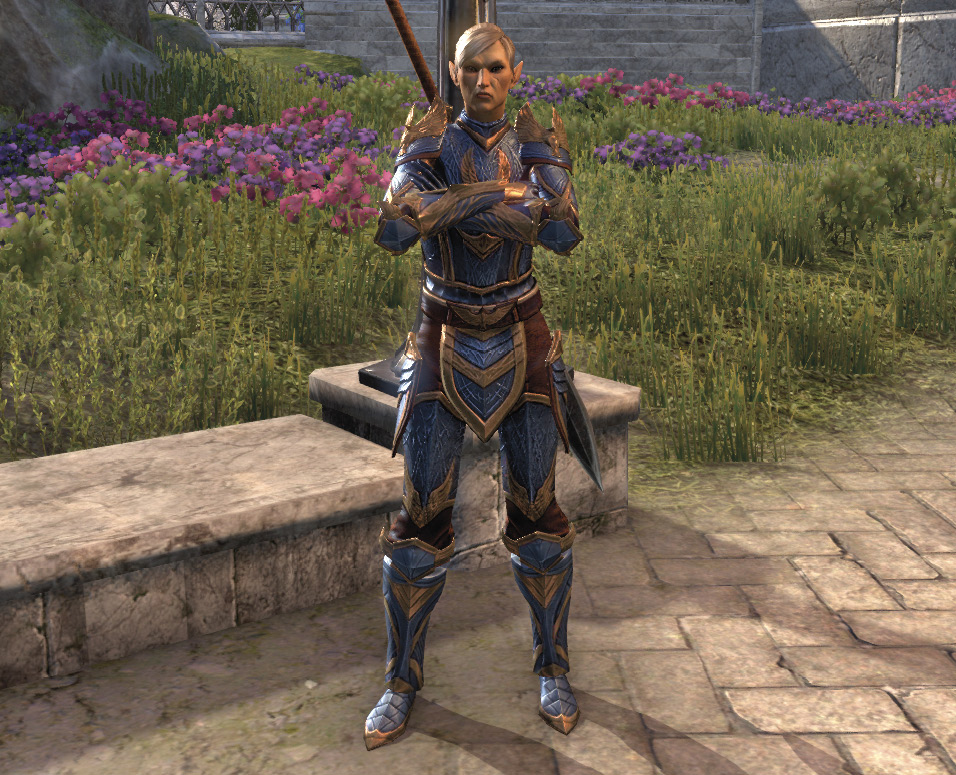
Talk to Cainar
Once you’re finished, head to Karnwasten on Summerset’s north side. There are two entrances—one on the northwestern corner of the island and one on the northern tip. Either one will work. You’ll need to speak with Cainar, who’s almost dead center of the dungeon.
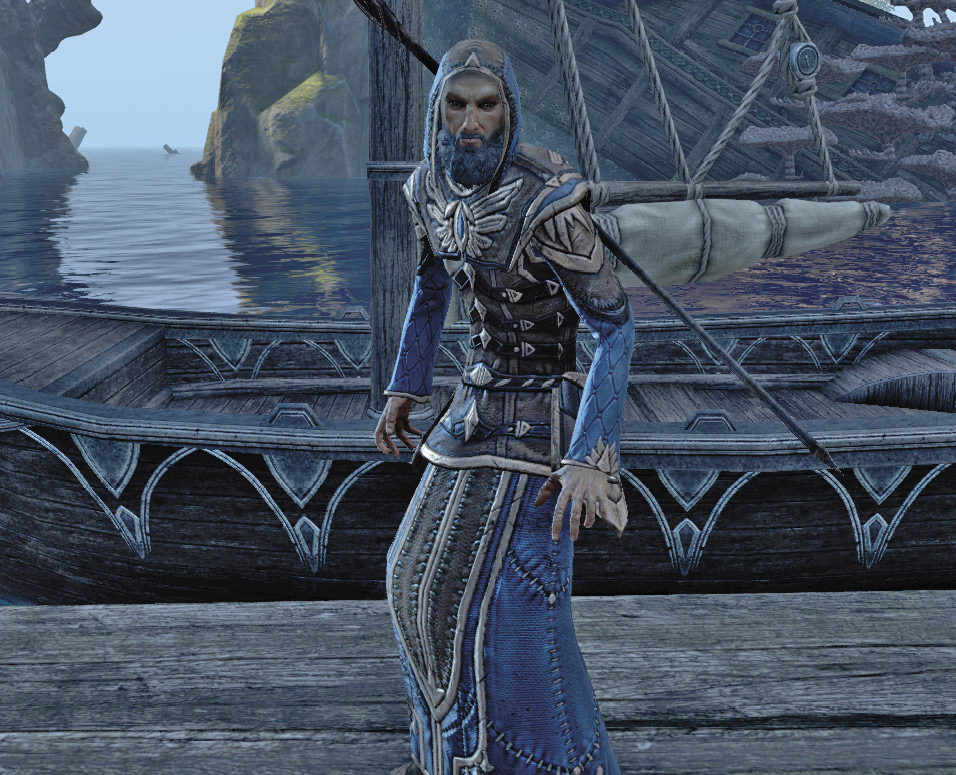
Find Grog
Cainar will ask you to look for one of his own in the southeastern corner of the dungeon.
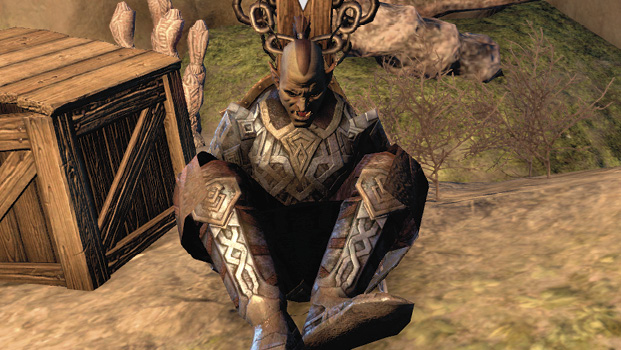
Grog is chained to a post in front of K’Garza the Sea Sload’s cave. You’ll need to either pick the lock or grab the key from a backpack to the left of K’Garza. If you sneak, reaching the key is absolutely doable. Just go about it carefully and you’ll make it back in one piece.
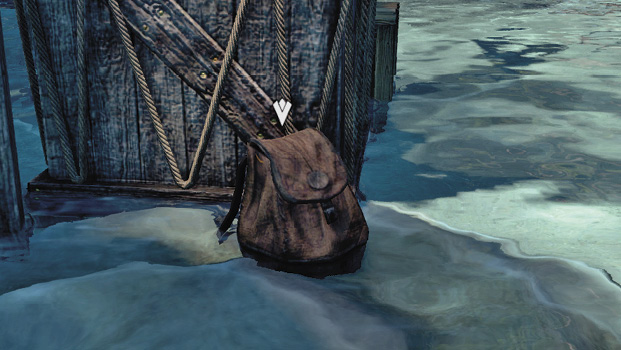
Once you free Grog, return to Cainar.
Talk to Miriya
Cainar will instruct you to speak with his comrade Miriya about your findings. You can find her on the western shores of Alinor.
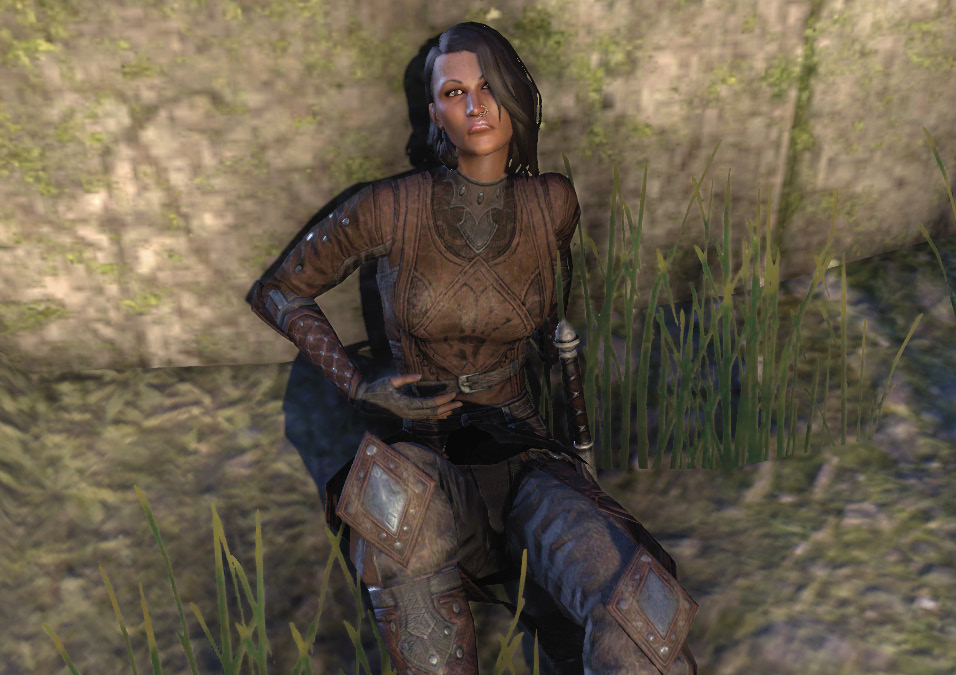
After speaking with Miriya, head up the shore a little ways and inspect Indirim’s Report. You’ll need to collect four more reports south, along the beach.
After you collect all five, head back to Battlereeve Tanerline in Alinor. She is in the center of the southern side of the city. Speak with her to complete the quest and earn a pair of Battlereeve’s Abyssal Gauntlets.