The Elder Scrolls Online: Summerset Guide The Atlas of Summerset Isle
Summerset Isle: Region 4 (Southeast)

|
Primary Location |

|
Secondary Location |

|
Fishing: Freshwater |

|
Fishing: River |

|
Fishing: Saltwater |

|
Heavy Sack |

|
Mages Guild Lorebook |

|
Thieves Guild Dead Drop Chest |

|
Thieves Trove |

|
Treasure Chest |

|
Books |

|
Skyshard (Exterior) |

|
Skyshard (Interior) |

|
|

|
Quest |
Shimmerene, Sil-Var-Woad, Eastern Pass, Sunhold
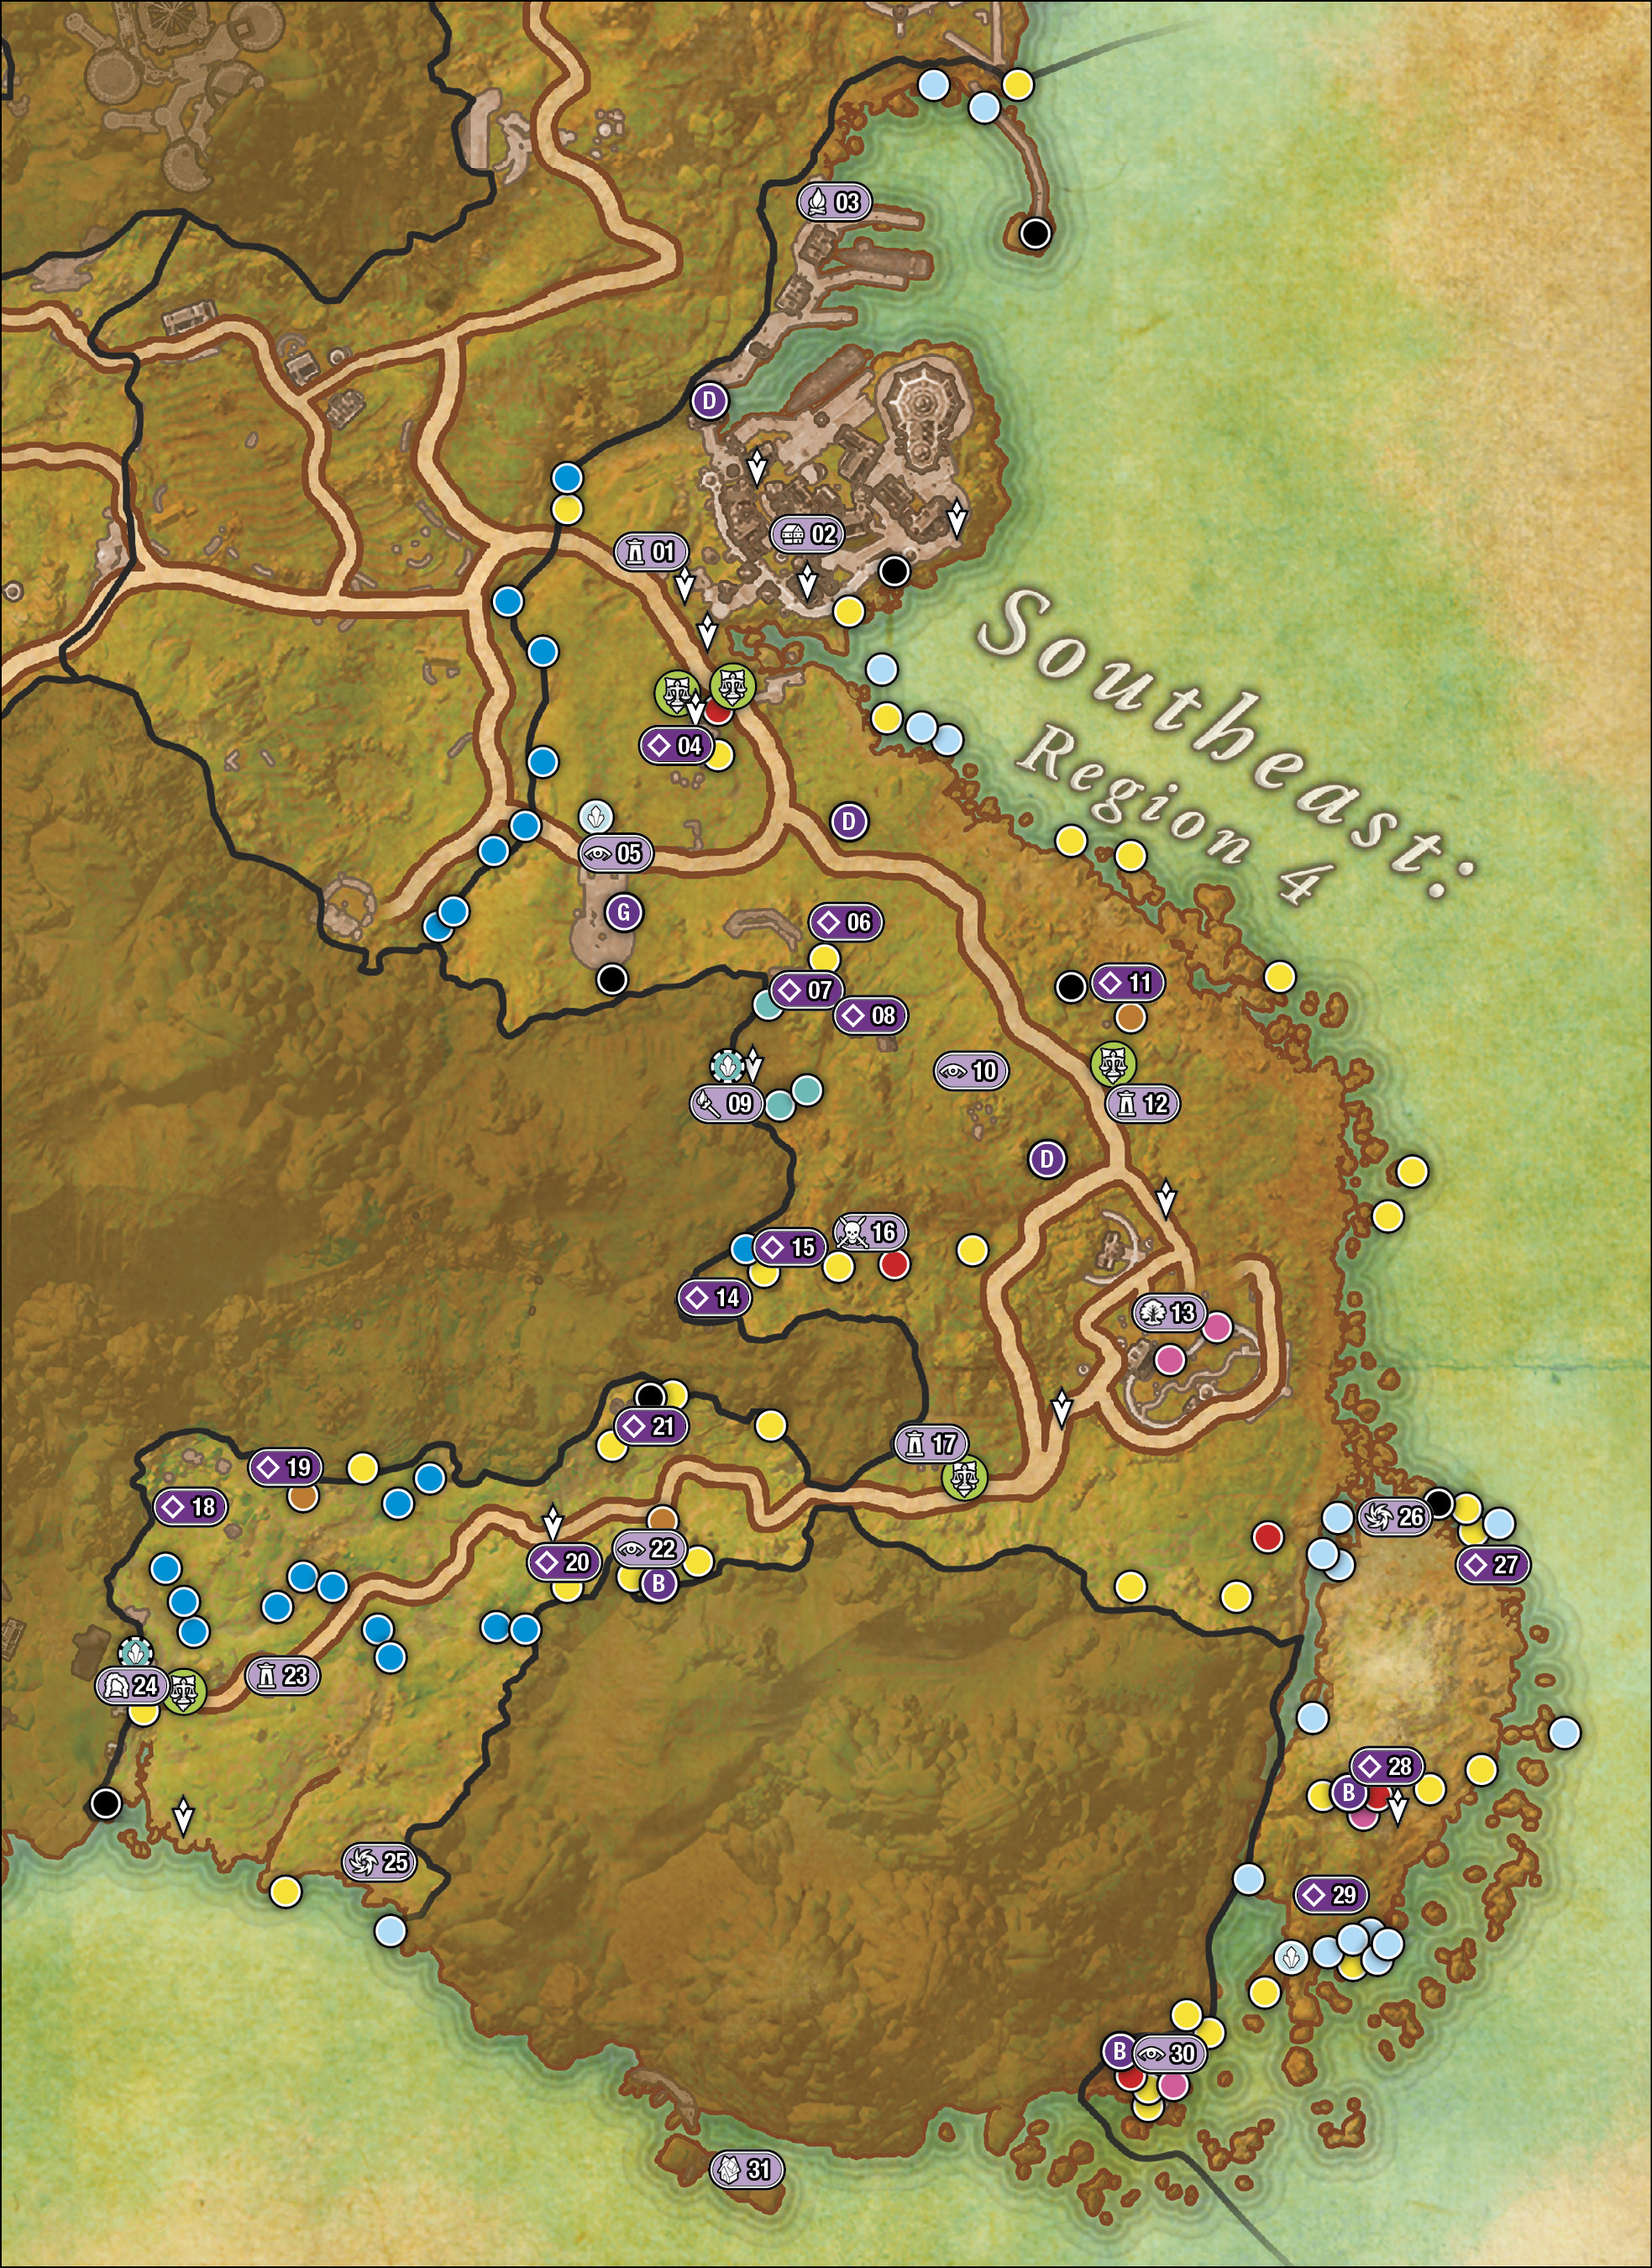
From the shimmering City of Lights to the remote and dangerous southeastern coastal promontory, this part of Summerset Isles features a number of ruins, ancient temples (including the Keep of the Eleven Forces with a portal to Artaeum), a delve cut into the western mountainside, and a main road that runs from Shimmerene to Sunhold, through the Eastern Pass, and into a forested area. This area is well traveled, including by the merchant Falordilmo, as the Eastern Pass is the key to reaching the southern city of Sunhold, now under siege by evil forces.
Locations
 Primary
  Secondary
| # | Name |
|---|---|
| # | Name |
|
|
Shimmerene Wayshrine |
|
|
Shimmerene |
|
|
Shimmerene Dockworks |
|
|
Prisoner’s Hold |
|
|
Keep of the Eleven Forces |
|
|
Gryphon Ruins |
|
|
Night Runner Camp |
|
|
Brodram’s House |
|
|
|
|
|
Garden of the Sacred Numbers |
|
|
Coral Forest Camp |
|
|
Sil-Var-Woad Wayshrine |
|
|
Sil-Var-Woad |
|
|
Gryphon Nest |
|
|
Riverside Shrine |
|
|
Graveld’s Hideaway |
|
|
Eastern Pass |
|
|
Gryphon Lair |
|
|
Old Camp |
|
|
Vinafwe’s House |
|
|
Gryphon Den |
|
|
Alaxon’ald |
|
|
Sunhold Wayshrine |
|
|
|
|
|
Sunhold Abyssal Geyser |
|
|
Sil-Var-Woad Abyssal Geyser |
|
|
Skeletal Smugglers |
|
|
Coastal Shrine |
|
|
Garden of Ingarlas |
|
|
Dusk Keep |
|
|
Colossal Aldmeri Grotto (Location) |


Wayshrine: Shimmerene
- Information: Primary Location; Wayshrine
- Entities of Note: Falordilmo (Merchant)
- Enemies: Butterfly, Indrik
- Nearby Quests: A Tale of Two Mothers; Housing Brochure; The Queen’s Decree
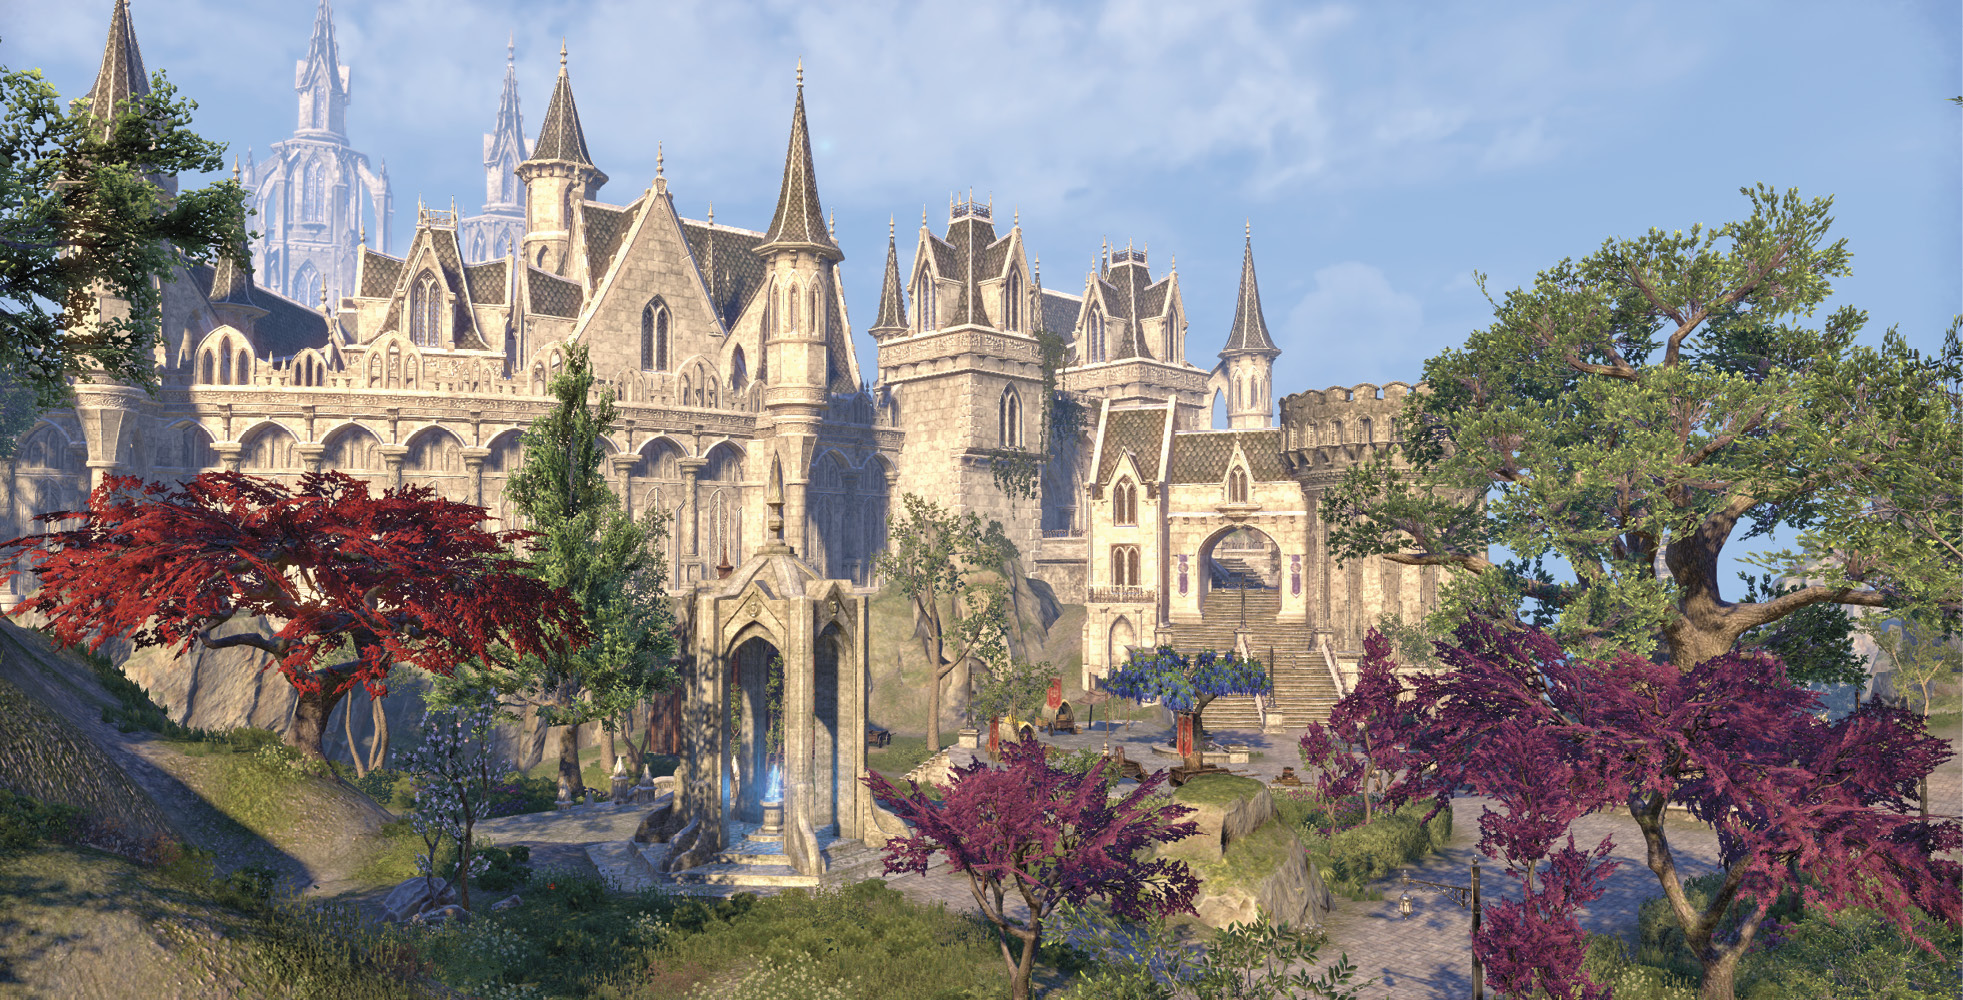
For those seeking the guild traders and a thorough exploration of Shimmerene, fast-travel here. Note the wandering trader Falordilmo, who walks the path to Sunhold from just southeast of here.

Town: Shimmerene

|
Fishing: Saltwater |

|
Heavy Sack |

|
Mages Guild Lorebook |

|
Treasure Chest |

|
Books |
|
|
Quest |
- Information: Fishing Hole; Mages Guild Lorebook; Primary Location; Town; Thieves Guild Dead Drop Chest (2); Treasure Chest
- Enemies: Bright Moons Lunar Moth, Indrik, Springbok, Torchbug
- Nearby Quests: A Tale of Two Mothers; Housing Brochure; The Queen’s Decree
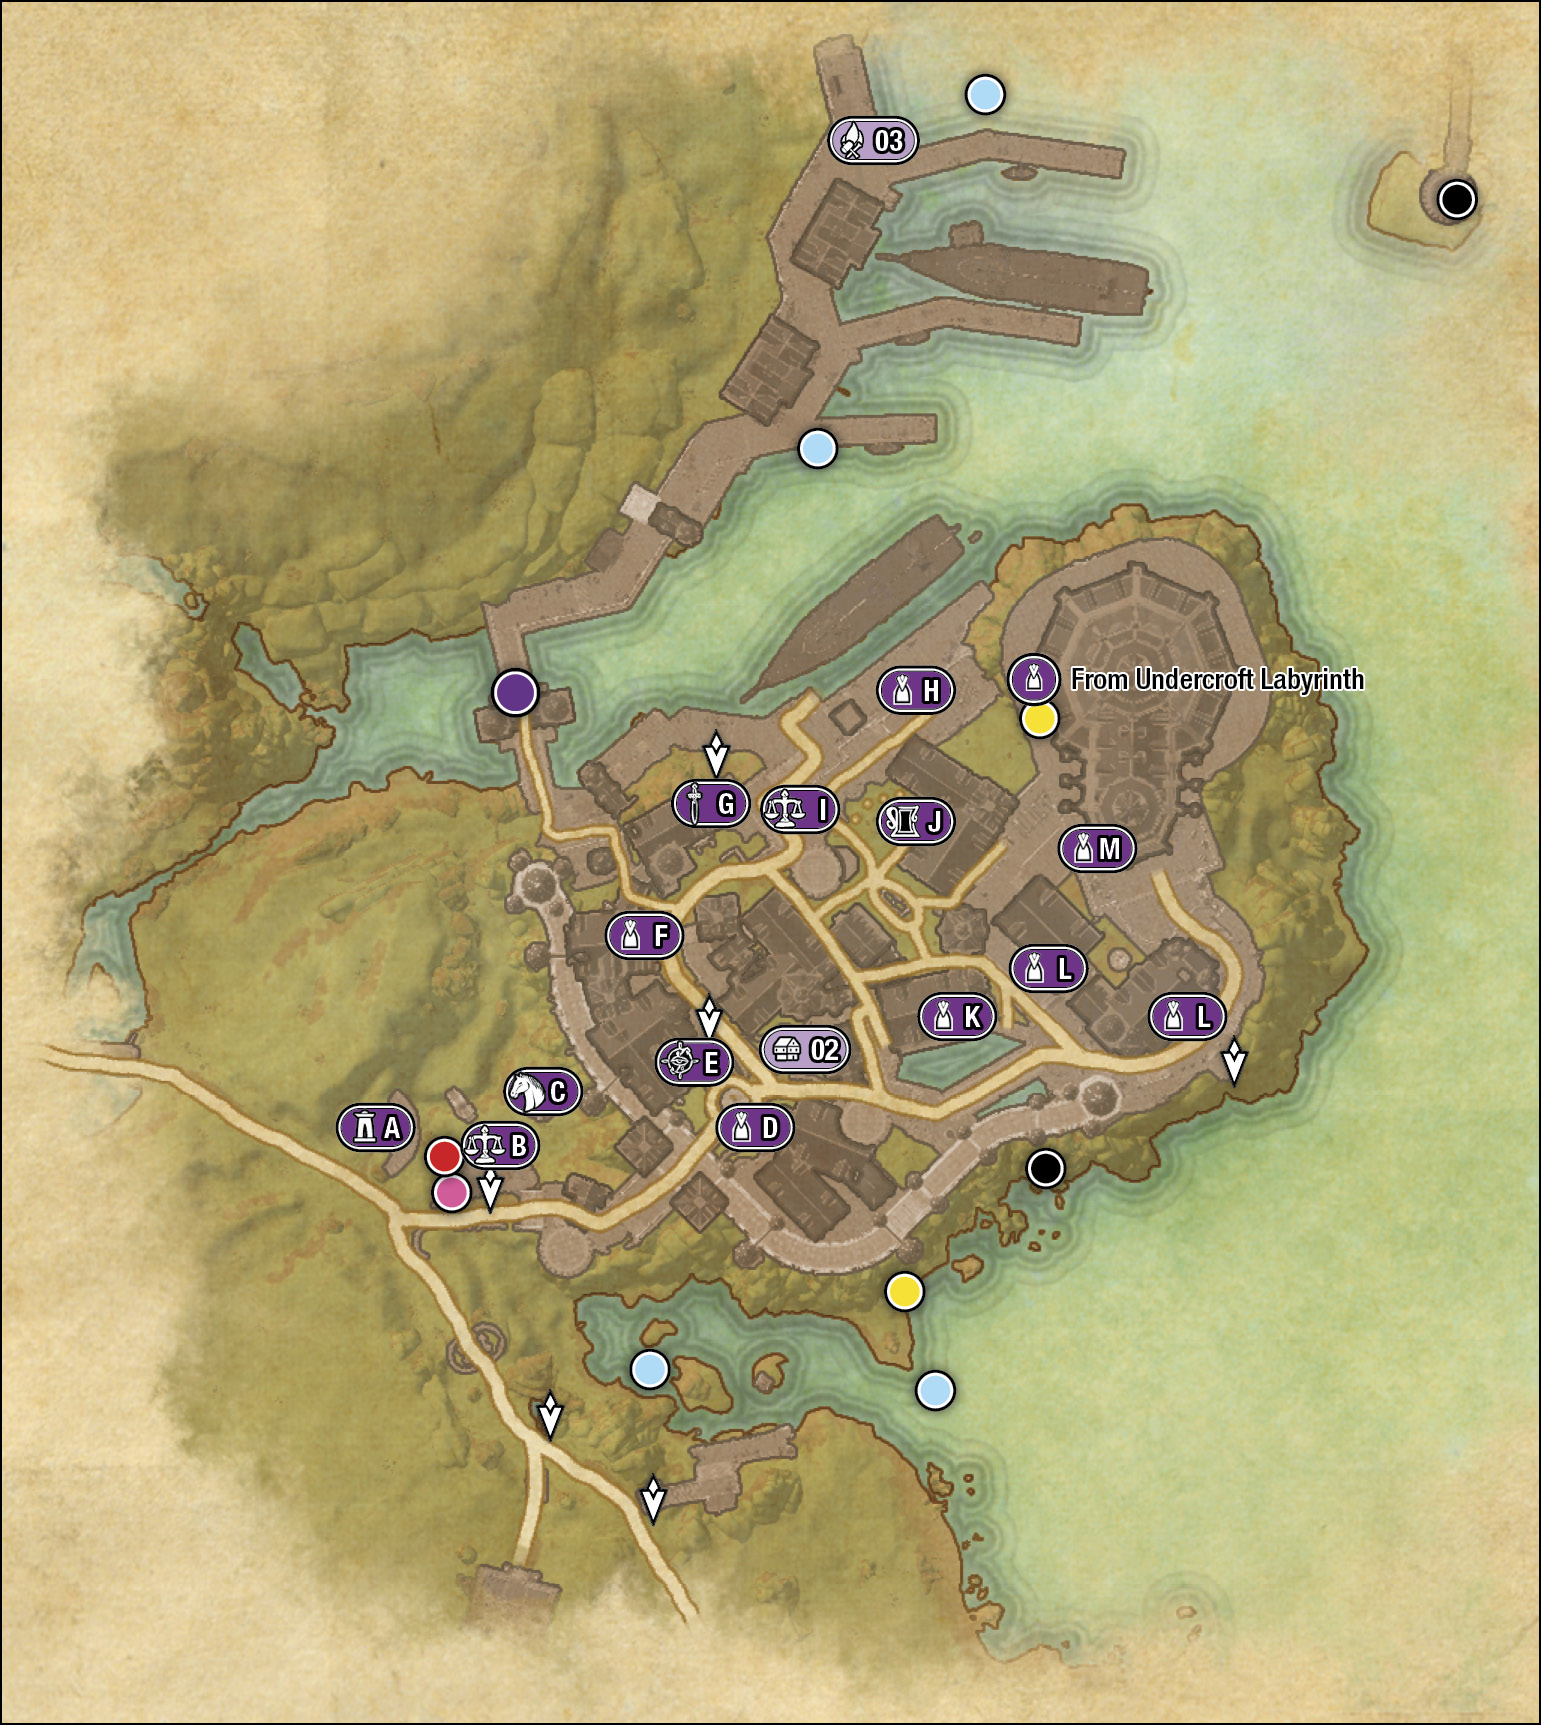
Known as the City of Lights, this bustling port town along the eastern coast of Summerset Isle is home to a variety of High Elves, from the well-to-do and haughty that live close to the Monastery of Serene Harmony (the cathedral-like structure that dominates the northeastern edge of town), to the beggars in the alleys closer to the docks to the northwest. It is said a vast underground waterworks exists under this rocky promontory.
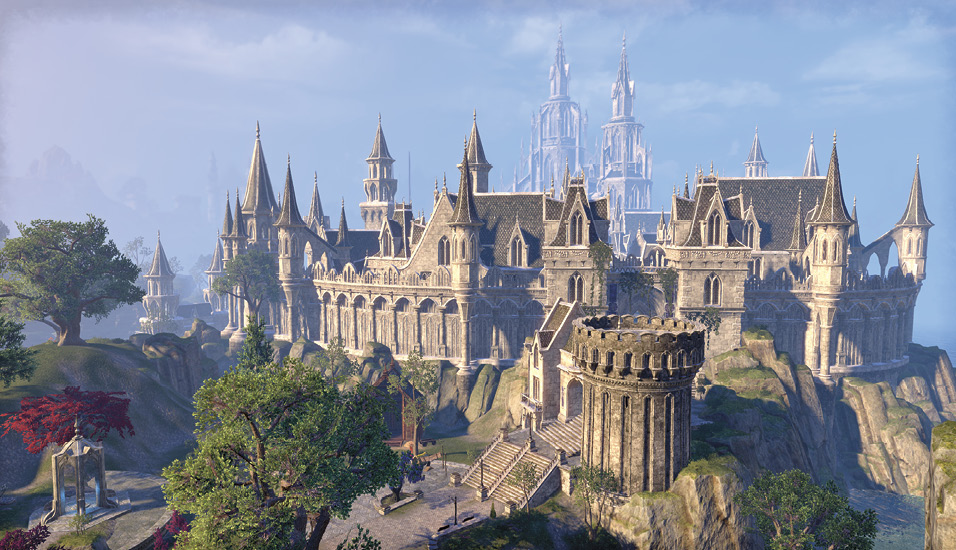

Wayshrine: Shimmerene
- Information: Primary Location; Wayshrine
- Entities of Note: Falordilmo (Merchant)
- Enemies: Butterfly, Indrik
- Nearby Quests: A Tale of Two Mothers; Housing Brochure; The Queen’s Decree
Located on the western outskirts, outside the city walls, this wayshrine allows quick access to the guild traders and a thorough exploration of Shimmerene. Note the wandering trader Falordilmo, who walks the path to Sunhold from just southeast of here.
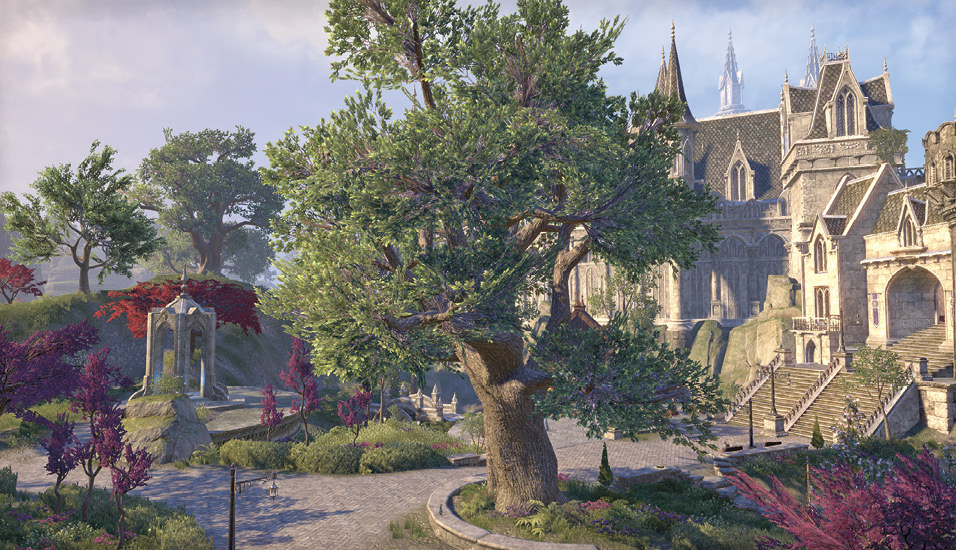

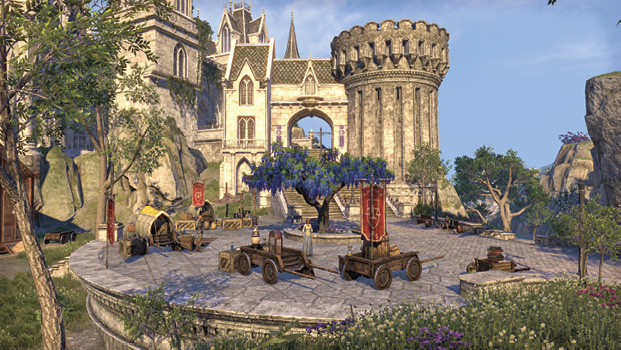
Guild Traders: Plaza of the Eight
- Information: Heavy Sack; Guild Traders; Secondary Location
- Entities of Note: Quelilmor, Sargalash, Varandia (Guild Traders)
- Nearby Quests: Housing Brochure
This stone plaza is filled with guild wagons and a variety of merchandise you can buy or trade. Note the book on the low stone wall too.

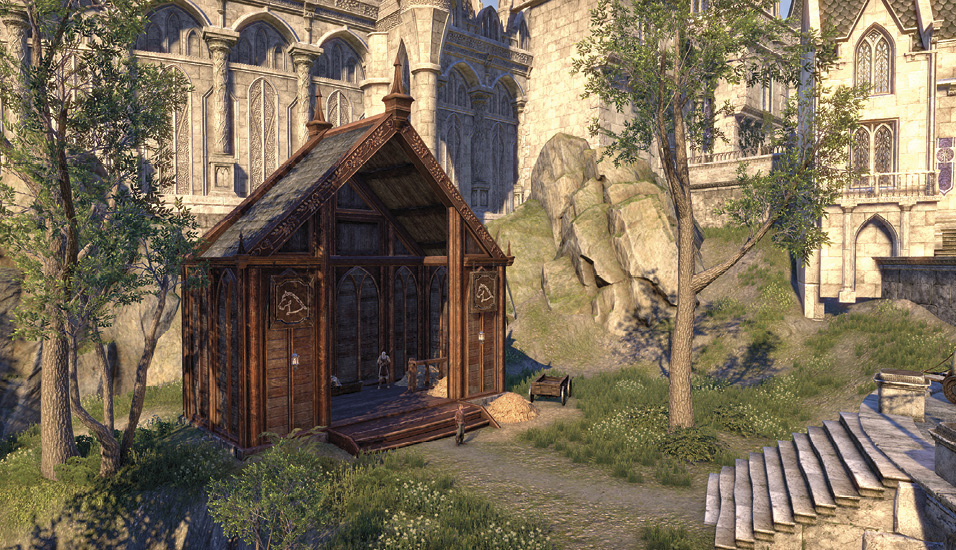
Shimmerene Stable
- Information: Secondary Location; Stablemaster
- Entities of Note: Tholdinlor (Stablemaster)
Should you wish to stable your steed or purchase a horse of your own, this is the place to go.

Ealaren’s House
- Information: Cooking Fire; Interior; Secondary Location; Warning: Restricted Area (Trespass)
After entering through the main archway gate, this is the first abode you’re able to access, should you wish to pick the lock (Simple). Inside this three-story dwelling is a variety of safeboxes and trinket trunks to steal from.
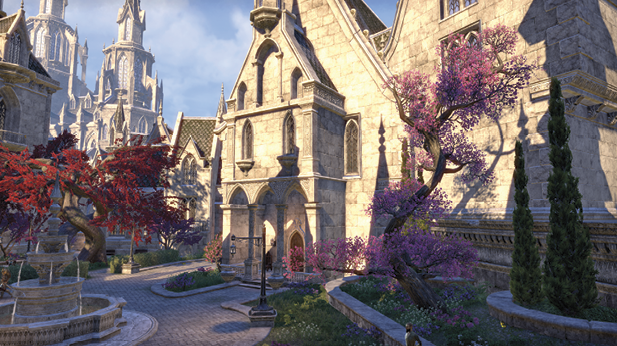
Mages Guild

- Information: Cooking Fire; Interior; Merchant; Secondary Location
- Entities of Note: Dessathiel (Magus), Curinure (Magister), Ohlinonde (Mystic)
Enter the guild building and meet Dessathiel (Magus) or Ohlinonde (Mystic) if you wish to trade with this guild. Should you join, a High Elf named Curinure (Magister) will be happy to assist you. Check upstairs for an impressive library.
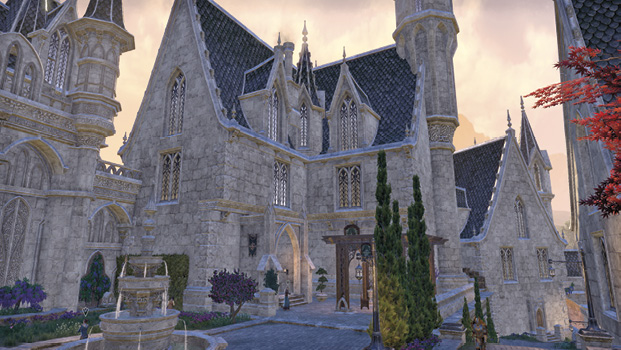

Tanuldel’s House
- Information: Cooking Fire; Interior; Secondary Location; Warning: Restricted Area (Trespass)
- Entities of Note: Tanuldel
Farther northwest along the street from the Mages Guild is the locked (Intermediate) abode belonging to the rug-maker Tanuldel. He is usually upstairs at his loom, though he’s not pleased to be bothered by trespassers.
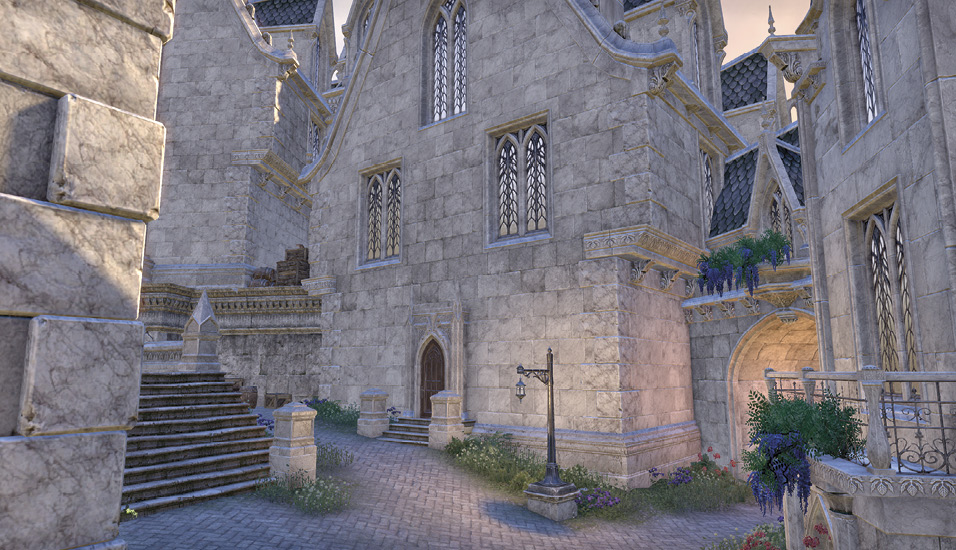

Fighters Guild
- Information: Cooking Fire; Interior; Merchant; Secondary Location
- Entities of Note: Aicessar, Vahazi (Armsman)
The Fighters Guild is close to the docks. Here you’ll find Aicessar, who allows you to join this guild, and Vahazi, who can sell you wares.
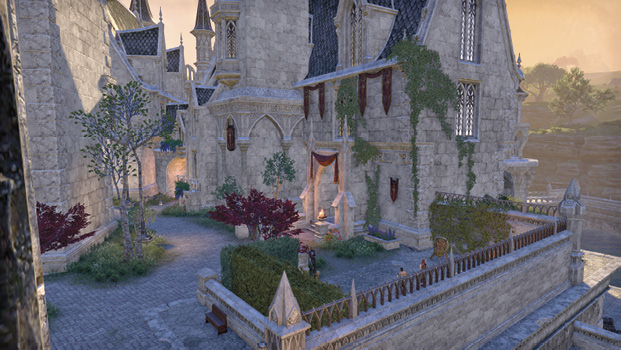

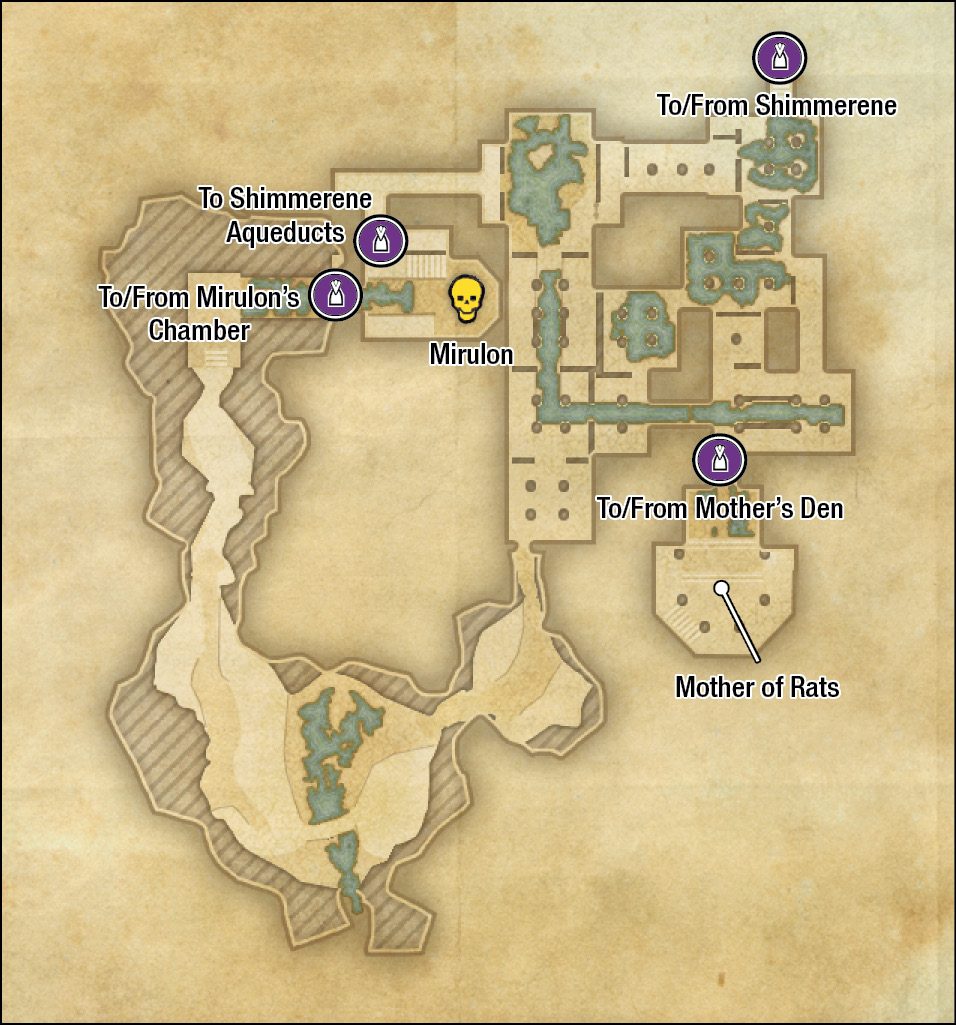
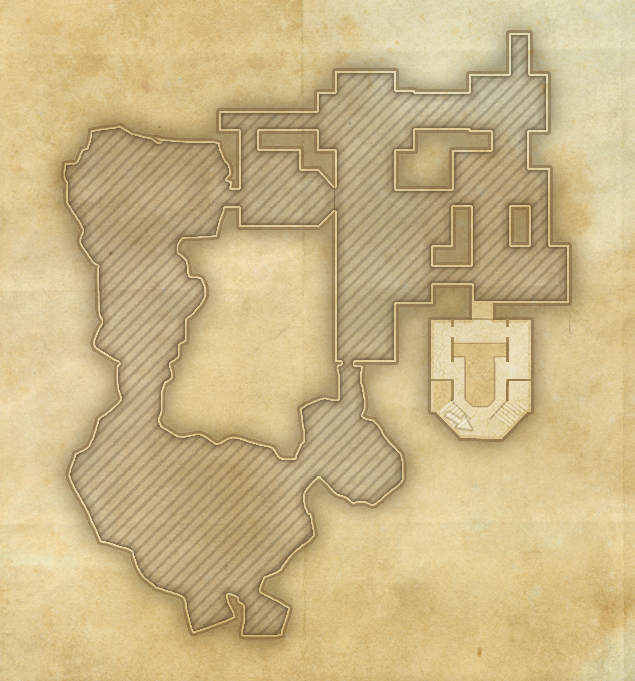
Shimmerene Underground (Waterworks)
|
|
Enemy (Difficult) |

|
Building or Threshold |
- Information: Interior; Secondary Location
- Entities of Note: Mother of Rats
- Enemies: Black Wake, Coral Crab, Rat, Salamander
- Boss: Mirulon
- Nearby Quests: A Tale of Two Mothers
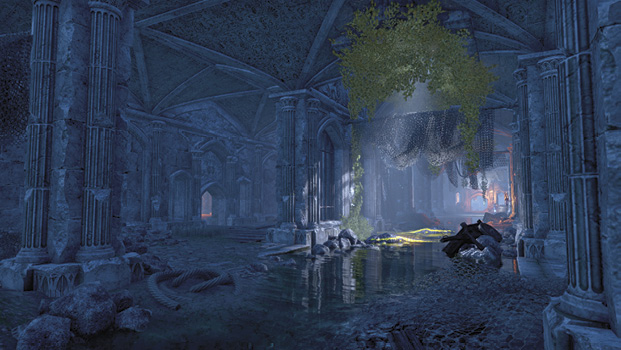
Built piecemeal over two millennia, this subterranean labyrinth of freshwater aqueducts, reservoirs, cisterns, waste pools, and drainage culverts has secret nooks and crannies unknown even to Shimmerene’s sanitation engineers.
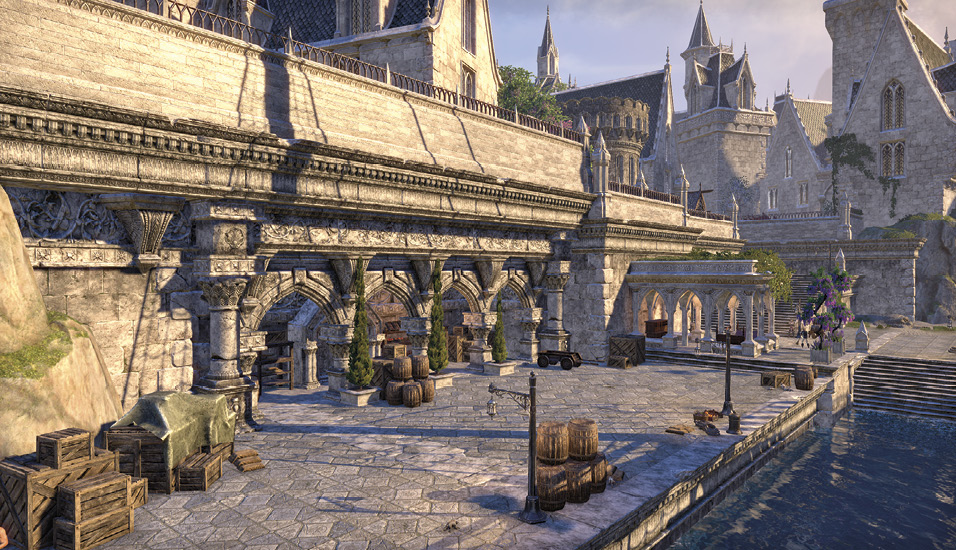
The interior entrance is located on the northern side of the town, below the monastery hill, and is only accessible during the aforementioned quest.
This vast and waterlogged labyrinth is home to the Mother of Rats, leader of a band of ne’er-do-wells you encounter during the quest. The place is swarming with Black Wake smugglers and their leader, Mirulon. The frequency of Black Wake enemies increases as you travel into a large cavern complex where stolen goods are ferried in and out of Shimmerene.

Pack Merchant: Ancelhros
- Information: Merchant; Secondary Location
- Entities of Note: Ancelhros (Pack Merchant)
Are you in need of a backpack upgrade? Ancelhros certainly seems to think so! Head to this stall if you wish to purchase one.
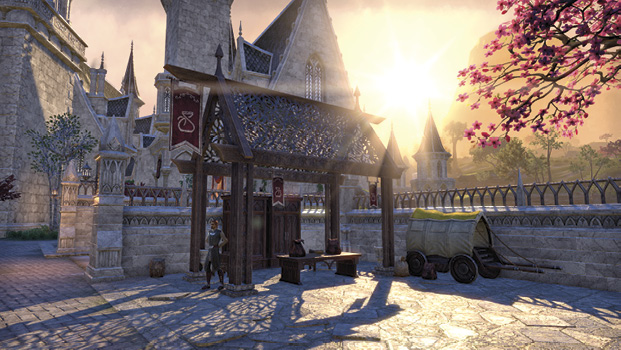

Inn: Anchors Aweigh Inn
- Information: Interior; Merchant (Brewer, Innkeeper); Secondary Location
- Entities of Note: Cuileril (Innkeeper), Edgar Jend, Riharai (Brewer)
- Nearby Quests: A Tale of Two Mothers
Cuileril runs this watering hole along with his brewing partner Riharai. Discover quest-related shenanigans here, or relax and order a brew or two. There’s an upstairs to explore as well.
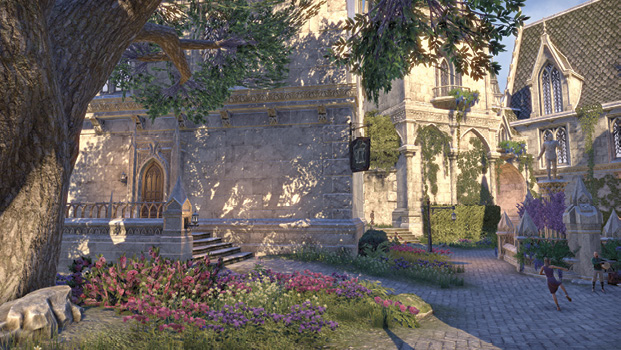

Vinwysea’s House
- Information: Cooking Fire; Interior; Secondary Location; Warning: Restricted Area (Trespass)
- Entities of Note: Vinwysea
Perfect your purloining by breaking into this waterside dwelling (Advanced) and ransacking the place if you wish. There’s a safebox (Intermediate) that’s ripe for pillaging! Don’t forget the third story with a second safebox (Advanced) to unlock.
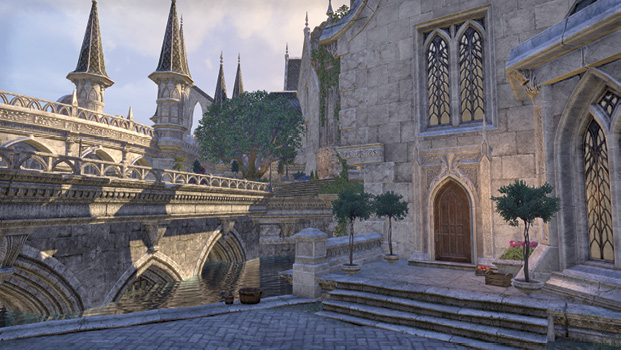

Kinlady Avinisse’s Mansion
- Information: Cooking Fire; Interior; Secondary Location
- Entities of Note: Talerion
- Nearby Quests: A Tale of Two Mothers
An opulent manor house on three levels, with some bedroom chests to check out on the top floor. Access this during the quest, where you speak to Talerion in the small cellar jail. Investigate the broken passage in the corner of the jail cell, allowing access to Shimmerene Waterworks once you complete the necessary quest objective.
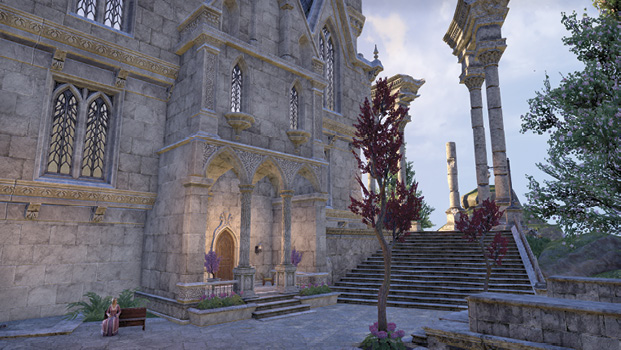

Monastery of Serene Harmony
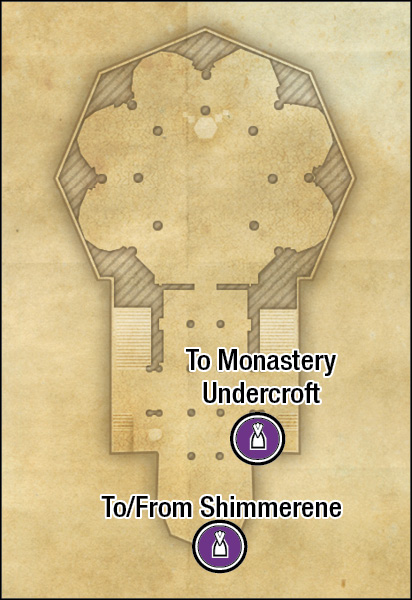
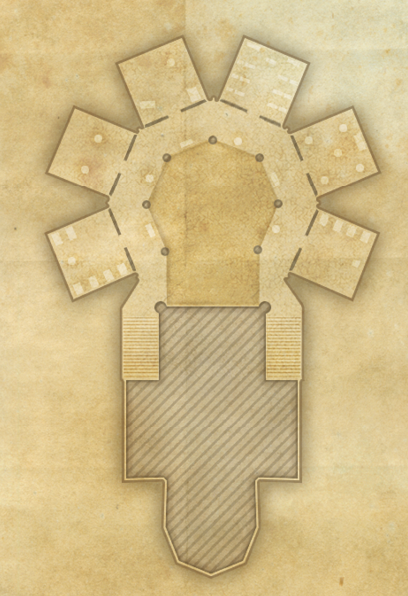
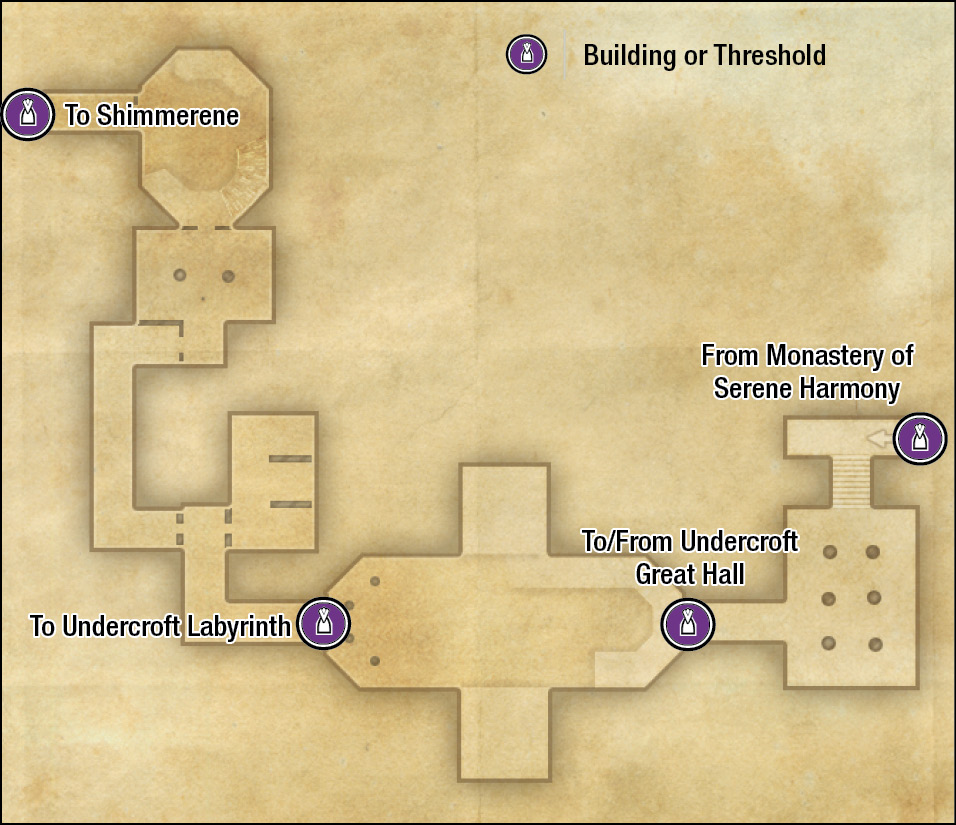

|
Building or Threshold |
- Information: Secondary Location; Warning: Restricted Area (Trespass)
- Entities of Note: Aldrach Protector, Minone Aloette, Monastic Nuleros, Valsirenn
- Enemies: Earl of Clavicus Vile, Skaafin, Skavenger, Yaghra
The monks of the Serene Harmony Monastery stand as the most renowned “Aednavorith” scholars in all of Summerset. The study of genealogy and ancestry remains a subject of endless interest to all High Elves.
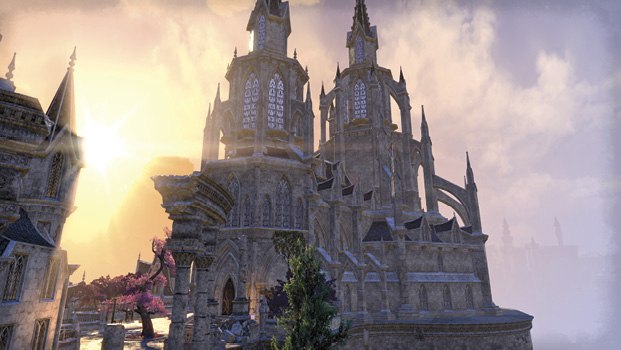
At the summit of the main pathway through the city is the vast and impressive Monastery of Serene Harmony. Expect to be admonished for trespassing. Ensure Quest: The Queen’s Decree is active before you attempt to enter.
Enter the vast and impressive cathedral chamber, where you first search for clues and meet Valsirenn (in the upper study chamber, where you find the Abyssal Pearl).
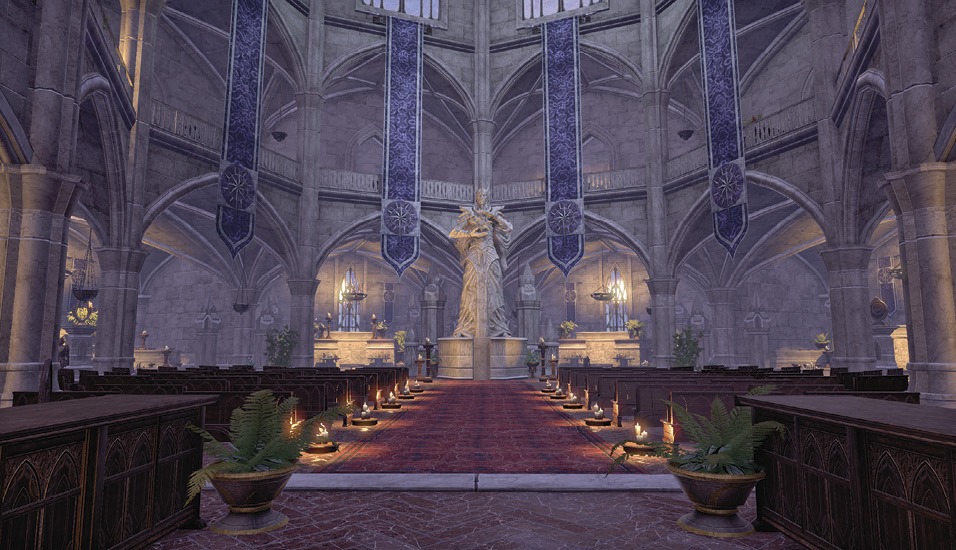
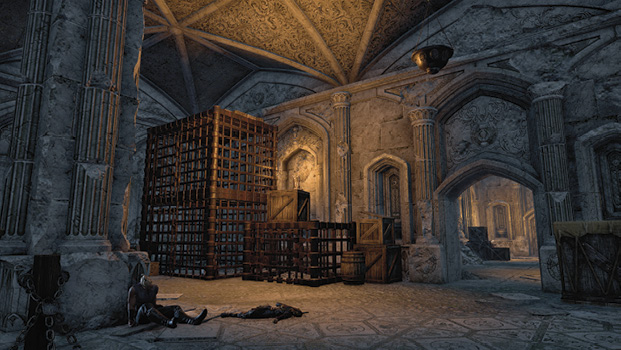
You accompany Valsirenn through this undercroft, ensuring her safety while battling Skaafin and Yaghra incursions. You exit into a small hedge maze on the western exterior, under the monastery.

Crafting: Shimmerene Dockworks
- Information: Cooking Fire; Crafting; Primary Location; Stations: Blacksmithing, Clothing, Jewelry, Woodworking; Fishing Hole; Primary Location
- Entities of Note: Rhanul
Technically part of Shimmerene, the docks on the northwestern shore serves as an unloading point for ships from across Tamriel. Aside from the fishing spots, there’s a number of crafting stations to use here.


Prisoner’s Hold

|
Enemy (Difficult) |

|
Building or Threshold |
- Information: Heavy Sack; Interior; Plant: Corn Flower, Imp Stool; Secondary Location; Treasure Chest
- Entities of Note: Oriandra, Hirenariel (Merchant)
- Enemies: Imp, Warrior, Desiccated, Yaghra
- Boss: Yaghra Nightmare
- Nearby Quests: The Mind Trap (completed), The Queen’s Decree
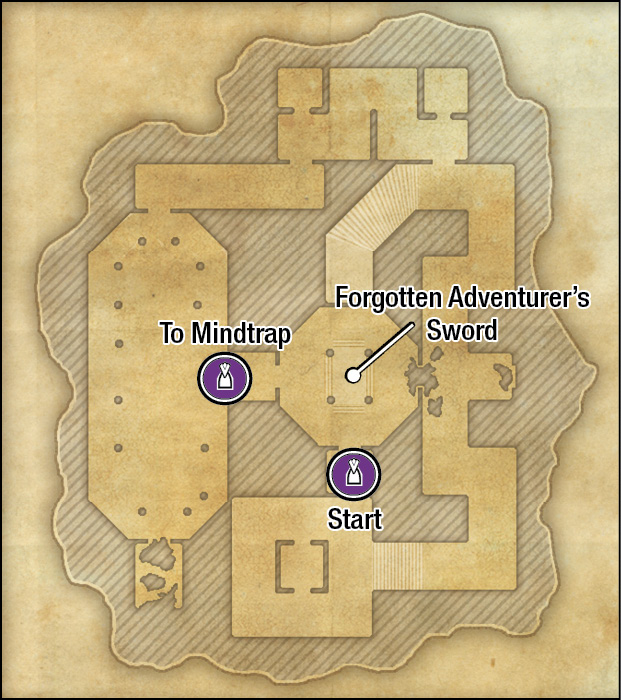
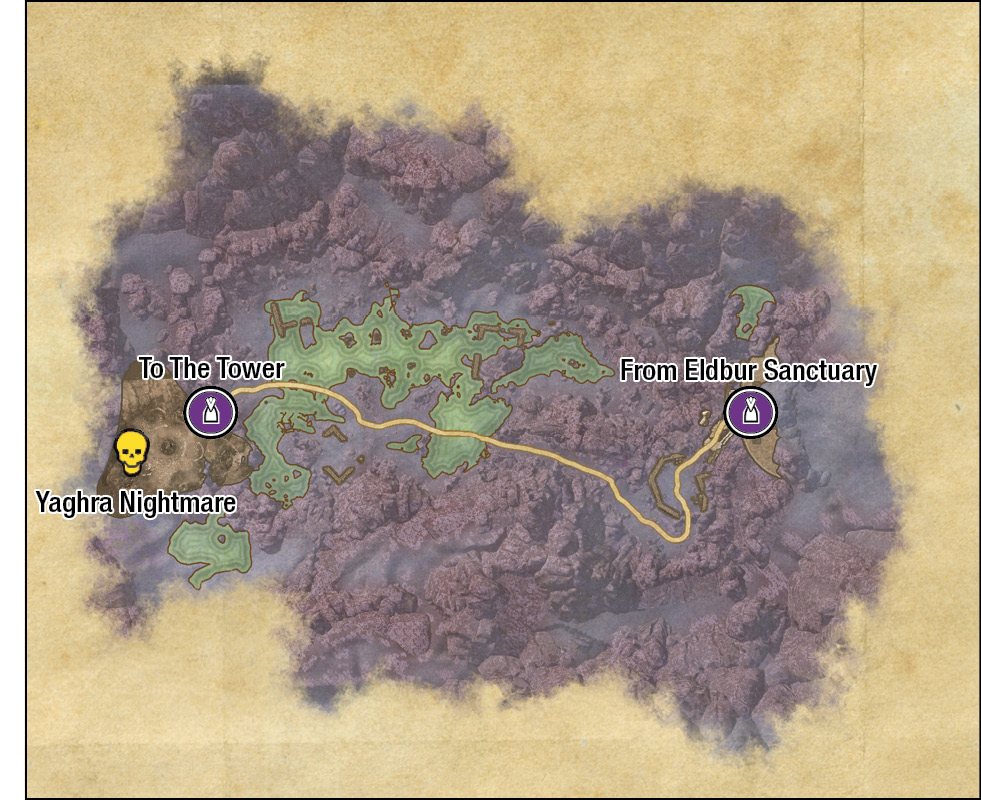
Under the guidance of Oriandra, you first emerge (at the culmination of The Mind Trap quest) out of these temple ruins, when you first set foot on Summerset Isle.
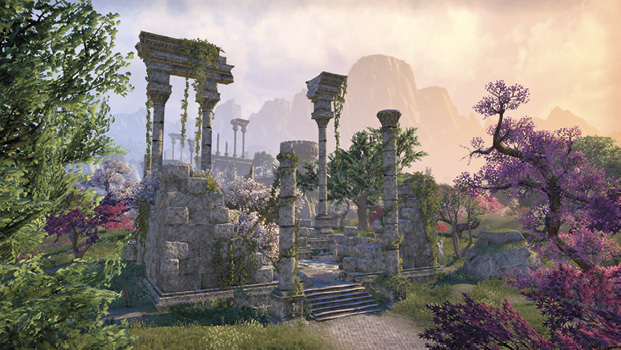
You navigate the interior, and deal with the Yaghra and spider foes, as part of the tutorial quest The Mind Trap. Follow Oriandra’s instructions, examine your first Abyssal Pearl, and slay the Yaghra Nightmare before you can explore Summerset Isle.
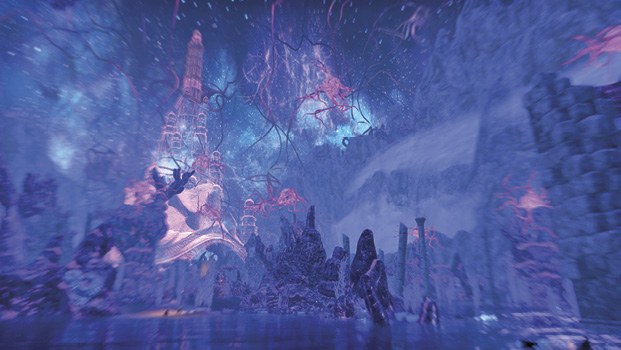

Interesting Locale: Keep of the Eleven Forces
- Information: Interesting Locale; Mages Guild Lorebook; Ore: Iron Ore; Primary Location; Skyshard; Thieves Guild Dead Drop Chest
- Enemies: Imp, Springbok, Torchbug, Welwa
This monument to the old ways is more than a crumbling ruin; providing you have the main quest active, it also provides a portal to the island of Artaeum. Consult the Quest chapter for more information. Otherwise, scour the area for imps to battle and a mage tome to collect.


Gryphon Ruins
- Information: Secondary Location
- Enemies: Bright Moons Lunar Moth, Gryphon Imp
Gryphons have made their home among the stone ruins, on the northeastern side of the Night Runner Camp.
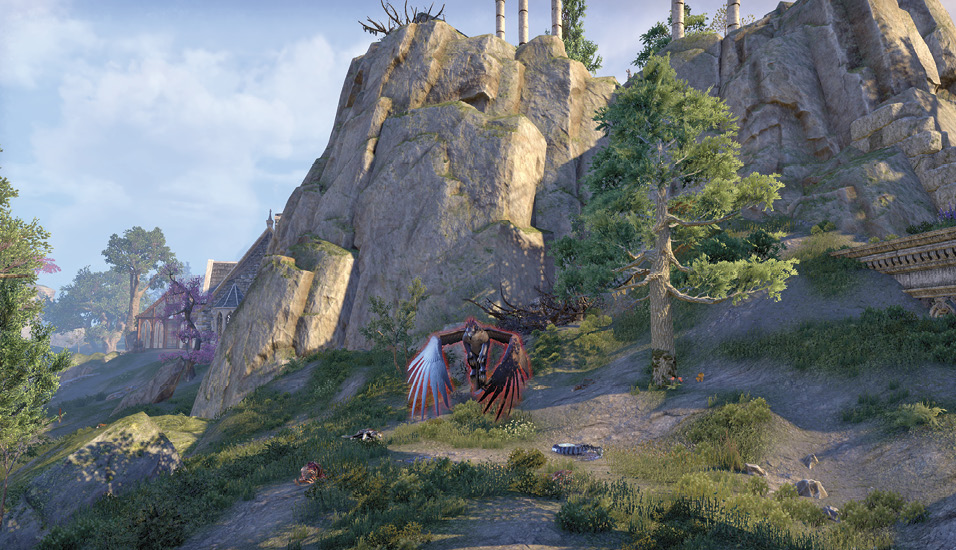

Night Runner Camp
- Information: Fishing Hole; Heavy Sack; Secondary Location; Treasure Chest
- Enemies: Night Runner
This strategically positioned camp is close to a water and food source. It also provides protection from foes, as it is contained within some old elven ruins (the ancient perimeter to Archon’s Grove to the southwest). Approach via the lake to the south or a narrow gap in the craggy mountain side to the north.
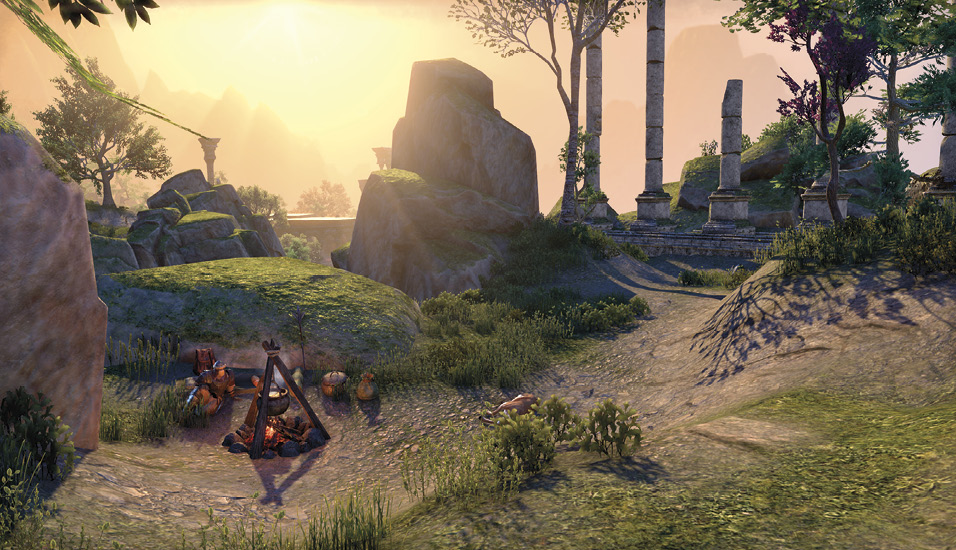

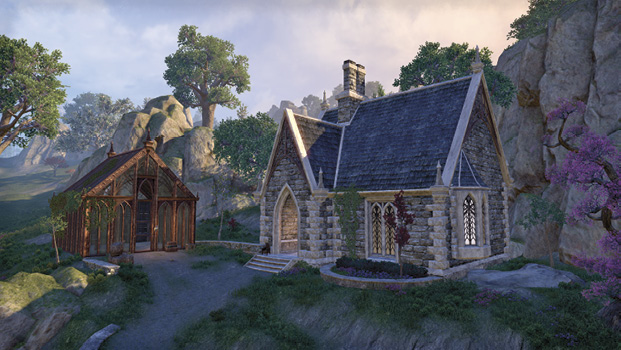
Brodram’s House
- Information: Interior, Secondary Location; Warning: Restricted Area (Trespass)
- Entities of Note: Brodram
- Enemies: Alavlin Beetle
A keen gardener and bug collector, Brodram works in his greenhouse, close to the abode you can unlock and venture into. Inside is a safebox to steal from if you’re so inclined.

Delve: Archon’s Grove
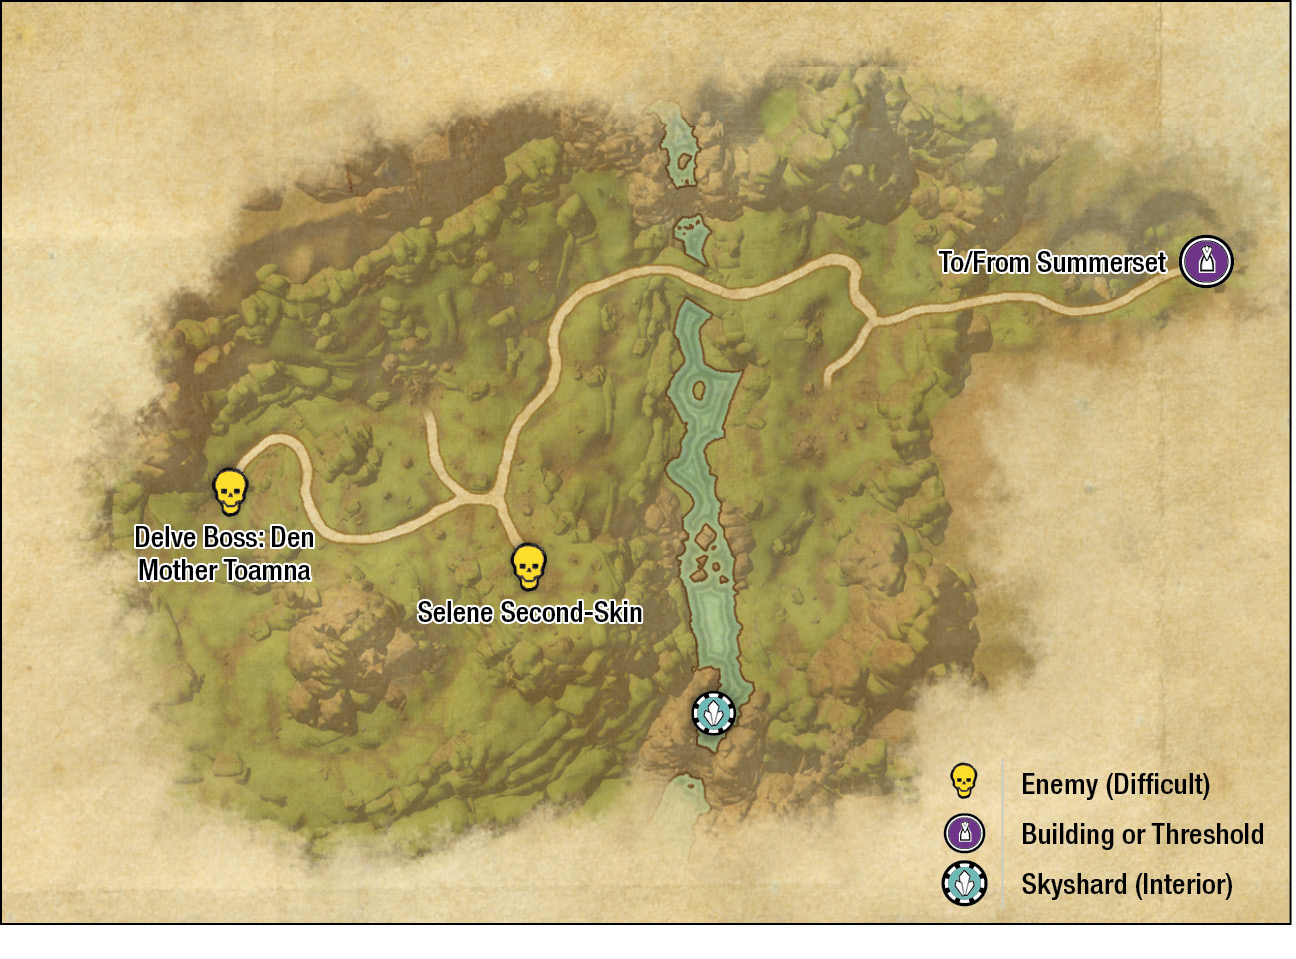
- Information: Fishing Hole, Delve, Interior, Primary Location
- Entities of Note: Esterdel
- Enemies: Butterfly, Centipede, Bright Moons Lunar Moth, Gryphon, Indrik, Thornfang, Werewolf, Wolf
- Boss: Selene Second-Skin
- Boss: Den Mother Toamma
- Nearby Quests: The Runaway’s Tale
“Archon’s Grove? Indeed, that’s the site where the legendary poet Nenamil, Archon of Song, discovered and named the Rose-of-Archon, the flower precious to the Goddess Mara. It’s said to be southwest of Shimmerene somewhere.” —Innkeeper Vintenwen
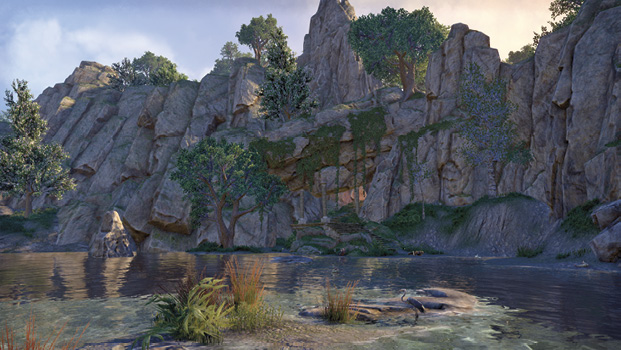
Indeed, the innkeeper is mostly correct, though the entrance to the grove is almost due south of Shimmerene, across a lake. Before you enter, meet Esterdel at the entrance, as he has a relevant quest to offer.
The interior of the delve is actually a mountaintop overlooking this region. However, it is inhabited by filthy werewolves and their ilk. Clear them out as you venture along the craggy pathways, before exiting the way you came in. In addition, expect two possible boss battles, either via exploration or as part of the quest.
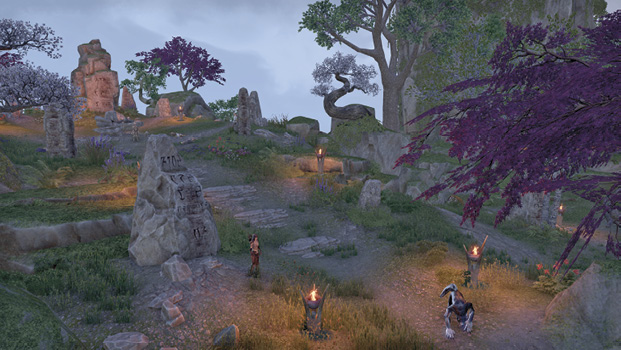
Interesting Locale: Garden of the Sacred Numbers

Often mentioned in scholarly tomes, this garden is now completely overgrown and is simply a landmark to watch for while exploring the hills northwest of Sil-Var-Woad.


Coral Forest Camp
- Information: Mages Guild Lorebook, Secondary Location, Thieves Guild Dead Drop Chest, Thieves Trove
- Enemies: Reef Viper, Salamander
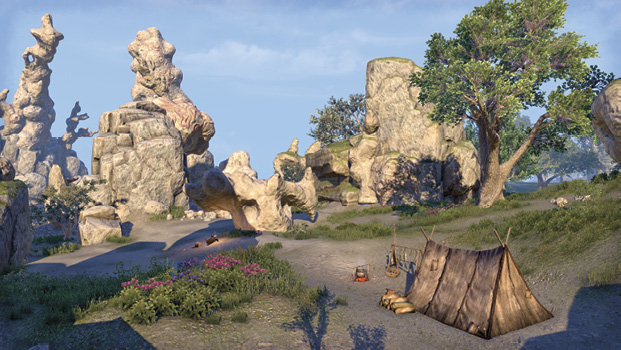
North of the wayshrine, among the large beach rock formations is a tent and the remains of a camp. Scour the area for a mage’s book and some possible chests left by thieves.

Wayshrine: Sil-Var-Woad
- Information: Merchant, Primary Location, Wayshrine
- Entities of Note: Virunmariel (Merchant), Talomar
- Nearby Quests: Untamed and Unleashed
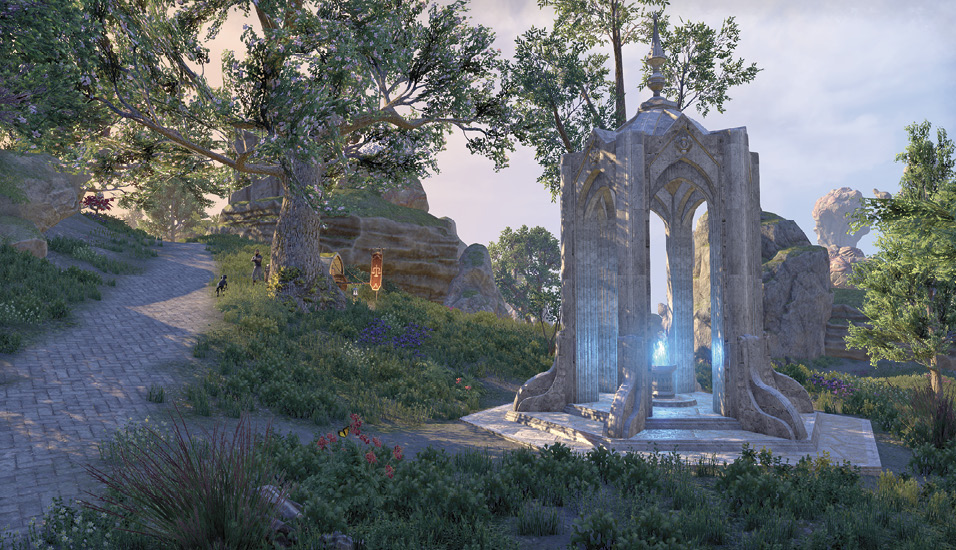
Fast-travel to this wayshrine if you’re headed to the nearby animal sanctuary of the same name or to the group boss to the west. Check the adjacent merchant for goods. Note that the wandering merchant Falordilmo uses this road too; you can’t miss him, as his horse is on fire.

Sacred Grove: Sil-Var-Woad
- Information: Interior, Sacred Grove, Primary Location
- Entities of Note: Elise Mallon, Lotus (Indrik Specimen), Talomar
- Enemies: Duneripper, Echatere, Bright Moons Lunar Moth, Indrik, Lion, Lioness, Mammoth, Scorpion, Skavenger
- Boss: Conservator Vinelore, Specimen II
- Nearby Quests: Untamed and Unleashed
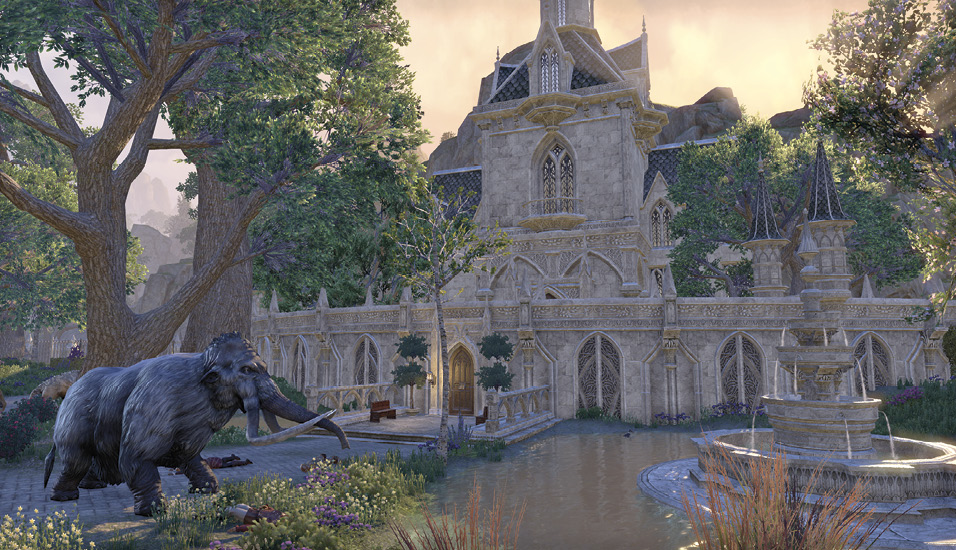
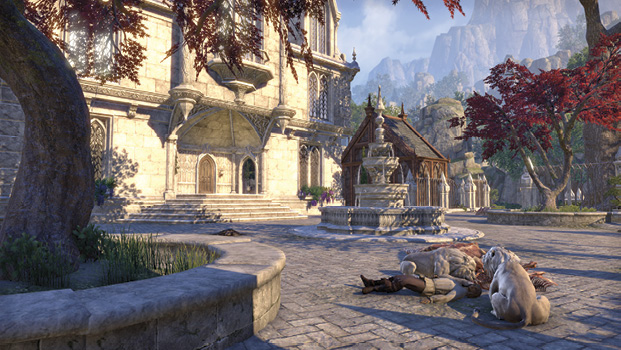
The animals in this Royal Menagerie appear to have gone berserk, and the surviving keepers hope you can solve the mystery of why. The sheer number and ferocity of the animals around these pens means adequate preparation must be made. The exterior of the zoo just north of the museum is known as the paddocks, where you’ll find roaming beasts and frightened keepers.

Sil-Var-Woad Conservatory and Museum
Expect ornate stone walls, cages, a laboratory on the middle floor, and evidence of file records on the top floor. This manorlike structure has two entrances (and two names). Enter here during the quest. With the quest active, expect a culmination of a battle with a hybrid beast named Specimen II.

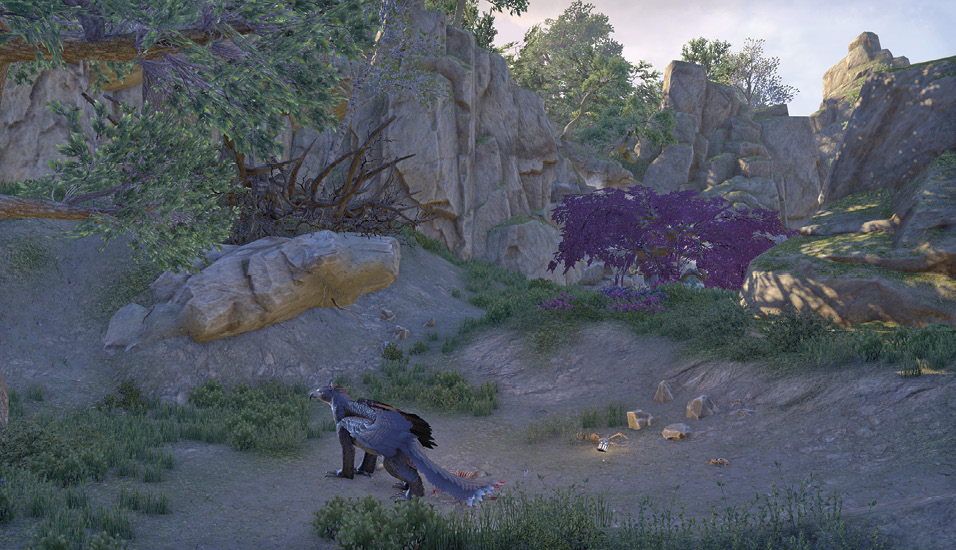
Gryphon Nest
- Information: Secondary Location
- Enemies: Gryphon
Close to a tumbling waterfall (the source of the lake that winds north to Archon’s Grove) is a gryphon nest among the crags, behind the Queen’s Hideaway.

Riverside Shrine
- Information: Fishing Hole; Secondary Location; Treasure Chest
If you wish to search for a soul gem, and check the rushing river below for chests or fishing holes, locate this small shrine on the upper (south) riverbank.
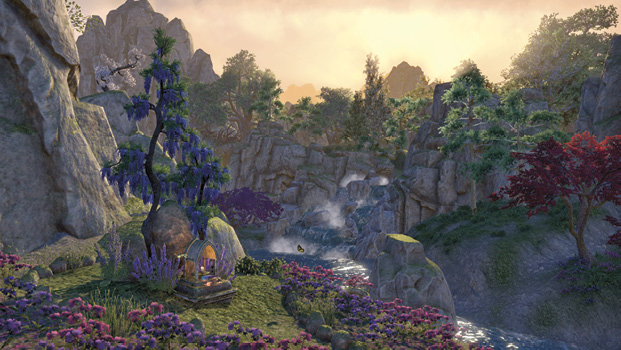

Group Boss: Graveld’s Hideaway
- Information: Group Boss; Plant: Violet Coprinus; Primary Location
- Enemies: Salamander
- Boss: Graveld (Salamander)
Face a ferocious Salamander boss within the confines of this rocky arena. The entrance is on the eastern side (approach heading west).


Wayshrine: Eastern Pass
- Information: Merchant, Primary Location, Wayshrine
- Entities of Note: Varumil (Merchant), Talomar
- Nearby Quests: Untamed and Unleashed
This is the closest wayshrine to the southeastern coastal peninsula, and adjacent to Sil-Var-Woad. It also marks the entrance into the eastern gorge pass that leads to Sunhold.
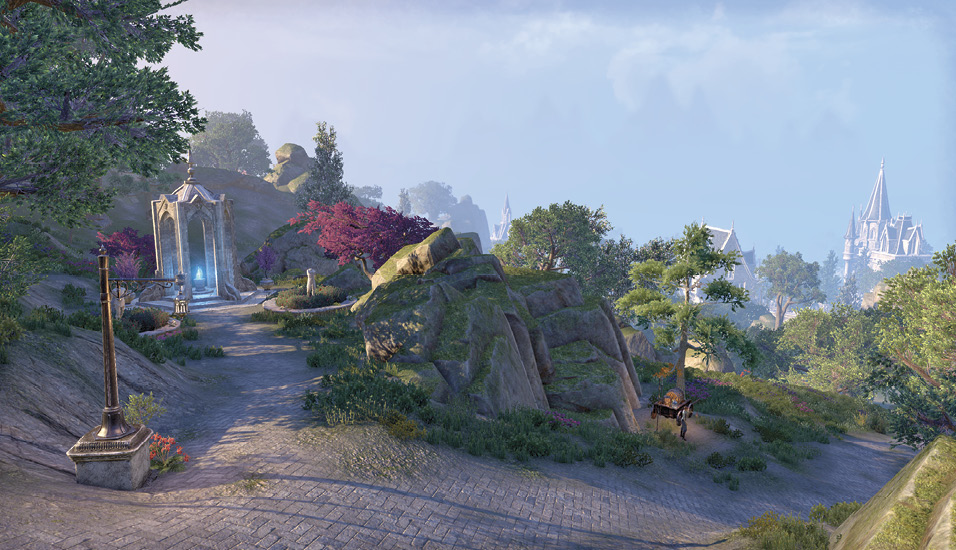

Gryphon Lair
- Information: Secondary Location
- Enemies: Gryphon
Not to be confused with the Gryphon Den that’s due east of here, this flat expanse of forest clearing is home to a Gryphon or two and is nestled in the northwest corner of the forest, north of the entrance to Sunhold.
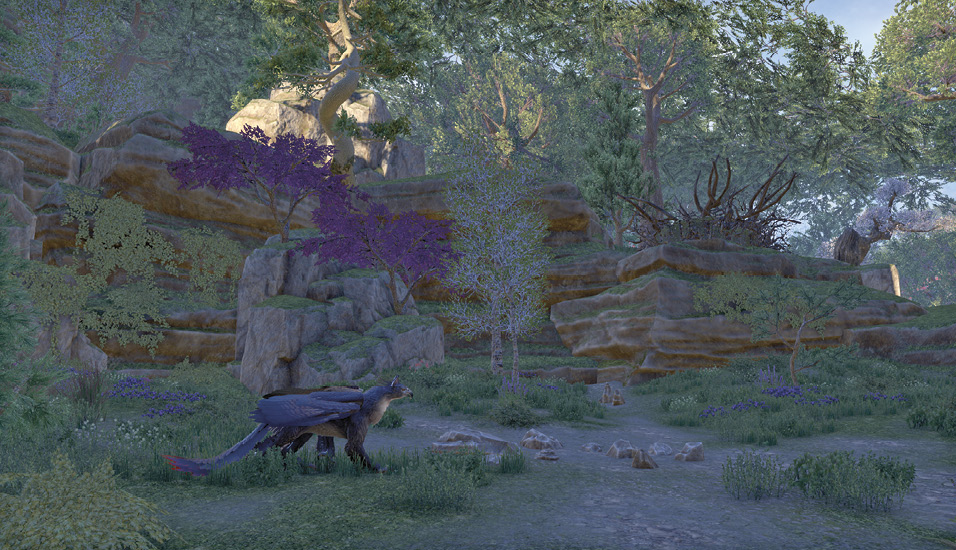

Old Camp
- Information: Ore: Iron Ore; Plant: Corn Flower, Stinkhorn; Secondary Location; Thieves Trove; Treasure Chest
- Enemies: Strangler, Wolf
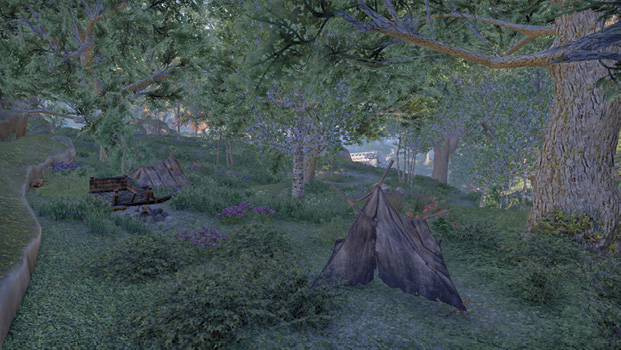
Old tents and scattered detritus mark the remains of an abandoned camp, now home to a pack of wolves.

Vinafwe’s House
- Information: Secondary Location; Treasure Chest
- Entities of Note: Vinafwe
- Nearby Quests: The Forest Vandal
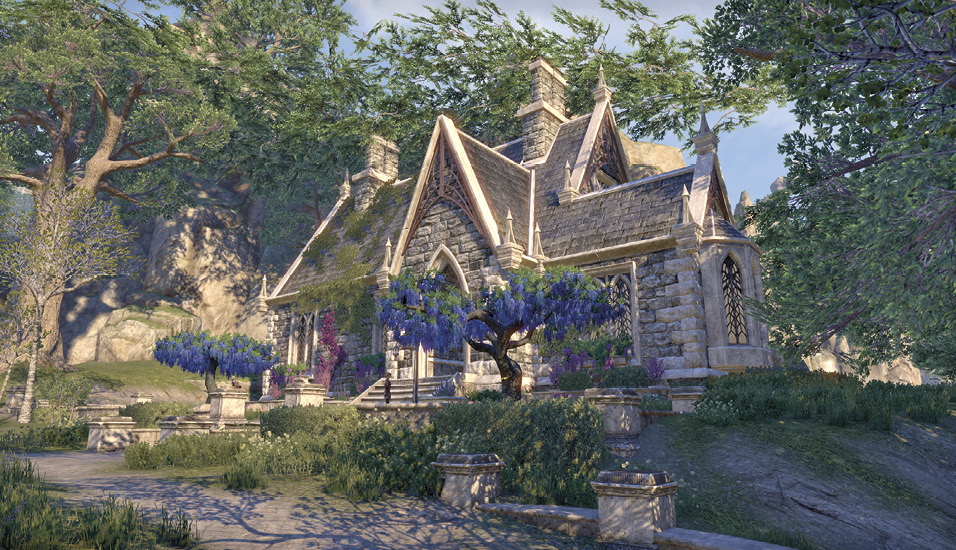
Vinafwe is a keen horticulturist but has been troubled by recent vandalism to her garden. Further evidence of her love of plants (and books) can be found inside her dwelling.

Gryphon Den
- Information: Secondary Location; Thieves Guild Dead Drop Chest
- Enemies: Gryphon
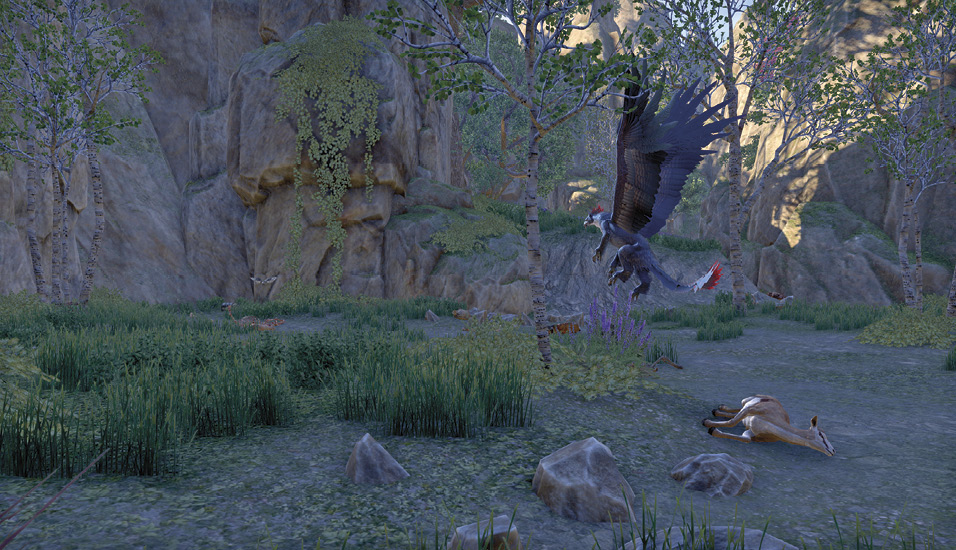
Dead animals and a Dead Drop Chest mark the nesting grounds of a gryphon, along the northern crags of this gorge.

Interesting Locale: Alaxon’ald
- Information: Interesting Locale; Mages Guild Lorebook; Plant: Blue Entoloma, Imp Stool; Primary Location; Thieves Trove; Treasure Chest
- Enemies: Indrik
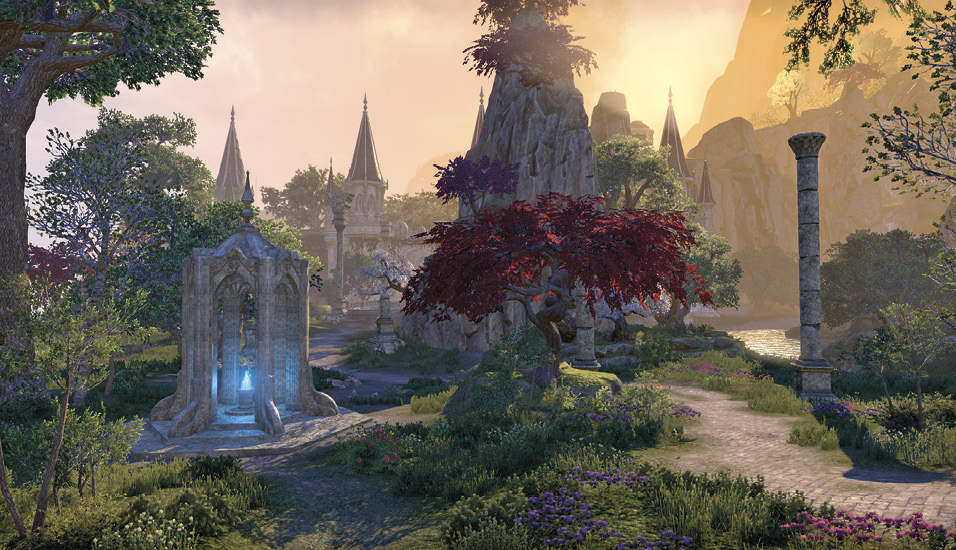
An area of raised, rocky ground is home to a dilapidated tent and small camp. Check the crags around and about for a variety of items and chests.


Wayshrine: Sunhold
- Information: Merchant; Plant: Emetic Russula; Primary Location; Wayshrine
- Entities of Note: Falordilmo (Merchant), Kinlady Ilunsare
- Nearby Quests: Obedience Issues
Utilize this fast-travel point when you’re ready to venture into Sunhold, when you want some wares from the wandering merchant Falordilmo (though he’s journeying from here to Shimmerene and back), or when you wish to inspect the forest outside the city.
Public Dungeon: Sunhold

- Information: Interior; Merchant; Primary Location; Public Dungeon
- Entities of Note: Falordilmo, Kinlady Helenaere, Sunnawel
- Enemies: Bright Moons Lunar Moth, Reef Viper, Sea Adder, Sea Viper, Skavenger, Snakeskin, Storm Atronach
- Boss (Public Dungeon Group Event): Konnugil the Leviathan
- Boss (Public Dungeon Quest): Admiral Viscarne
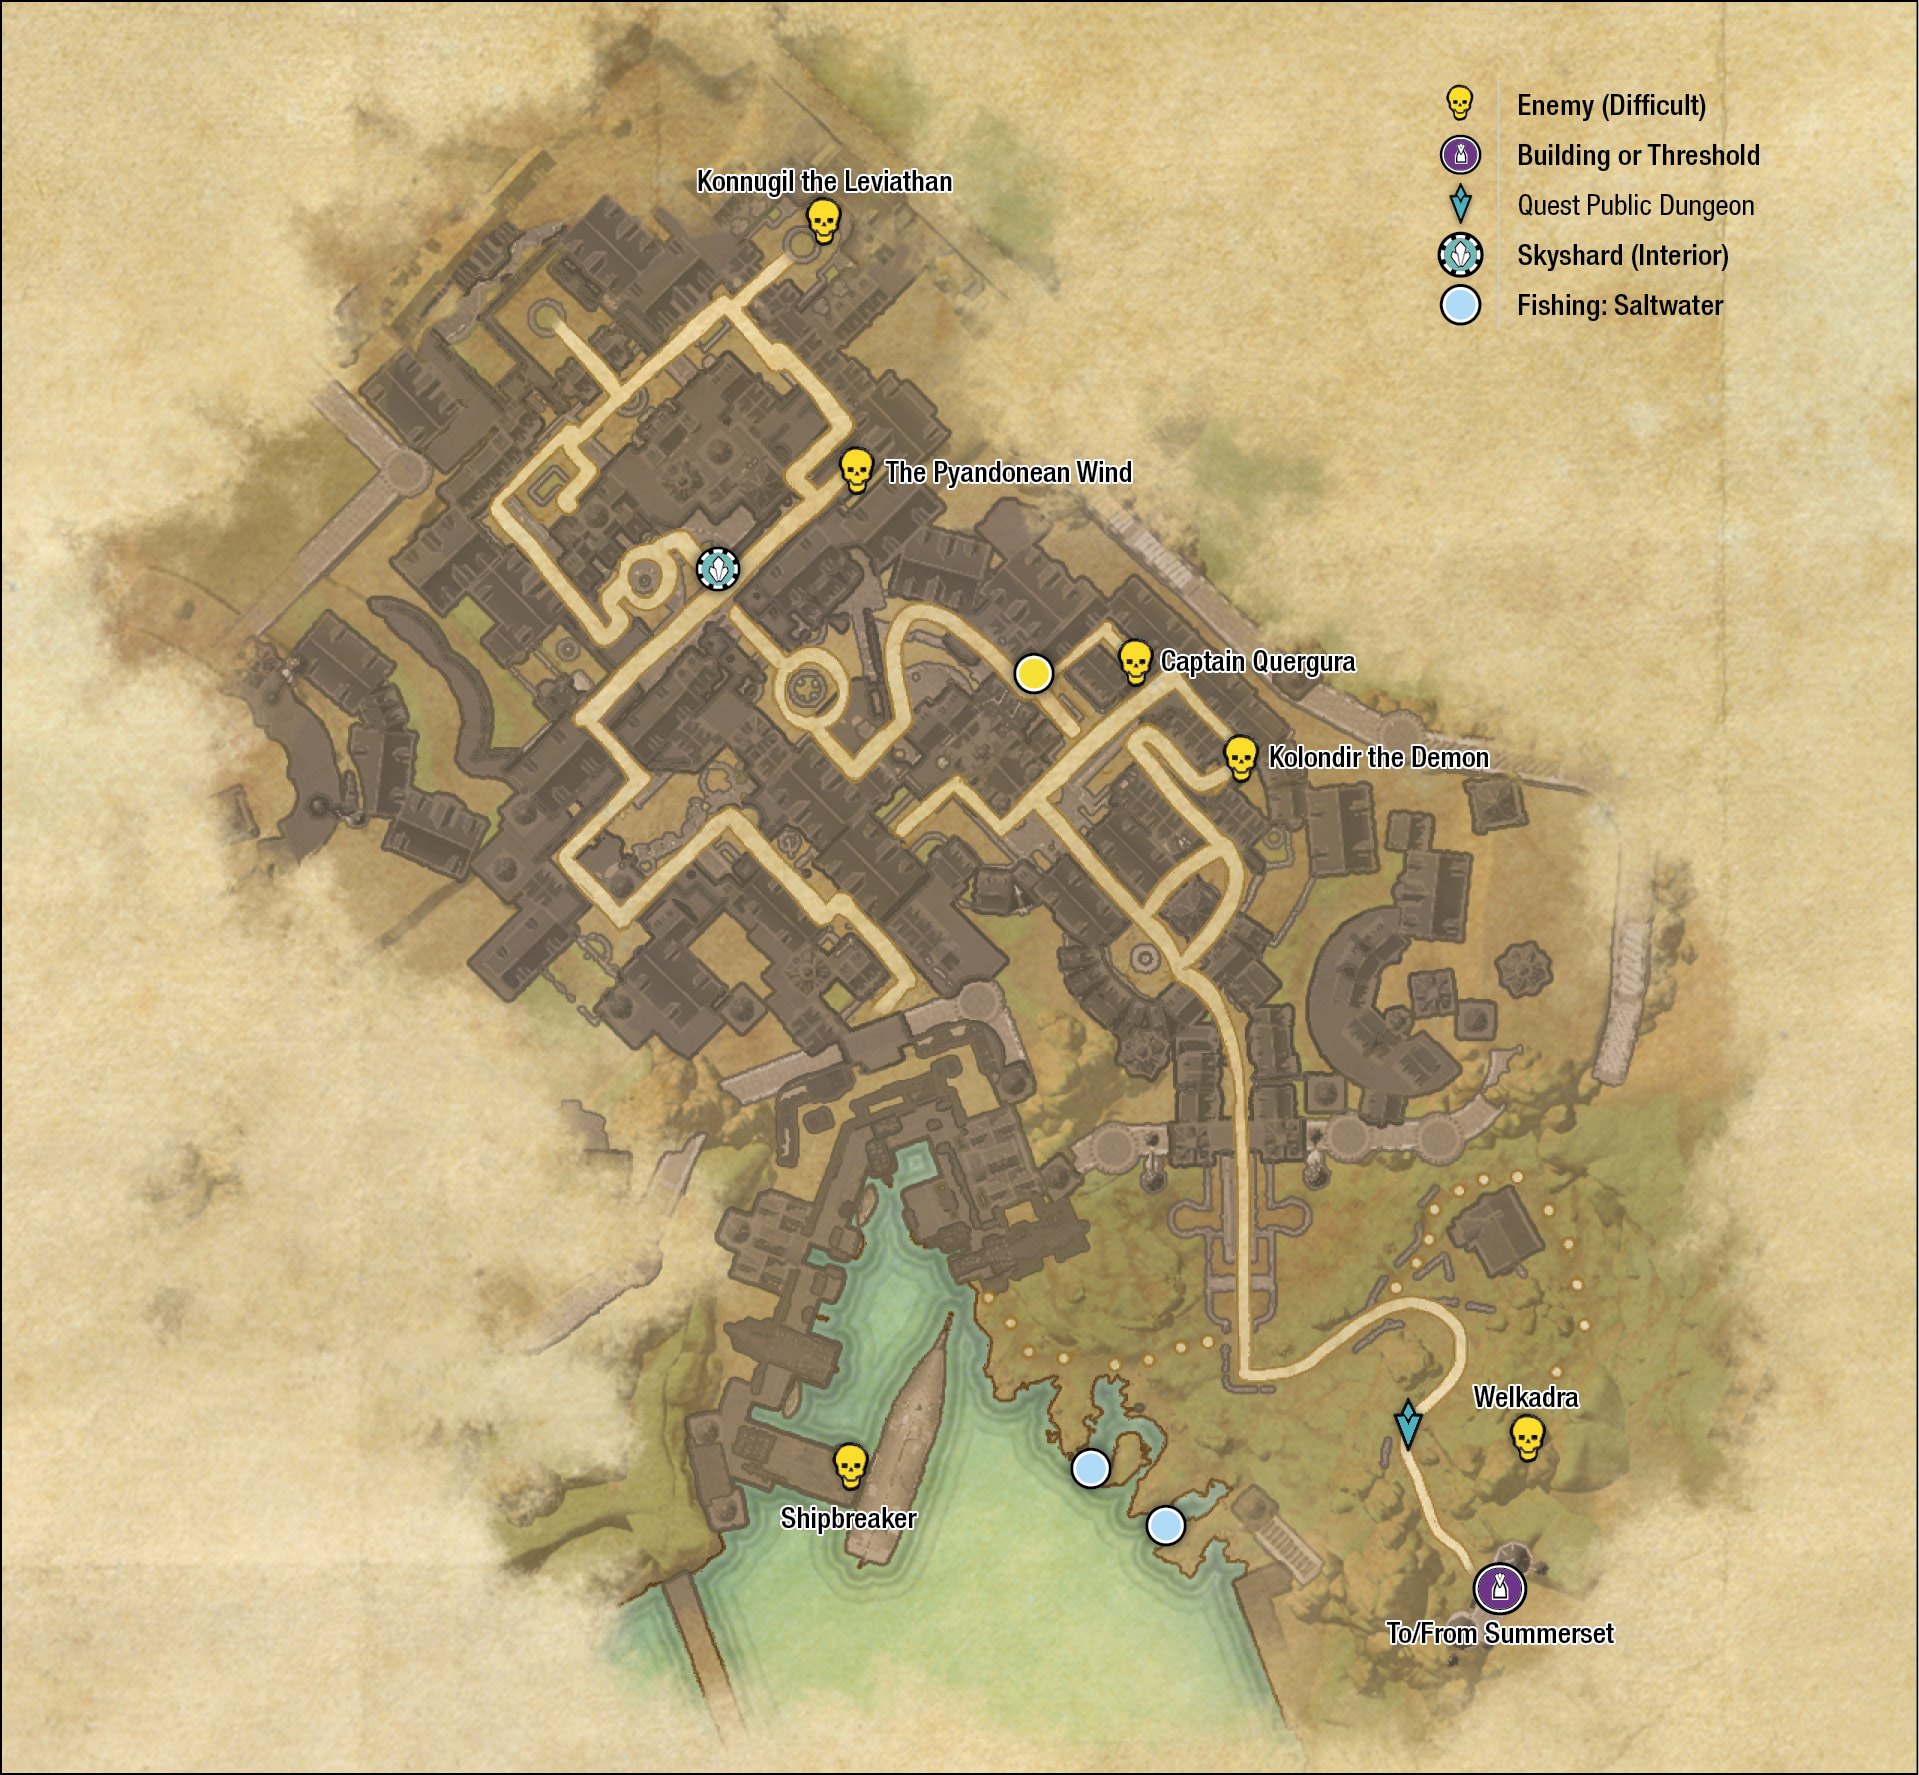
- Bosses (Champions): Kolondir the Demon, Welkadra, Shipbreaker, the Pyandonean Wind, Captain Quergura
- Nearby Quests: Sunhold Sundered
The southern city of Sunhold serves as the home port of Summerset’s famed Dominion Navy. But with the High Elven fleets over the horizon fighting the Alliance War, Sunhold remains virtually unprotected.
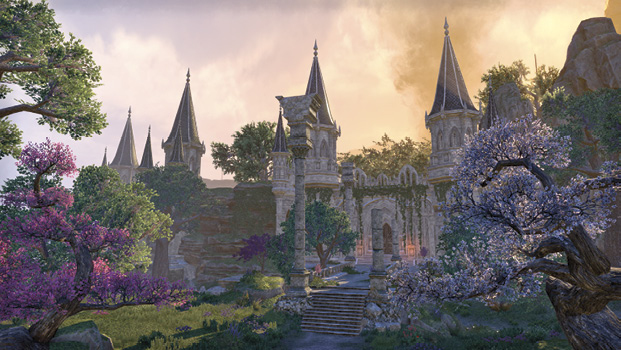
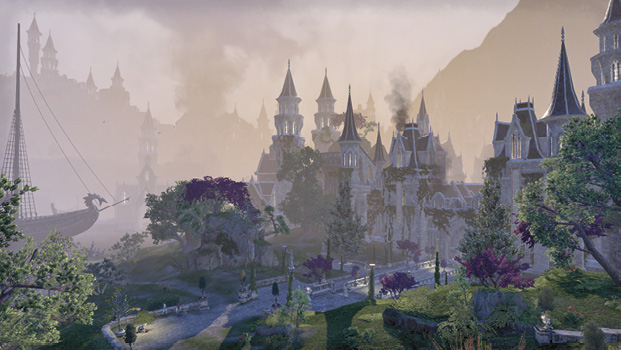
Though the exterior walls of this mighty fortress city may look impenetrable, the relative peace of the exterior wooded beach belies the mayhem that lies behind the gates of a city under attack.
Speak to Kinlady Helenaere at the edge of the great settlement, and agree to burn the supplies of the Maormer raiders (which are dotted around the U-shaped harbor). Then strike the battlements to reach and rescue the city’s prized gryphon, Sunnawel. Along the way, and depending on the active quests, you will face one of the many bosses in combat. The adjacent map shows the true path through the city, which is also teeming with Sea Vipers and their brutish brethren, Snakeskins. Progress through the city streets, and the farther north and upward you travel, the more dangerous the enemies become (expect Storm Atronachs of various forms as you ascend, as well as champions to challenge you in the places indicated on the map). The culmination of this dungeon requires you to battle a boss at one of the two northern arenas.

Abyssal Geyser: Sunhold
- Information: Abyssal Geyser; Fishing Hole; Primary Location; Treasure Chest
- Entities of Note: Bedlam Prophet
- Enemies: Varies
- Boss (Varies): Ruella Many-Claws; Churug of the Abyss; Sheefar of the Depths; Girawell the Erratic; Muustikar Wave-Eater; Reefhammer; Darkstorm the Alluring; Eejoba the Radiant; Tidewrack; Vsskalvor; Yaghra Monstrosity
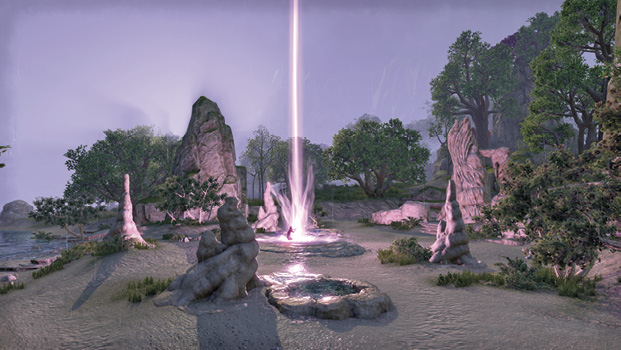
Find the Bedlam prophet at the center of this coastal cove, and expect waves of incoming foes. Bring your friends to fend off these monstrosities. Once the final wave is over, expect to face one of the previously listed bosses, after which a clamshell treasure chest becomes accessible, containing some finely crafted loot. Return here to repeat this (randomized) challenge.

Abyssal Geyser: Sil-Var-Woad
- Information: Abyssal Geyser; Fishing Hole; Primary Location; Treasure Chest
- Entities of Note: Bedlam Prophet
- Enemies: Varies
- Boss (Varies): Ruella Many-Claws; Churug of the Abyss; Sheefar of the Depths; Girawell the Erratic; Muustikar Wave-Eater; Reefhammer; Darkstorm the Alluring; Eejoba the Radiant; Tidewrack; Vsskalvor; Yaghra Monstrosity
Step to the Bedlam prophet at the center of this coastal cove, and expect waves of incoming foes. Bring your chums to battle the appearing hordes. Once the final wave is over, expect to face one of the previously listed bosses, after which a clamshell treasure chest becomes accessible, containing some impressive loot. Return here to repeat this (randomized) challenge.
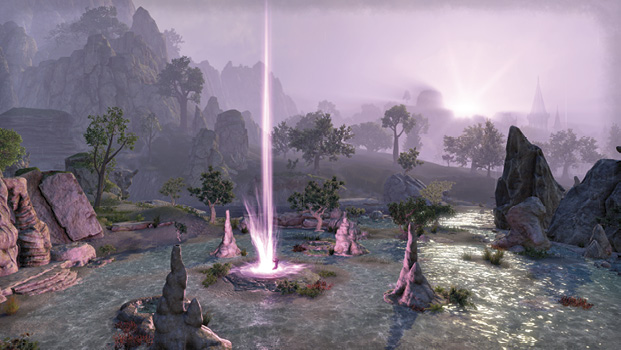

Skeletal Smugglers
- Information: Fishing Hole; Secondary Location; Treasure Chest
- Enemies: Coral Crab, Reef Viper, Salamander
The skeletal remains of a smuggler still remains on this beach, close to his wrecked boat.
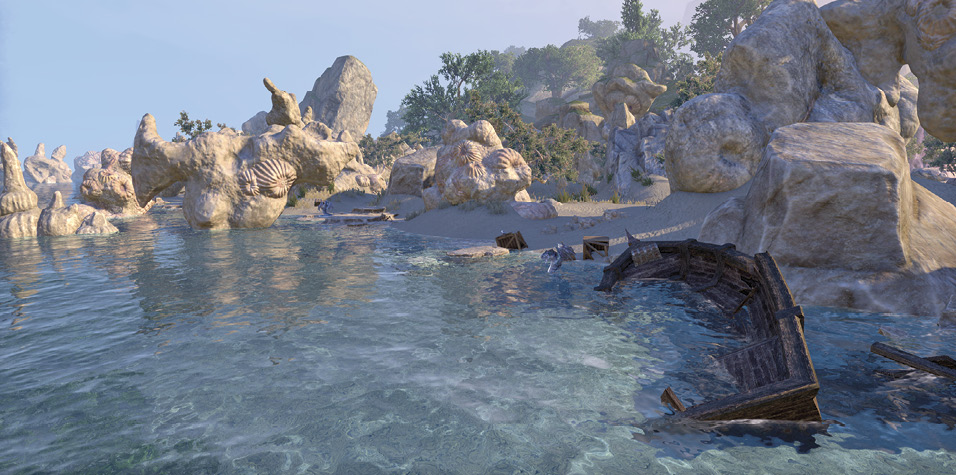

Coastal Shrine
- Information: Heavy Sack; Mages Guild Lorebook; Secondary Location; Treasure Chest
- Entities of Note: Igeke Rat-Bite
- Enemies: Imp
- Nearby Quests: Gjadil’s Legacy
The faint but furious tones of an argument can be heard at this shrine atop the coastal rock promontory. Igeke and his ilk are under a nearby tree, plotting.
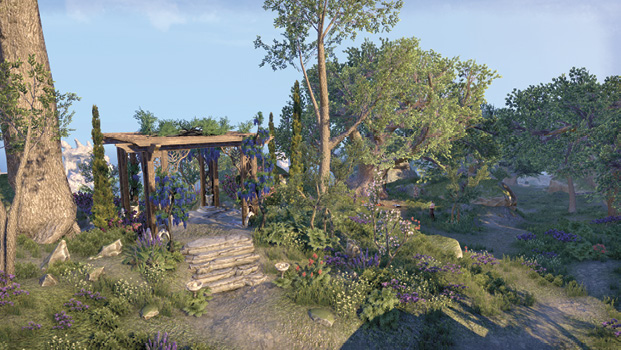

Garden of Ingarlas
- Information: Secondary Location; Skyshard
- Entities of Note: Ingarlas
Ingarlas tends to his raised garden, consisting of some impressive fungi and a couple of large aloe feroxes. Check the beach to the south for a Skyshard.
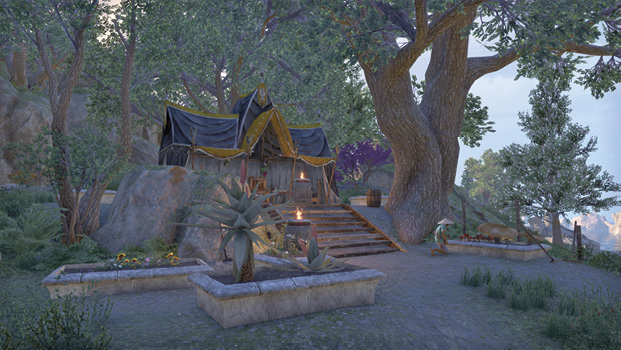

Interesting Locale: Dusk Keep
- Information: Heavy Sack; Interesting Locale; Ore: Iron Ore; Primary Location; Treasure Chest
Marking the most southeasterly point of Summerset Isle, this imposing structure has no accessible interior but does have a few scattered chests to discover.


Player House: Colossal Aldmeri Grotto
- Information: Interior; Player House; Primary Location
Once a watering stop for the High Elf navy, this great cavernous grotto on the Summerset coast west of Dusk features shipboard compartments, magnificent Aldmeri ruins, weathered wood from several shipwrecks, and a sparkling subterranean waterfall. This galleon-sized grotto can be purchased at some point after the game launch. Access it by sailing on the galleon moored at Alinor Docks. The docks (the only way to reach this grotto) are in Region 2.