
The Elder Scrolls Online: Summerset Guide Abyssal Geysers
Geyser Bosses
A geyser will close if you can defeat its boss, which will appear after clearing one to six waves of enemies. Most geysers will have a higher-tier Yaghra Monstrosity as its boss, but there are also 10 named bosses that may appear in the place of the Yaghra Monstrosity. Which ones appear and what order they appear in is completely random. A named boss will also drop its loot on top of the loot that is dispensed from the Shell Trove at the end of the geyser, sweetening the pot for those who are willing to do some geyser hunting.
If you’re looking to earn the achievement for defeating all 10 named bosses, know that you can close more than a dozen Abyssal Geysers without seeing anything but the Yaghra Monstrosity. It is a real commitment, so be prepared to drop everything and tackle an Abyssal Geyser anytime someone calls one out in Zone Chat.
We found that picking up the “Sinking Summerset” quest made named bosses more likely to appear. For more information about that quest, see the back of the “Quests” section.
Ruella Many-Claws
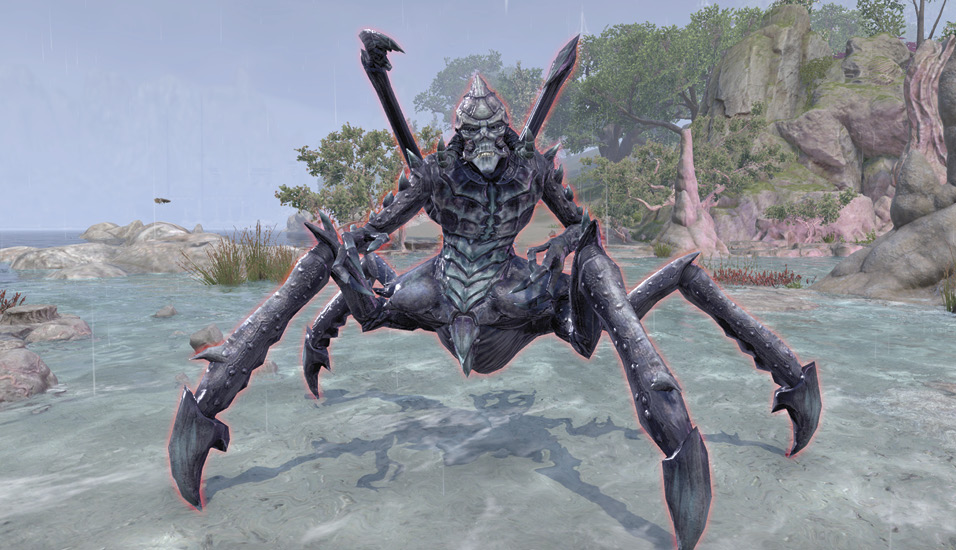
Ruella is definitely one of the more dangerous geyser bosses you’ll encounter. She’s lightning fast and can create a tornado that will pursue you and your teammates for large portions of the fight. If she gets in close, she’ll hit you with a slew of claw jabs or one of her AoEs.
The tornado is created after Ruella performs a large AoE attack. When the AoE reaches its maximum size, a large group of lightning bolts will strike everywhere within it. The tornado will appear afterward and will continuously follow players. A tornado will appear every time she does this attack, so you can have more than one tornado on the field at a time.
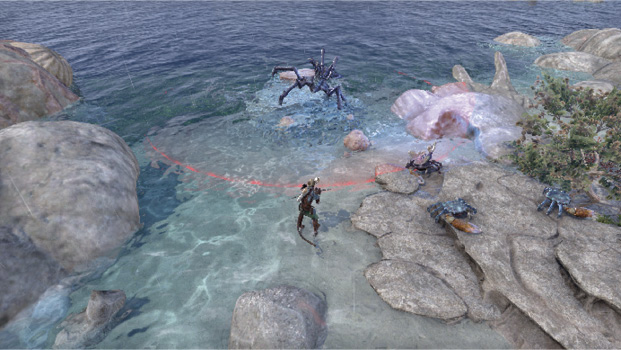
She’ll occasionally shoot out a concentrated lightning beam, which will pull you toward her if it hits. You can’t avoid this attack, so you’ll need to block it if you want to avoid getting pulled. It won’t set her up for a killing blow, so if it lands, don’t panic. Collect yourself and back away from her and you’ll be just fine.
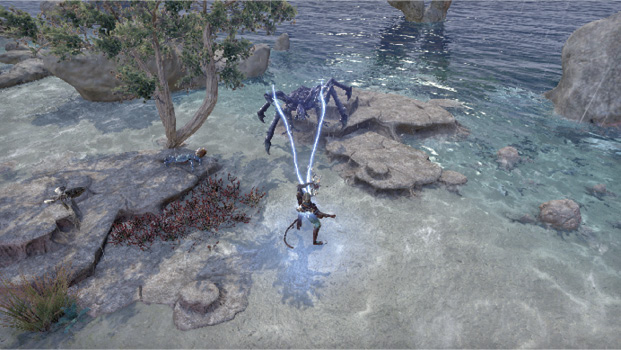
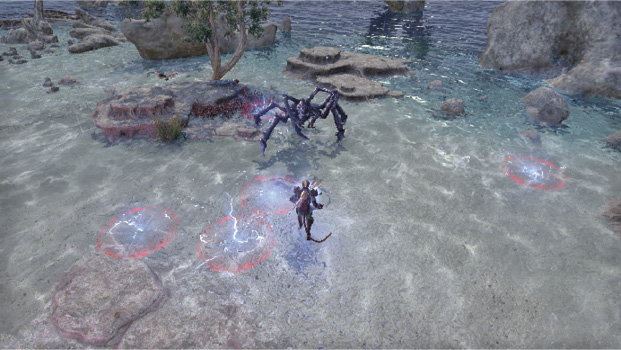
Whenever she gets close to a player, she’s liable to start pounding the ground with her claws, creating a flurry of small lightning AoEs that shoot off in every direction.
Churug of the Abyss
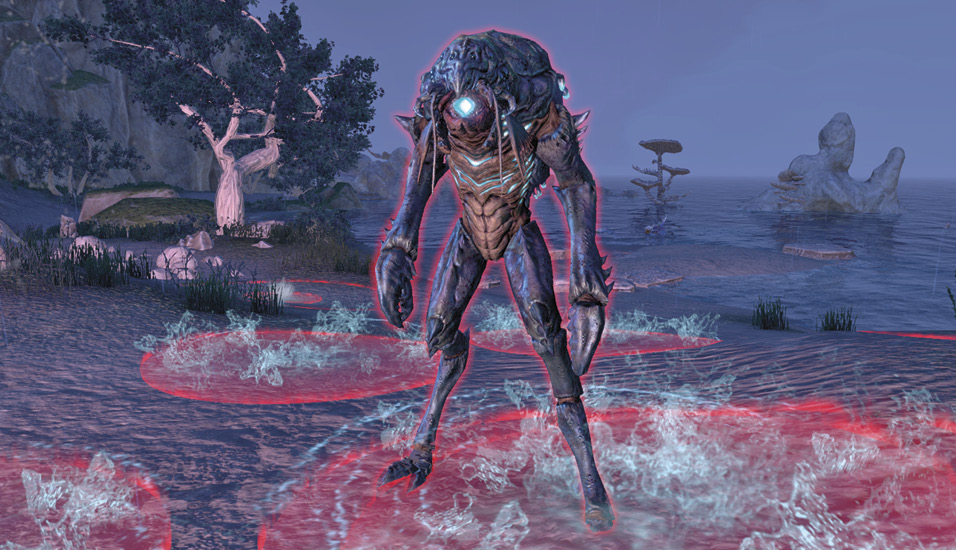
Churug will spend most of its time peppering you with lighter projectiles if you keep your distance from it. The second you step in toward it, it will begin dishing out the heavy stuff.
Its heavy attack will shoot a projectile at you that will knock you off your feet if you don’t block it. After that, it will drop to the ground and create a donut-shaped AoE vortex around you that will slow anyone who walks through it.
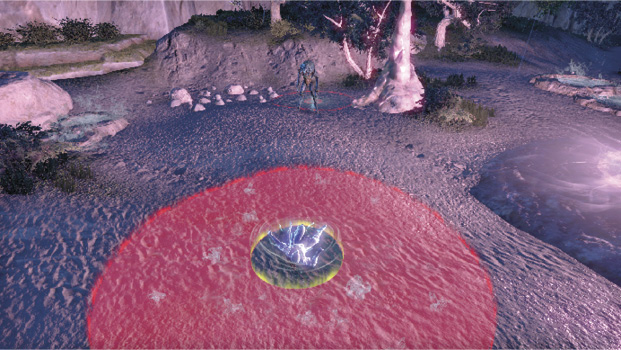
Its interruptible attack will have it spit out a slew of projectiles in front of it, all of which will land on the ground and create a veritable minefield of AoEs. The spread on these is very narrow, so if you’re not standing directly in front of Churug, you’re not going to get hit by it. That being said, it will unleash this attack so fast that unless you’re right on Churug and paying close attention, you’re not going to get the chance to interrupt the attack. On top of that, the AoEs will stay on the field for a significant amount of time, giving you more to keep track of than you needed.
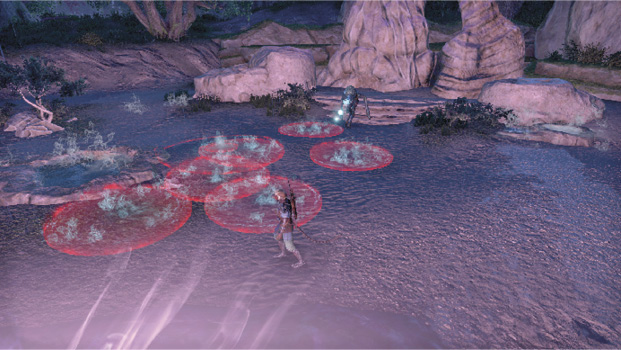
Sheefar of the Depths
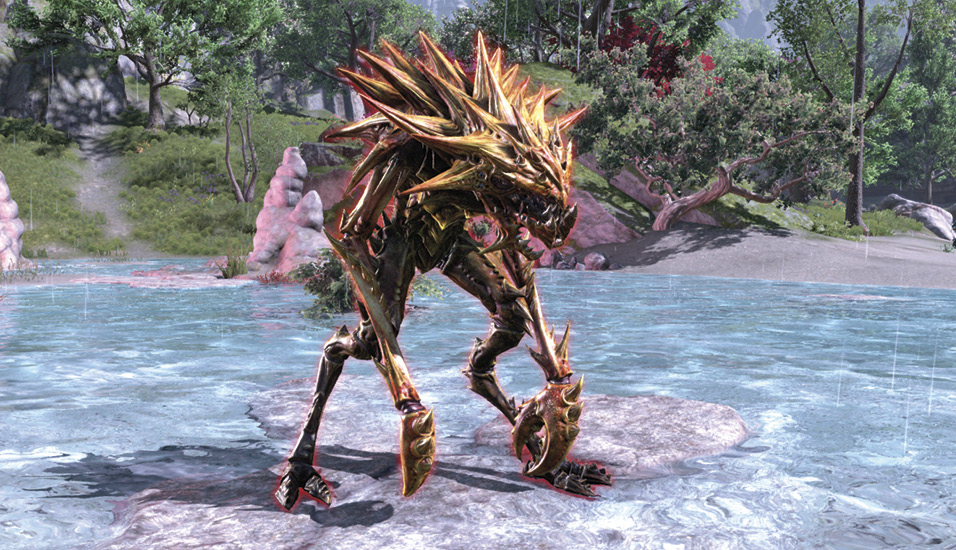
Sheefar is a slow-moving but aggressive combatant, focusing mostly on short-ranged attacks and medium-ranged AoEs. Its attacks aren’t particularly hard to avoid, so long as you’re paying close attention to the battlefield. Just keep your eyes peeled for its AoEs and you’ll be fine; none of them are impossible to avoid or block.
Girawell the Erratic
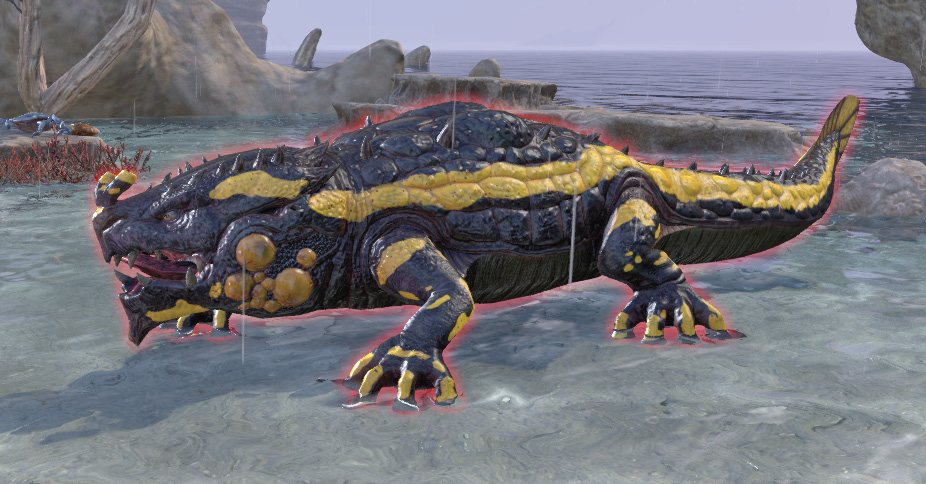
Girawell is pretty sluggish as far as geyser bosses are concerned, but it’s that lack of speed that makes Girawell a little unpredictable. Most of its attacks are melee-based, but the few AoEs it performs can spread across the field unexpectedly.
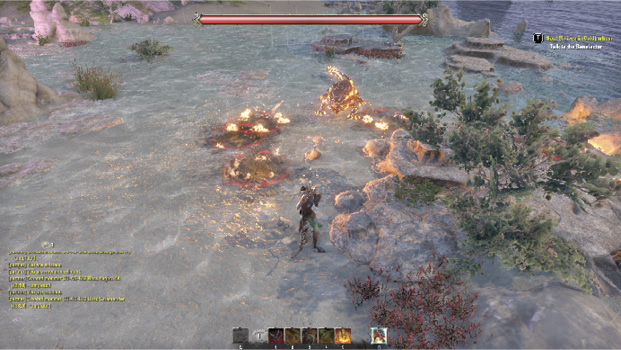
The most common AoE Girawell will perform appears whenever it begins to shake. It will throw fireballs off its back that will create AoEs where they land. They’re not hard to avoid once they’ve landed, but they can hit you with their wild, random arcs.
Muustikar Wave-Eater
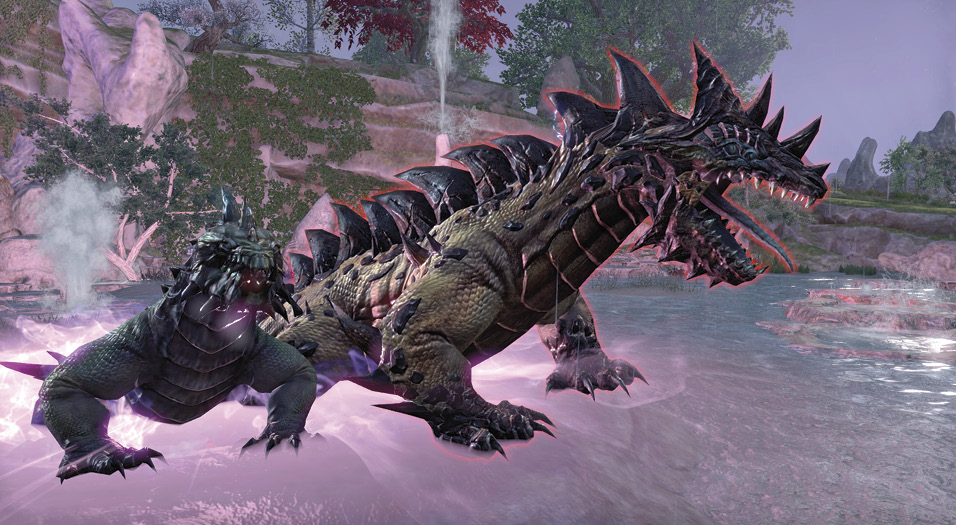
Muustikar relies on the power of lightning to attack its foes and it uses it well. It can—and will—send lightning flying every which way to hit you and your allies as frequently as it is able.
If you see it stomp its left foot, start blocking. It will immediately stomp its right foot afterward and send two undodgeable bolts of lightning at its target.
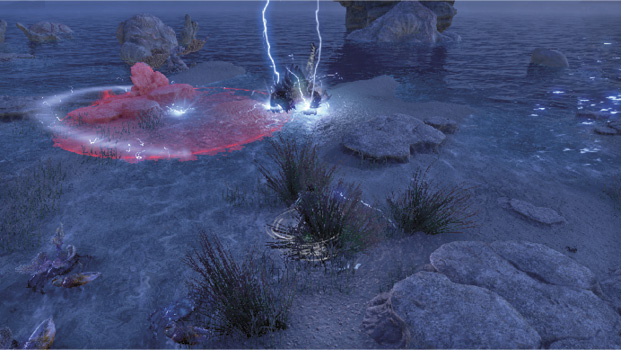
If it rears up, back away immediately. When it comes down to the ground, it will send out lightning AoEs in every direction around it.
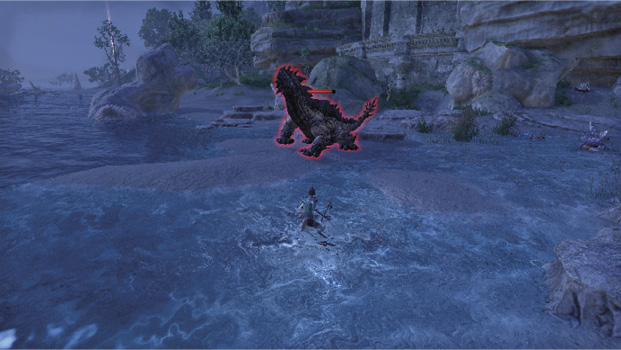
It will occasionally spit out a ball of lightning. You’ll have very little warning, but if you see it, quickly block. If that attack hits its target, the ball will fall to the floor and create a large AoE with a movement speed debuff where it lands. This will be completely negated if you block the attack.
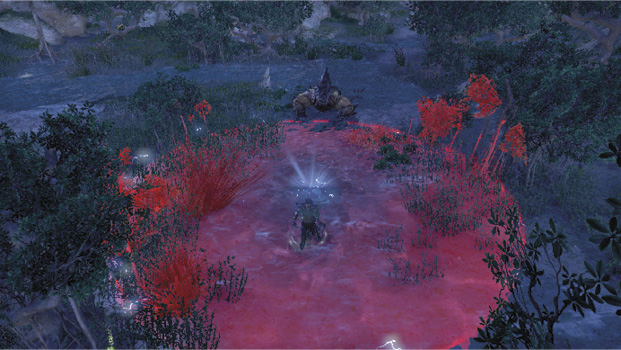
Aside from a basic bite attack, it can also shoot a large, singular AoE ball that travels a great distance and at high speed. If its back spines become illuminated with electricity, move away from the front of Muustikar’s mouth. It’s not hard to avoid this attack if you know it’s coming.
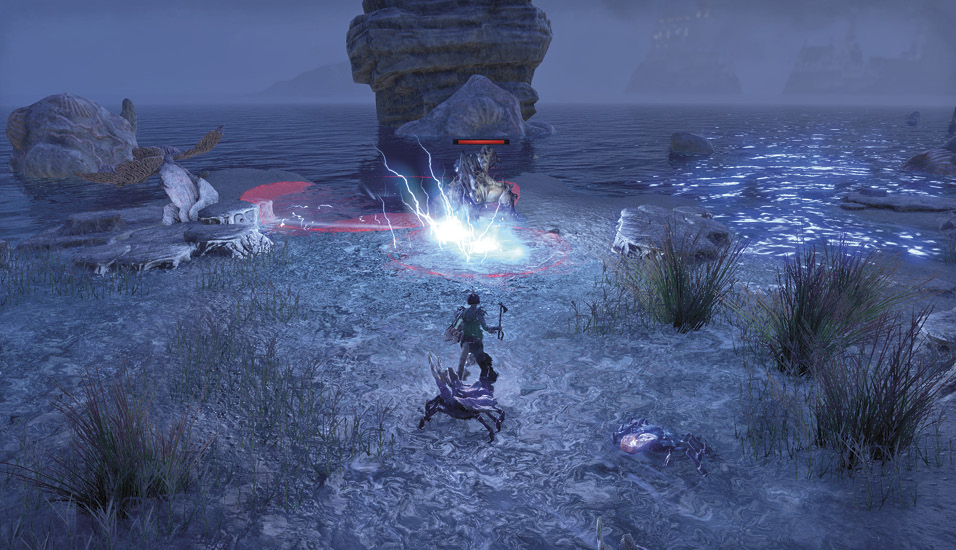
Reefhammer
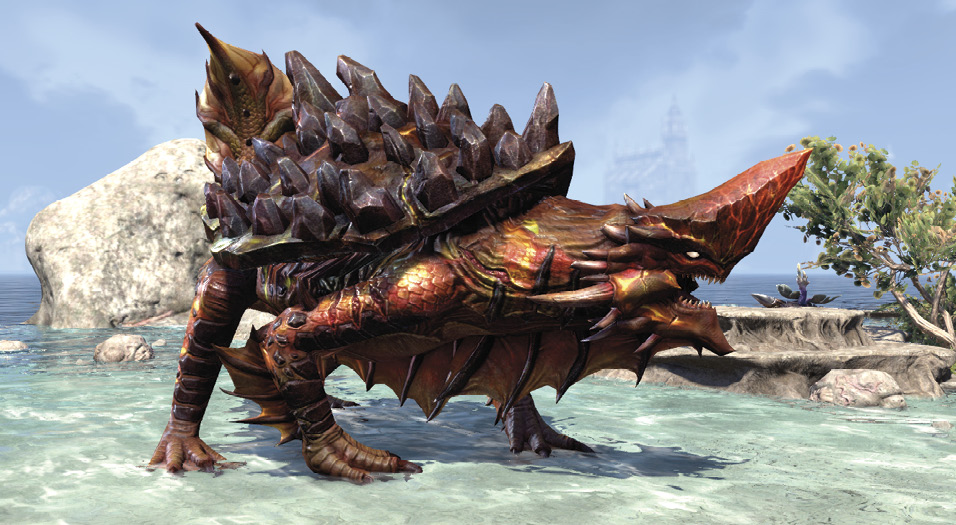
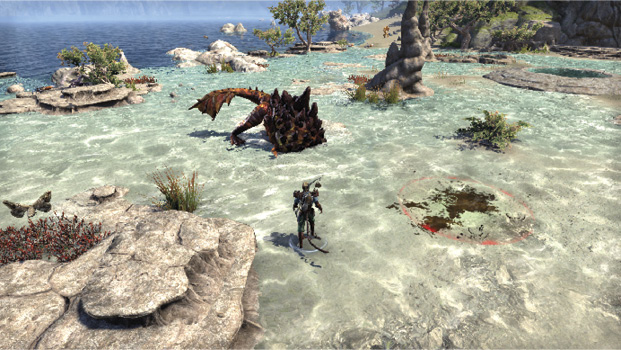
Reefhammer is a slower moving, turtle-like creature that uses wide-ranged attacks to make up for its rather slow movement. Its basic attack is a poison-spit projectile that will create an AoE on the ground if it hits its target. On top of that, it can swim and dig through the sand as if it were water.
One of the easier moves to avoid is Reefhammer’s poison fountain attack. It will stick its head straight up and begin spitting poison all around itself. Projectiles will shoot out of the poison pool toward you and your allies. They are easy to avoid, especially if you’re melee-ranged, since Reefhammer’s poison pool will prevent you from doing much else but avoid its attacks.
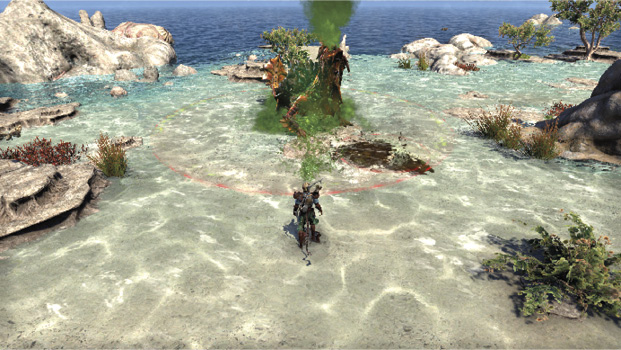
One of Reefhammer’s tougher, faster moves comes after it digs into the sand, submerging its body about halfway. It will leap back out of the sand, launching five projectiles in a fork spread across the field. This attack comes out incredibly fast, so either get a good distance away from Reefhammer when it begins digging or get behind it and try to avoid taking damage from it.
Darkstorm the Alluring
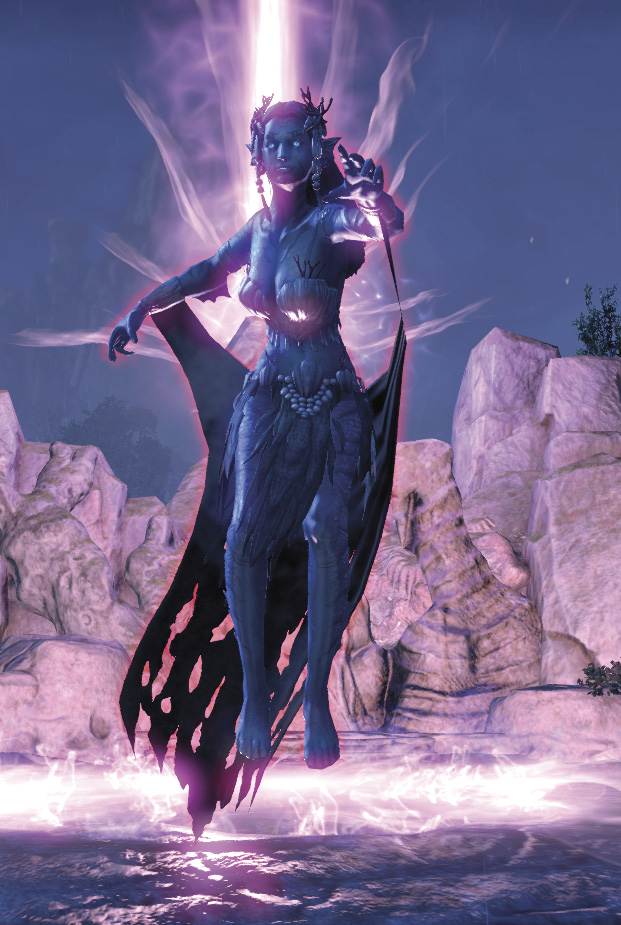
Darkstorm relies on ice and wind magic to root her foes or lower their movement speed. She can shoot a small icy tornado out toward a target that will split into four, shooting in different directions. If it hits a player, it will temporarily freeze them in their tracks. It’s an easy move to avoid if you pay attention. The split can be easy to miss if you’re not looking, but once the second set of projectiles passes you, you’re home free.
Darkstorm will also occasionally create a vortex around her. You’ll have two different AoEs to contend with: a large circular one with a hole in the center surrounding Darkstorm and a smaller one inside the first one, directly underneath Darkstorm. If you’re caught in the larger of the two, you’ll be slowed nearly to a crawl until you’re able to get out.
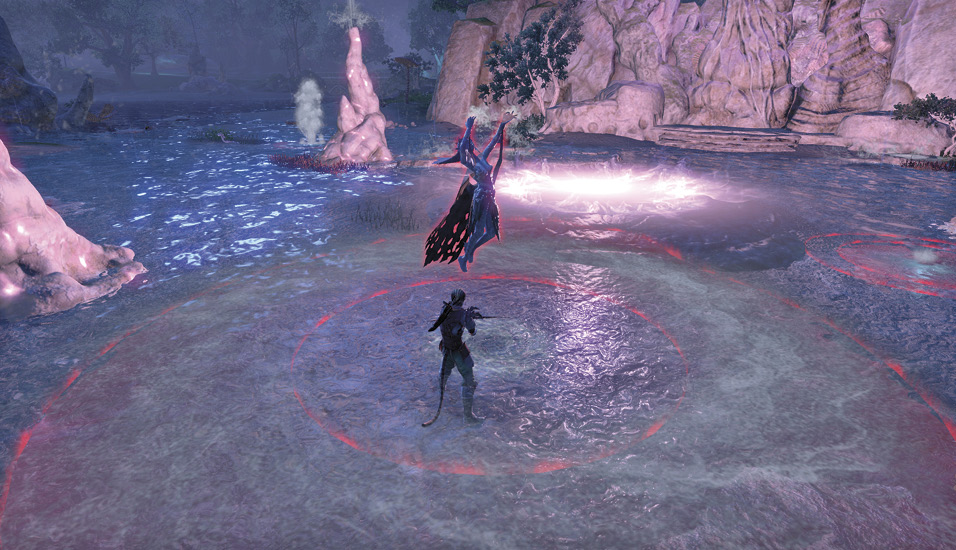
She’ll also shoot a projectile directly at the floor, which will create a small AoE with a vortex in it. It won’t move anywhere, but after a few seconds a geyser will burst out of it, damaging anyone unlucky enough to be in its burst radius.
Eejoba the Radiant
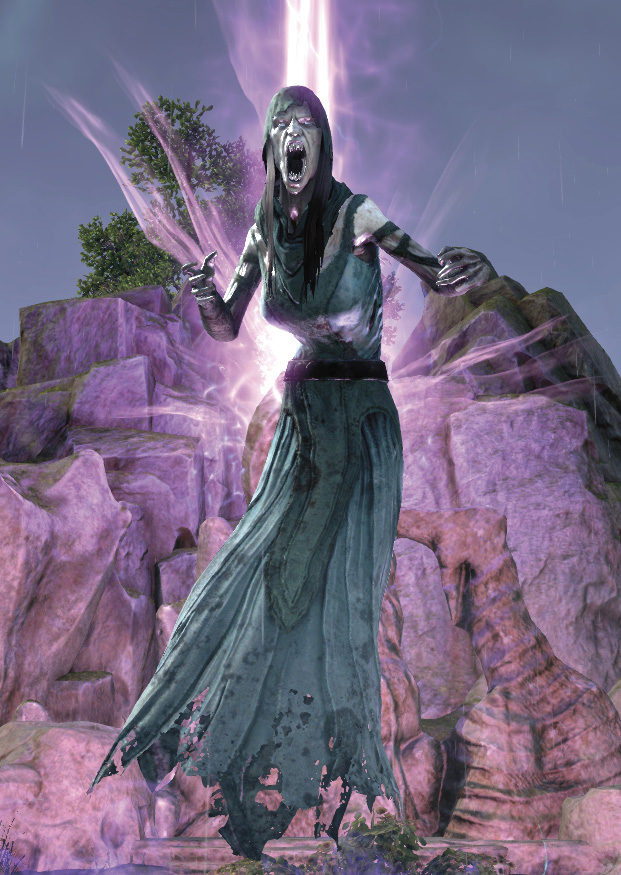
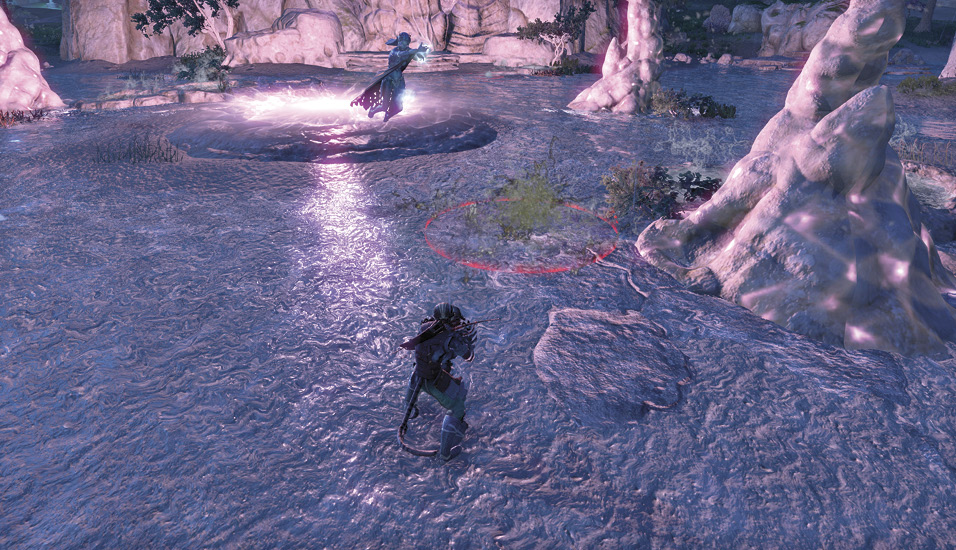
Eejoba the Radiant is very straightforward. She functions like a superpowered Wispmother, summoning Wisplike enemies called Radiant Lights to do most of the fighting for her. While these tiny enemies torment you, Eejoba will consistently rain down projectiles from the sky to hit you and your allies.
You’ll be fighting the Radiant Lights for pretty much the entire fight, so coordinate with your teammates and have some of them focus exclusively on the Radiant Lights.
There isn’t much else to this fight. Defeat the Lights, avoid the projectiles, and attack Eejoba to end it.
Tidewrack
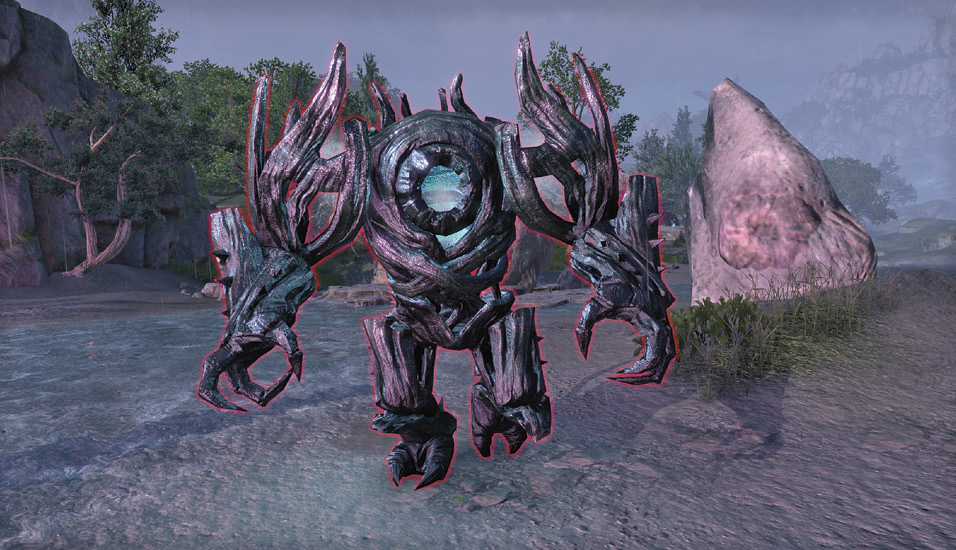
Tidewrack has some of the biggest AoE attacks of any enemy in Summerset. It will persistently chase you and hit you with melee attacks, but those aren’t really anything to worry about. No, it’s the gigantic range of its tidal wave and thorn projectile attacks that will give you the most trouble.
Tidewrack will create a rapidly growing, circular AoE around itself. When the AoE reaches its peak, Tidewrack will create a large tidal wave, which it will shoot off in every direction, starting from the center of the AoE.
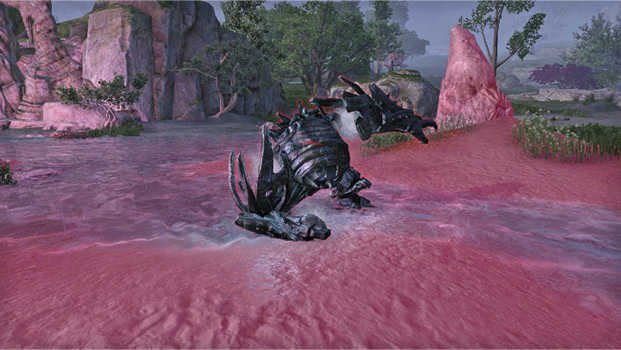
When Tidewrack creates a conal AoE, an indicator will let you know it’s about to shoot off a volley of thorns. Like the tidal wave, this attack’s AoE is gigantic. You’d be better off running to the side of the AoE, or sprinting directly toward Tidewrack and trying to get behind it.
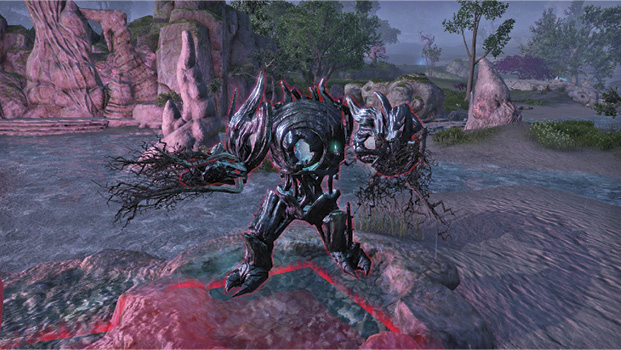
The good news is, both of the attacks are entirely blockable. If you can’t escape the AoEs, then put up your guard and you’ll survive just fine.
Vsskalvor
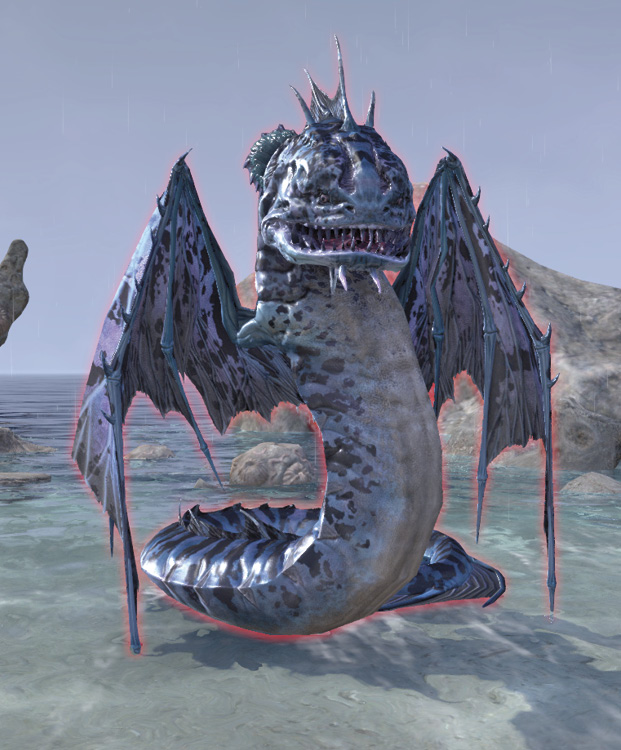
Vsskalvor isn’t the most complicated enemy, but it can be quite ferocious. It will spend most of its time chasing you and your allies down for a quick bit, even soaring across the area to reach you. It will spit projectiles while at a distance, but it mostly insists on keeping things close. Stay out of its AoEs and block its melee attacks and you’ll have this one dialed.