
The Elder Scrolls Online: Summerset Guide Dungeons and Trials
Sunhold
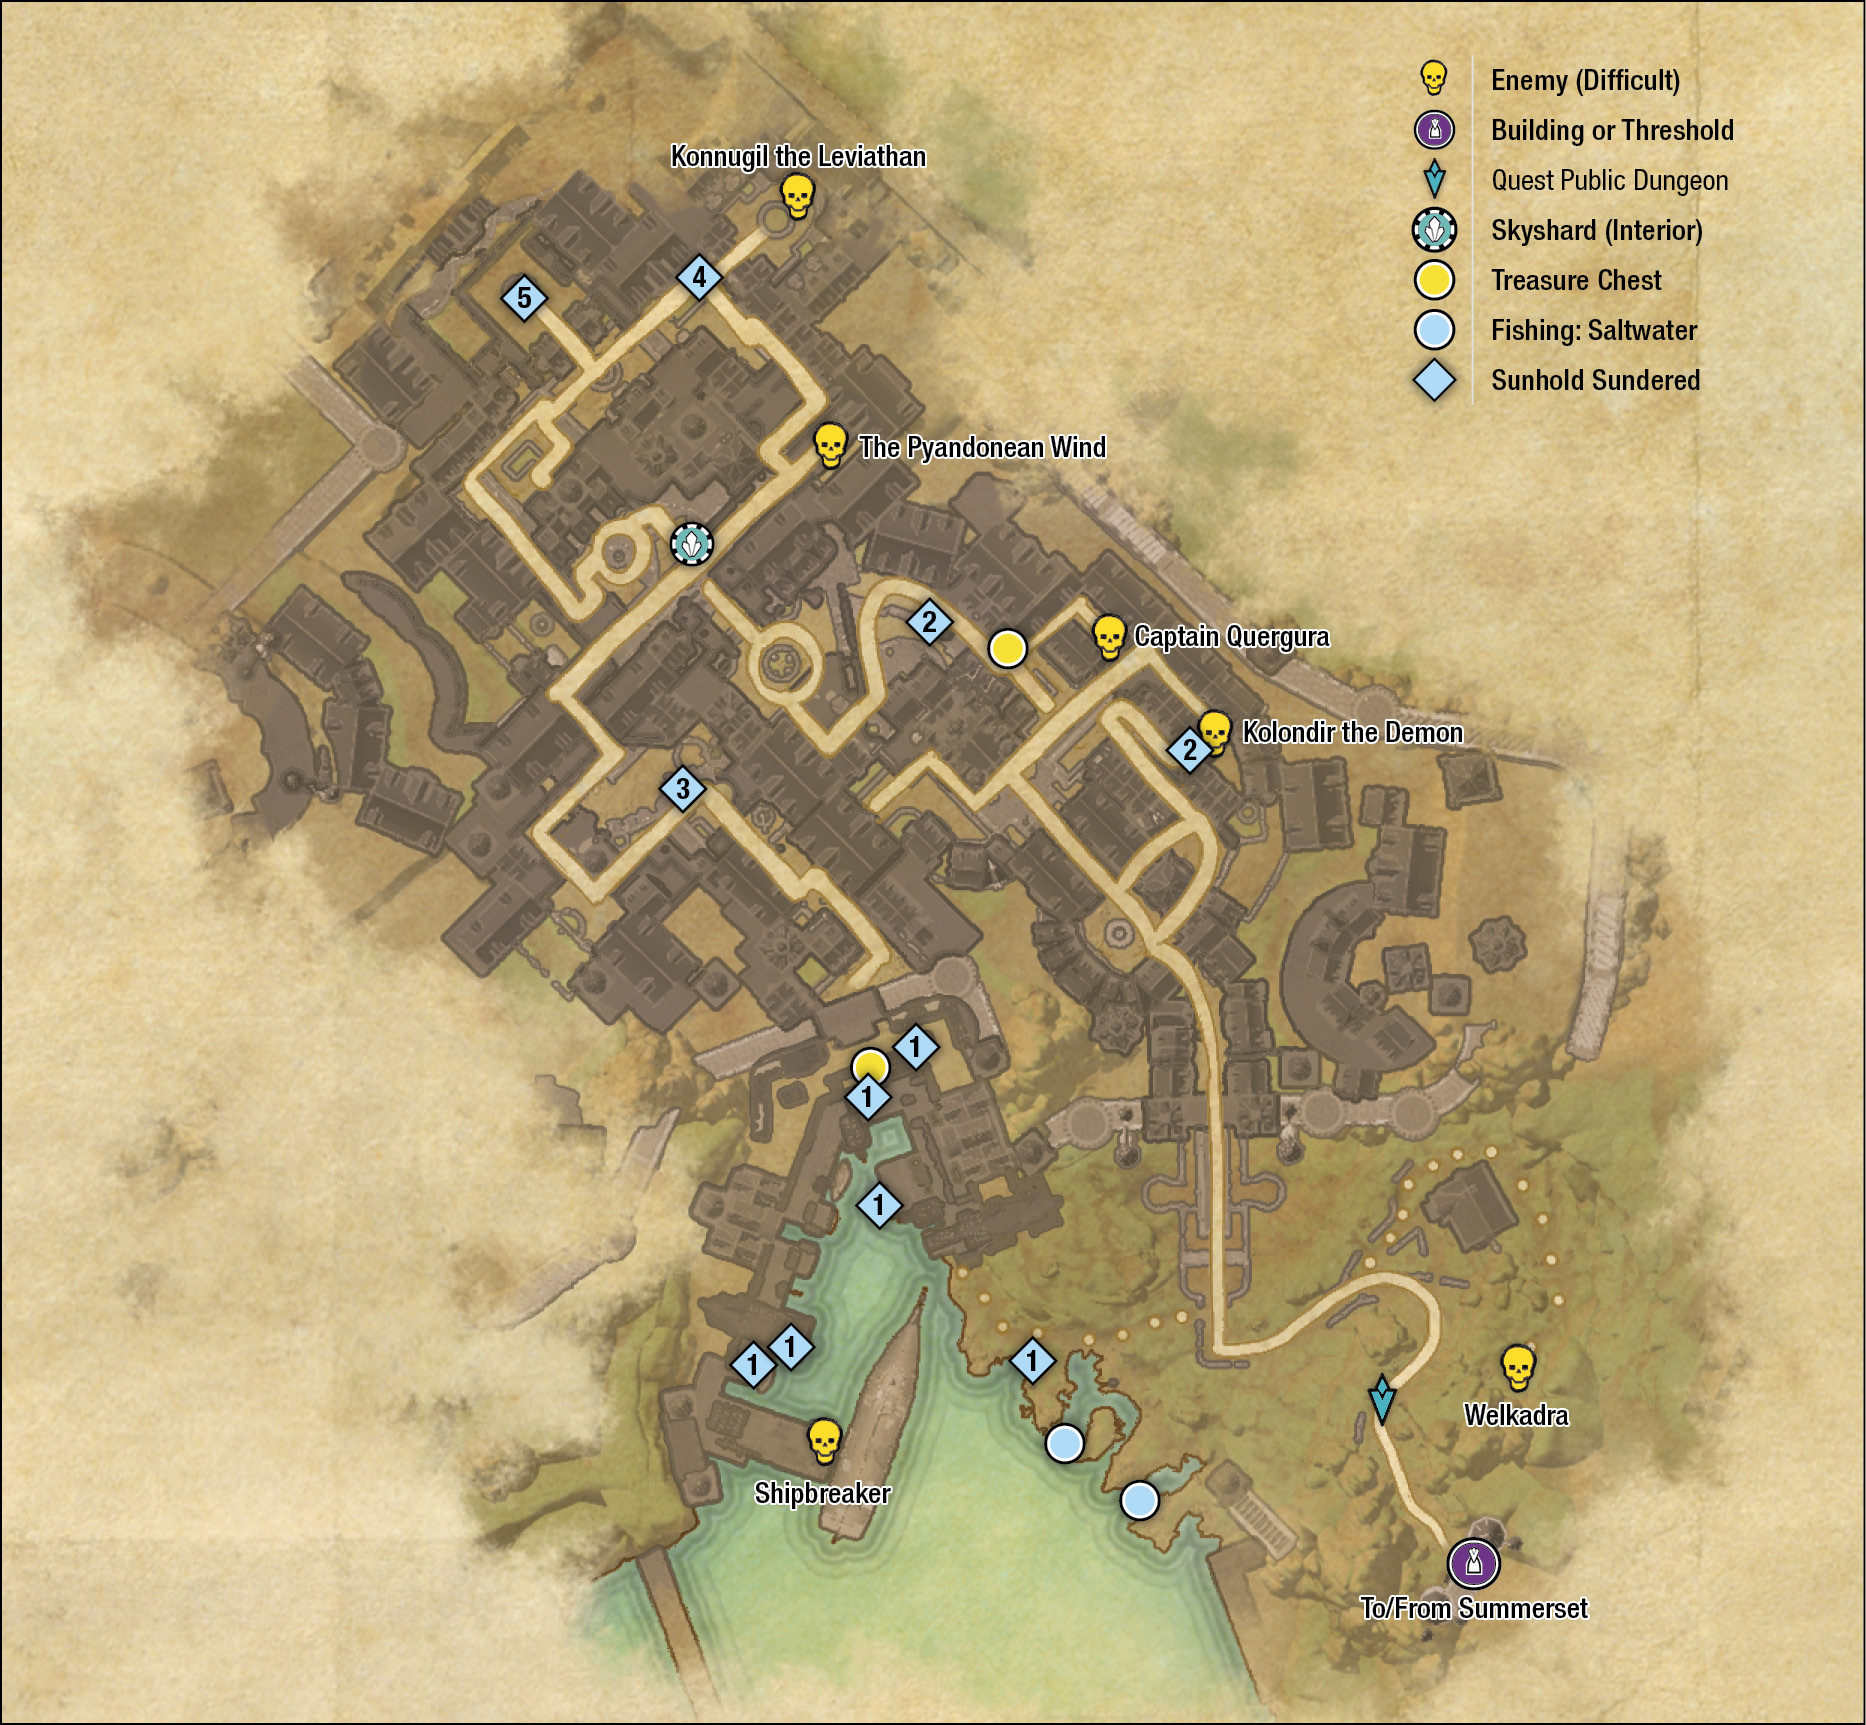
A port city long thought protected from enemies, Sunhold is under siege by the Maormer, Sea Elves and eternal enemies to those living on Summerset. Betrayal has led to their successful invasion, and they’ve wasted no time fortifying their defenses. What was once a glorious city is now a prison for all of its inhabitants.
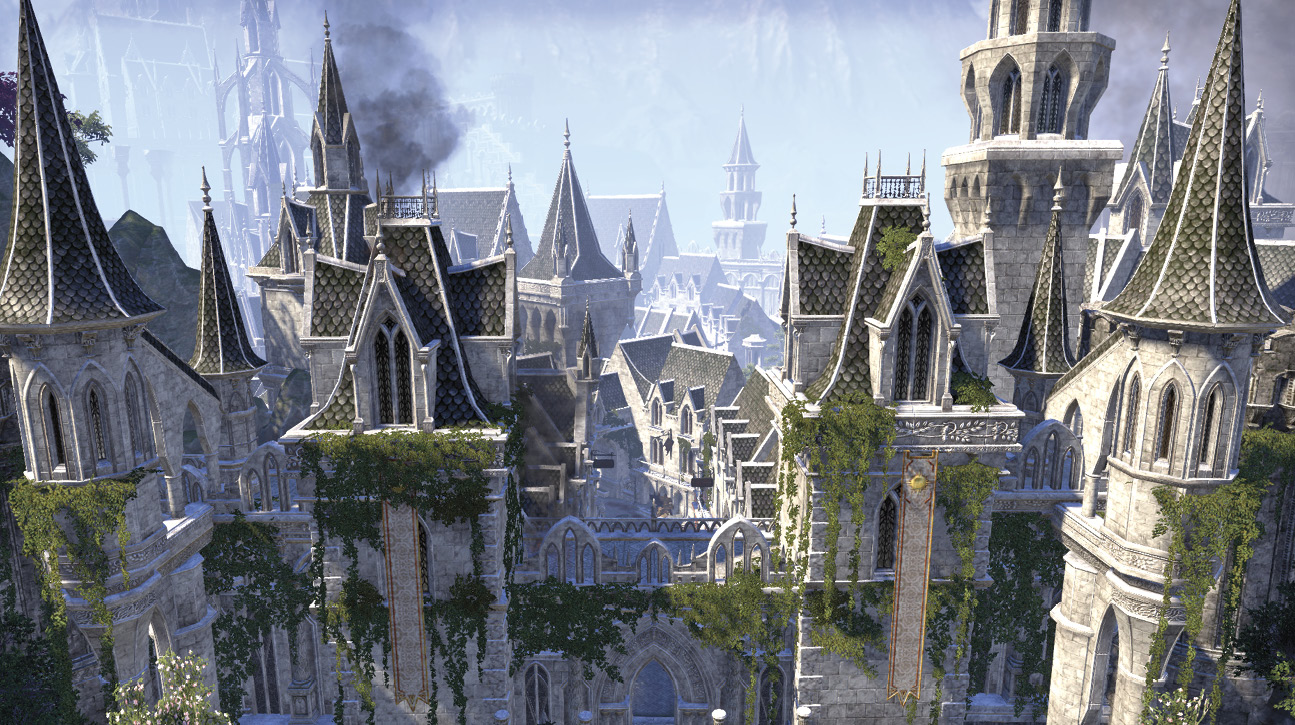
Sunhold is completely and fully packed with bosses and elite enemies, like any dungeon should be. While experienced solo players may succeed here if they’re careful, Sunhold is recommended for groups, so don’t go in alone.
Elite Enemies
As we mentioned before, Sunhold is absolutely packed with elite enemies and bosses. We’ve broken down the roster here so you’ll have access to a quick reference while traversing this challenging dungeon.
Snakeskin Berserkers
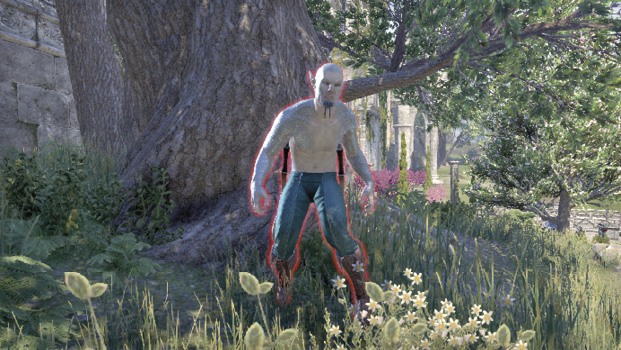
Snakeskin Berserkers carry around two weapons with them, but they do little more with them than swing at you. The toughest part of dealing with these enemies is their large health pool.
Snakeskin Brutes
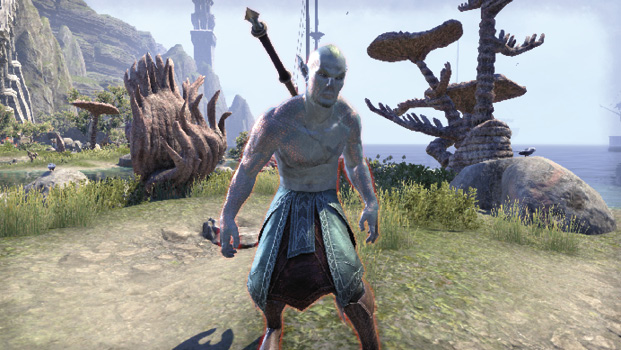
Brutes, like Berserkers, don’t have complicated attacks, but they are hard to take down and can deal heavy damage if they’re allowed to hit you with their giant maces. Ideally, you’ll want to deal with minor enemies before dealing with Brutes and Berserkers, but sometimes improvisation is necessary.
Storm Atronachs
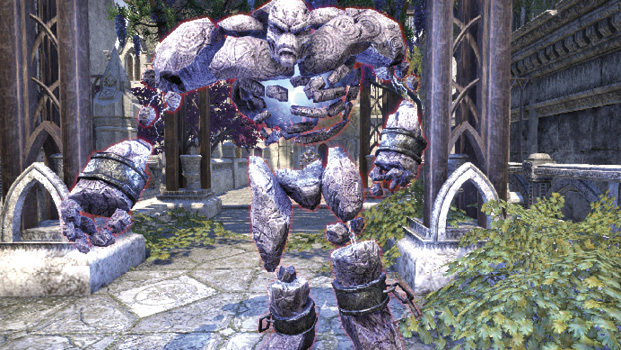
Storm Atronachs are fast despite their large, bulky frames. They’ll run at you and attack with basic punches whenever they get in melee range.
They’ll also perform an electrical discharge attack whenever they start charging an interruptible attack. If you aren’t able to perform an interrupt in time, they’ll release electricity in a wide radius around them and release electricity balls that will scatter across the ground. It’s a tough attack to avoid in enclosed spaces, but if you put distance between you and the Atronach, you’ll have a good shot at staying unharmed. If you aren’t so lucky, however, you’ll receive a movement speed debuff for a short period of time after taking damage.
Storm Atronachs can also shoot lightning balls across the ground directly at you. These will move in a straight line, so you can easily avoid them if you’re paying attention. They do move incredibly fast, however, so be quick to get out of the way. Like the interruptible attack, this projectile will also put a movement speed debuff on you if you’re unlucky enough to take a hit from it.
Dungeon Bosses
No dungeon would be complete without a handful of dungeon bosses to accompany it, and Sunhold has them in spades. There are a total of six, not including the boss of the “Sunhold Sundered” quest, which we cover in that quest’s section. Each boss will drop either a Gryphon’s Ferocity, Wisdom of Vanus, or a Grace of Gloom piece of set equipment, so it’s well worth it to fight them multiple times.
Welkadra
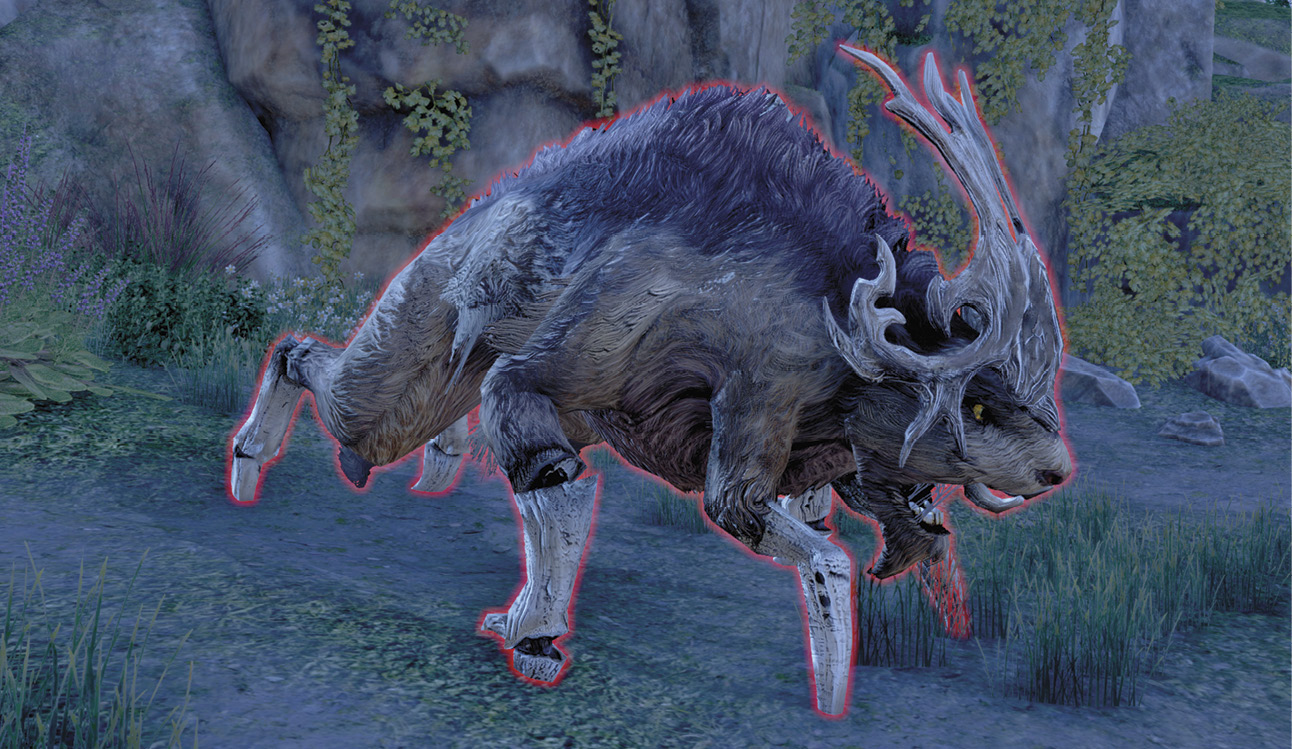
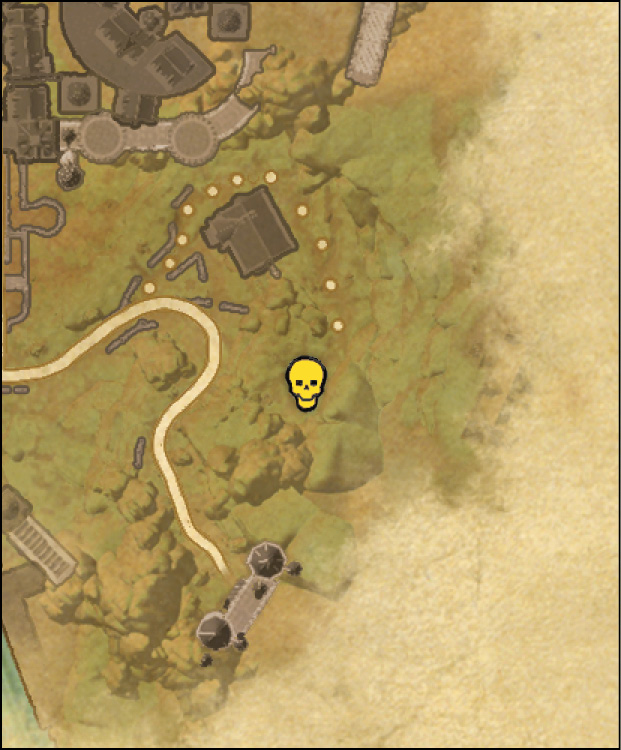
Welkadra is an often-overlooked Champion, found in an upper pen outside of the city walls, up a short hill to the south of the stone house and just north of the quest giver. Welkadra is a ferocious Boss Echatere; a tusked quadrupedal creature sporting vicious antlers and usually found in the company of orcs in Wrothgar. This one is particularly aggressive.
It attacks with its basic tusk swiping and butting, which causes physical damage, and can be blocked or dodged. A more damaging blow is its Headbutt, which can cause knockdown (in all victims to the front of the strike). Step out of the red cone of influence to avoid this. It is also adept at a multiple Shockwave ground pound, dropping its heavy hooves to the earth and sending out multiple small AoE waves that inflict physical damage to anyone within the circle. Expect to be staggered, too.
Finally, Welkadra can summon a revolting projectile from its maw, spitting it directly at a single victim, which causes moderate physical damage and may stagger. Simply dodging or sidestepping this spittle is the optimal plan.
Shipbreaker
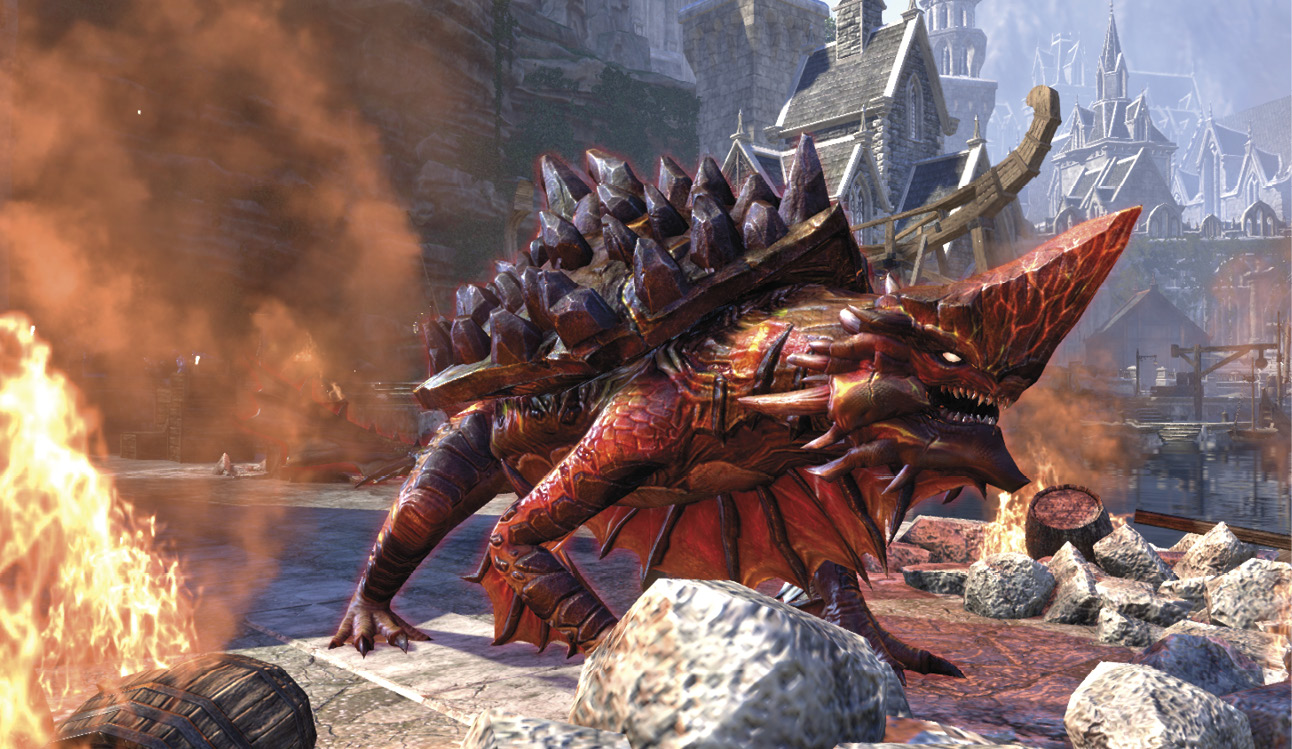
Shipbreaker isn’t a fast-moving creature, but with how small its dock is, it doesn’t need to be. It will focus almost exclusively on AoE and ranged attacks, but will still reposition itself if you spend too much time out of its preferred range.
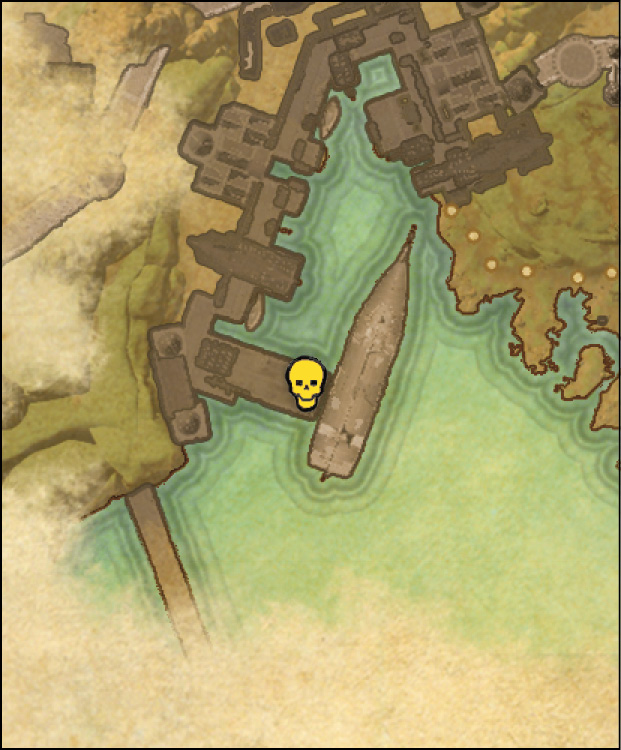
One of its most deadly moves has it creating a large, poison-filled AoE beneath it. While it produces the poisonous miasma, poison projectiles will roll across the ground toward you and your party. These don’t move particularly fast, but given your limited range of movement on the dock, they can be difficult to avoid. If you know it’s coming, then you’ll be fine; just keep your eyes on that giant poison AoE.
If you see Shipbreaker bury its head into the ground, either race behind it or get your shield up. It will shoot back out of the ground, shooting five projectiles in a forking pattern as it comes up. These come out incredibly quick, so avoidance without blocking comes down to luck more than skill.
Captain Quergura
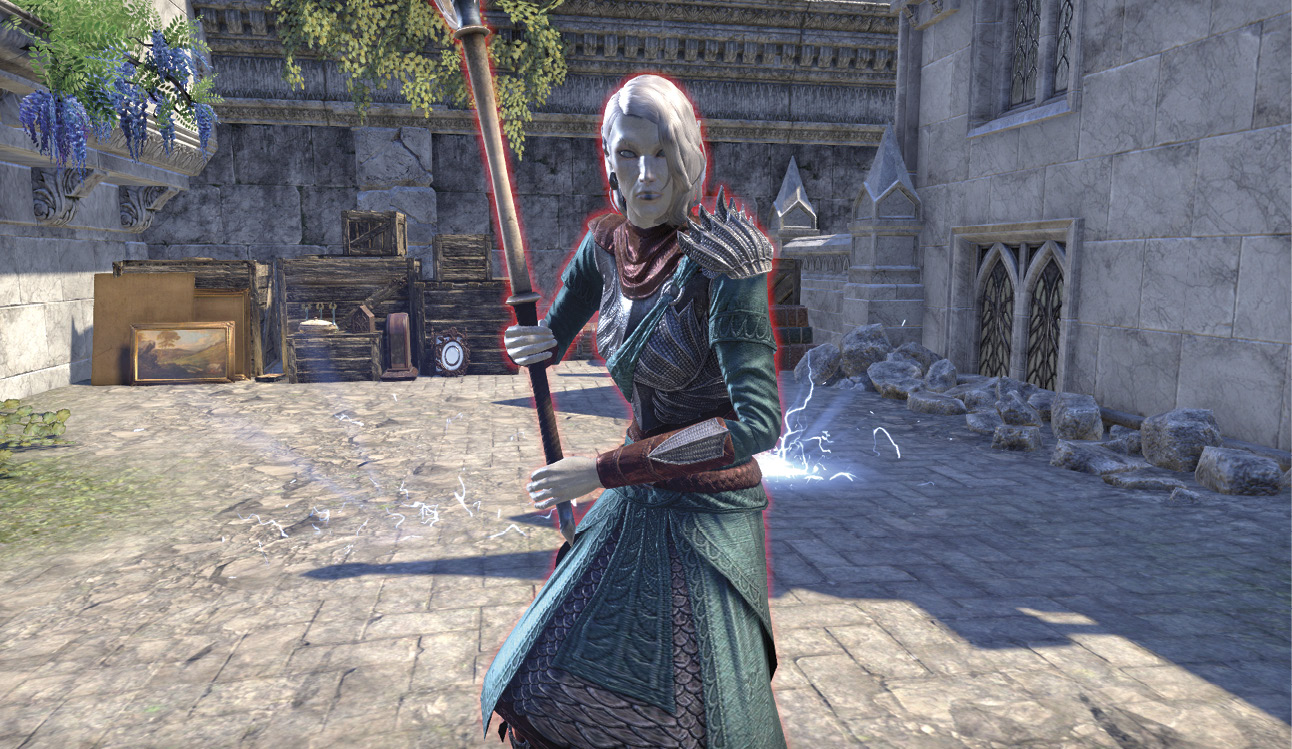
Captain Quergura’s moveset focuses on lightning attacks above all else. She’ll often shoot a bolt of lightning into the air; when it hits the ground, it shoots out lightning balls around the floor. These balls don’t move particularly fast, but they do add something additional to divide your attention while you’re already trying to take down Quergura.
She’ll also lift her weapon into the air and fill it with electricity before bringing it down and dealing electric damage in a cone radius in front of her.
Quergura will also occasionally leap into the air, then slam down on the ground, dealing damage in a wide radius around her impact point. If you see her leap into the air, start moving. The closed space you fight her in can make avoiding the attack tougher than you might expect.
She’ll also shoot small lightning bolts and hit you with her axe as her basic attacks. The real worry is when she begins charging her interruptible attack. She’ll lift her axe into the air and call down a burst of lightning around her, which will damage anyone unfortunate enough to be standing next to her when it hits the ground. If she manages to hit you with this attack, you’ll be knocked onto the ground for a moment.
Kolondir the Demon
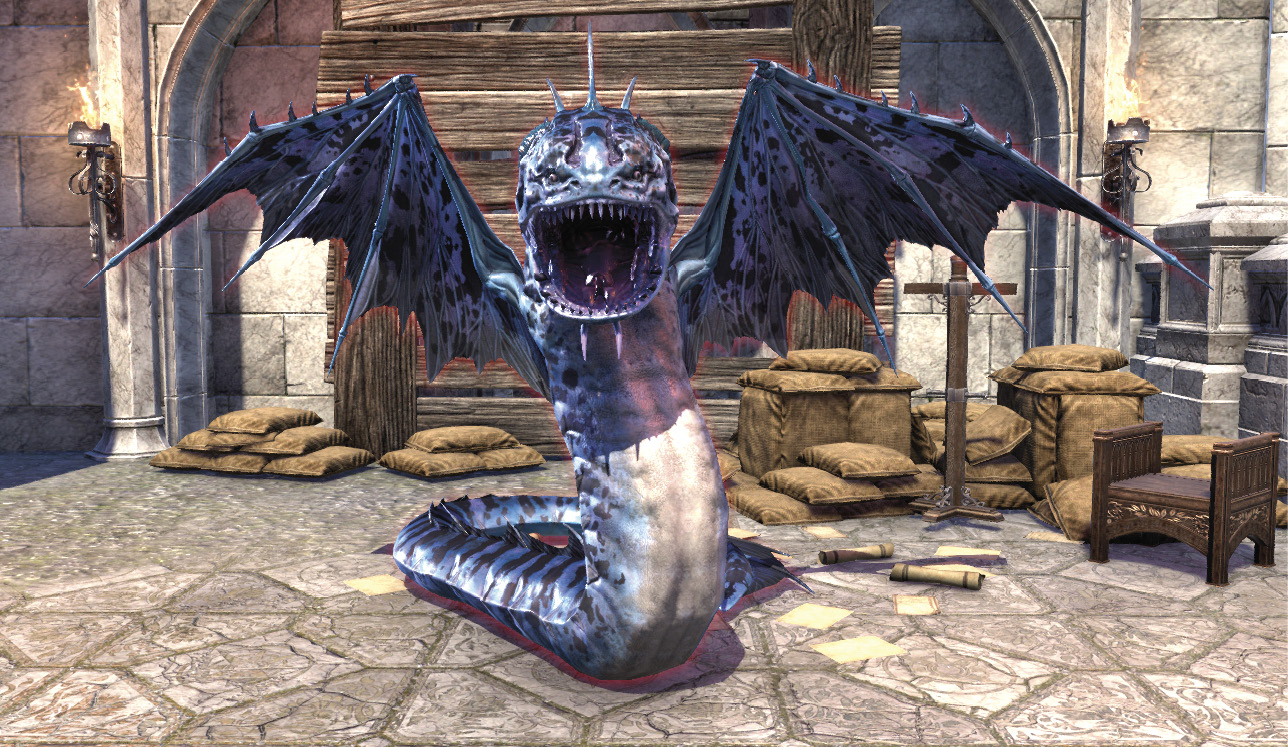
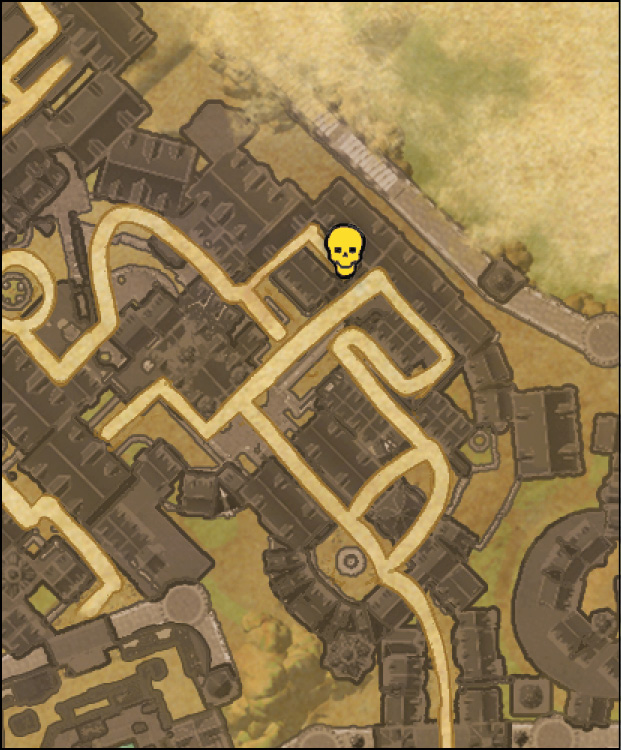
Kolondir is a tricky beast. At close range it will do little more than nibble on you, but from a distance it will attack ferociously. It also has a spitting attack that will leave a ball of sticky bile on the ground that, when touched, will put a significant speed debuff on you until you roll out of the surrounding area. You can get into a good deal of trouble with this attack, so be careful.
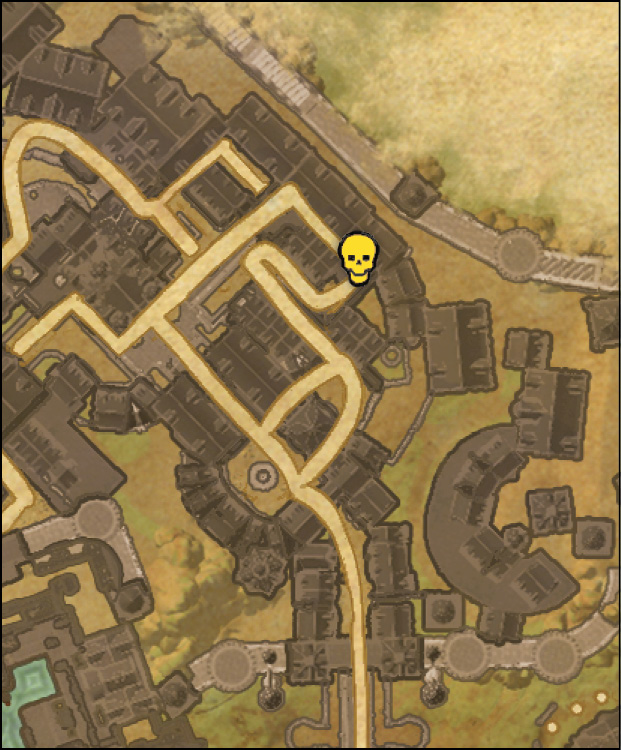
Its charged heavy attack is also pretty scary. It only performs it if you’re out of melee range, but when it does perform it, it lunges at you almost faster than you can react, then it coils around you temporarily to deal extra damage. If you can block it in time, you’ll be safe from harm, but missing it will cost you dearly.
Aside from doing a basic bite attack, its only other noncharged or special attack is a quickdraw jumping attack that has very little windup and almost no tell. If you’re far away from Kolondir, don’t take your eyes off of it for a second.
Konnugil the Leviathan
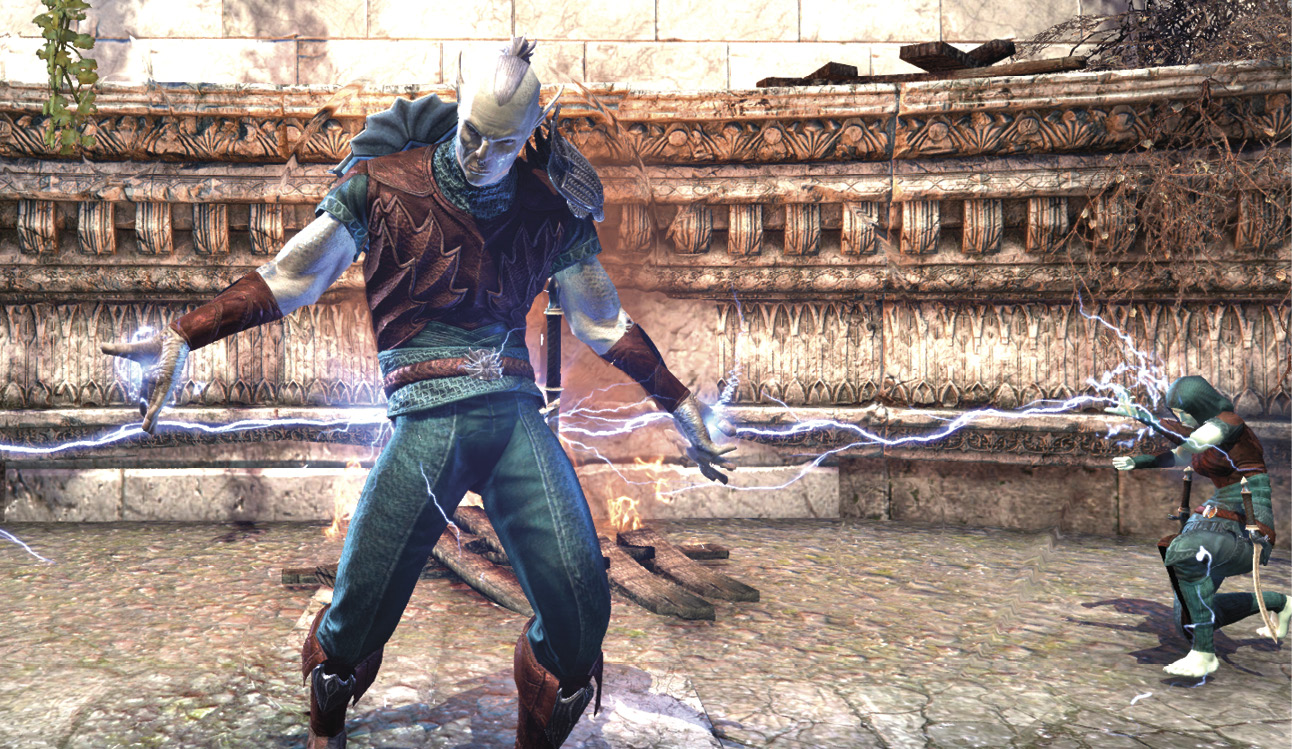
You’ll need to fight off a couple waves of enemies before Konnugil will come down to face you. Snakeskin Sailors, Chanters, and Strikers will start the fight off; then a series of Snakeskins and Storm Atronach enemies will teleport into the arena.
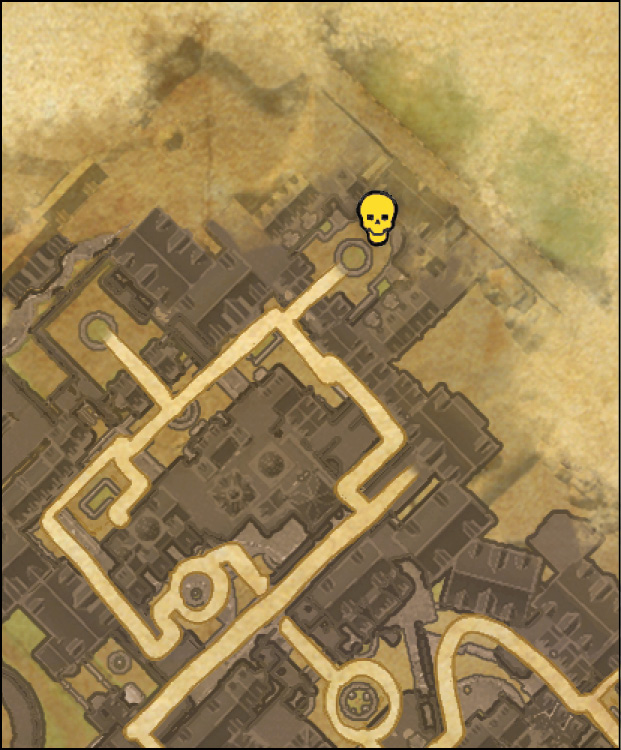
Konnugil has a melee-focused moveset. He’ll mostly chase you around and try to hit you with his mace, and all of his moves are focused on close-range damage or closing the gap between you and him.
One of his more common attacks has him leaping into the air, then slamming down on top of you or your party members. If you see him lift his mace in the air and imbue it with electricity, start moving. When he comes back down to the ground, his impact will create a damage AoE around him. So long as you’re not holding still, you’ll have an easy time avoiding this attack.
One of the few ranged moves he does is a lightning bolt attack that’s unavoidable and will root you in place. Always have a bit of your stamina meter full for this attack. If he roots you, he’ll have free rein to deal damage until you can get out of the root.
Defeating Konnugil the Leviathan is a group event that awards you a skill point.
The Pyandonean Wind
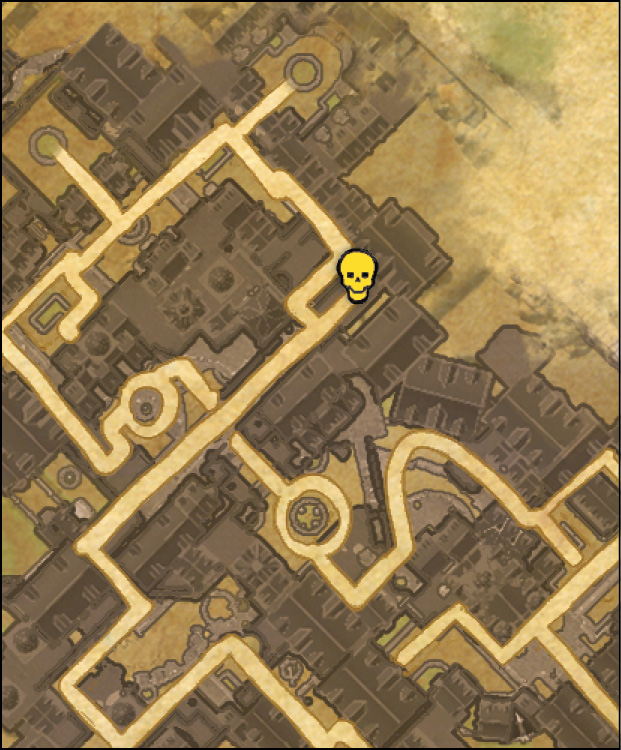
The Pyandonean Wind is a slower-moving boss, but one that can do severe damage if you’re caught off guard. To make matters worse, it’s completely stun-proof. It has two separate interruptible attacks that can deal substantial damage and a charged heavy attack that can hit you at melee or long range. Being far away from this enemy is just as dangerous as being near it.
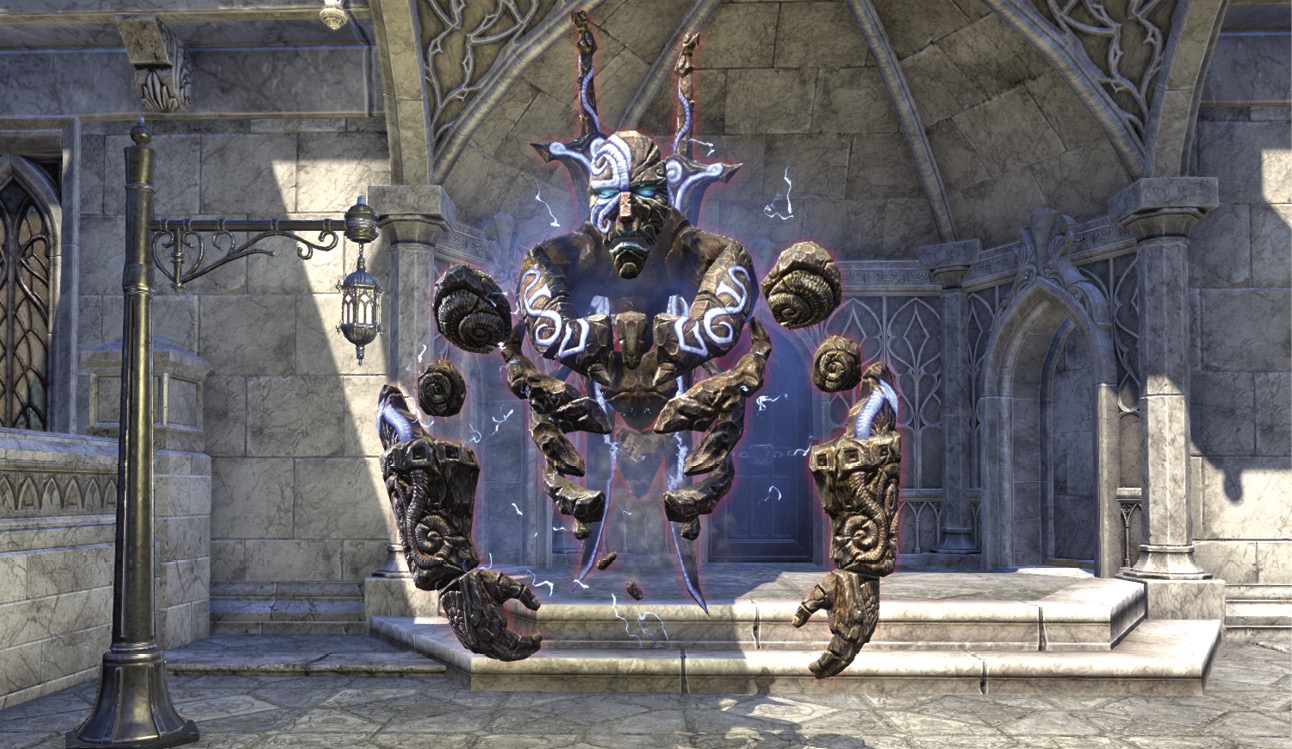
The first of its two interruptible attacks has the Pyandonean Wind dealing continuous lightning damage via two streams of lightning to whomever it targets, no matter how far they are from it. When it uses this attack, it’s best to interrupt it. If you let the attack play out in full, you’ll take substantial lightning damage and it will cast a lightning bolt down on top of you as a finisher. You can block to help mitigate the damage you receive from the continuous lightning attack, but you should always rush in immediately and knock it out of the attack.
Its other interruptible attack is much less complicated. If you’re near it, it can charge up a double-sword swipe, which hits hard but is limited in range. You’ll have plenty of opportunities to knock it out of its charge whenever it performs this attack.
Its charged heavy attack functions very similarly to that second interruptible attack, but with a twist: When the Pyandonean Wind swings its sword, it will send out a blade beam in its target’s direction. If you see the white energy begin gravitating toward it, know that your distance from it will not necessarily save you from damage.
Sunhold Sundered
- Location: Just inside Sunhold
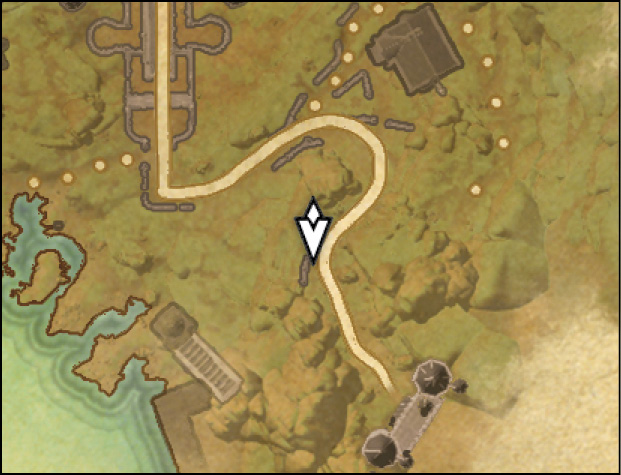
- Quest-giver: Kinlady Helenaere

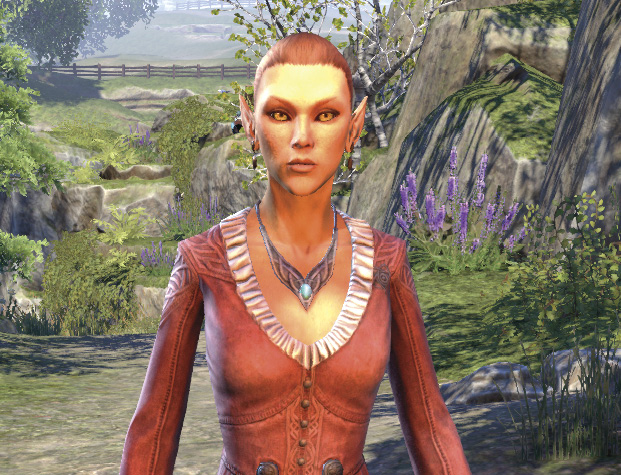
Description: A legion of Maormer, led by the cunning Admiral Viscarne, is attacking Sunhold and demanding the immediate surrender of Kinlady Helenaere. The Kinlady is convinced that the Maormer are so bent on destruction that even her surrender won’t quell their thirst for blood. She requests that you help Sunhold by destroying enemy supplies and saving any Sunhold residents you find; defeating Admiral Viscarne in the process would also definitely help Sunhold and potentially force the Maormer back to the sea.
Destroy Maormer Supplies
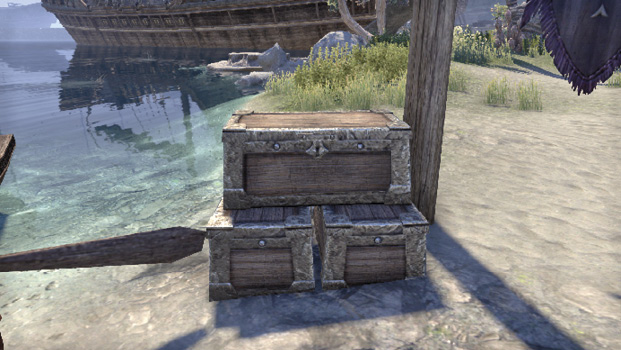
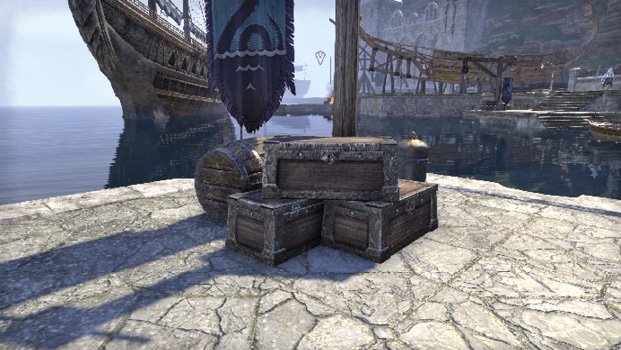
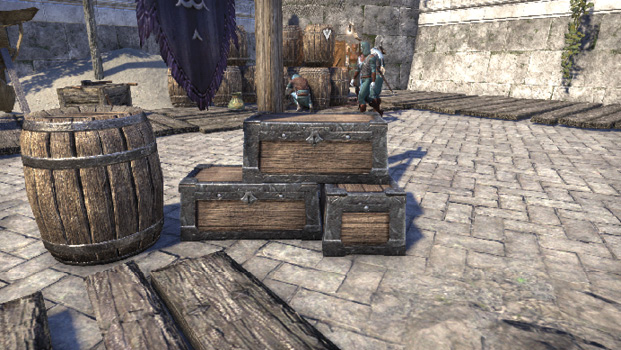
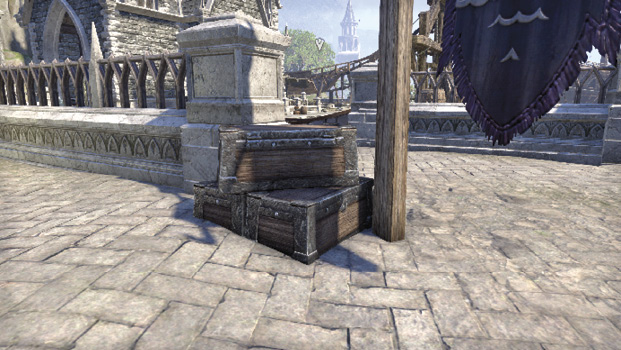
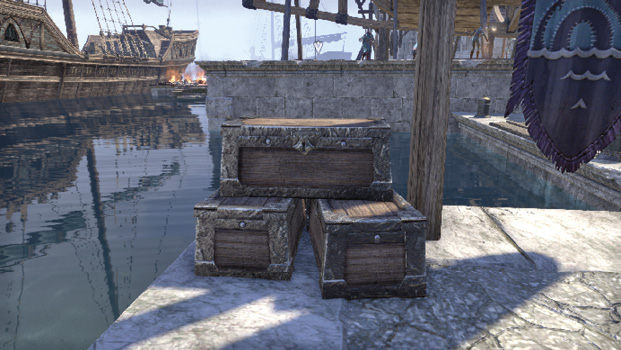
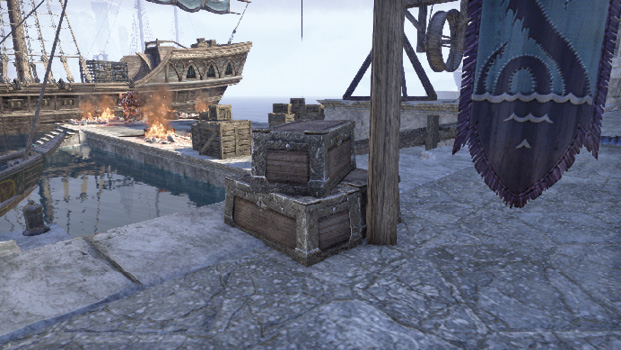
Before entering Sunhold’s interior, head to the docks and destroy the Maormer supplies. None of them are hidden, but their objective markers won’t appear until you’re near them. There are also Snakeskin Brutes and Berserkers near almost all of them, so be sure not to rush in upon seeing one of the supply boxes.
Rescue Sunhold Citizens
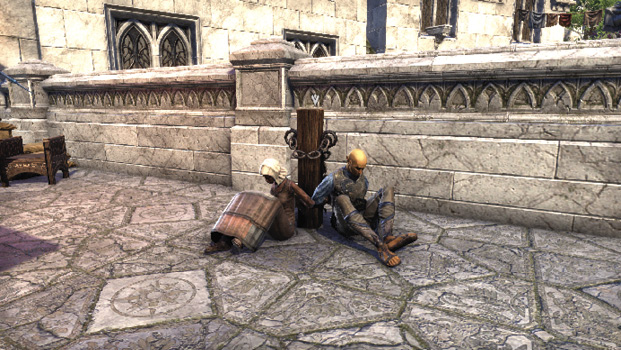
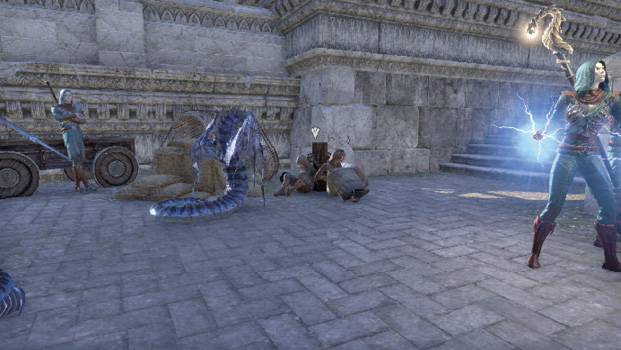
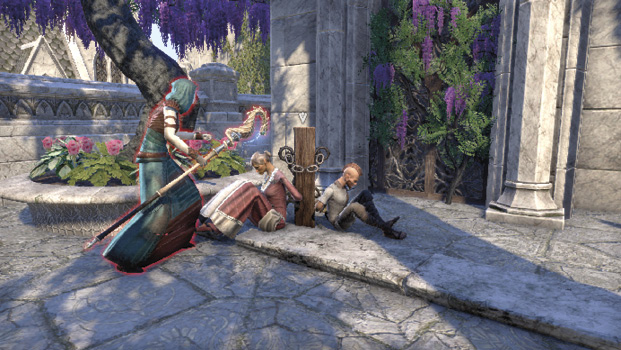
Your next objective requires you to save captured citizens around the city interior. The ones that will count toward this objective are indicated with an objective marker. To free them, approach them and unchain them. Once they are free, the citizens will run to safety, so you don’t have to worry about them further.
Free Sunnawel
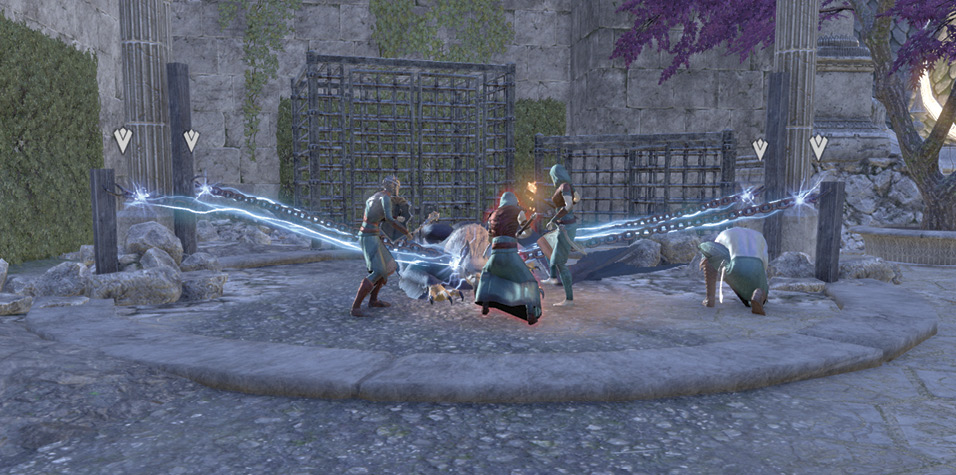
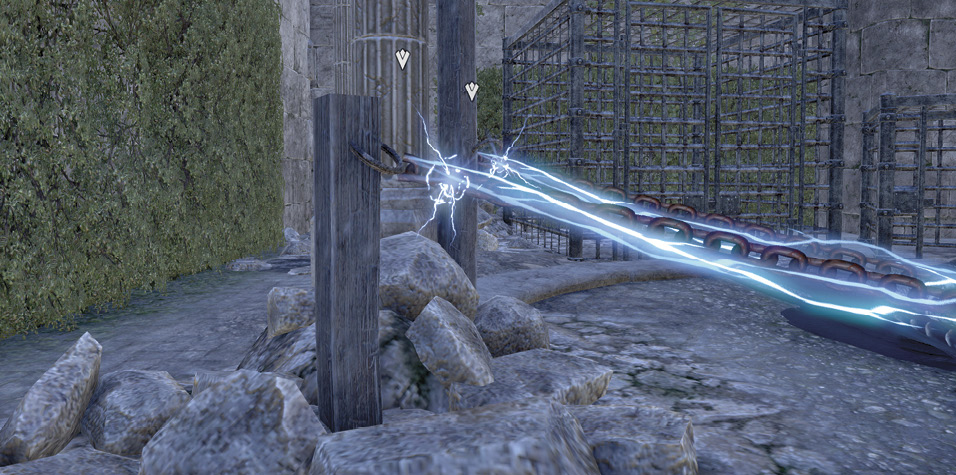
Your final task is to free Sunnawel from chains on the west side of Sunhold’s interior. There are no tricks to it; just reach the chains and destroy them to free the gryphon. The challenge, of course, is in the act of getting there.
Meet with Kinlady Helenaere
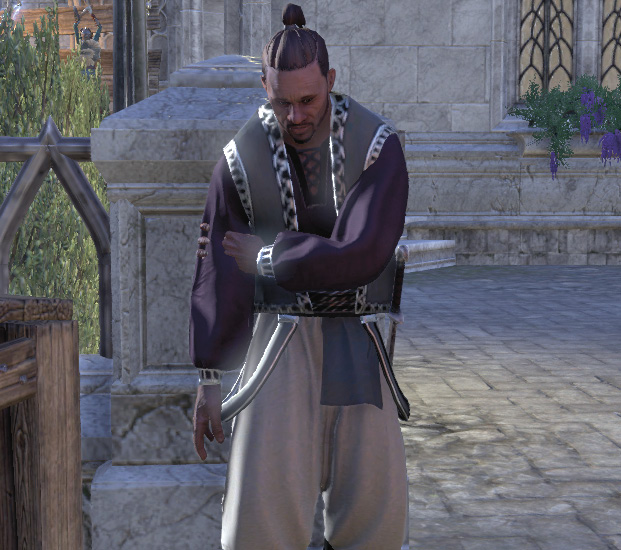
When you arrive, Khavid will be there to greet you instead of Kinlady Helenaere. Speak with Khavid to learn about why he’s there instead of the Kinlady; then go to the northwestern tip of the city to find Admiral Viscarne.
Once you defeat him, speak with the Kinlady to complete the quest. You’ll earn a Sunnawel’s Shining Espaulders and a Gryphon Feather Talisman Memento for your efforts.